


I've built a few of Ana's projects so far, and a couple of my own as well. When I work on them, though, I've had to drag my saws and drills all over the house, and sawdust gets everywhere. What I've needed, is a work-bench.

Preparation
9 - 2"x4"x8' (about $2 a stick)
1 - 24"x48"x1" laminated pine board from the Home Depot (about $20)
8 - 2x4 @ 33"
4 - 2x4 @ 3"
2 - 2x4 @ 16
4 - 2x4 @ 40
4 - 2x4 @ 12
All of the cuts I've described use true-measurement 2x4s. If you purchase 2x4s that are in fact only 1.75"x3.75", the cut list will still work, but your base will contract by an inch in each direction. I've listed all the cuts as being made by a circular-saw. In fact, I used a miter saw and, if you prefer, you could use a simple chop-saw as well.


Please read through the entire plan and all comments before beginning this project. It is also advisable to review the Getting Started Section. Take all necessary precautions to build safely and smartly. Work on a clean level surface, free of imperfections or debris. Always use straight boards. Check for square after each step. Always predrill holes before attaching with screws. Use glue with finish nails for a stronger hold. Wipe excess glue off bare wood for stained projects, as dried glue will not take stain. Be safe, have fun, and ask for help if you need it. Good luck!
Instructions
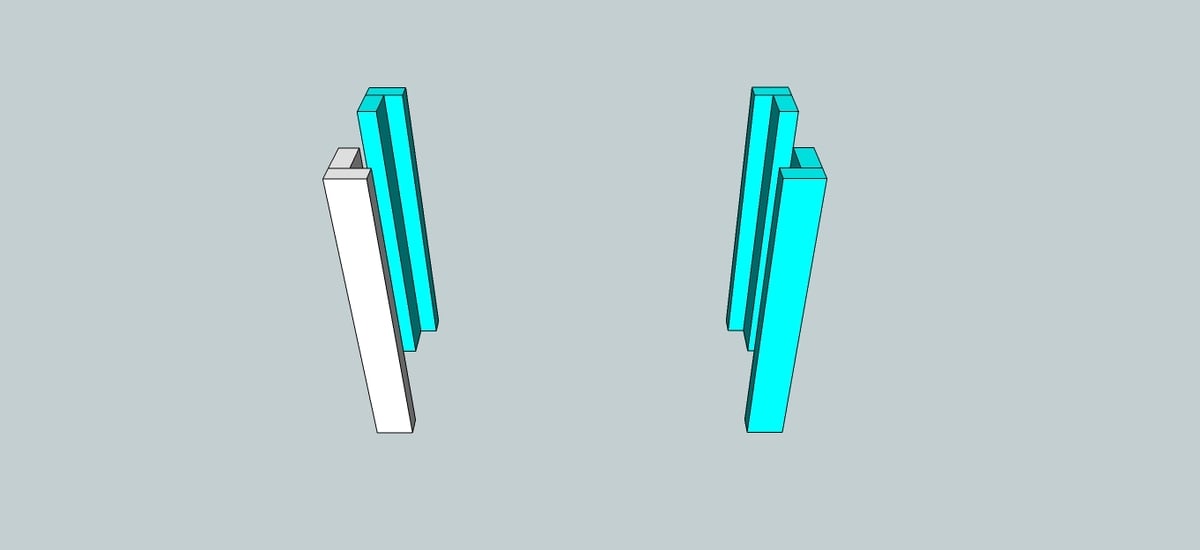
Step 1

First, cut two 2x4s to length (I picked 33 inches). Fasten them together at a ninety-degree angle (I used three equally spaced 2.5 inch construction screws).
Step 2
Lather, rinse, repeat: you need three more legs to build the bench.
Step 3
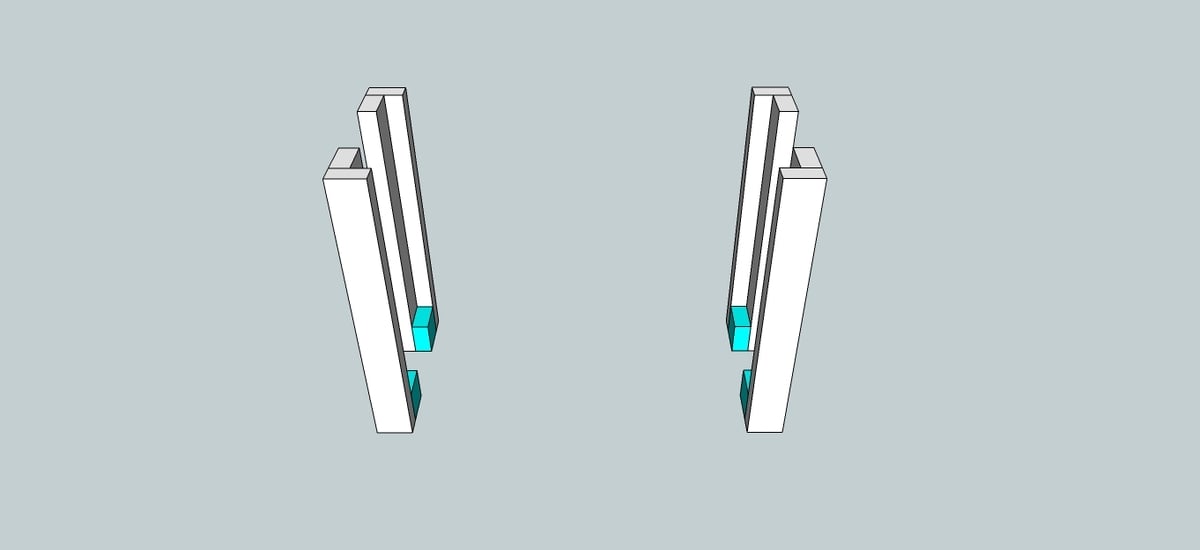
Next, cut a 2x4 into four sections, each three inches in length. Secure them to the bottoms of the legs using two construction fasteners to keep them in place.
If you'd like, you can skip this step. I find, though, that adding cleats to the bottom of the legs is helpful for three reasons: (1) because it's easy to make sure every cleat is the same size, it makes leveling the stretchers easy; (2) they support the stretchers better than screws would by themselves, and (3) they add surface area to the feet of the legs, which makes the whole project sturdier.
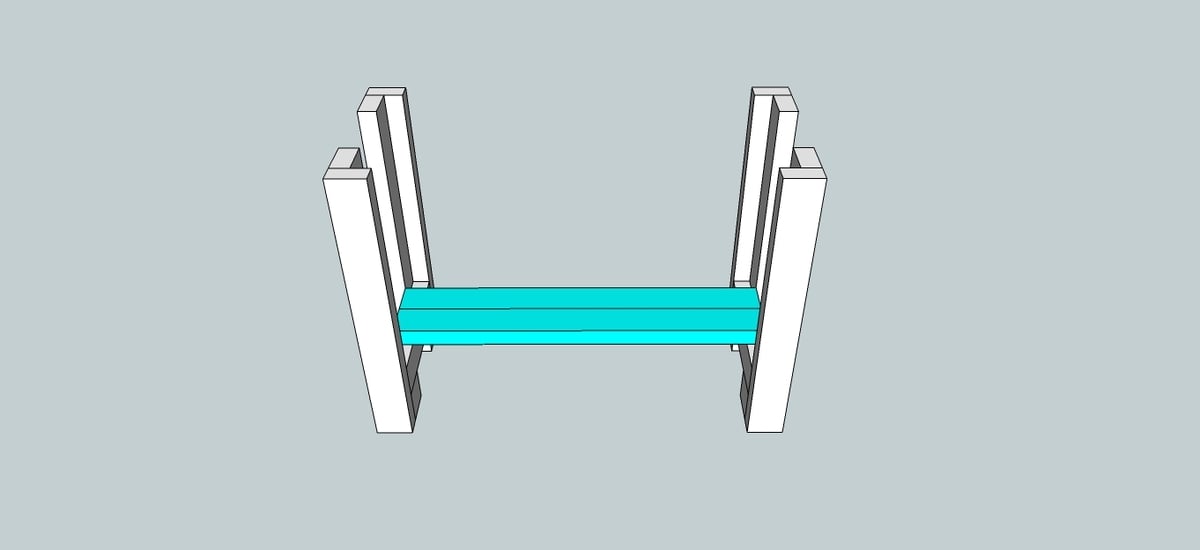
Step 4

Now it's time to add shelf supports. The length of your shelf supports will determine the width of your project, so consider how long you want them to be.
I knew that I would be using a 24"x48" top, and wanted a two-inch overhang on the front and back so, subtracting four inches for the legs, I cut my shelf supports to 16-inches each.
Step 5
Step 6
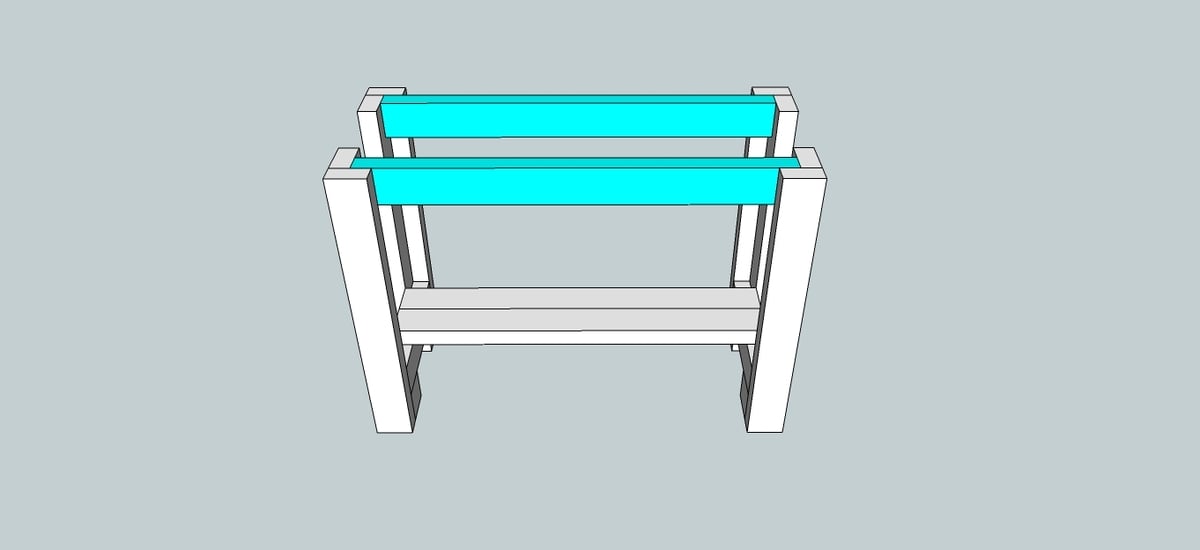
Next, cut stretchers to the same length as you chose for the shelves, and fasten them to the top of the legs.
Step 7
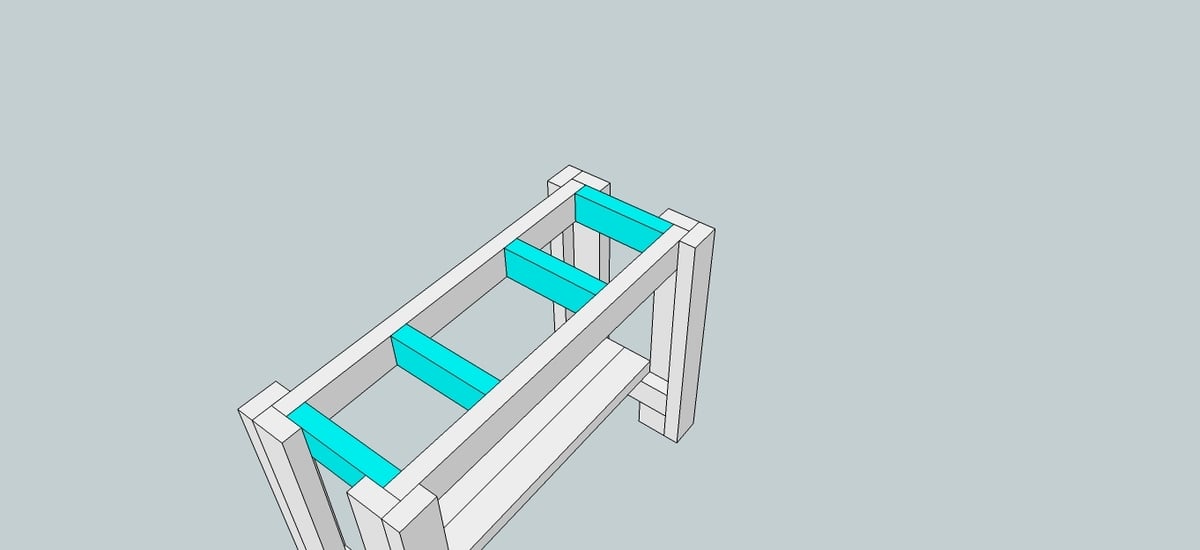
Now add supports for the top. These should be four inches shorter than the shelf supports you originally cut so, in my case, 12 inches each. I've found, thus far, that four were sufficient to keep my pretty flimsy top secure but, depending on the material you use, you might prefer more (or less).
Space them evenly, and secure with two screws..
Step 8
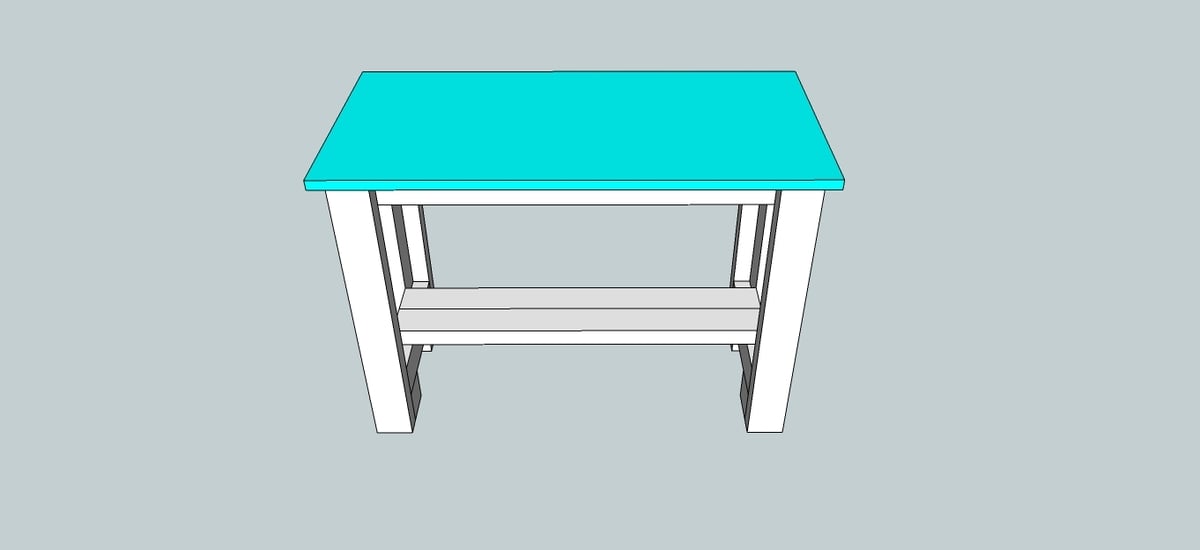
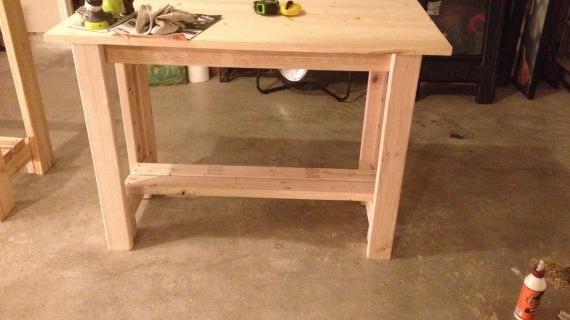
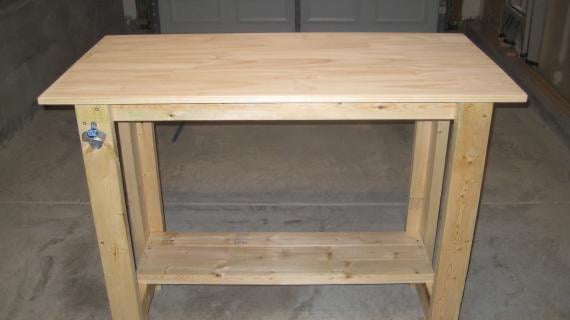
I added a 24"x48" top made out of laminated pine 1x2s from the Home Depot. They're cheap and, after I varnished it, reasonably hard. I was also in a bit of a hurry to get the project done, so speed and ease of construction were issues for me. I joined the top to the stretchers and supports with counter-sunk screws that I filled with wood-putty and sanded flush.
If you'd prefer, you can build a top yourself, in any of a number of ways. I considered using 2x4s joined to one another, but was concerned that the grooves would trap nails and saw-dust.
Another idea would be to stack three pieces of plywood on top of one another, cut to size. That would provide strength and durability that my flimsy one-inch top will ultimately lack.
The top, though, should be reasonably smooth and, if you used pine to top it, could stand some wood hardener. I filled the holes on the top with wood putty and then sanded them smooth. Once the top was wiped clean, I applied a coat of wood hardener, and then a single coat of water-based polyurethane.

Comments
Lori E. (not verified)
Wed, 03/30/2011 - 12:54
I love this workbench!! Nice
I love this workbench!! Nice job! Thanks for the plans. :)
claydowling
Wed, 03/30/2011 - 13:20
Workbench Plans
This plan is pretty nice, although you might find it small for some projects. If you reach that point, here are some other resources to consider:
There are quite a few good books on the subject, and your local library probably has one or two. There are also some pretty neat plans on the web for easy to make workbenches.
This one looks complicated, but it's actually made up of a bunch of really simple parts: http://americanwoodworker.com/blogs/projects/archive/2009/03/04/tom-s-t…
I love this one too, and it came very close to being my workbench: http://thewoodwhisperer.com/torsion-box-workbench/ The vises that are built into that bench can be skipped to make it very simple. No plan, but lots of photos that will show you how to build it.
claydowling
Wed, 03/30/2011 - 14:18
This bench is full of "gadgets"
http://www.finewoodworking.com/Workshop/WorkshopArticle.aspx?id=28530
No plans here either, but it takes an ingenious approach to clamping your work that's worth remembering. You could spend a lot of money on vises, or just do it the easy way like they did here.
amadorgirl
Thu, 03/31/2011 - 16:46
table top
Is there a reason you can't use particle board or just a cheaper than $20 table top?
claydowling
Thu, 03/31/2011 - 17:01
Particle board
Any kind of sheet goods tends to work pretty well. The thicker the better.
A really good choice is to take a 4x8 sheet of 3/4" MDF, cut it in half, screw them together, and then build the legs under it.
JoyofBaking
Fri, 04/01/2011 - 15:26
I was JUST searching for
I was JUST searching for plans on how to build my own workbench. I should've known to come here to find it! Thanks so much for this!
I just ordered my very first routher. I'm praying that someone will have mercy upon us and provide us with a router table plan, lol. All of the plans I've seen online so far are either too complex or not detailed enough. :o(
I'm adding this workbench to my to do list and can't wait to get started, thank you!
Semonurse
Mon, 04/11/2011 - 07:40
Workbench
For the last week I've been struggling just to build the $10 shelves. I decided to print out the workbench plans. I jokingly wrote a note on them telling my husband that I thought he needed to build me this. Well guess what? He built the workbench in less than an hour! While I am happy and excited about my new workbench, I still haven't even figured out how to hold my boards together so I can drill the holes in them or how to countersink or if I'm even using the right drill bit!! And here my husband goes and builds this workbench in no time!! It's very aggravating!! And yes, I have asked for his guidance, however, he wants to take over and build it himself. I'm so ready to just forget about this new hobby. It's a shame too because I do have this awesome new workbench!
claydowling
Mon, 04/11/2011 - 07:49
A good starting point
http://www.amazon.com/Hand-Tool-Essentials-Techniques-Woodworking/dp/15…
There's a lot of stuff in there that will help you. The tools, and therefor the techniques, are different than what Ana uses. But they work. I use them. Hand tools are cheaper, generally safer, and don't require a major investment. As somebody who didn't have power in his workshop for a very long time, hand tools where a major salvation.
The most important thing is to get out there and build something. Build something simple. You'll learn from the process, and your next project will be easier. A box is a good start, because you can always find a use for a box, and they're pretty easy.
And tell your husband to keep his hands off your tools unless he wants to draw back a stub.
Guest (not verified)
Thu, 04/14/2011 - 11:27
Thank you so much
I finally had enough of my husband leaving tools and renovation supplies in every room of the house. I found this plan and set to work. This was so simple, even for a novice like me. I used mostly what we already had on hand so I only spent around $10 for a few extra 2 x4's.
Thank you so much for the clear instructions and diagrams. It's a very simple design, but very efficient. It's also an extremely quick build.
mama2twins
Mon, 09/19/2011 - 07:19
This saved me a lot of money!
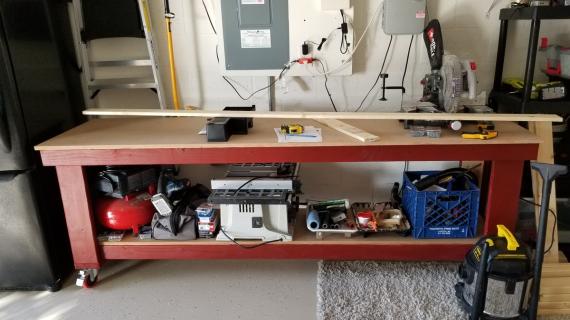
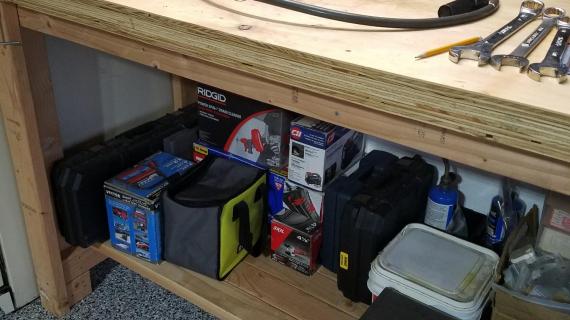
I store my miter saw on the top, my jigsaw, toolbox, Dremel box and other things on the bottom shelf. I attached a few hooks for quick "go to" tools such as a pencil & sharpener, measuring tape, running square, etc.
A few weeks ago we had some minor flooding after a hurricane. Then we thought we were in the clear and went about our business and put things back....then out of the blue that we had another flood which was deep. This workbench saved all of my tools! Normally they would have been in the basement stored on the floor...thanks to these plans, my tools were safe and dry!!! Thank you so much for the best site ever!!!
Larissa (not verified)
Wed, 10/12/2011 - 09:13
Great Bench!
I built/finished this bench in about 4 work hours about 4 months ago. Thank you so much I LOVE IT! Mounted my Kreg on one end, very handy. Finished the top with Johnsons Paste which is holding up great. This bench has proved to be VERY useful and was SO simple to build using your plans. Thank you so much for taking the time to post them!
Jodieth
Fri, 02/10/2012 - 12:21
Cutting table
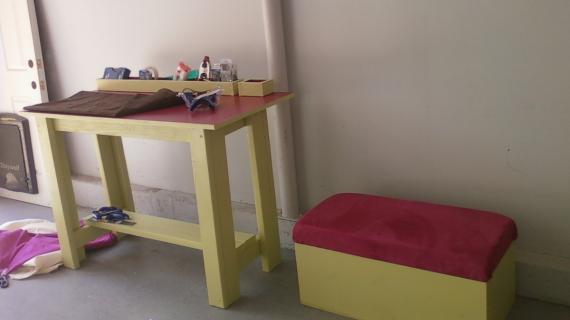
I love this easy idea for making a cutting table in my sewing room. It would work well for storage underneath. I have this on my to do list and am going to skirt it in fabric. My dimensions will have to be a little different to match my cutting mat size.
I would love to know if anyone has built anything for a sewing room. Thank you for the plans and comments above.
RandyE (not verified)
Wed, 03/28/2012 - 10:24
Here goes nothing
I am going to take this on as my first project this weekend. Will report back with my success (or failure).
Thanks Anna for the inspiration.
Kerry (not verified)
Wed, 03/28/2012 - 16:36
My husband wants to make this
My husband wants to make this work bench, but since he's over 6' tall he wants to add about 3-4" in height. Does he need to modify anything else other than the height of the legs?
Guest (not verified)
Tue, 04/03/2012 - 22:55
I just wanted to add that I
I just wanted to add that I just completed this project and only used 6 2x4x8 boards, no need for 9 of them. Depending upon where you purchase your 2x4's the price for them can vary greatly. I paid almost $4 a board and bought 3 more than needed, while the $12 dollar up cost doesn't bother me because I will use the 2x4's for another project at some point, some who don't build frequently and may have to save up for supplies could be upset by spending the addition cash when it isn't needed, just a suggestion is all. And also it is suggested to cut the top supports 4 inches shorter than the side supports and that is too short. I cut mine exactly four inches shorter and really only needed them to be 2 inches shorter. My table was built following these very instructions but I added a half an inch to the sides because I am using something different for my topper. My sides measure exactly 16 1/2" and the top supports need to be 14 inches so only 2 1/2" smaller than the side supports.
jwbrett
Sun, 05/20/2012 - 05:58
Measure Twice, Cut Once
As the above comment mentioned, the TOP SUPPORTS may not be 12" as in STEP 7. Depending on the true size of your 2X4 this can vary greatly, so please do yourself a favor and measure the area before you cut! :) For me, the perfect top support came in at an even 13".
Also, as also mentioned above, this project only needs 6 2X4's to complete...with scrap left over. Oh...and you need 95 screws!
Very pleased with the sturdiness and raw design of this plan! I thank you, my garage floor thanks you, my back thanks you.
Steve069 (not verified)
Sat, 01/19/2013 - 19:43
Shopping list
I just built this work bench today. The plans are easy to follow but the shopping list should be 6 2x4s instead of 9. Also there are some cuts missing from the cut list (step 7 cust are not on the list). Otherwise the plans are awesome and easy to follow.
dewdrop
Mon, 08/18/2014 - 16:04
Great build!
i made this work bench this past weekend. I modified it to make it taller, wider, and shorter in length to be able to use it for my cut table in my quilting studio. I haven't finished it yet (plan to paint the bottom and stain the top) but it is wonderful. Chunky and sturdy and my back loves, loves, loves the height! Oh, I also lowered the bottom shelf a tad and added another shelf. Once it's finished, maybe I'll add a picture. Thank you Ana for your wonderful plans!
Raki1974
Mon, 01/12/2015 - 10:49
Beware of the misleading shopping list
The author should change the shopping list ASAP. I really appreciate his time and for Sharing his plans, in my case I did not double check and when ahead and bought the items on the shopping list. After I got home and started making all the cuts I had FOUR untouched 2x4's which was a little disappointing, but I'm sure I'll use it in some other future project.
Raki1974
Mon, 01/12/2015 - 10:52
Beware of the shopping list (mistakes)
The author should change the shopping list ASAP. I really appreciate his time and for Sharing his plans, in my case I did not double check and went ahead and bought the items on the shopping list. After I got home and started making all the cuts I had FOUR untouched 2x4's which was a little disappointing, but I'm sure I'll use it in some future project
DavidTR
Wed, 01/14/2015 - 02:05
Bench is solid!
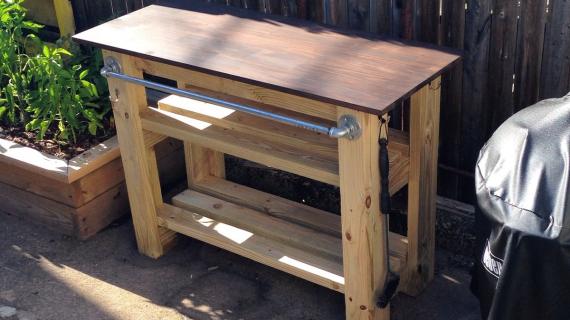
I built the bench and it is very solid. I even added a bench vise made from pipe clamps.
cheezheadsrule
Thu, 01/21/2016 - 06:48
Workbench with Vise
Could I mount a Vise to this table or is it not stable enough?
Bradley712
Mon, 01/04/2021 - 15:01
Thank you for this workbench…
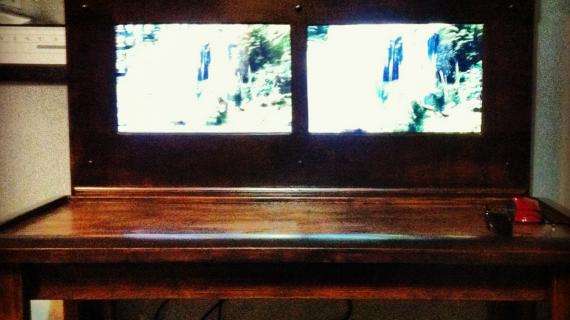
Thank you for this workbench plan. Just finished it this afternoon and it's very sturdy! I used some scrap pine for the lower shelf and 3/4" plywood for the top. I want to add a back to it and maybe a built in light. Thanks again!
https://i.imgur.com/u9d1Vsq.jpg
debby1s
Sun, 11/21/2021 - 13:09
Awesome sturdy workbench.
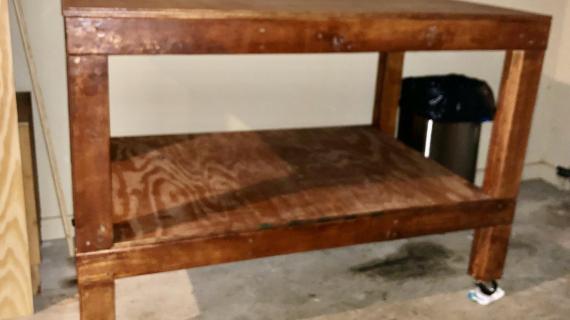
I created the first of many woodworking projects using Ana White's plans. I followed the Sturdy workbench plans with a few exceptions. I added an extra board for my shelf and added casters to make this mobile. I also finished it with Watco Danish oil in dark walnut. I was doing this myself so I used clamps at almost every step. So excited for my next project.
Devorlast
Fri, 12/17/2021 - 18:25
This was my first project, I…
This was my first project, I just finished it a few days ago. I got interested in woodworking a little while ago and after doing some internet "research" I came to the conclusion that a table saw is a must have first serious woodworking tool and that I should get the best one available, $600 later I got a table saw and no money for other tools. long story short, I have been using my table saw for this entire project (plus a battery powered drill). Making the workbench helped me learn a lot, mostly the hard way although I can gladly report that no permanent injuries were sustained.
My only issue with the design is when it calls for 12' table top supports. The bottom support spaces the legs at 16' apart and then you add the length supports whos with is 1.5' ( due to dimensional wood not being an actual 2x4) so the space between the supports is actually 13''. I cut a second set of 13' supports and it all worked out in the end.
Also, I got 2 spare 2x4x96 left after I finished. The table isn't missing anything so I' m not sure if they were for the possible 2x4 table top?