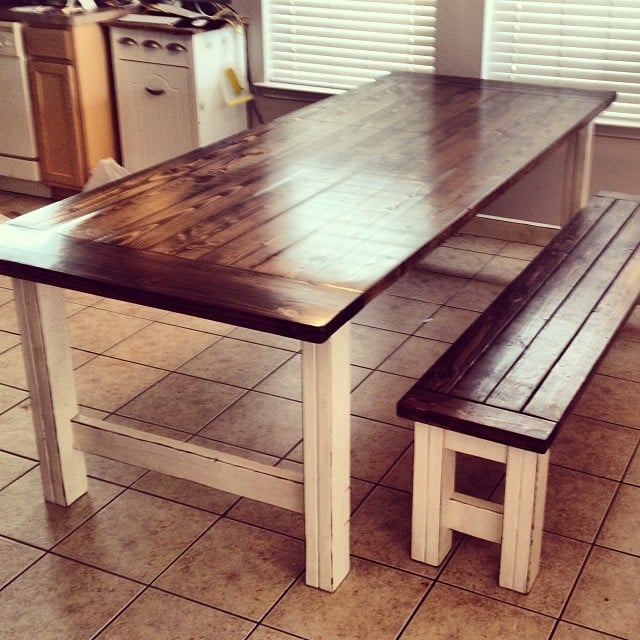
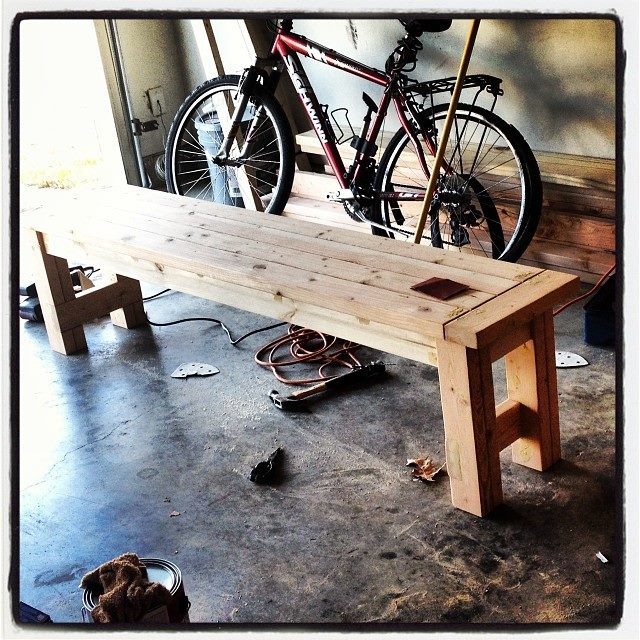
We followed Ana's plans almost exactly. We decided to do without the slower board that ran the length of the table and it is still super sturdy and we love it. When we were finished building, we filled all the cracks in the table top {between boards} with wood filler and then stained the top. I wish I would have filled the cracks on the bench too because there is a LOT of food that gets stuck in the cracks with little ones. I also wish I had done a self-leveling resin on the top right away too because when we moved the table, it did crack some of the wood filler that was in-between boards. It is still much better than having cracks that food can get stuck in, but I will for sure be doing the resin in the near future to make it more of a solid surface and make it so the soft wood can't have writing marks in it from my kindergartener.
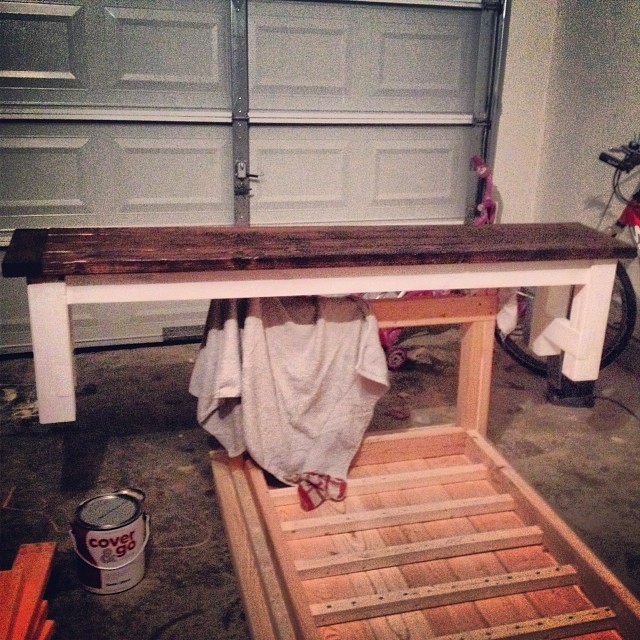
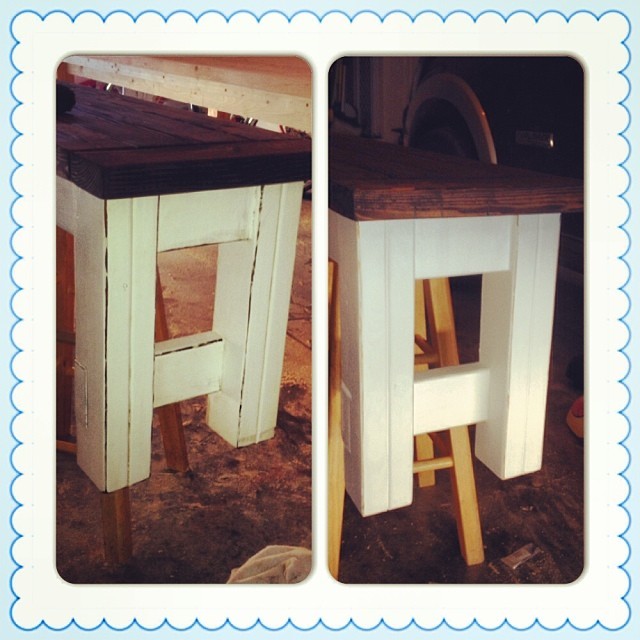
We painted the legs to make it two toned. Once I had 3 coats of white paint on it, I sanded the edges and then rubbed the whole surface down with the same stain that we used on the top. This made the edges that we sanded stand out but also made the white paint not so white. It is exactly how I wanted it to look. It came together so perfect
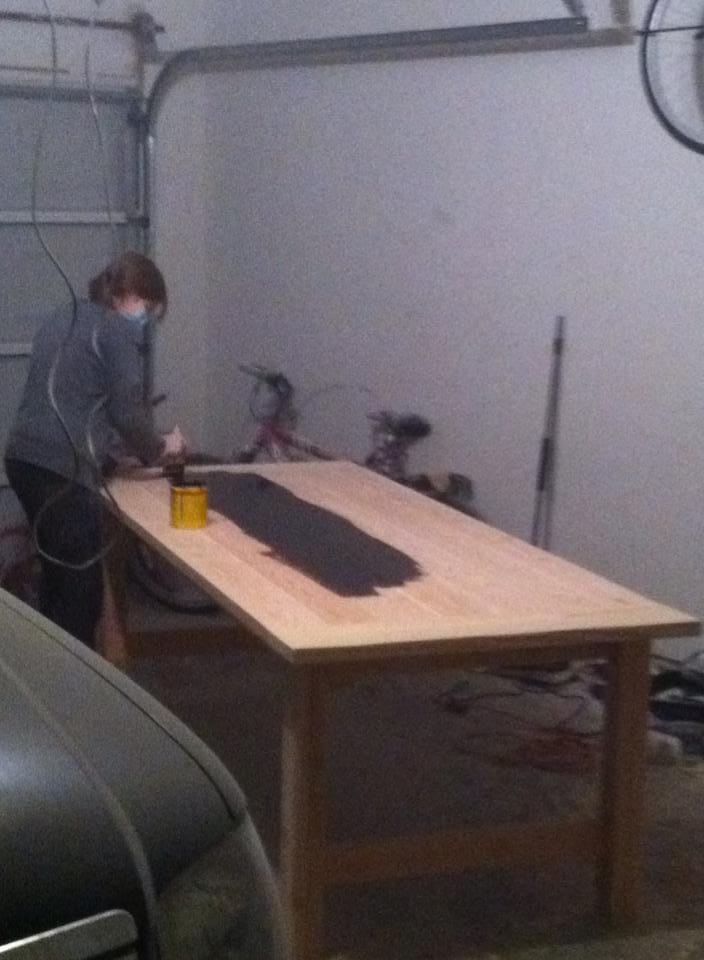
We put 4 coats of clear coat on it too and its shiny and beautiful. This was the first big project that my hubby and I built and I am quite impressed with how well it turned out. The finishing is what took the longest. We had the table built in a day or two but it took me all week to get it painted and clear coated.
With all the wood, paint, stain and clear coat this cost us about $225 for both the table and bench.
Comments
dkbutler
Sun, 10/30/2016 - 18:43
Plans
Do you have a set of plans that you would be willing to share for this table?
Thank you