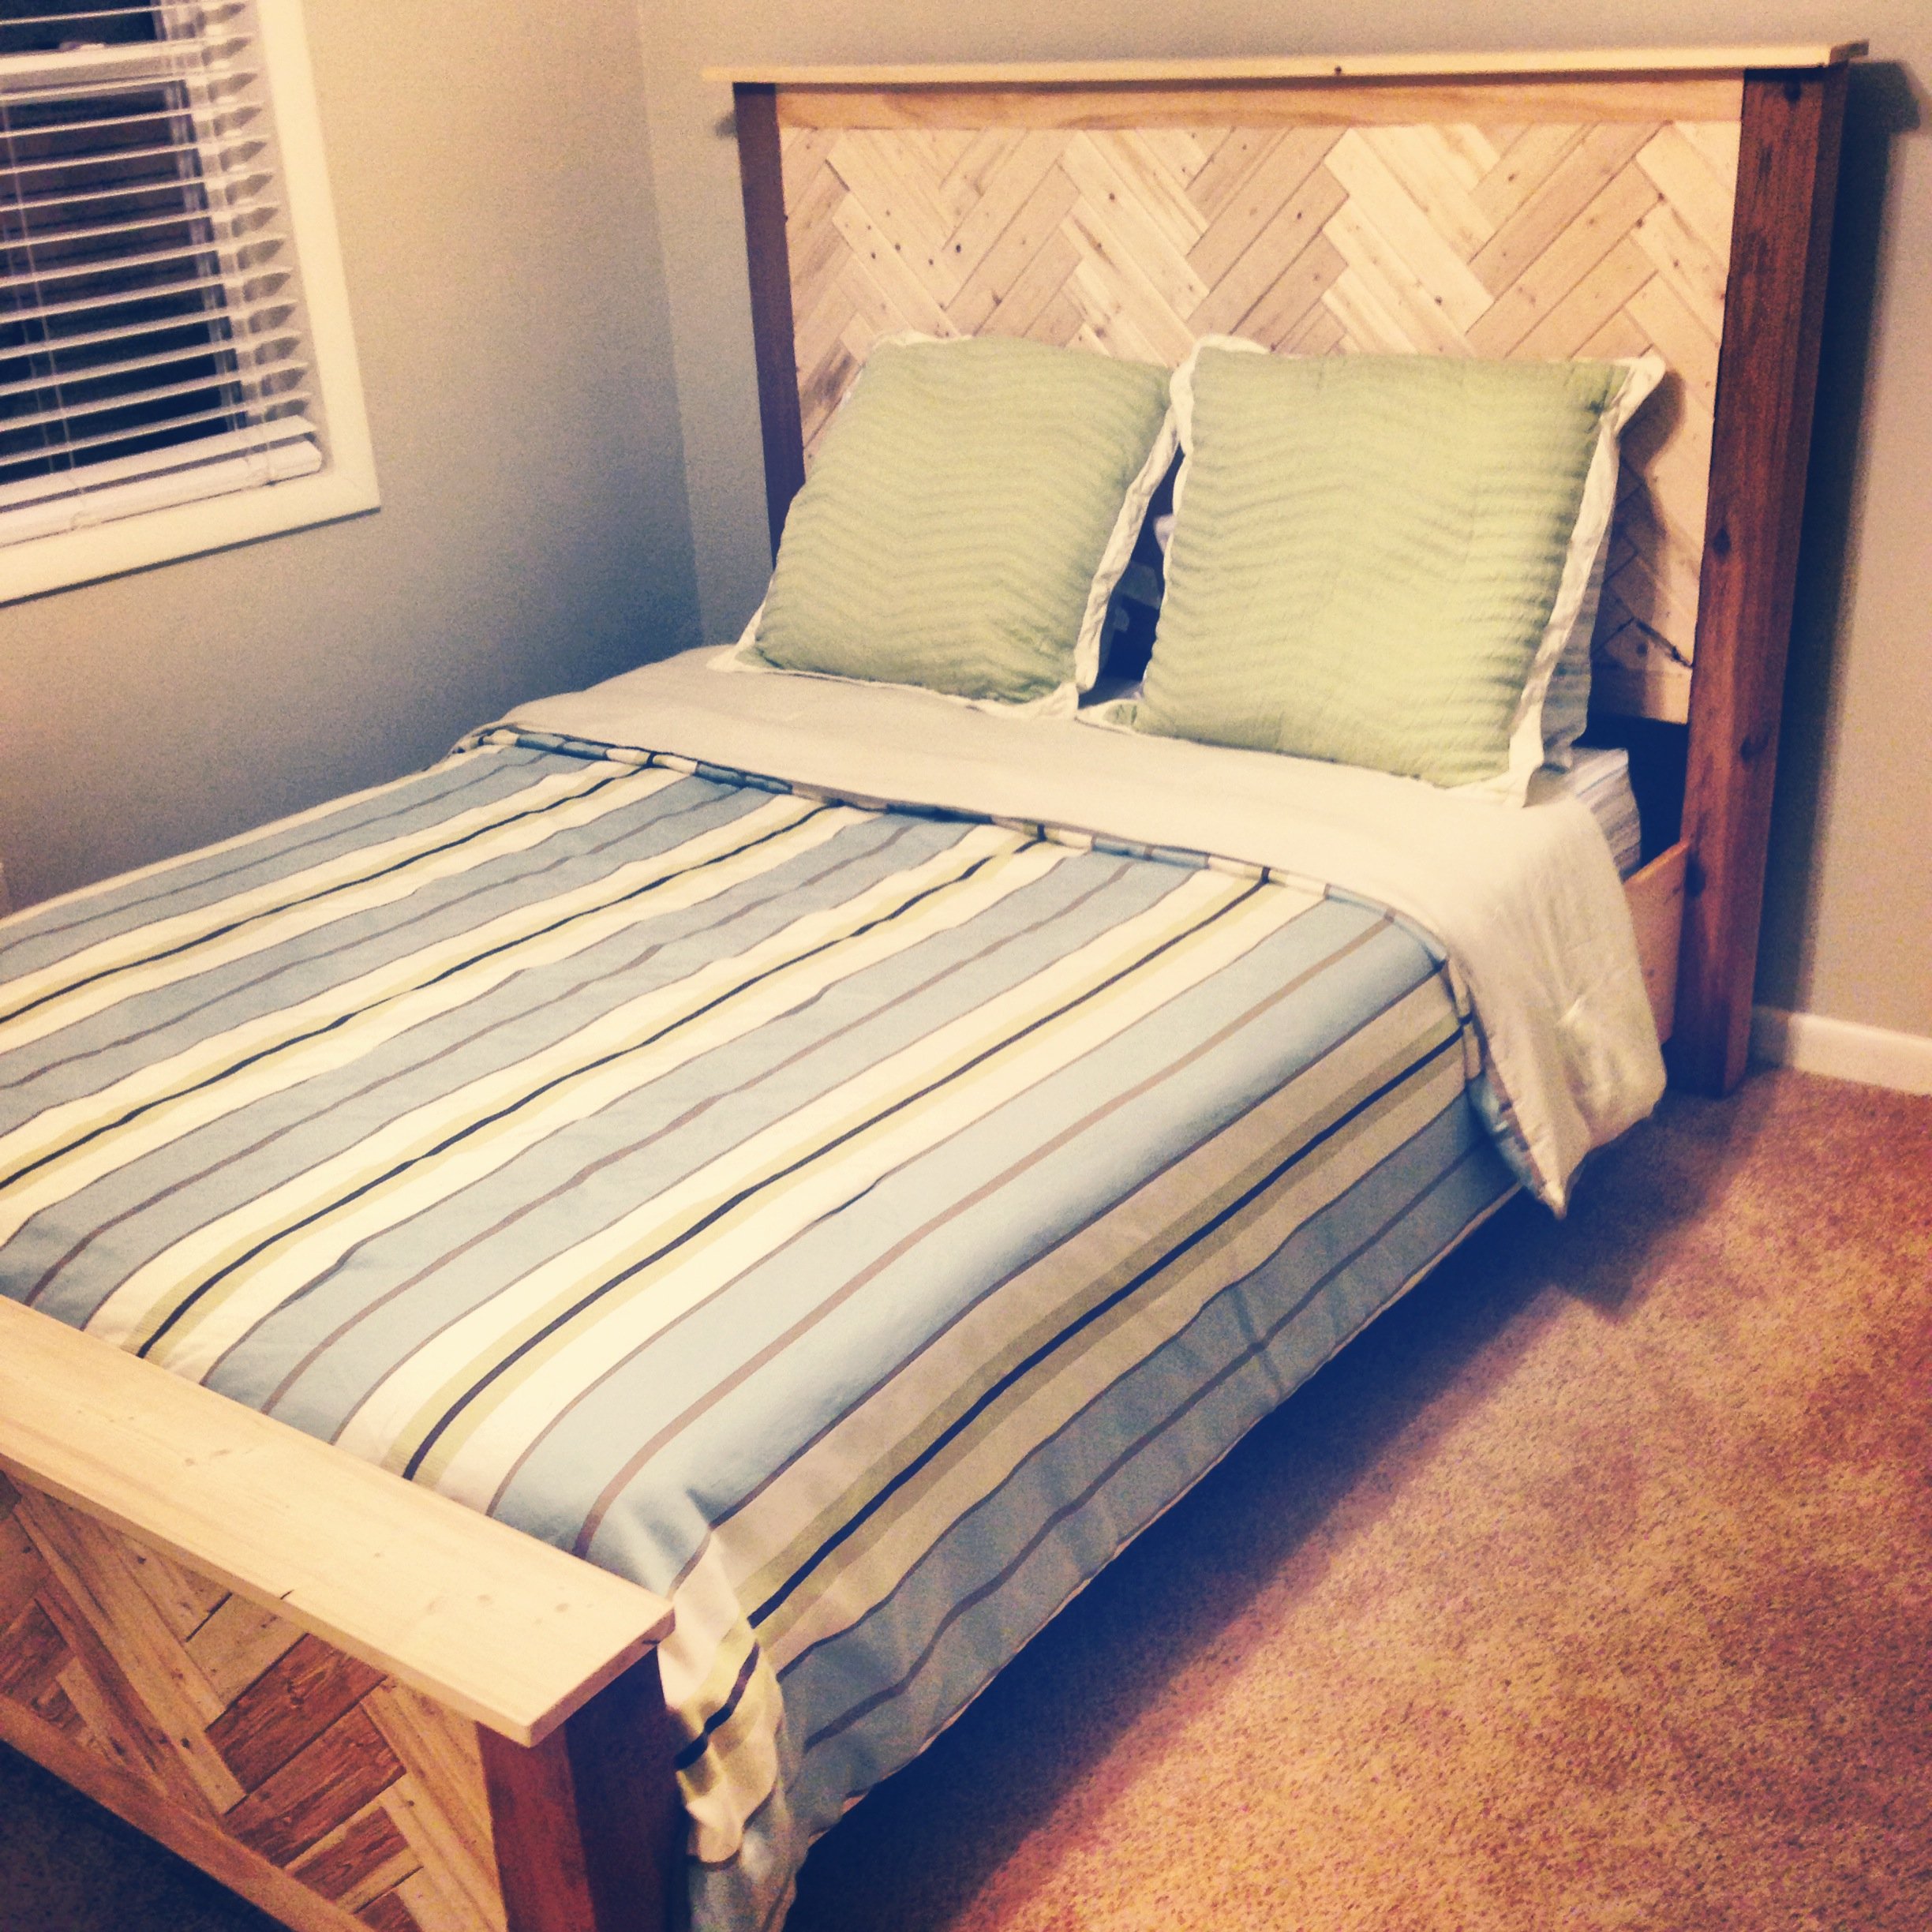
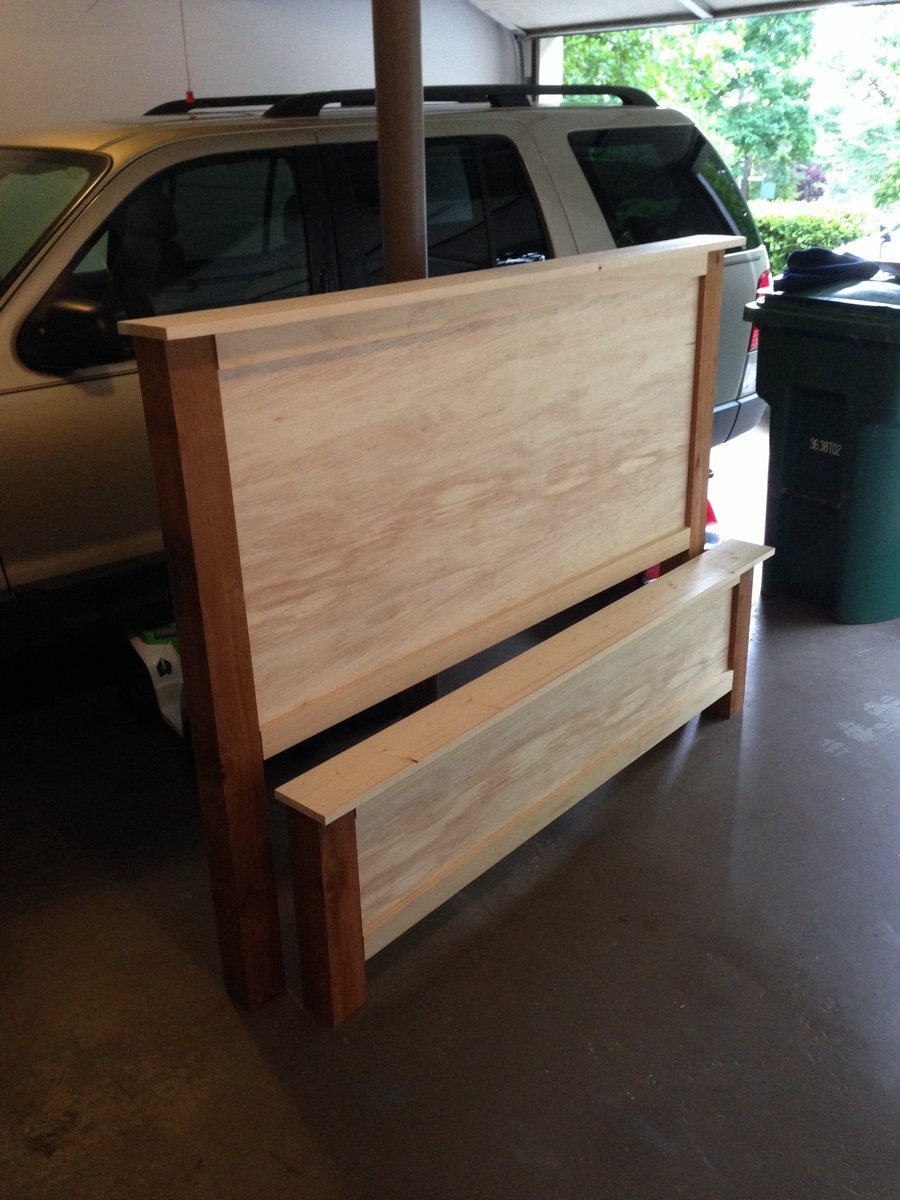
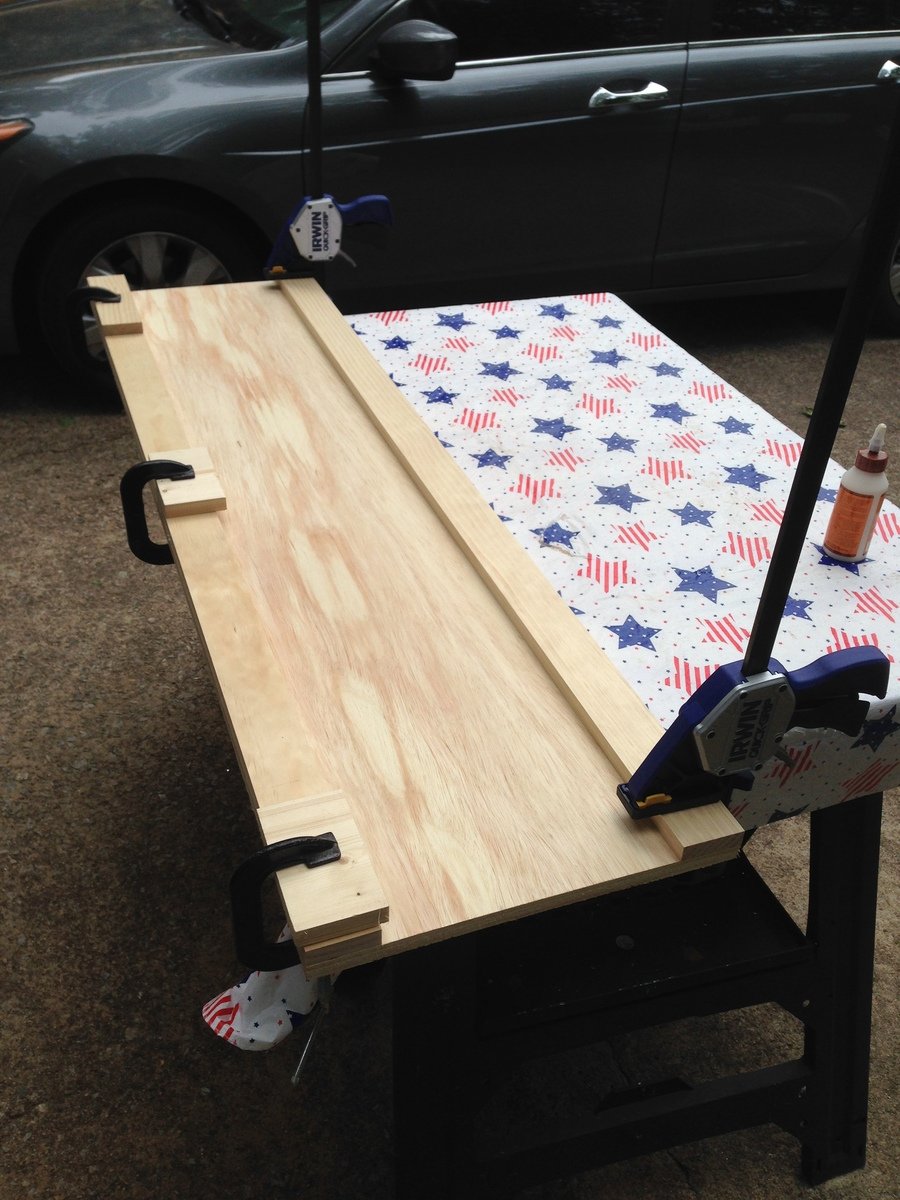
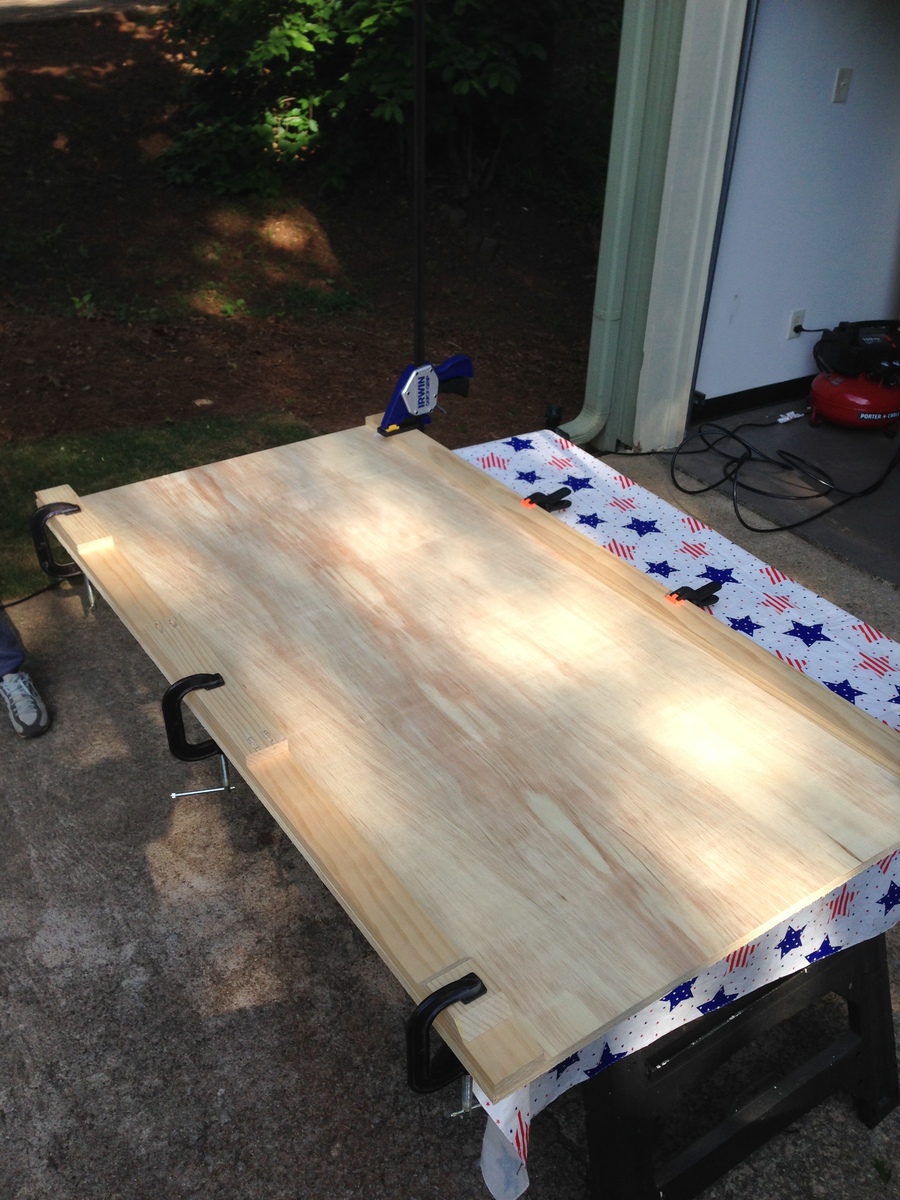
I cannot be happier with the final look of my new bed. I decided to take on this task with intentions to make small changes in the plans based on my needs and preferences. The process was easy and original plans were definitely easy to follow. I had the head or foot boards completed in about 3 hours (without the herringbone pattern). I saw where someone else decided to add a herringbone design and I liked it so I did the same. It was a little tedious but overall not hard at all. Building the frame was easy as well and didn't take long at all. I started running into problems when transporting the footboard. I dropped it from about 2 ft and the leg post snapped off. I thought the pocket holes were not that strong from the beginning. This was not a problem though because I just followed the special note in the instructions and added a 2x2 to the back of each side and attached them with 3 inch wood screws. I did this for the head and foot board and it made me feel more comfortable with the stability overall. I was going for longevity for the bed so I wanted to make it easier to disassemble and move around (screwing the frame in would wear out with a few moves). I went to a woodworking shop and picked up some 5/8 inch insert nuts and bolts to match. I added one to each corner and tightened accordingly. This was by far the biggest headache for me. If I could do it over again there are a few things I would change.
1. I would have sanded my cedar post before attaching them
2. I would have attached my cedar post with the 2x2 and not used pocket holes (I l like pocket holes but not for such a heavy load)
3. I would have drilled and placed my insert nuts on the post before attaching anything to them (this would have helped to ensure a level hole).
My wife and I love the natural look of the wood but it doesn't really go well with the modern contemporary look in our home so we are having a hard time deciding on paint or stain. We are leaning toward stain because we love the grains throughout the bed.


Comments
spiceylg
Mon, 05/19/2014 - 08:15
Fabulous
I absolutely love how this came out. What did you use for the herringbone part, are those 1x3s?
mrcleland
Mon, 05/19/2014 - 11:08
1x3's
I used the pine 1x3's from my local home improvement store. They were $1.39 each for a 1x3x8. I used about 15 total. I decide not to go with the select wood for the herringbone and glad I didn't. I feel the less perfect, rounded edges add character.
jeannajustfine
Wed, 05/21/2014 - 10:30
You made one too!!
omg, I love that you made one cause you liked mine! I feel so.... special..lol
Yours looks awesome!! Great job:)
mrcleland
Thu, 05/22/2014 - 10:35
We love your bed
I like it so much, I am planning to add a box spring to mine. I really like how high yours sits. I also like the color of yours. We are experimenting with stains now and I will post new pics once it has been done. Don't be surprised if it looks very close to yours :). I used cedar for my post so I think it will be hard to match the colors.
jeannajustfine
Thu, 05/22/2014 - 19:00
wicked!
I love that you like it so much. Between this and getting picked for Anas brag post of the day on Facebook yesterday, I was walking in the clouds...lol
I used Minwax 1 coat of espresso and 1 coat of jacobean for all the larger pieces. I used Cedar as well for the posts. And it does come out a little redder. Just mess with it till u get something you like. It may not match the rest of your pieces exact, but it will look great once its all together.
I also messed around with the herringbone pieces. I used the same colors of stain but did some with one coat some with 2, some for 30 secs some for as long as 15. It kept the colors along the same line, but gave some variation.
I finished with paste was
As for the mattress. I love how mine sits. Feels very regal being up so high..lol. Its such an awesome bed plan. I cant wait to see yours finished.
Thanks for making my day. That was my very first project. So very cool!