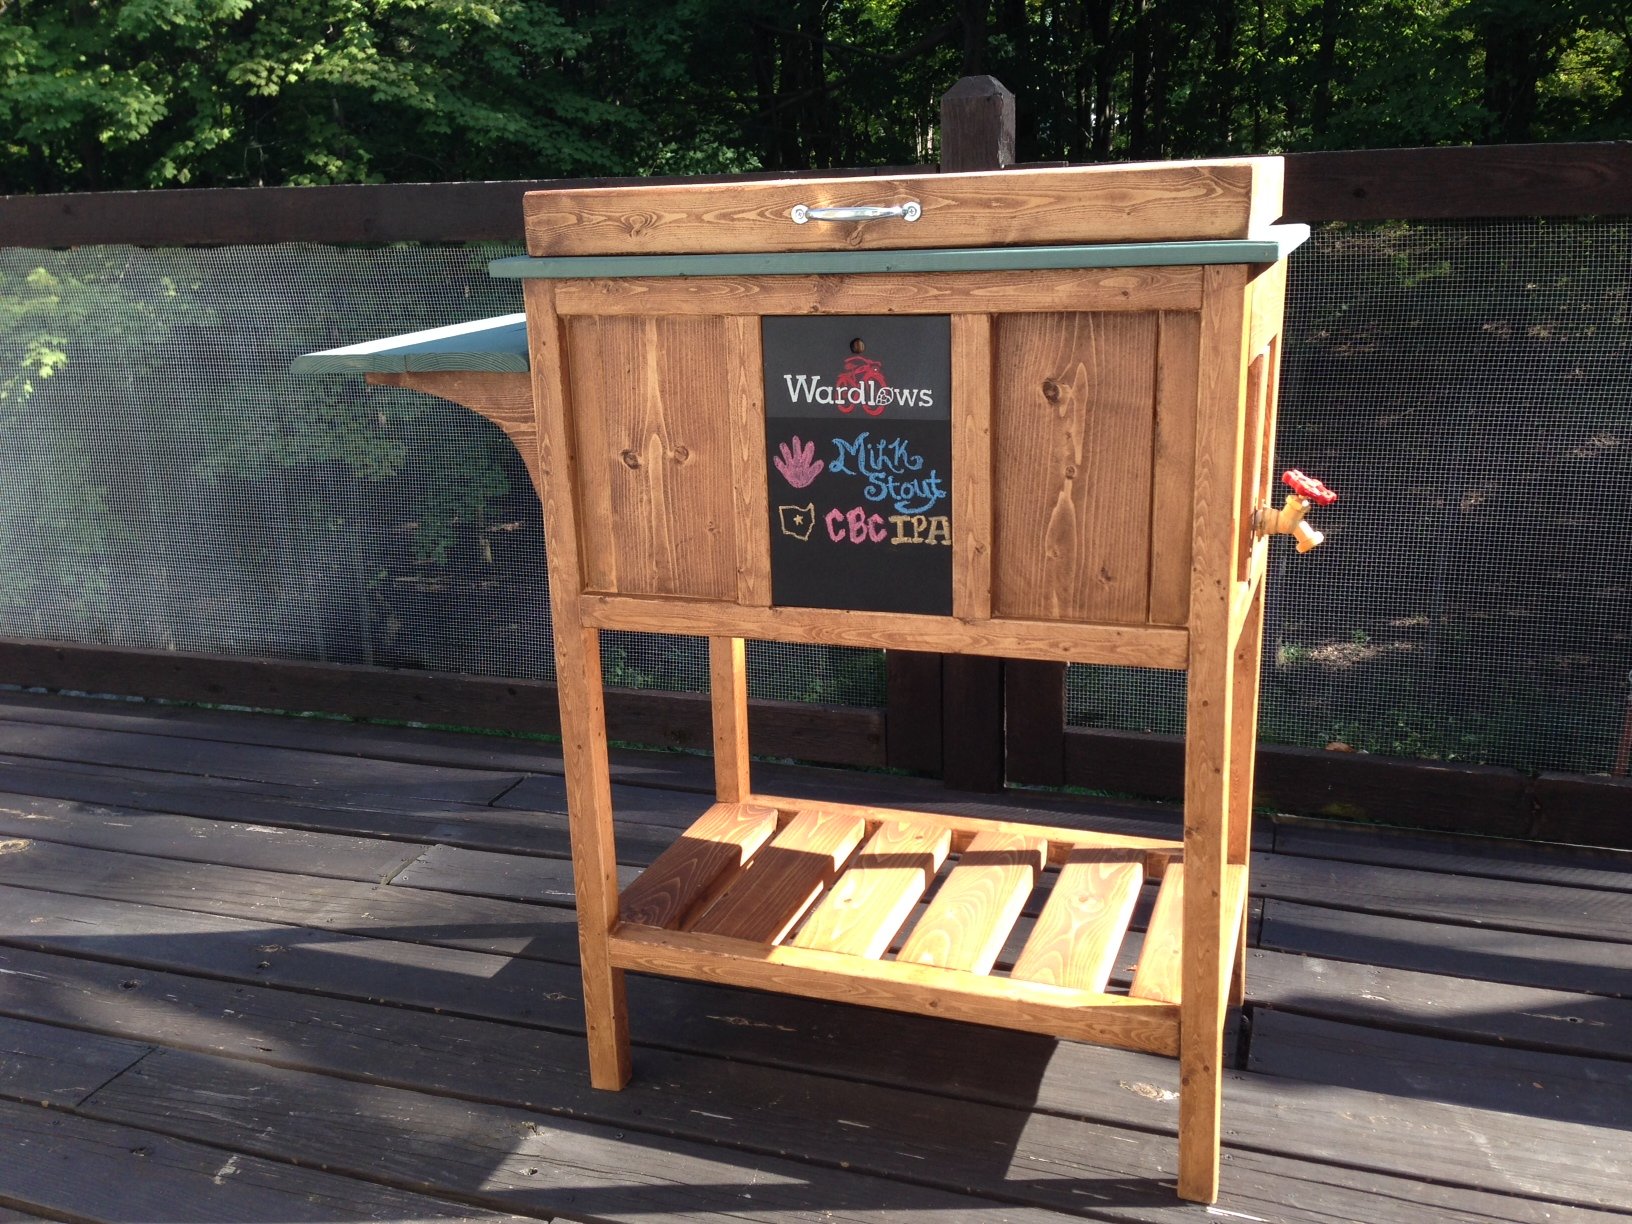
We built this as a birthday gift for family members and boy were they excited. We, though, were not excited to let it go. So happy with how it turned out. The plans are good for reference but make sure to make your own measurements when using milled lumber from a big box store. Some of the the changes we had to make on the fly were to the back and front panels having to use a different combination of board sizes to fill it in without massive gaps. Its recommended that you lay them out first before attaching them to the frames. Also the measurements on the cooler lid were smaller by 1/4" to 1/2" of what's listed in order to get a snug fit. The shelf on ours is two 1x6's cut to the width of the whole project (around 16.5") and then the shelf brackets were also 1x6's cut to a length of 10". Brackets are mounted inside the legs using wood glue and three 2.5" screws through the backside/inside of the cooler box to hide (obviously done before the cooler was inserted). For drainage we attached a 2" piece of 1/2" inside diameter clear tubing that was fed/jammed through the cooler drain and pulled through the other side and then a 1/2" push on adapter, threaded on the other end screwed unto a 1/2" faucet head. Drilled a 3/4" hole about 2.5" (center mass) from the 2x4 cooler base through the middle piece on the side. We placed the cooler in first and used a pair of pliers to grab the clear tube and line it up with the hole and then pushed a long screw driver through the tube from inside the cooler in order to guide the faucet head/adapter combo into the tube and stiffening the tube so it didn't collapse when pushing it on. We couldn't decide what do to with the center display piece and then remembered we had a can of chalkboard spray paint left over from another project. We spray painted the whole menu board and then painted the "logo" at the top before clear-coating it with a protective enamel. Its a snug fit so the pressure holds it in place but you could also use velcro strips on the back if that tickles your fancy. We took the snug fit route that way if they didn't want the menu board in. A 1/2' hole was drilled towards the top so they can use a finger to pull the board out.