
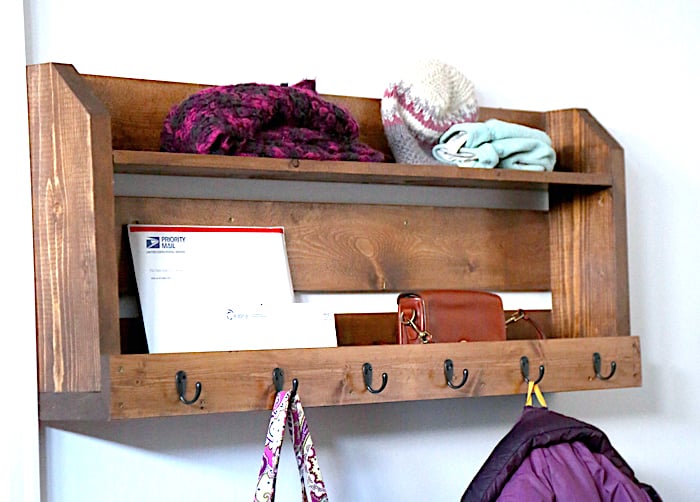

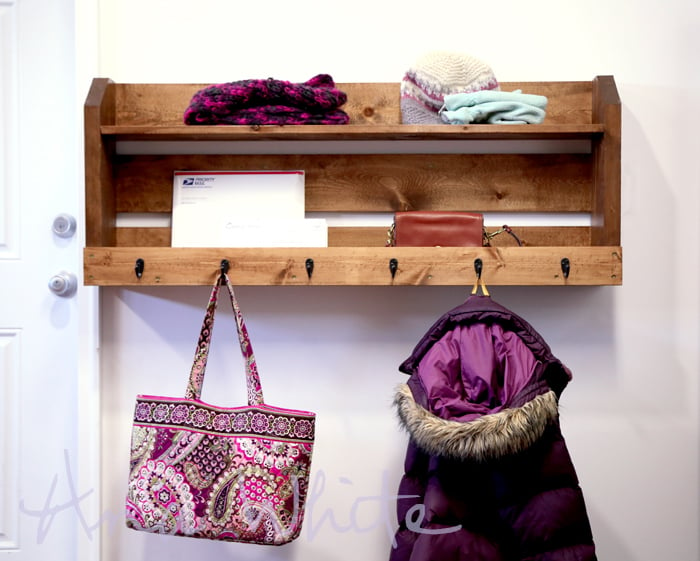
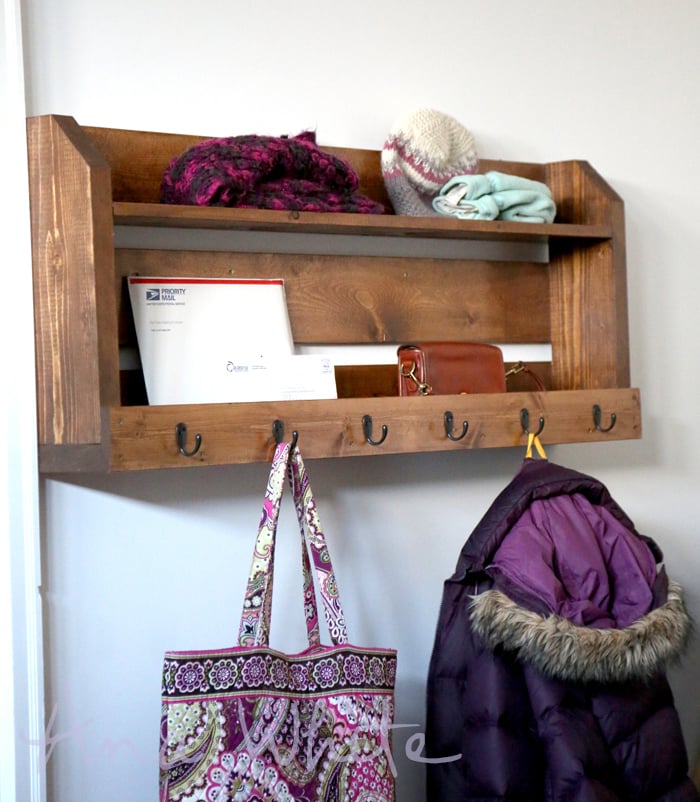
Simple to build wall organizer shelf with hooks - it's the perfect piece for hanging coats and dropping mail and accessories. Free step by step plans from Ana-White.com


Hi everyone! Thanks for all the lovely feedback on the coat rack plans I did a little while back for Ryobi -

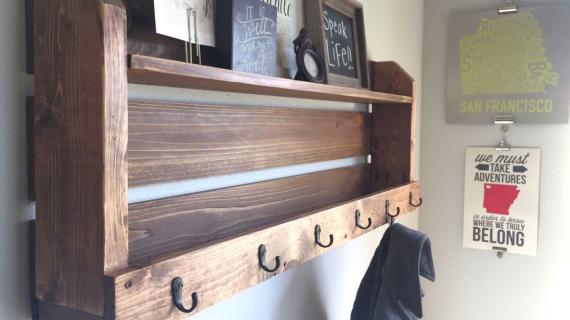
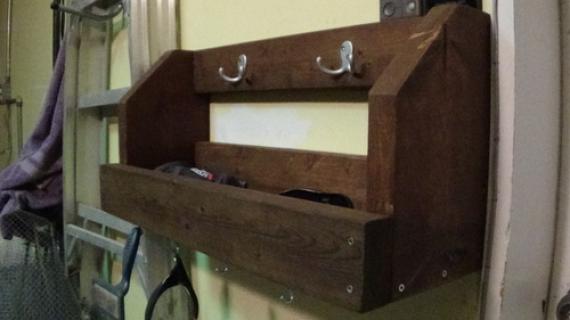
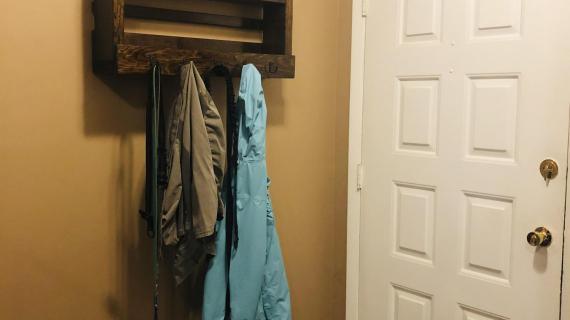
It was so exciting to see this brag post by webjr already!

I love how they modified the size to fit their space!
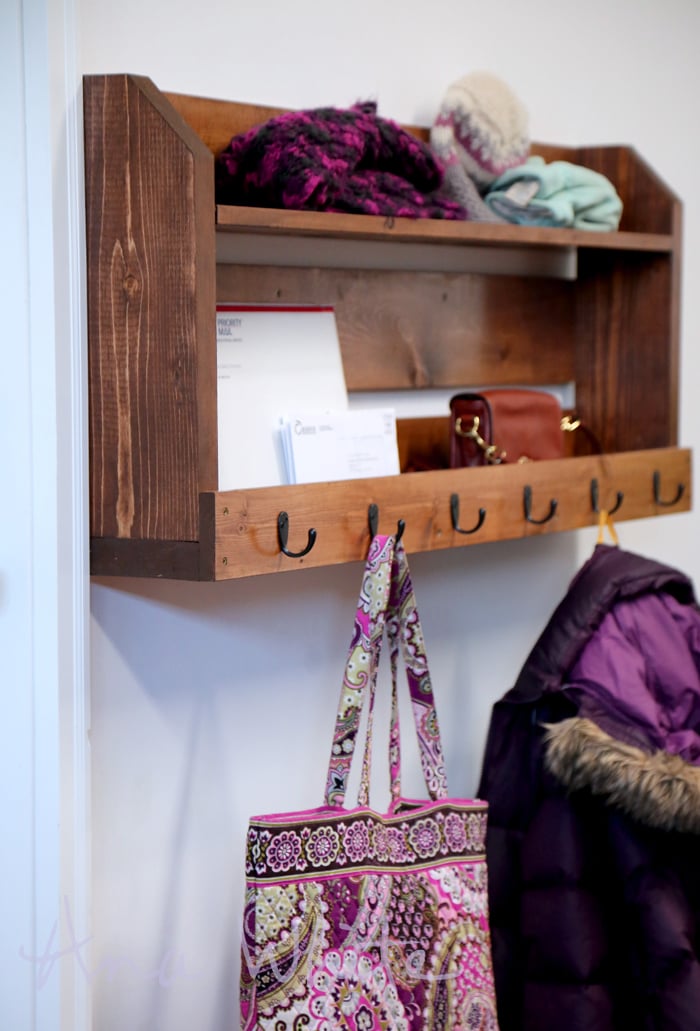
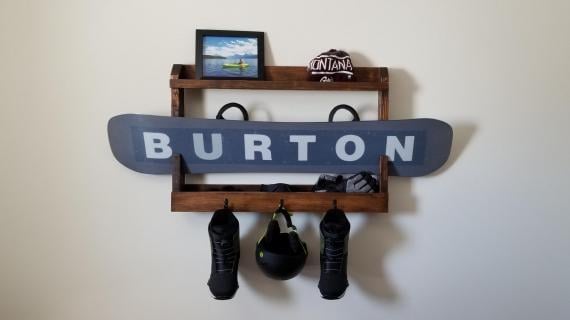
We also loved out coat rack sooooo much, we had to make another, and modify the size to fit the space too!

I really love how this smaller size turned out!
We left the vertical partition out to simplify, and it works perfect!
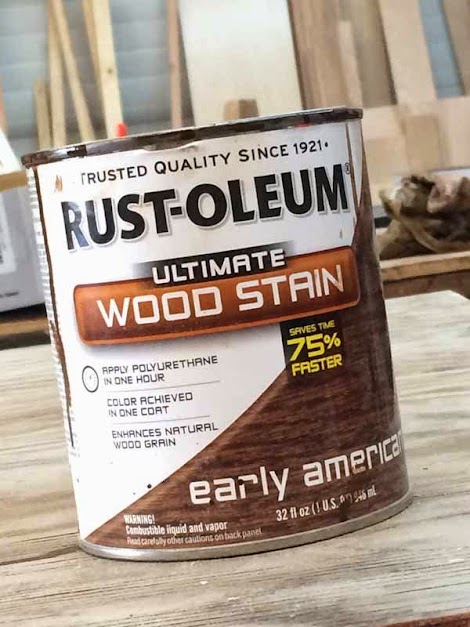
For the stain, we used Rustoleum Early American, my go-to stain color. It's simple to use - just one coat wiped on with a paper towel and you are done. No pre-stain required, even on pine!
You can make this coat rack too - the super easy plans follow below.
Check them out!
Have an awesome day!
Ana
Preparation
2 - 1x6 @ 8 feet long
1 - 1x4 @ 4 feet long
1 - 2x6 @ 8 feet or stud length
2-1/2" and 1-1/4" pocket hole screws OR 2-1/2" self tapping wood screws
2" self tapping wood screws
6 hooks
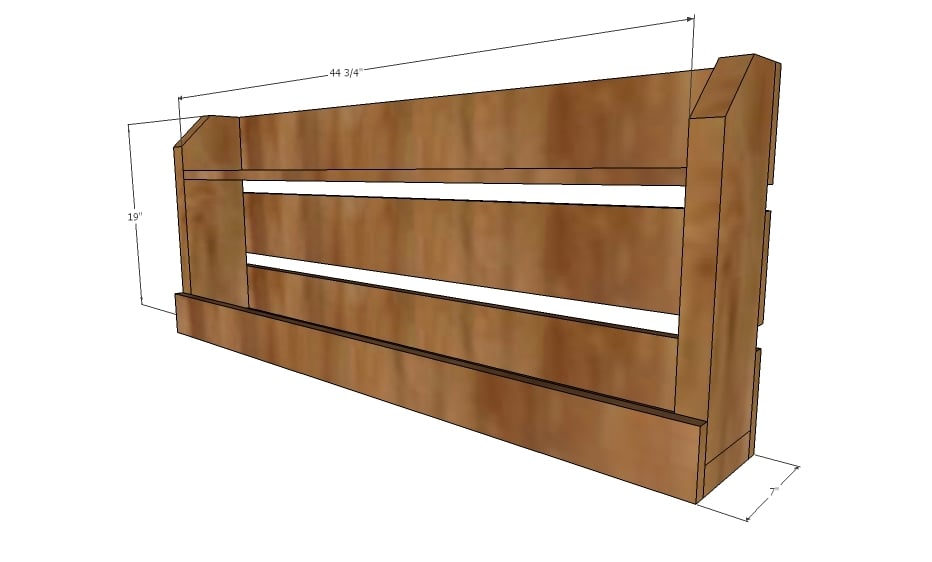
2 - 2x6 @ 17-1/2" - top corner cut off at 45 degrees (sides)
1 - 2x6 @ 47-3/4" (bottom)
1 - 1x6 @ 44-3/4" (shelf)
3 - 1x6 @ 47-3/4" (back)
1 - 1x4 @ 47-3/4" (front shelf/hook area)


Please read through the entire plan and all comments before beginning this project. It is also advisable to review the Getting Started Section. Take all necessary precautions to build safely and smartly. Work on a clean level surface, free of imperfections or debris. Always use straight boards. Check for square after each step. Always predrill holes before attaching with screws. Use glue with finish nails for a stronger hold. Wipe excess glue off bare wood for stained projects, as dried glue will not take stain. Be safe, have fun, and ask for help if you need it. Good luck!
Instructions
Step 1

Attach bottom to sides with either pocket holes (1-1/2" setting/2-1/2" pocket hole screws) or 2-1/2" wood screws countersunk. Then attach the shelf to the sides, (3/4" pocket holes - 1-1/2" pocket hole screws or 2-1/2" wood screws countersunk).
Step 2
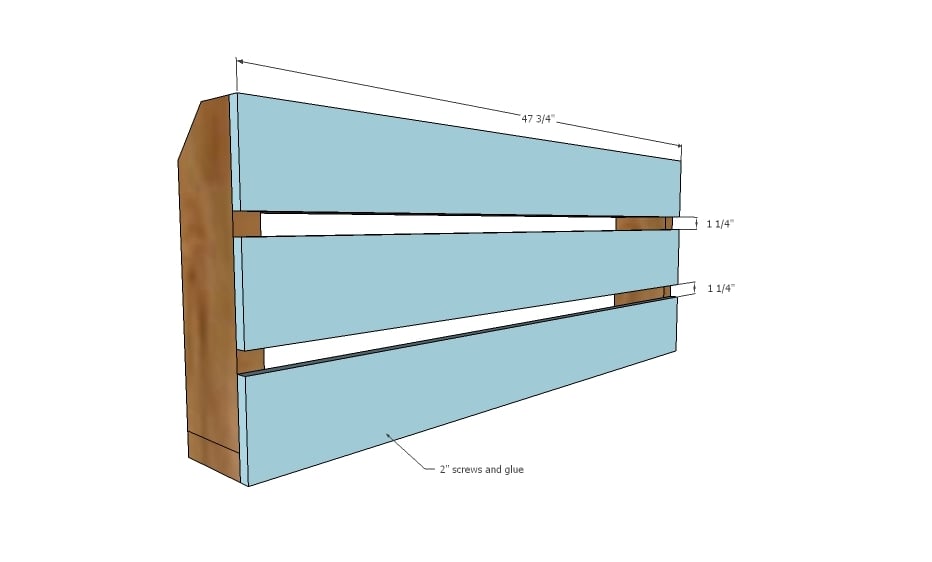
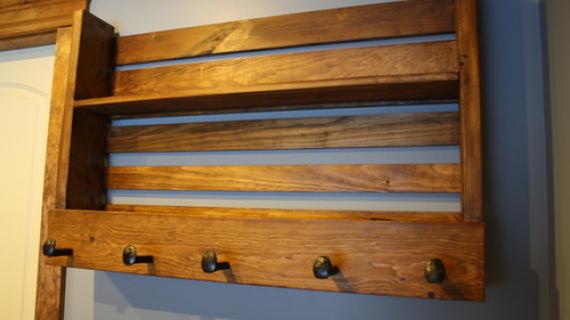
Attach back boards to sides and shelves with 2" screws and glue. Use screws because you will hang the shelf from these back boards and nails may give over time.
Step 3

Attach front 1x4 board with 2" screws and glue. Attach hooks to front of board.
Hang to at least two studs in the wall with wood screws through the back of the shelf.
It is always recommended to apply a test coat on a hidden area or scrap piece to ensure color evenness and adhesion. Use primer or wood conditioner as needed.

Comments
frederikolafsen
Sat, 01/04/2020 - 12:17
Mounting Hardware?
Does anyone have any recommendations for hardware to mount this rack to a wall?