
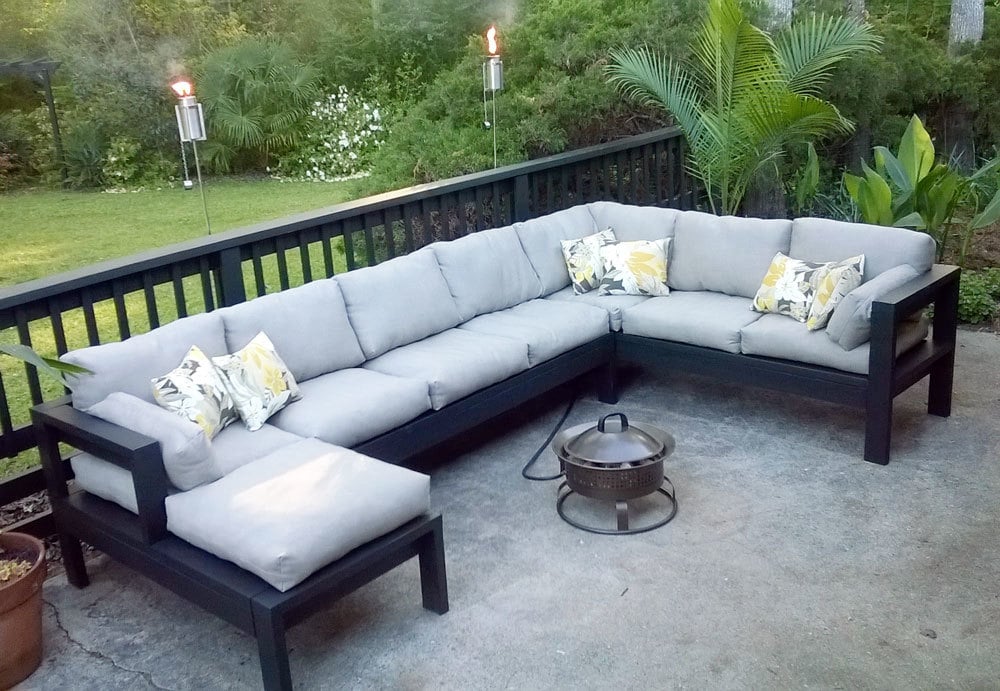

2x4 Armless Outdoor Sofa Plans - Build your own outdoor sectional super easy plans from ANA-WHITE.com
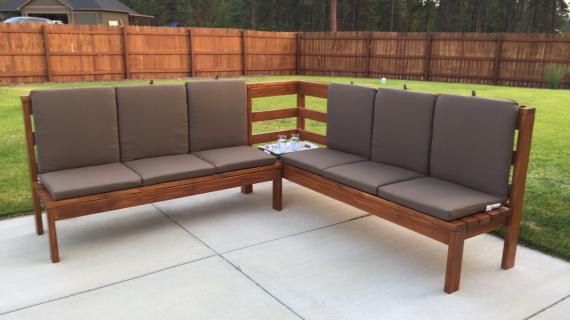
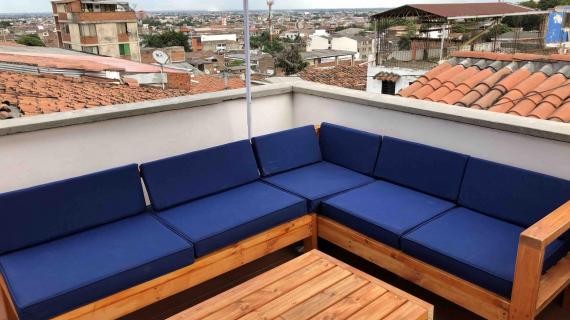
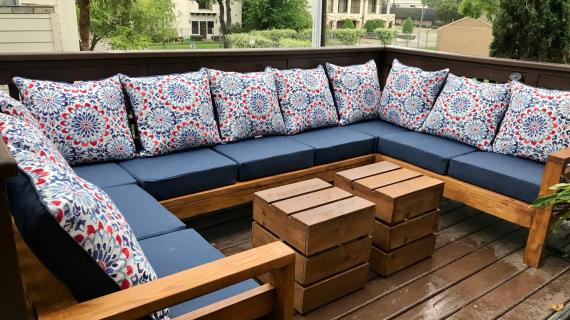
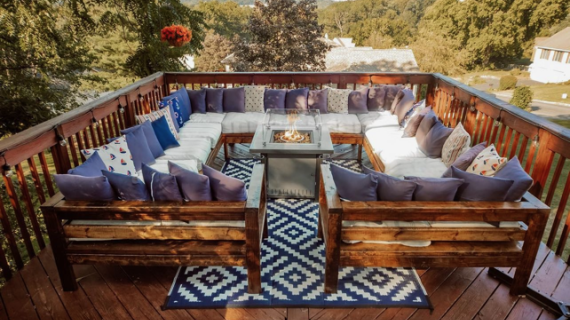
You can build your own outdoor furntiture and save a ton off retail! I've created a collection of well tested plans that have been built thousands of times so you can create the outdoor space of your dreams!
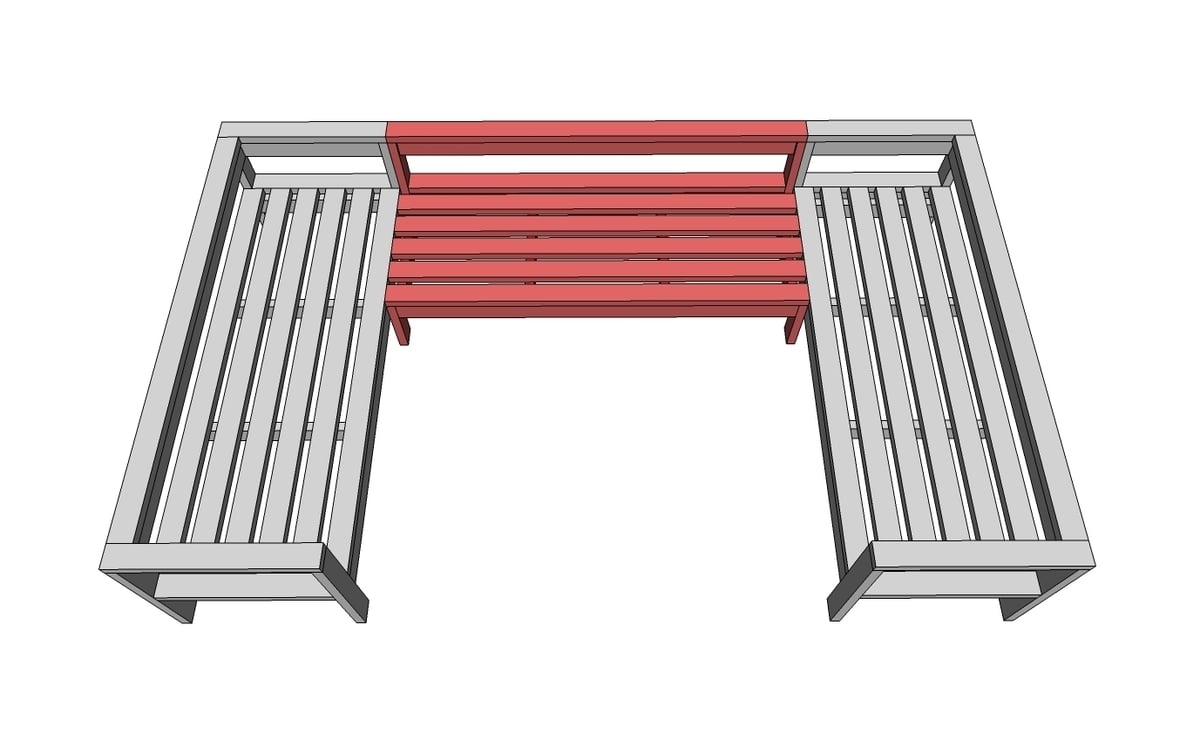
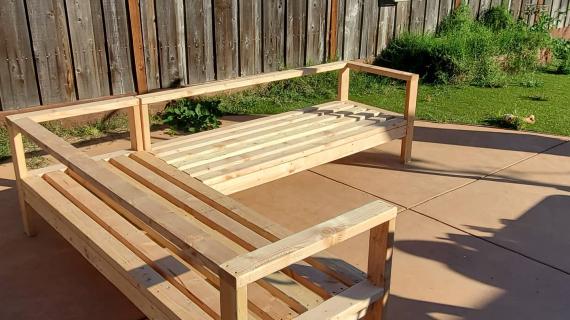
This plan is for the armless sectional piece (see diagram below).
Here are the links for the other pieces -
- 2x4 Outdoor Sofa (arms on both sides)
- 2x4 One Arm Outdoor Sofa (arm can be on either side)
- 2x4 Coffee Table
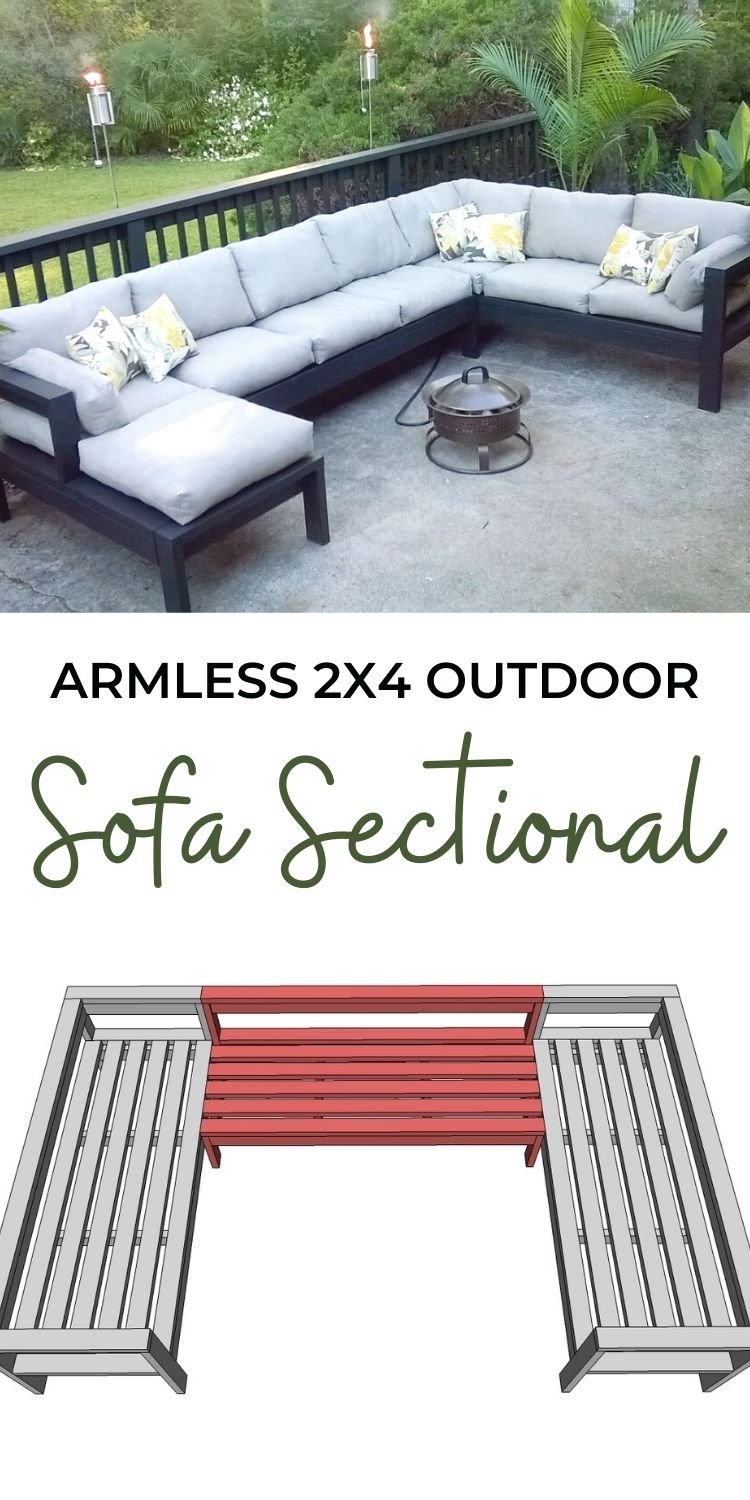
Pin for Later!
Preparation
5 - 2x4s @ 12 feet long (cut the 72" and 69" pieces from these boards)
2 - 2x4 @ 8 feet long 2-1/2" to 3" long exterior self tapping wood screws (about 100 screws)
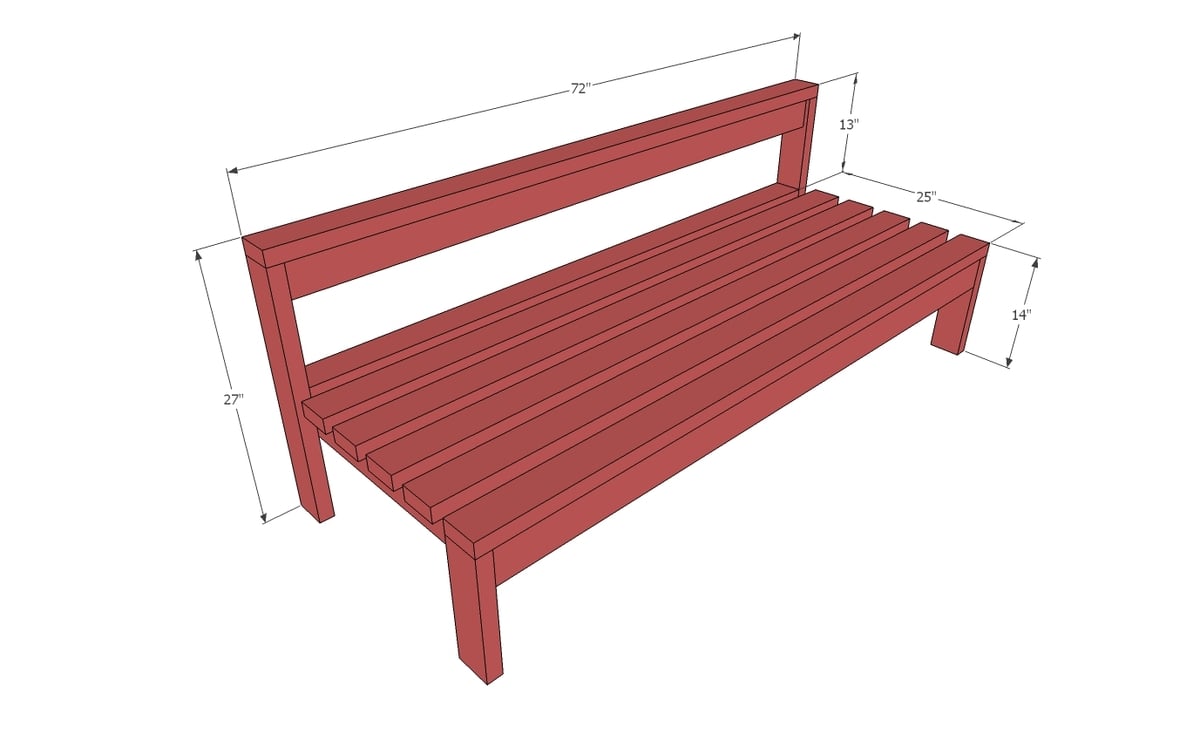
Designed for three cushions each 24" x 24" - alter cut list to fit your cushions
2 - 2x4 @ 69"
6 - 2x4 @ 25-1/2"
2 - 2x4 @ 12-1/2"
6 - 2x4 @ 72"
2 - 2x4 @ 69"


Please read through the entire plan and all comments before beginning this project. It is also advisable to review the Getting Started Section. Take all necessary precautions to build safely and smartly. Work on a clean level surface, free of imperfections or debris. Always use straight boards. Check for square after each step. Always predrill holes before attaching with screws. Use glue with finish nails for a stronger hold. Wipe excess glue off bare wood for stained projects, as dried glue will not take stain. Be safe, have fun, and ask for help if you need it. Good luck!
Instructions
Step 1

Build the basic seat frame by attaching with the exterior wood screws or pocket holes. Use glue at joints (exterior rated). Check for square by measuring from opposite corners and adjusting so the two diagonals are exactly the same.
Step 2

Add legs, ensuring that the bottom of the legs are 28-1/2" apart.
Step 3

Screw back to tops of back legs with exterior wood screws.
Step 4

Add optional back support with screws from top and sides. Inset 1/4".
Step 5

Step 6
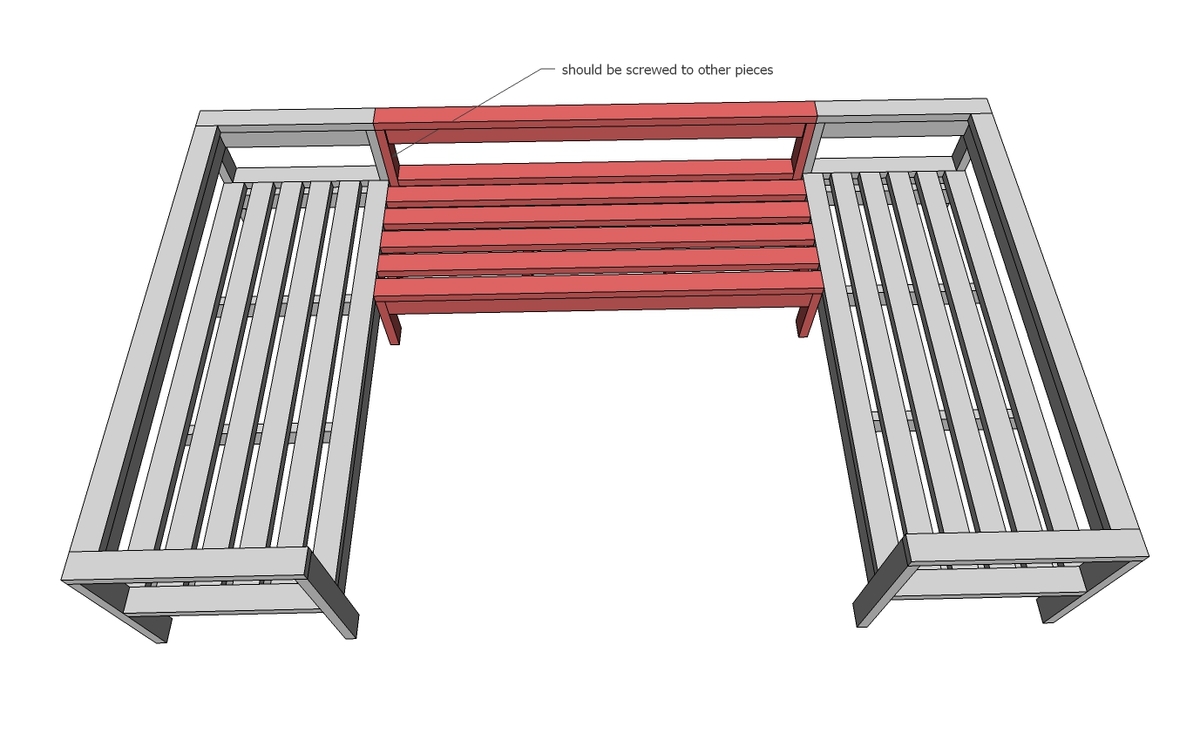
Attach the armless piece to the full sofas for optimal support.
It is always recommended to apply a test coat on a hidden area or scrap piece to ensure color evenness and adhesion. Use primer or wood conditioner as needed.


Comments
kimg924
Sun, 06/16/2019 - 14:50
adaptation for small chaise
Would love to see how to adapt the plans for the small chaise!
abelonline
Tue, 08/20/2019 - 11:05
cushions sourcing for this sectional
whats the best place to source cushions for this piece?
pmpaulone
Tue, 04/07/2020 - 08:56
Hi- we're getting ready to…
Hi- we're getting ready to build this- and I have the same two questions the above people did: 1) are there any existing plans for the modified chaise? I can probably figure it out, but would love it if plans exist. and 2) any recommendations for cushion sourcing?
jboliver09
Sat, 04/18/2020 - 15:46
Chaise On Outdoor Sectional
Hello! Im trying to figure out how to build the chaise. Is there a cut list and instruction for this? Thank you in advance.
ddecastro3
Thu, 06/25/2020 - 12:56
chaise Instructions
Also am interested in instructions on adding the chaise lounge chair
james1987
Sun, 06/28/2020 - 02:03
Chaise
Has anyone found the chaise instructions?
DanMals33
Sat, 12/26/2020 - 13:54
Chaise Instructions?
I'm looking for the chaise instructions too. Has anyone found them or come up with them?
rachelks
Wed, 04/21/2021 - 09:04
Cushions?
Did anyone find out where the cushions are from for this sofa?