

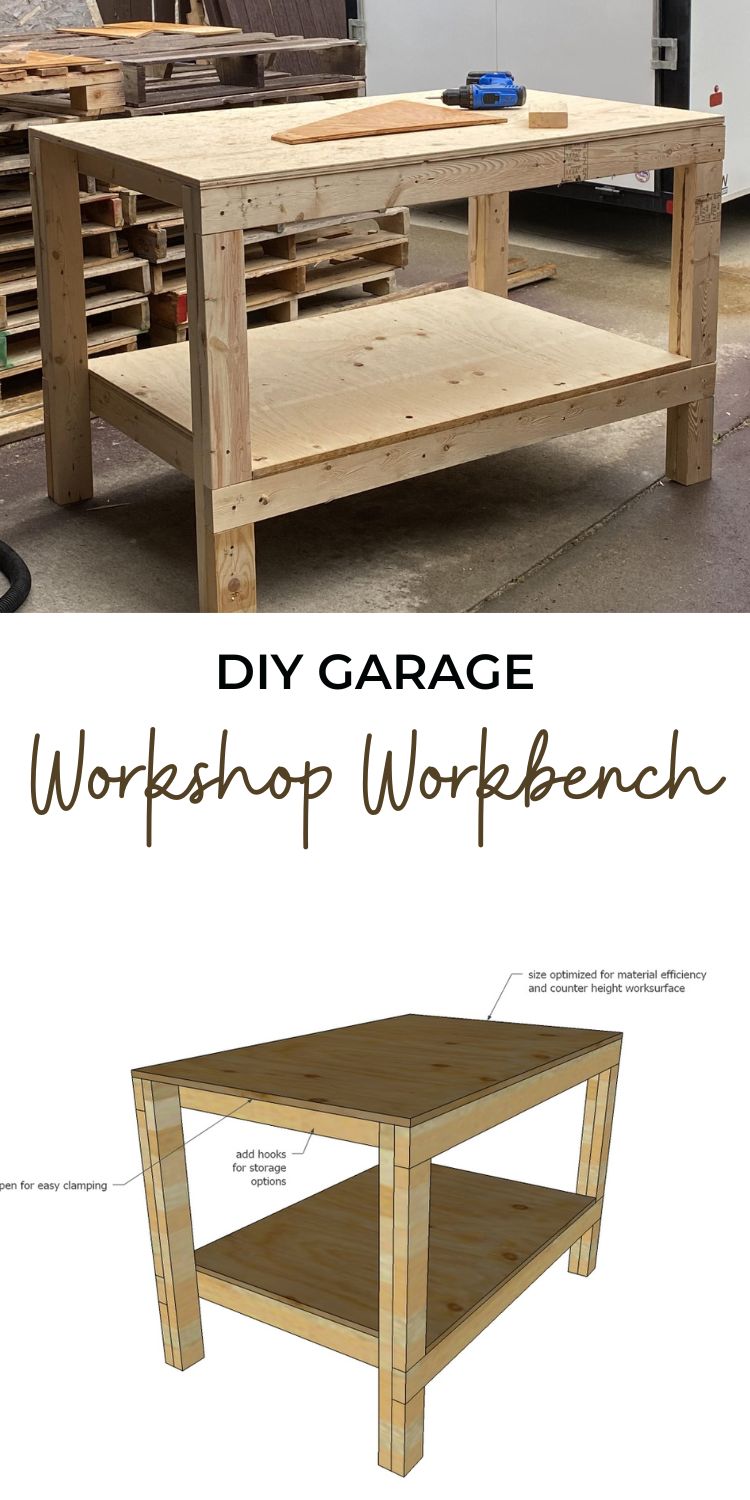
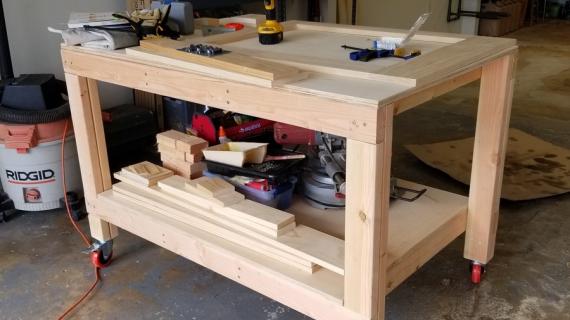
Make a workbench for your garage with these easy, beginner friendly build plans! Free plans with step by step diagrams and cut list/shopping list by Ana-White.com
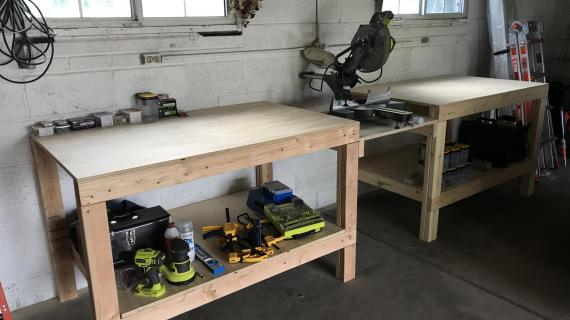
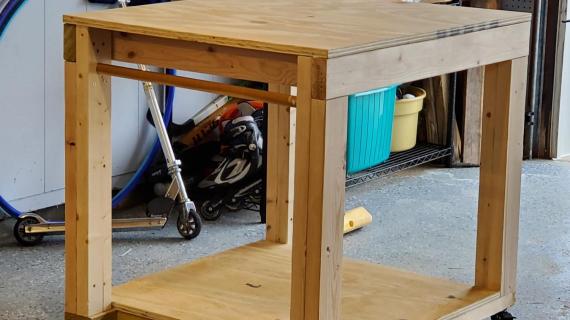
Photo by EWEBRAT
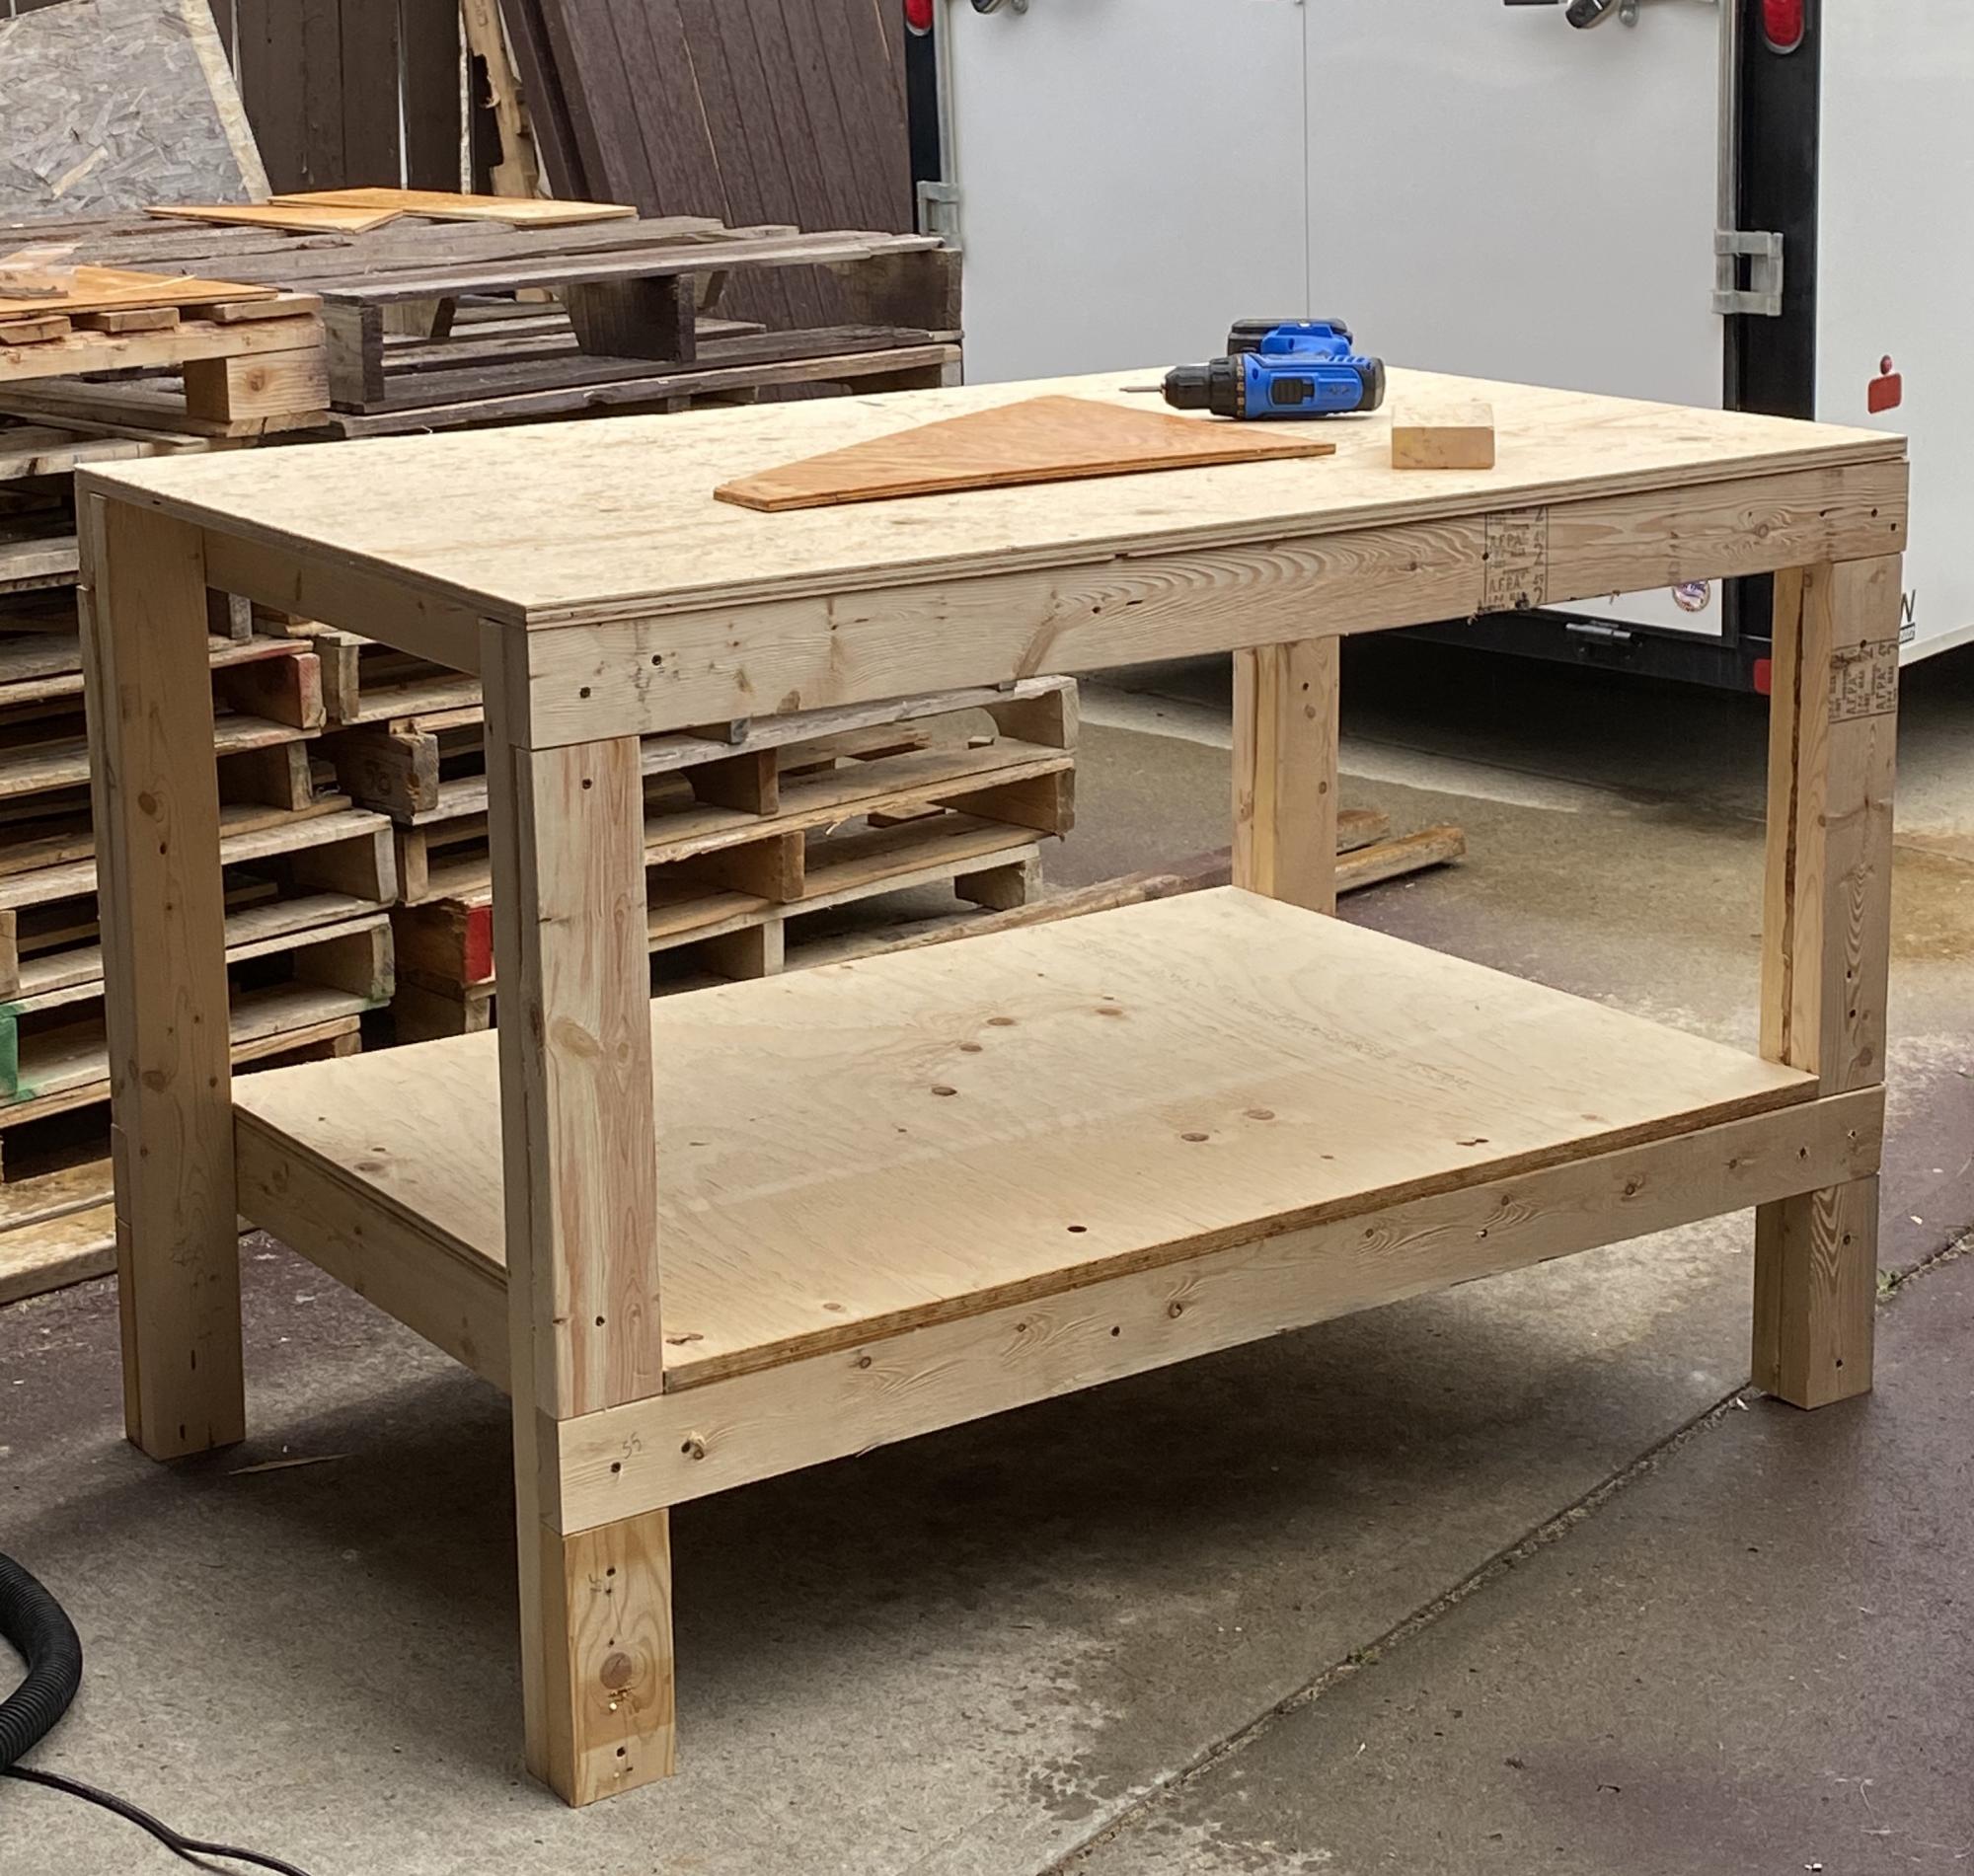
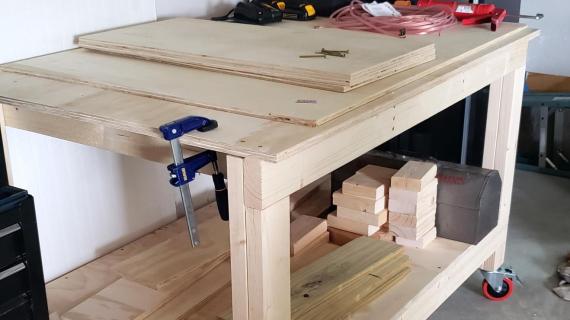
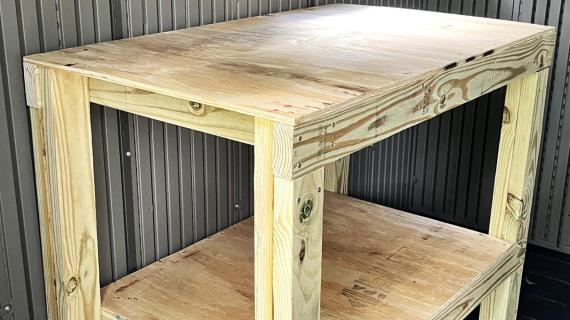
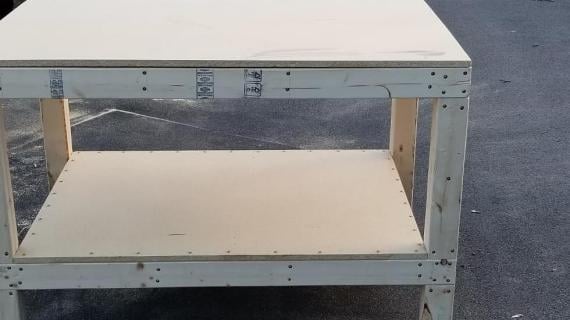
This workbench plan is a modification of this plan updated to a larger size while still using similar amount of materials, also increased in height to standard countertop height, and left open on the ends for easier clamping.

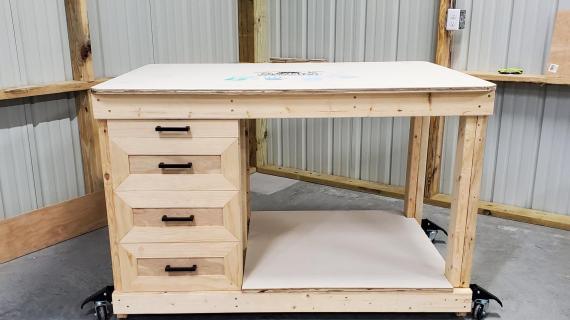
The workbench shown in the photo was built by TheresaLynn. Thanks all for your contribution of ideas and completed projects!
Pin For Later!

Preparation
8 - 2x4 @ 8 feet long
1 - sheet of 3/4" thick plywood (AC grade most economical option)
2-1/2" self tapping wood screws
1-5/8" self tapping wood screws
4 - 2x4 @ 55" - side aprons
4 - 2x4 @ 35-1/4" - legs
8 - 2x4 @ 31-1/2" - supports and end aprons
4 - 2x4 @ 19-3/4" - leg blocking
4 - 2x4 @ 8-1/2" - leg blocking
1 - 3/4" plywood @ 34-1/2" x 48" - bottom shelf
1 - 3/4" plywood @ 34-1/2" x 55" - top


Please read through the entire plan and all comments before beginning this project. It is also advisable to review the Getting Started Section. Take all necessary precautions to build safely and smartly. Work on a clean level surface, free of imperfections or debris. Always use straight boards. Check for square after each step. Always predrill holes before attaching with screws. Use glue with finish nails for a stronger hold. Wipe excess glue off bare wood for stained projects, as dried glue will not take stain. Be safe, have fun, and ask for help if you need it. Good luck!
Instructions
Step 1

Build four of the legs by attaching with glue and 2-3/4" screws the long leg pieces to the leg blocking. Make sure your 2x4s will fit in openings.
Step 2

Attach long aprons to leg sets, 2-3/4" screws and glue. Check to make sure the leg sets are square by taking diagonal measurements from opposite corners as shown in diagrams. If the diagonal do not match, push the two opposite corners on the longer diagonal to adjust, then check for square again.
Step 3

Now attach the two leg sets together with the supports. Use 2-3/4" screws and glue.
Step 4

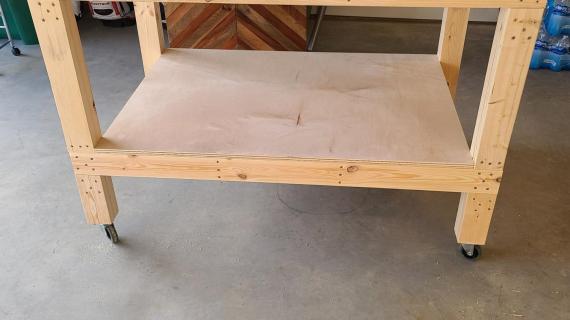
Finally, attach plywood to tops of shelving with screws or brad nails and glue.
It is always recommended to apply a test coat on a hidden area or scrap piece to ensure color evenness and adhesion. Use primer or wood conditioner as needed.


Comments
kelvinstephen1976
Wed, 07/10/2019 - 21:03
I a going to build this thx…
I a going to build this thx for design
Lakefever67
Sat, 08/31/2019 - 18:07
I built this today with some…
I built this today with some slight modifications. Made mine 60W x 30D x 38H and added wheels with stops in case I want to move it for certain projects. Had to use more than 1 sheet of plywood due to the 60 inch width. I used 1/2 OSB for the lower shelf that I had around. I wont be pounding on the shelf anyways I figured. I needed to make some shelving in my shed and Garage anyways so I wasnt worried about the extra plywood. Was a fun little project. SImple design that can be easily modified to suit your needs. Can also add addition shelving and further customize as desired. Very sturdy. I dont think I am going to get too fancy as far as staining or painting, but i am going to give it a good sand to round the edges of the top and maybe a few other small spots to keep the slivers down hopefully.
Thank you for sharing!
Mzberryje
Wed, 08/19/2020 - 13:49
D-O-N-E!!!!
Nice way to break in my tools and familiarize myself with terminology!
Buzz7479
Fri, 12/25/2020 - 22:23
Bench vise
Anyone mount a vise to this bench yet?
ebfulch
Sat, 01/02/2021 - 04:17
I'm wondering the same! I'm…
I'm wondering the same! I'm getting ready to build this next week and am wondering if I should modify the bench to suit a vice, or if it would be fine as is. Do you have ideas on how to mount a vise to it?
therourkfarm
Sun, 01/03/2021 - 11:23
Great Project!
Built yesterday as my first build ever. Great for a beginner and very easy. It doesnt even wobble! Id like to add casters as well to make it easy to move.