
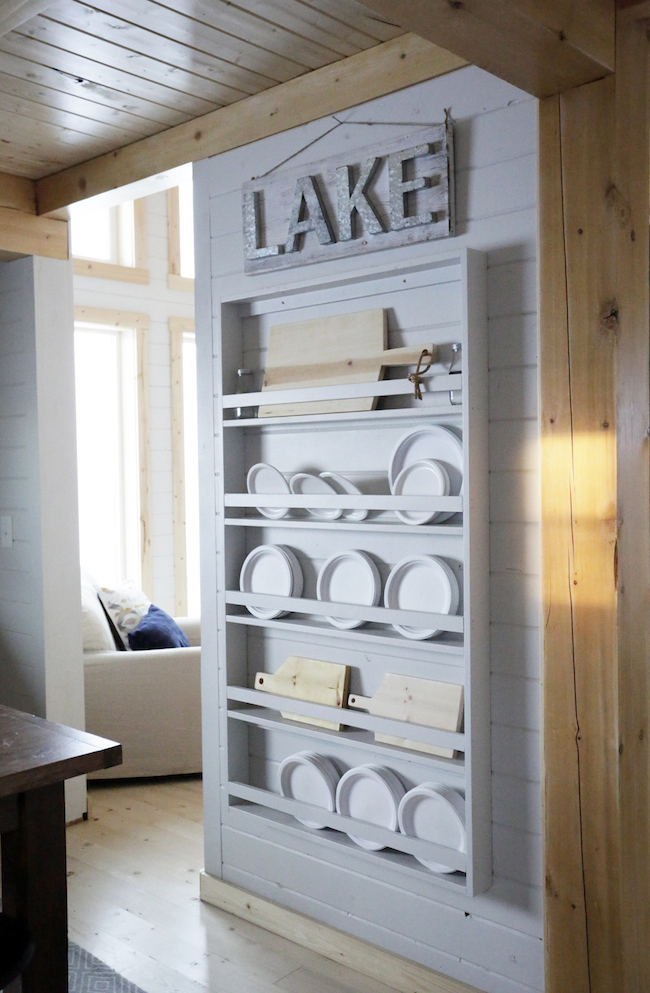

A plate rack is a great way to store smaller items like plates, cutting boards, or even decor flat on the wall. This very simple to build plate rack tutorial will walk you through the steps. Free plans by Ana-White.com
If you are short on cabinet space, but have some wall space, have you considered a plate rack on the wall?

What to Store in Plate Rack
- Plates, the plates in this picture are actually paper plates
- Cutting boards, especially DIY wood cutting boards
- Serving trays and platters
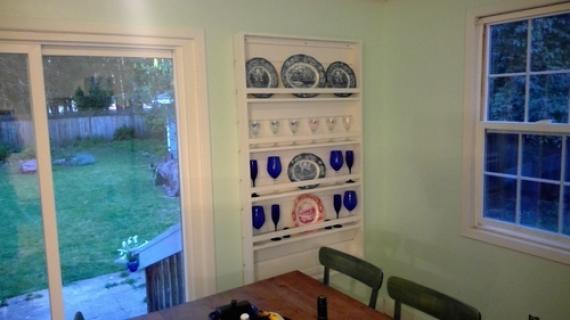
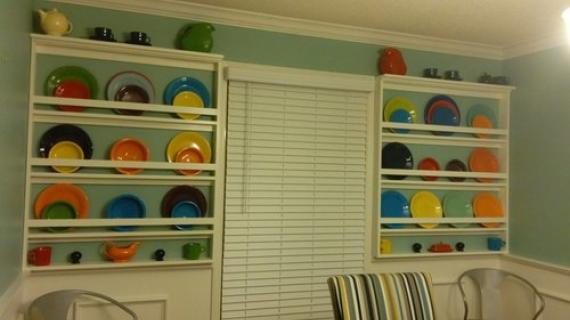
- Decor and Artwork
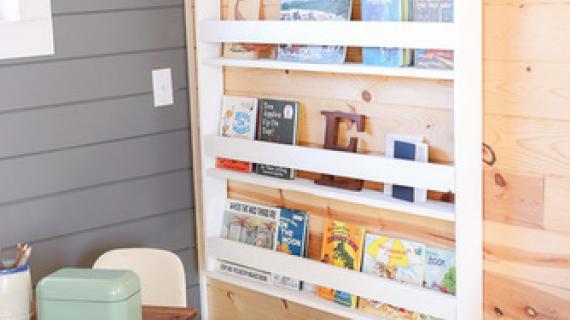
- Books and magazines
- Decorative spices
How to Build this Plate Rack
Pin For Later!


Preparation
4 - 1x4 @ 10 feet long
4 - 1x2 @ 8 feet long
1-1/4" brad nails and wood glue
Alternative fasteners are self tapping star bit screws (length of 1-1/2" to 2" long) or 3/4" pocket holes and 1-1/4" pocket hole screws
7 - 1x2 @ 34-1/2"
6 - 1x4 @ 34-1/2"
2 - 1x4 @ 62-3/4"
Modification: This plan can be made taller and shelf heights can be changed. But do not make the shelves much longer, as they may start to sag after 36" in width.


Instructions
Step 1

Cut all boards with a compound miter saw or chop saw.
Attach the 1x4 sides to the 1x4 shelves.
Then attach the 1x2 rails to the side 1x4s, and the 1x4 shelves at the top and at the bottom shelf.
Hang on the wall through the back 1x2s, use 2-1/2" star bit screws, four screws total, into studs in the wall.
It is always recommended to apply a test coat on a hidden area or scrap piece to ensure color evenness and adhesion. Use primer or wood conditioner as needed.


Comments
dmcarwin
Sat, 12/12/2015 - 21:06
Love it!
Your plate rack looks great, and I am serioulsy cracking up that they painted it like your diagram...TOO funny!! :)
EmH-C
Sat, 09/24/2016 - 07:20
Just what we need!
I don't know how you do it, but it seems that when I need something I find the solution here! This will be brilliant for my son's books. We have so many it feels like we could open a preschoolers' library. With your plate rack design I can make a front-facing bookcase to fit in the small corridor outside his bedroom.
Thank you.