
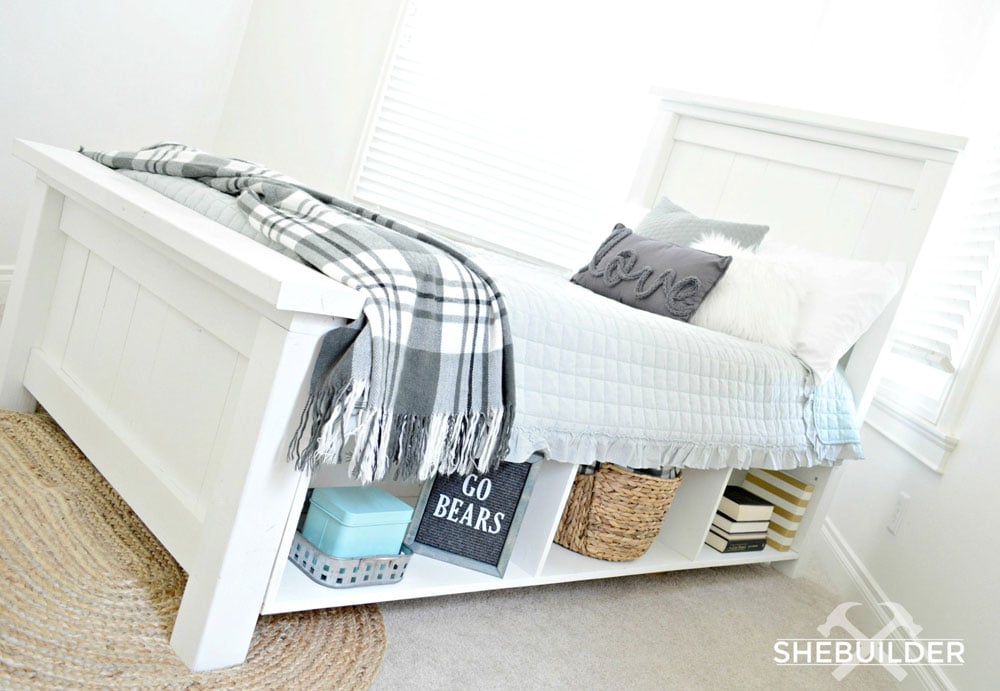

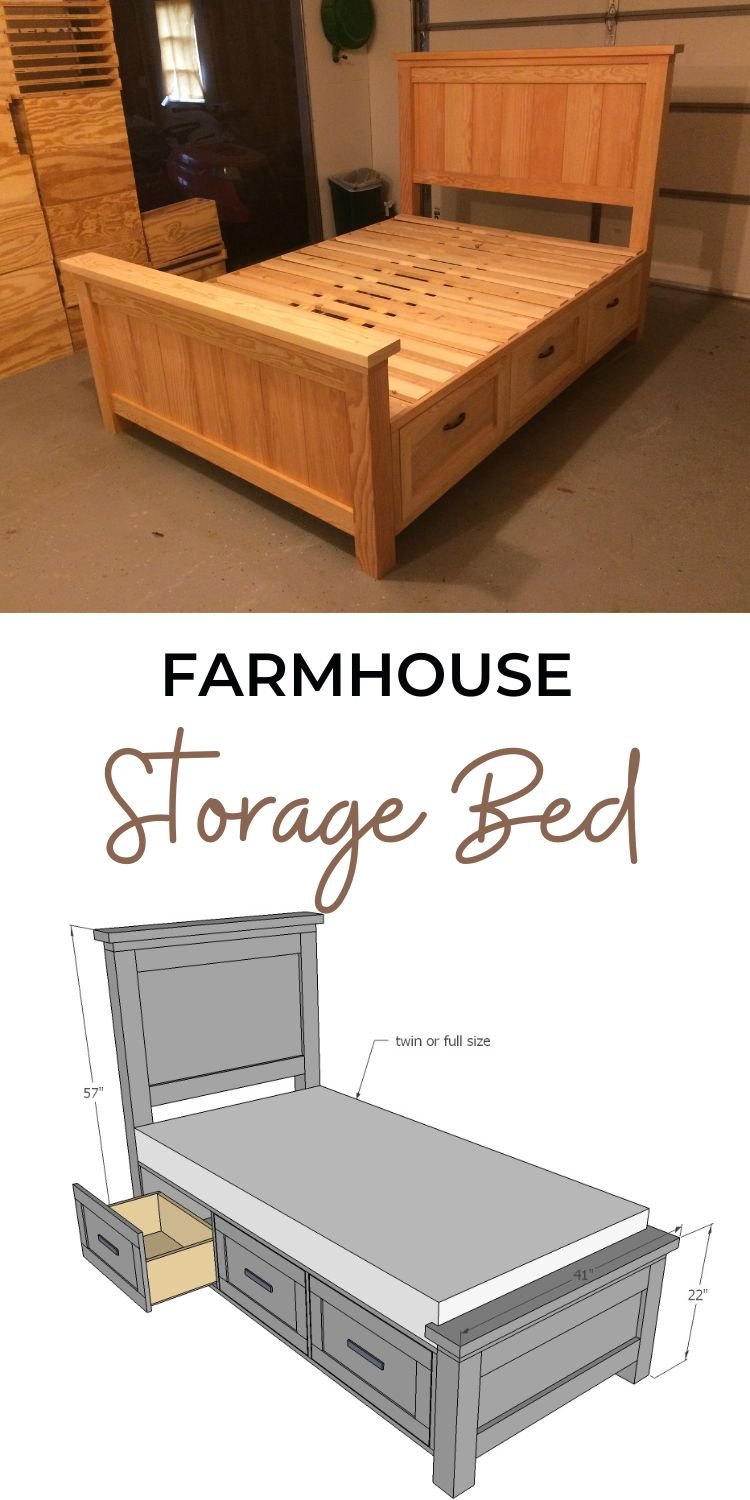
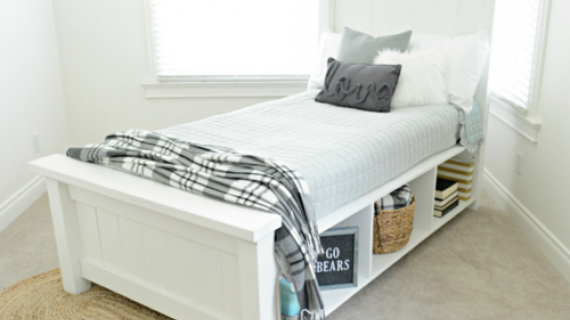
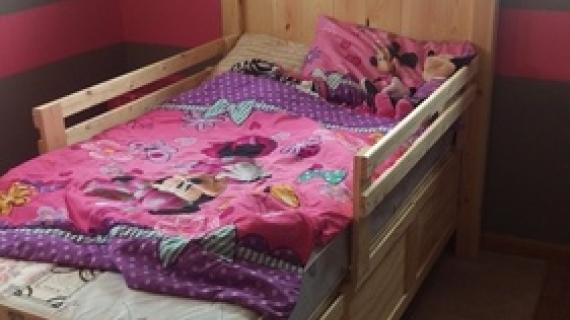
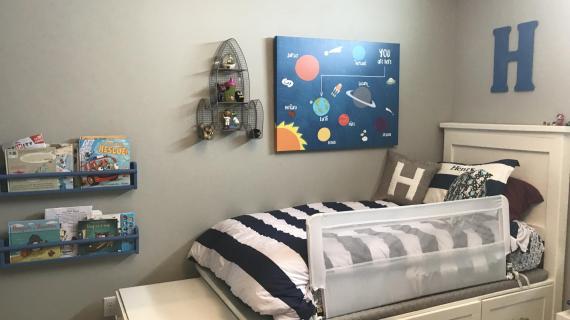
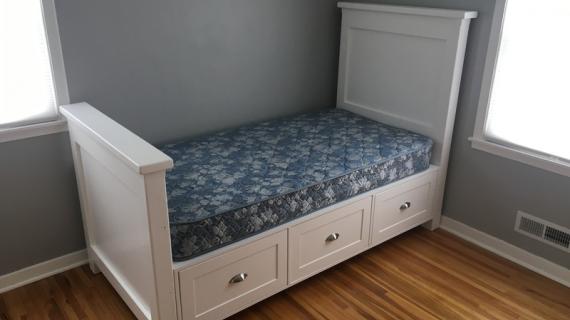
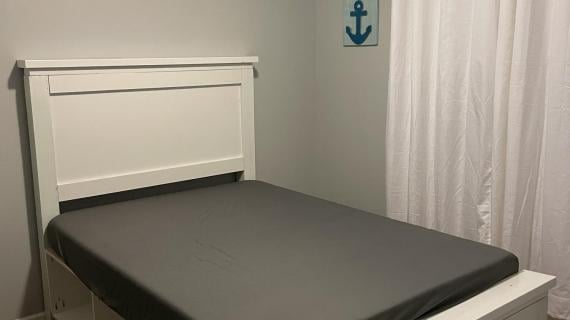
Build your own Farmhouse bed with storage shelves or optional drawers, in twin and full sizes. Perfect for adding storage to kids rooms. Step by step plans and diagrams from Ana White.
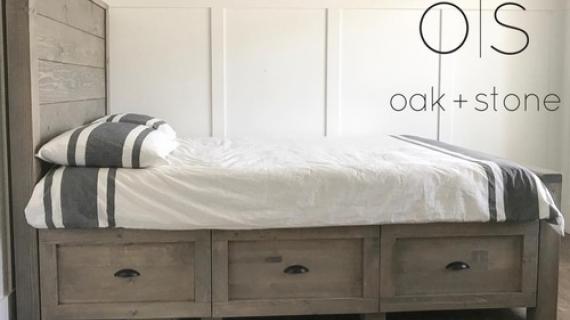
Read more about this bed build and the plan modifications at Tinsel + Wheat
Hope you all had a fantastic weekend!
A few of you have been asking for twin or full size plans for our Farmhouse Storage bed (queen plans here) -

Well, I'm happy to be at your service. Plans follow, enjoy!
XO Ana
Pin For Later!
Preparation
- 3 - Sheets 3/4" Plywood
- 1 Sheets 1/4" Plywood or other sheet goods
- 2 - 4x4 post, 7 feet long
- 2 - 1x4 @ 10 feet long
- 3 - 2x4 @ 10 feet long (cut longest first!)
- 5 - 1x10 @ 8 feet long (OR 1 sheet of 3/4" plywood cut into 5 strips 9 1/4" wide)
- 6 - Euro Style Drawer Slides (the cheapo white ones) 14" long
- 2 - 2x6 @ 6 feet long SLAT SYSTEM - May be able to use less since span is less
- 3 - 2x2 @ 8 feet long
- 9 - 1x3 @ 8 feet long
- 5 - 1/4" hobby stock, 2 1/2" wide @ 8 feet long (OR 1/4" plywood cut into strips 2 1/2" wide)
- 6 Knobs or handles
NOTE: Drawers are optional but ARE included in the shopping list above. If you don't want drawers or want to add drawers later, adjust your shopping list accordingly
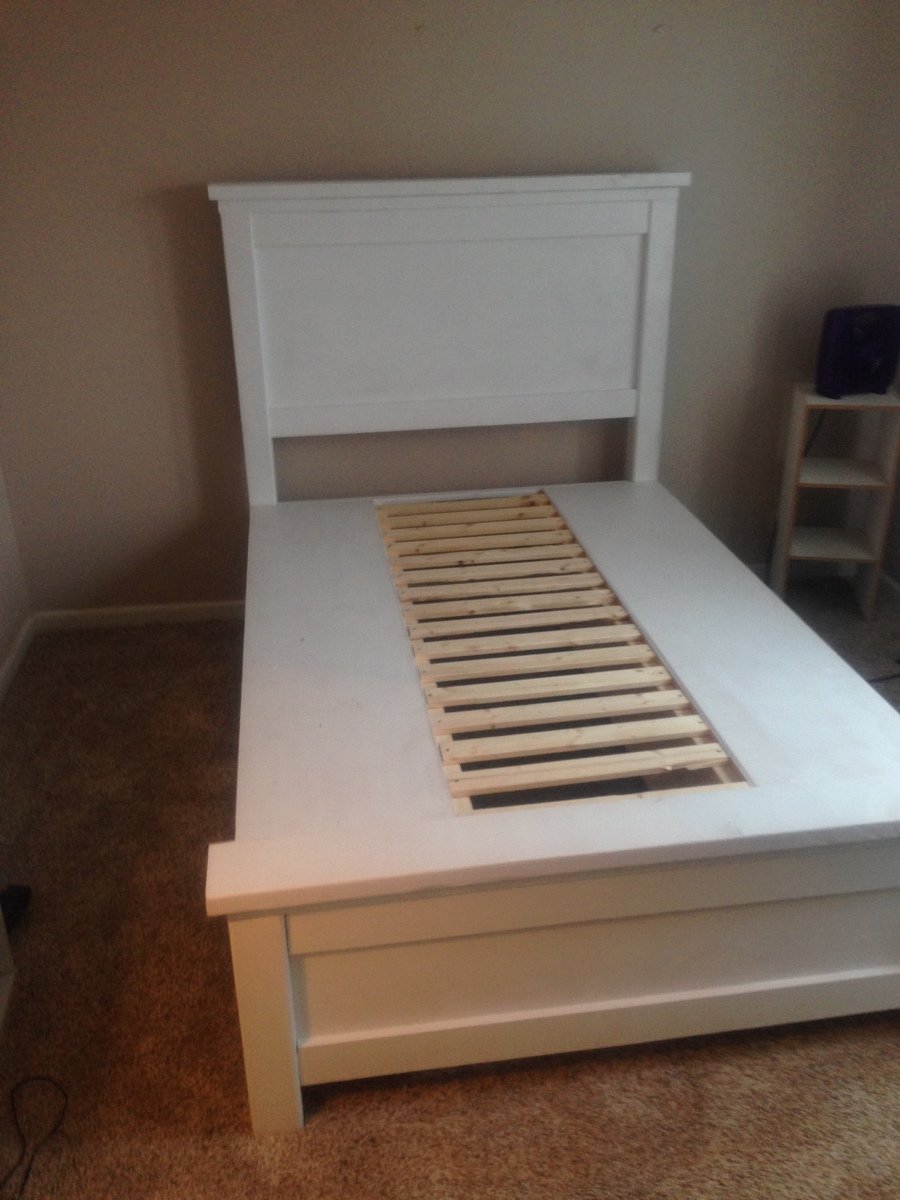
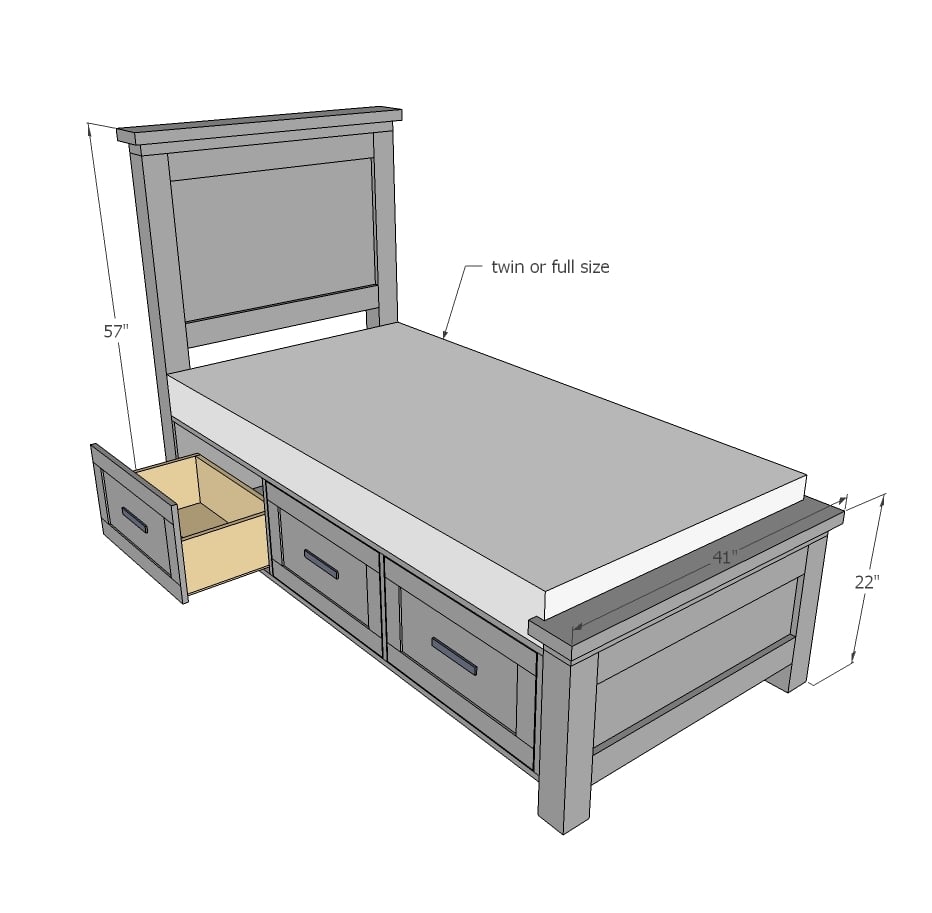
HEADBOARD (TWIN)
- 1 - 3/4" Plywood @ 26" x 32"
- 2 - 1x4 @ 32"
- 2 - 4x4 @ 54"
- 2 - 2x4 @ 32"
- 1 - 2x4 @ 39"
- 1 - 2x6 @ 41"
HEADBOARD (FULL)
- 1 - 3/4" Plywood @ 26" x 47"
- 2 - 1x4 @ 47"
- 2 - 4x4 @ 54"
- 2 - 2x4 @ 47"
- 1 - 2x4 @ 54"
- 1 - 2x6 @ 56"
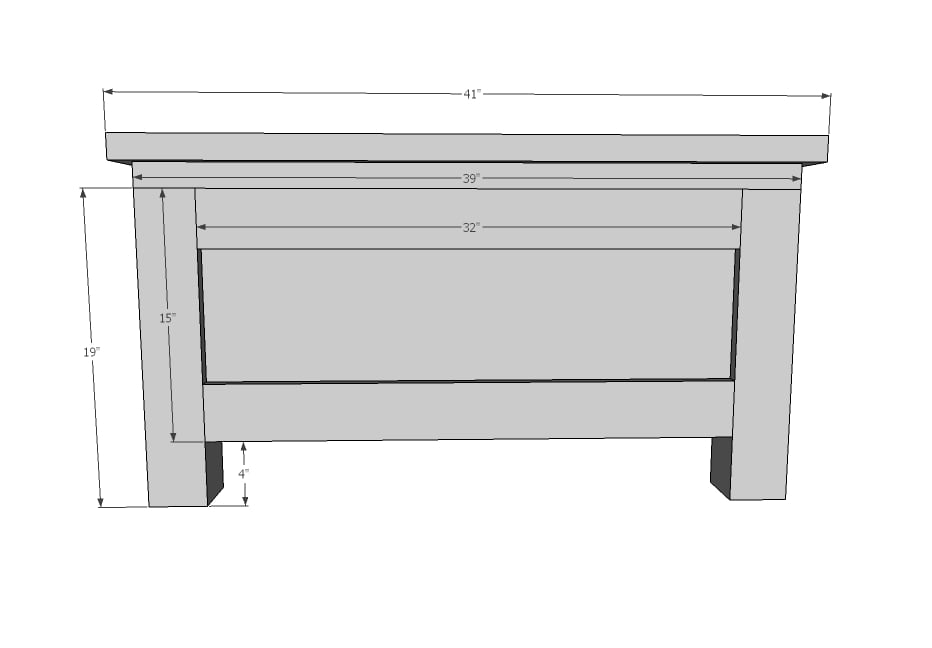
FOOTBOARD (TWIN)
- 1 - 3/4" Plywood @ 15" x 32"
- 2 - 1x4 @ 32"
- 2 - 4x4 @ 19"
- 1 - 2x4 @ 39"
- 1 - 2x6 @ 41"
FOOTBOARD (FULL)
1 - 3/4" Plywood @ 15" x 47"
2 - 1x4 @ 47"
2 - 4x4 @ 19"
1 - 2x4 @ 54"
1 - 2x6 @ 56"
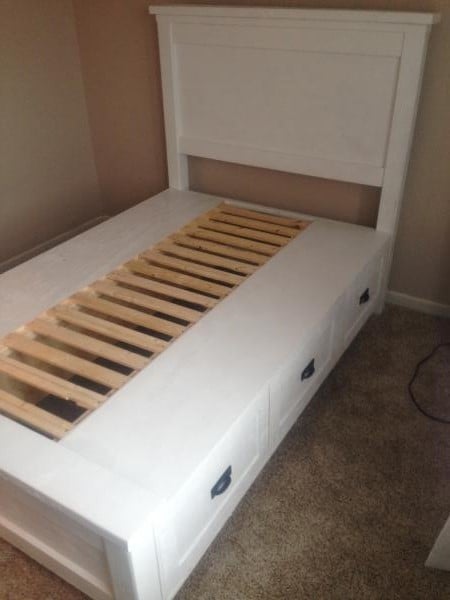
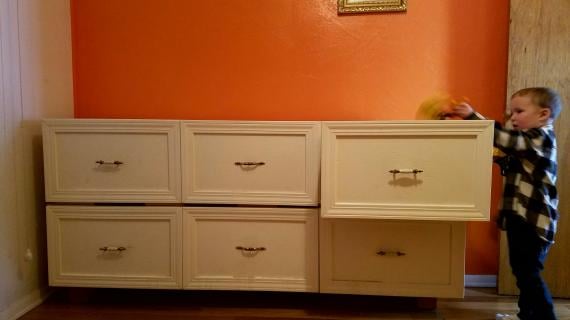
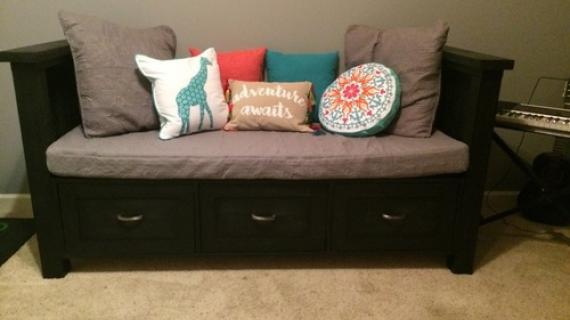
STORAGE BOXES (FULL AND TWIN)
4 - 3/4" Plywood @ 15 3/4" x 75"
8 - 3/4" Plywood @ 15 3/4" x 13 1/2"
2 - 1/4" Plywood @ 75"
OPTIONAL - DRAWER BOXES (FULL AND TWIN)
- 12 - 1x10* @ 21-1/2"
- 12 - 1x10* @ 14"
- 6 - 1/4" Plywood @ 23" x 14"
*Plywood cut into strips for drawer sides can be substituted for 1x10s, use 3/4" plywood
OPTIONAL - DRAWER FACES - cut to fit (FULL AND TWIN)
- 6 - 3/4" Plywood @ 23-3/4" x 13 1/4"
- 12 - 1/4" hobby stock, 2 1/2" wide @ 8 1/4"
- 12 - 1/4" hobby stock, 2 1/2" wide @ 24"


For detailed plywood cutting diagrams, check out queen plans here.
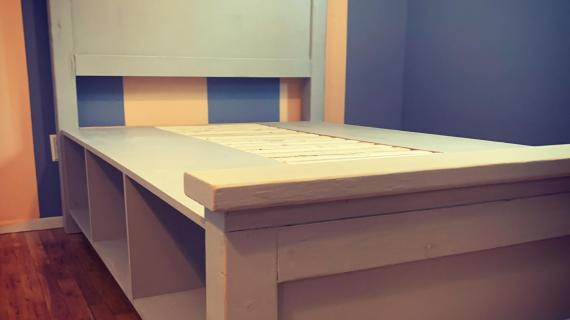
Plan diagrams shown for twin. Full size is simply 15" wider. Lengths are same so storage boxes do not change.
Instructions
Step 1

Drill two 3/4" pocket holes on each end of the 1x4 boards Attach to 4x4 posts with 1-1/4" pocket hole screws and glue, front edges are flush.
Step 2

Drill 3/4" pocket holes on sides and top of plywood panels. Apply glue to back edges of 1x4s on headboard. Attach to 4x4 legs with 1-1/4" pocket hole screws. Use 1-1/4" nails or screws to secure panel to 1x4s.
Step 3

Drill two 1-1/2" pocket holes on each end of the 2x4 bottom supports. Attach to 4x4 legs with 2-1/2" pocket hole screws and glue.
Step 4

Attach top 2x4s through predrilled pocket holes in headboard panel with 1-1/4" pocket hole screws. Then attach 2x6 to top with 2" or longer fasteners and glue. Overhang is 1" on all sides.
Step 5
Step 6

If you are staining this project, apply edge banding to front edges of all 3/4" plywood pieces. Your drawers will not slide smoothly if you do not carefully build the storage boxes square. Make sure plywood cuts are accurate and take extra care when building. Build storage boxes out of 3/4" plywood. Depending on the size of your drill, you may not be able to fit the drill inside to attach a second set of pocket holes. If this is the case, nail the second side with 1-1/4" brad nails and wood glue. Attach back with 3/4" brad nails to the 3/4" plywood edges with glue.
Step 7

Measure opening of storage area. If it is not 24", you will need to adjust the drawer boxes to fit. Build drawer boxes, place pocket holes on outsides where they will be covered by drawer face in later steps.
Step 8

Install drawer boxes in storage box, inset 3/4" from outside.
Step 9
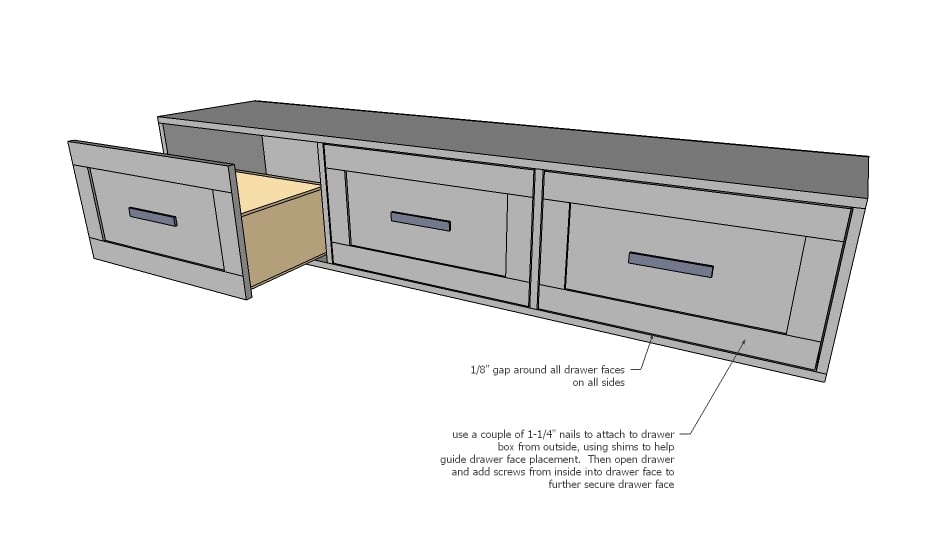
Attach drawer face to drawer box, with an even 1/8" gap on all sides.
Step 10

Attach storage boxes to the headboard and footboard. Where attached to footboard, you may need to place shims between the storage boxes and the footboard panel.
Step 11

Twin is a significantly smaller cavity between the storage boxes so you may not need a slat system at all.
For full size, reference how the slat system was done in the queen size plans here.

Comments
lovealaska
Thu, 11/17/2016 - 06:37
I have an adjustable sleep no
I have an adjustable sleep no. queen bed. Will any of these plans work?
Thanks
Annehguthrie
Sat, 09/02/2017 - 16:52
Question about plywood
I can only find plywood that is 23/32" instead of 3/4". Will the 1/32" difference impact the plan?
kschmidt430
Wed, 02/21/2018 - 07:42
Moving the bed....
Hi Everyone! I was curious, once built, what is the best way to go from garage to in the house? Most new beds come in pieces that you put together...these look like we build the entire bed and then it's one large piece? Any recommendations?
In reply to Moving the bed.... by kschmidt430
ShawnSpjut
Sun, 06/28/2020 - 11:25
build it in sections, carry…
build it in sections, carry them into house, then put the whole together.
Curt Leonard
Wed, 05/01/2019 - 07:12
Queen bed plans are nowhere to be found!
The plans for the queen bed are gone now! I am literally in the middle of building the queen platform bed this week when the web page was removed. Can you please post that page again or the plans somewhere else soon? Thanks!
marcalejo
Sun, 06/23/2019 - 21:35
What is the best wood to use…
What is the best wood to use for this build?
zinopower
Fri, 03/26/2021 - 16:46
helpful info
It would be helpful if on the material lists and plywood cutting diagrams if it said what each piece is used for. That way if you wanted to modify this you would know what you need and don't need. I don't want a plywood headboard and want to use slats instead. I also want mine higher so the covers don't cover the drawers. I would love to use these plans but I don't know what the material list is used for on the bed. Thanks
bdrez33
Thu, 04/08/2021 - 08:06
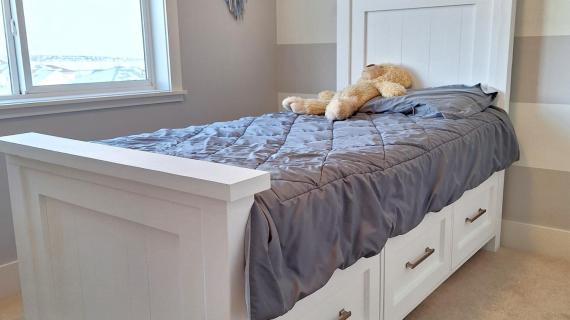
Twin storage bed, with even more storage options
I just finished this bed and wanted to thank Ana White for the plans and directions. I didn’t understand the purpose of the gap between the storage cabinets so I extended the drawers making them deeper. This makes more sense to me rather than having dead space under the mattress. Who couldn’t use more storage?!? I also decided to make a second layer of drawers, so the bed is raised much higher. It was a bit of a challenge, but using the plans from Ana and SketchUp helped me plan. The bed looks amazing and my 6 year old loves the space she has not without a dresser in the room. I can’t figure out how to post pictures, but would love to if possible. Please let me know where and how to do that. Thanks, again!
Gaff1506
Sat, 02/26/2022 - 10:30
change in measurements
what were the final measurements for the changes you made
danwade
Sat, 01/22/2022 - 15:36
build like mudroom drawers?
Working on the easy mudroom drawers now. Do you think I could build this bed with the same 2x4 box construction? it was brilliant and so cost effective.