


Desk by day, table by night. How to build diy desks that convert to table free plans by ANA-WHITE.com for our tiny house
Hi everyone! Do you struggle to keep your tables and desks clutter free?
I love nothing more than bare countertops, tables and desks. It just makes me feel so warm and fuzzy inside.
But I've got a husband and two kids, and they just don't get it. Their idea of a good time is more like water balloon fights, fishing on a remote lake all by yourself listening to the robins sing, or making super messy smores around a campfire a millions miles away from anything. Keeping surfaces uncluttered is pretty low on their to-do list, and I could definitely learn a thing or two from them.
Sooooo ... this was a huge stretch for me - when it came time to design the desks/table system for our tiny house, I decided to NOT do a flip up table or desk. Because there will be things on the tabletops, and I may not have places to put the things in such a tiny space.
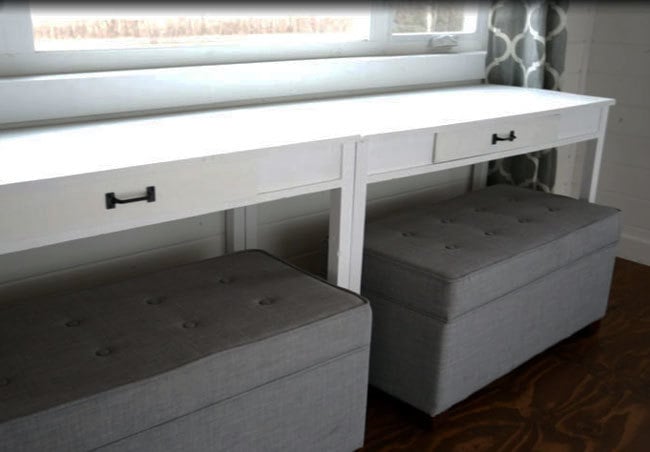
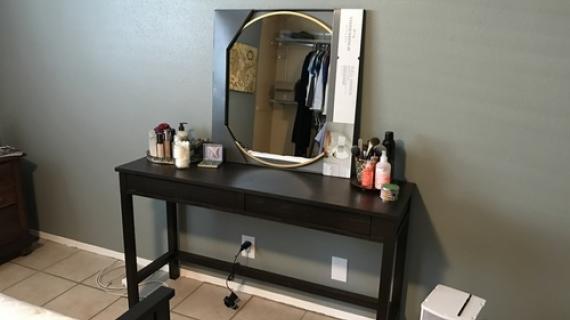
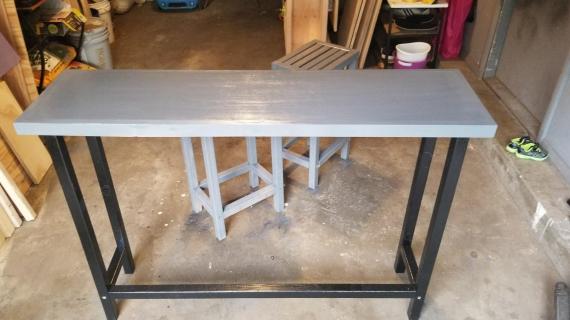
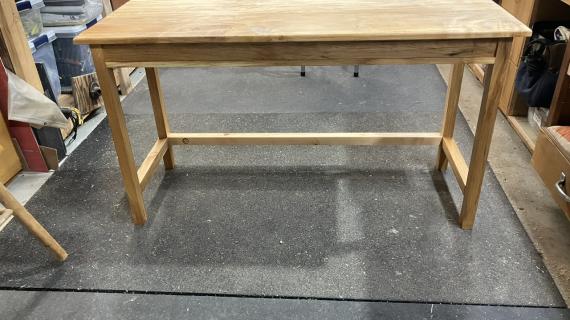
We needed desks for working during the day, and the desks could also function as a breakfast bar for morning meals.

I built the desk to fit around these storage ottomans that I found on clearance a while back. Do forgive, but I'm pretty terrible at sewing. You could definitely bust these guys out DIY style (mine are from Target).
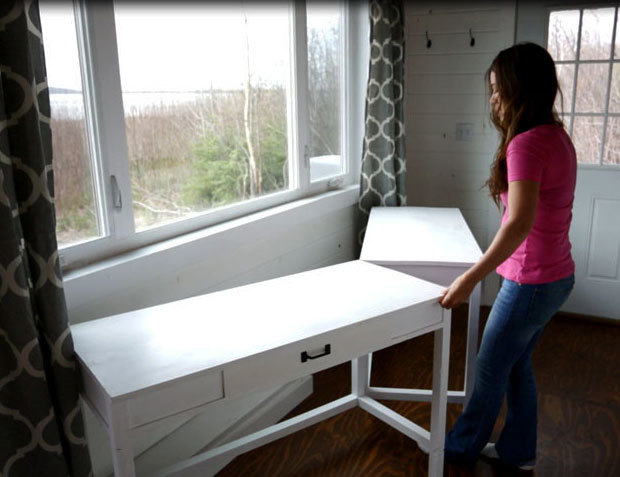
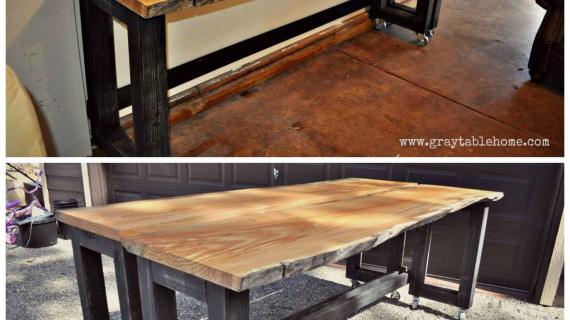
But then, come dinner time, when it's time to have a family meal, the desks very simply convert -

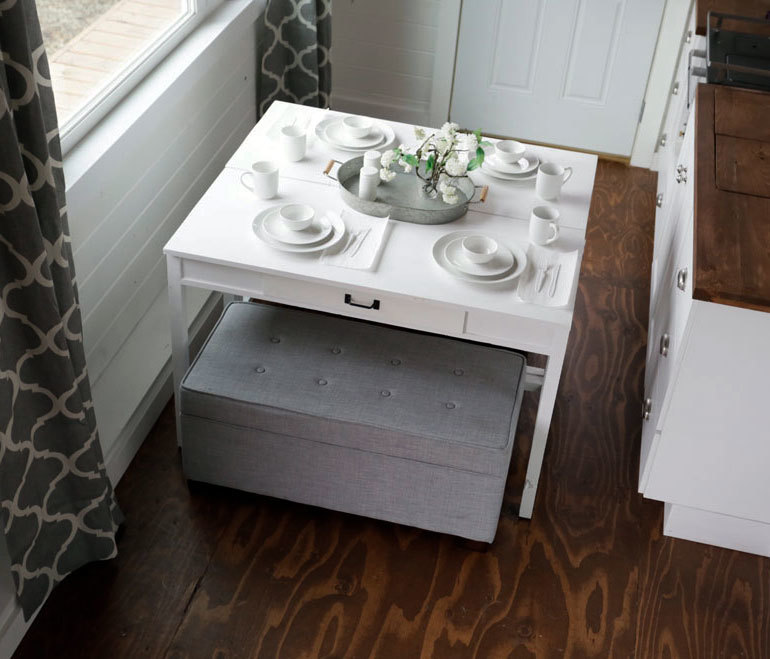
To a dining table -

Because lots of things in life are negotiable, but having a sit down meal with my family every night is absolutely not on the table (hehehe).
We love how this project turned out, and are super excited to be able to share it with you. You can find out more about this desk in Episode 16 of our Tiny House Build -
And of course, free plans for you follow!
Enjoy, share if you build!
XO Ana
PS - Pin if you love!


Preparation
FOR ONE DESK - WIll have scraps from one desk so will not need to totally double for two desks
3 - 2x2 @ 8 feet long
1 - 1x2 @ 12 feet long (can use smaller pieces)
2 - 1x4 @ 8 feet long
1 - 1x3 @ 8 feet long
1/4" plywood 16" x 23"
Tabletop is minimum 19-1/4" x 51-1/2"
16" white euro style (bottom corner mount) drawer slides
4 - 2x2 @ 29-1/4" (legs, may need to cut shorter for wheel wells if using in a tiny house)
2 - 2x2 @ 15-3/4" - bottom side supports
2 - 1x2 @ 15-3/4" - top side supports
2 - 1x2 @ 48" - top front/back supports
1 - 2x2 @ 48" - bottom support
1 - 1x4 @ 48" (back apron)
2 - 1x4 @ 15-3/4" (side aprons)
2 - 1x4 @ 12" (front aprons)
2 - 1x4 @ 16-3/4" (drawer supports)
DRAWER
2 - 1x3 @ 16" (drawer sides)
2 - 1x3 @ 21-1/2" (drawer front and back)
1 - 1/4" plywood @ 16" x 23" (drawer bottom)
1 - 1x4 @ 3" x 23-3/4" (drawer face)
TOP
19-1/4" x 51-1/2"


Instructions
Step 1

Build two of the leg sets, using 3/4" pocket holes and 1-1/4" pocket hole screws whenever 3/4" thick material is involved, and 1-1/2" pocket holes and 2-1/2" pocket hole screws whenever 1-1/2" material is exclusively used.
Step 2

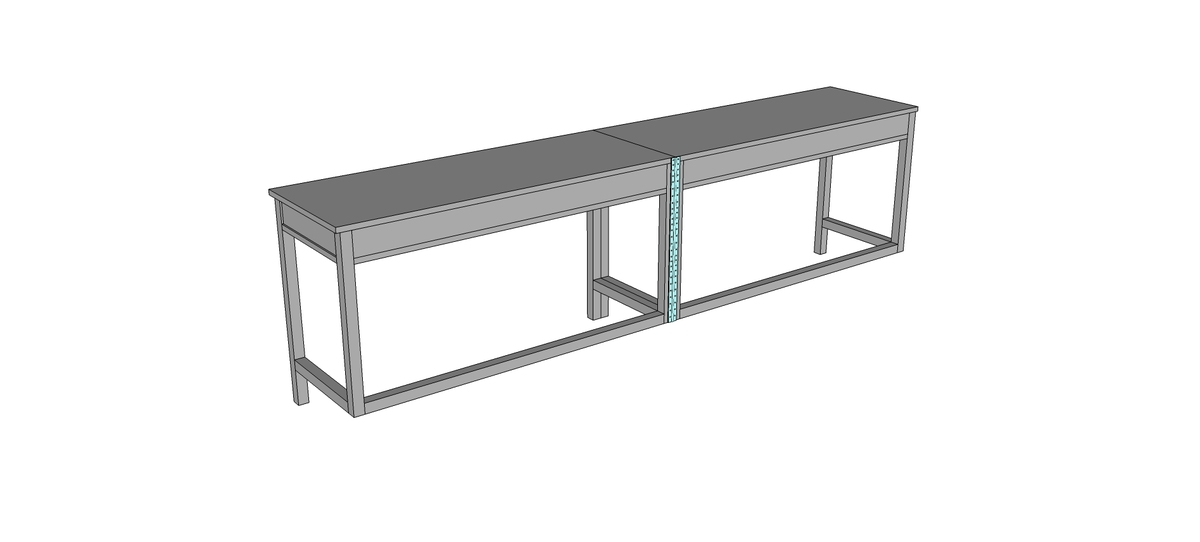
Attach the two leg sets together with the 1x2s and top and 2x2s on bottom.
Step 3

Drill 3/4" pocket holes on all sides of the 1x4 aprons boards, including the top for attaching the tabletop in later steps. Attach to legs, 1x2s with 3/4" pocket hole screws and glue. All aprons are inset 1/4" from outside.
Step 4

Drill 3/4" pocket holes on ends and top edge of drawer supports. Attach drawer supports inside aprons with 1-1/4" pocket hole screws and glue.
Step 5

Step 6
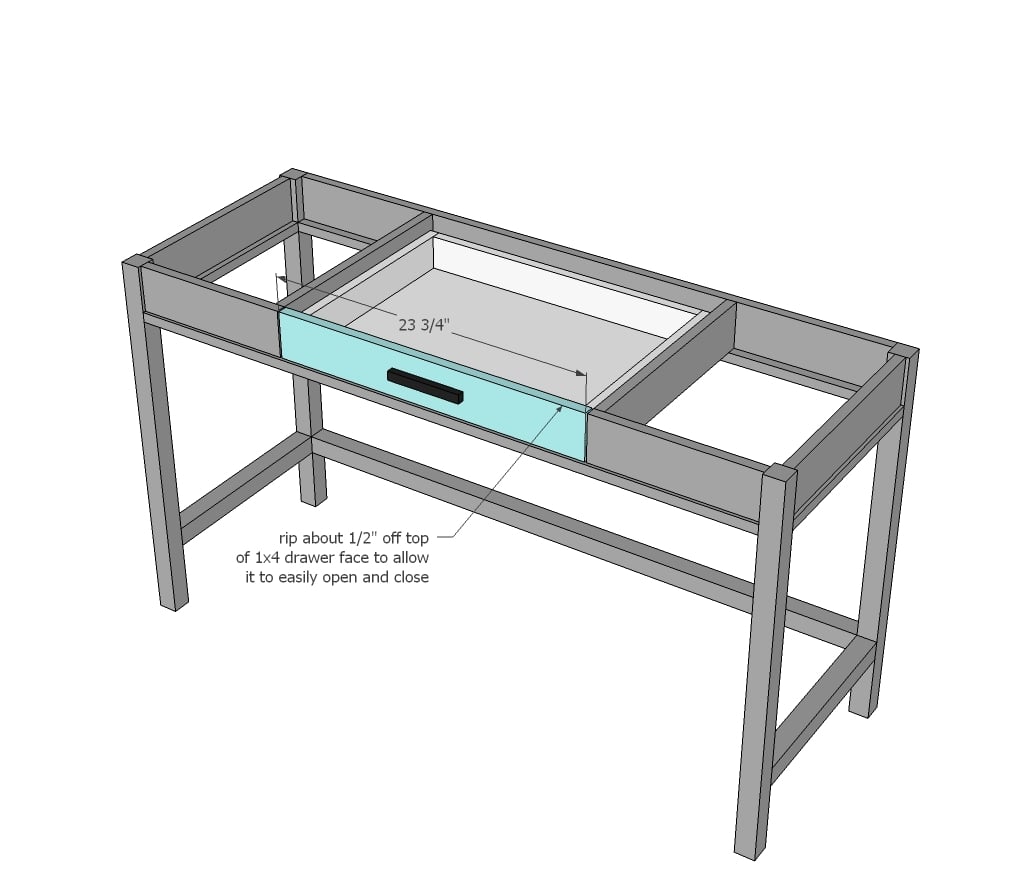
Attach drawer face to drawer with 1/8" gap along bottom and side edges. A larger gap on top will help the drawer open and close easier, but will be hidden under tabletop front edge. Attach with 1-1/4" screws from inside with glue (can use pocket hole screws).
Step 7

Remove drawer. Place desk inverted on underside of tabletop. Attach through predrilled pocket holes to tabletop, making sure project is square, using 1-1/4" pocket hole screws and glue.
If creating the hinged desk to table option, make sure the tabletop does not overhang on the back edge and side edge that will be hinged to the second desk.
Step 8
To create the converting desks, add hinges along the back legs.

Comments
jessikabuilder1234
Fri, 07/22/2016 - 17:41
Wheels
I have bought and returned three sets of wheels! Please reveal what you used for my sanity (: