


Make this cute wood cash register! Simple hinge top. Free plans by ANA-WHITE.com

For a few years now, Jaime from That's My Letter and I have been wanting to add a wood cash register toy plan to our Handbuilt Holiday collection.

This week we are finally doing it!!!
Wood Cash Register
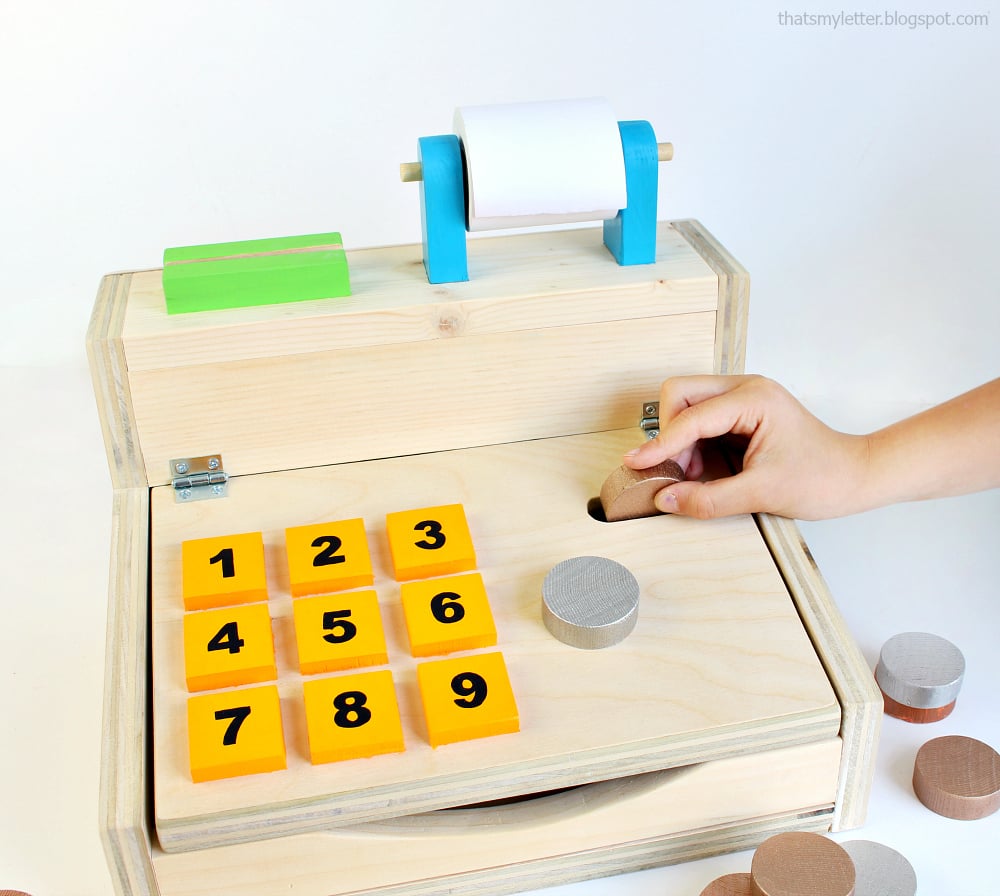
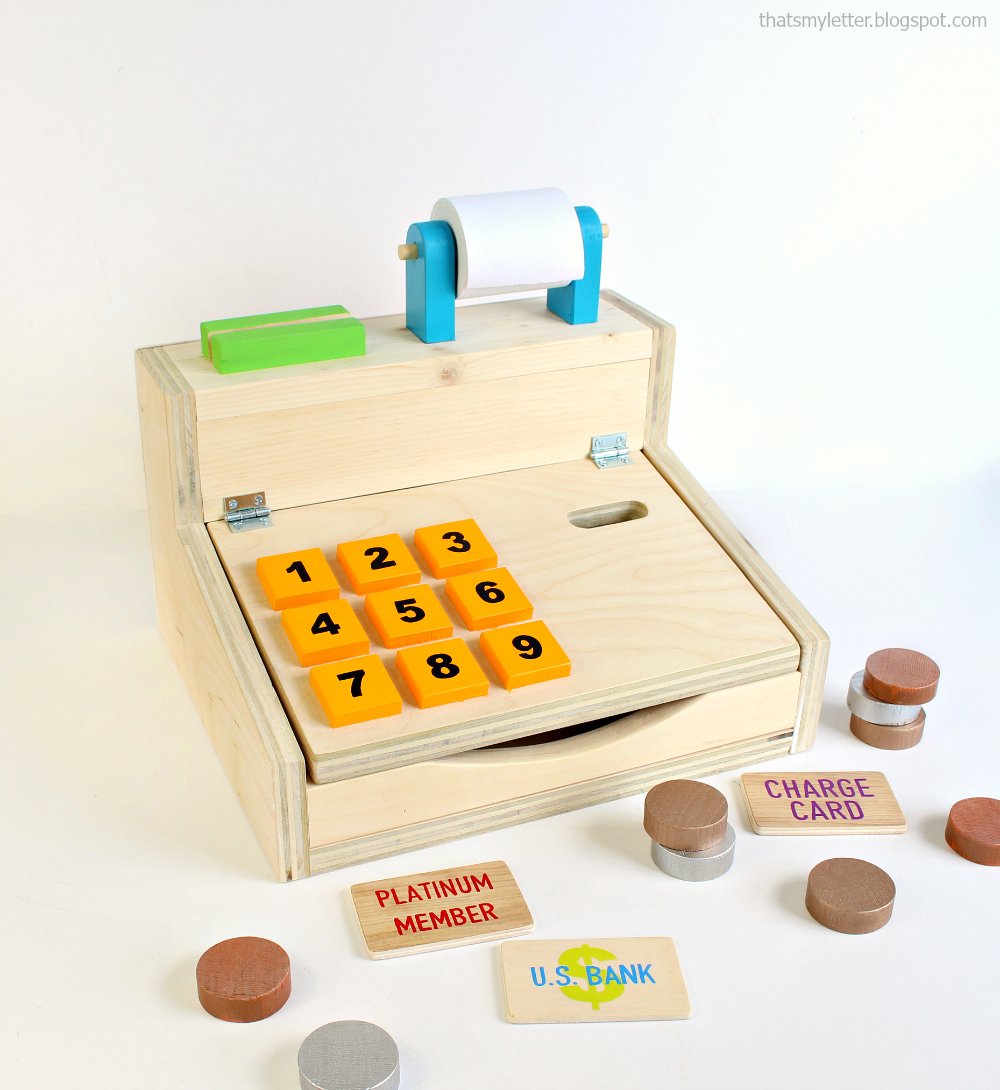
This solid wood cash register is easy to build and easy to customize for the perfect holiday gift!

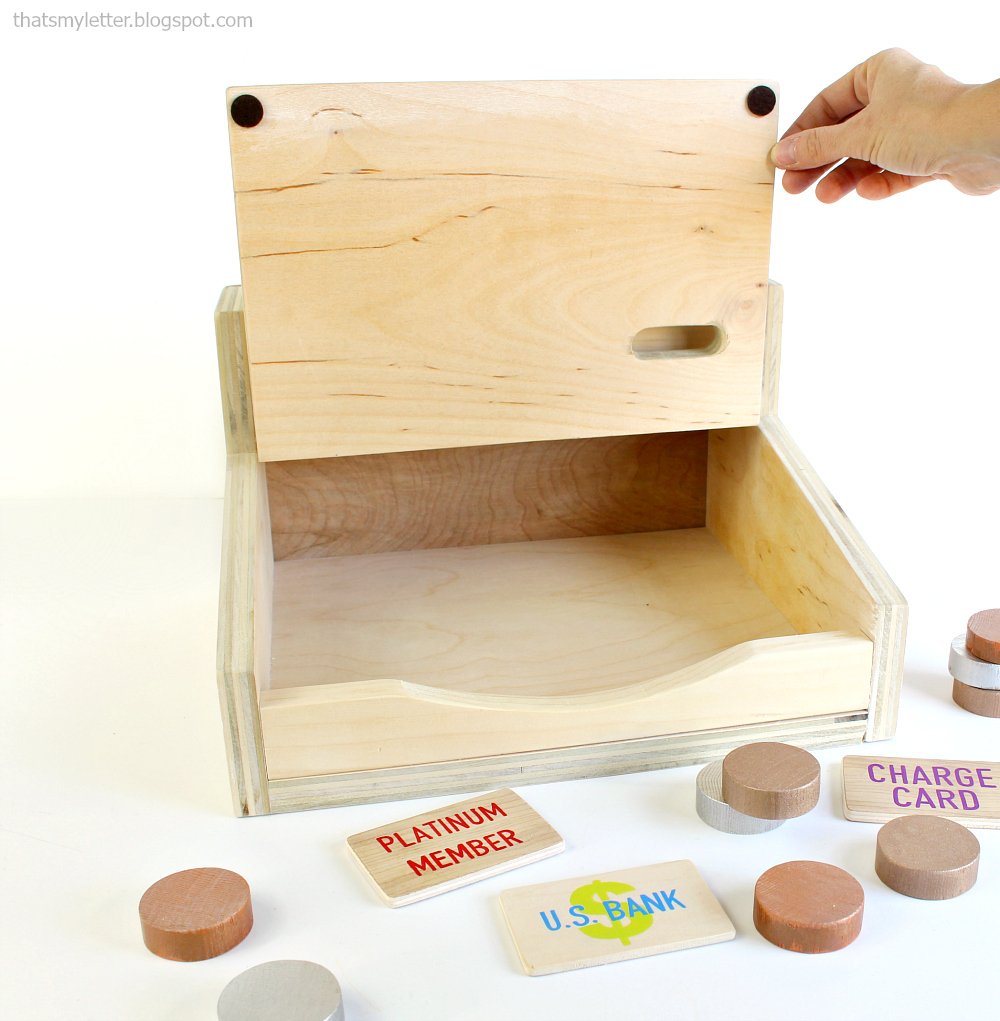
We are keeping things simple, with an easy hinge up top -

Doesn't get much simpler than that! Simple to build, simple to use!

And we've designed the entire project to be scrap wood pile friendly. Jaime used 3/4" plywood for her project, but the plans are sized for standard width 1x boards for those of you without a table saw. And let's not forget the coins and credit cards and cash ... scrap plywood and dowel pieces of course!
There's plenty of time to make this little handmade wood cash register for the Holidays, and Jaime and I are here to help. You'll find the free plans following (if this is the homepage you'll need to click READ MORE below). But before we get to the plans, take a second to visit That's My Letter for more photos and build details.
XO Ana
CLICK HERE FOR MORE PHOTOS AND BUILD DETAILS AT THAT'S MY LETTER

Preparation
38" of 1x12 boards
12" of 1x2
12" of 1x3
12" of 1x4
1/4" plywood 13-1/4" x 8"
1 set of hinges
soft close pads
wood glue
1-1/4" and 3/4" nails or your preferred method of fastening
2 - 1x12 @ 8" - sides
1 - 1x12 @ 11-3/4" - bottom
1 - 1x2 @ 11-3/4" front
1 - 1x4 @ 11-3/4" - top
1 - 1x3 @ 11-3/4" - top front
1 - 1/4" plywood @ 13-1/4" x 8" - back
1 - 1x12 @ 8-1/4" both ends bevel cut at 15 degrees off square (optional) hinged top
![]()


Instructions
Step 1

From the 1x12 side pieces, mark out the side profiles. Cut carefully with a jigsaw and sand all edges.
Step 2

Attach sides to the bottom. You can use Kreg Jig, screws or 1-1/4" nails and glue to attach (all joints are reinforced).
Step 3

Attach top and front, 1-1/4" nails and wood glue or wood screws.
NOTE: The front piece should be notched out as Jaime did to prevent a hard closing hazard.
Step 4

Attach top front piece as you did the top and front.
Step 5

Step 6

Hinge the top on with small hinges.
