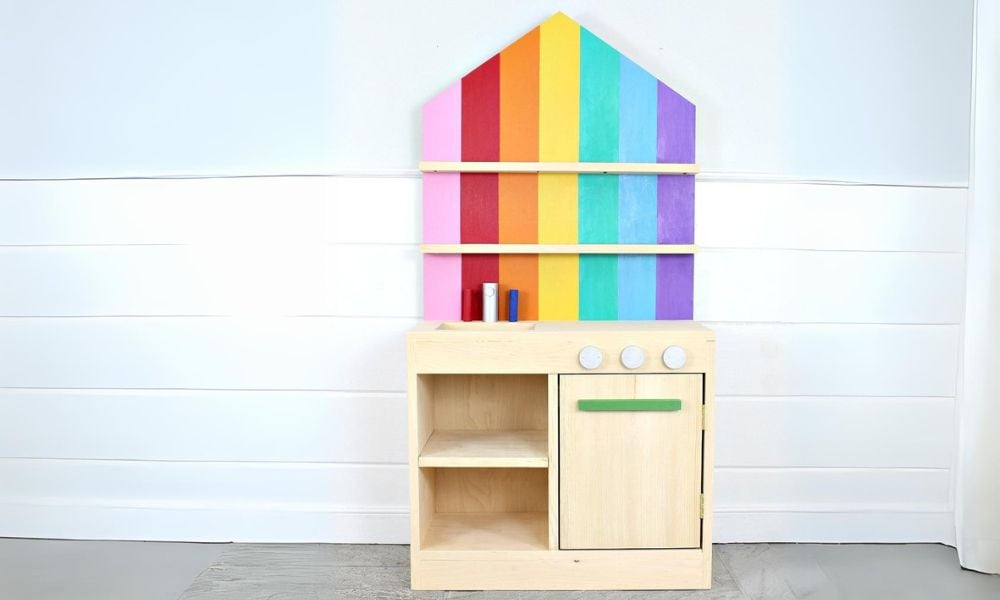

Build this cute play kitchen! Free plans with step by step instructions, diagrams, shopping and cut list by ANA-WHITE.com
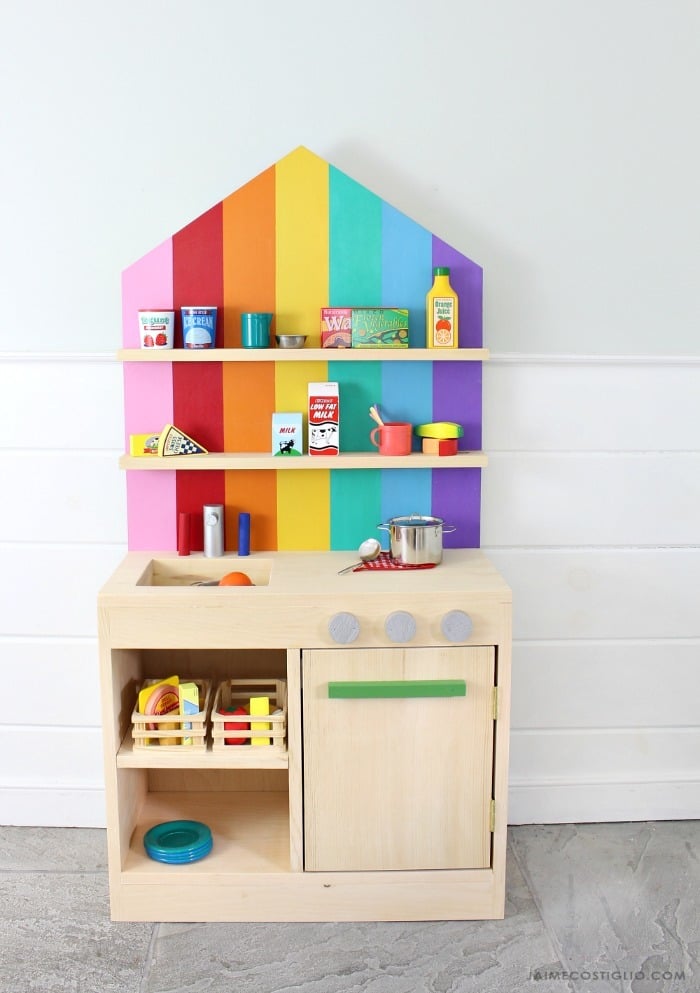


A new, easy to build play kitchen! The kitchen is just 1x12 boards (the door too) and the back is an off the shelf 24" x 48" plywood panel, so no difficult cuts needed.

The shelving above is perfect for little play food items. This one is sized for toddlers or small children.
More Photos and Build Post
For lots more adorable photos, take a second to visit Jaime Costiglio and thank her for her hard work on getting these free plans out to you.
CLICK HERE FOR MORE PHOTOS BY JAIME COSTIGLIO
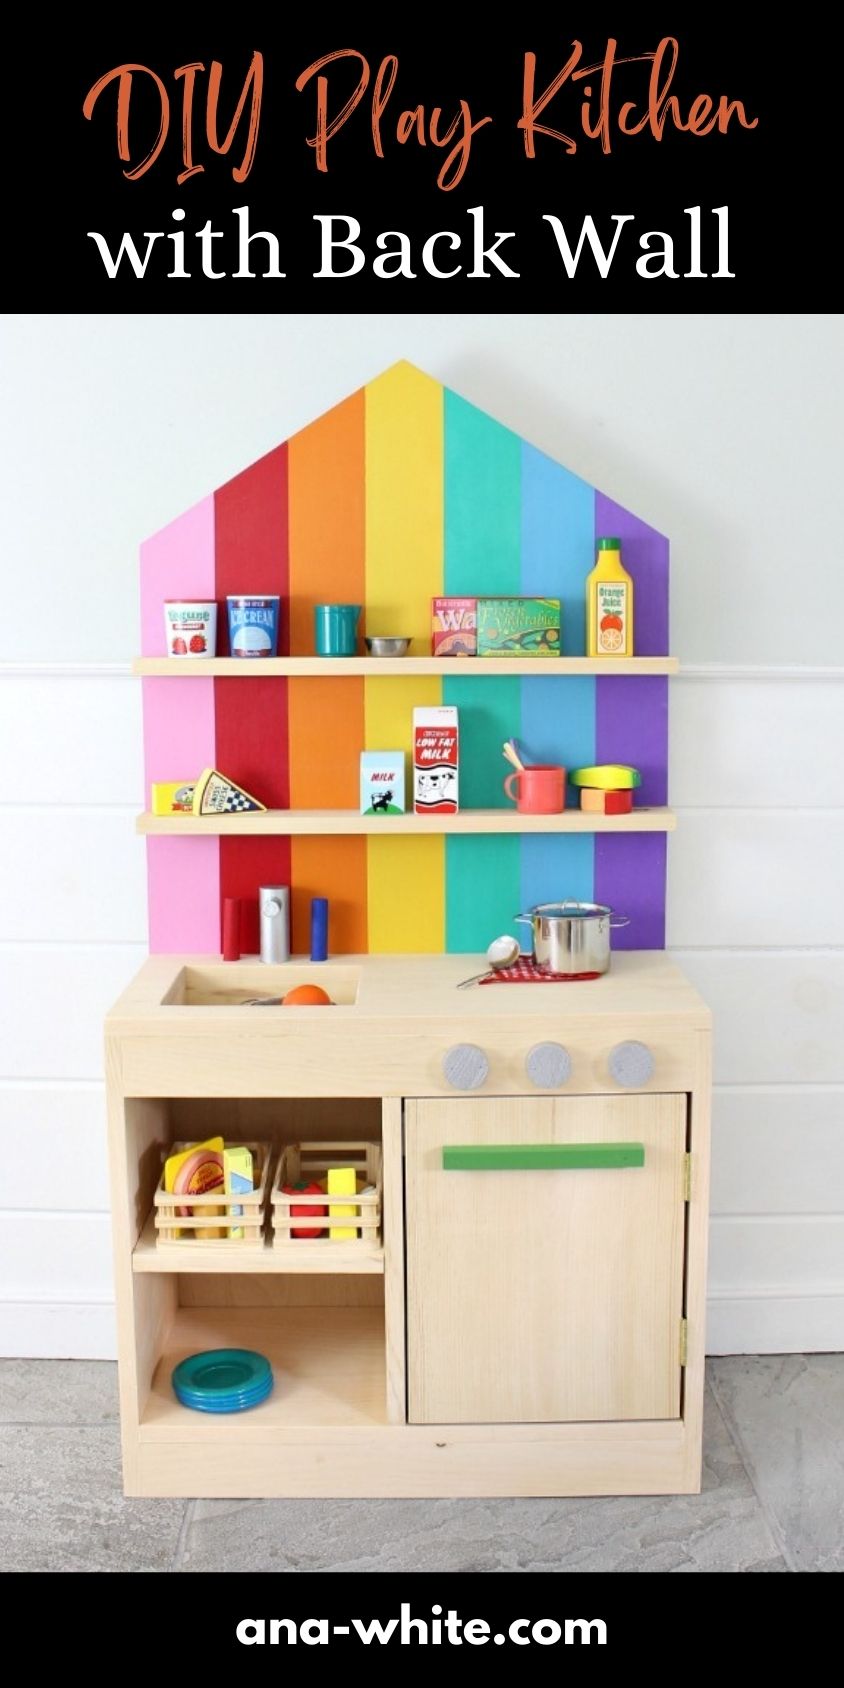
Pin For Later!
Preparation
- 12 feet of 1x12
- 8 feet of 1x3
- 1 - 24" x 48" project panel, 3/4" thick (for the back)
- knobs for oven
- handle for oven
- set of hinges for oven door and magnetic clasp
For fasteners, a Kreg Jig with 1-1/4" pocket holes, 2" self tapping wood screws (try SPAX screws) or 2" brad nails in an 18 guage nailer will all work, or a combination, depending on your tool set.
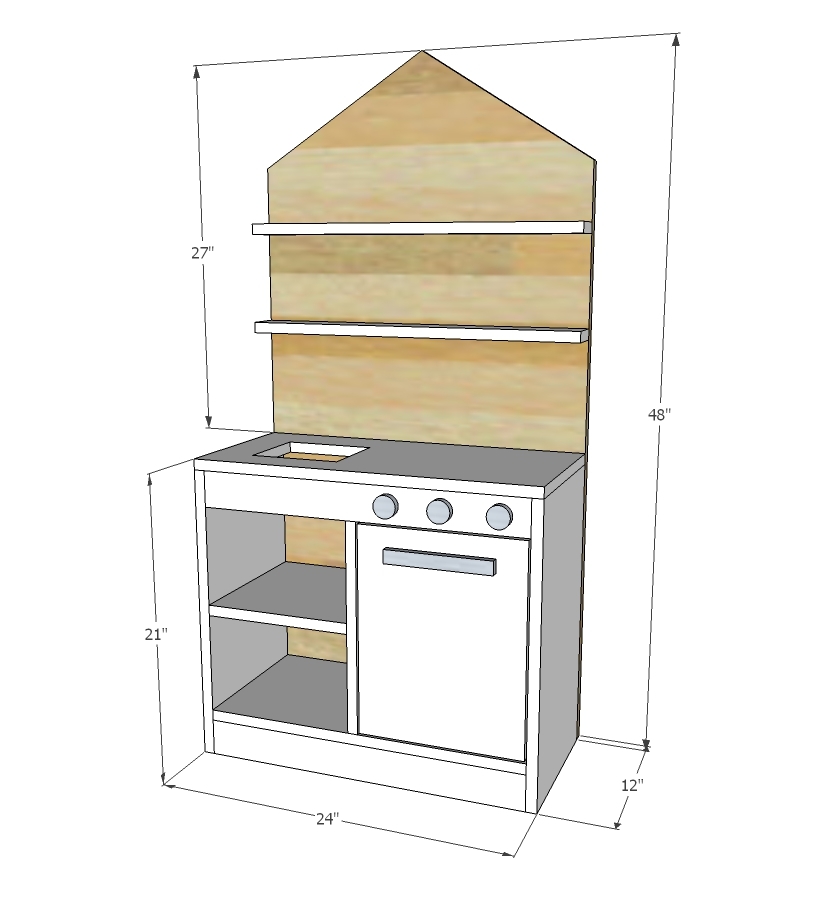
- 2 - 1x12 @ 20-1/4" (sides)
- 1 - 1x12 @ 22-1/2" (bottom shelf)
- 1 - 1x12 @ 24" (top)
- 2 - 1x3 @ 22-1/2" (apron, base)
- 1 - 1x12 @ 10-1/4" (shelf)
- 1 - 1x12 @ 17" (divider)
- 1 - 1x12 @ 14-1/4" (door)
- 1 - 3/4" plywood 24" x 48" (back)
- 2 - 1x3 @ 24" (shelves)


Instructions
Step 1

Build the kitchen box with 1x12 boards. The 1x12s can be attached with Kreg Jig (3/4" setting, 1-1/4" pocket hole screws) or 2" screws or 2" brad nails and wood glue.
Step 2
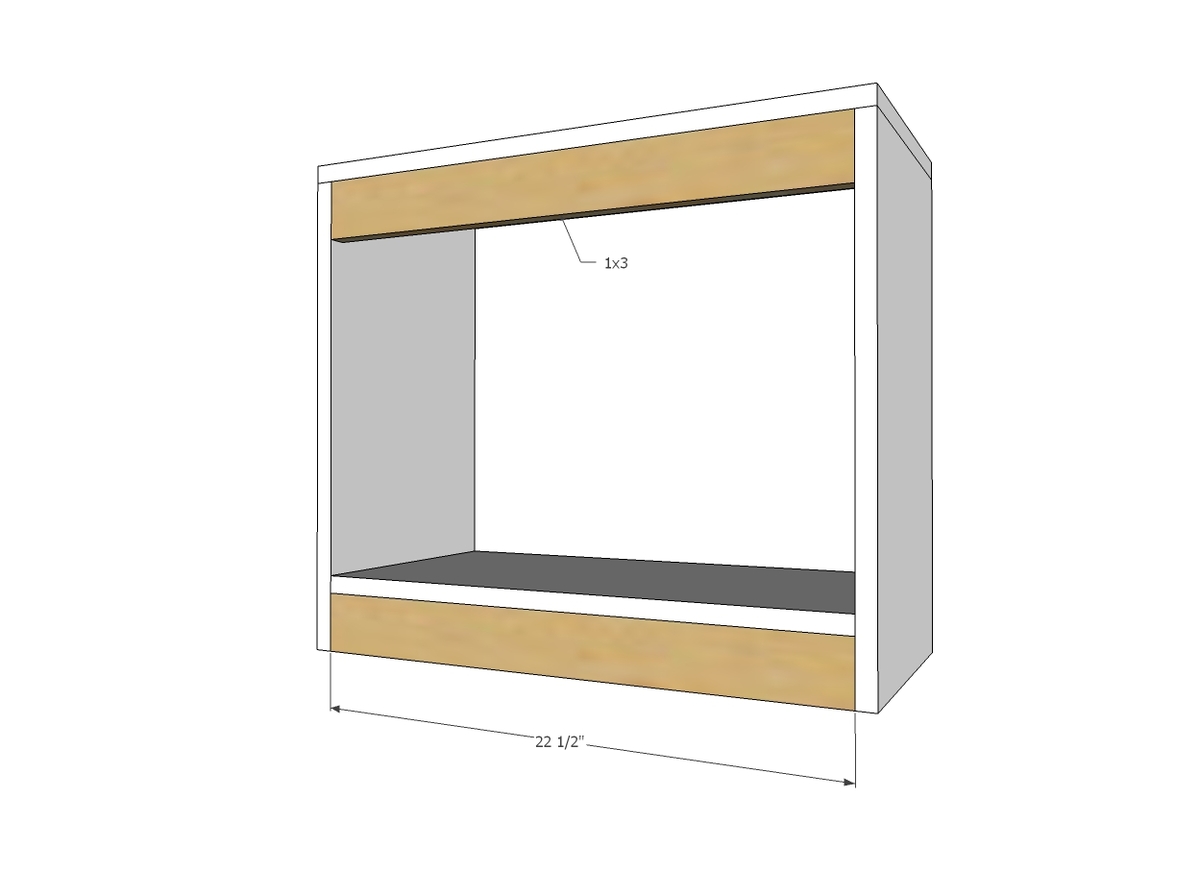
Attach aprons to front of project. Aprons can be attached with finish nails or pocket hole screws.
Step 3

Add the divider and shelf, using same method of attaching.
Step 4

Hinge the door into the opening leaving an even gap around all four sides.
Step 5

Step 6

Attach shelves with screws from back side and wood glue.