My Greenhouse
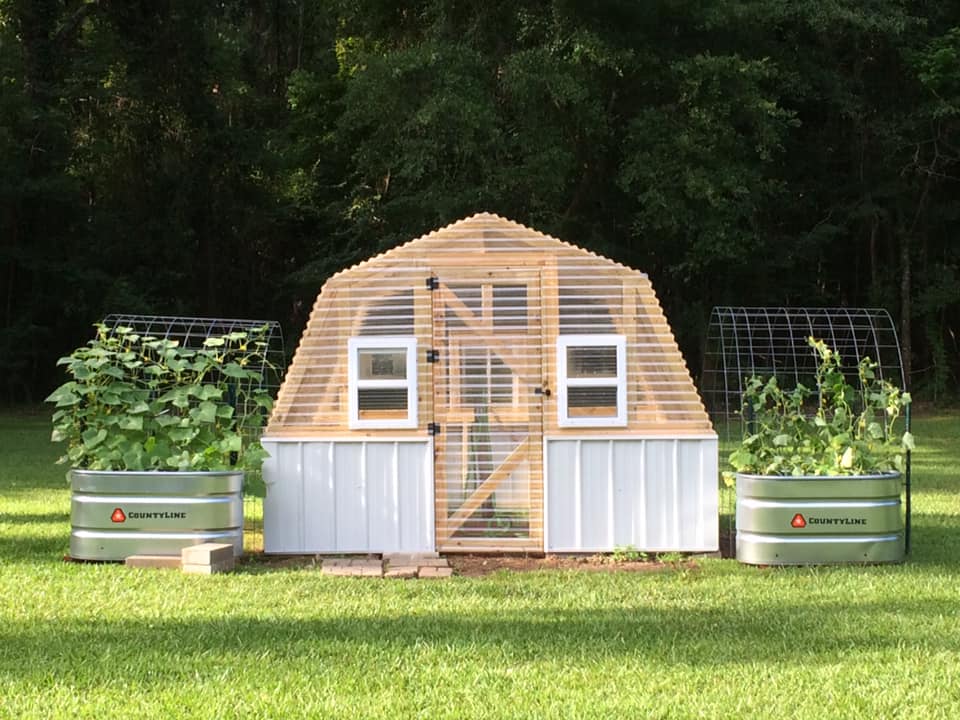
I went from a 6 x 8 Harbor Freight Greenhouse to this one 10 x 12. I added a few windows...
Built from Plan(s)
Seasonal And Holiday
I went from a 6 x 8 Harbor Freight Greenhouse to this one 10 x 12. I added a few windows...
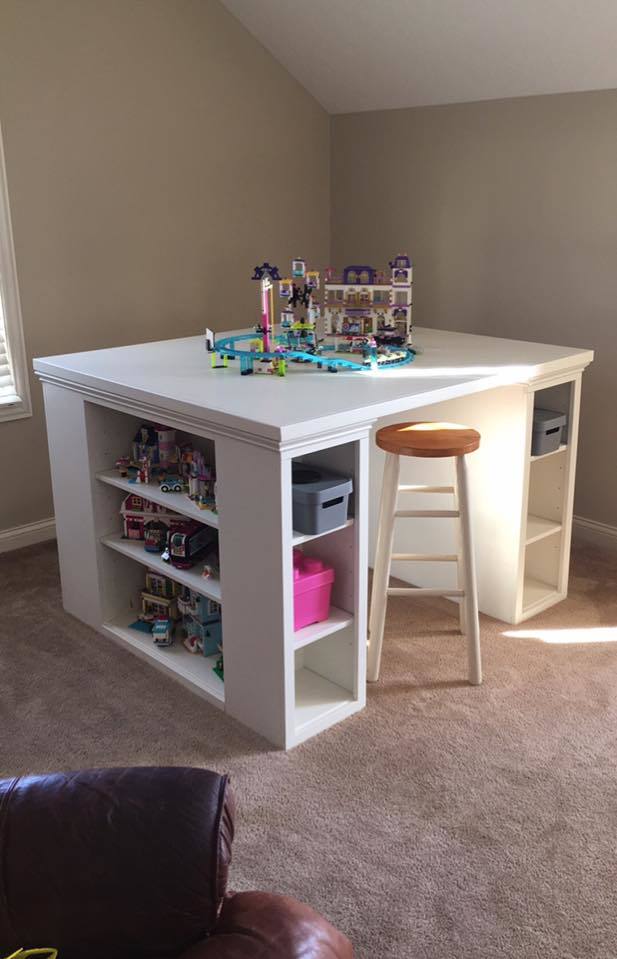
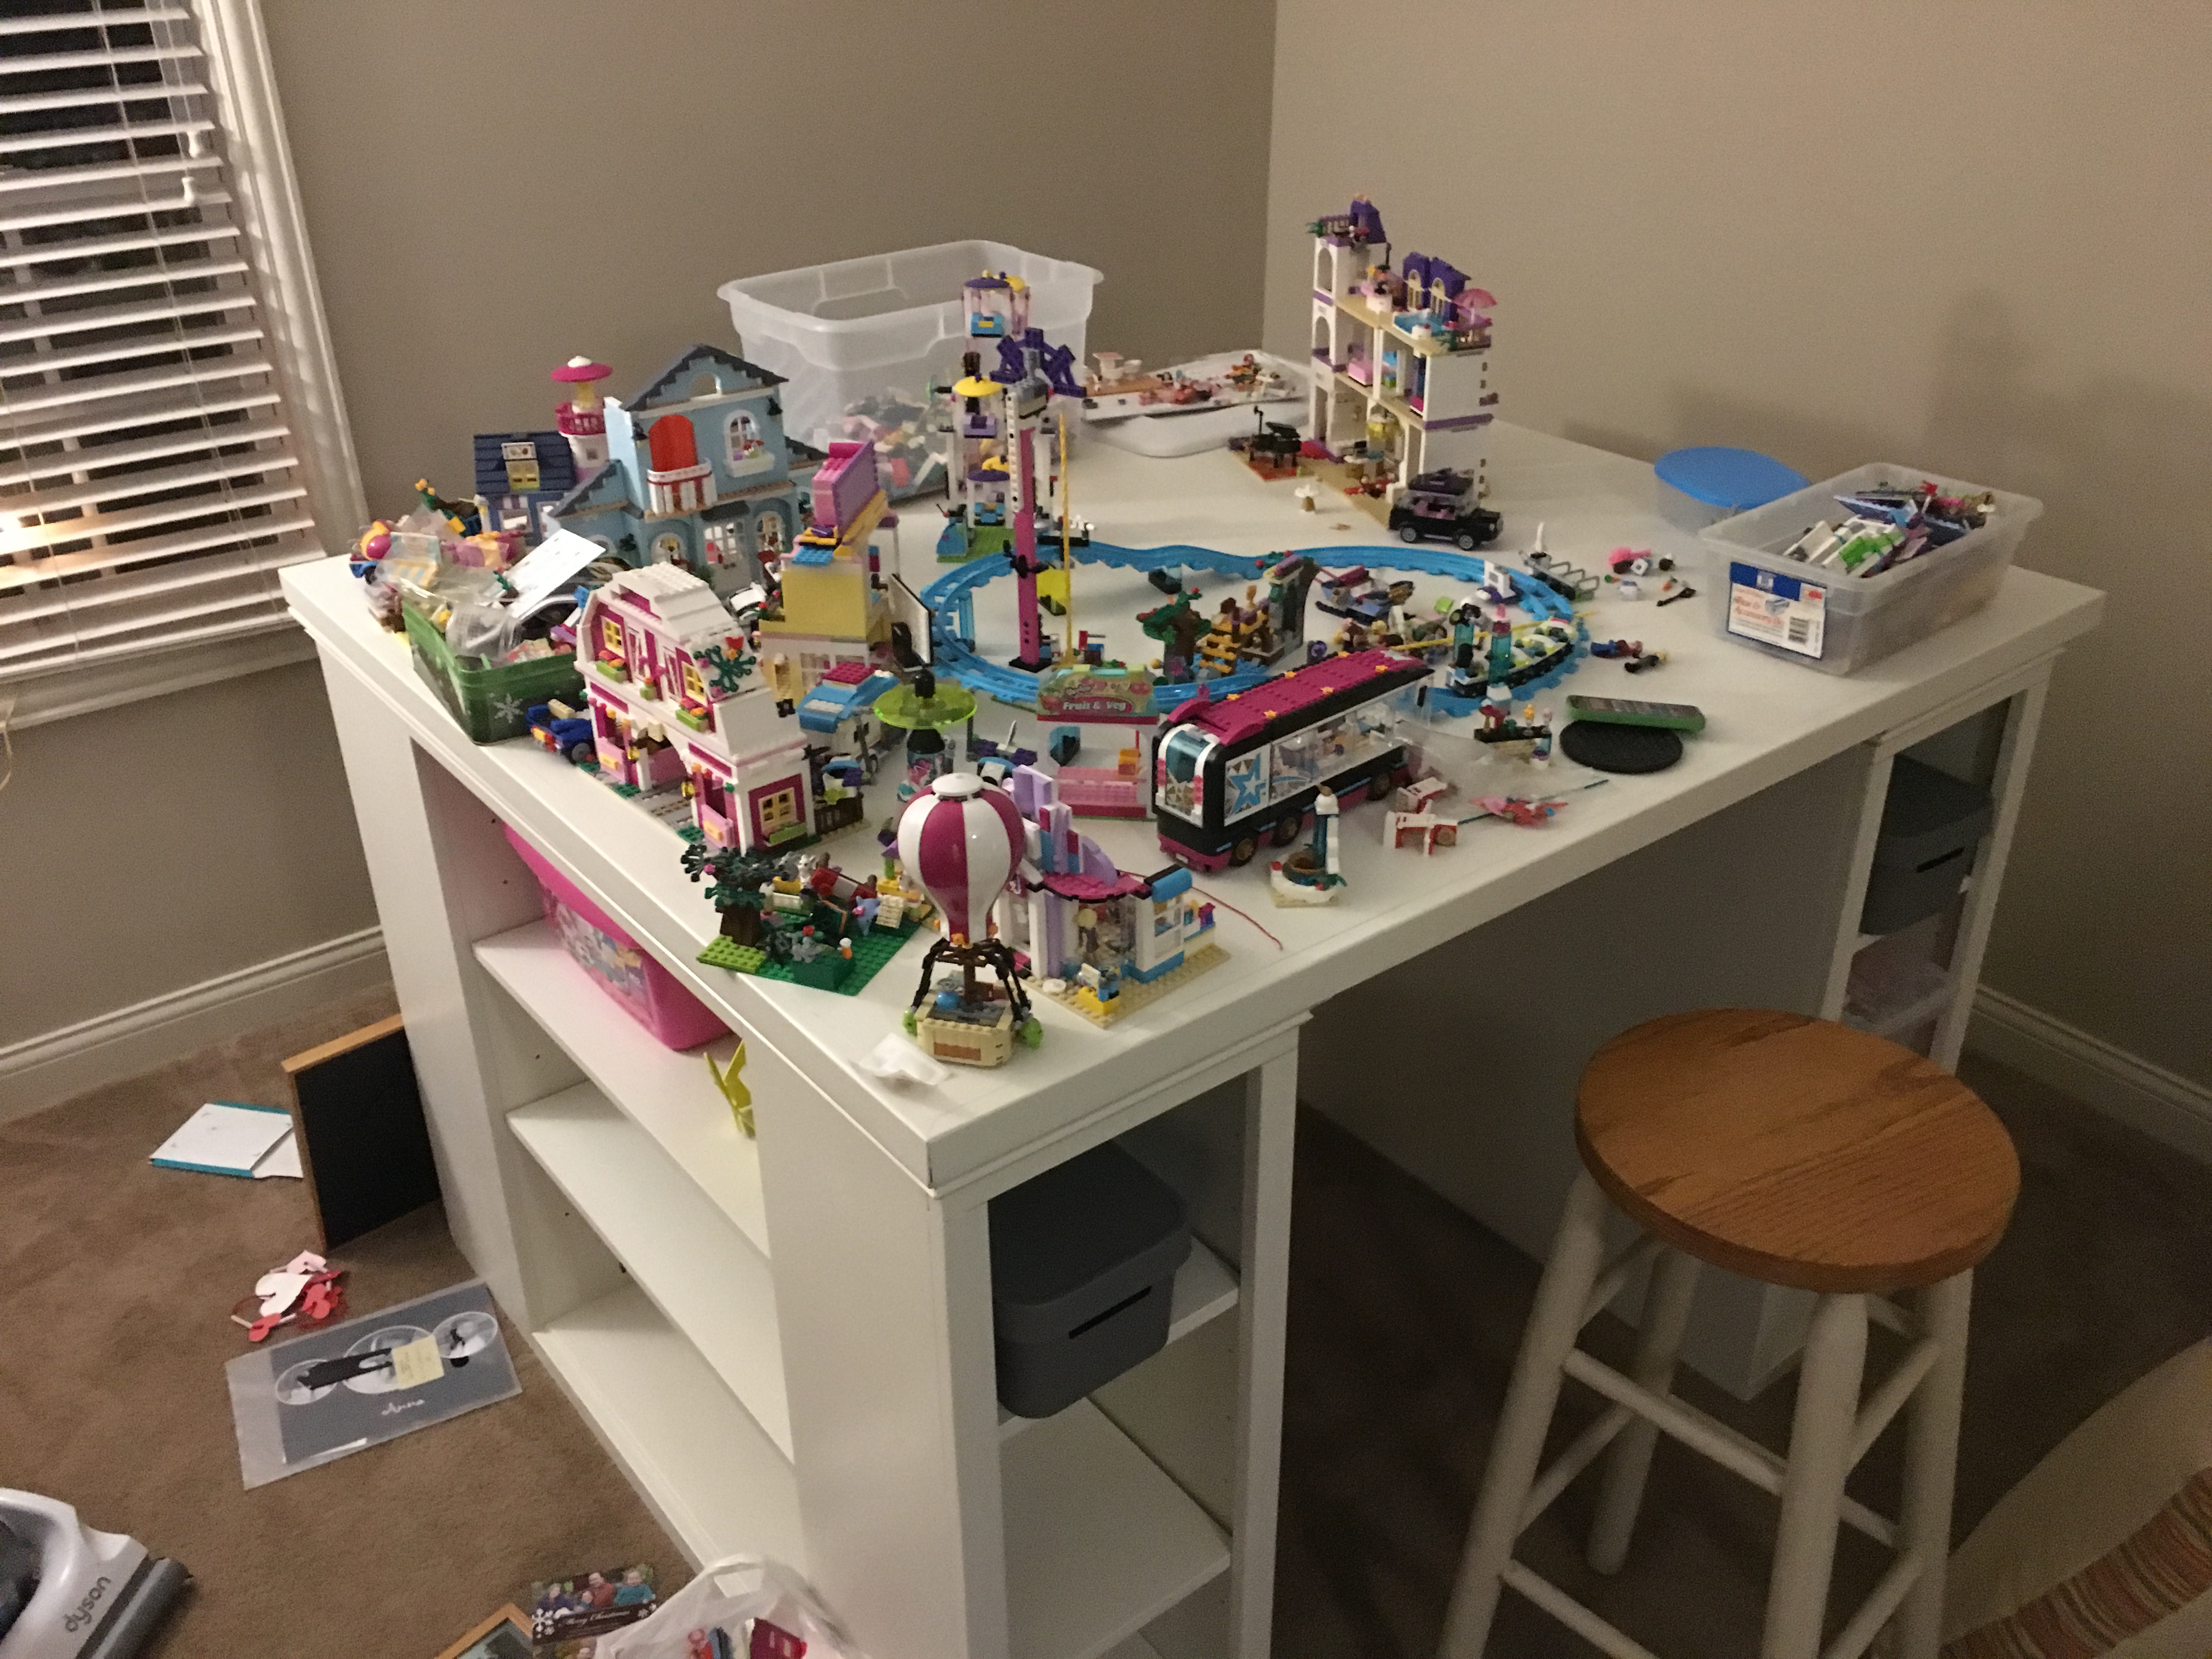
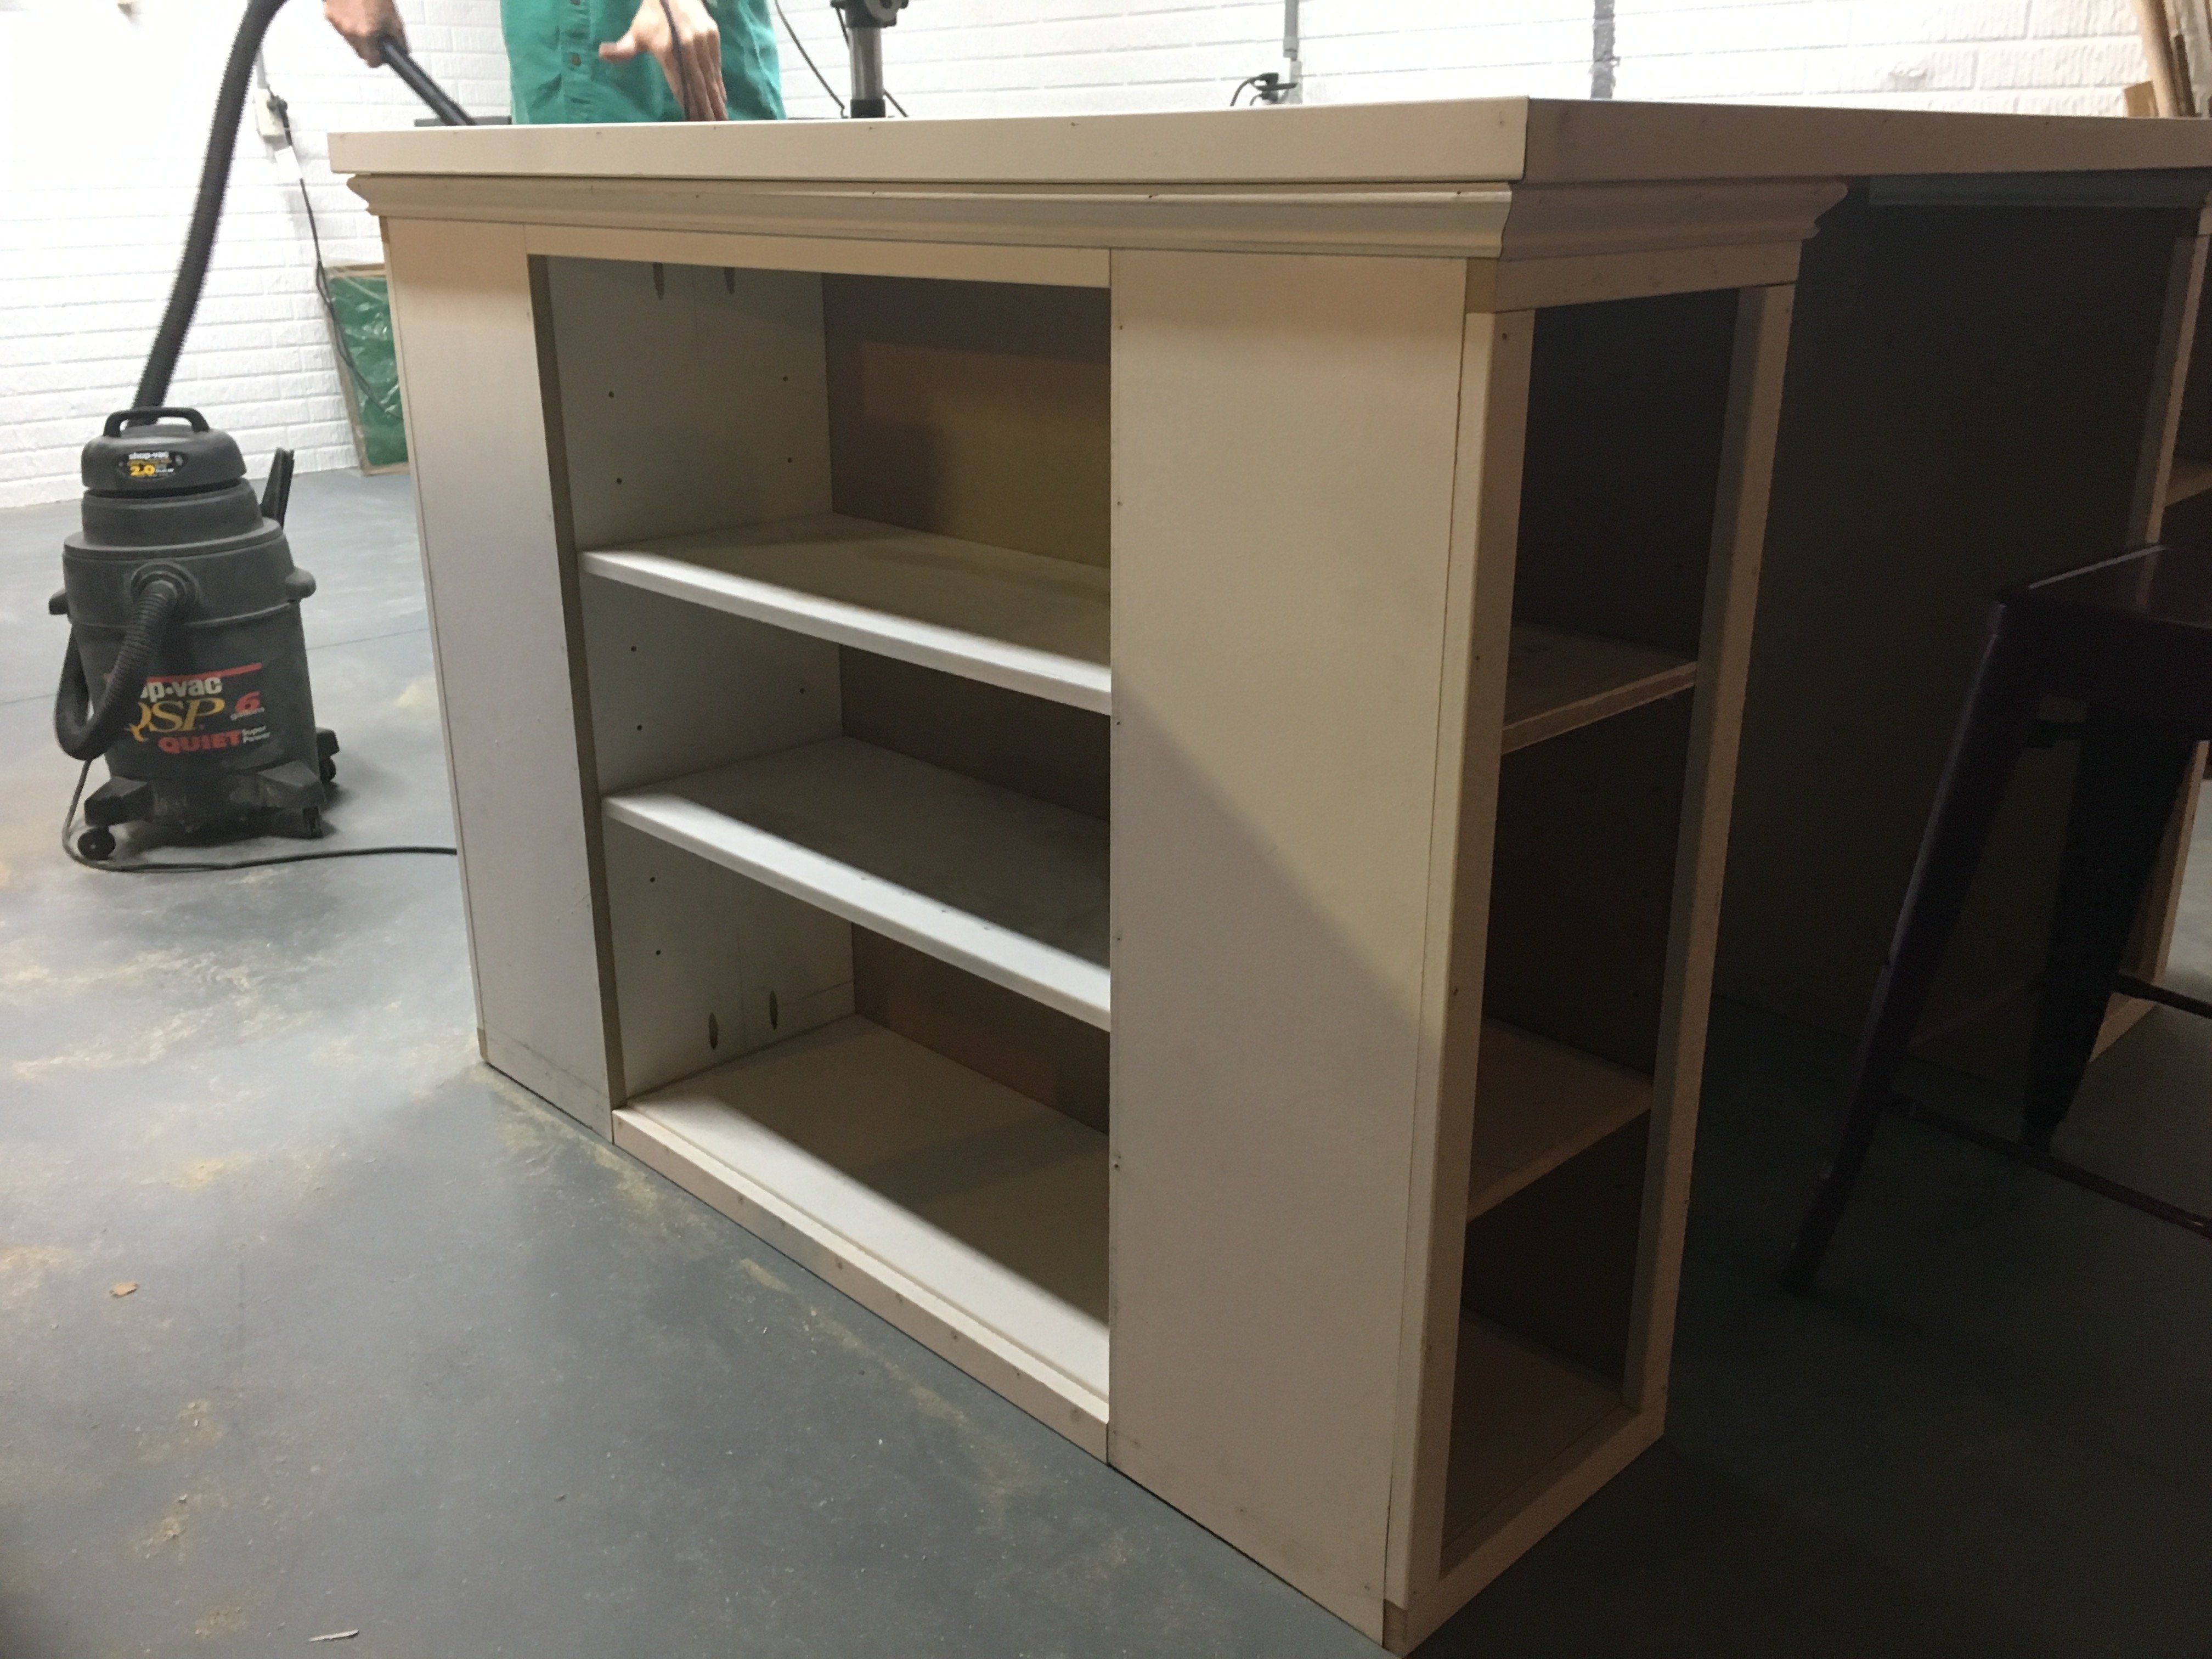
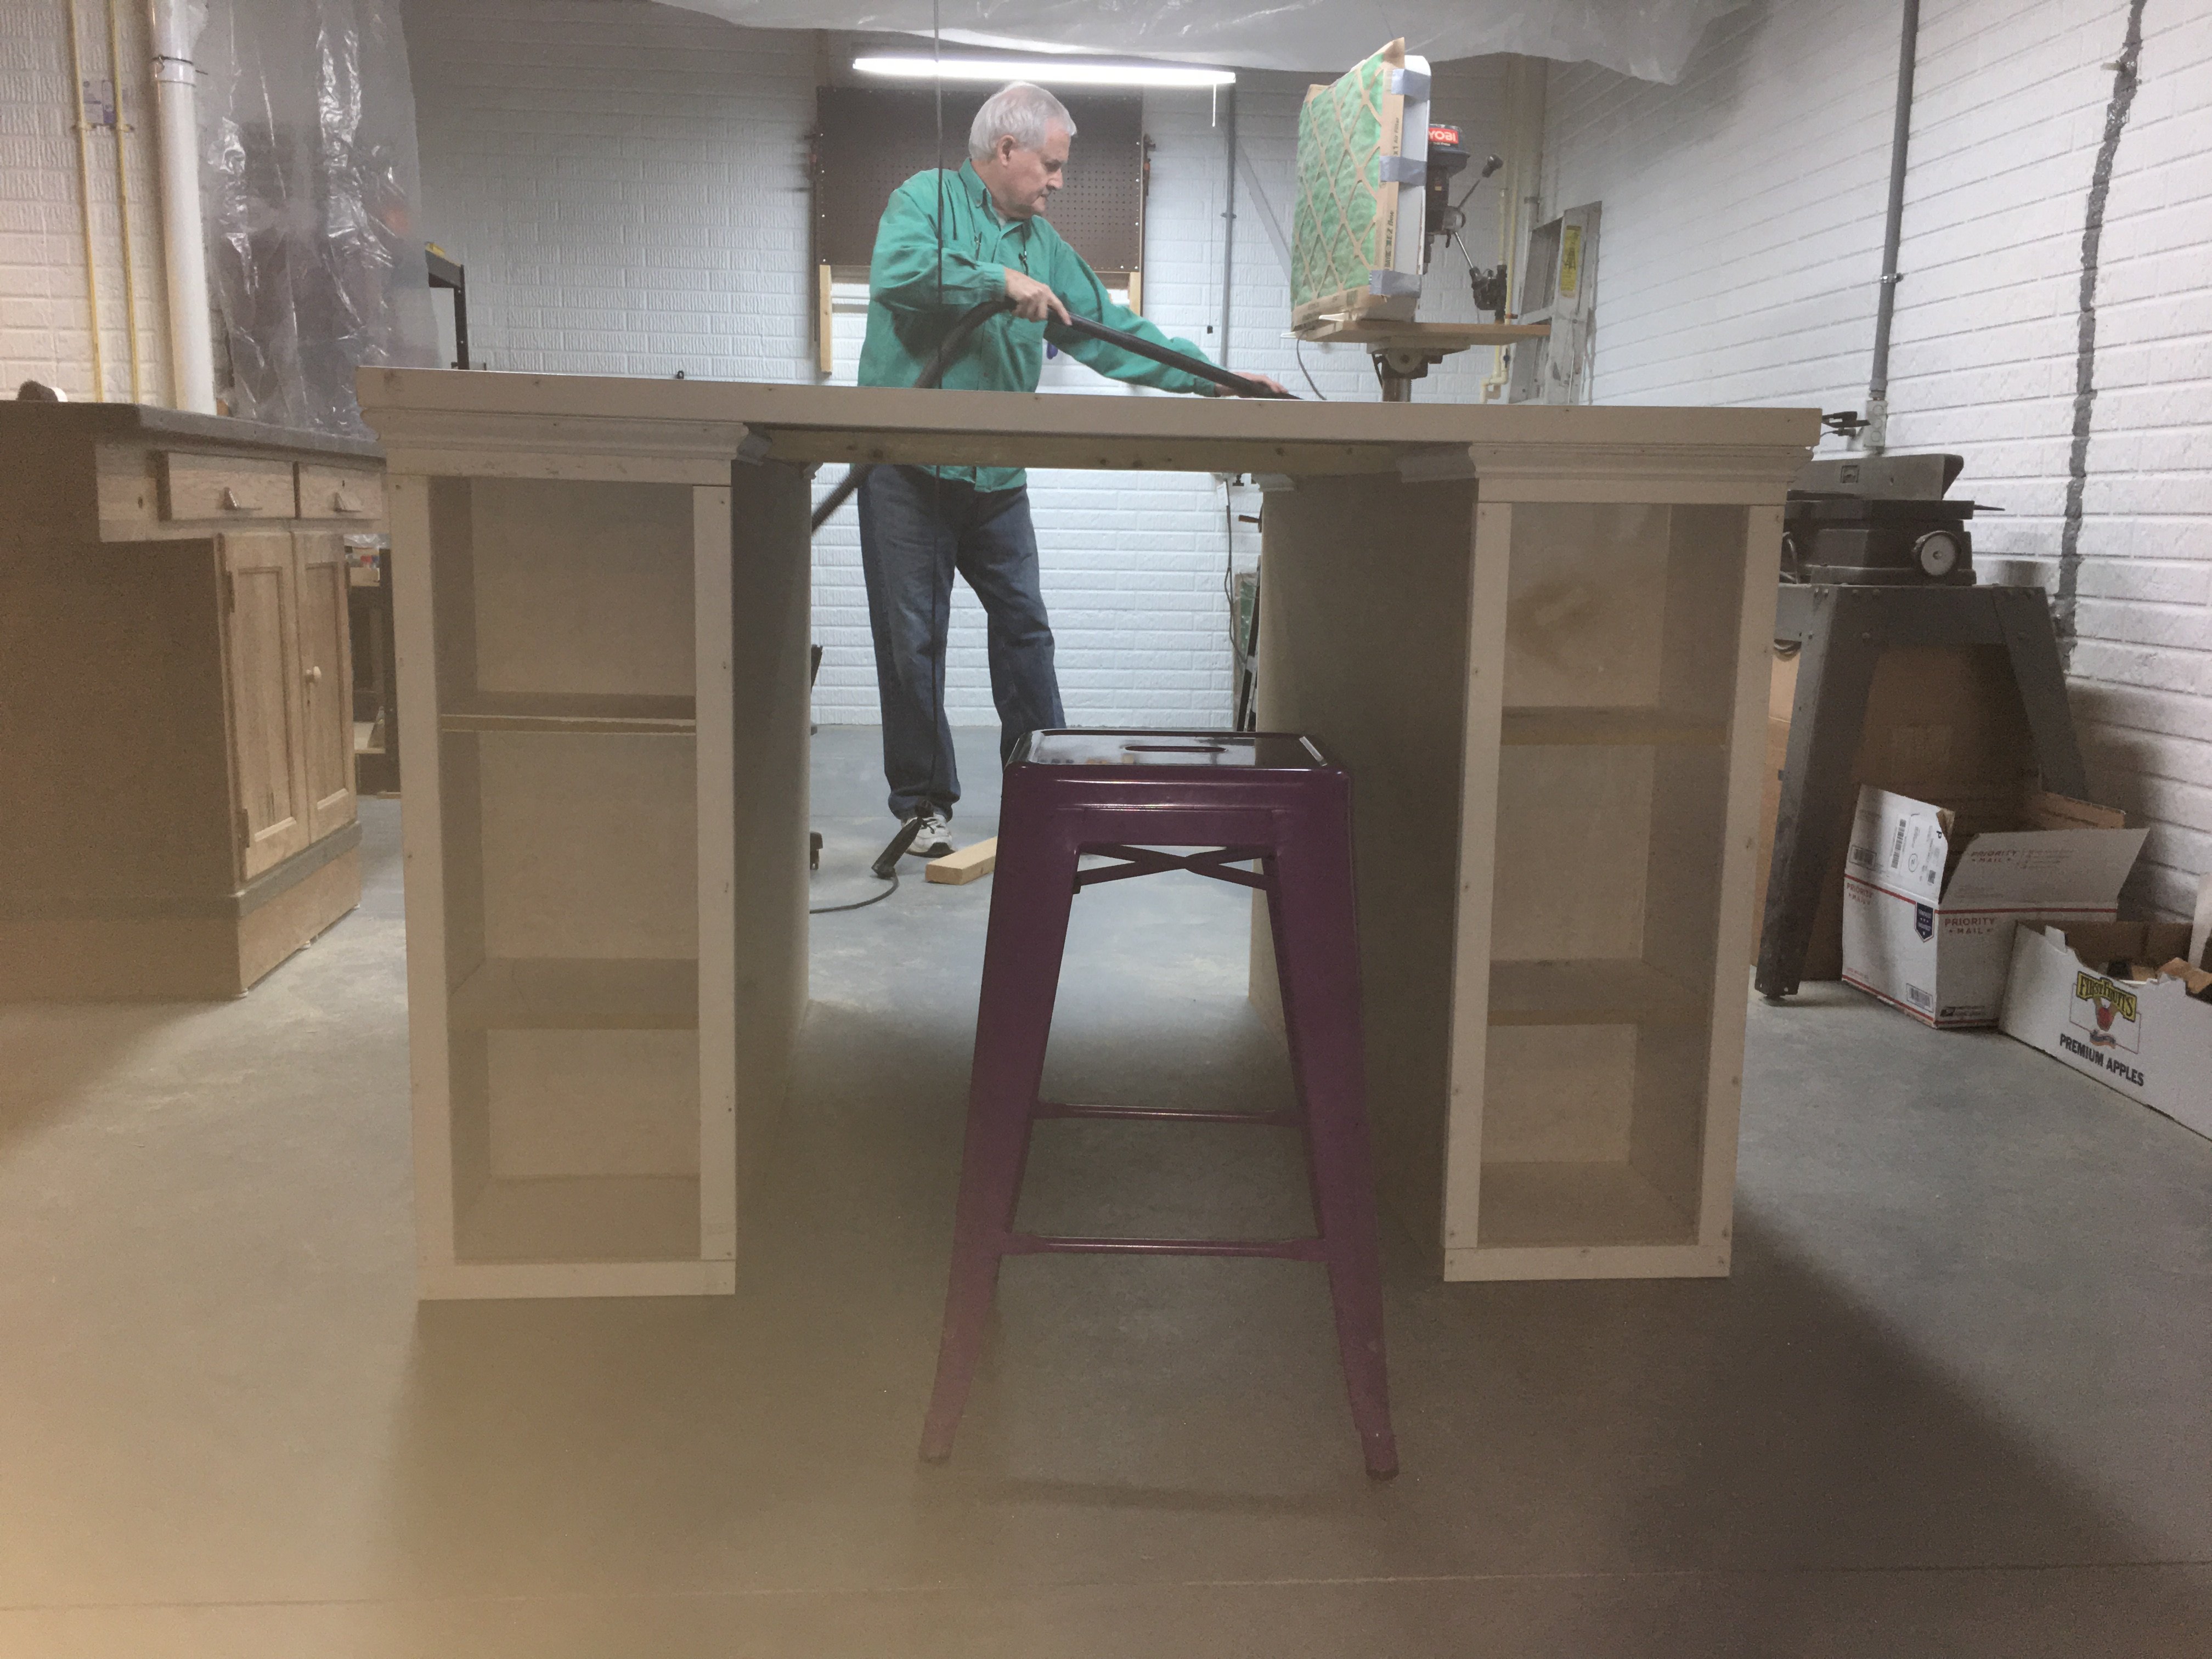
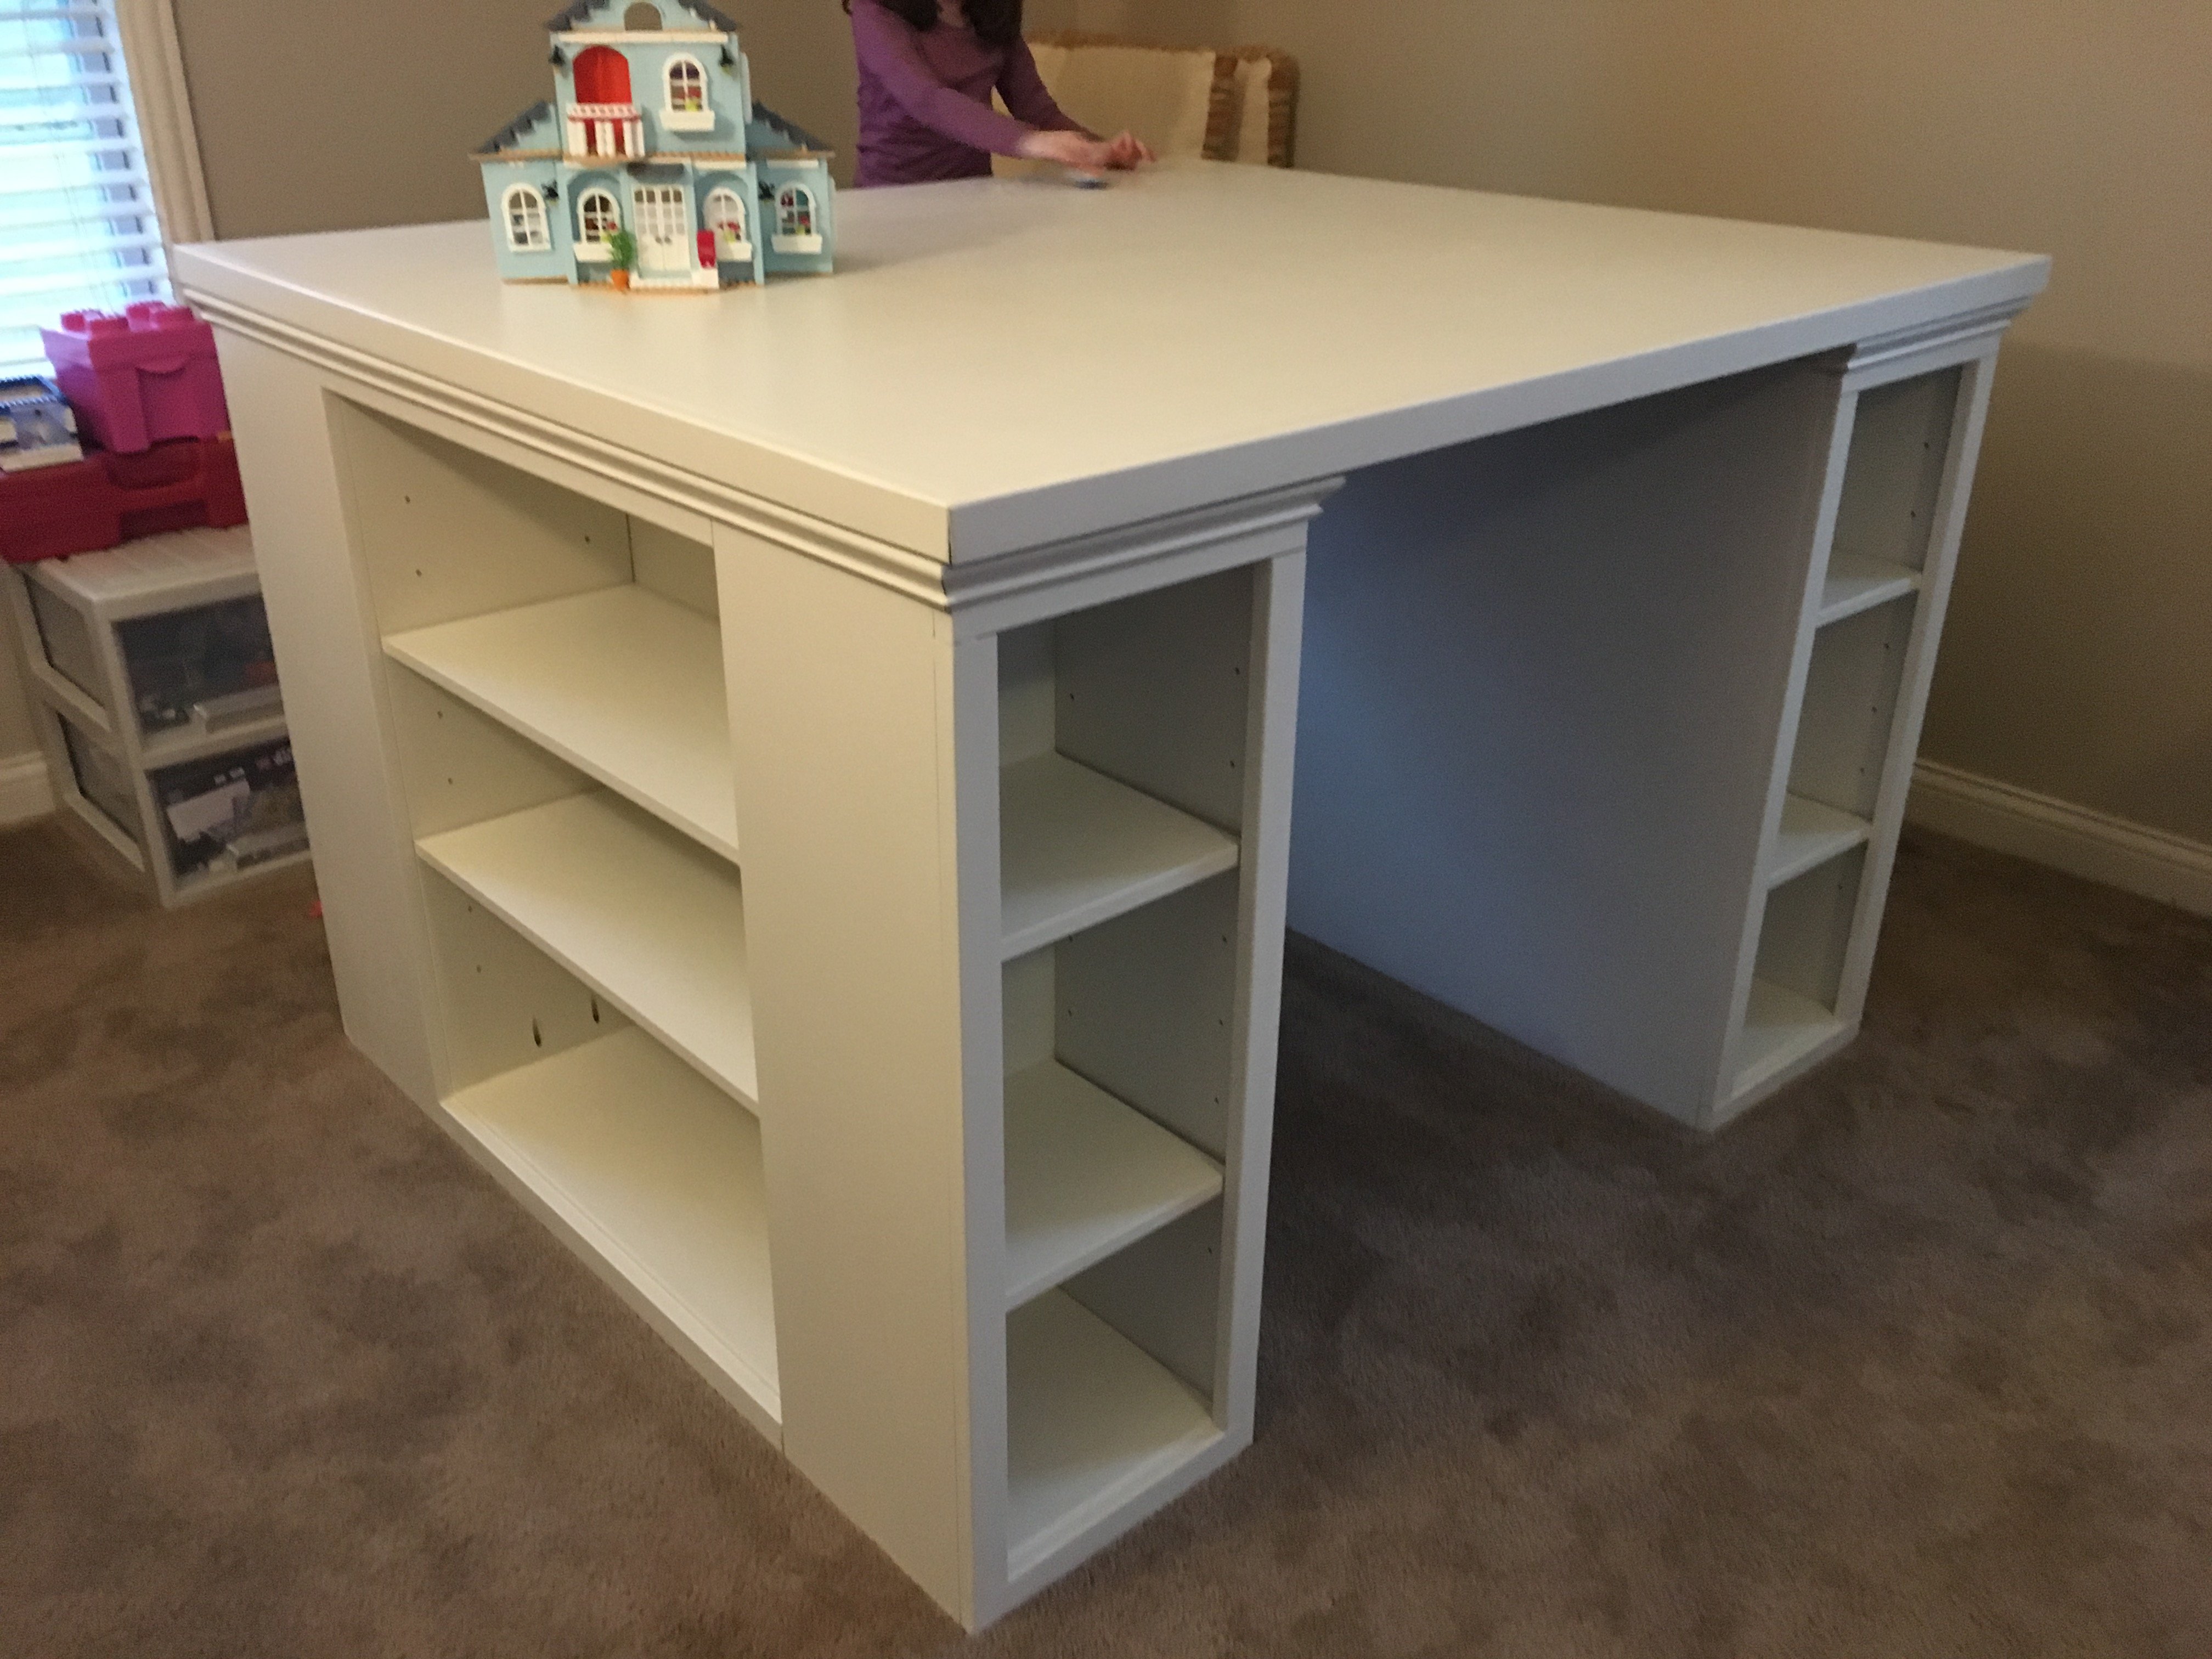
This is my more traditional take on the modern craft table (I guess that means it isn't technically "modern"!). We call it the "Lego Table" at our house. I doubled up the ends like others have so that my two daughters can have their own sides. My wife asked that the there be backs on the side shelves so that items aren't pushed off. I also added trim around the tabletop and molding to give it a bit more traditional appearance. Finally, I made the shelves adjustable.
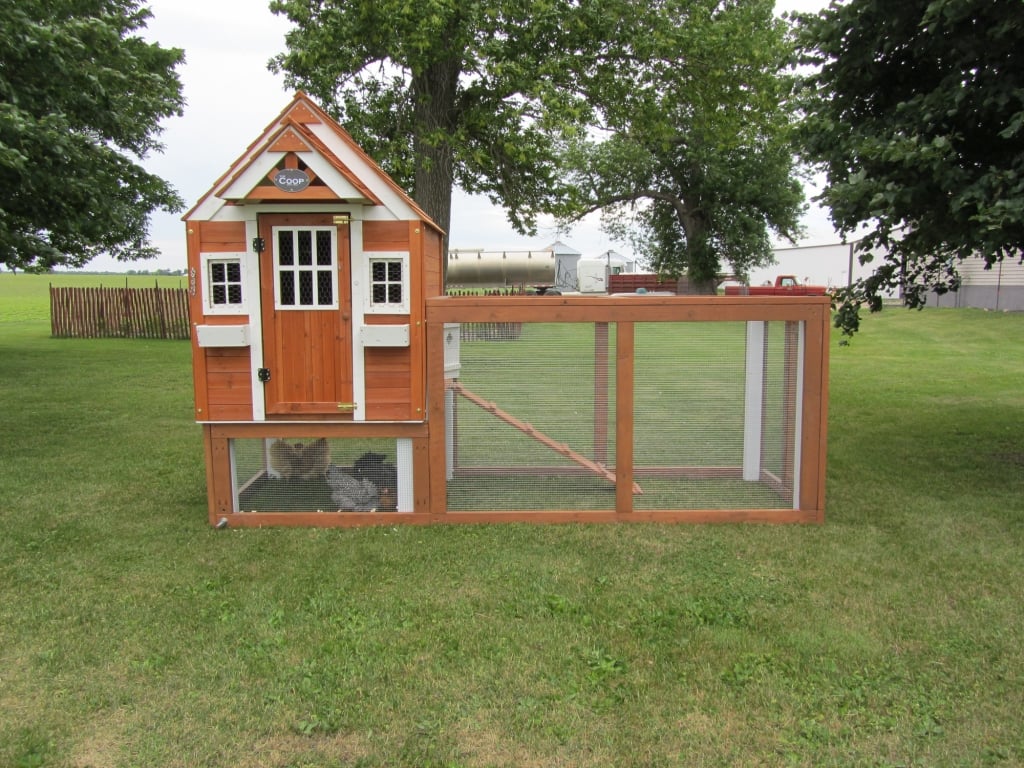
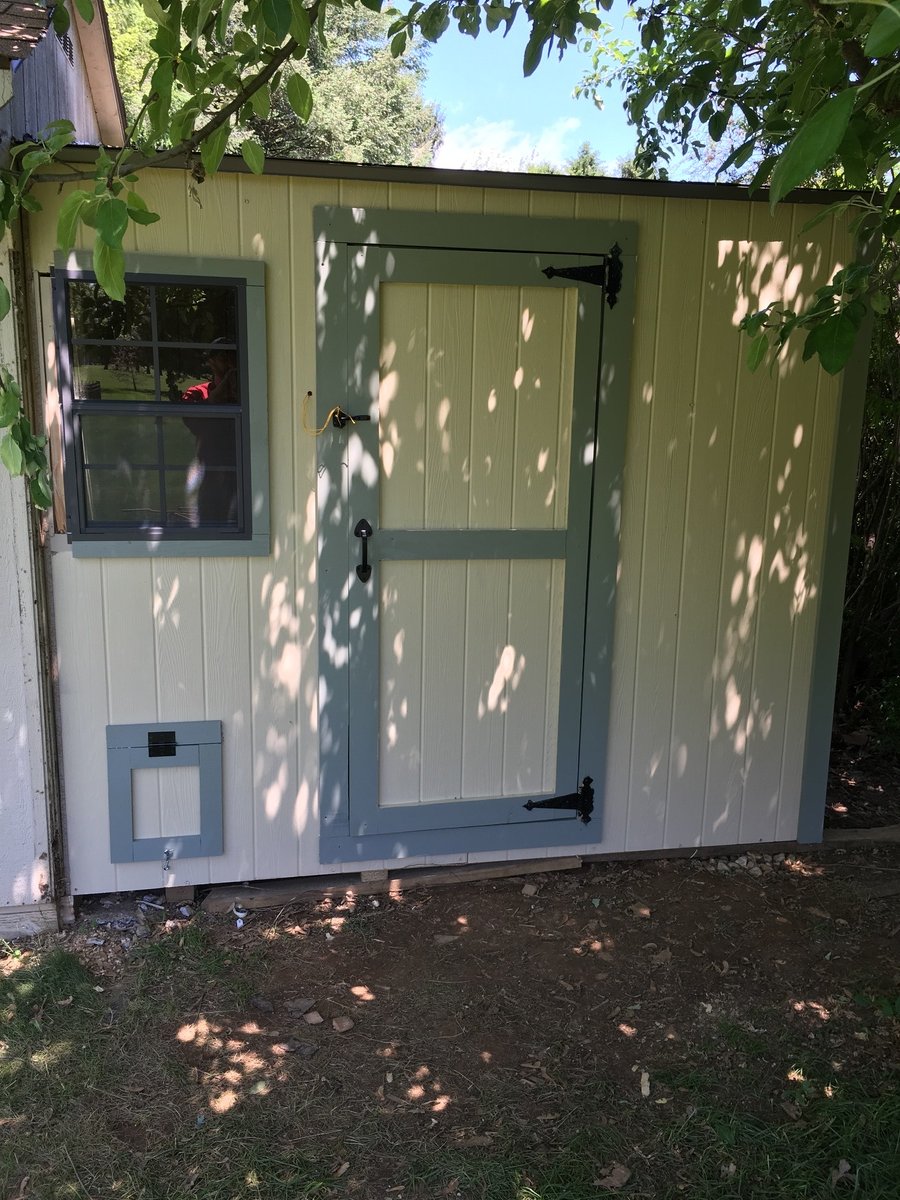
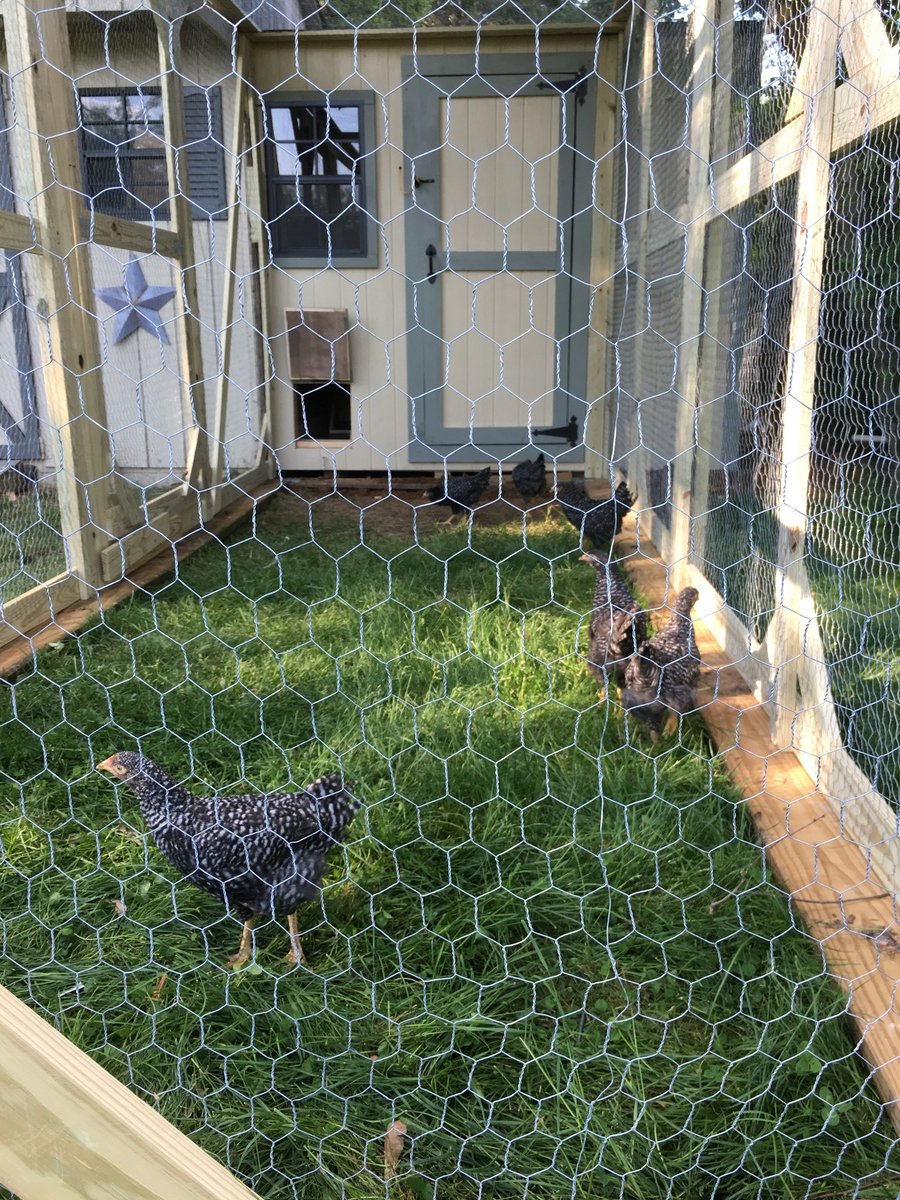
My husband and I live on a small hobby farm and are growing/raising a lot of our own food. We decided to venture into working with chickens. We wanted to start out small so we got 6 chickens and needed a home for them. We found a kids play house one day while shopping and got the idea of modifying it into a chicken coop with a run. We took off with this idea and with quite a bit of modification and some extra building materials we were able to raise it up in the air and attach a run so our chickens would have a nice home to protect them from preditors and the emements and not to mention one that looks good in our yard!

In reply to OMG! by benfoldsfivealive
Wed, 05/27/2015 - 18:42
Building chicken coop doesn't have to be expensive. Just get the easy-to-follow plan from this:
http://bit.ly/how-to-build-cheap-chicken-coop
Fri, 06/17/2011 - 21:26
Looks awesome! I just spent the evening building a coop for 4 hens of my own!
Tue, 02/21/2012 - 19:08
Are the plans available? I have Black Copper Marans and Lavender Ameraucanas and I really need to separate the LAs from the BCMs and this would be perfect!
Sun, 02/26/2012 - 18:00
When I click the link to get the plans for the standard coop, they are not there. Do you know where I can find the original plans? Thanks.
Tue, 02/28/2012 - 10:20
Yes - would love the plans please!!!
It's gorgeous - great job!
Sat, 06/02/2012 - 15:22
Sorry guys there are no plans for this coop. My husband and i just "winged it" and built it without any plans.
It is a play house that we found at Mills Fleet Farm and we modified it to make it a chicken coop. We put together the play house based on instructions from the box (with a few of our own modifications to make the window on the ground etc.) added some chicken wire to the doors and bay window, added some 4x4 "stilts" and a floor to get the house in the air, and constructed a frame around it with 2x4's and wire fencing to make the run
Sorry I dont have any plans to give you guys!
The project was used using the same plans but I extended the floor to be 6 feet wide vice 4 feet the additional 2 feet provided the perfect amount space I wanted. I also added an extra windows to get cross ventilation. I also insulated the coop and put paneling on the walls and lenolium on the floors. I dropped the back wall sheeting 1.5 inches for additional airflow since the shed doesn't have a ridge vent. The plans are easy to follow and easily adaptable.

Thu, 07/02/2020 - 11:29
Great job! We are getting ready to build a coop for our chickens which arrive in 3 weeks!
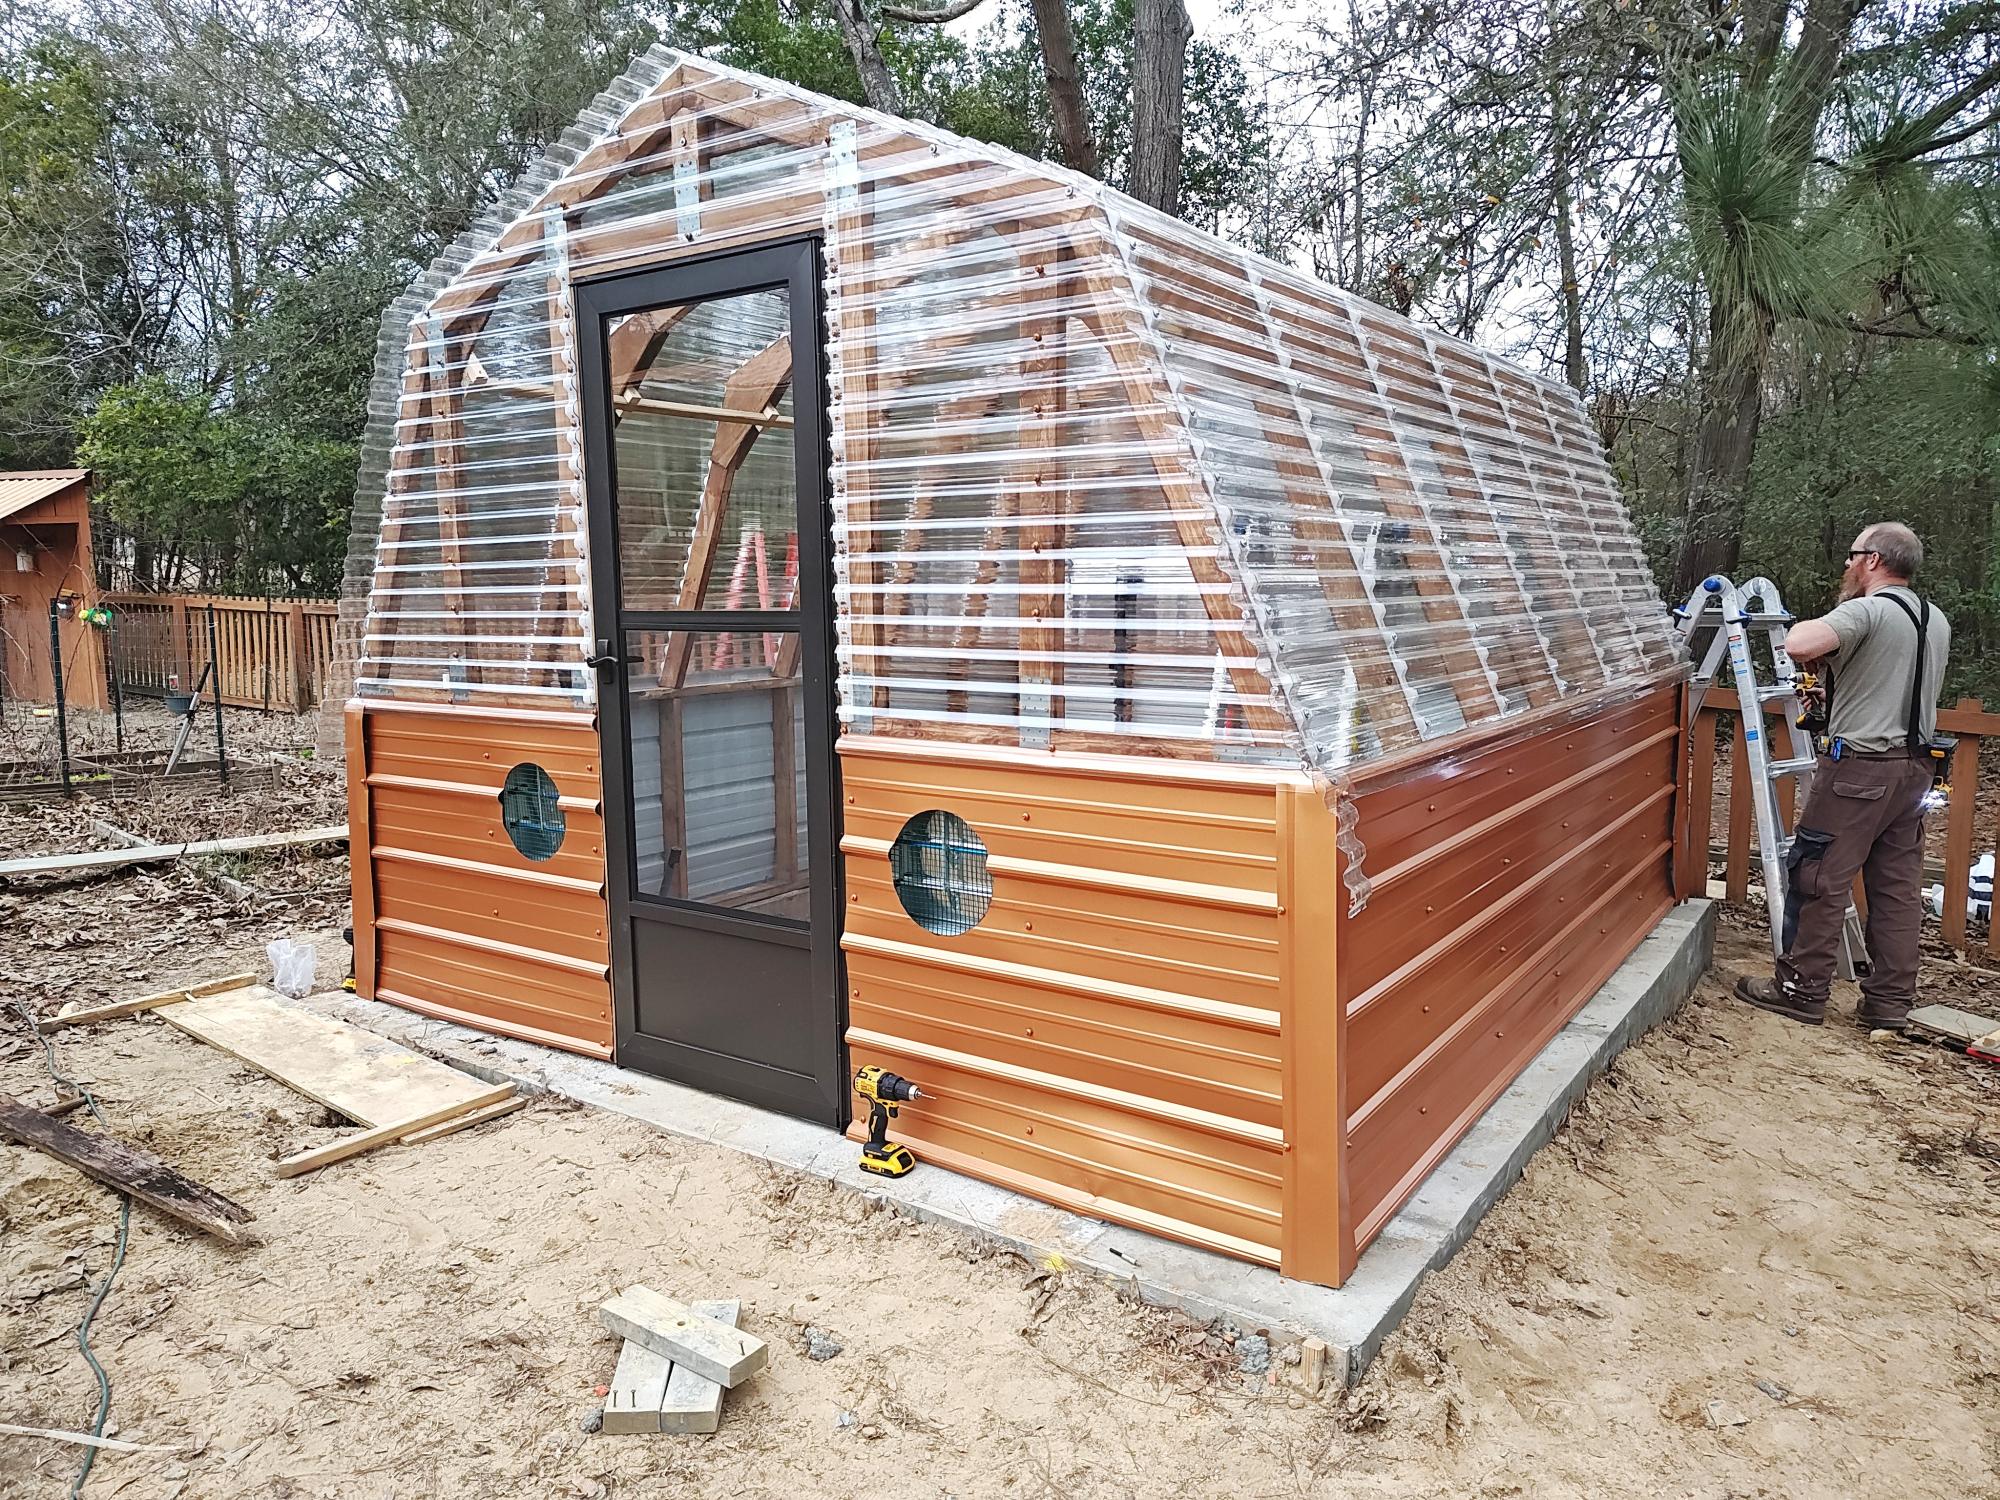
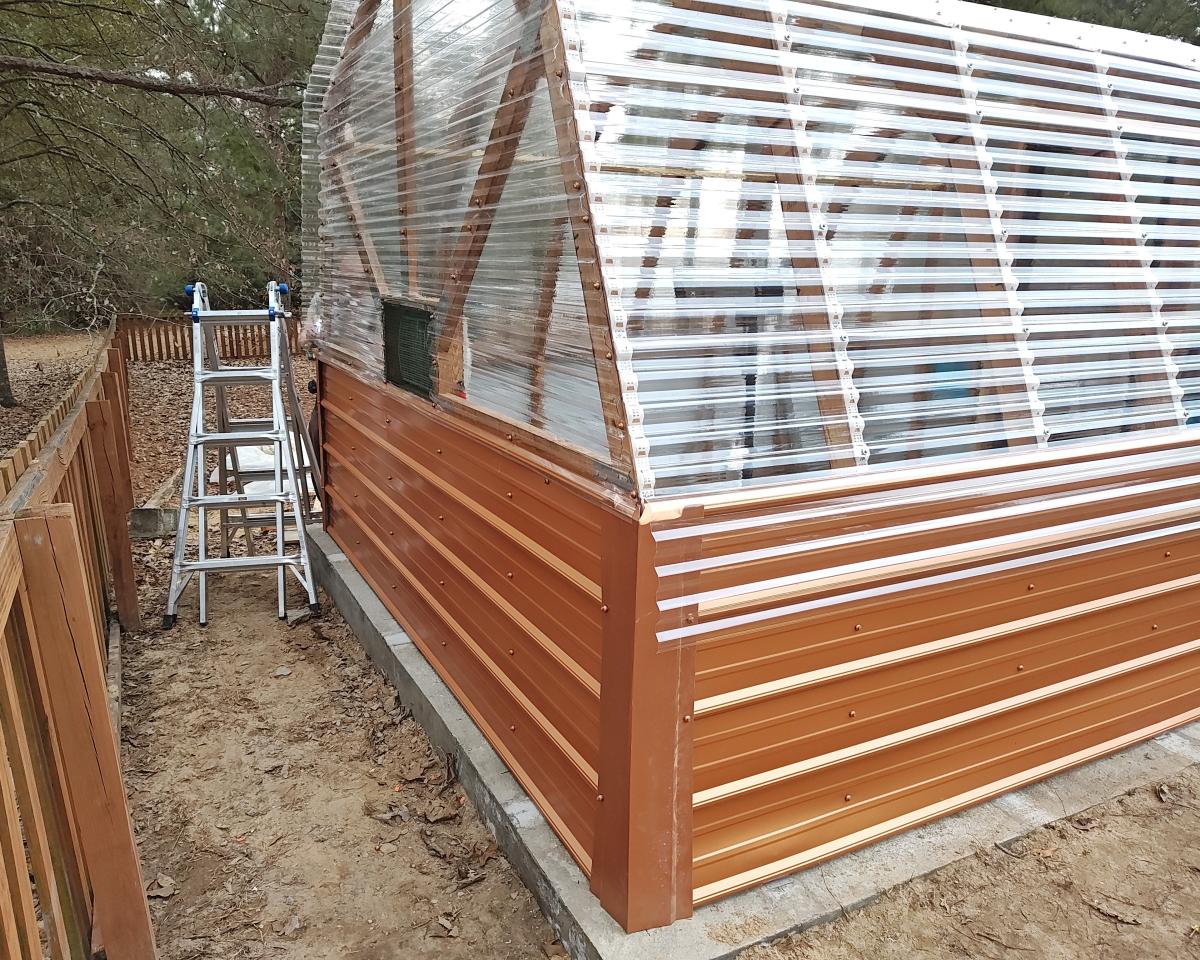
A variation on your barn style greenhouse. I included a cooling fan with intake louvers, temperature controlled heater and grow lights. Also used anchor bolts embedded in concrete footer.
David Buckmaster d [email protected]
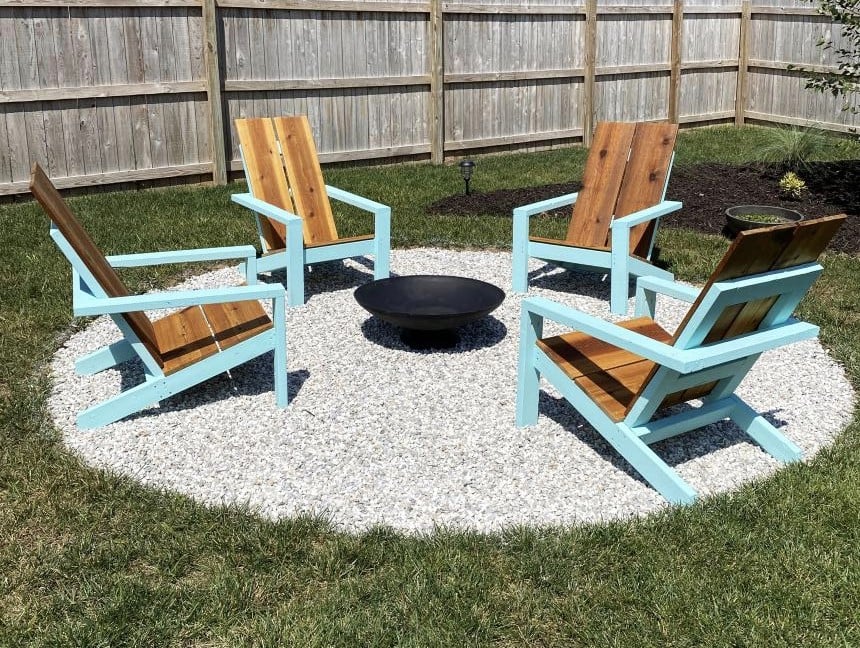
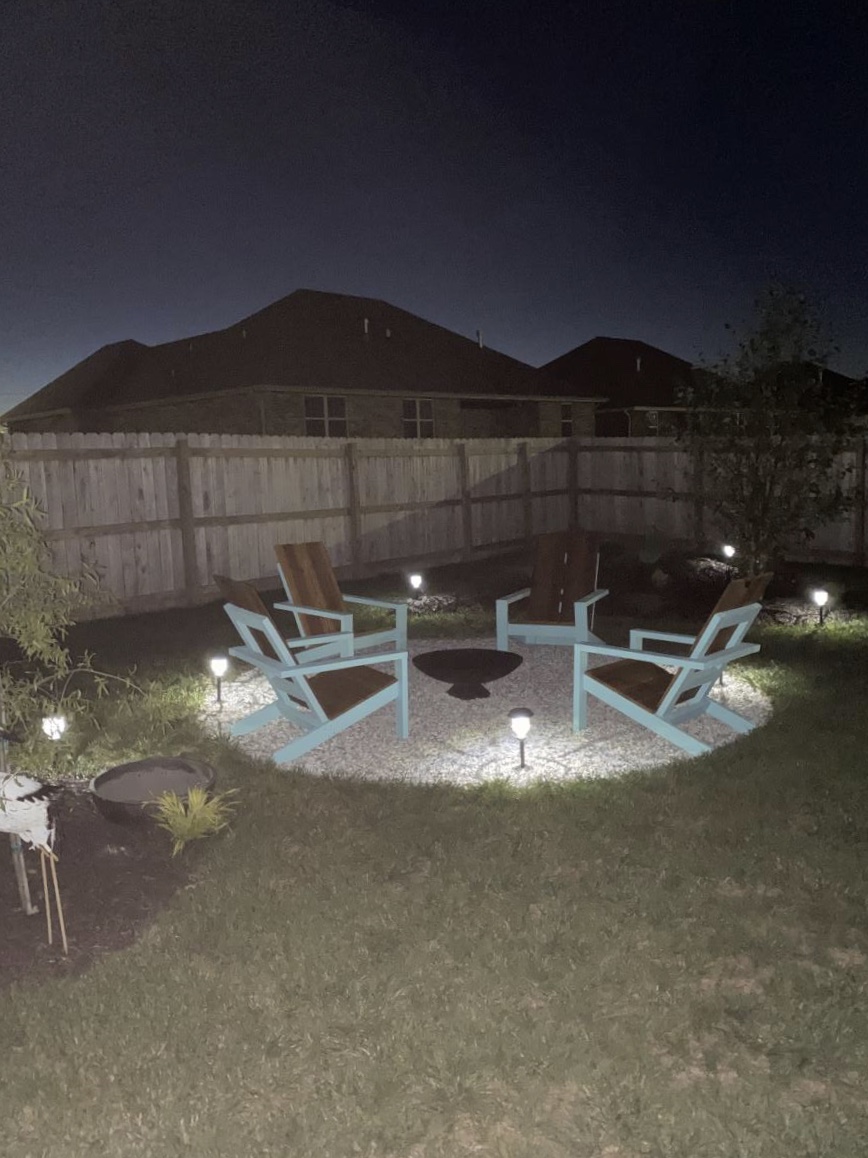
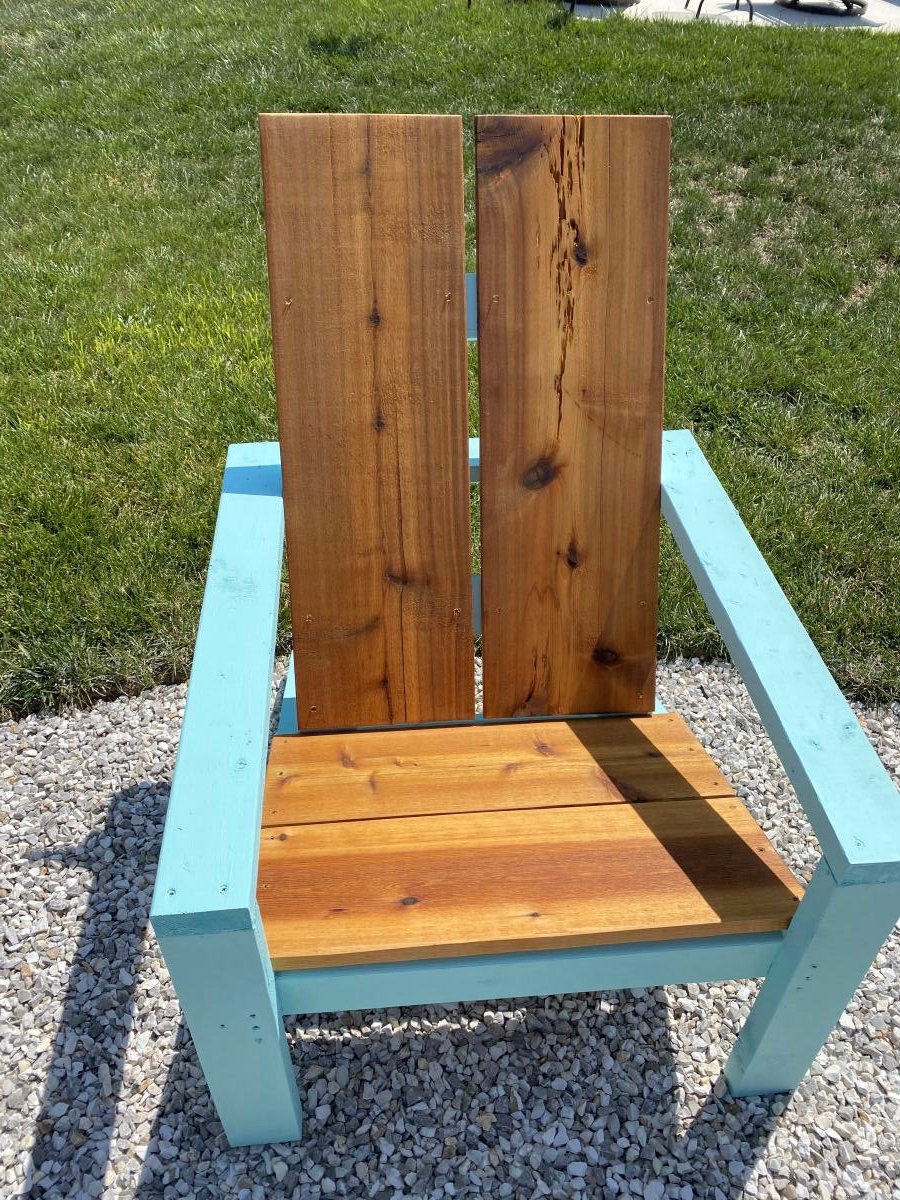
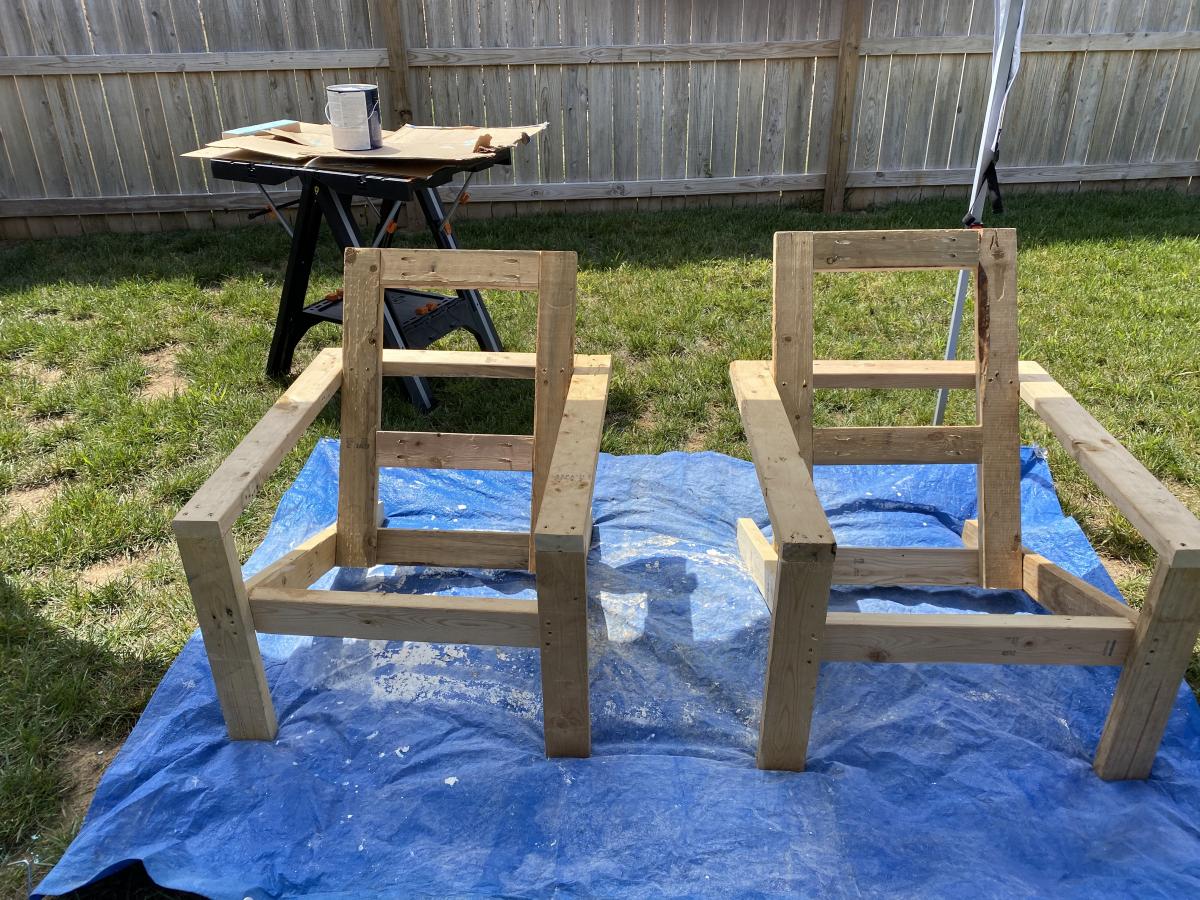
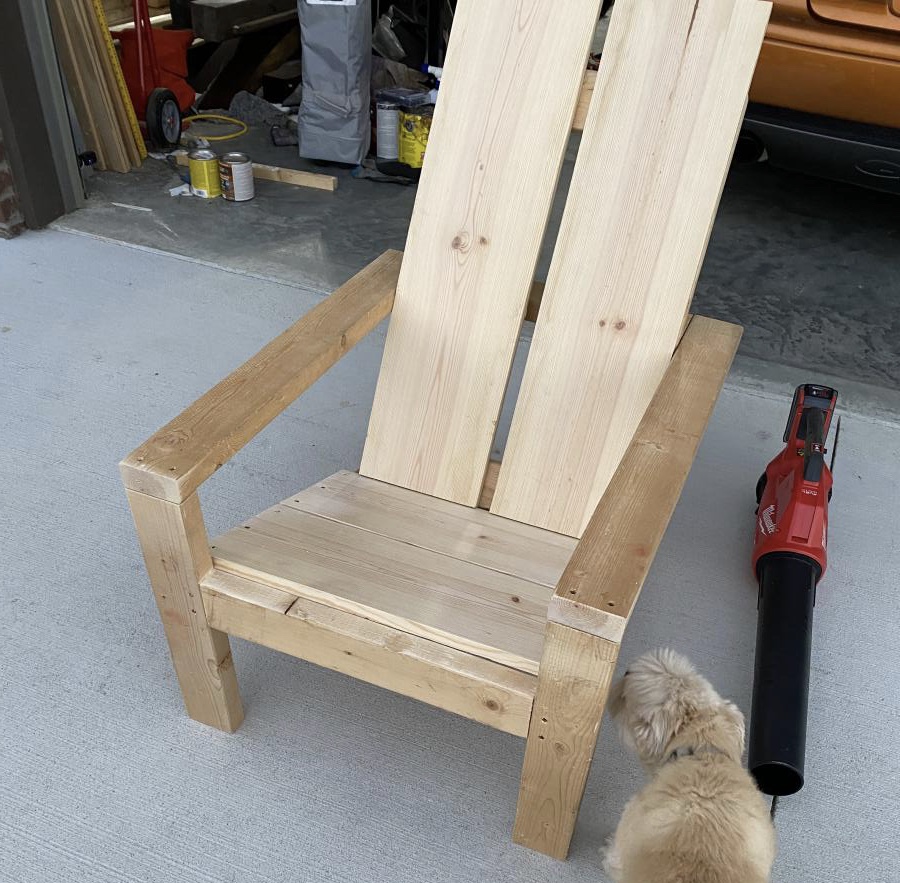
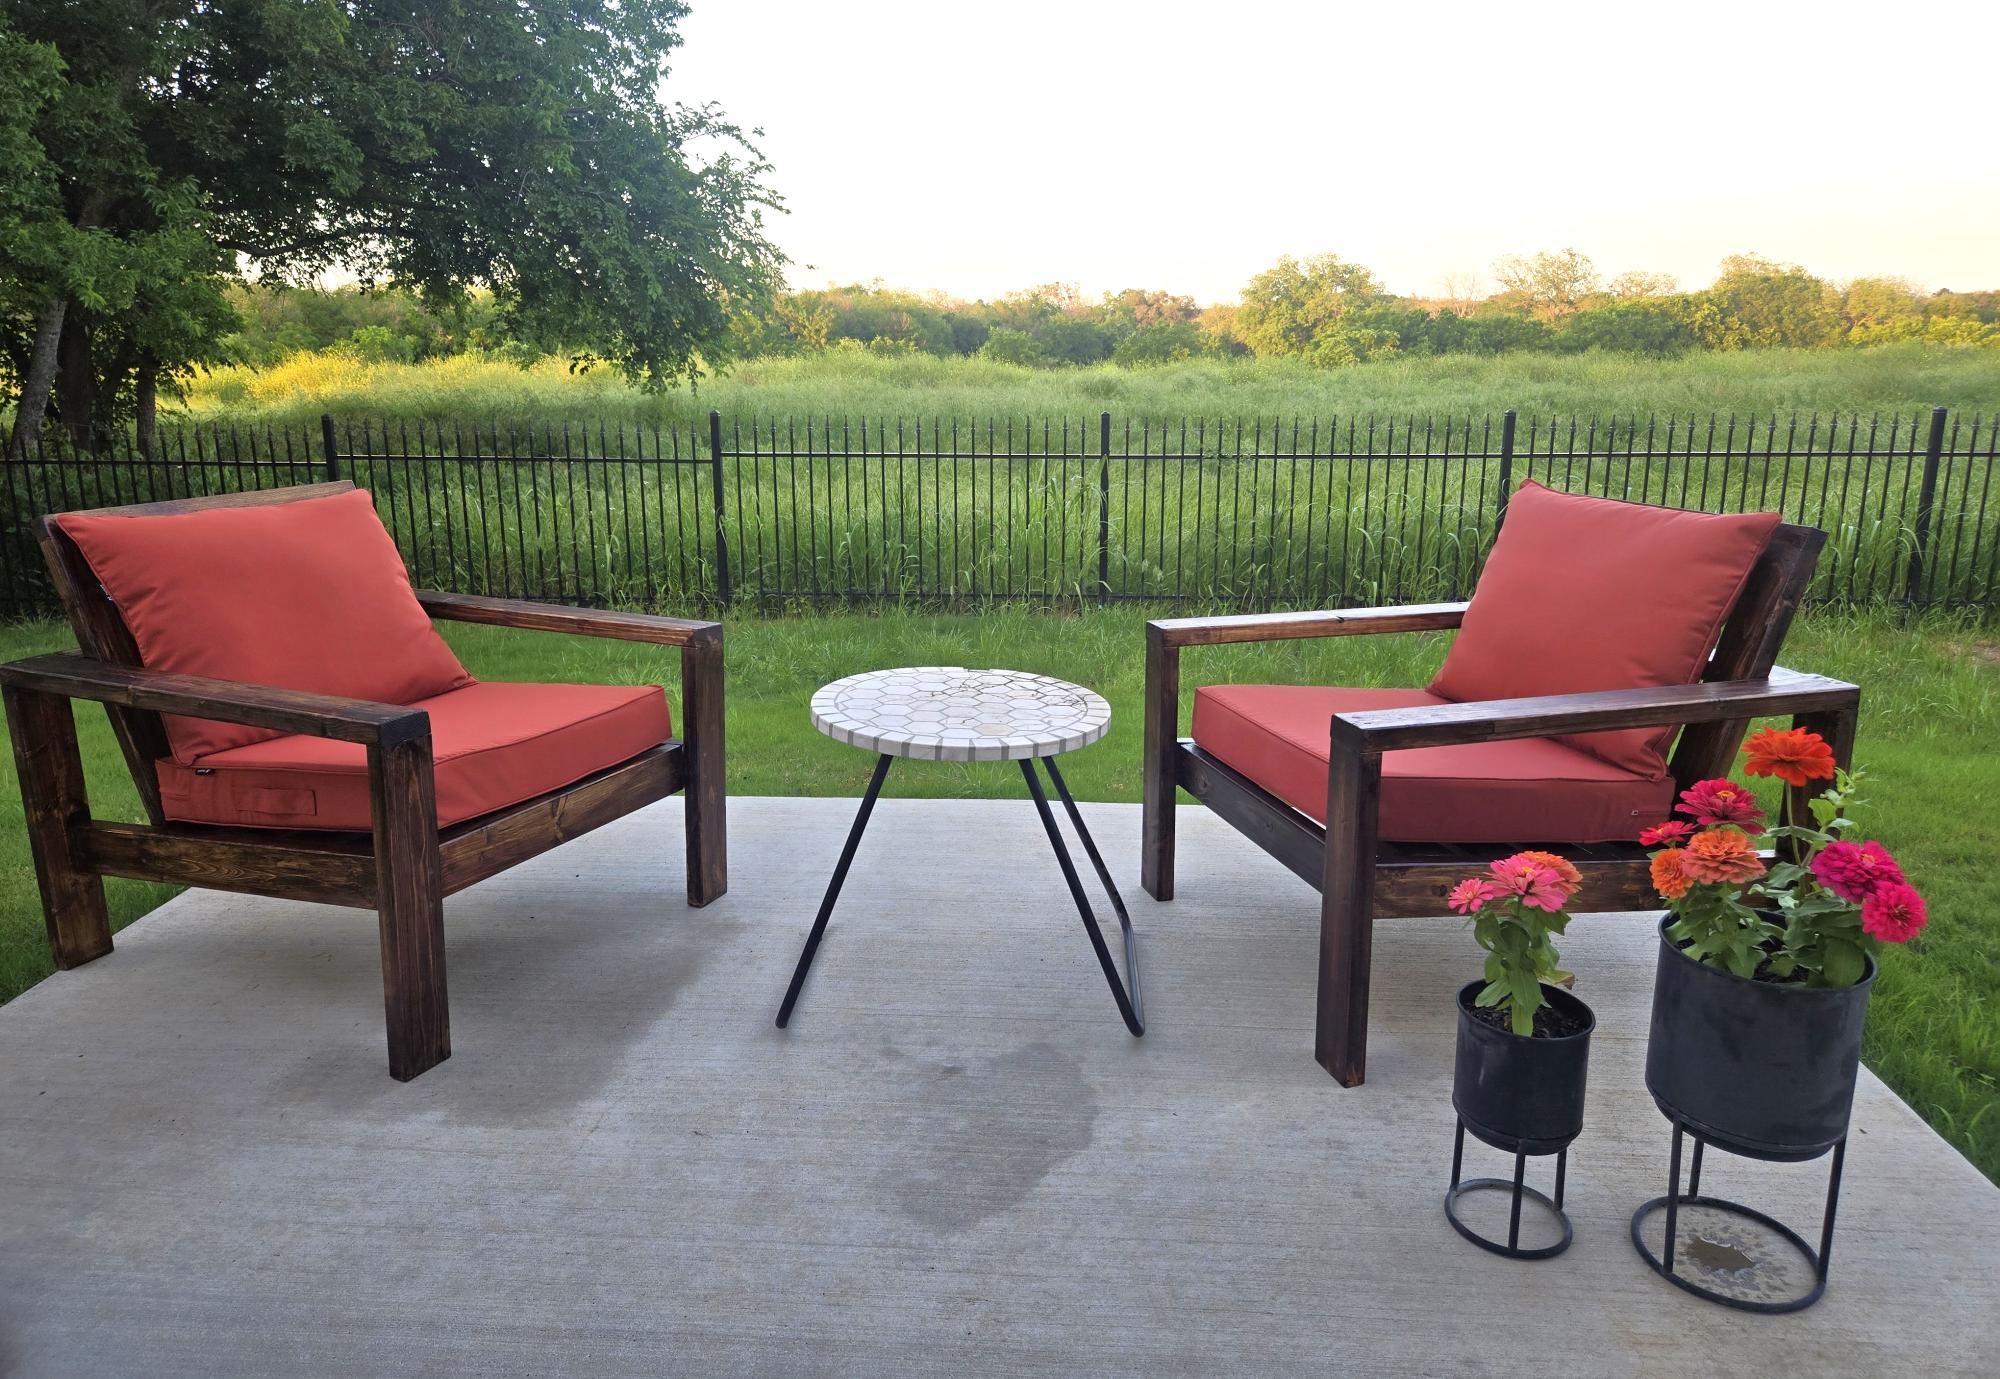
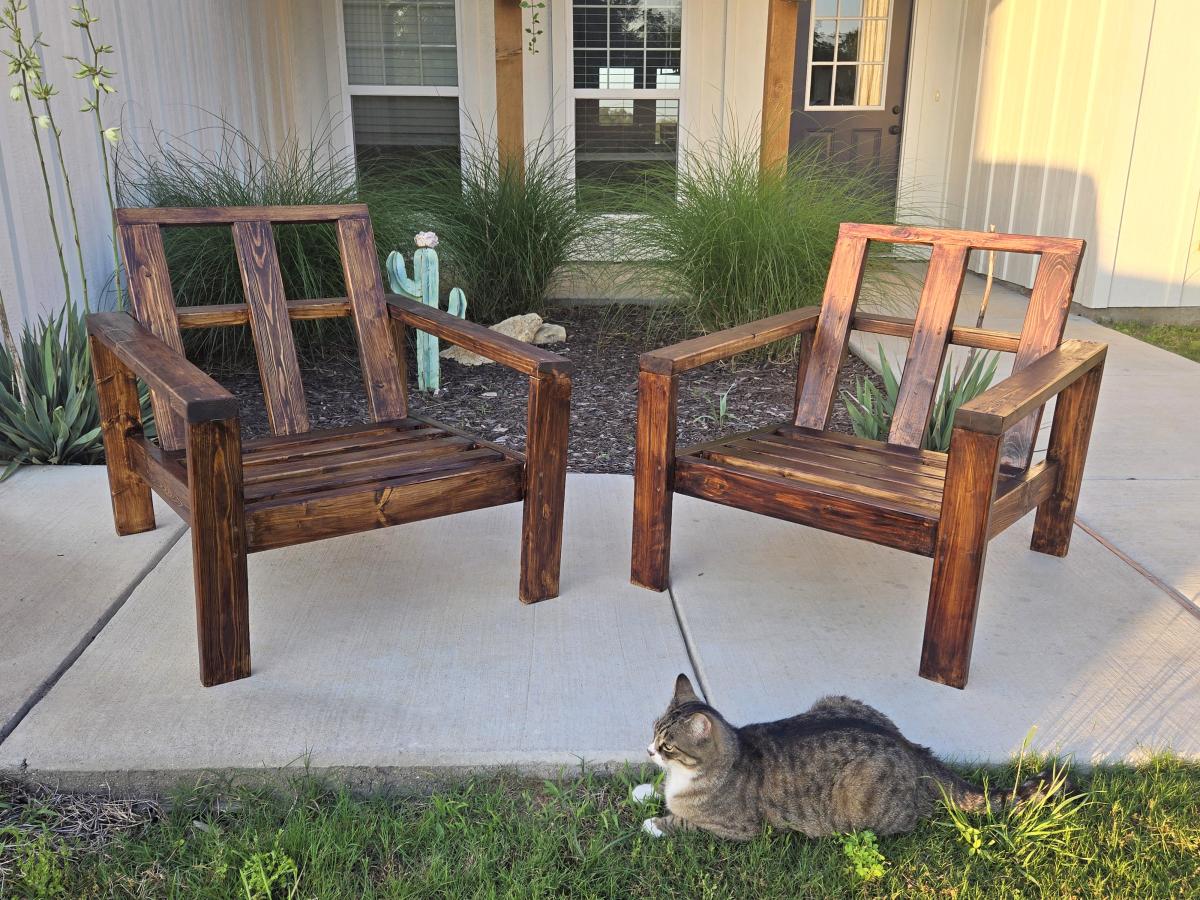
Am a big fan of Ana's work, and have used several of her plans in prior builds including the more traditional Adirondack chairs. Those stayed with my old house, and I wanted something different for my new house. Really liked her Modern Adirondack design with the floating arm rest. However, plans are like recipes to me--a guideline. I wanted the back boards to run up and down, and I am a bit more robust than the lovely and petite Ms. White, so they would need to be wider after I built the first one at 19 1/2" wide per plan. The next three I made 22" wide and that worked well without throwing off the geometry and angles of the other parts. Since I ran the backboards up and down, I needed some cross beams for stability and to give an attachment point for the middle of the boards. Cut some 2x4s at 15" wide, drilled pocket holes in both ends, and attached in between the back supports with the pockets facing up to be hidden by the back boards. All of the 2x4s were leftover cut-offs from the houses being built in my neighborhood. Since the frames were free, I splurged and went with cedar boards for the backs and bottoms. With the wider frames, I had to use 1x12s ripped down to 10 3/4" to get the right look (about a board's width in between). Needed some color, so I painted the frames Teal Seaglass from Menards. Cedar was stained with a natural deck stain from Sherwin Williams. I experimented with salt paint (mixing unsanded grout with the paint) to give a heavily textured and weathered finish but this was unecessary--the wood was distressed enough and I am a terrible painter. It also toned down the color so I skipped that step and just went with 2 coats of plain paint. It looks like outdoor furniture should up close. As always, am pleased with Ana's plans. Thank you for doing all the hard work!


Fri, 08/21/2020 - 16:59
I absolutely love how the back was done!! Thank you so much for sharing!
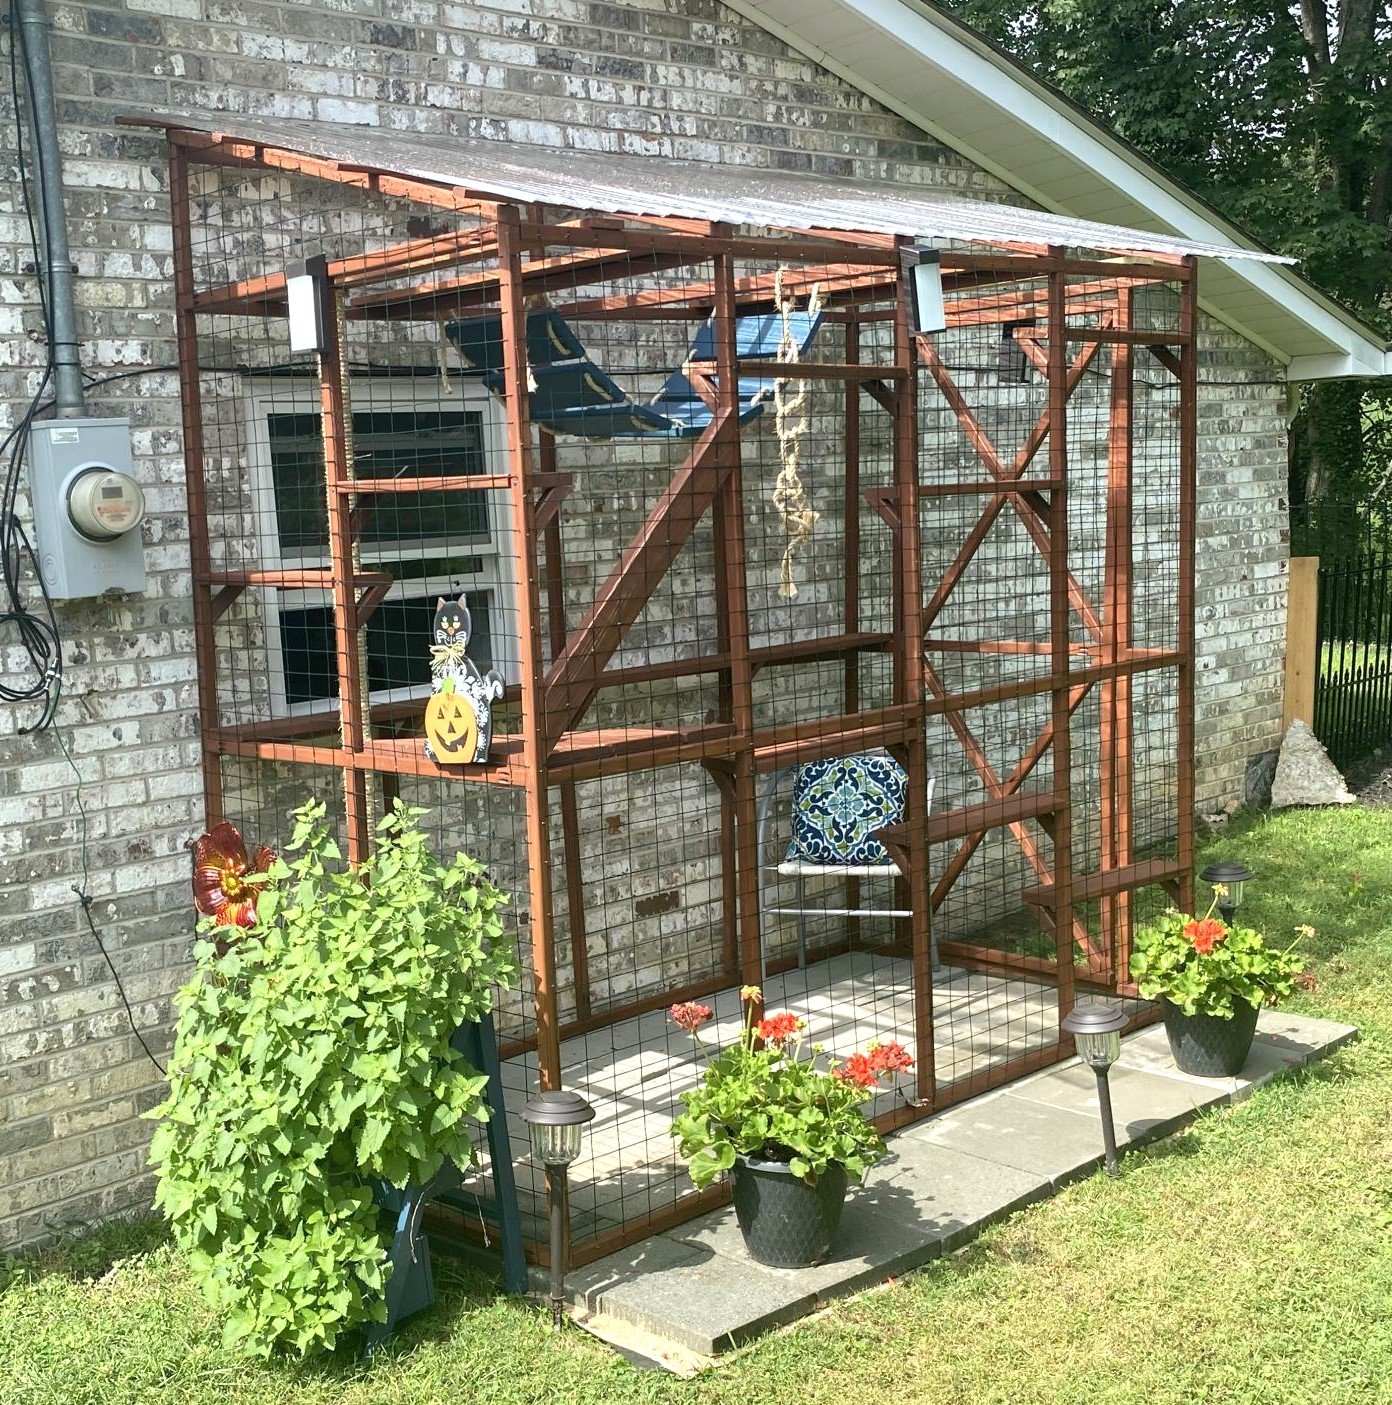
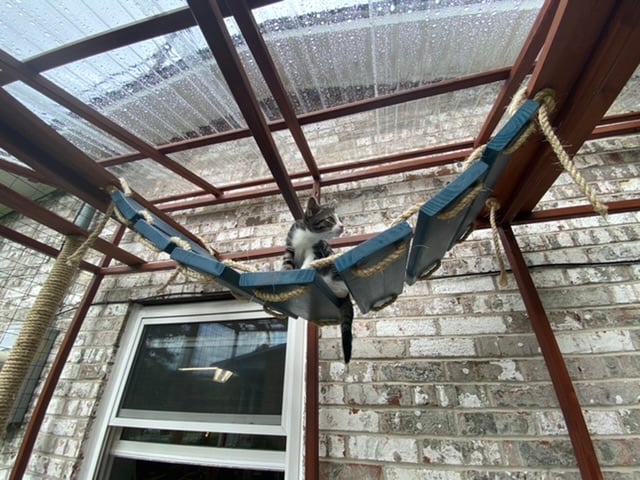
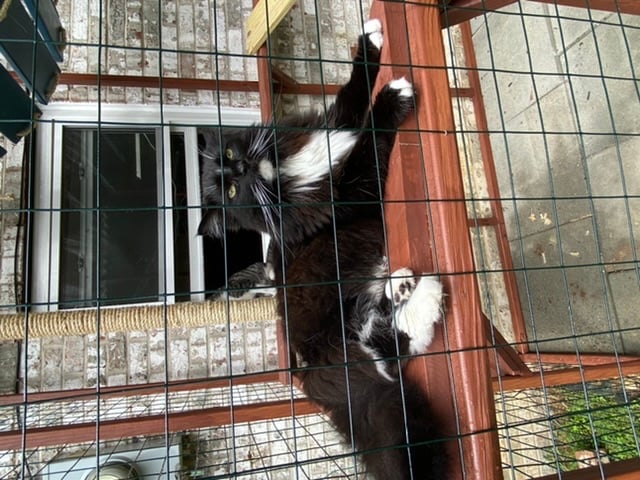
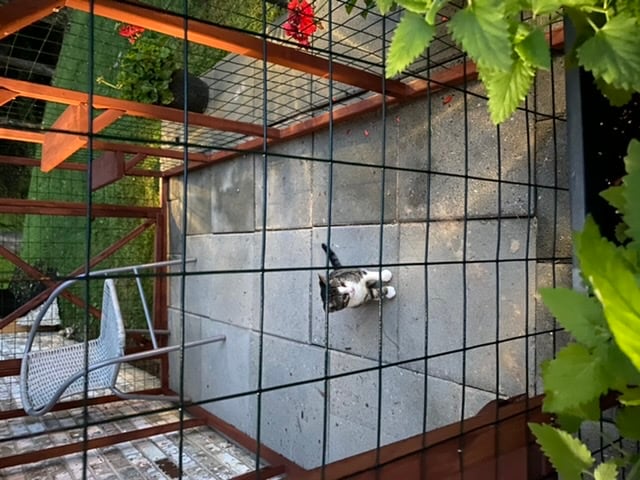
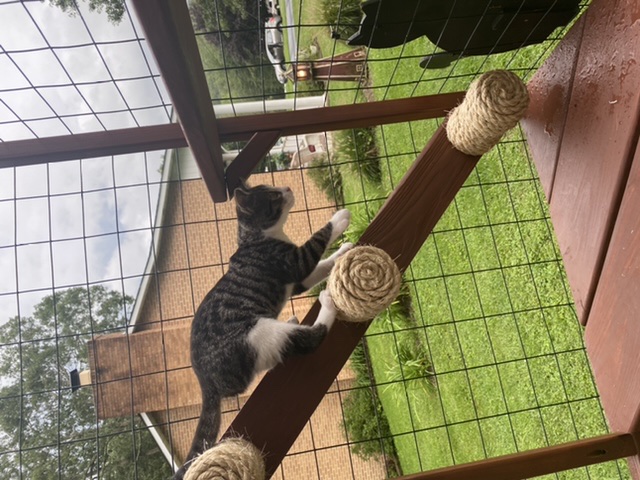
Ana doesn’t have a plan for a catio but she does for a playhouse and a cedar shed made from 2x2’s. I sort of combined my knowledge from making her plans over the last 10 years and came up with this for my cats. It was fun to make!! My baby kitten is loving it. I used garden fencing and stapled it to the outside and pocket holes for the walls. I made each wall individually like the playhouse then connected them once in place.

Wed, 06/09/2021 - 12:36
Thank you for sharing! My daughter wants a cat for her birthday but it can't be inside due to our son's allergies. Roaming outside isn't really an option because we have coyotes. We are going to use one of these in combination with an underground electric fence.
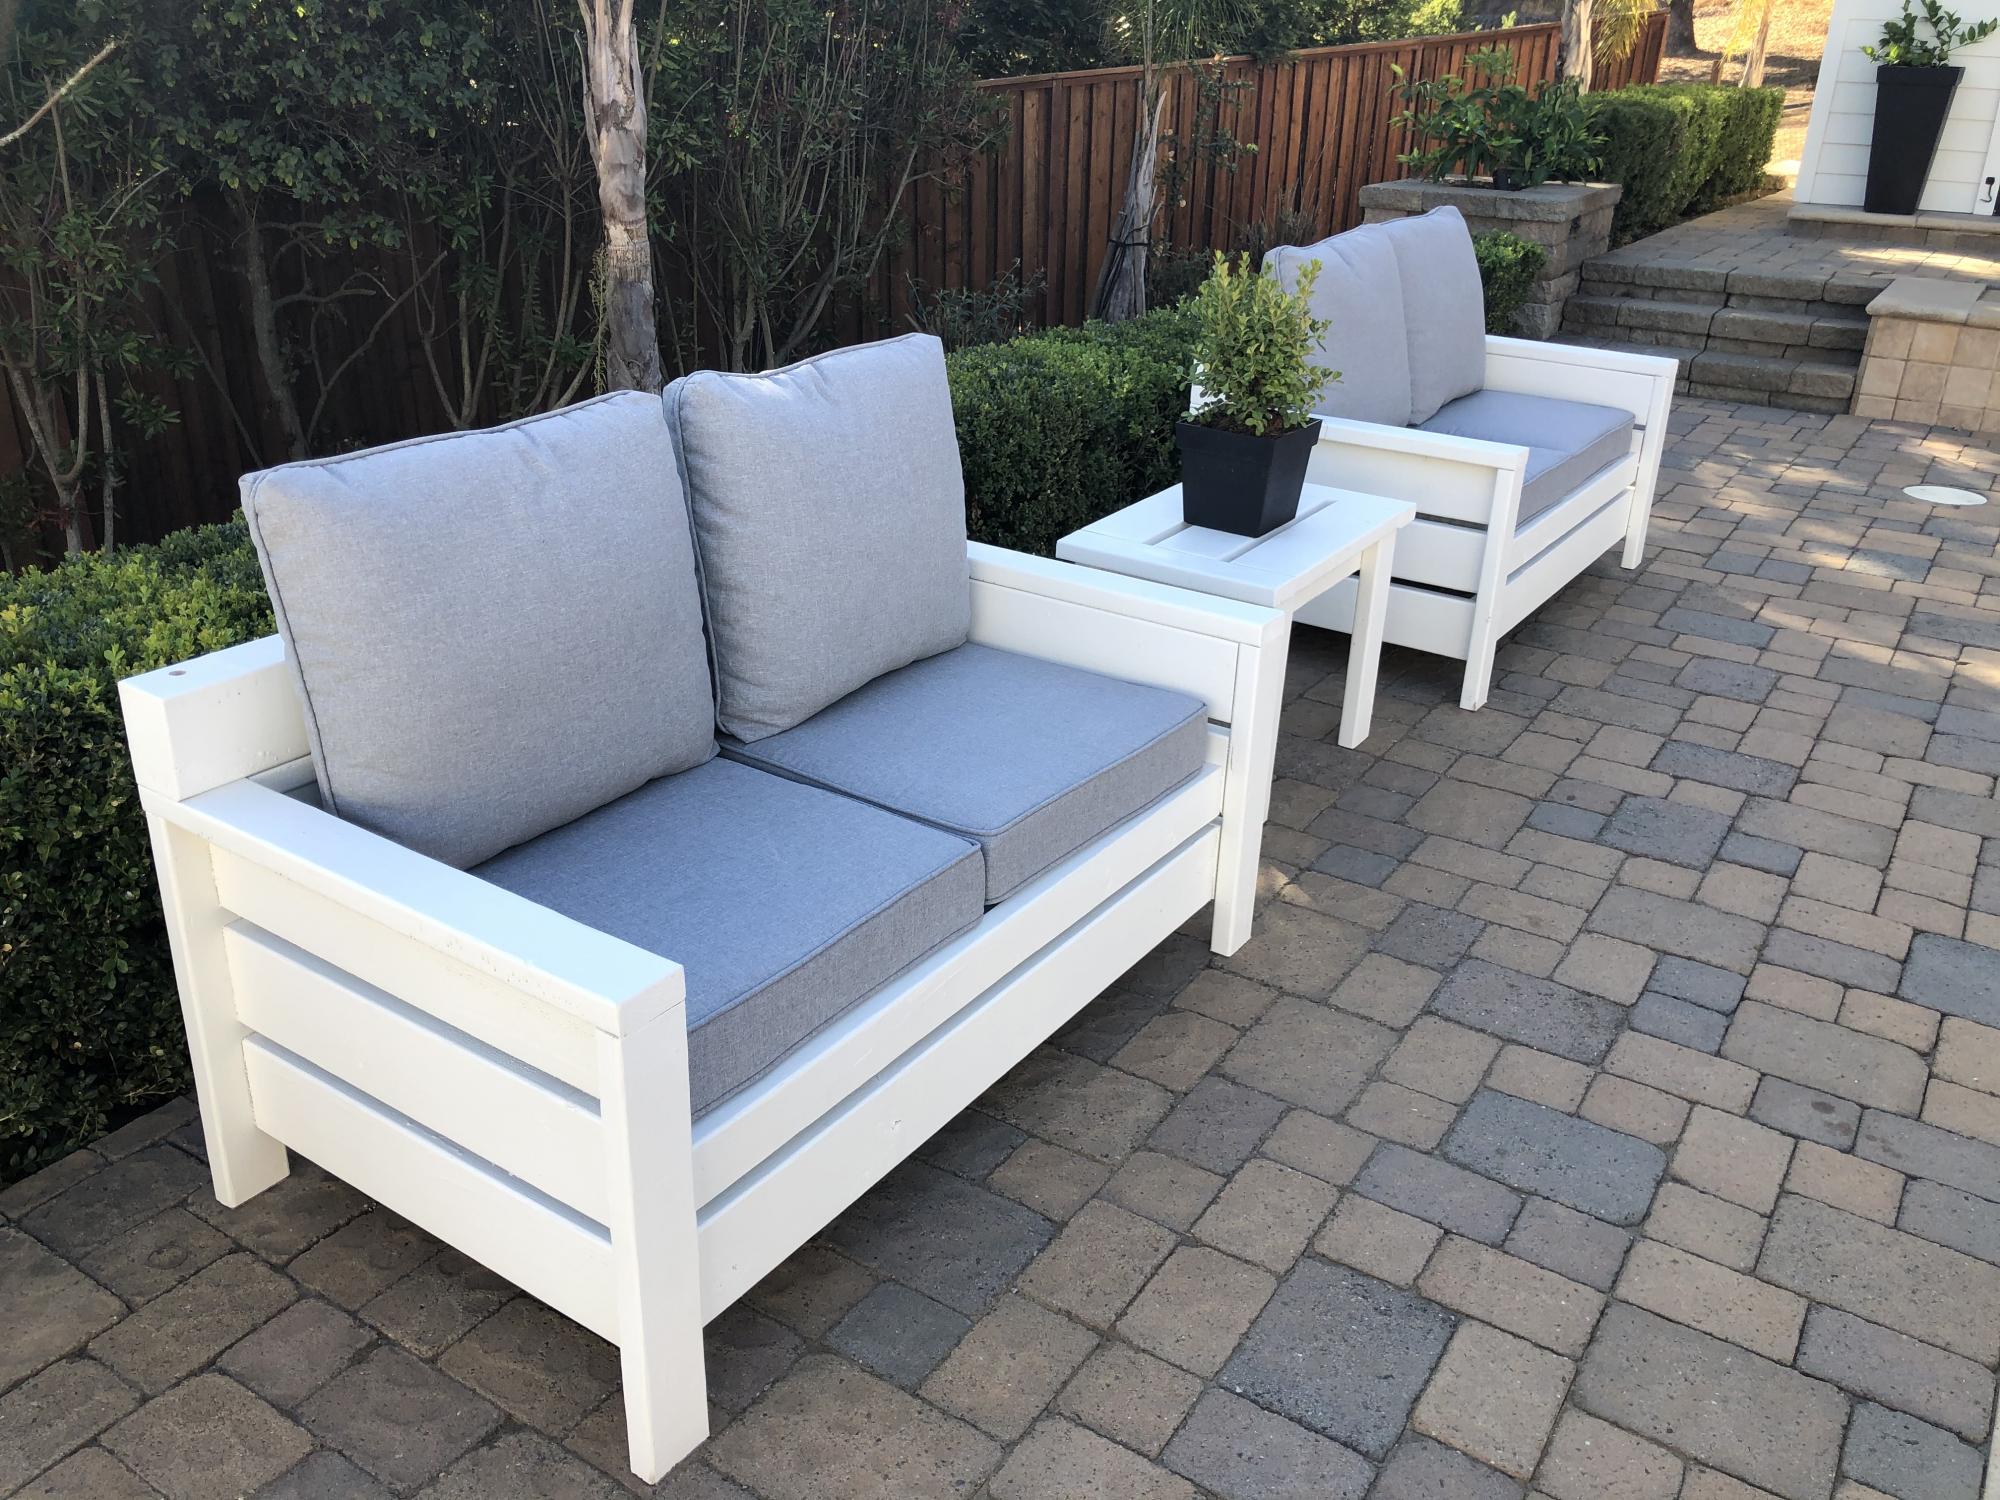
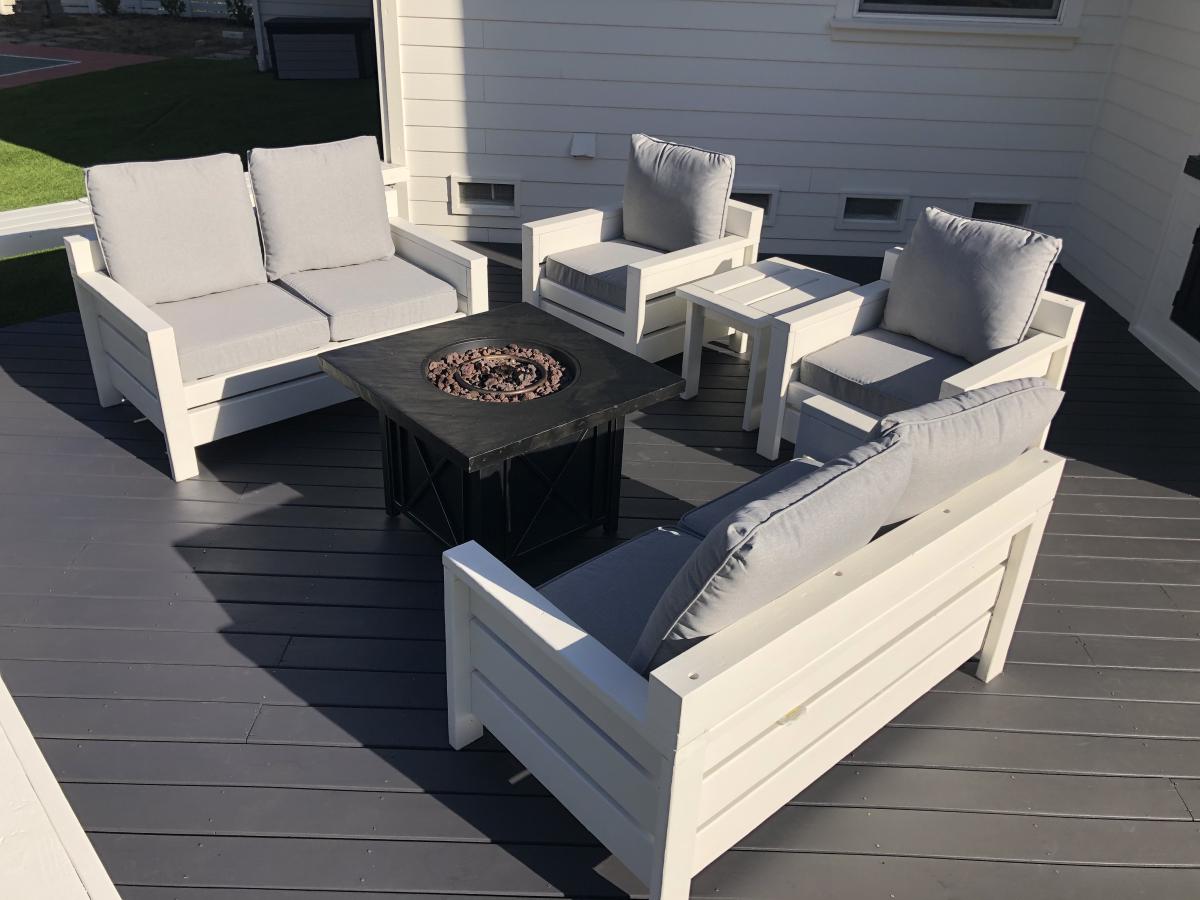
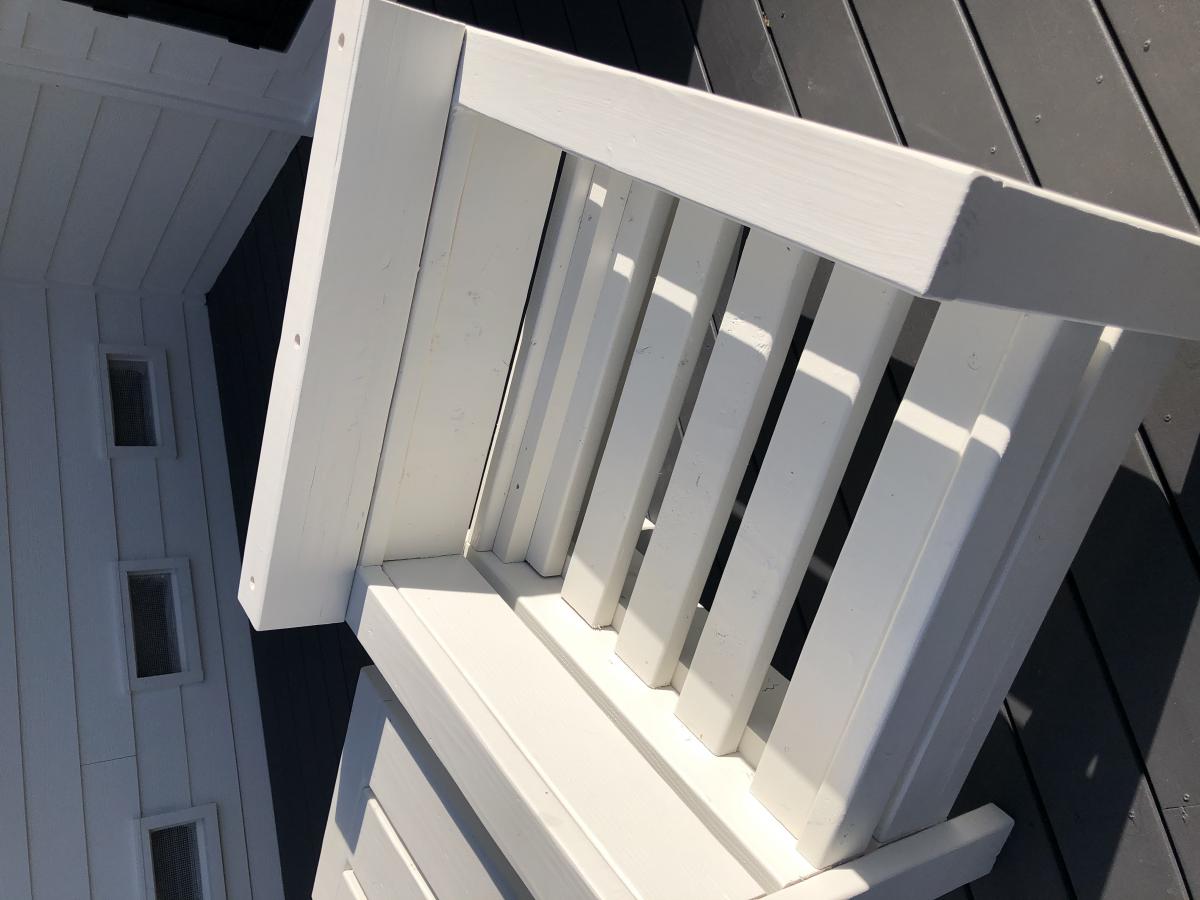
Great plans - thanks so much! Started with two chairs, and kept going...
MODS: Once built, we felt there wasn't enough back support, so added a 2x4 then 4x4 on top. Also added a 2x2 in back of the seat bed, so our 25" x 25" seat cushions didn't float around.
Recommend paint gun vs. painting by hand.
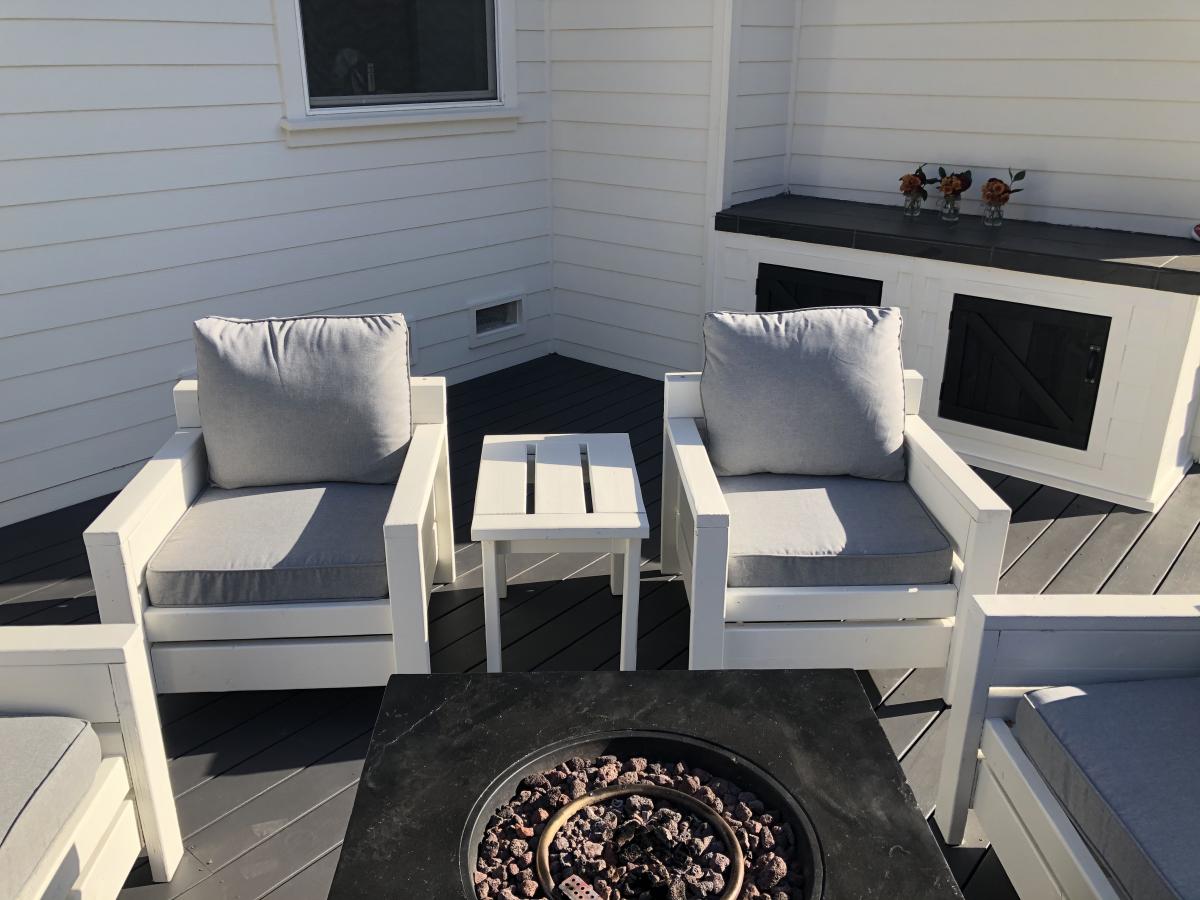

Entire wall fireplace built-in!


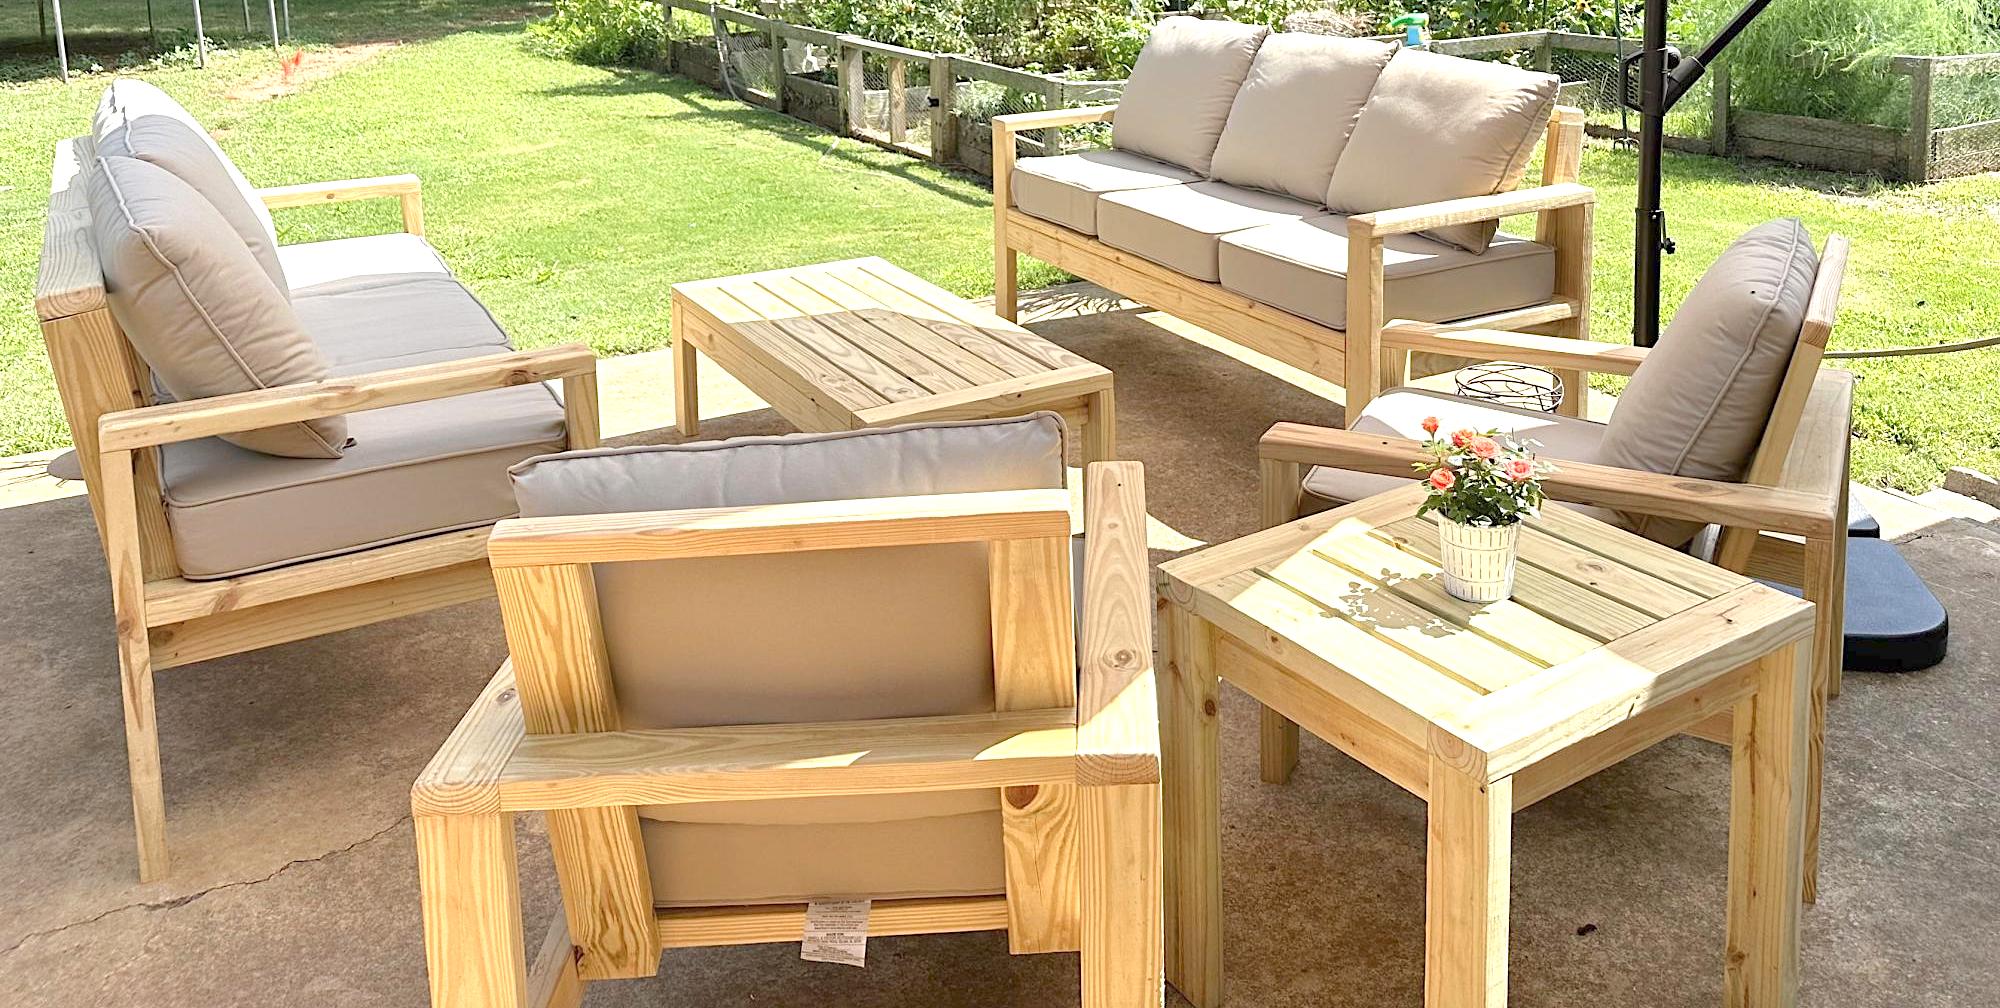
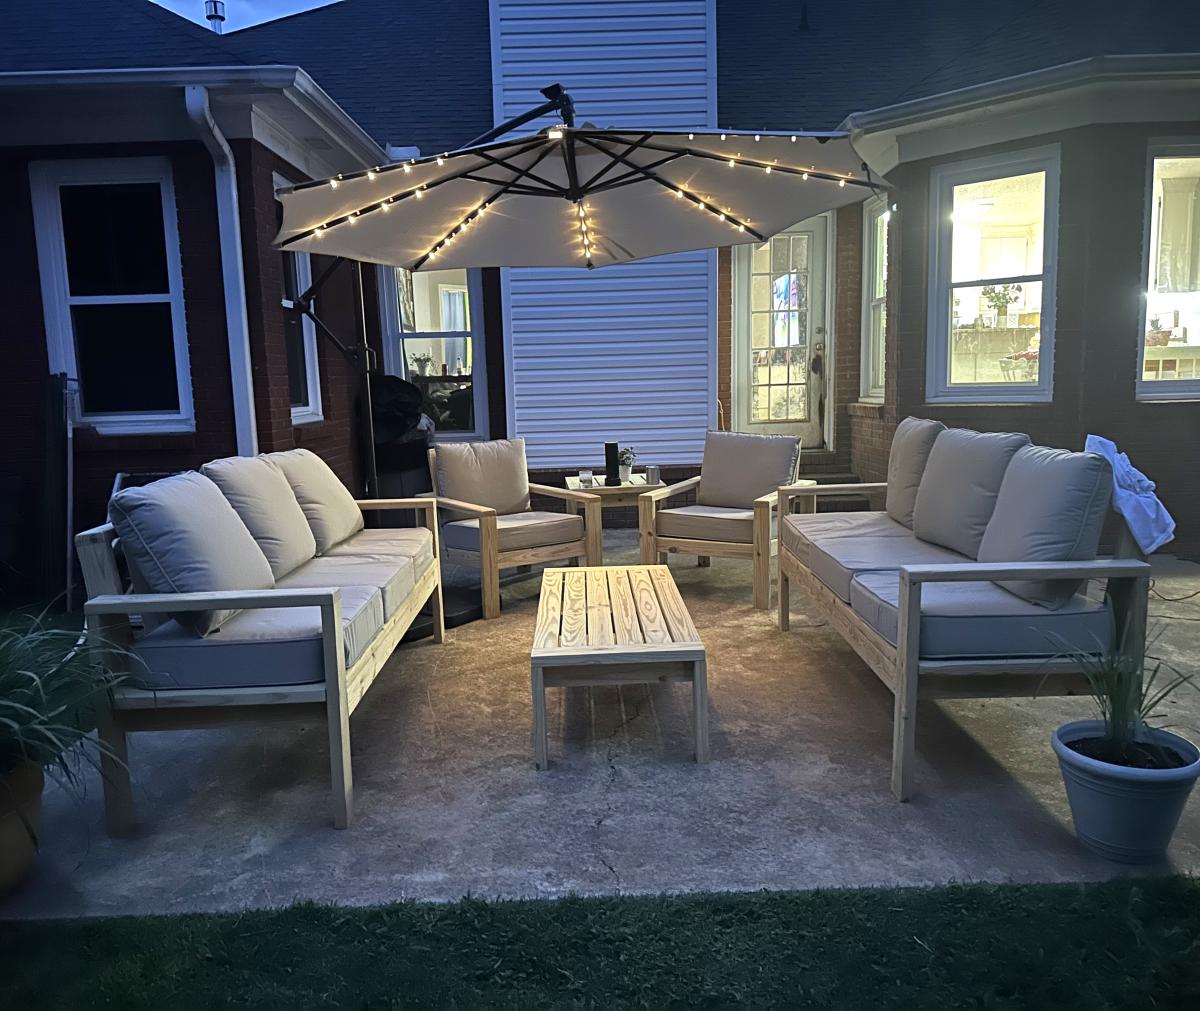
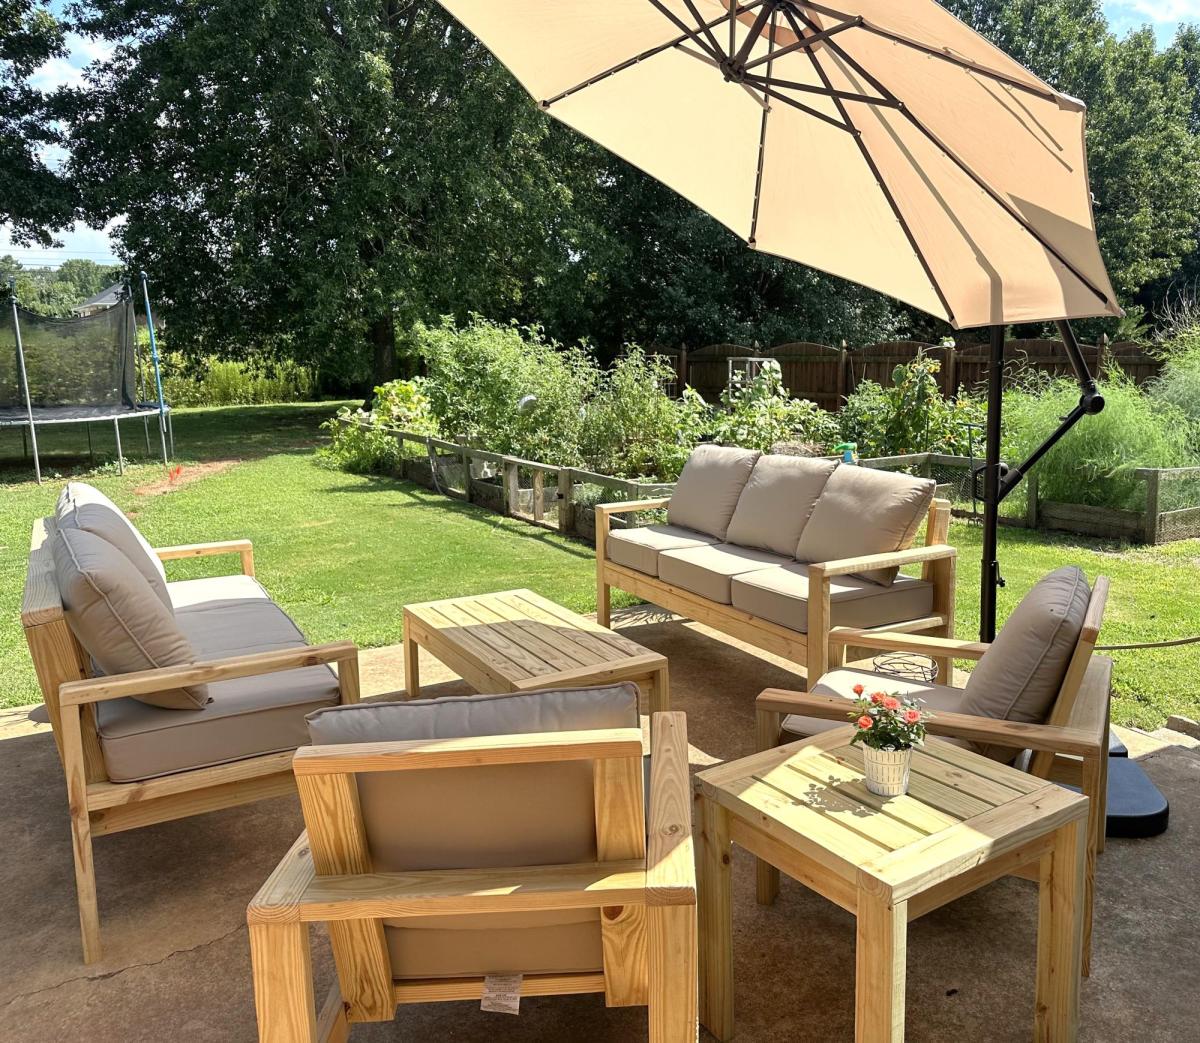
Loving this furniture! We modified it slightly by raising the height of the couches. Added some height and a slight tilt in the back. The chairs are super comfortable as the plans are done. We used 6” 25x25 cushions. We plan on staining soon.
Jaime Sallis
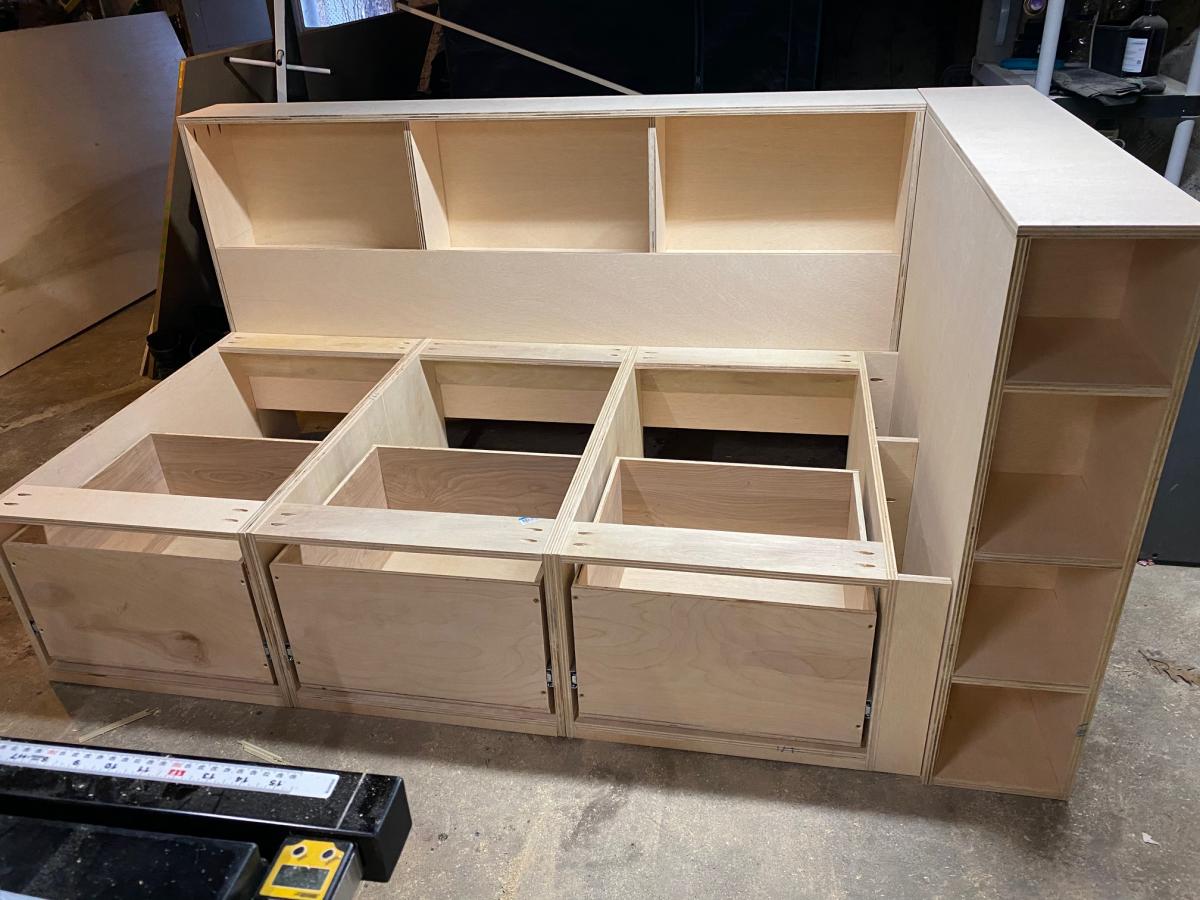
So this was a really fun project from start to finish, I wanted a storage bed with a place for my son to showcase his Super Hero collection!
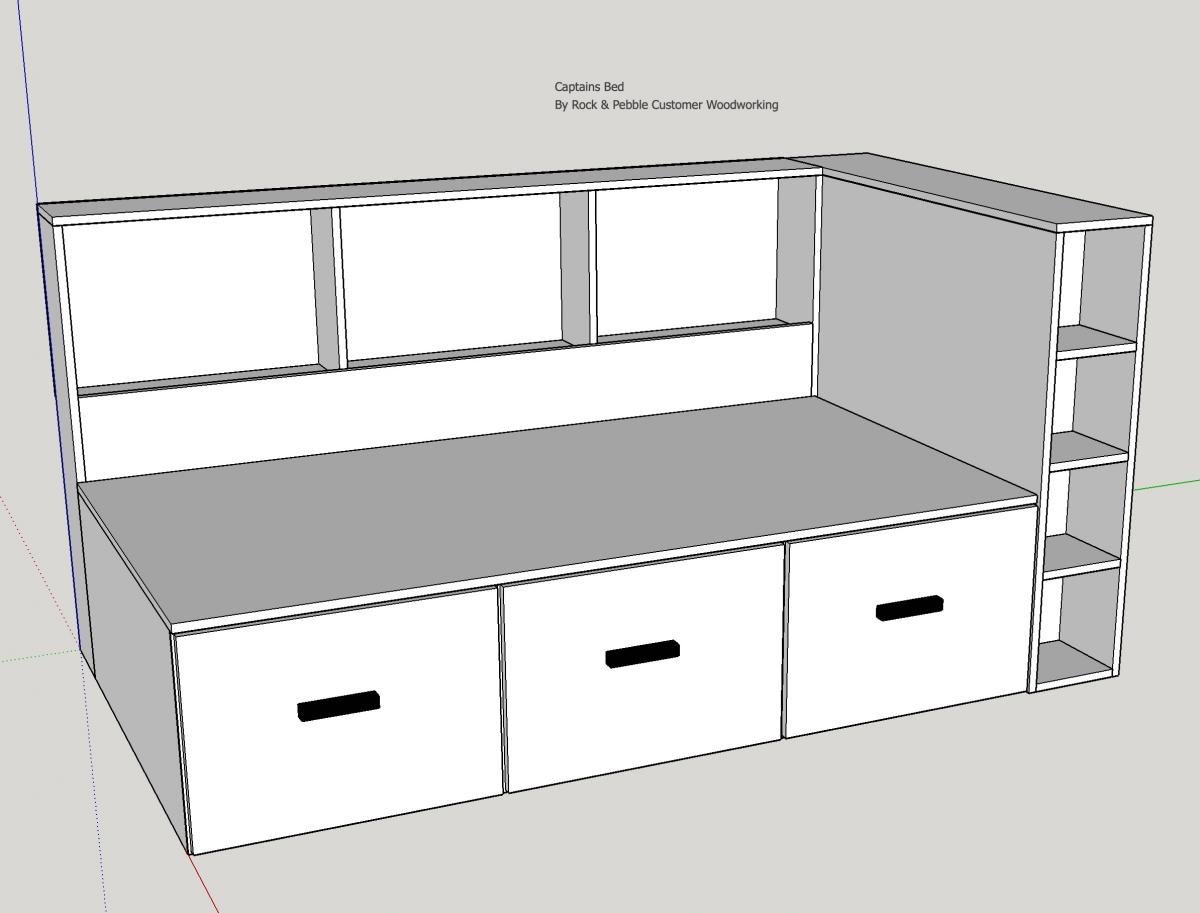
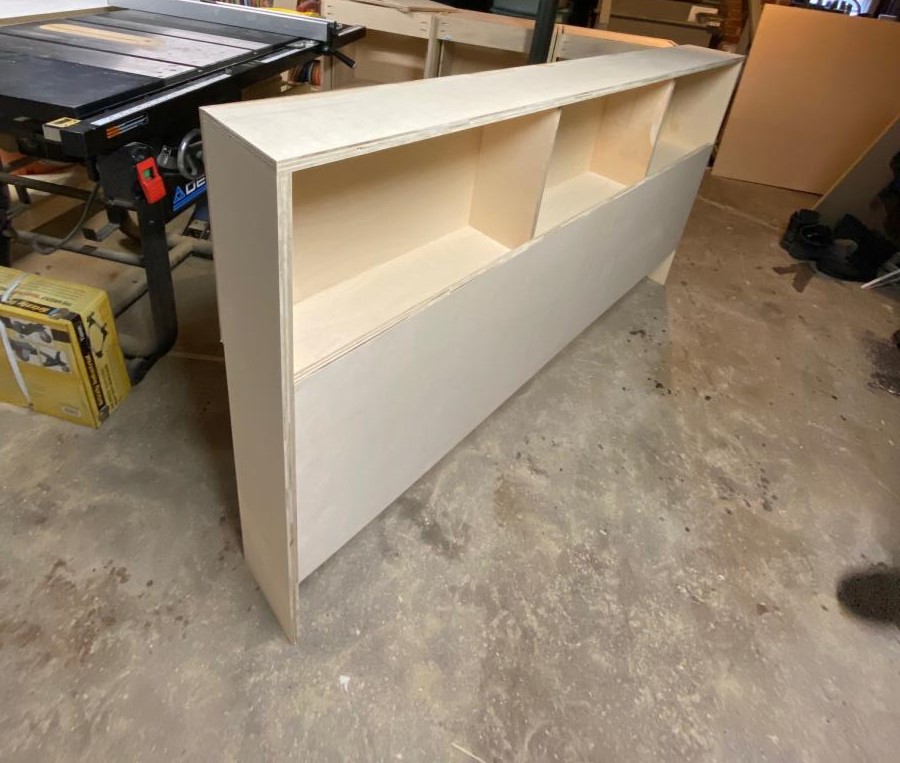
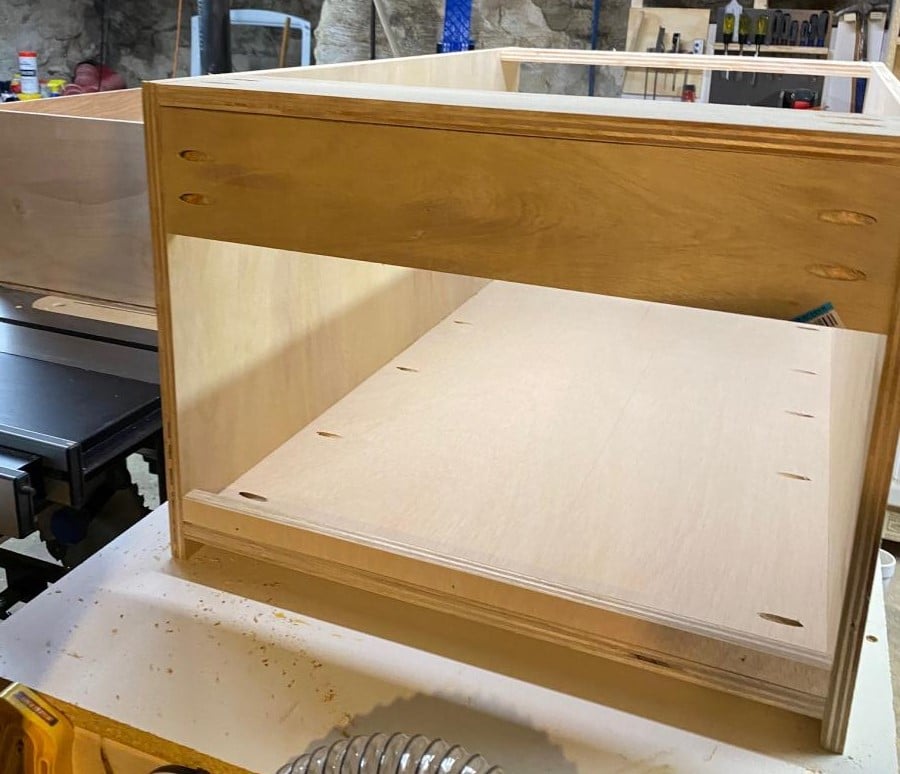
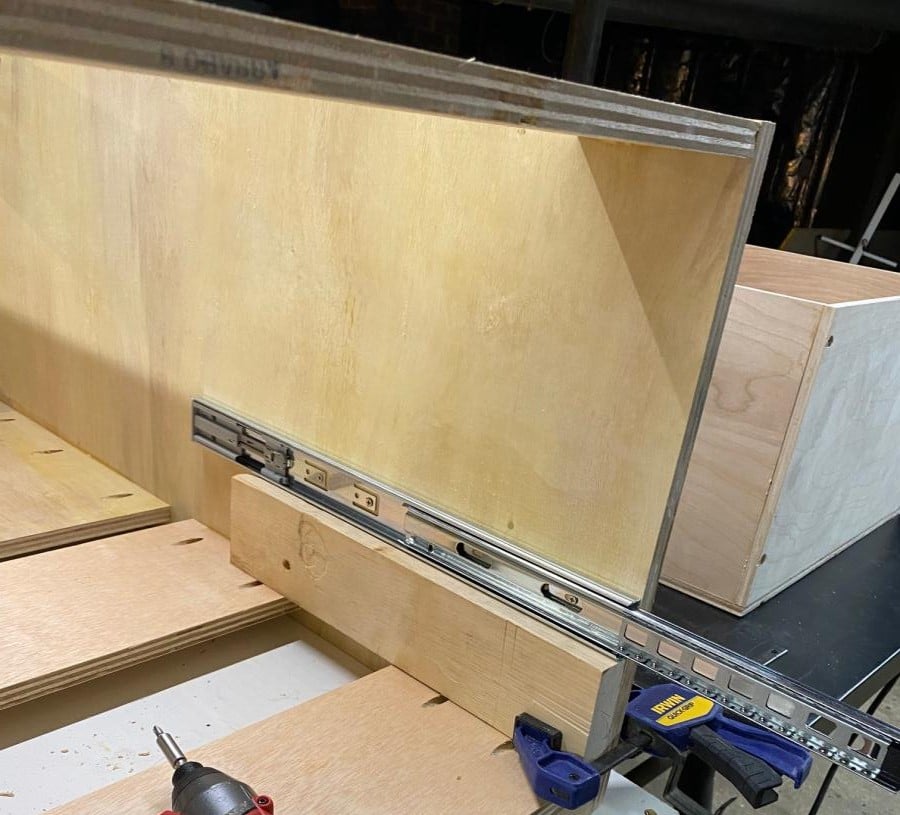
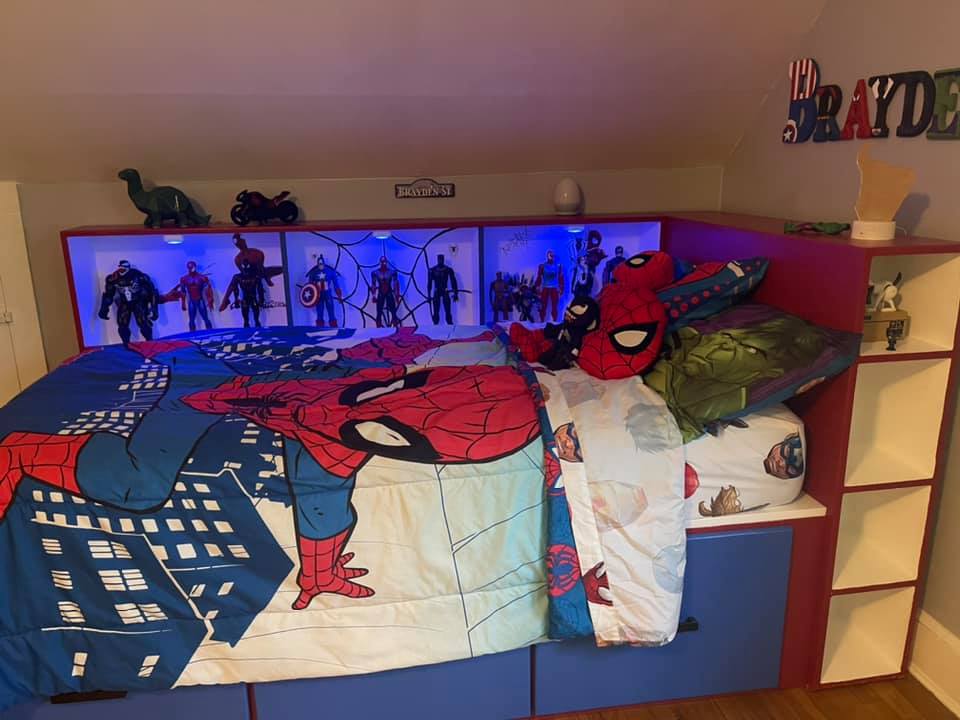
Used the plans for the twin bed, just added the difference in mattress size to the measurements. Pretty simple really. Used a cam lock centered above the door and a sawtooth picture hanger on the inside as a locking mechanism.
Tue, 09/30/2014 - 14:16
Hello,
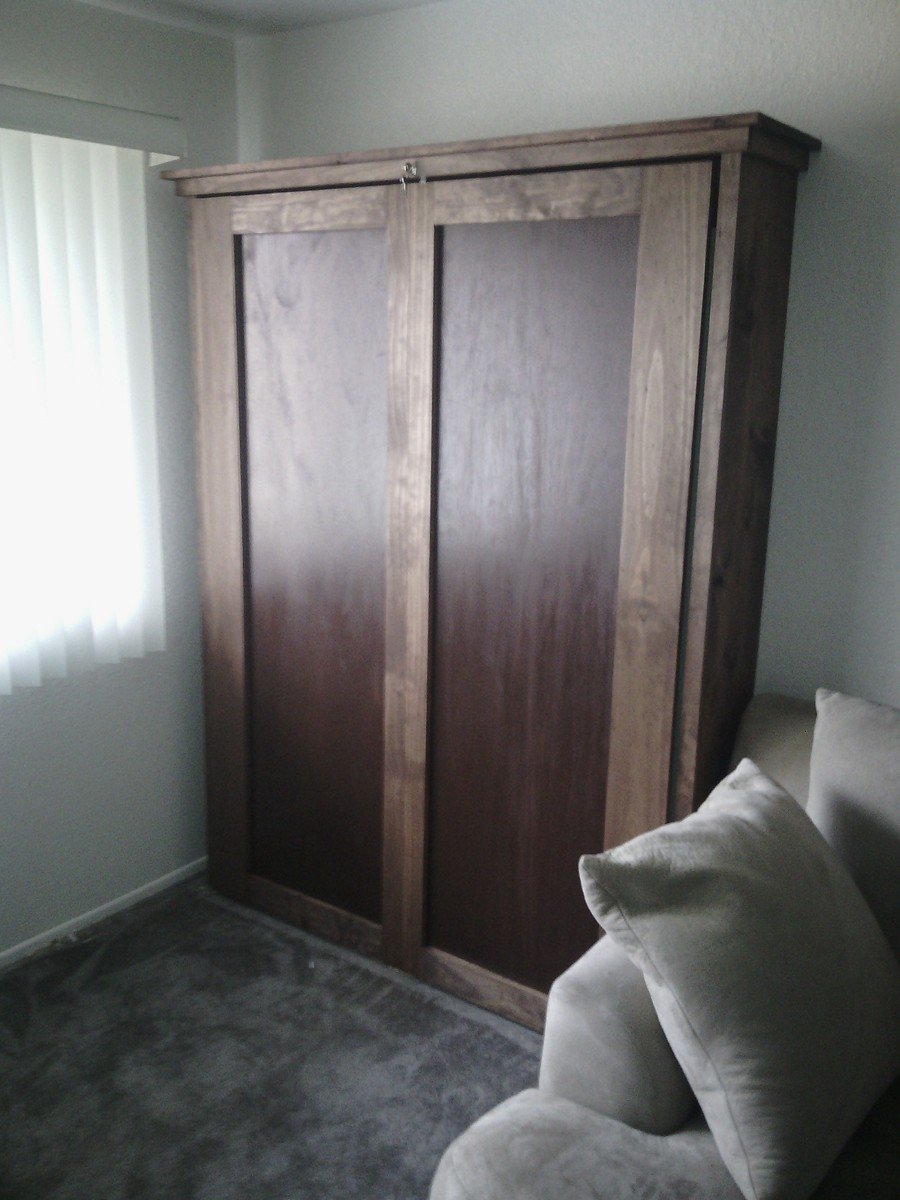
I have been scowering the internet... I too would like to have my murphy bed raised off of the ground and be a full size murphy bed. But everytime I try to do "adjustments" and get "creative" it ends in disaster. I am better at following instructions. Is there anyway that you could give me the exact measurements for your fullsize bed and let me know how it is that you propped the bed up at the end?
Thank you.
Thu, 06/18/2020 - 20:22
I would also love the exact measurements for a double...is there a copy of the plan for that?
thank you
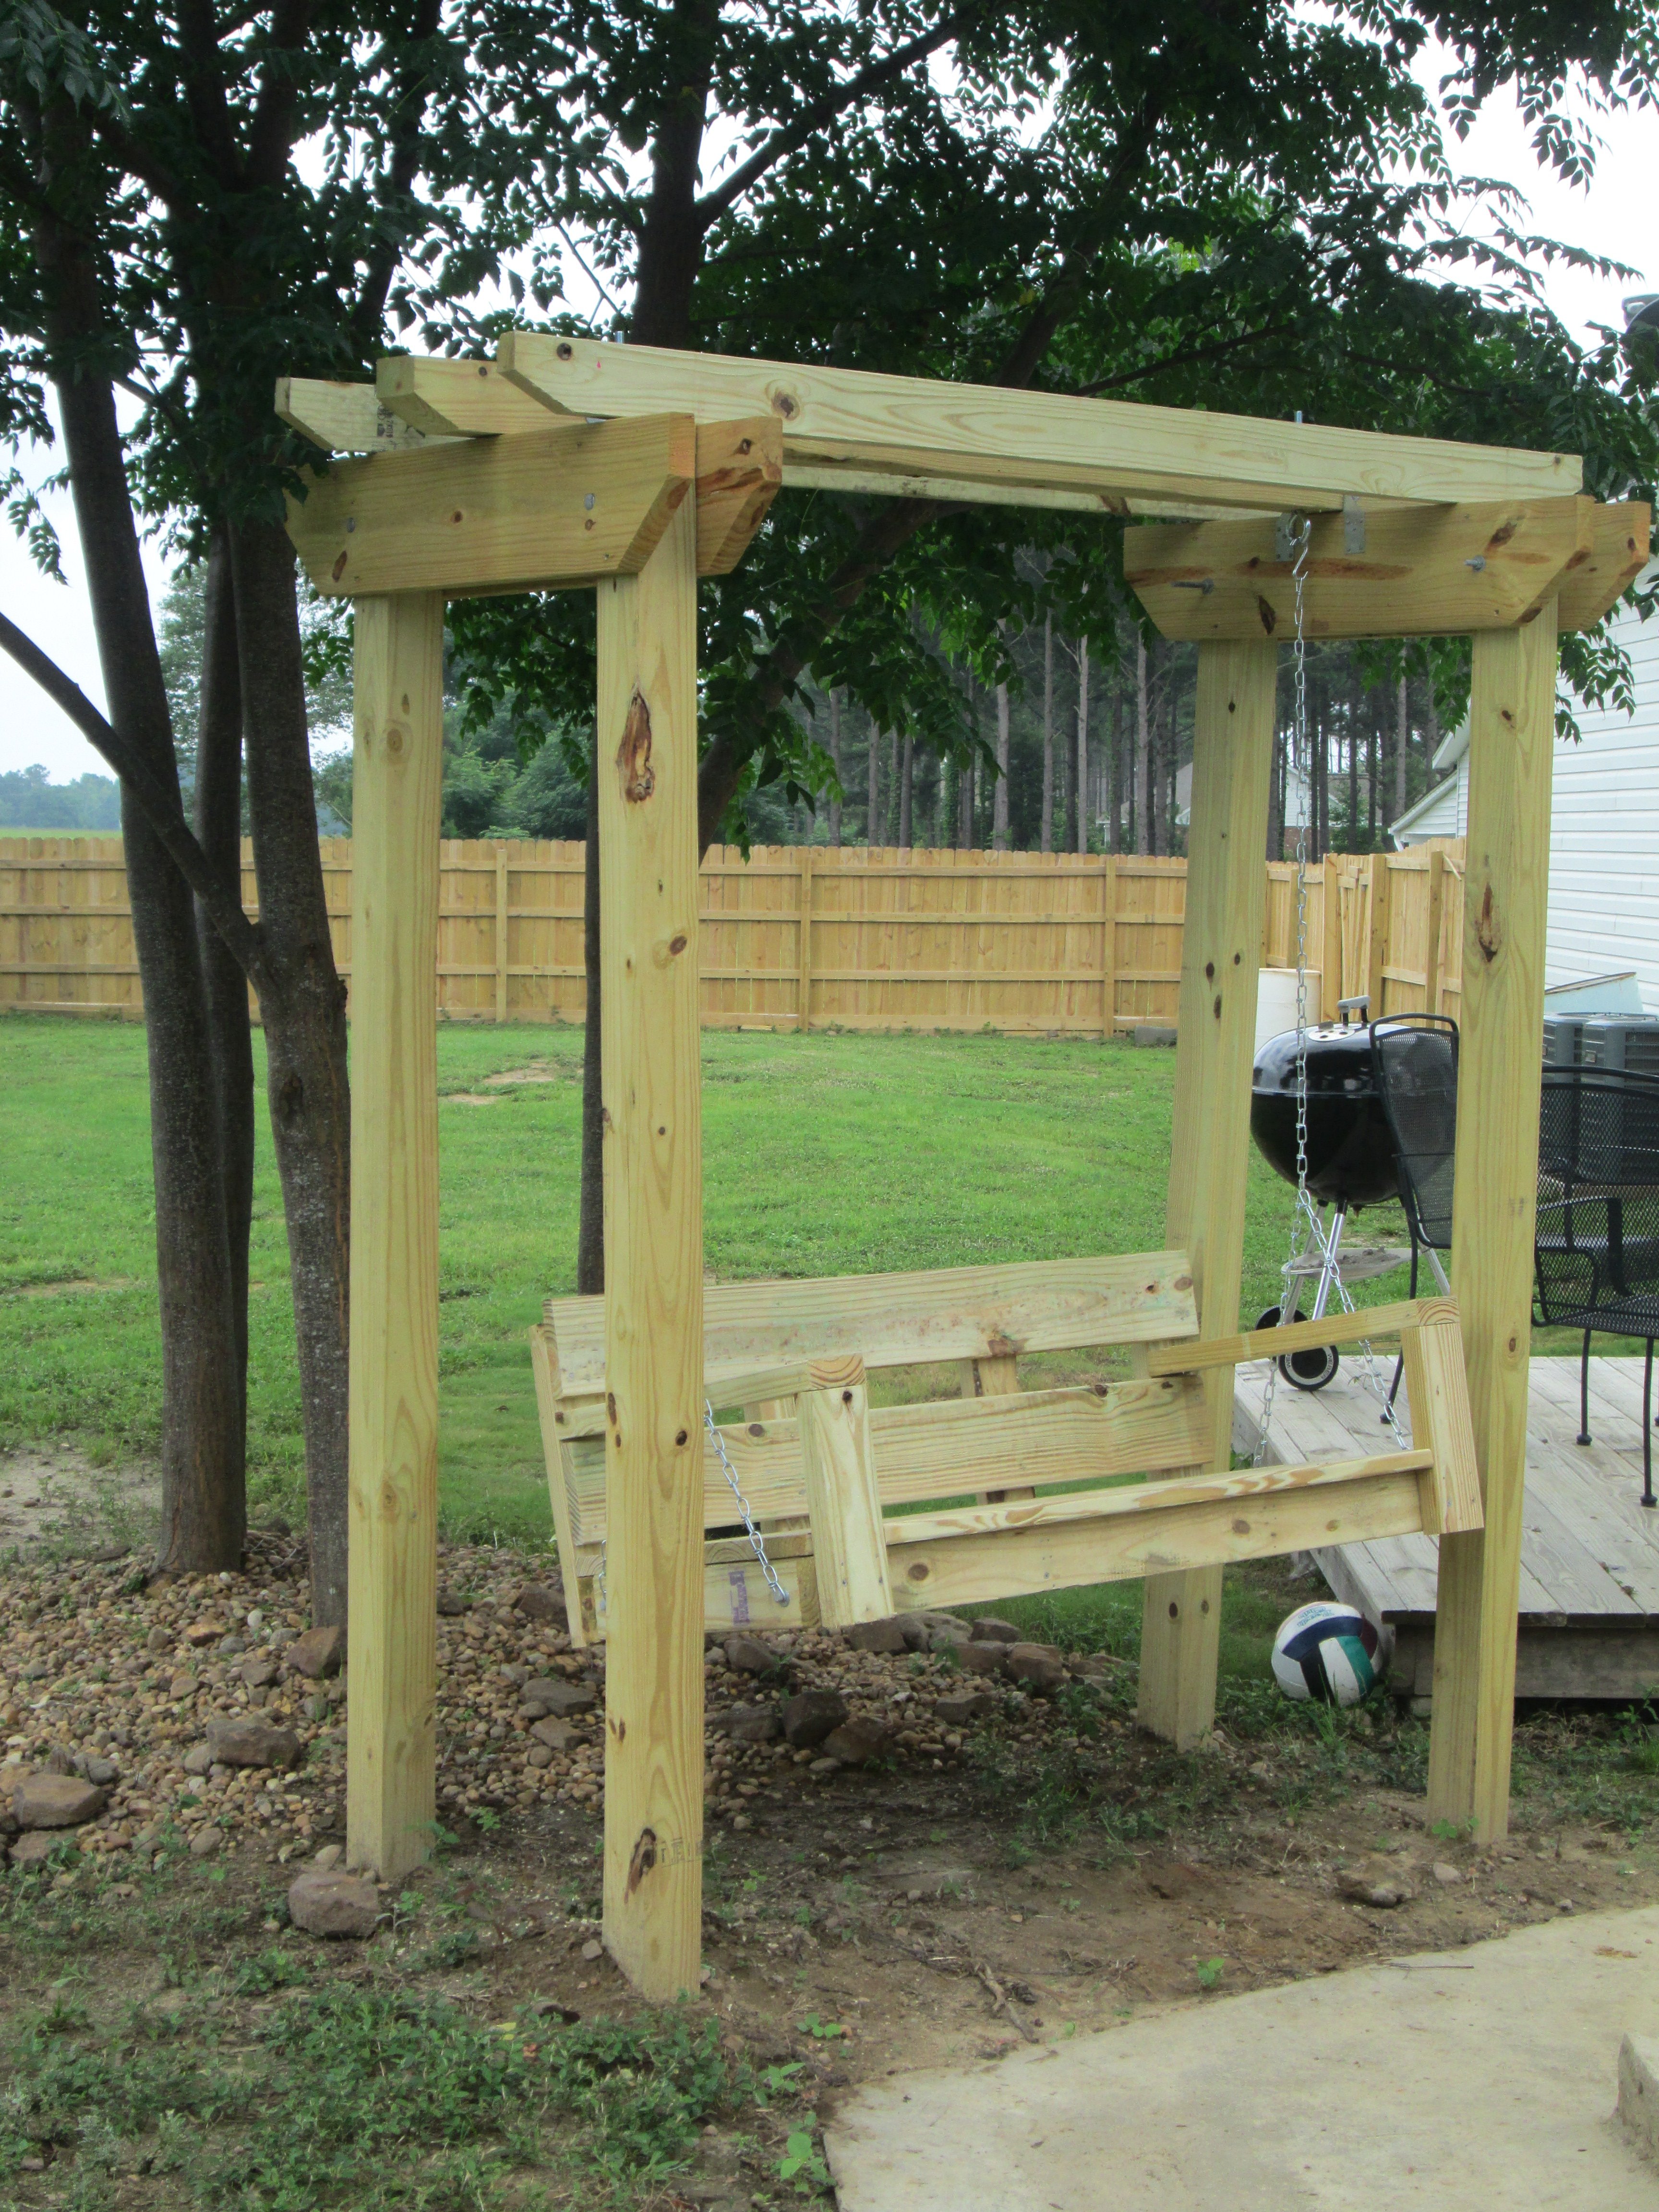
Weekend swing project
Tue, 05/07/2019 - 10:42
We don't currently have this plan available, although I'd be happy to draw it with the author's permission.
I have linked a few plans above that could be used to create this plan. Just make sure you bury the arbor uprights underground on concrete pier posts or similar (like building a fence)
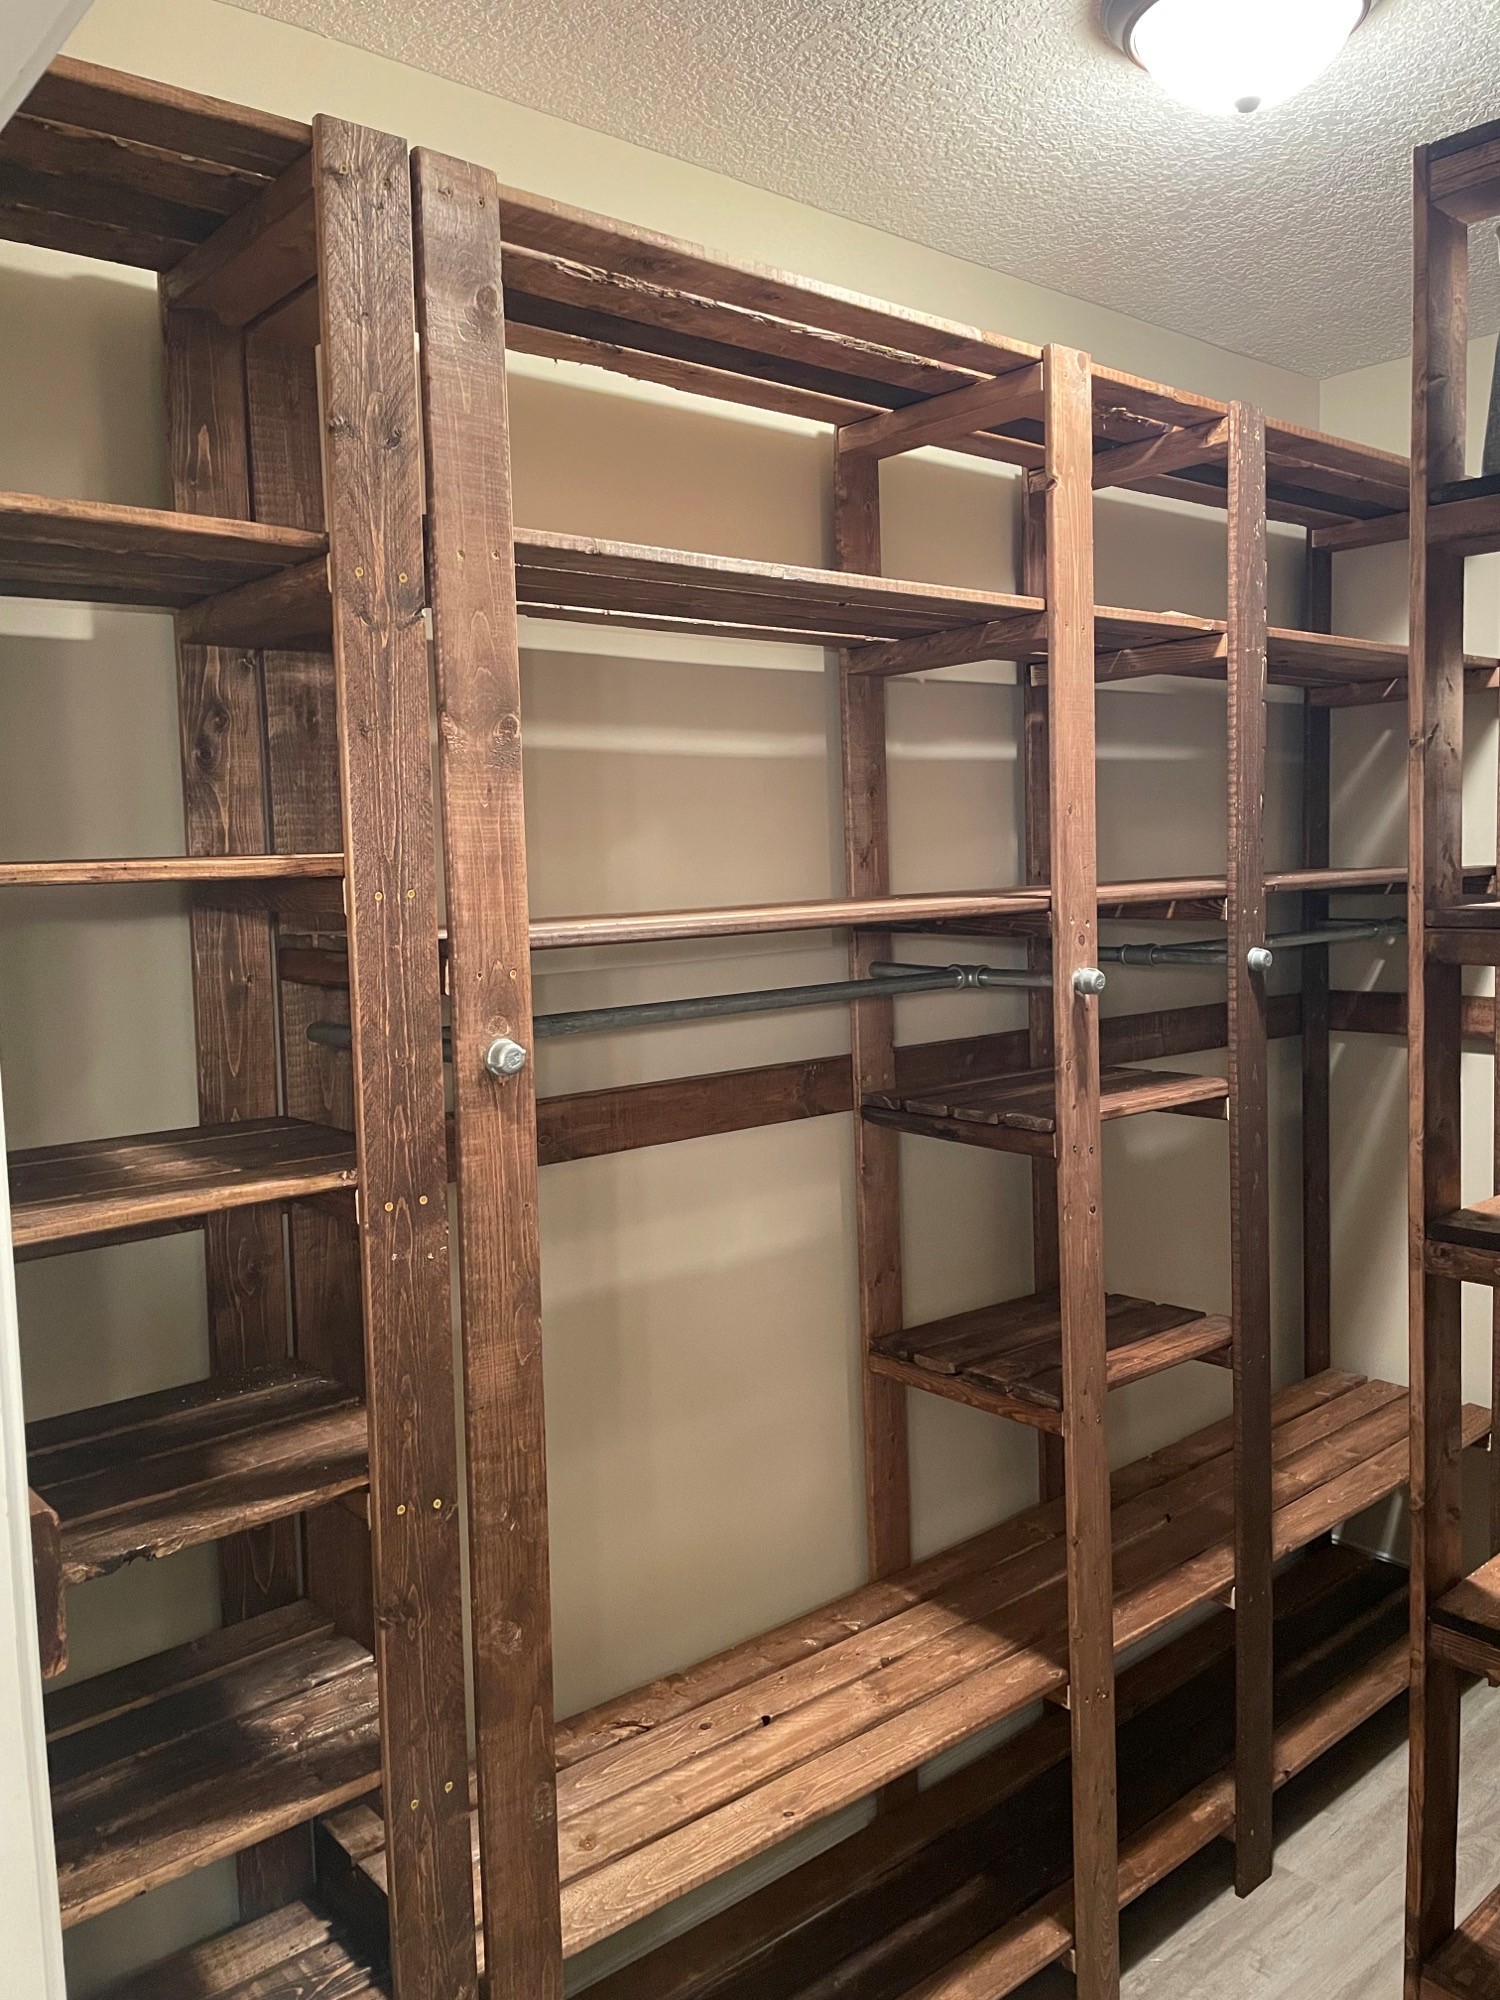
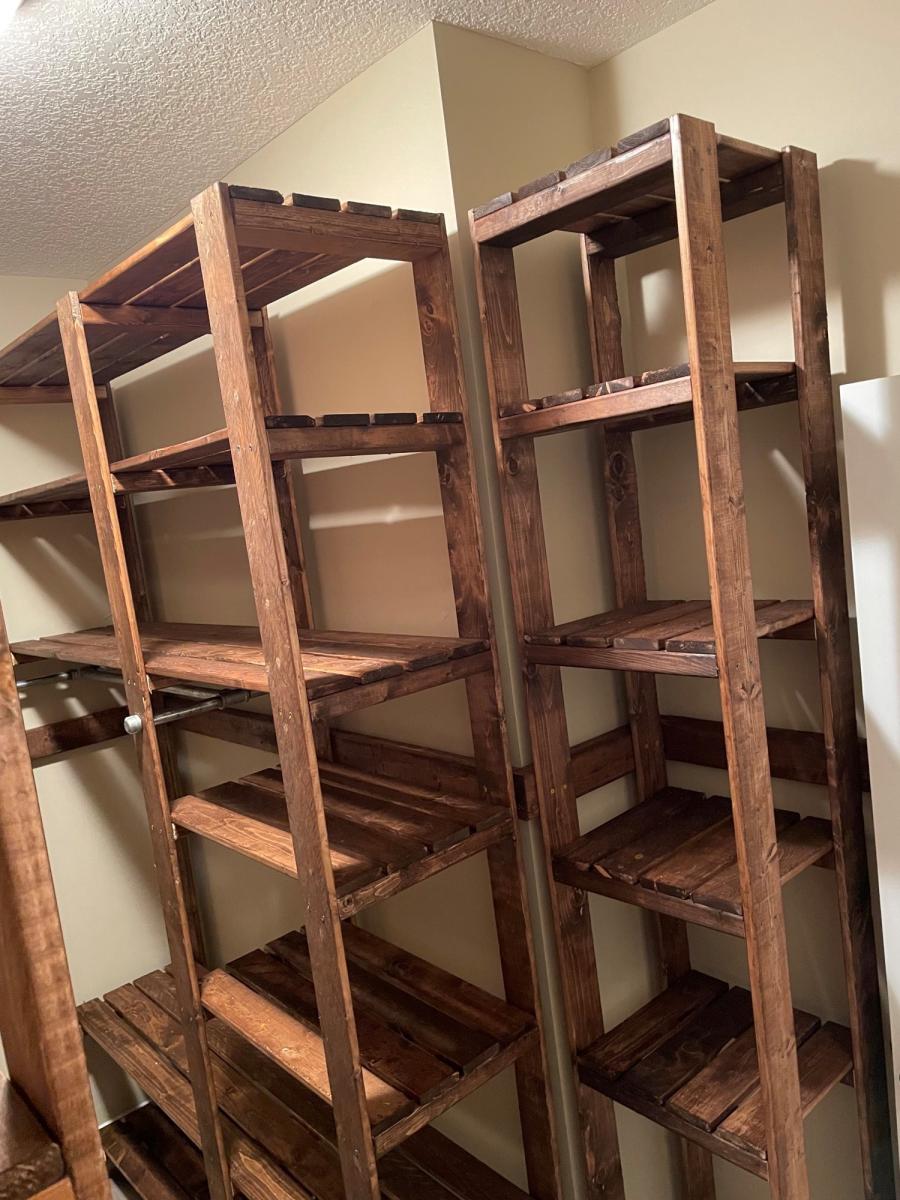
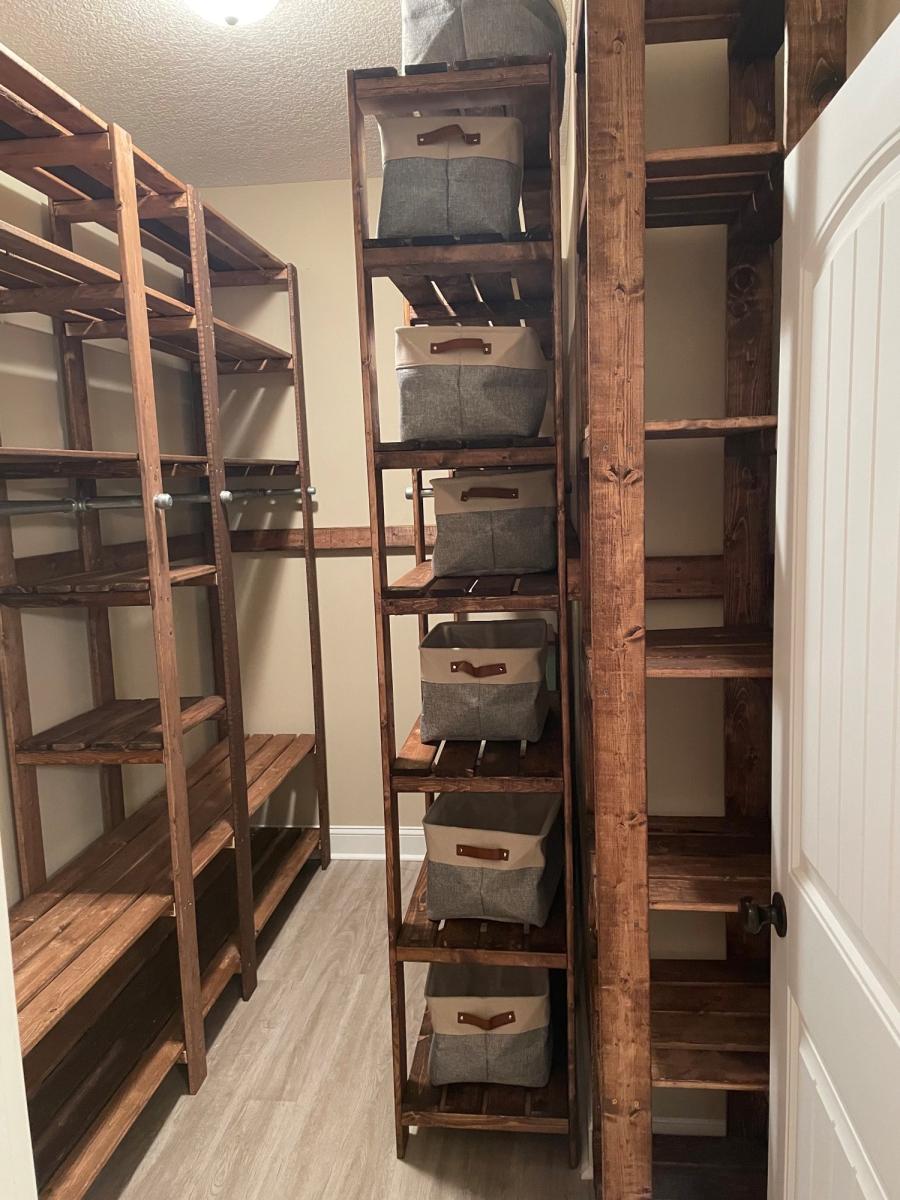
My closet system is four separate units that I butted up together and attached to the wall with a "decorative" 2x4 railing around the entirety of the closet. The main unit looks the closest to the real design but is 8 feet long and 8 feet tall to avoid extra cutting of boards. The smaller unit only has one area for hanging up clothes and is around 5 feet long which is just the length of the wall. I also built a unit for holding sheets and towels and another for my wife's shoes.
The plans are really easy to follow but I would suggest a few things:
-Do stain and boards before cutting; this would have been a nightmare otherwise.
-If you use the metal clothing rods (if I could go back in time I would have used wooden dowels) make sure that you put those in before you attach any boards between the support structures. I ended up having a 35 inch gap instead of a 36 inch gap and it killed my momentum.
-I made mine 8 feet tall because it was less to cut and then re-stain; time wise it probably was a scratch cause I had to build it in place and at the end it was very tight to work in the space.
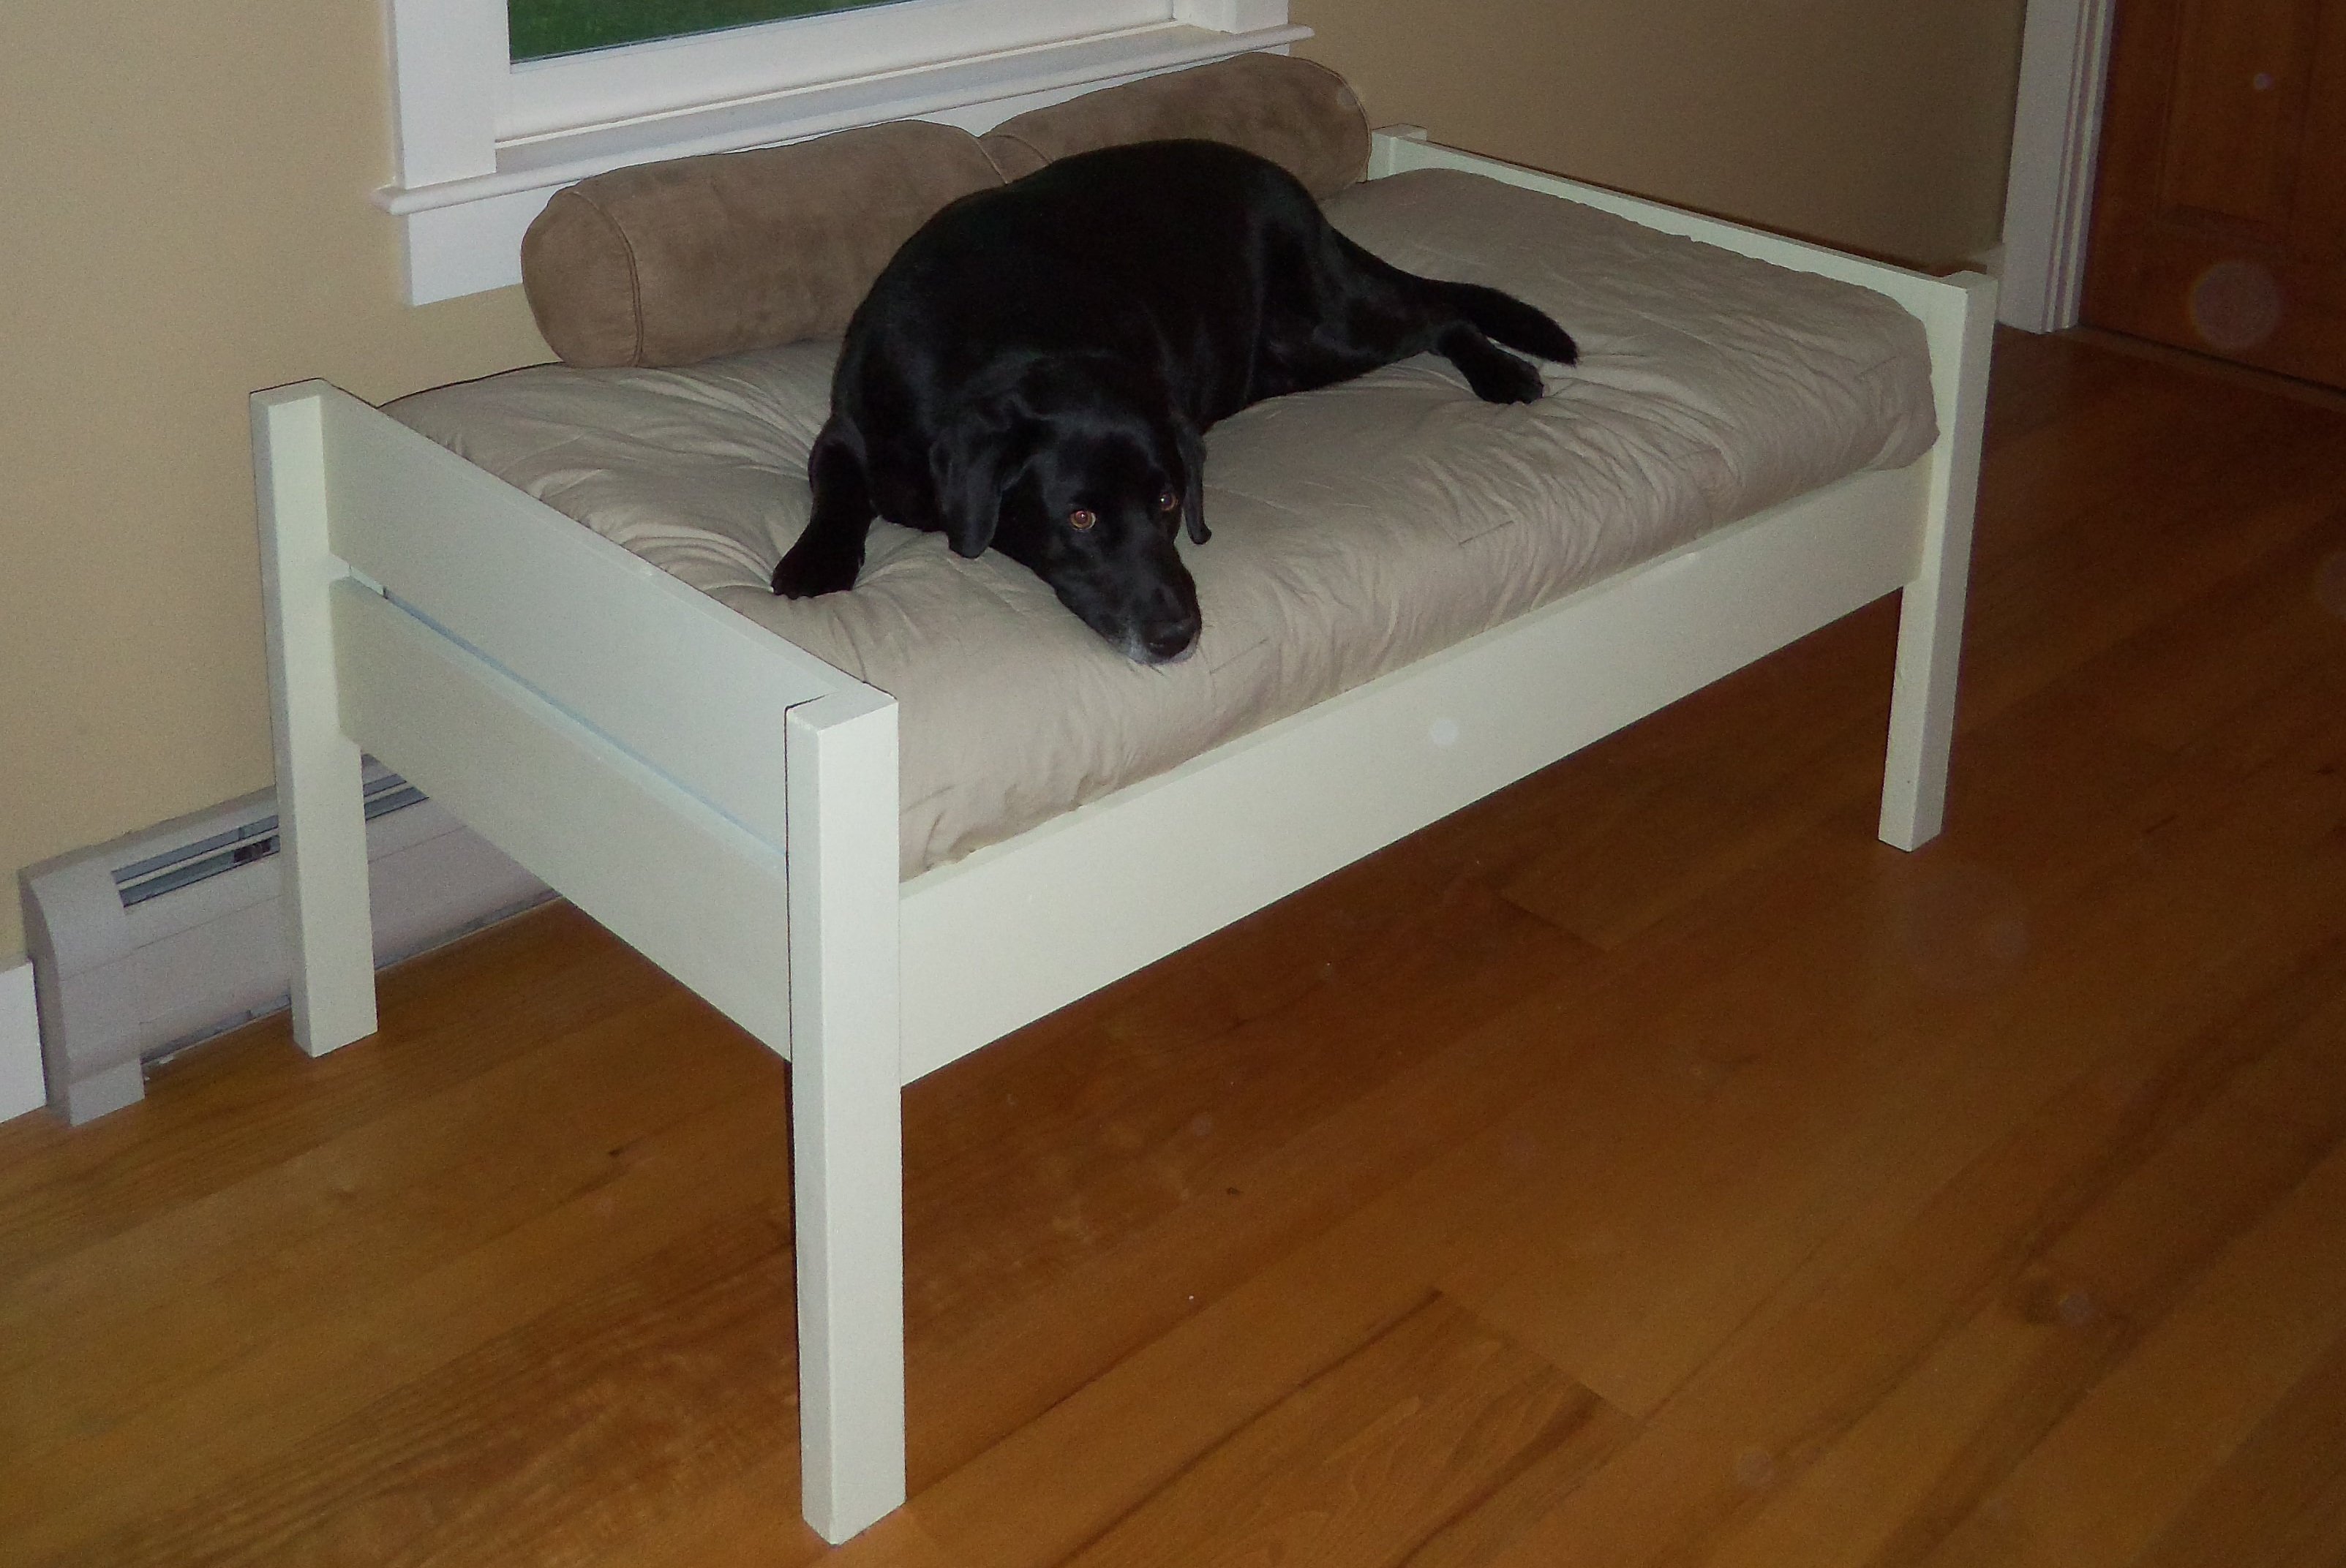
I've thought for a while about building a bed for our dogs, but wasn't sure where to start. We had an extra crib mattress so I set out to find a toddler bed that would work. I decided the Lydia Toddler Bed plan would work best. It doesn't look anything like it, but it was a great starting point.
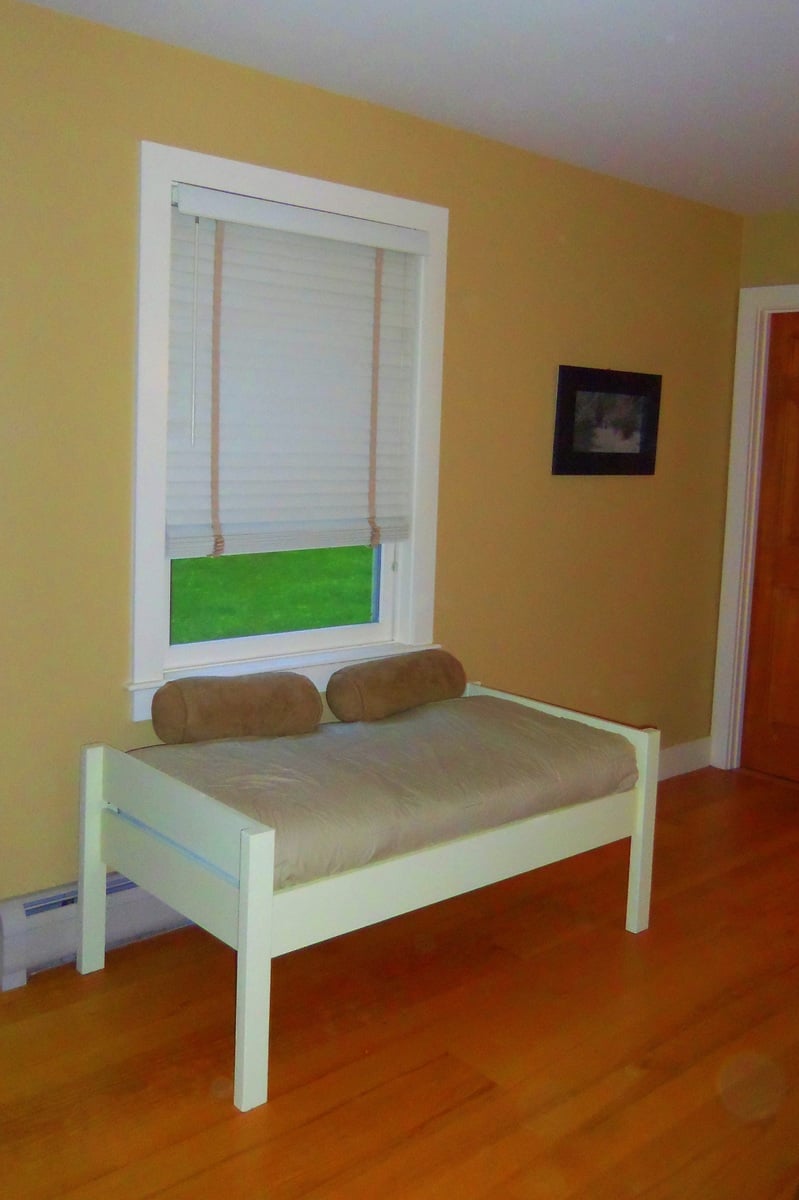
First, I got rid of the canopy and the decorative side pannels. I also raised the bed 12 inches. (The hope is to add a rug on the floor underneath as sort of a "bottom bunk") The lumber store didn't have 2x2s so I used 2x3s for the legs. I also only used two 1x6s at the head and foot of the bed. They are seperated by 1" because when I got home, I realized they were actually 1x5 (RUDE).
All in all, it turned out exactly as I had hoped and the dogs love it! GOODBYE stinky dogbeds!
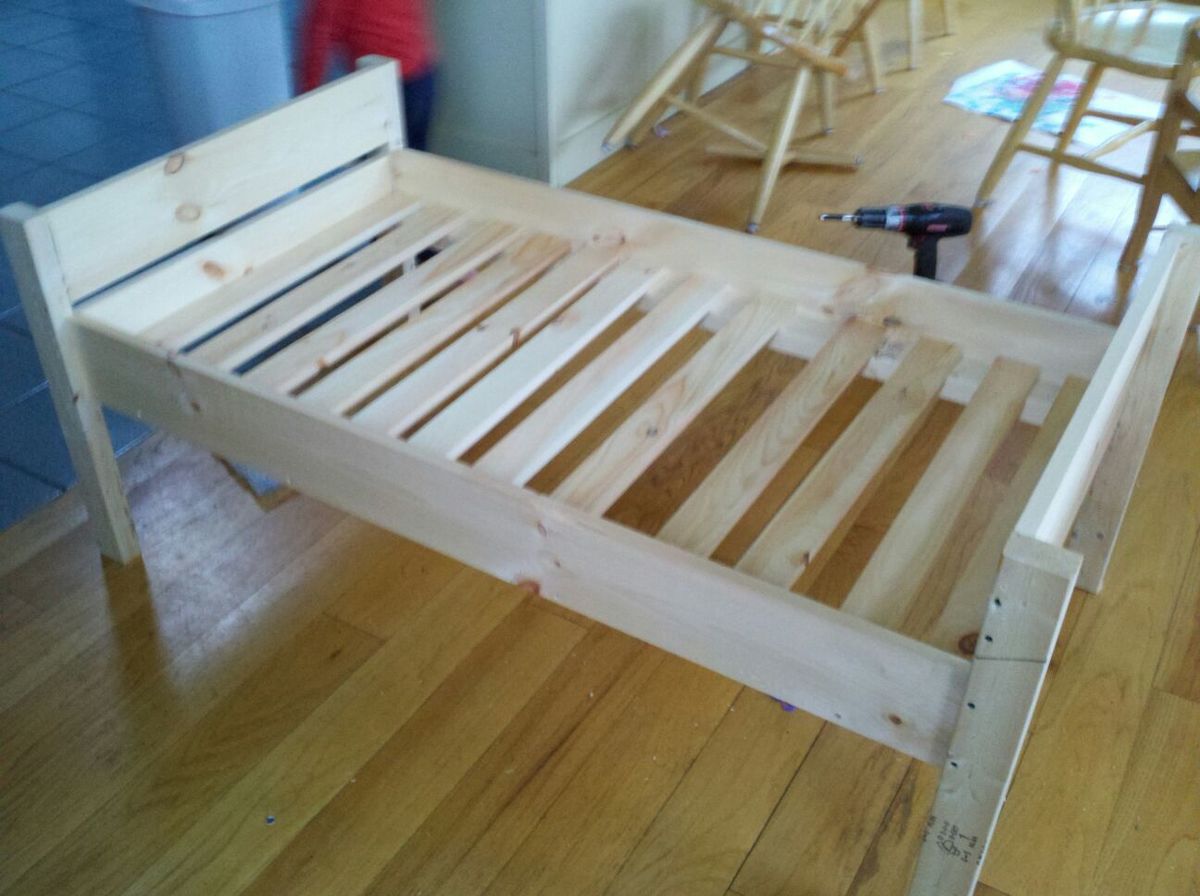
**Photo 1: Just finished building--the slats weren't screwed down yet.
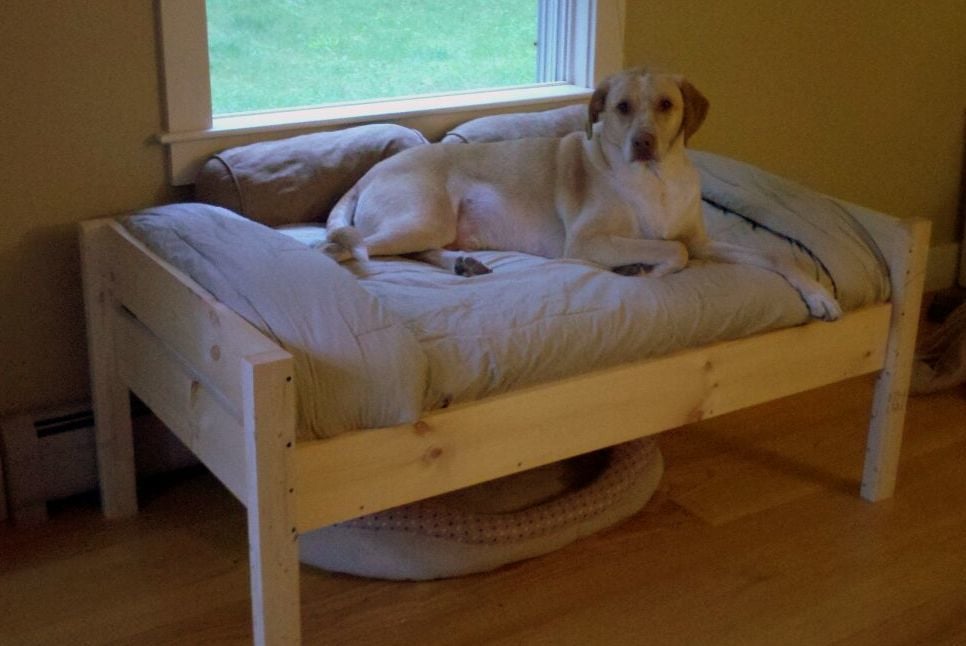
**Photo 2: Deacon is testing out his new digs! See the stinky dogbed underneath?YUK!
**Photo 3: Dog Bed Completed! Mac & Deacon love it!
Thu, 10/16/2014 - 18:49
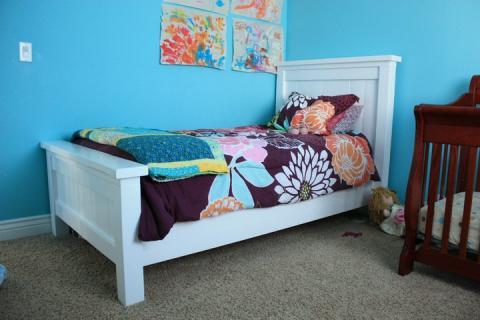
Thanks for sharing the great plans. We built this end in a few hours and she loves it!
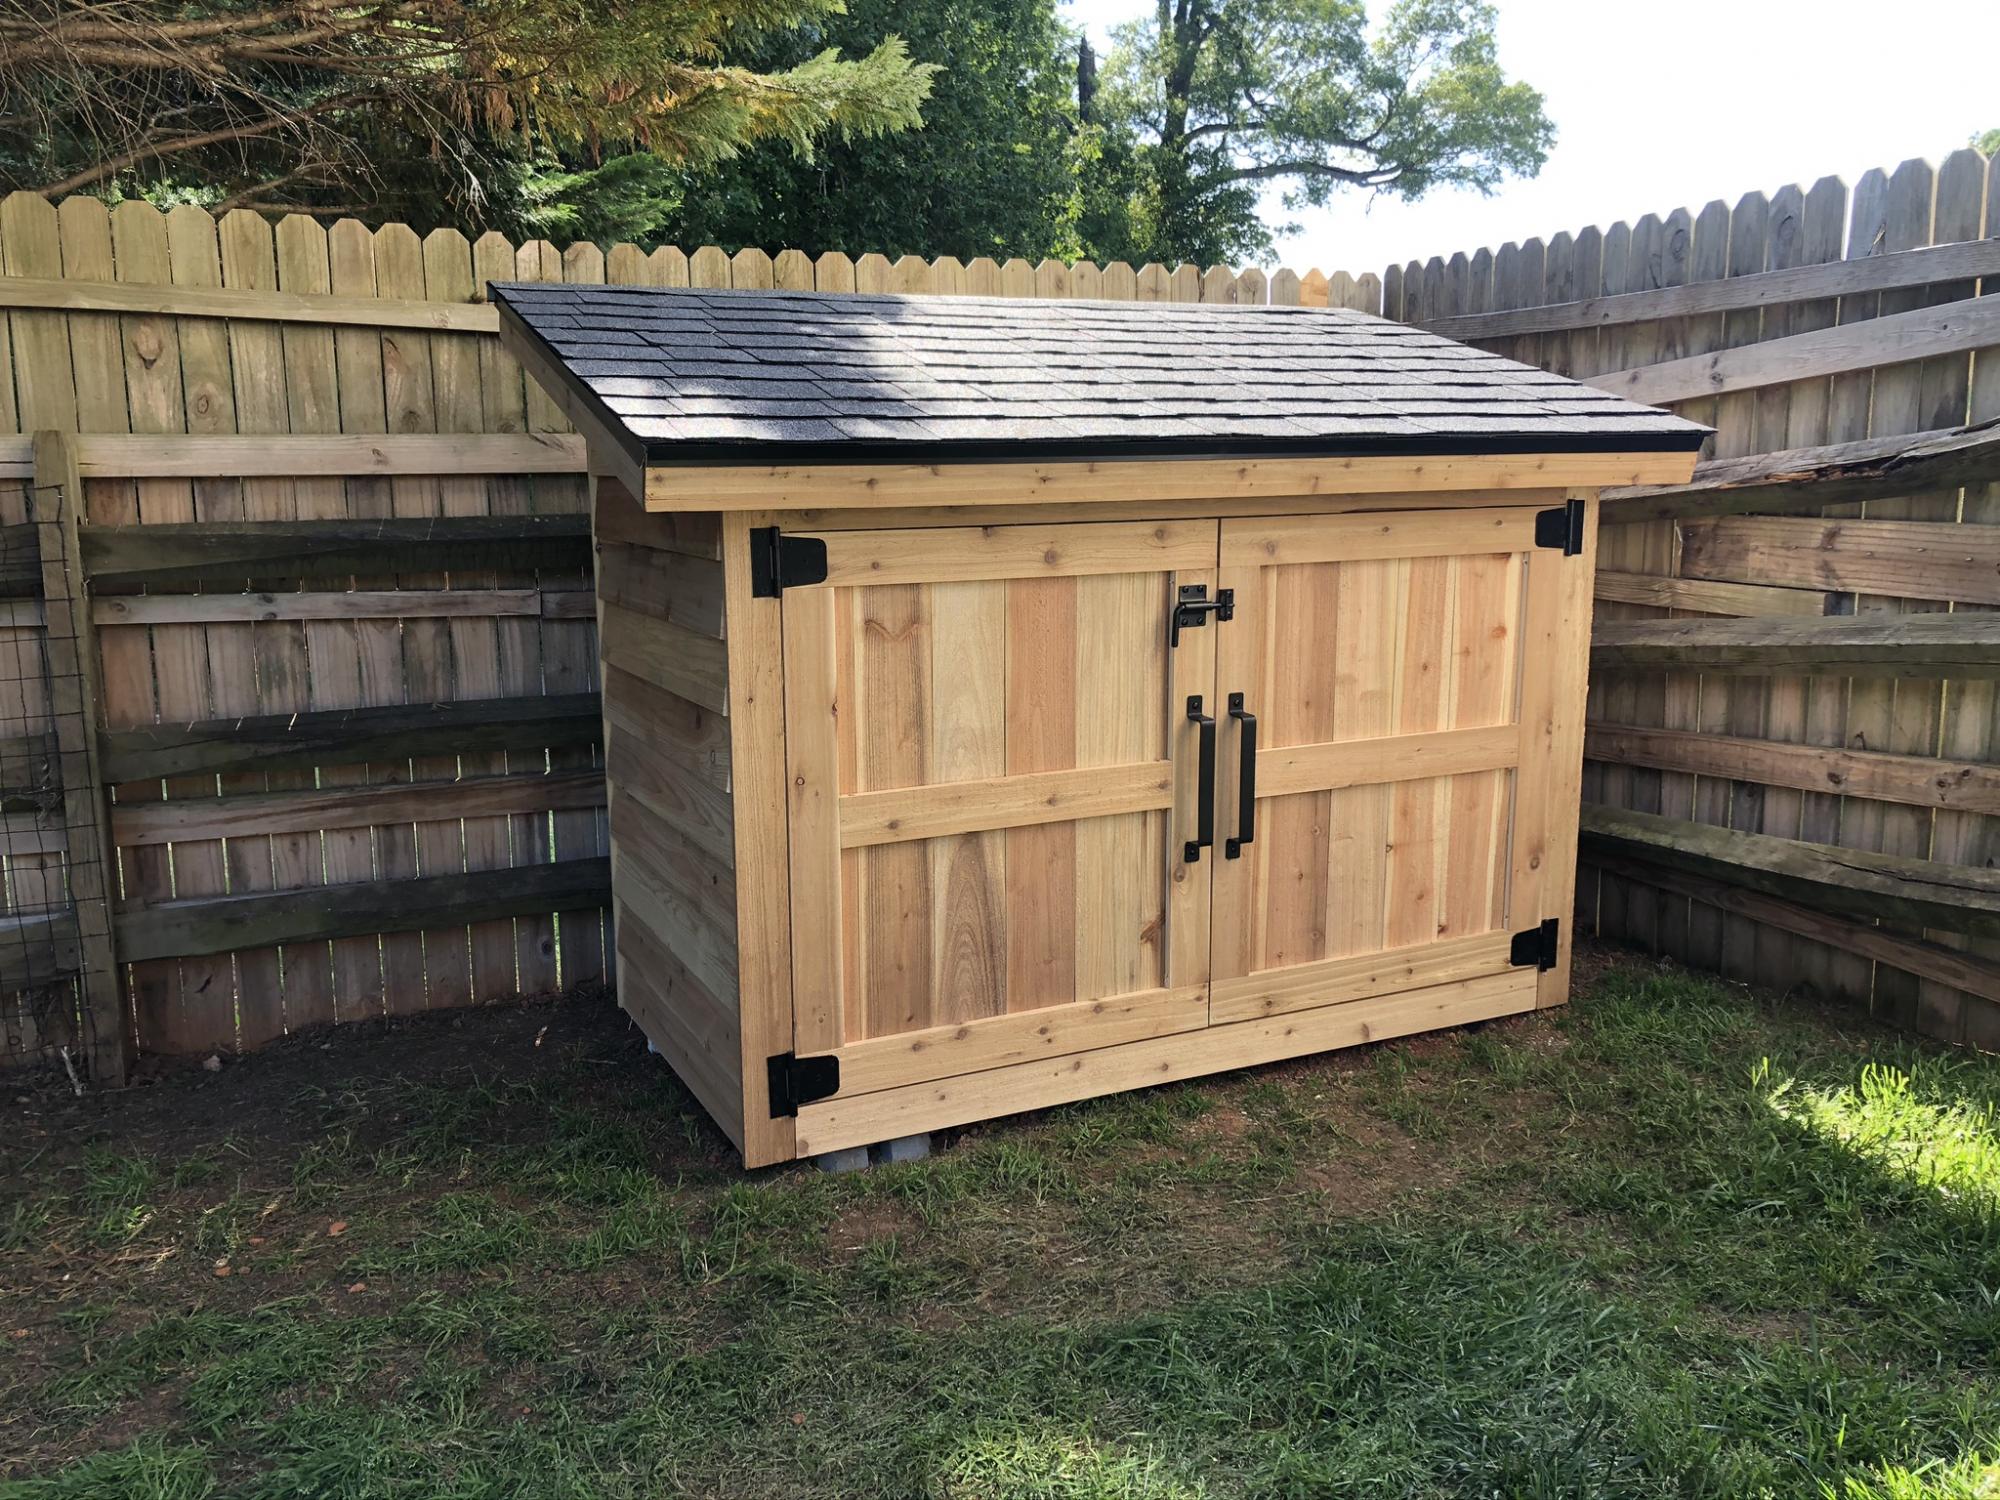
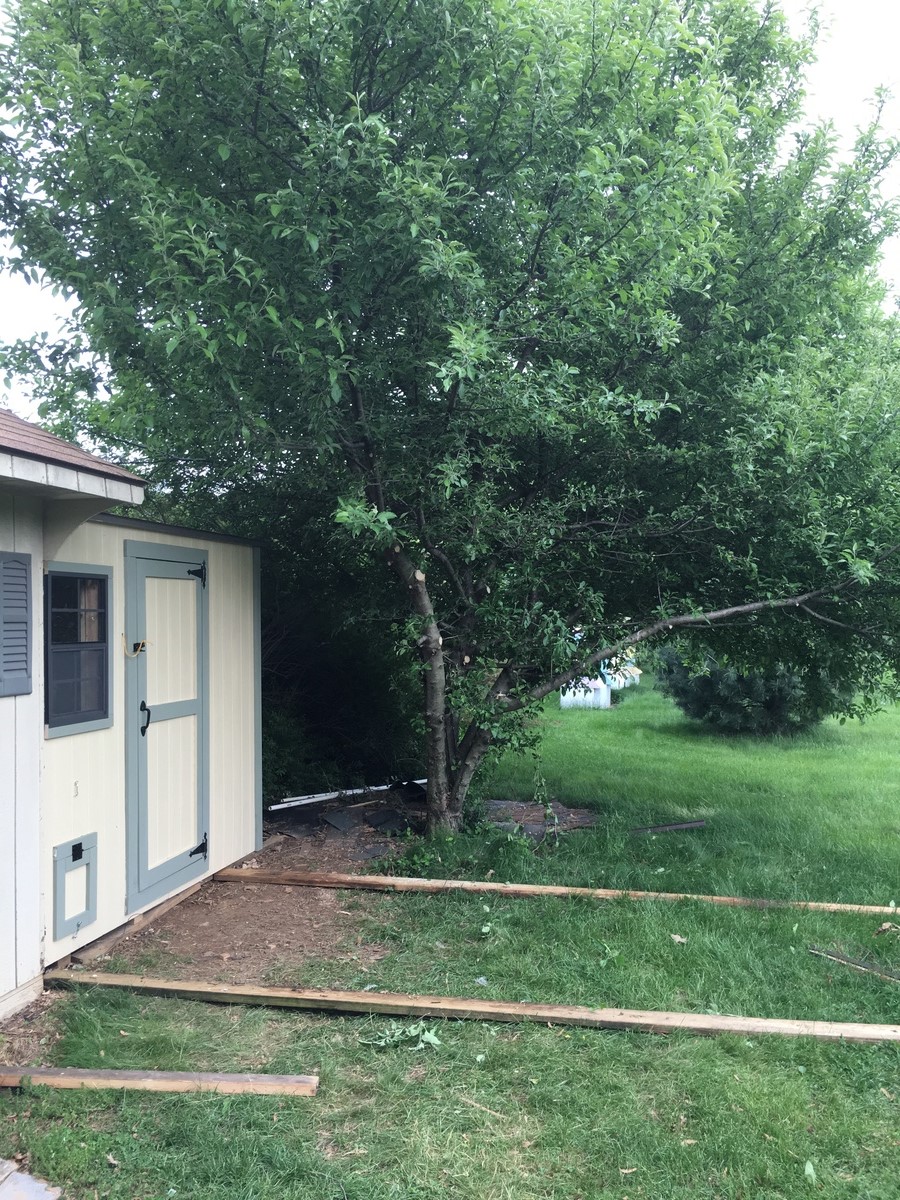
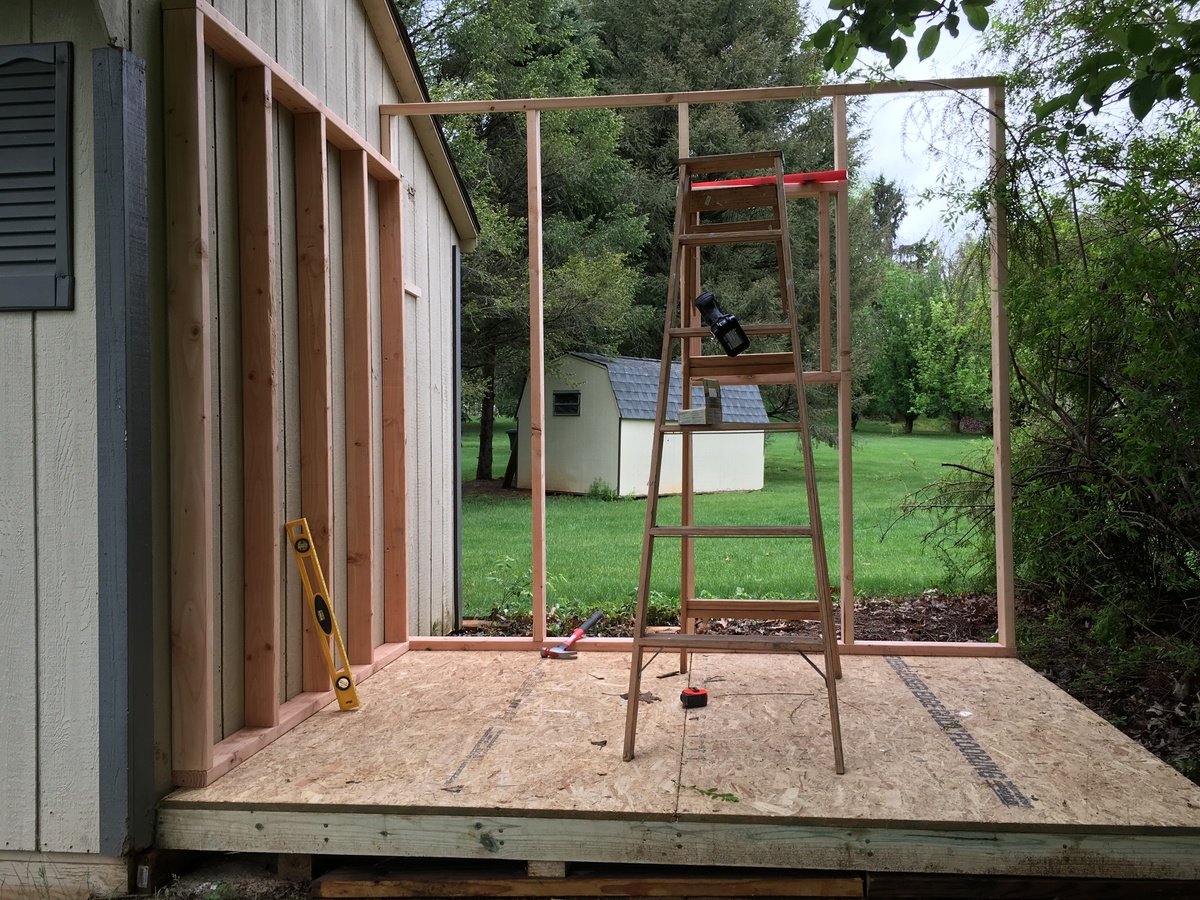
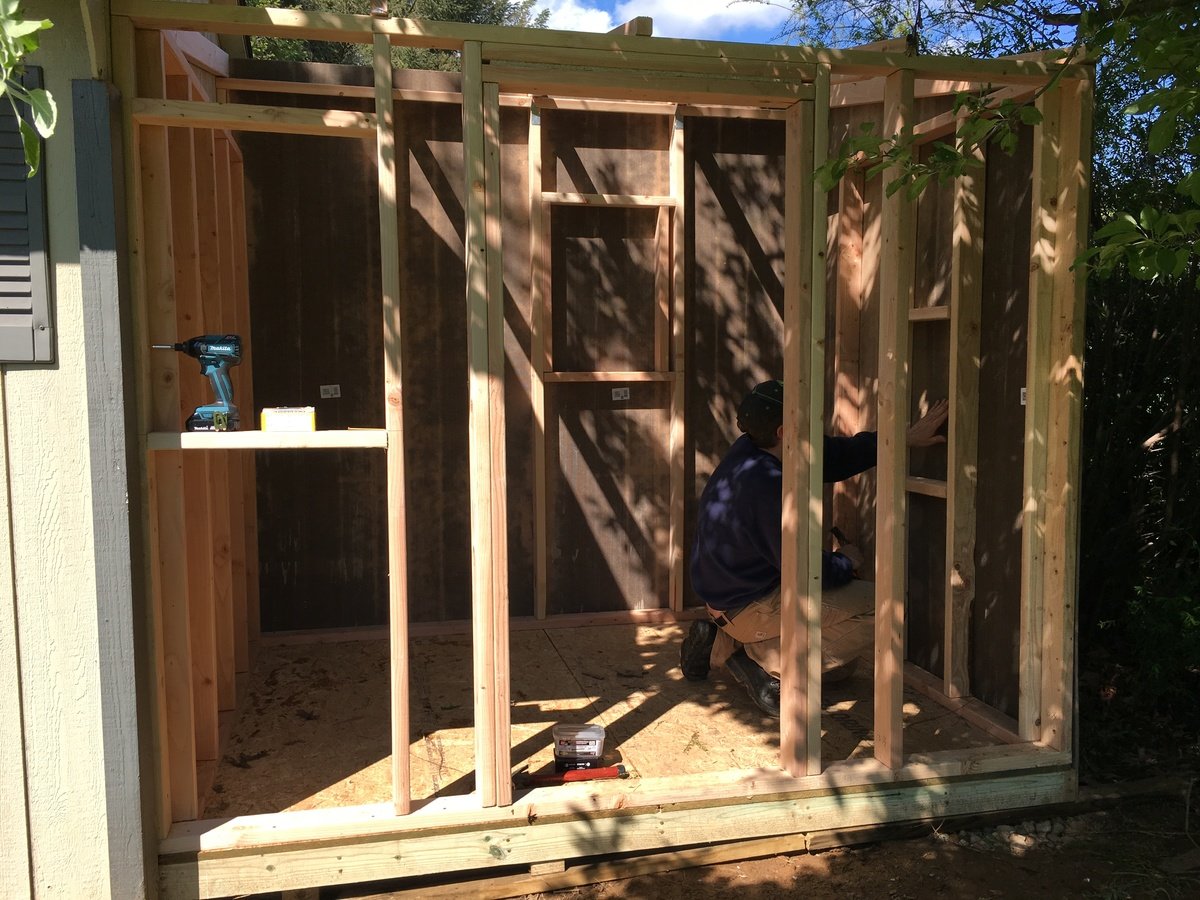
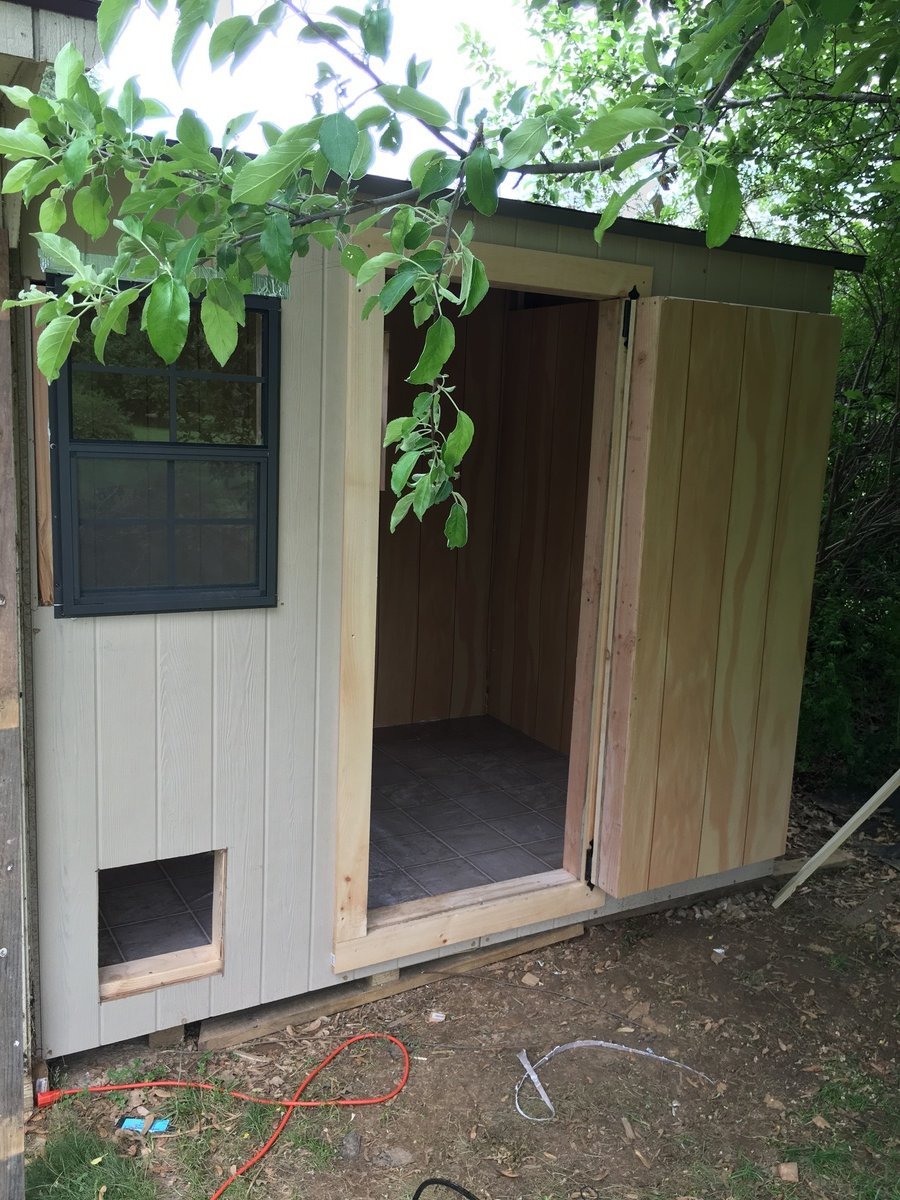
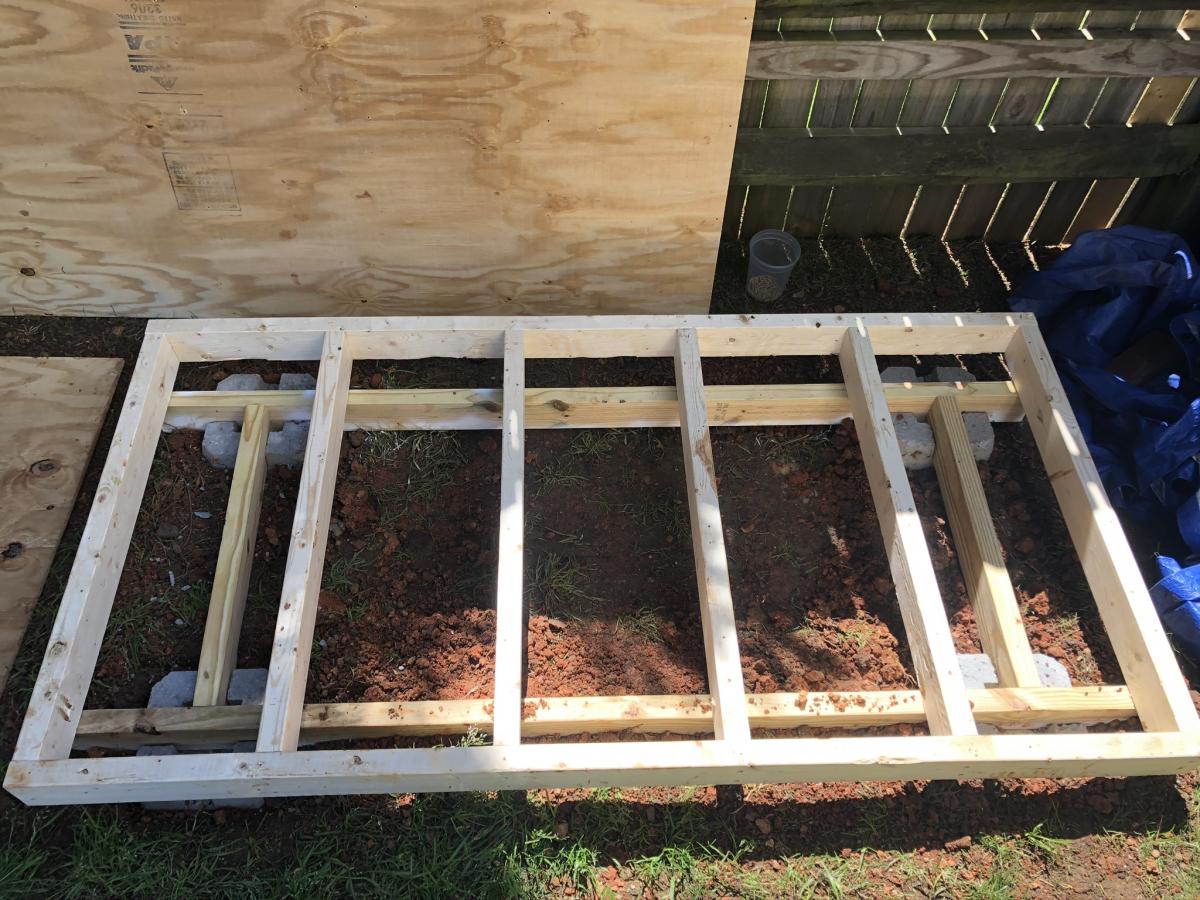
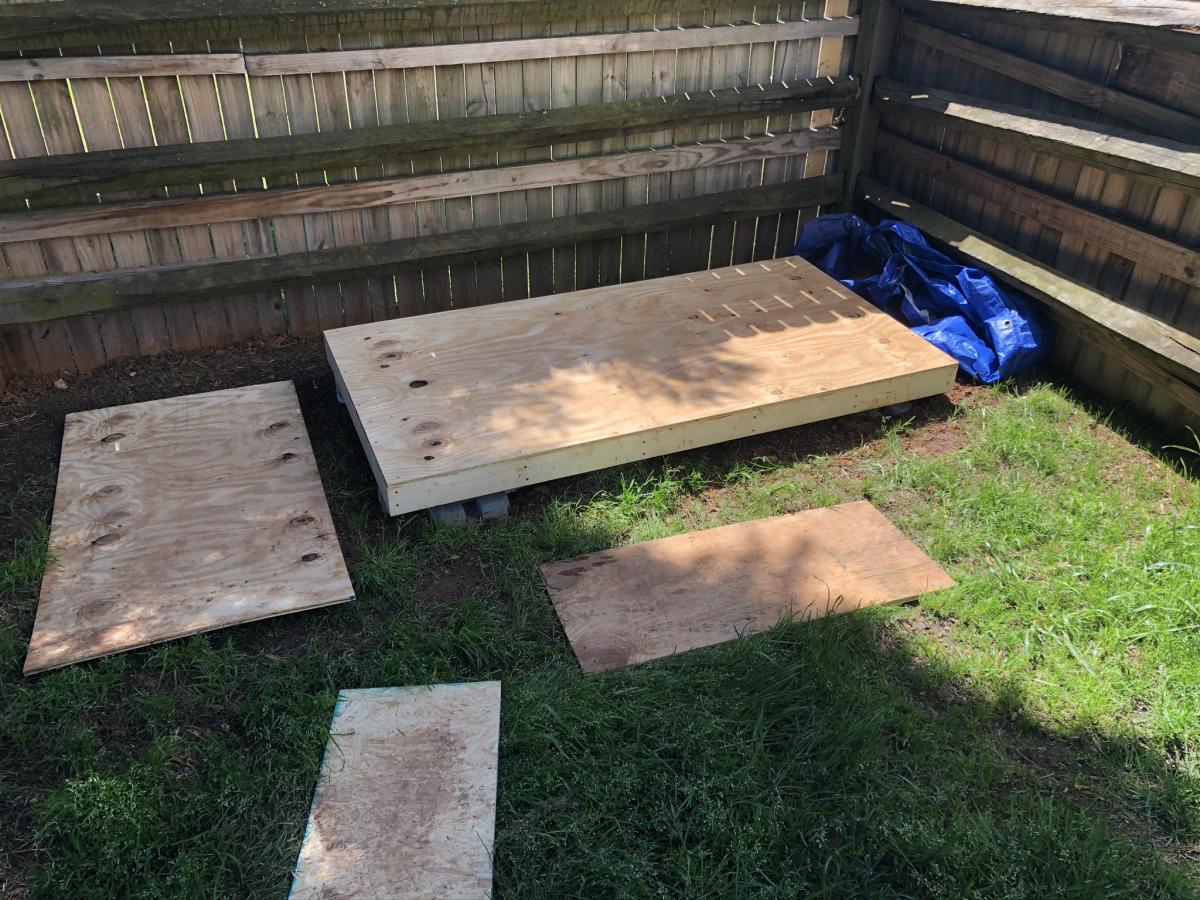
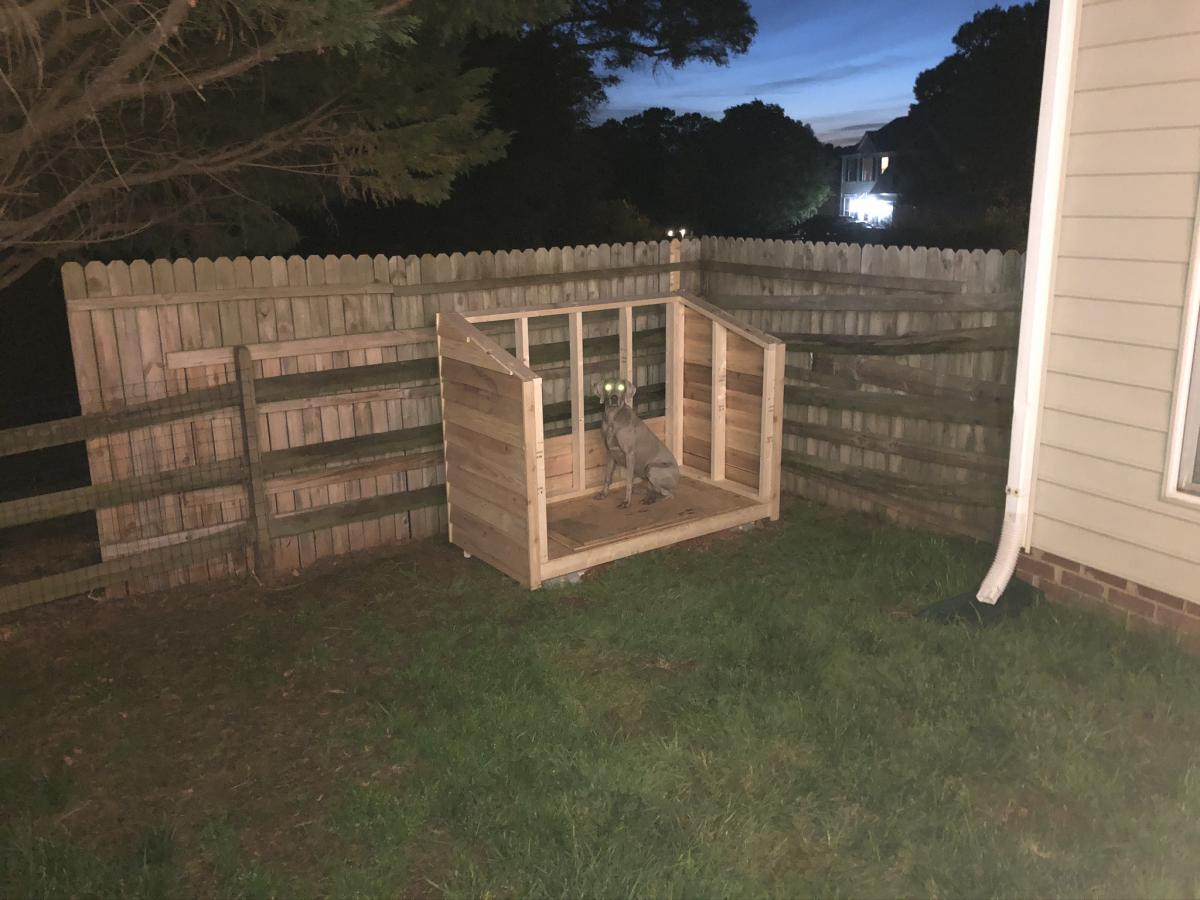
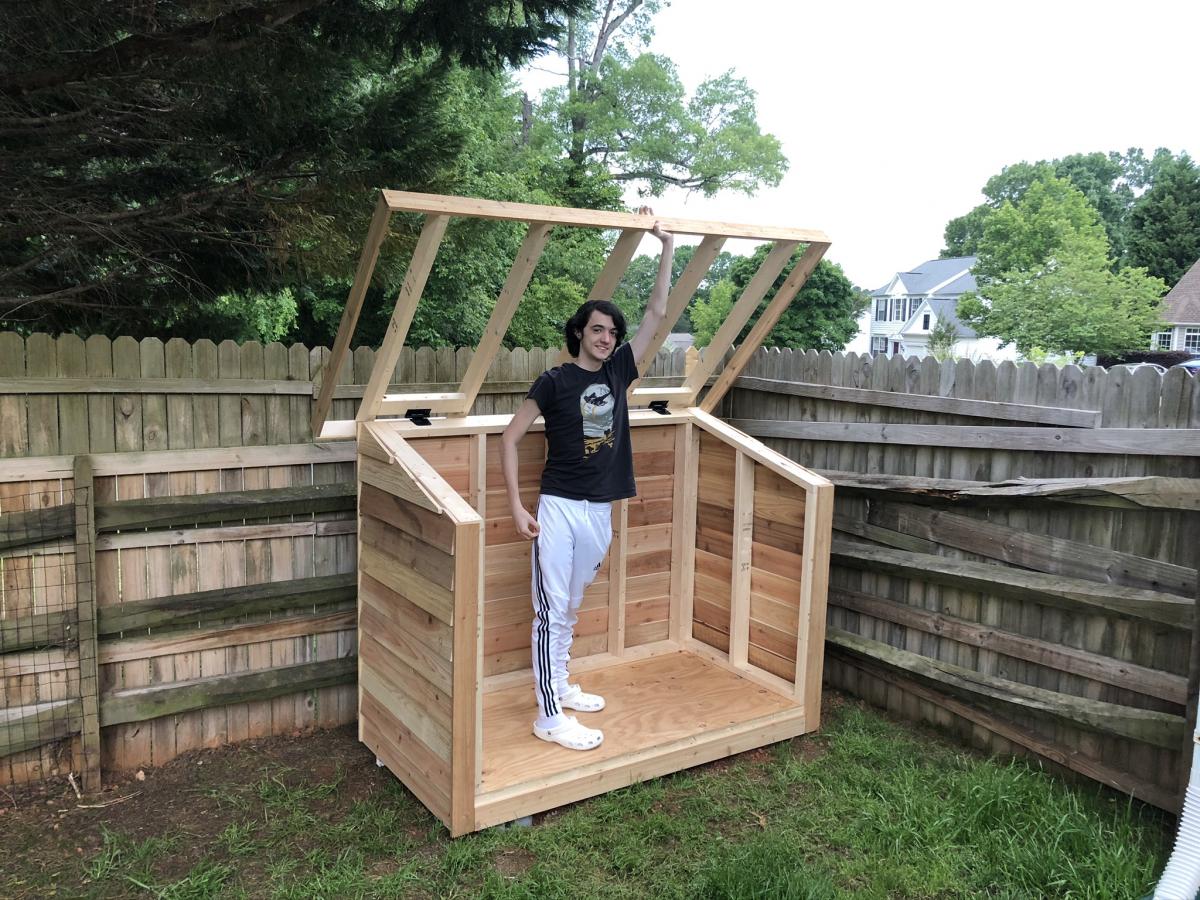
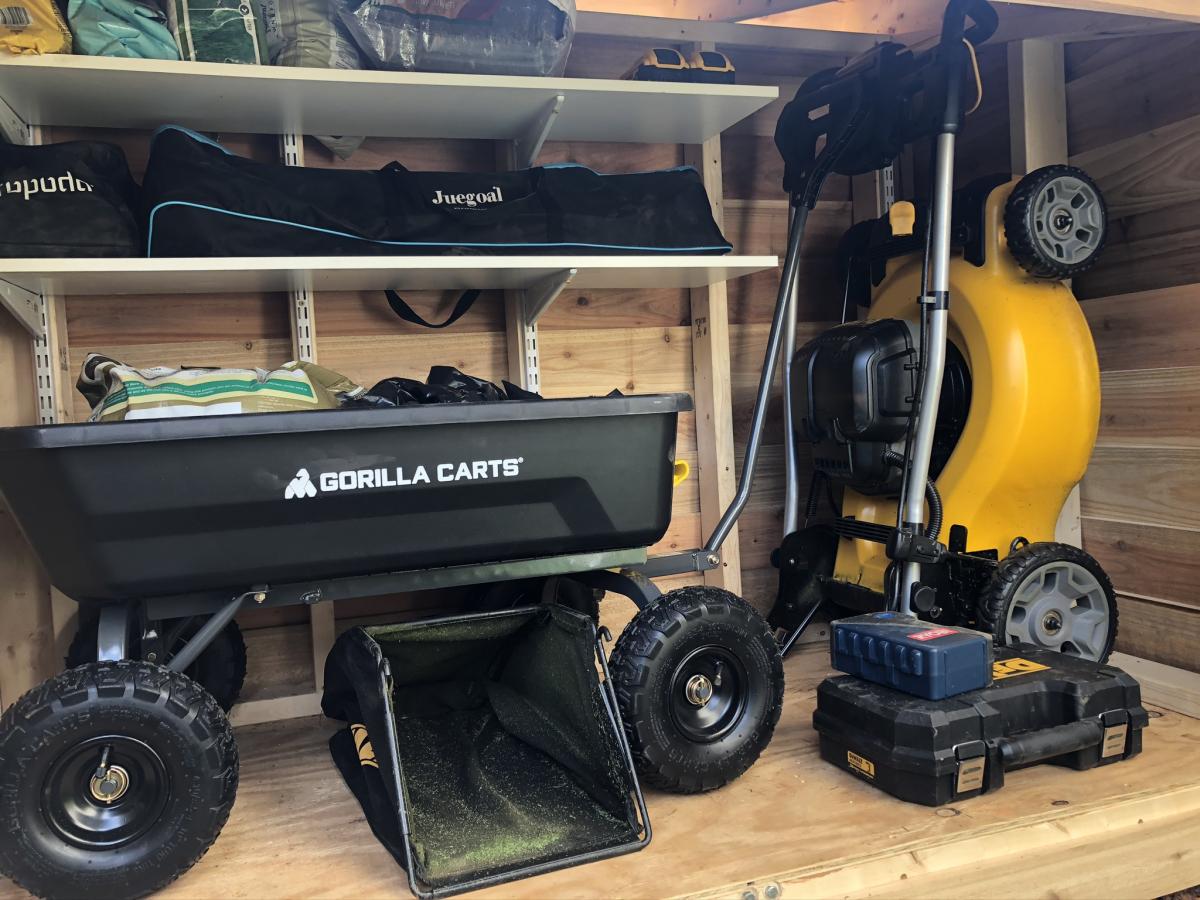
We wanted a shorter version, so that it would hide behind this fence. I just needed somewhere to store lawnmower, wheelbarrow, and a few yard supplies. I started putting the roof on hinges, but the gas struts couldn't support the 170 pound roof. So it's fixed in place (stronger structure anyway). That's why I went with 2x4's for the framed walls instead of 2x2's.

Thu, 06/11/2020 - 17:15
Very Nice modification. Two thumbs up! May I please ask you for the dimensions of the shed?
DIY Outdoor Wood Chairs
by Tara

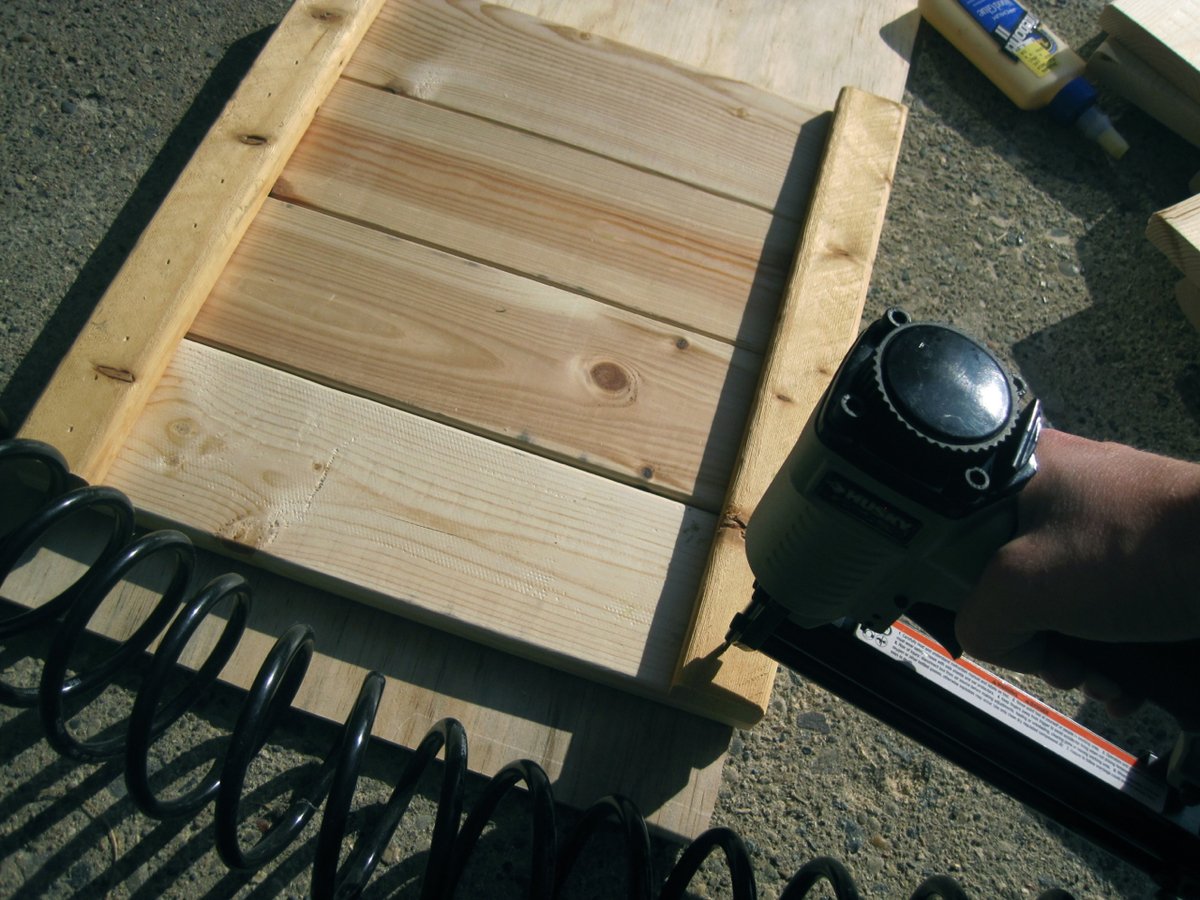
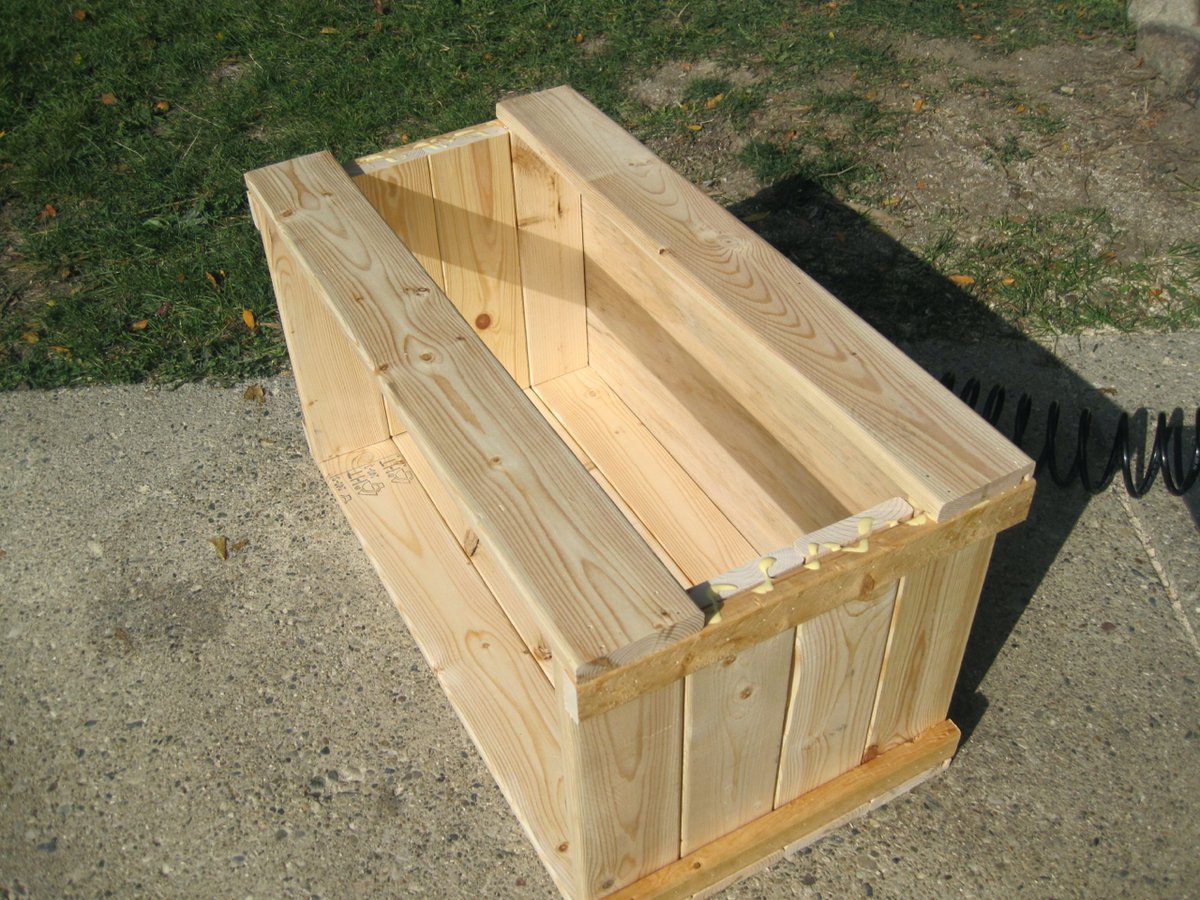
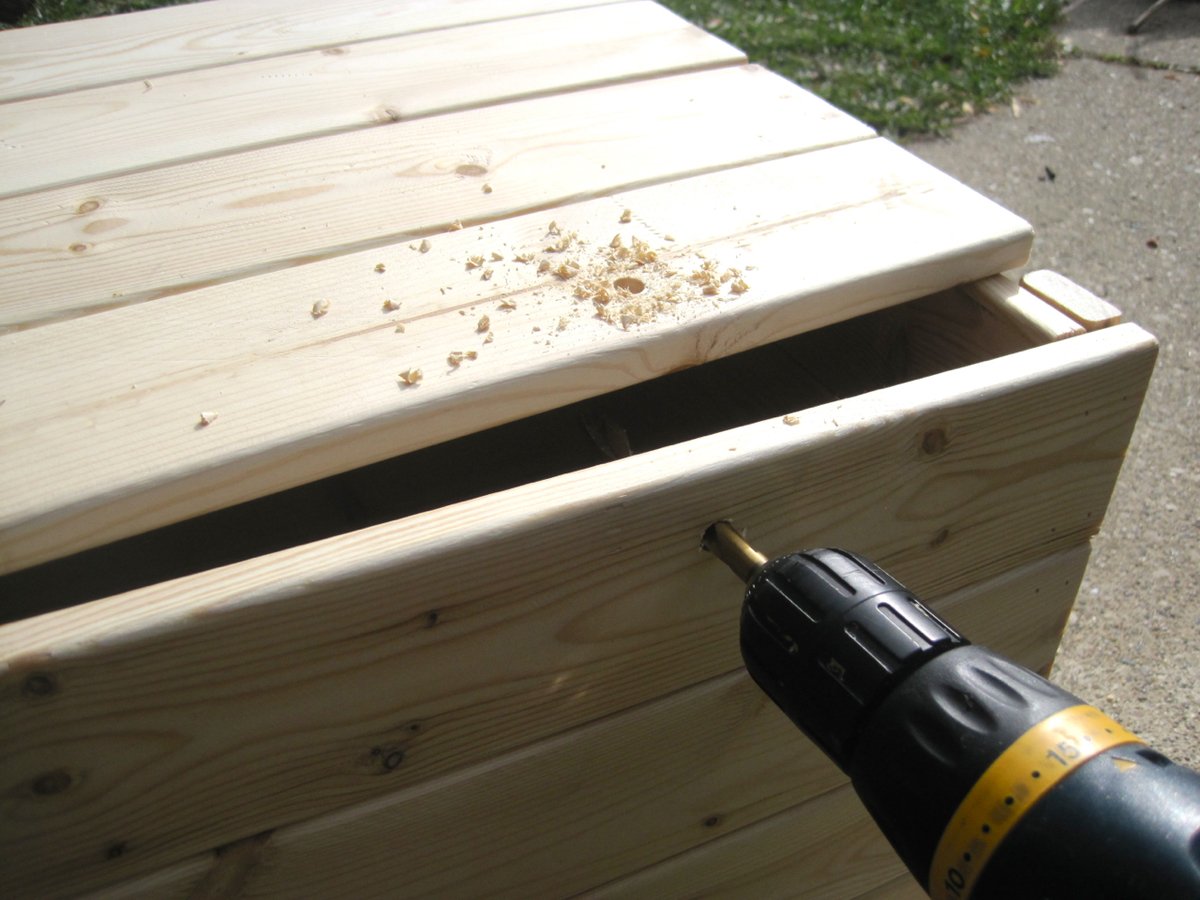
I wanted a large chest to store toys, books or blankets. I wanted it to be cheap to build and be rustic. This project turned out perfectly! I used 2" and 4"-wide furring strips and rope for the hinges and handles. I used 1/4" plywood for the bottom and made a groove with the router for it to slide into while assembling. I helped 16 girls make these who had no previous experience and they loved it!

Fri, 12/27/2013 - 06:21
Can you provide a lumber list for this? I know you said you used 2x4 but the lumber I see in the photo doesn't look like 2x4.
Thanks,
Ben

In reply to Lumber list by benjaminrogers
Fri, 12/27/2013 - 07:17
Hi Ben!
I used 1x4's and 1x2's. I have a shopping list and cutting list on my blog. I can't post the link here but you can click on the link where it says "Blog Link" under "About This Project"
Let me know if you have any other questions!
Fri, 12/27/2013 - 07:22
Thank you so much! Somehow I missed the link!
Ben
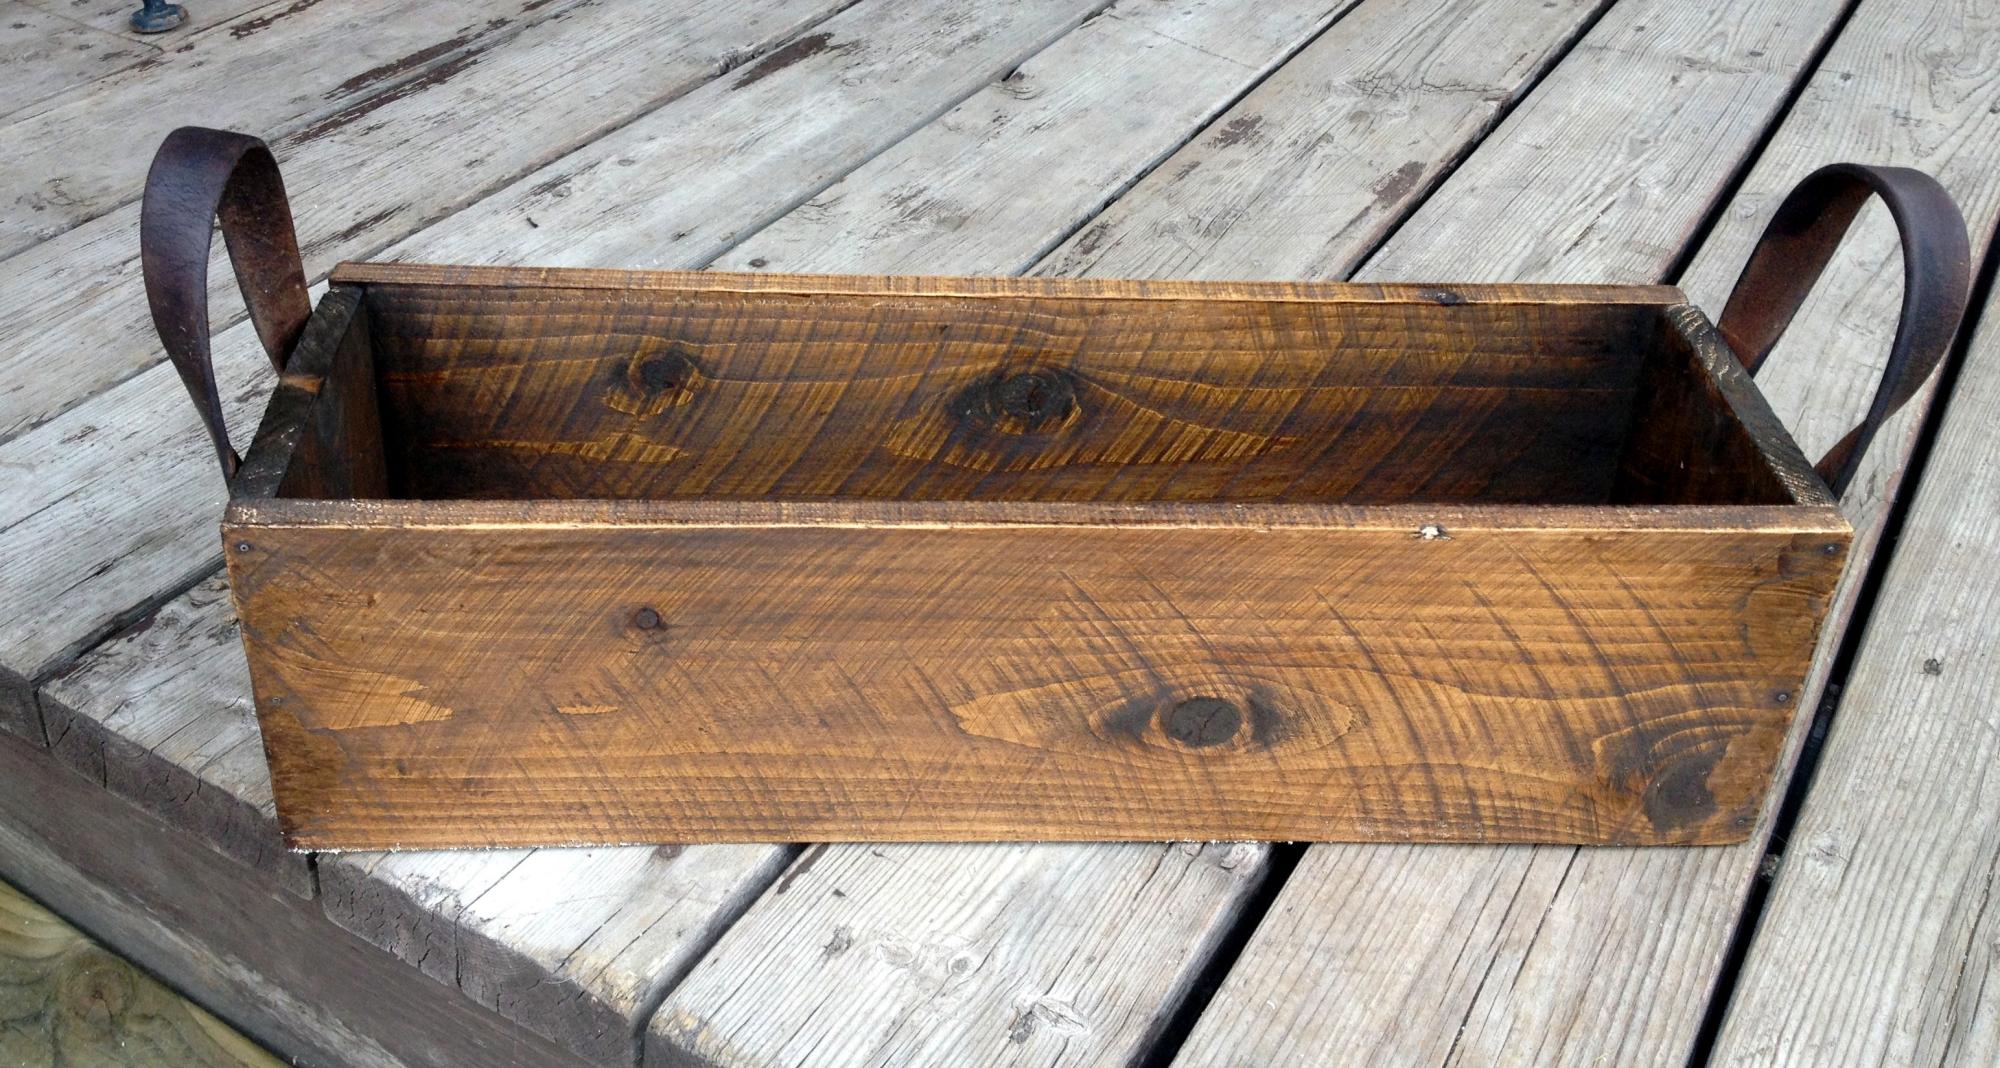
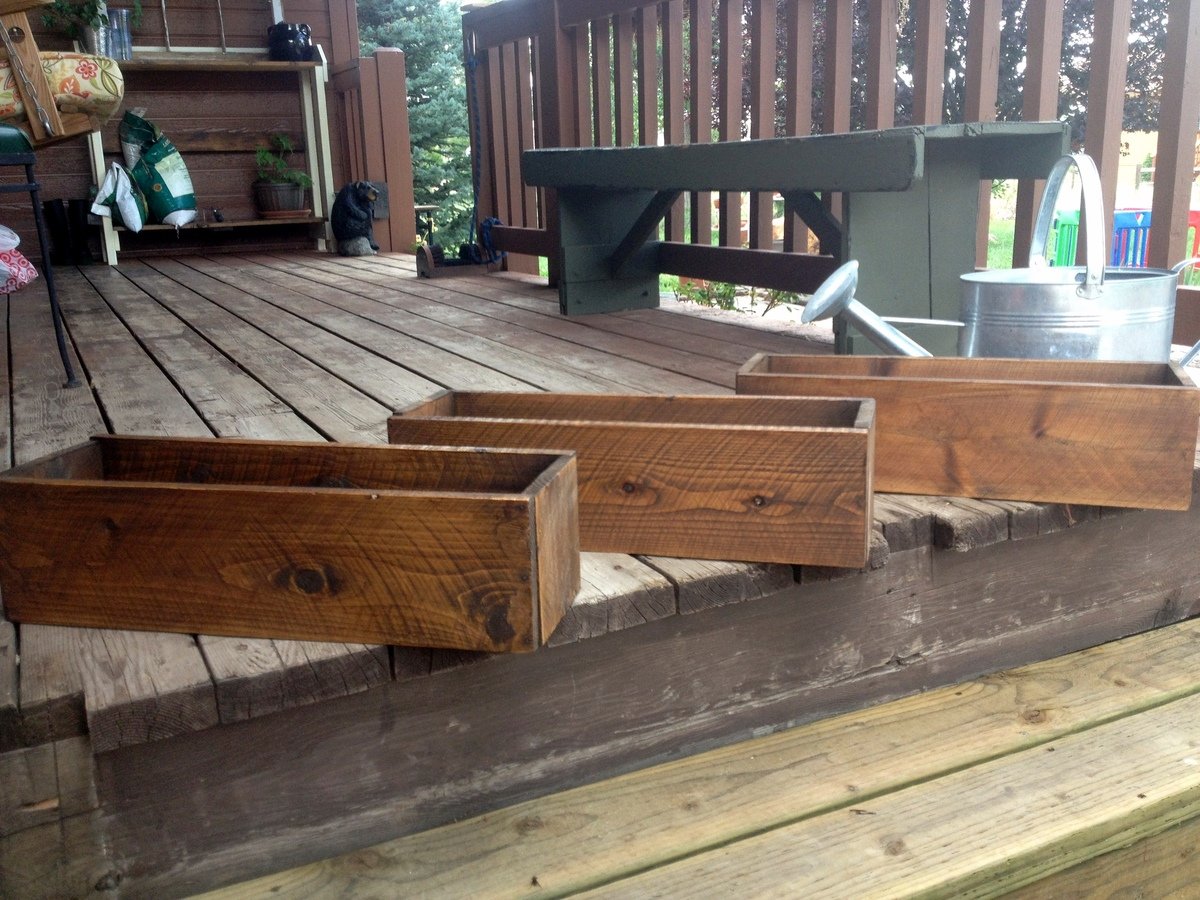
My brother and his fiancee just bought their first house, and these sweet little boxes were the perfect housewarming gift! I used the recommended cedar picket, and found some old reins at a flea market for the handles. Piece of cake to build, super inexpensive, but absolutely adorable!
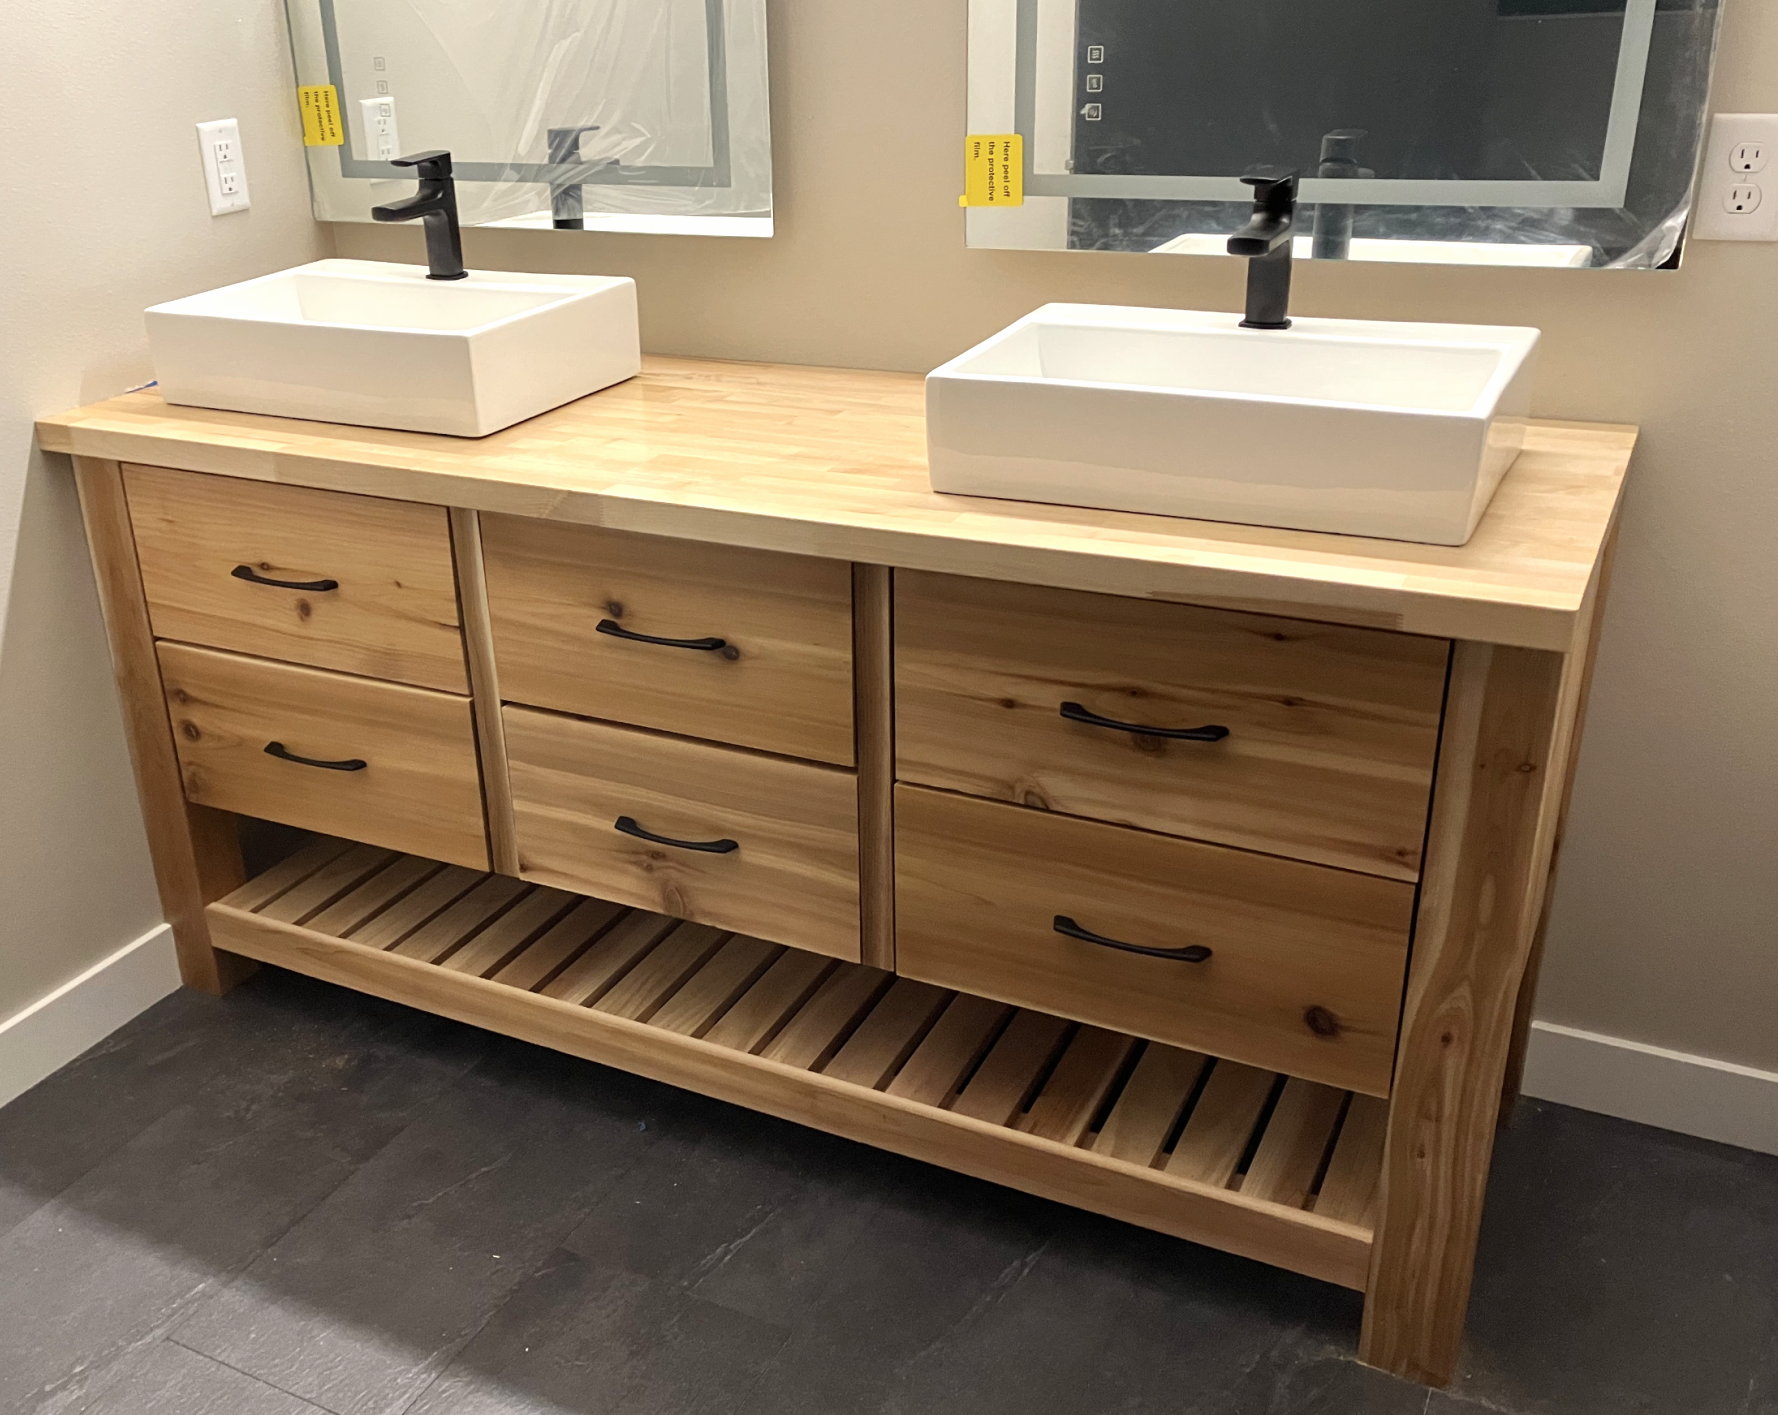
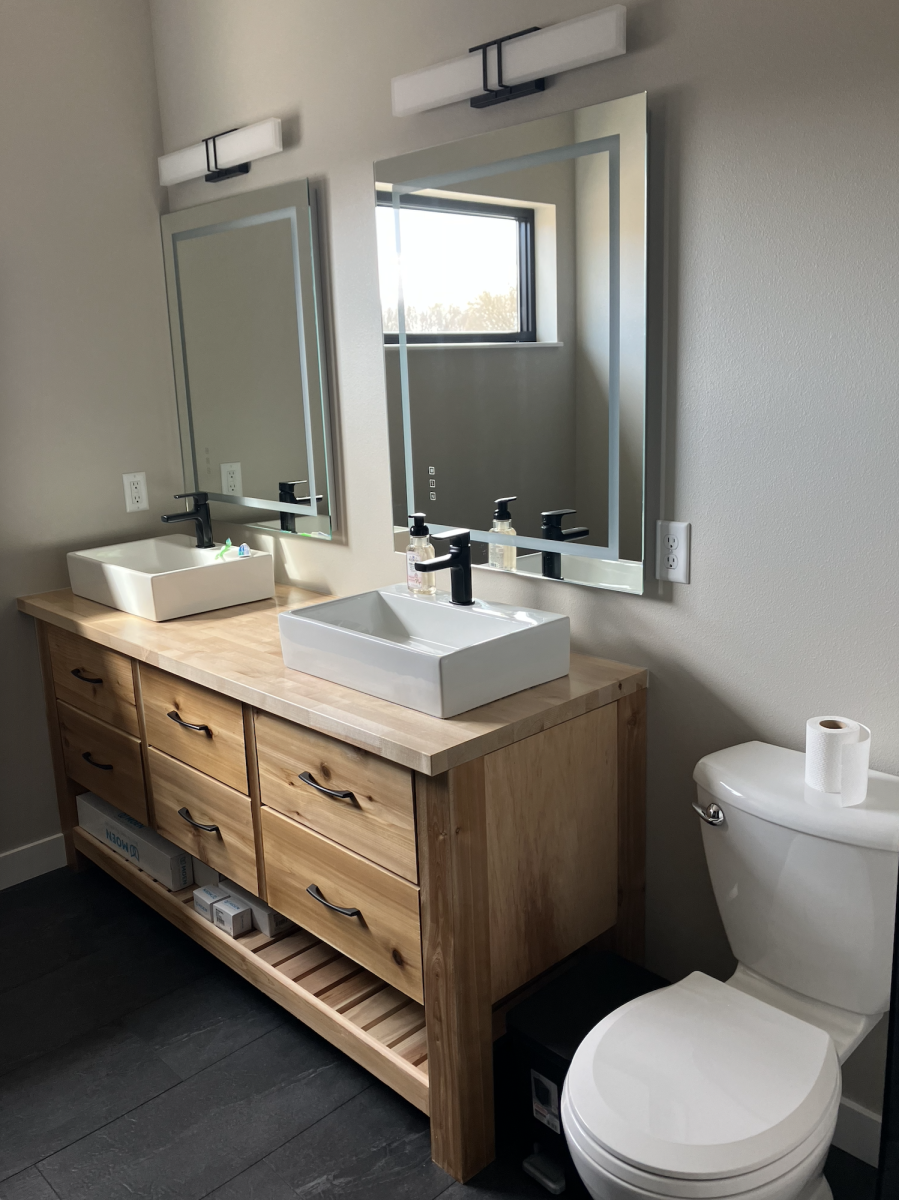
After looking at some terribly overpriced particle board vanities, I found the lovely Rustic Farmhouse Double Bath Vanity plans and decided to go for it. I think this vanity turned out much better than anything I could have bought with the same amount of money, and it will last much longer too!! Thanks Ana!!
Thu, 05/04/2023 - 10:26
Absolutely stunning, thank you for sharing your beautiful createion!
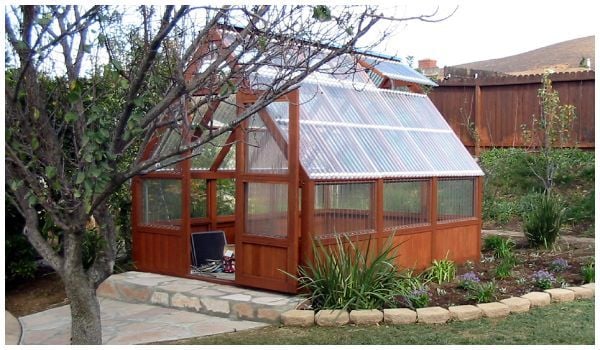
I saw the barn shaped greenhouse plan but preferred a regular roof pitch. I did however incorporate the corrugated polycarbionate as a covering. I find it odd that you guys installed the polycarbonate horizonitally instead of vertically.
Anyway thanks for the info on polycarbonate.
Tue, 09/01/2020 - 17:47
Love this! I really prefer the roofline on your greenhouse. Did you modify Ana's design, or did you get plans from another site? Would love to replicate your design if possible-very elegant.

Comments
dsimmons
Tue, 03/02/2021 - 10:01
Is that metal for the bottom…
Is that metal for the bottom? Gorgeous!!