Community Brag Posts

John's Washer/Dryer Pedestal

Submitted by coveyjt on Sun, 06/12/2016 - 10:59

The wife has a hard time bending down so she wanted pedestals for the washer and dryer.  The metal ones with a drawer were too tall.  I showed her Sausha's and she really loved that design.  I basically used the same construction plans idea from Sausha's project and some tips from Ryan's brag post.  But, I wanted to beef it up some.  I didn't like the L-bracket to attach the top and 4X4 legs.  It didn't seem sturdy enough for me.  I used my table saw to square the edges on the 4X4 posts and the 2X6 rails.  Then I used my Kreg jig and glued and screwed everything together.  I liked Ryan's trim ideas, so I used baseboard trim for the bottom and flipped it for the top trim.  I made a 1/2" lip so if it were to vibrate, the washer/dryer would not fall.  I put the trim on the bottom of the legs and was considering putting on the top but I put some different trim all the way around the bottom of the 2X6 rails.  The wife liked that.  I also added some carpet on the top to cut down on vibration and to help keep the units in place. I also put some 4X4 pieces of carpet on the bottom to keep the noise down and to help in moving it. I primed and used an gravity sprayer to paint it.  Then I put 3 coats of polyacrylic to help in cleaning and to cut down on scratches from the laundry baskets. 

laundry pedestals diy

Estimated Cost
150.00
Estimated Time Investment
Week Long Project (20 Hours or More)
Finish Used
Paint
Recommended Skill Level
Intermediate

Comments

zoolander

Wed, 06/29/2016 - 14:31

I think you could probably drive a truck on top of yours.  :)  I was a bit concerned about the strength of the construction when I first decided to build it, but I decided that since it would be stationary once I have it in place and the only force would be straight down, it would be fine.  Once I got it put together, it was actually sturdier than I thought it was going to be...from a horizontal force perspective.  Virtically, that thing could hold 100 washer/dryer pairs...the plywould would give out before the 2x4s and 4x4s would even budge.

Anyway, nice work!  I love the Kreg Jig...I need one of those. 

Camp Loft bed - modified

Submitted by Milhouse on Tue, 09/24/2013 - 12:04

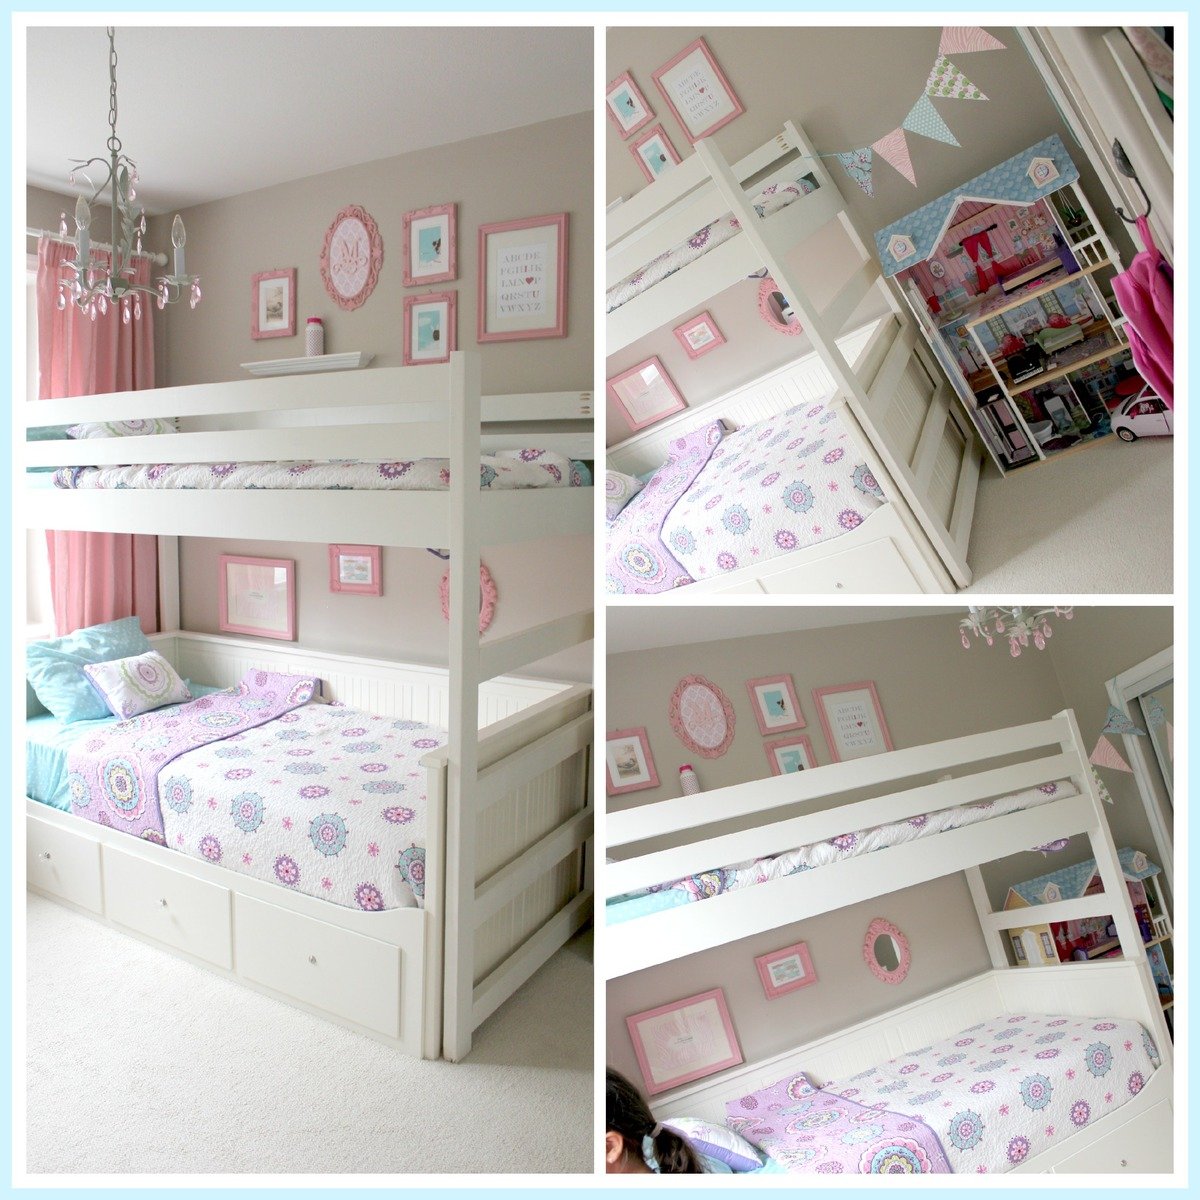
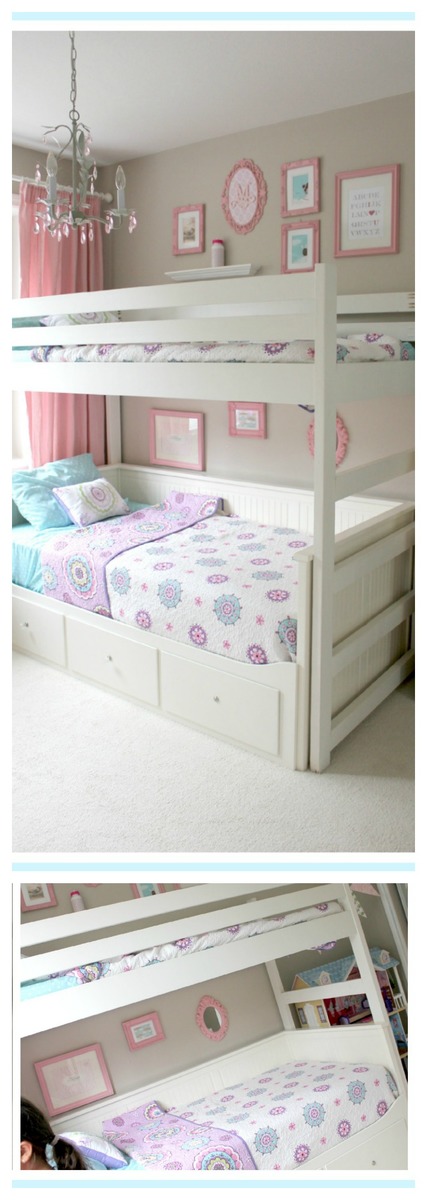
I liked the simple design of the camp loft bed, so I took the plan and modified it to fit over top of our existing Ikea daybed. I adjusted the width of the loft bed and made it a little taller, so that I could sit on the bottom bed and read to the kids with out hitting my head on the loft bed all the time.


I built the ladder into the side of the loft bed so that it wouldn't interfere with the drawers on the front of the daybed. This worked out well, as it also gives the girls more room to play!

This build is super easy, but I have to say that I don't like working with 2x4s. They are so rough....I spent a lot of time sanding and filling, and it's still not perfect. But I'm ok with it ;) I may add another cross support because it is a bit wobbly (probably b/c I made it taller).


The finish is a color matched 'All surface enamel' from Sherwin Williams.


Estimated Time Investment
Weekend Project (10-20 Hours)
Recommended Skill Level
Intermediate

Comments

roxanne89

Wed, 08/04/2021 - 06:38

Hello Millhouse. I love the loft bed you created. I have the exact hemnes daybed for my daughter and I beg to build the same loft bed. Do you have the exact modified plan you used with the measurements that fit the bottom bed? This would be super helpful!! Thanks in advance!

Closet shelving for sloped ceiling.

Submitted by kellystern on Mon, 01/09/2023 - 16:22

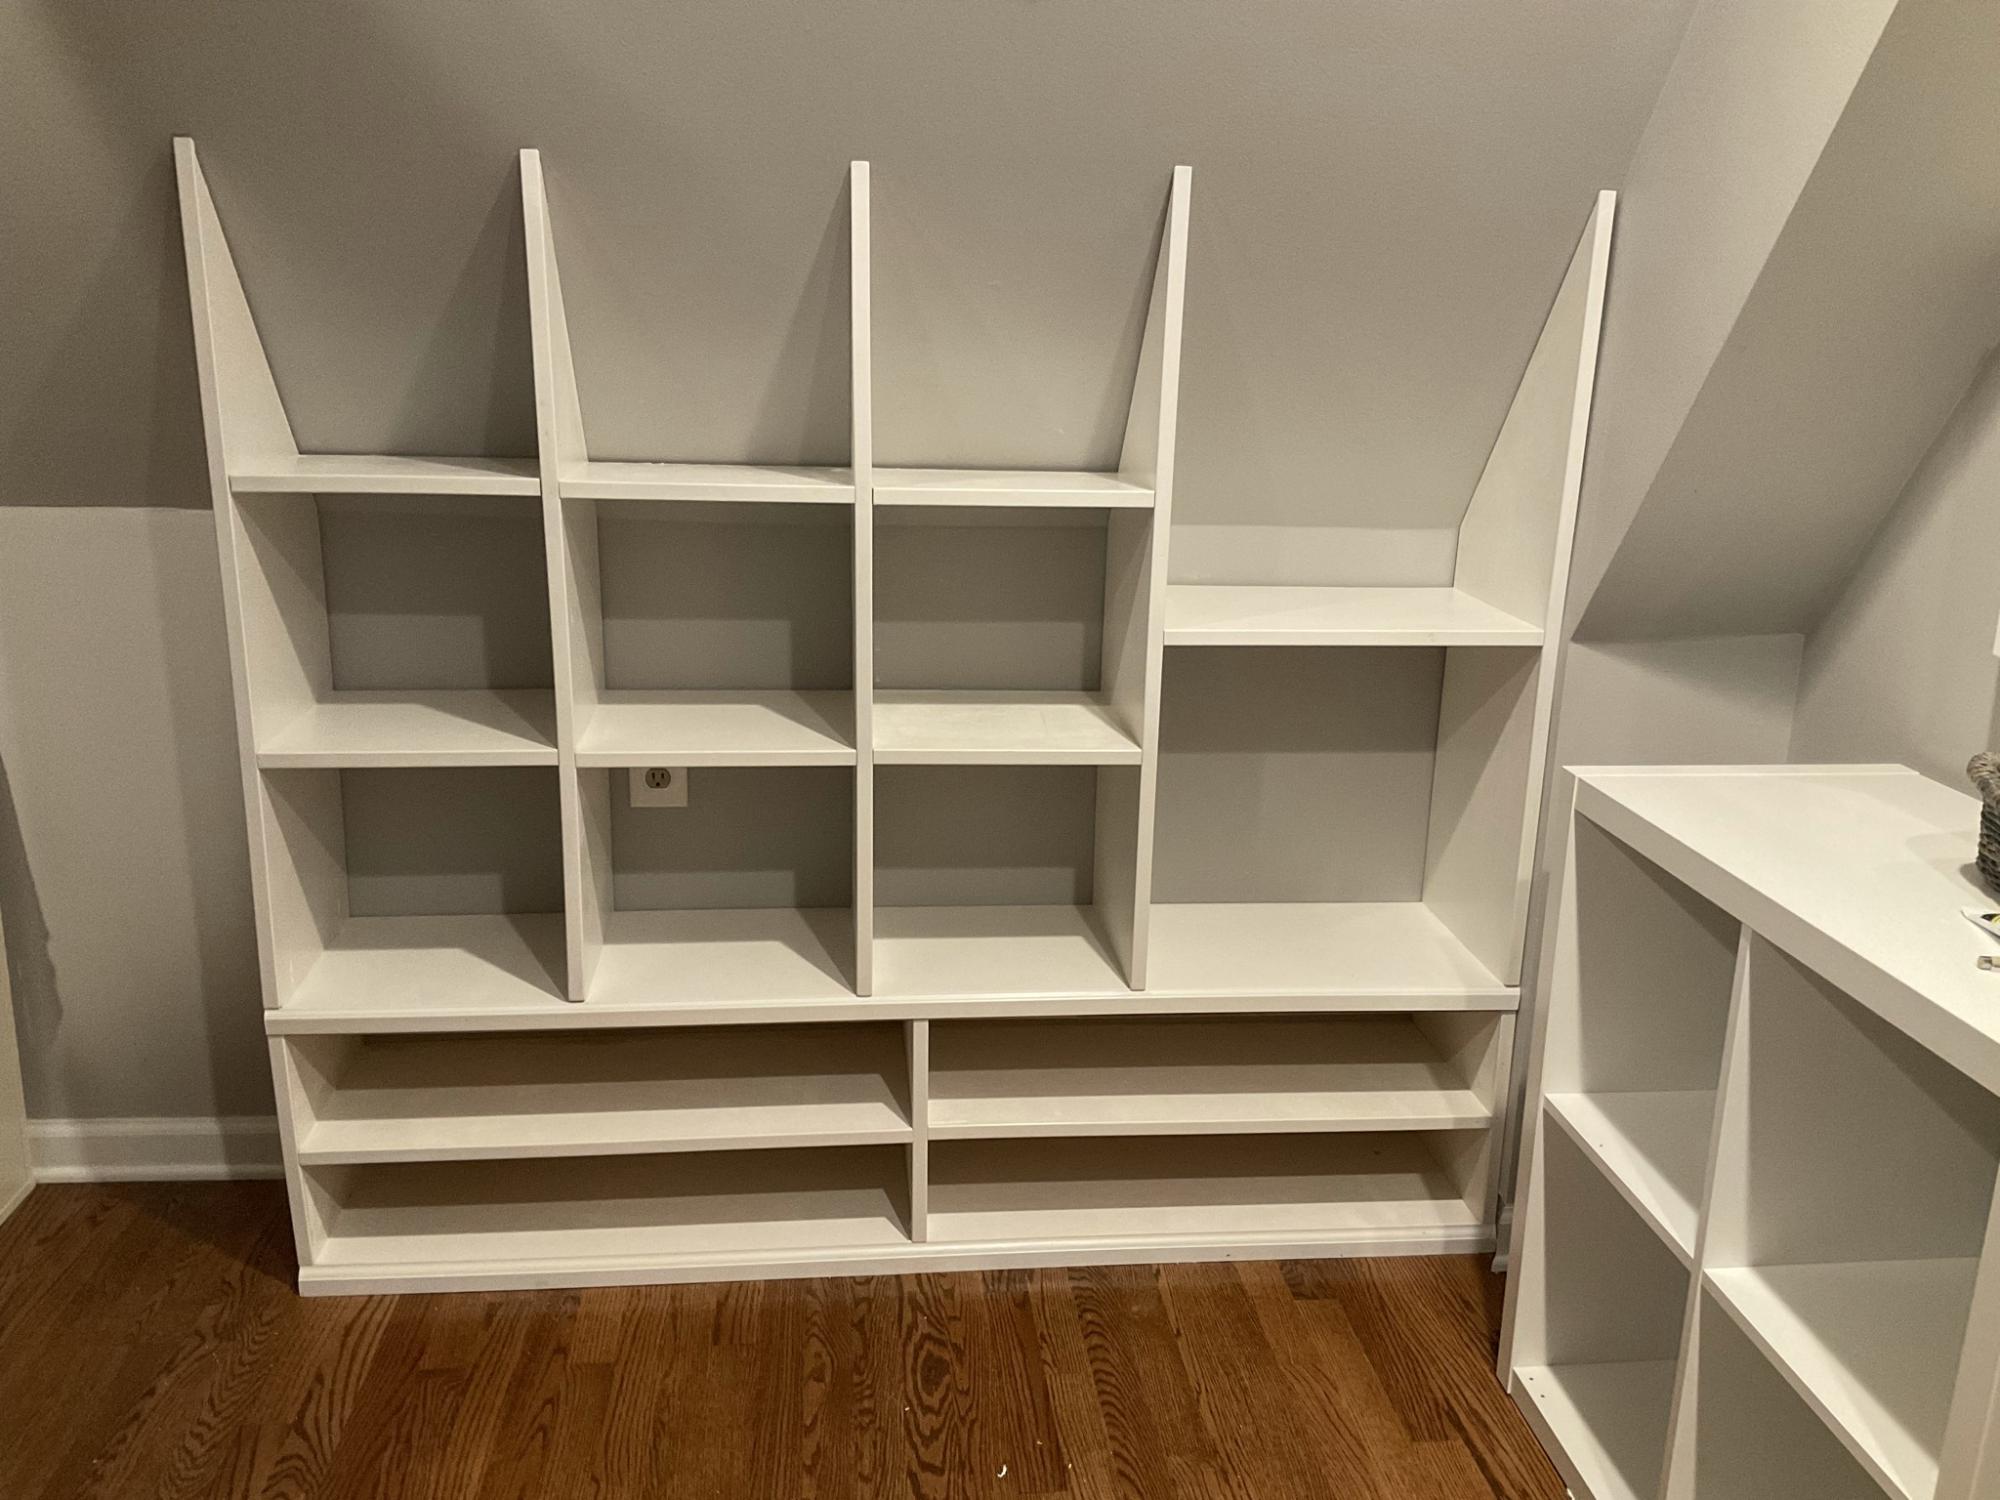
I used Ana’s Shelf Help Configurator to build these shelves for a deeply sloped ceiling. None of those well known Closet Organizer Companies could come up with a decent plan for this closet and they charge a small fortune.

Comments

Rustic Stepstool

I'm loving the finish on this, and it's a useful little project.

Estimated Cost
15
Estimated Time Investment
Afternoon Project (3-6 Hours)
Finish Used
I painted it green, and then sanded the edges. I covered the whole thing in the walnut gel stain. This darkened the green and stained the newly exposed wood.
Recommended Skill Level
Beginner

2 Person Picnic Table

Submitted by Anonymous (not verified) on Fri, 07/14/2023 - 12:45

Made 2 of these for my coffee shop in Puerto Rico. Easy instructions. Thank you!


Javiel Cardona

Comments

Seasonal And Holiday

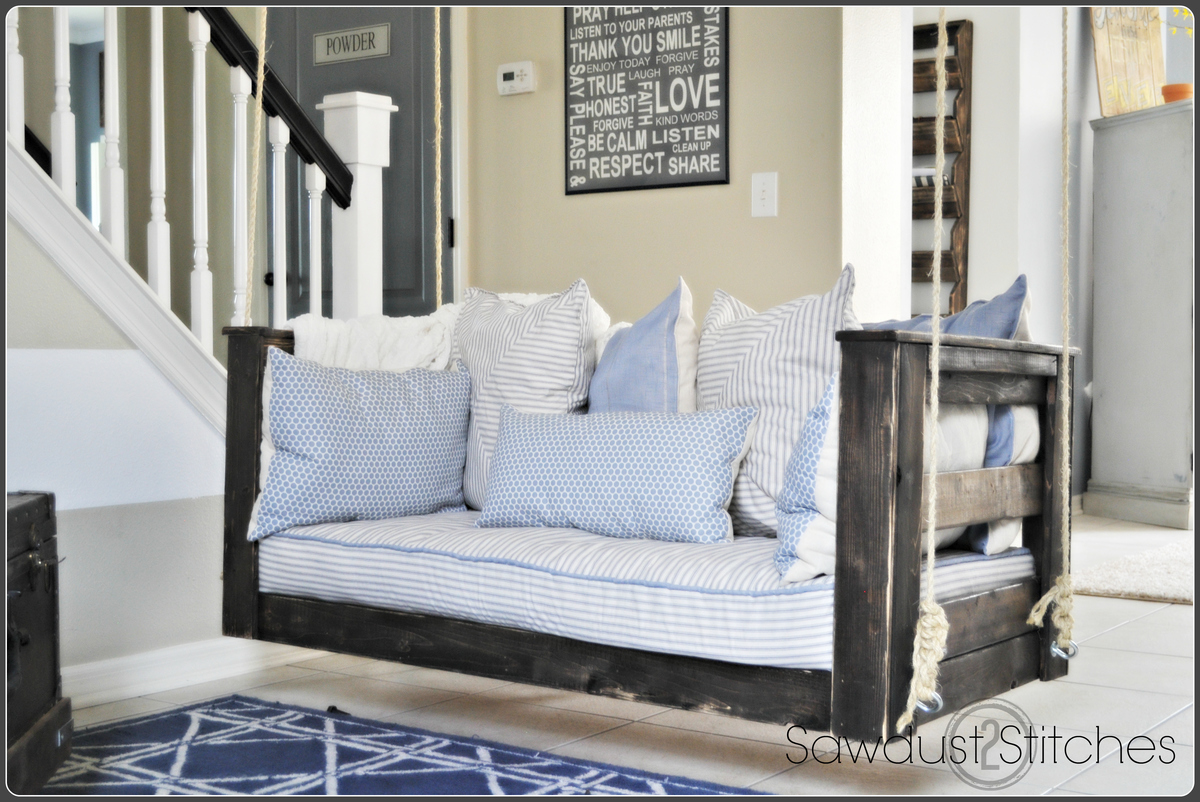
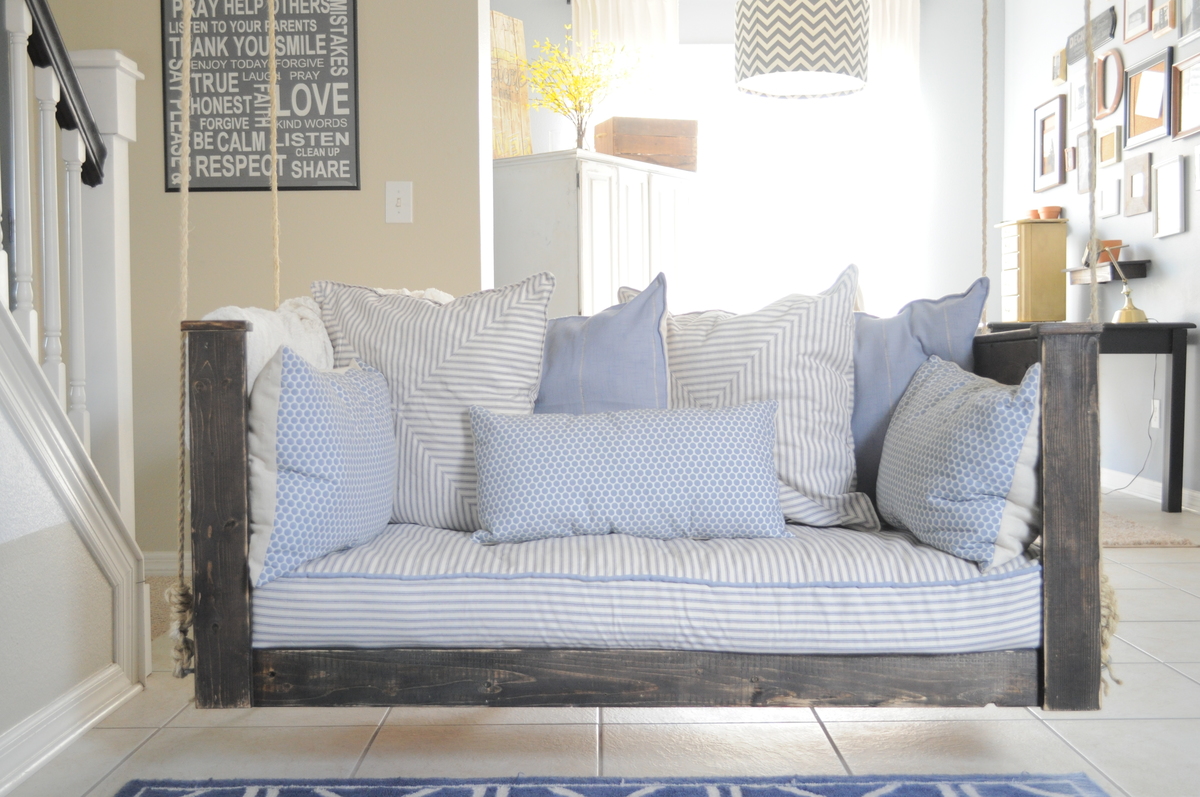
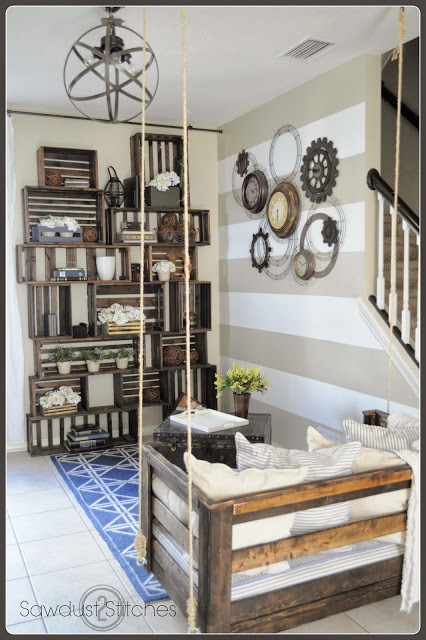
Crib Mattress Porch Swing

This is s porch swing I made to go in my front sitting room. I re-purposed my sons old crib mattress. It definitely gives the front room the "wow" factor.

Estimated Cost
$40.00
Estimated Time Investment
Afternoon Project (3-6 Hours)
Finish Used
Jacobean by Minwax
Recommended Skill Level
Beginner

Comments

REASMOM

Fri, 08/15/2014 - 16:09

I love it! I had never thought of re-using a crib mattress, might have to give this a try :)

Sandbox with Benches

Submitted by cscottrun on Mon, 04/13/2015 - 10:33

We altered the original plan by enlarging the sandbox (approx 5' x 6') which made for wider benches that can comfortably seat an adult.  The benches and back rests are three boards deep instead of two.  We added 2x12 supports under the benches for additional support, as well as another 2x4 support in the middle of the backrest.

Built from Plan(s)
Estimated Time Investment
Day Project (6-9 Hours)
Finish Used
None
Recommended Skill Level
Beginner

Comments

Seasonal And Holiday

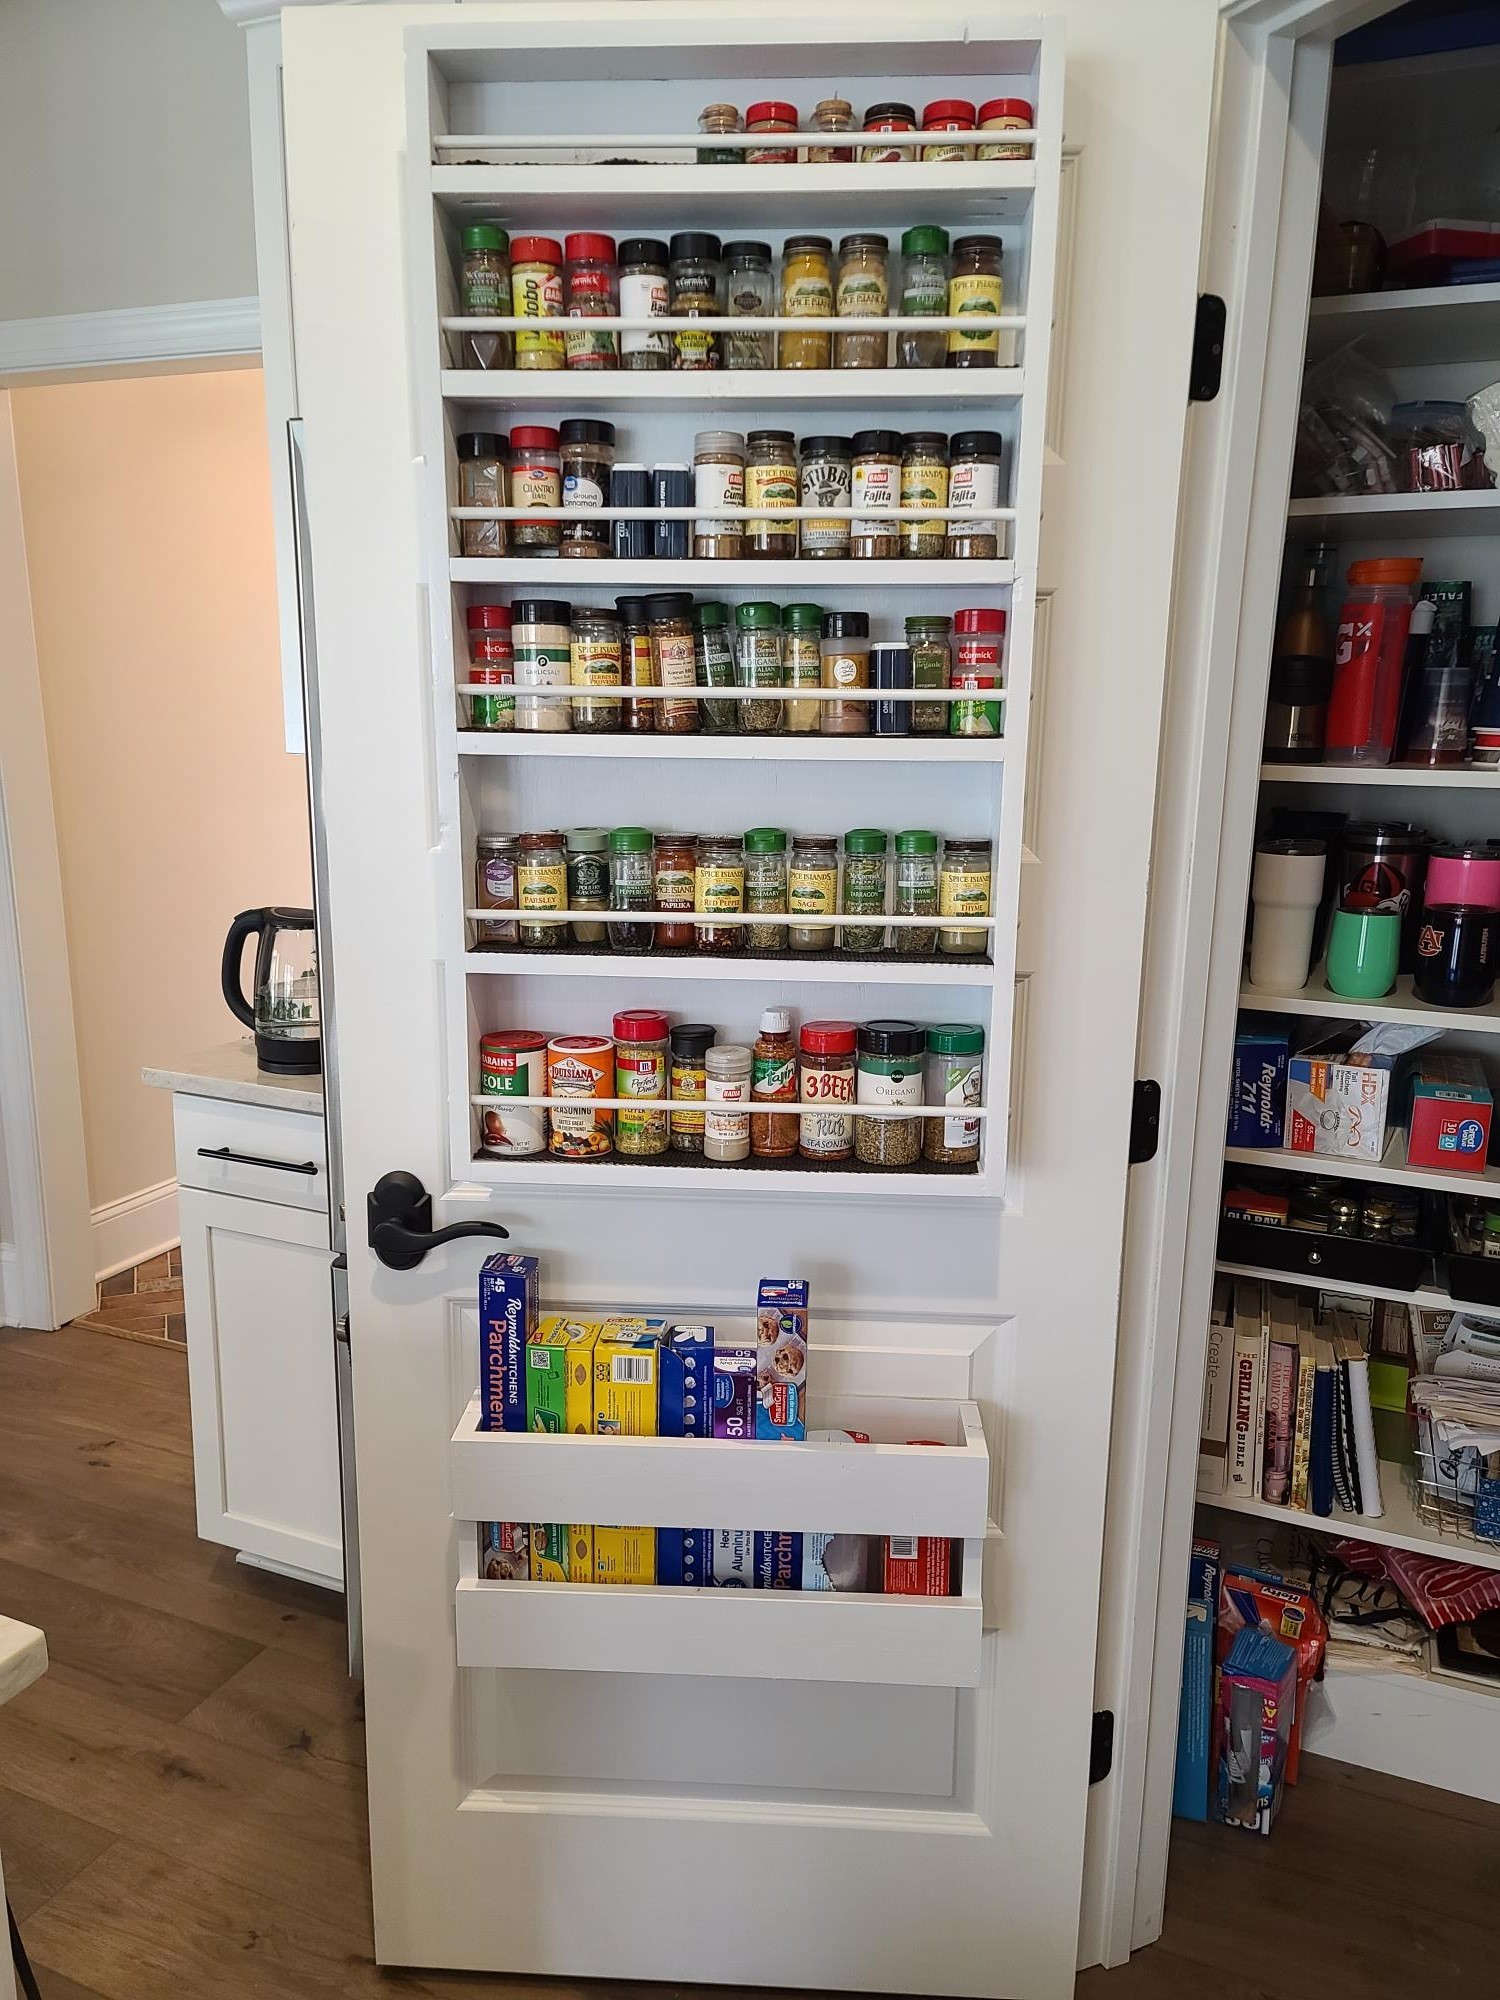
Spice Cabinet

Submitted by Anonymous (not verified) on Fri, 12/24/2021 - 20:39

Love to cook, didn't have enough space in the pantry for all my spices. Used the spice cabinet plan and it was perfect.

Built from Plan(s)

Comments

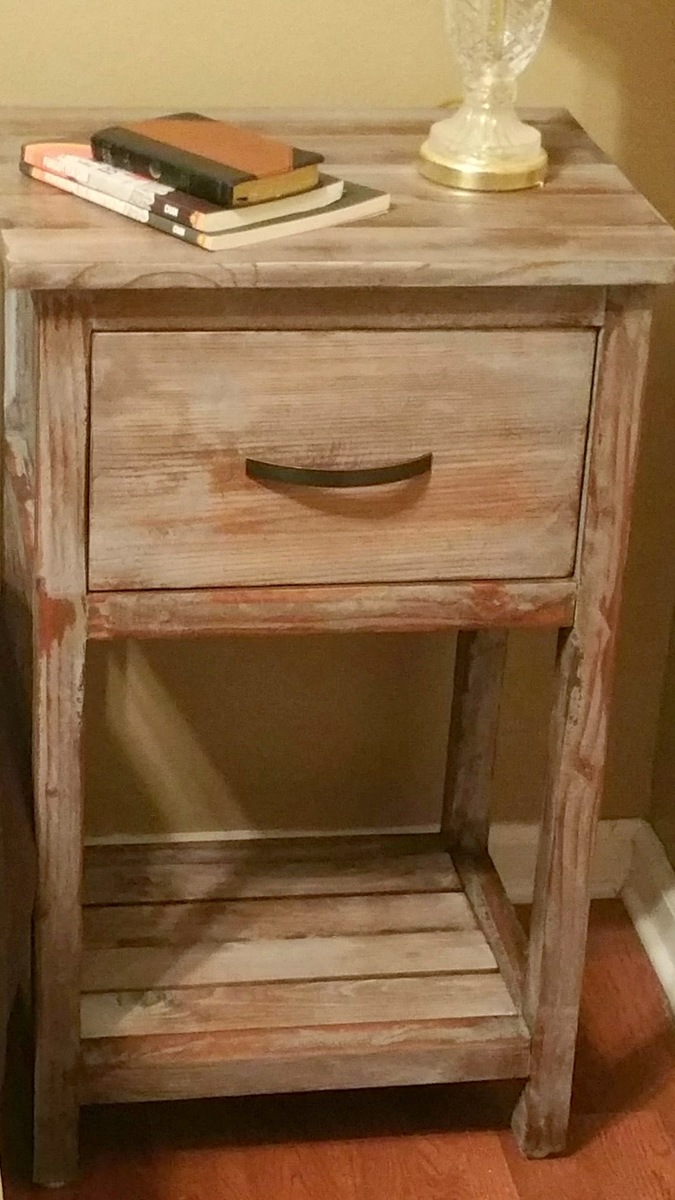
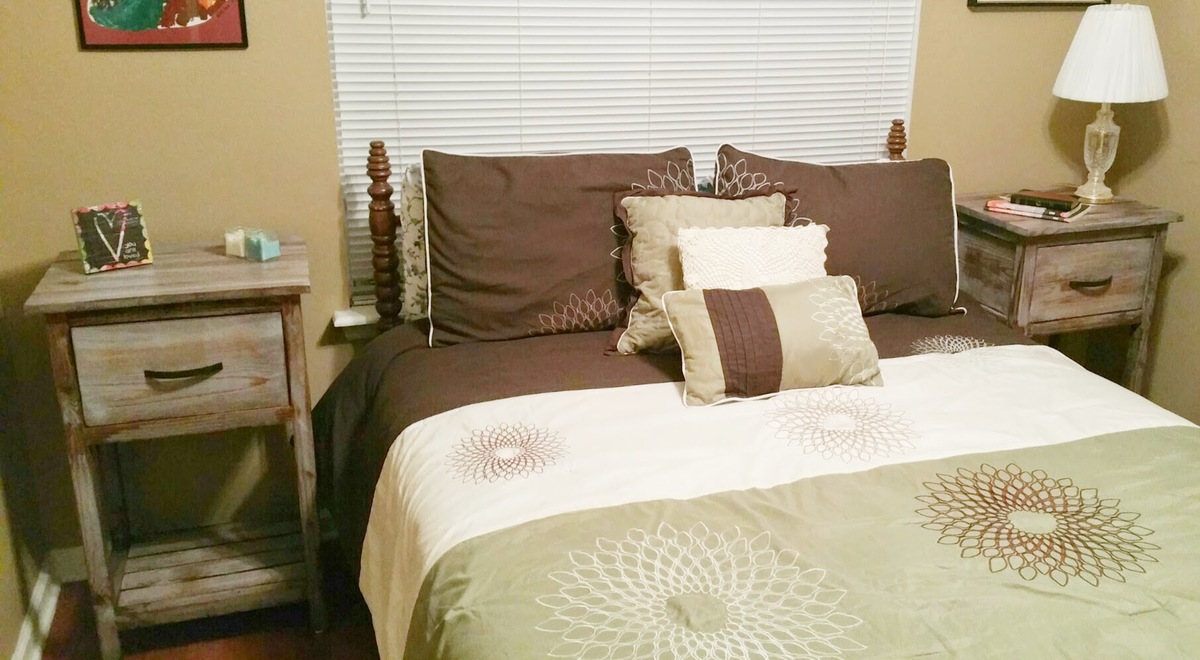
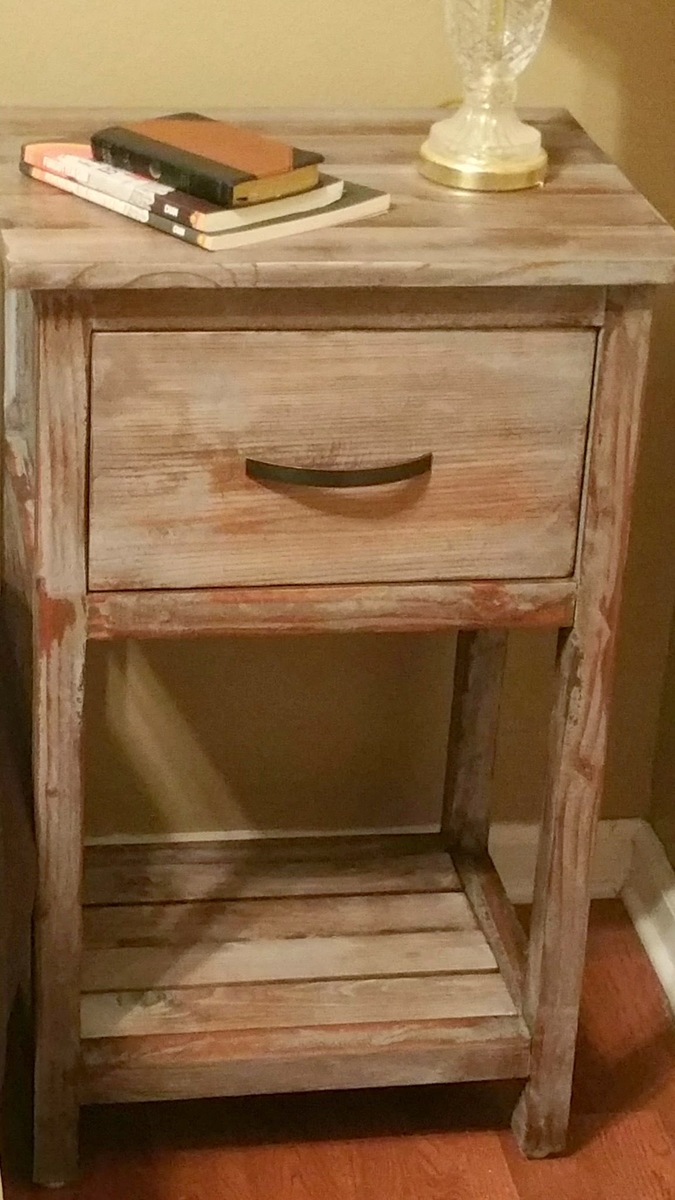
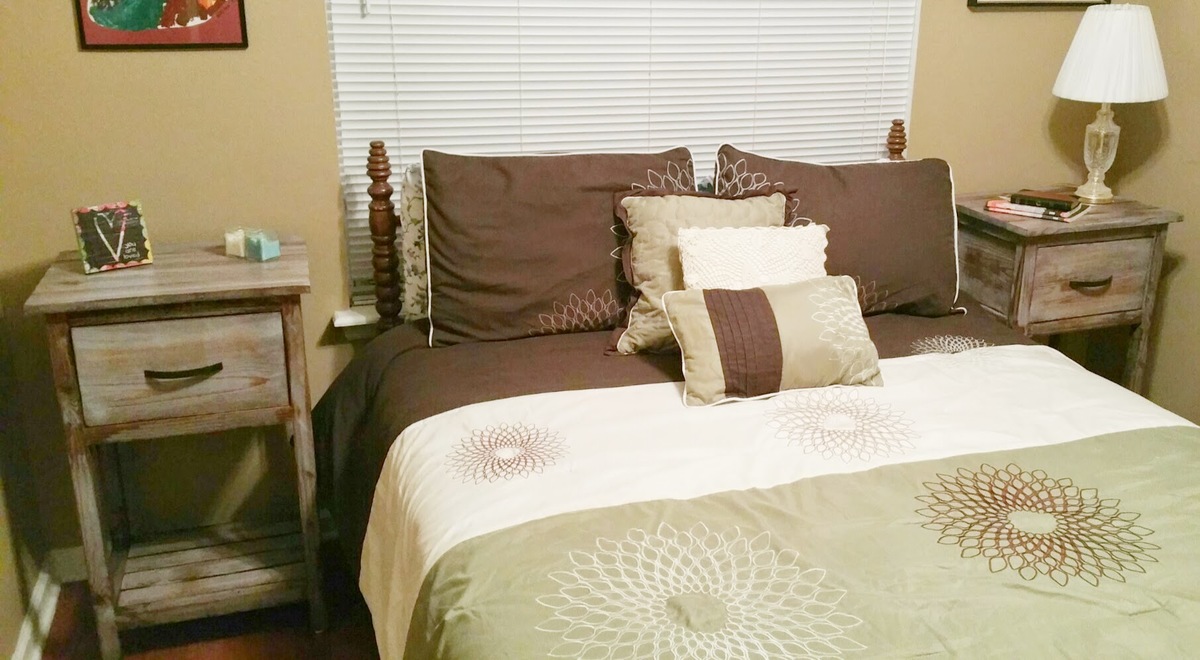
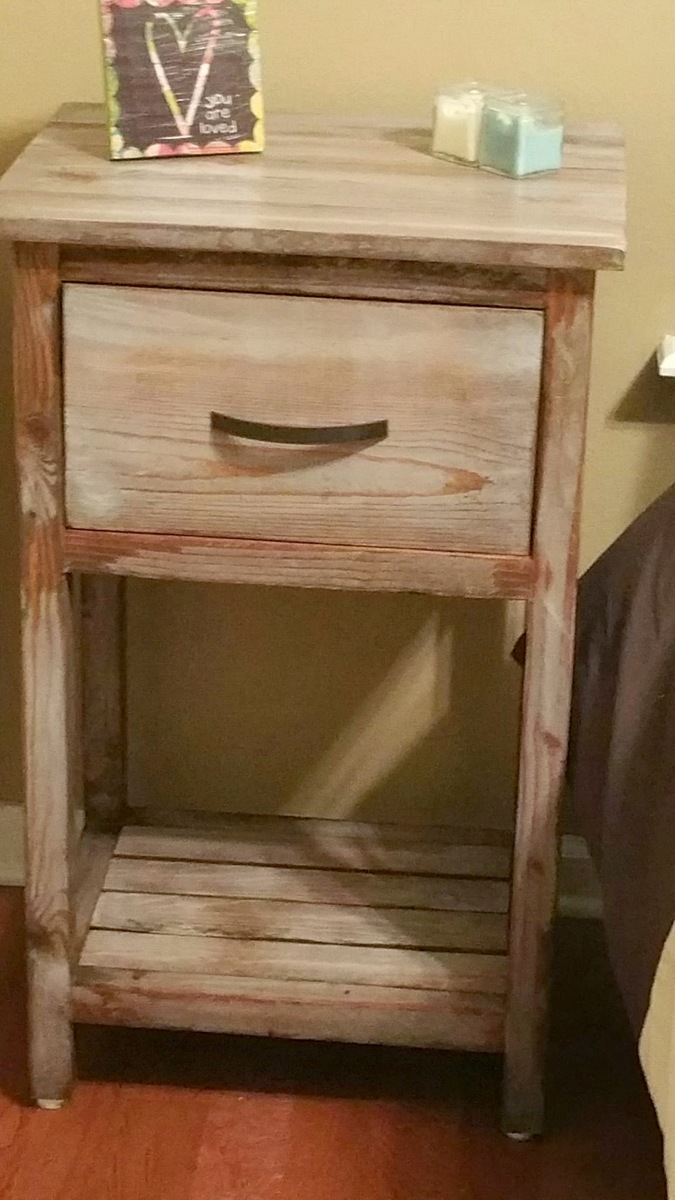
Night Stands custom sized and finished

Submitted by pondrider on Thu, 01/15/2015 - 07:50

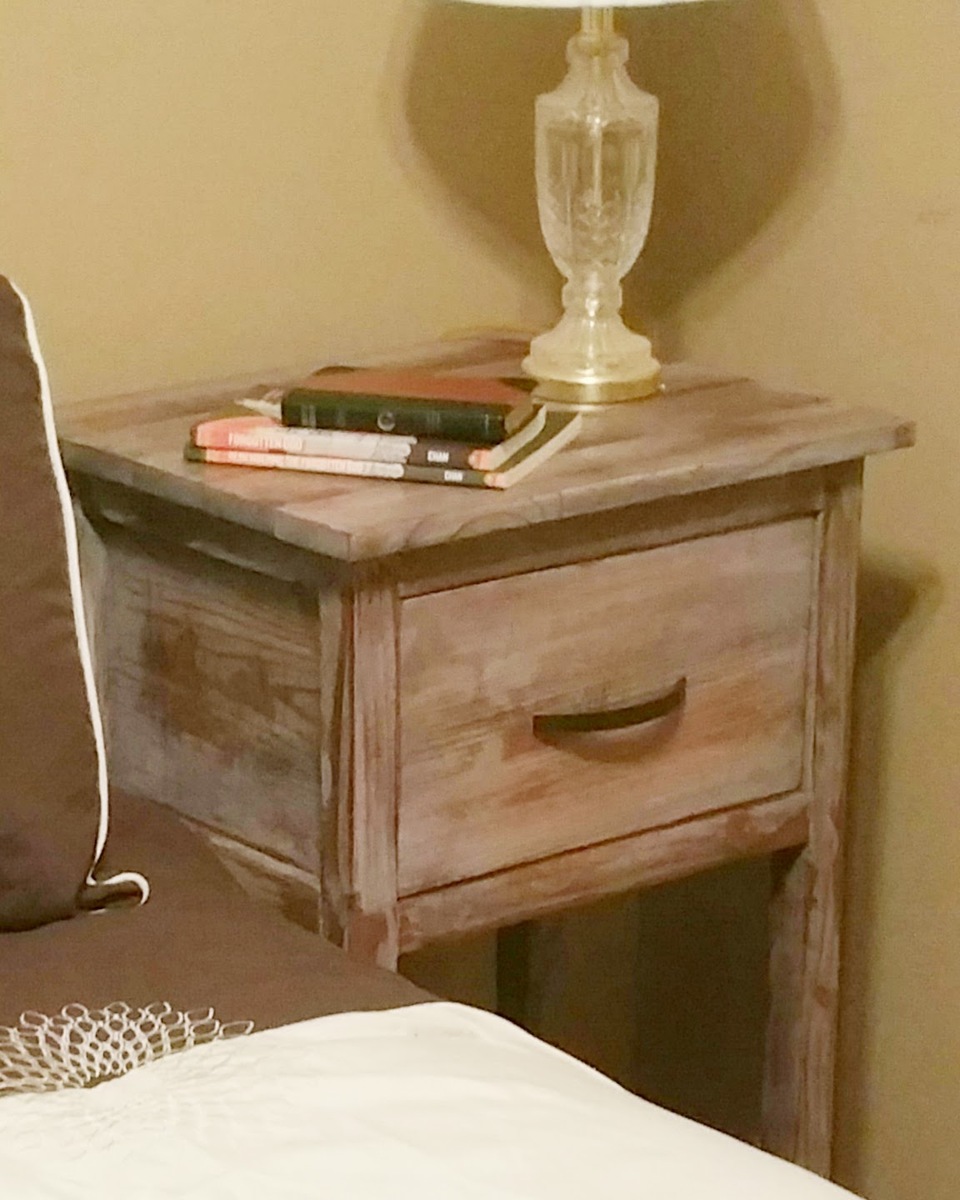
Night Stands custom sized and finished per customer building new home based Ana White's Farm House collection  #‎anawhite‬  

Intentional distressing per customer request with guidance from Ana White plans.   Finish contains a mix of paint, removing of paint, staining and restraining.   Now to move to a purposeful Mud Room Locker for a new home suited for family. 

http://ana-white.com/users/pondrider/
#anawhite   #Stain   #CustomFurniture   #Paint 

Estimated Time Investment
Weekend Project (10-20 Hours)
Finish Used
Finish contains a mix of paint, removing of paint, staining and restraining.
Recommended Skill Level
Intermediate

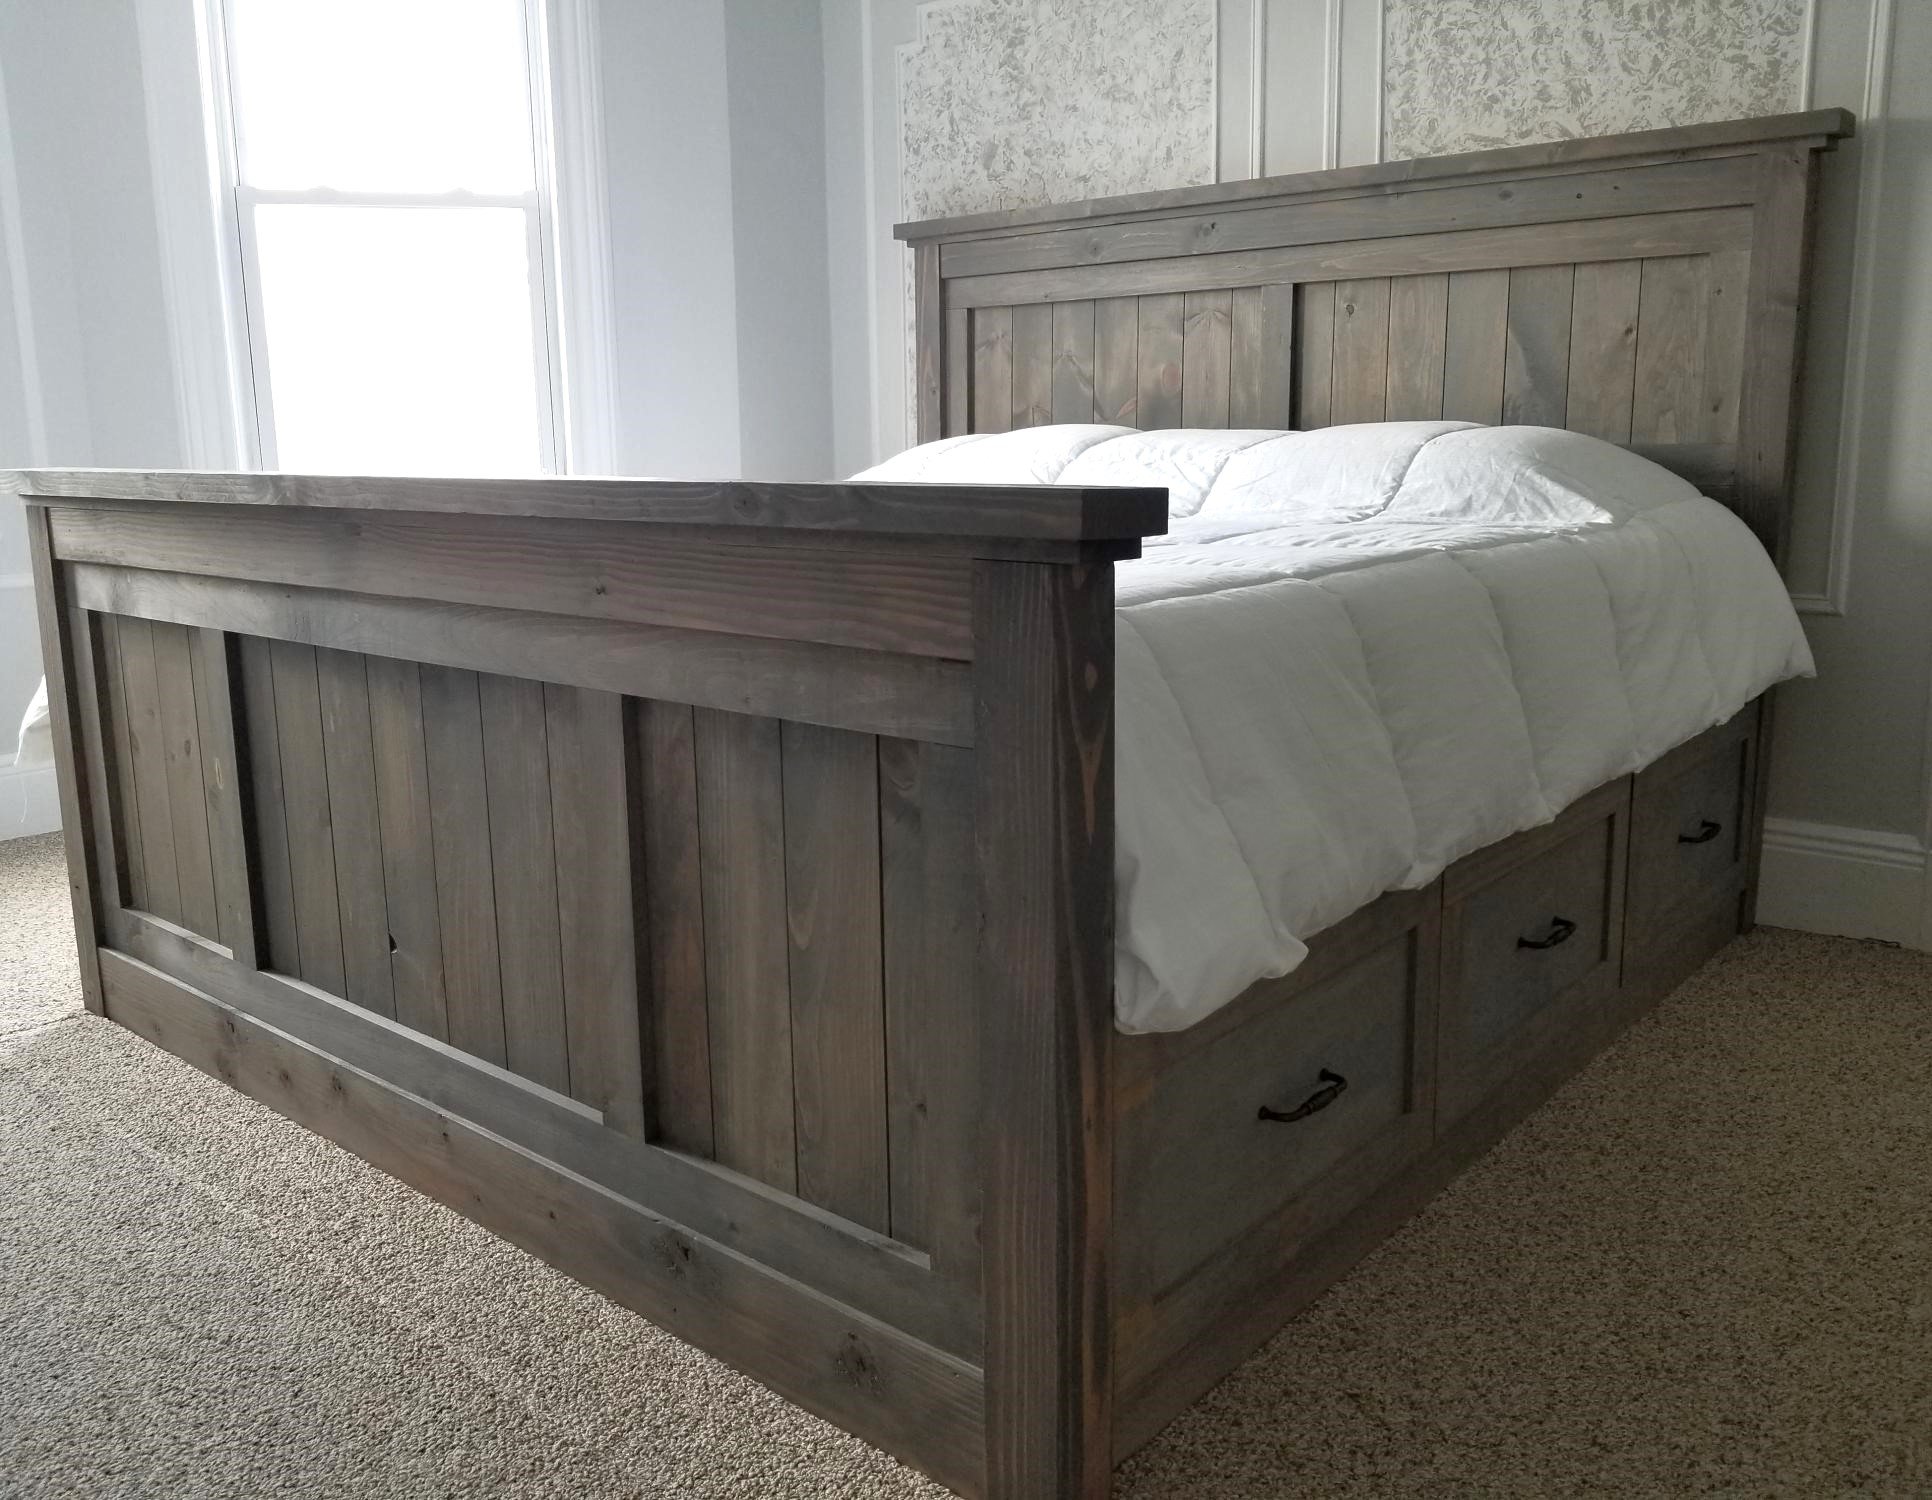
Farmhouse storage bed w/drawers (king)

Submitted by Anonymous (not verified) on Fri, 03/10/2023 - 11:51

Seen this awesome plan on Anas site and had to build it in KING SIZE. The drawers are enormous, the bed is rock solid. I love it

Comments

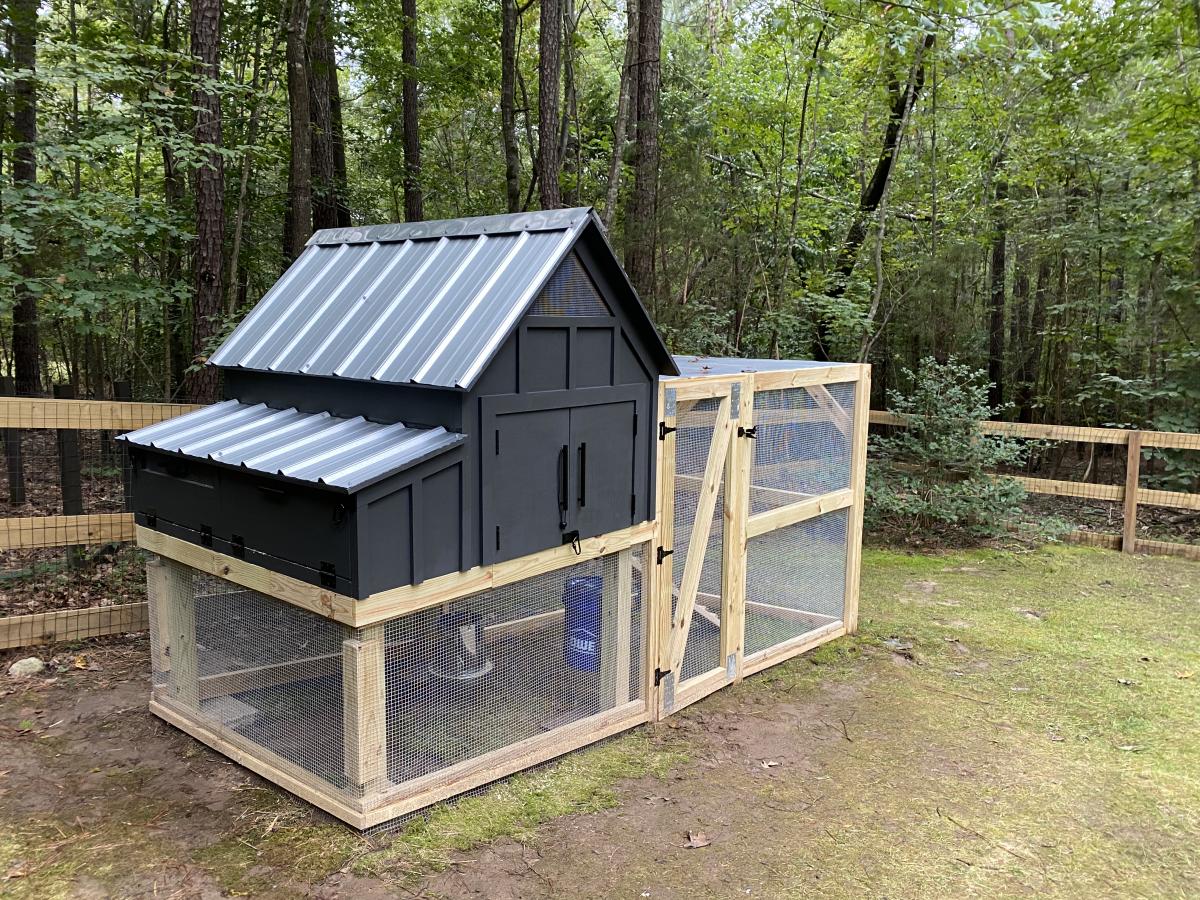
Williams Sonoma Inspired Chicken Coop

Submitted by Anonymous (not verified) on Tue, 11/10/2020 - 18:46

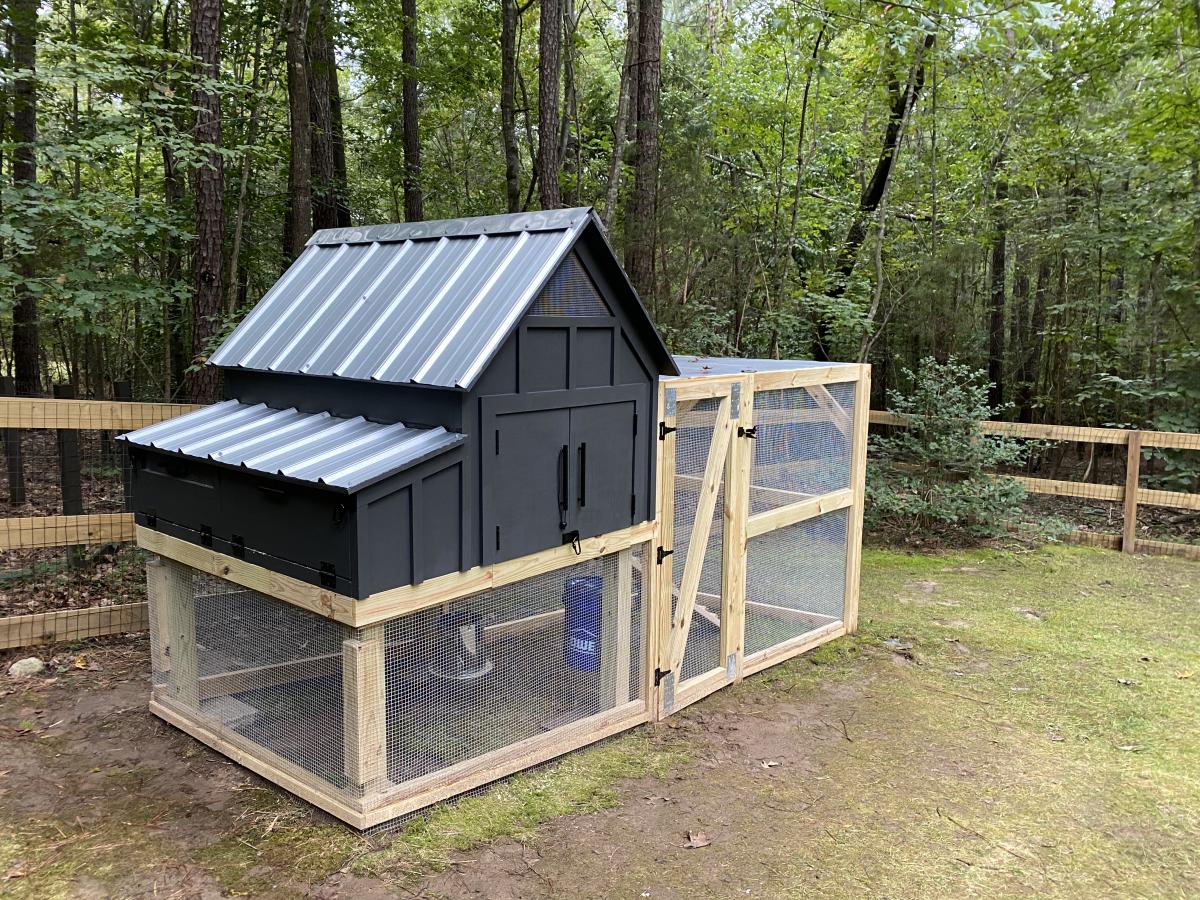
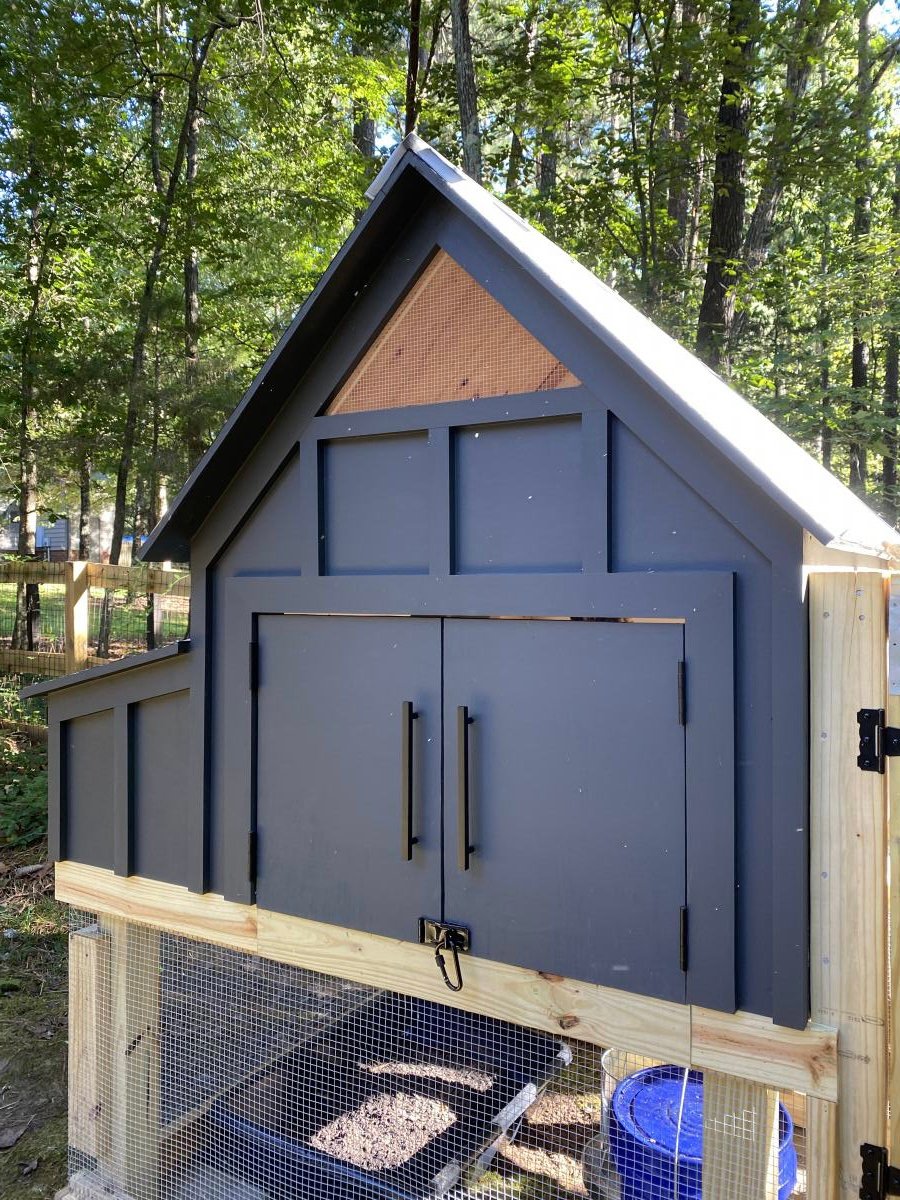
We took some creative liberties on the Williams Sonoma inspired coop posted here. Because we don’t get a whole ton of sun in our backyard, we eliminated the herb garden planter and instead built a longer run. We also made the coop a bit wider to accommodate for the inevitable chicken math. And, you’ll notice the vent both shaped differently and is a bit higher. This was to increase air flow, avoid the dreaded draft, and to lend a more Scandinavian vibe. We also decided to place the chicken exit on the outside wall to allow for more living space under the coop itself. The project took about a month to complete, dedicated to only working weekends. And, it was very much over budget! Who knew wood is so expensive?! But overall, the outcome was even better than I expected. The chickens love it and I don’t mind looking at it!

P.S. this was a pretty advanced project. The fractions alone had me yelling “uncle!” Thankfully my husband is pretty handy, and my father-in-law (career in the construction industry) had a few pointers, so they took the lead in executing. I chose the paint colors and suggested the deviations from the original blue print. ;-)

Estimated Cost
$1000
Estimated Time Investment
Week Long Project (20 Hours or More)
Finish Used
Sherwin Williams Iron Ore in matte
Recommended Skill Level
Advanced

Comments

racbino

Wed, 11/18/2020 - 12:55

Thank you! Yes, I suppose everyone is wanting wood for home improvement projects now that we're not leaving the house! Also, I didn't mean to post a picture of my son and his friends. Am I able to delete?

joshwilson28

Thu, 01/14/2021 - 07:43

does this roof have the same angle as the 'Small Chicken Coop with Plans'? It seems to be 'less steep'. Wanting to start this project next weekend and trying to get my mind wrapped around everything!. Thanks.

Seasonal And Holiday

Hanging daybed

Submitted by hponce28 on Sun, 04/14/2013 - 14:24

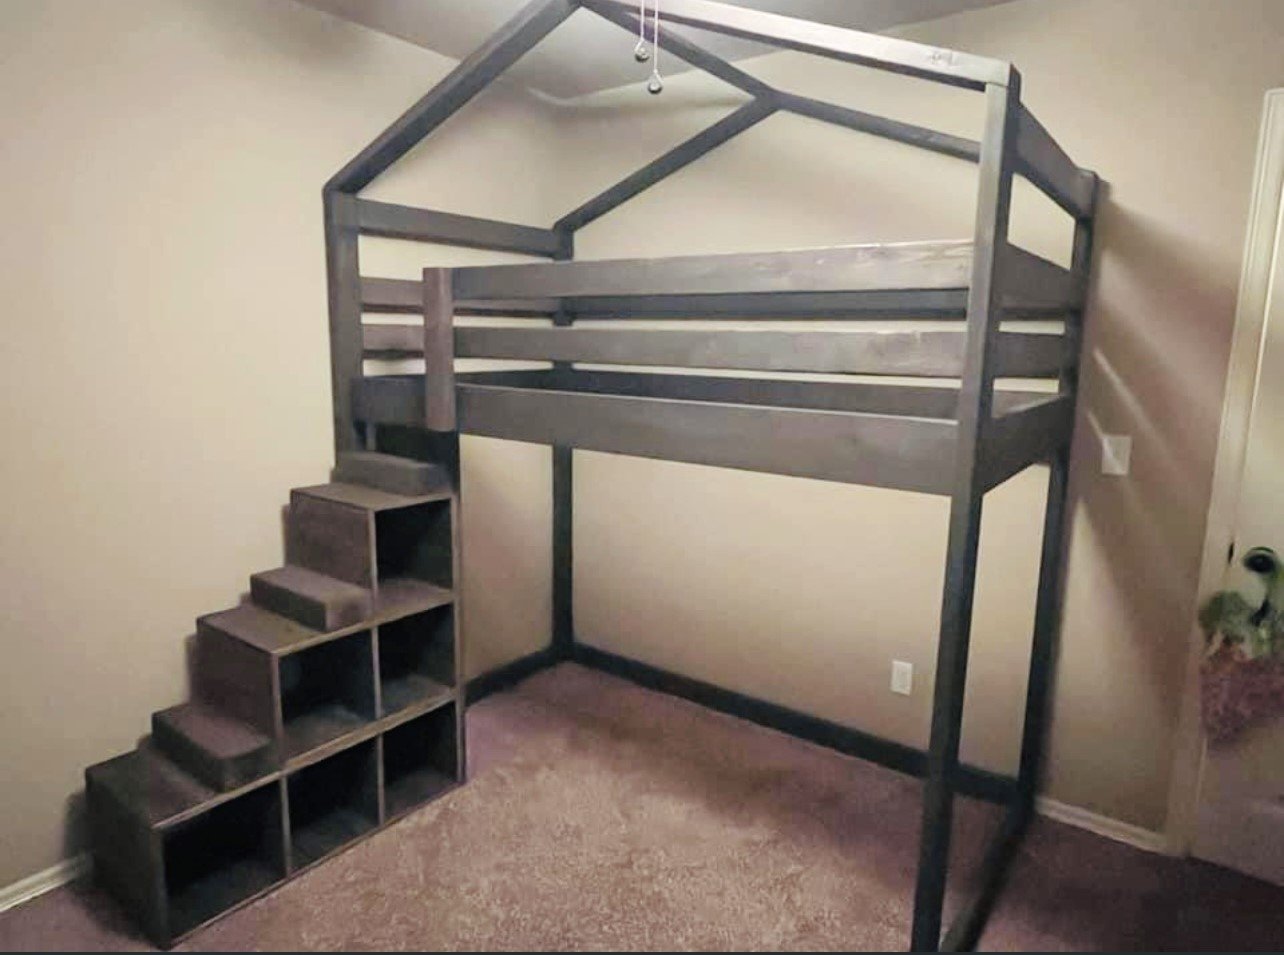
I wanted to make a large porch swing but just couldn't find the exact design. I wanted to be able to stretch out and take a nap but also be able to have a back to lean against. Most plans that I found were just basically a box you could put a mattress in and then hang. So I found Ana's plan for a basic daybed and chopped off the legs and raised the back just a little. It's perfect!! Thanks Ana. The plans were very simple to follow. This is my first project and I think it turned out great.

Built from Plan(s)
Estimated Cost
$250
Estimated Time Investment
Weekend Project (10-20 Hours)
Finish Used
Colored stain in cocoa. Applied two coats.
Recommended Skill Level
Starter Project

Comments

melimew

Sat, 07/26/2014 - 07:37

Looking forward to do one like this !
Do you still have the measurement for the back you have raised ?
Really nice !

Thanks :-)

jdaybama

Tue, 11/18/2014 - 17:38

We made the bed and it looks awesome!  Thanks for making the plans easy to follow and providing the picture, which was a fantastic reference.  I do have a question for you in regard to how you hung the beg.  We would like to hang this from our porch, but can see that we simply have 2x4 roof trusses.  We are concerned that the weight of the bed (pretty heavy) plus mattress and support plus a person may be too much.  Any additional information you could provide on how you hung the swing would be greatly appreciated!  Thanks!
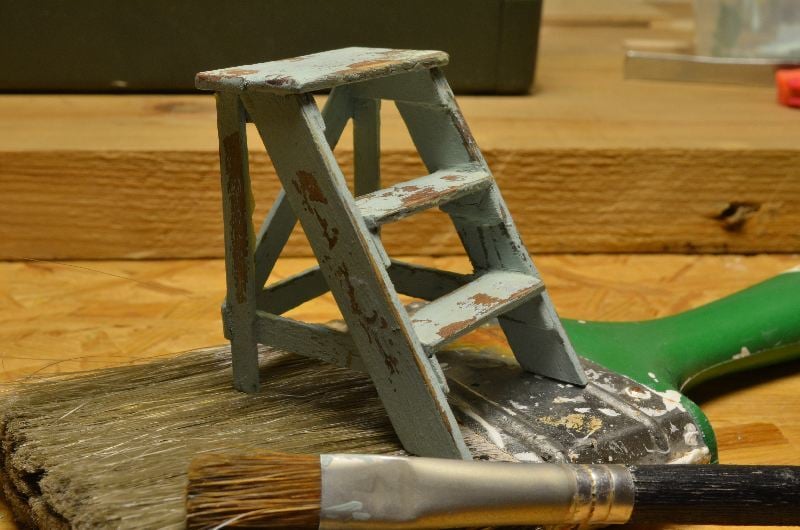
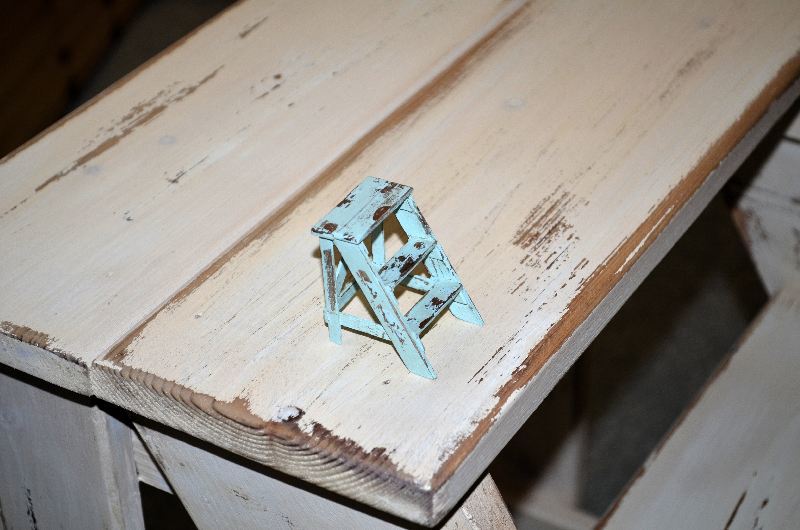
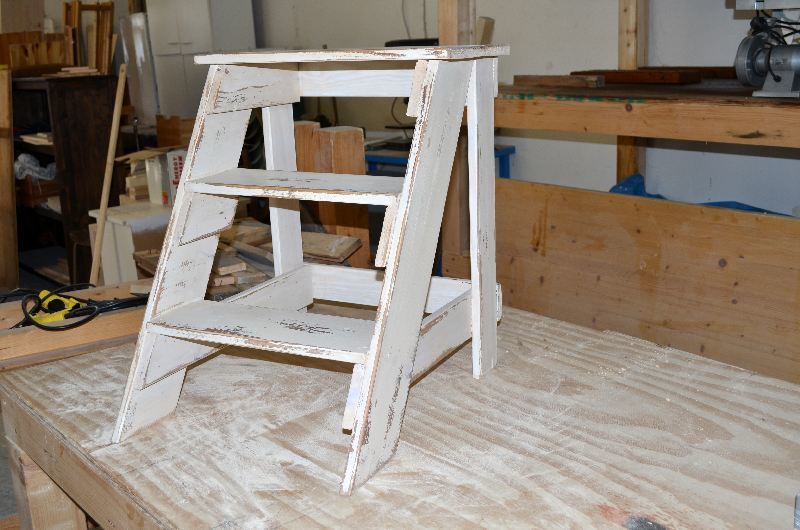
Vintage step stool end table, in 1:1 and 1:12

Submitted by uli on Sun, 06/09/2013 - 09:17

I built this step stool for friend, and a tiny version for my own dolls house. I had expected difficulties with the angled parts, but it went together very easily. I stained both of them with a vinegar/steel wool mix, painted with homemade chalkpaint. At last I sanded them for a distressed look and coated them with brown finishing wax.

Estimated Time Investment
Afternoon Project (3-6 Hours)
Finish Used
vinegar/steel wool mix, homemade chalkpaint, dark finishing wax
Recommended Skill Level
Beginner

Mailbox Stand

Submitted by Anonymous (not verified) on Mon, 02/12/2024 - 08:33

I didn't like the standard mailbox we had at my house so I designed this with my CAD program and mage it happen. thanks for this opportunity to post this.

Rich Hebert

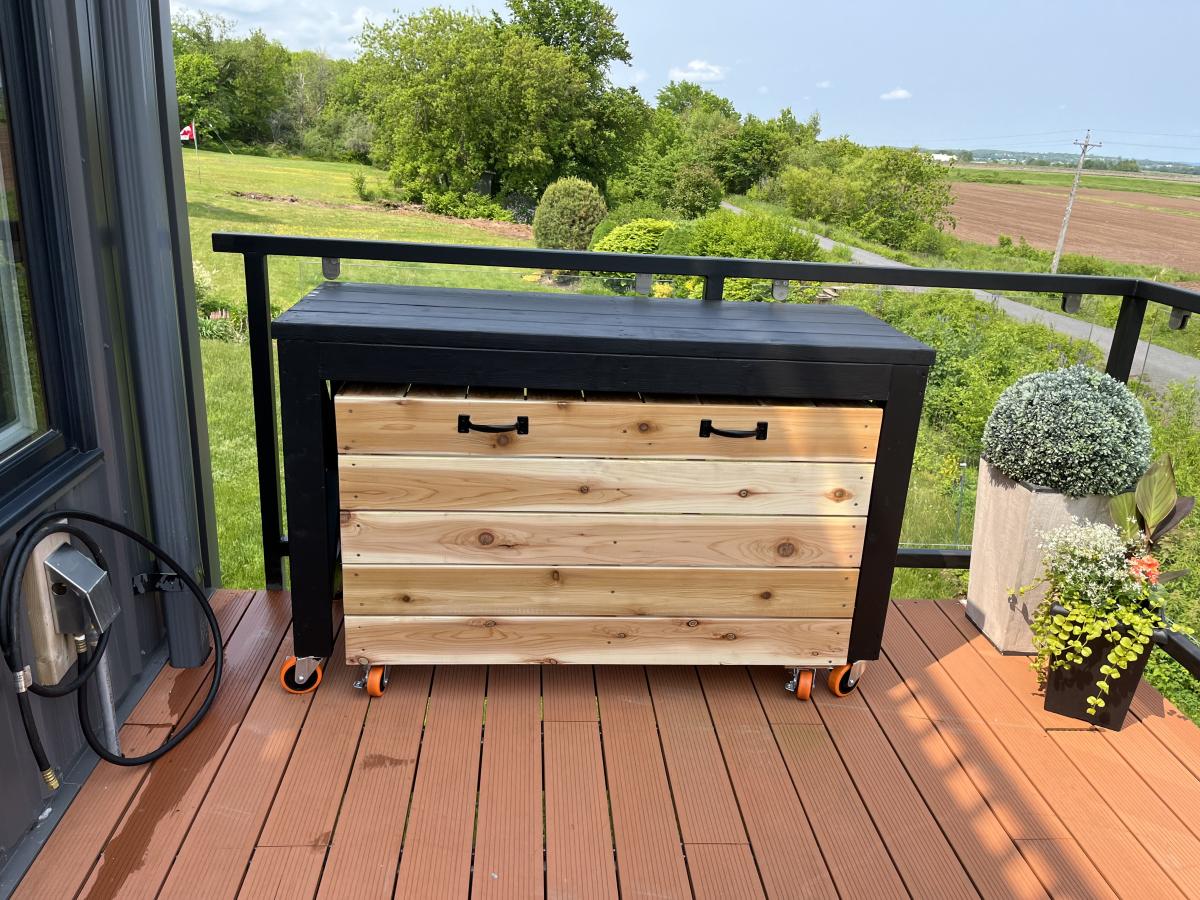
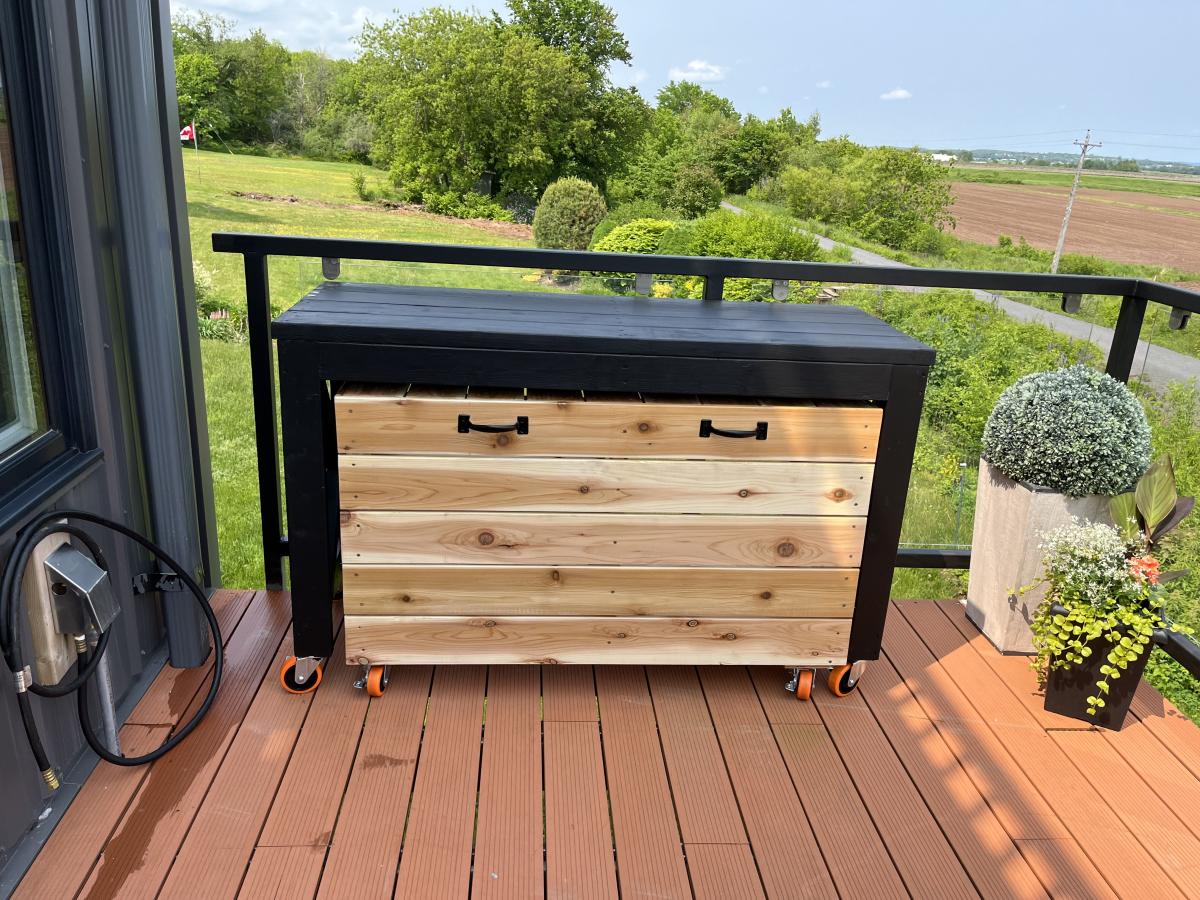
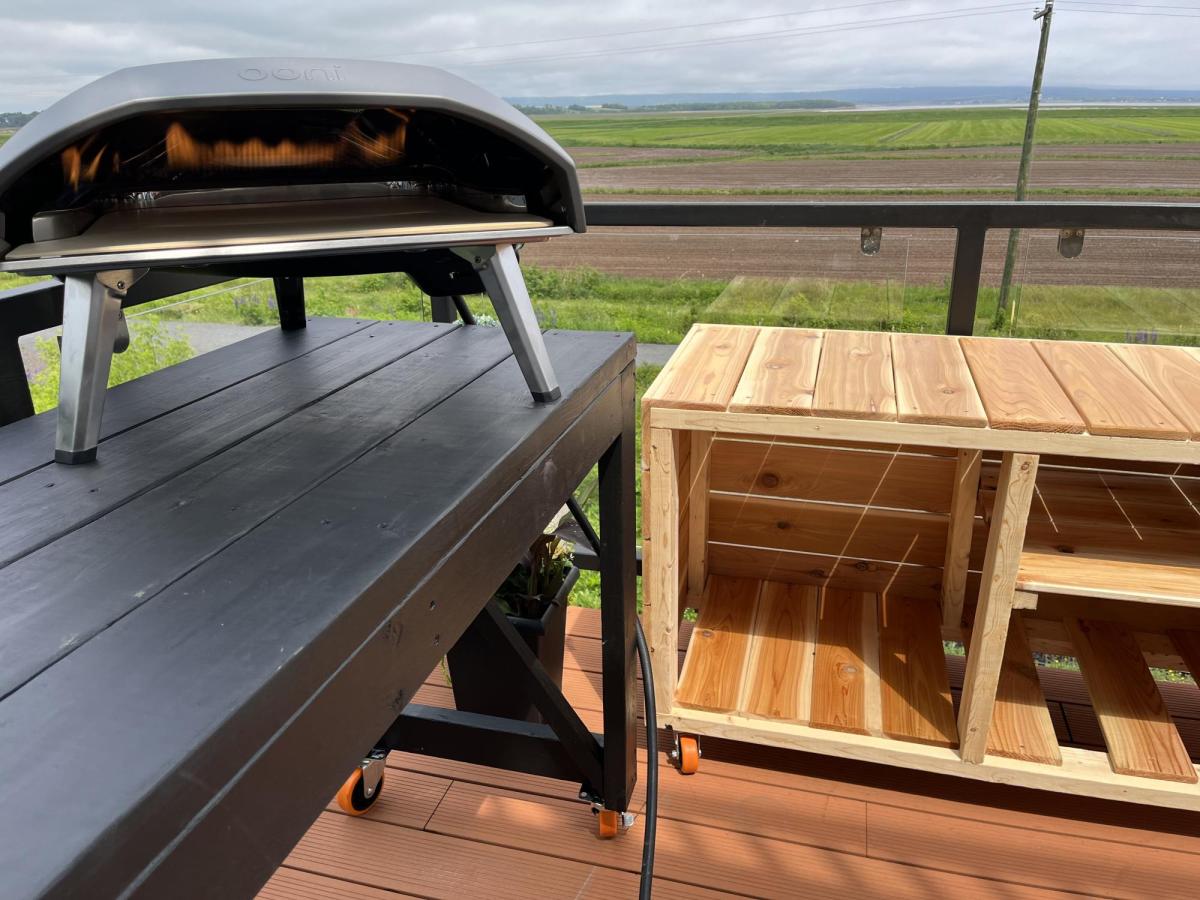
Pizza Oven Cart

Not quite big enough for Pizza Oven, but love the plans!

Comments

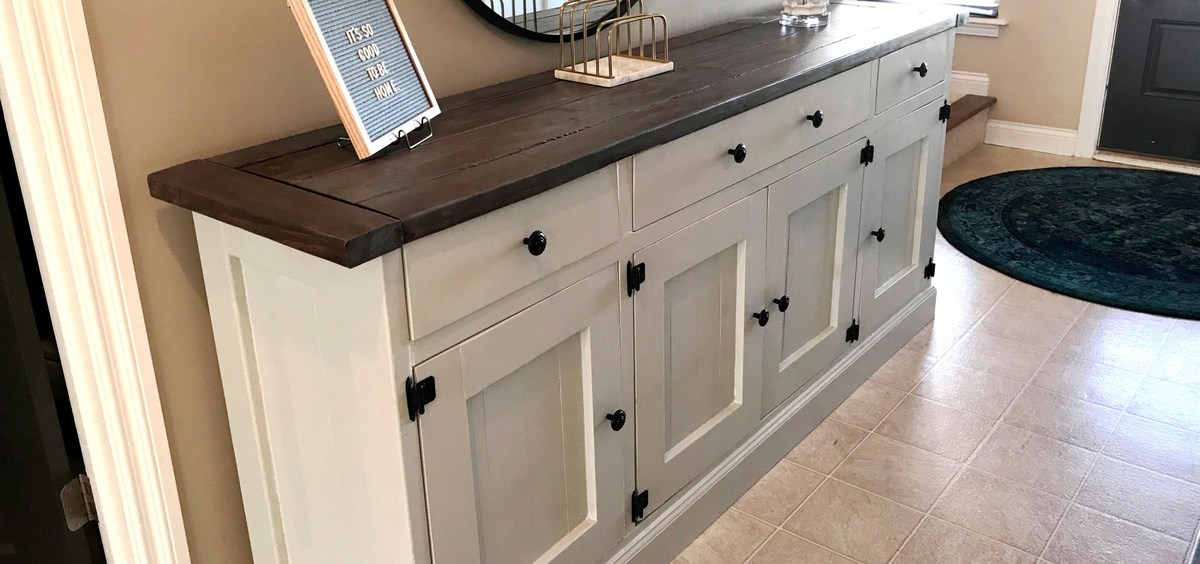
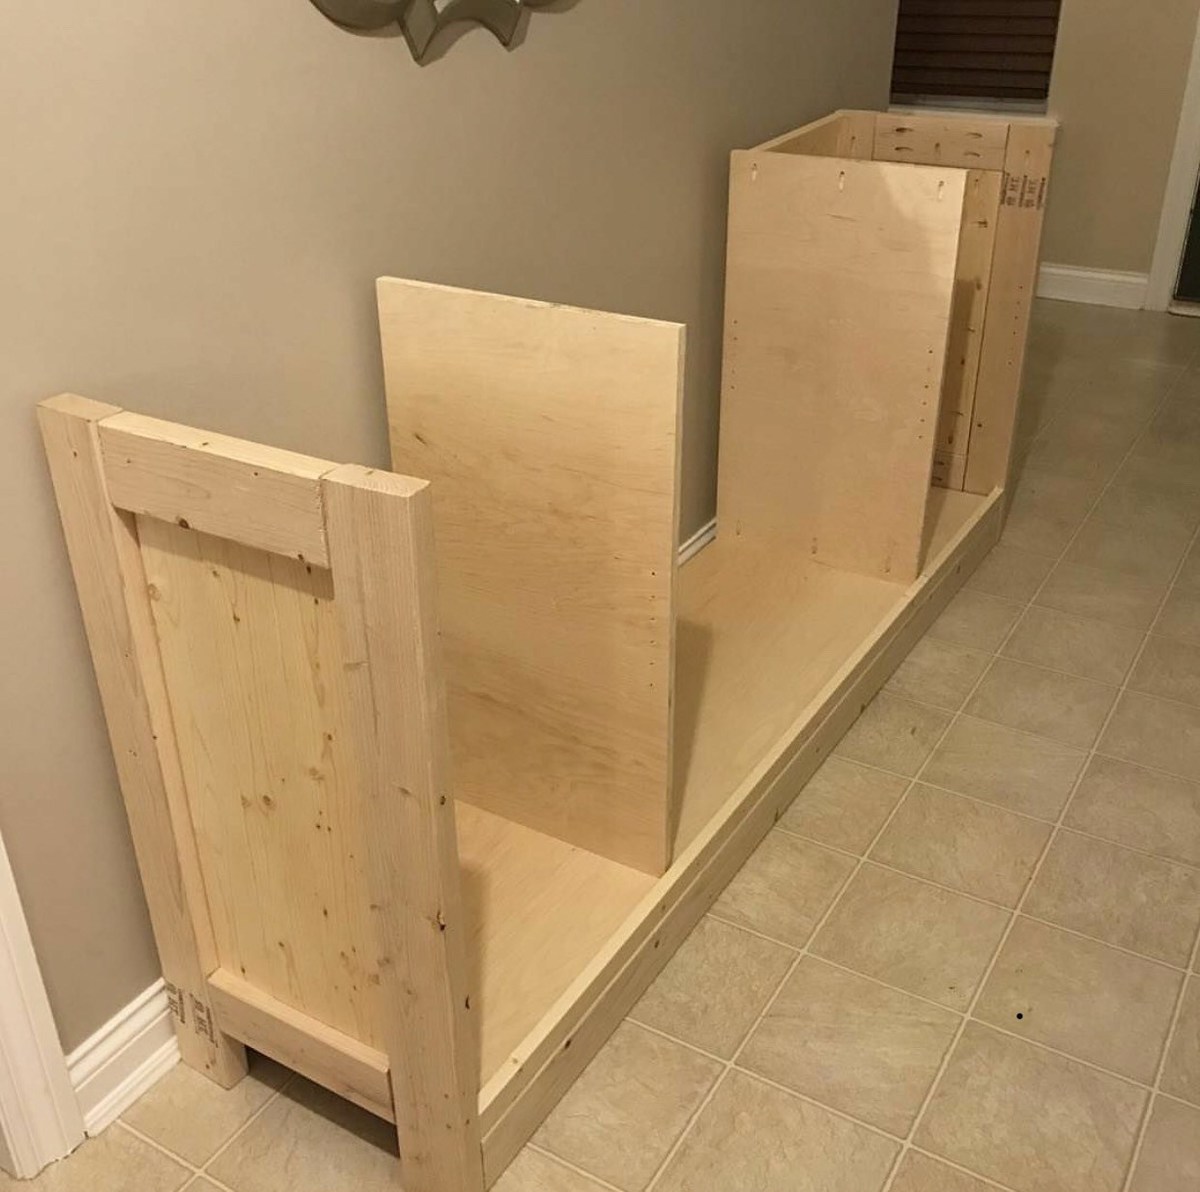
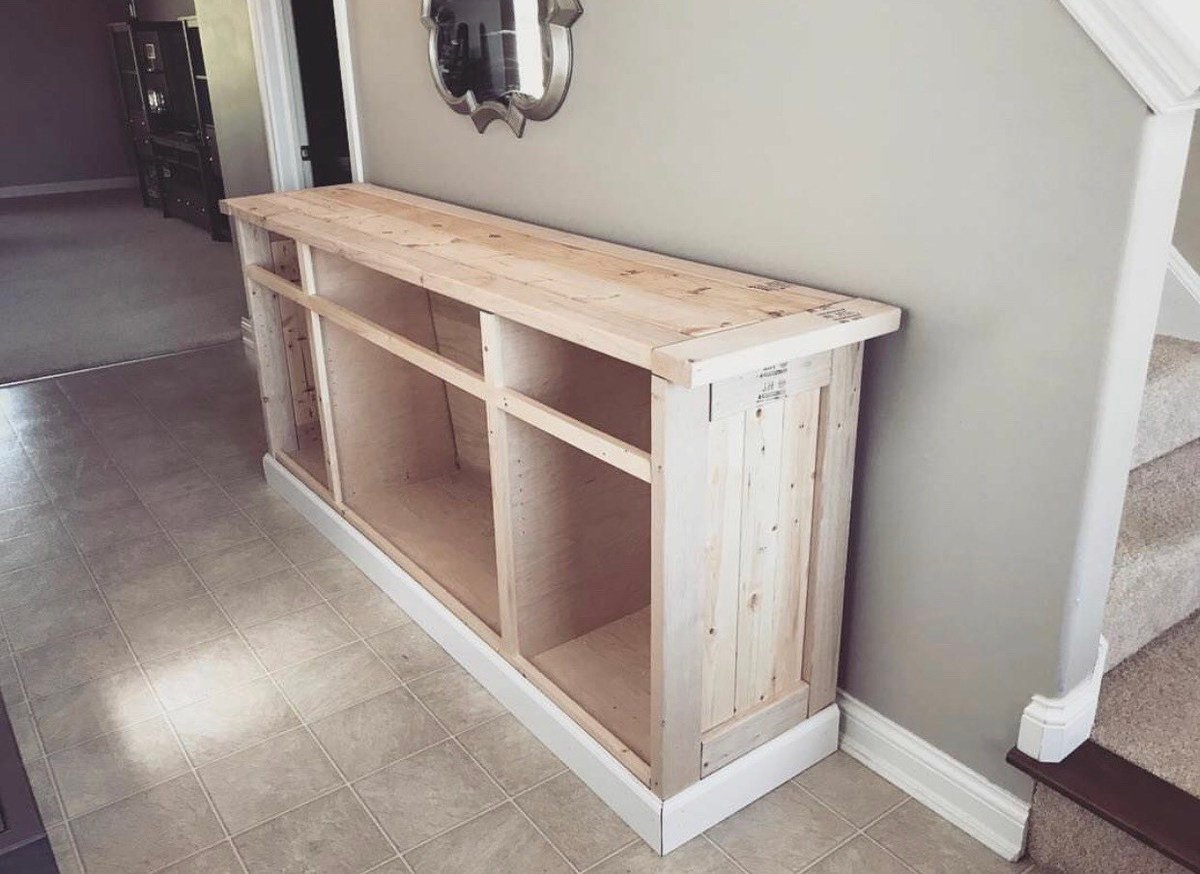
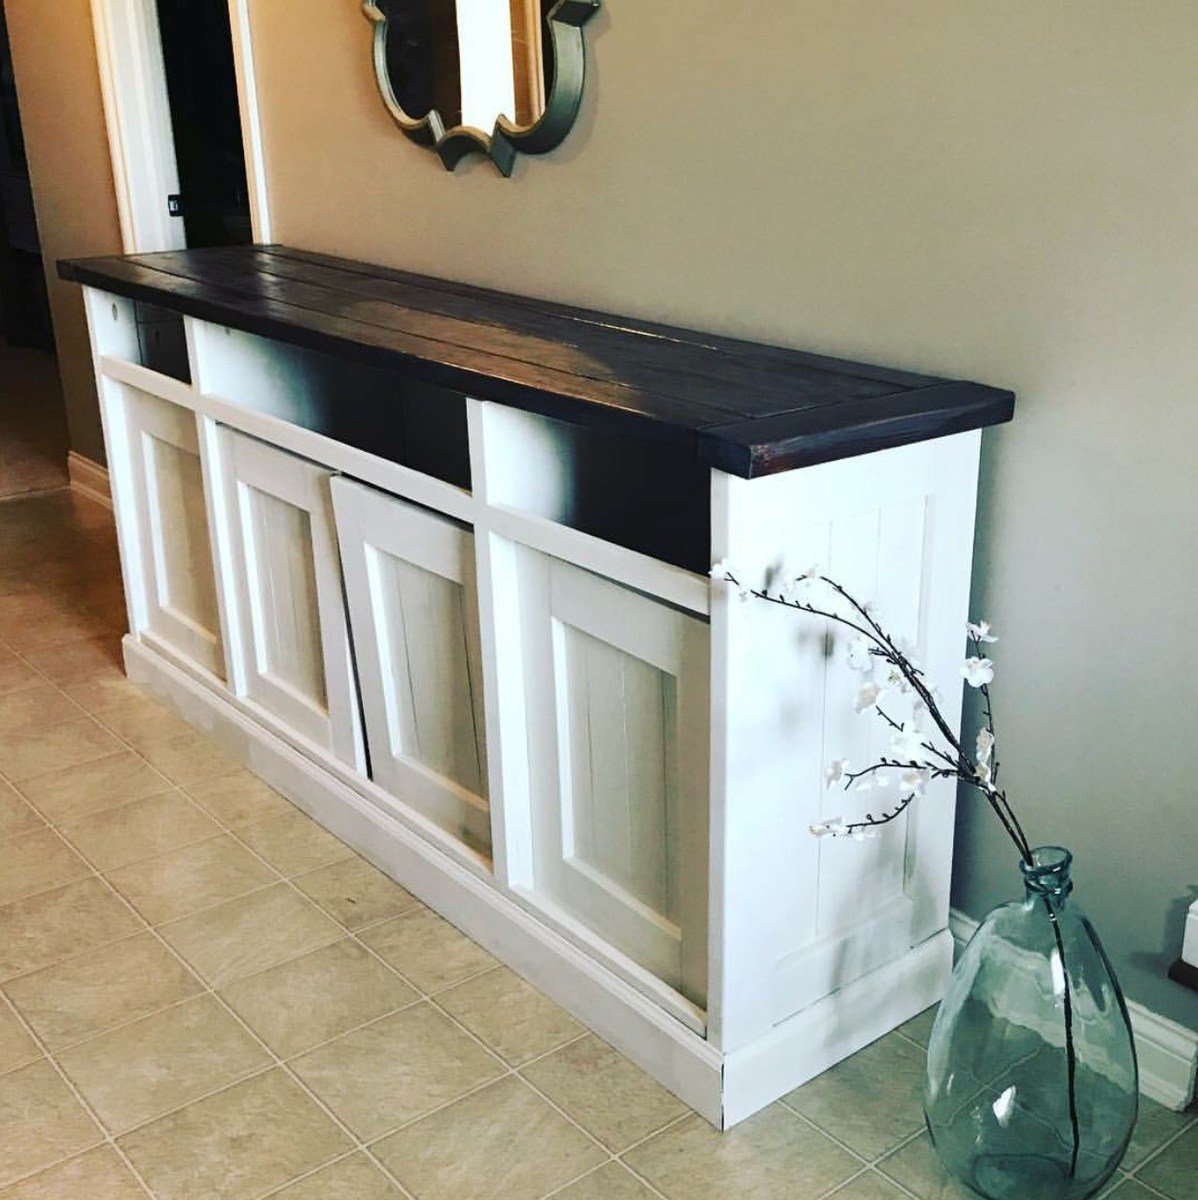
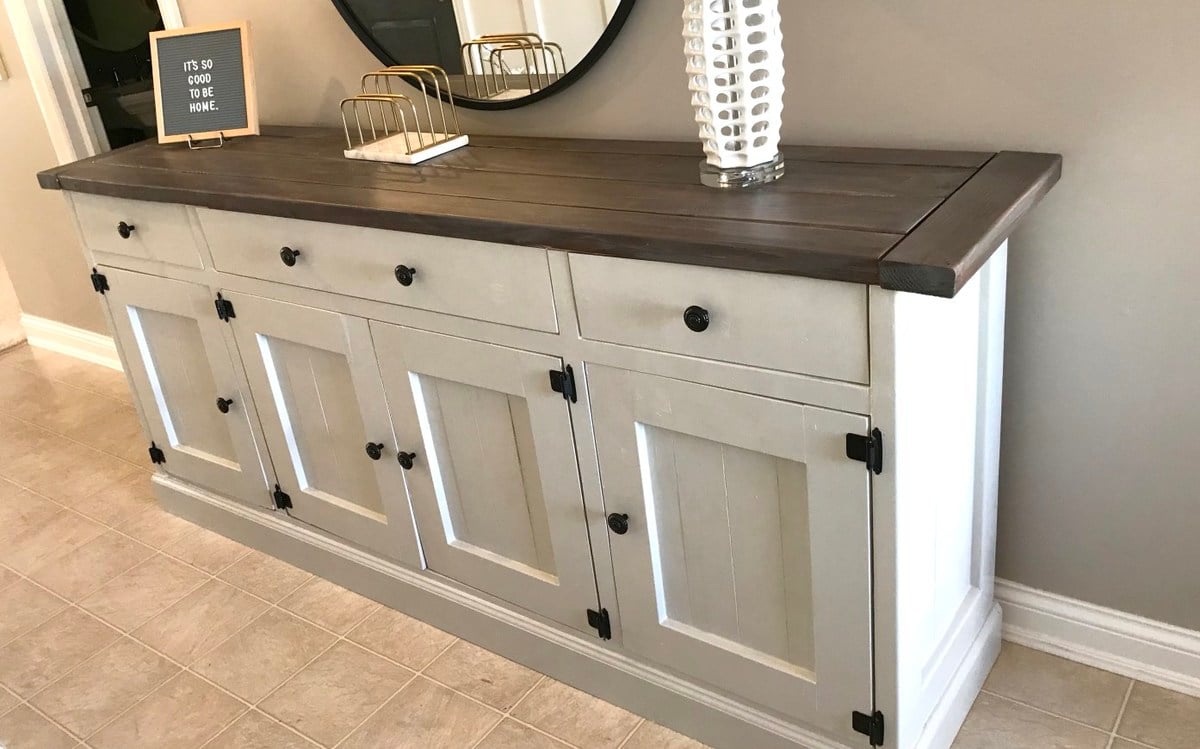
DIY Rustic Sideboard

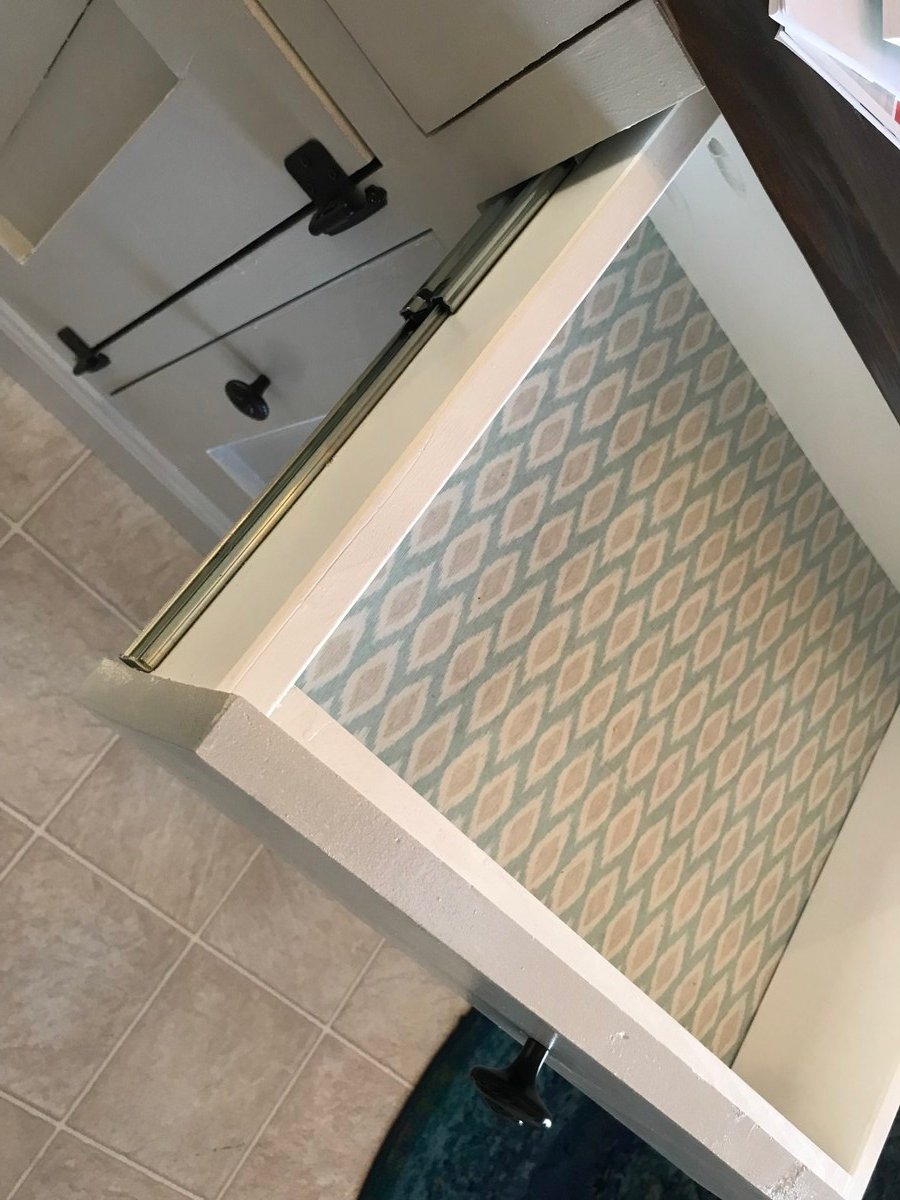
I worked on this project over the course of a few months, and I absolutely love the result! I posted all the info at my blog: http://www.designatedspacedesign.com/2017/10/01/a-rustic-sideboard/


Built from Plan(s)
Estimated Cost
Around $400
Estimated Time Investment
Week Long Project (20 Hours or More)
Finish Used
I painted it repose gray by sherwin williams. The top is a mixture of dark walnut and weathered gray stains.
Recommended Skill Level
Intermediate
Back