Modern Outdoor Couch with Backrest
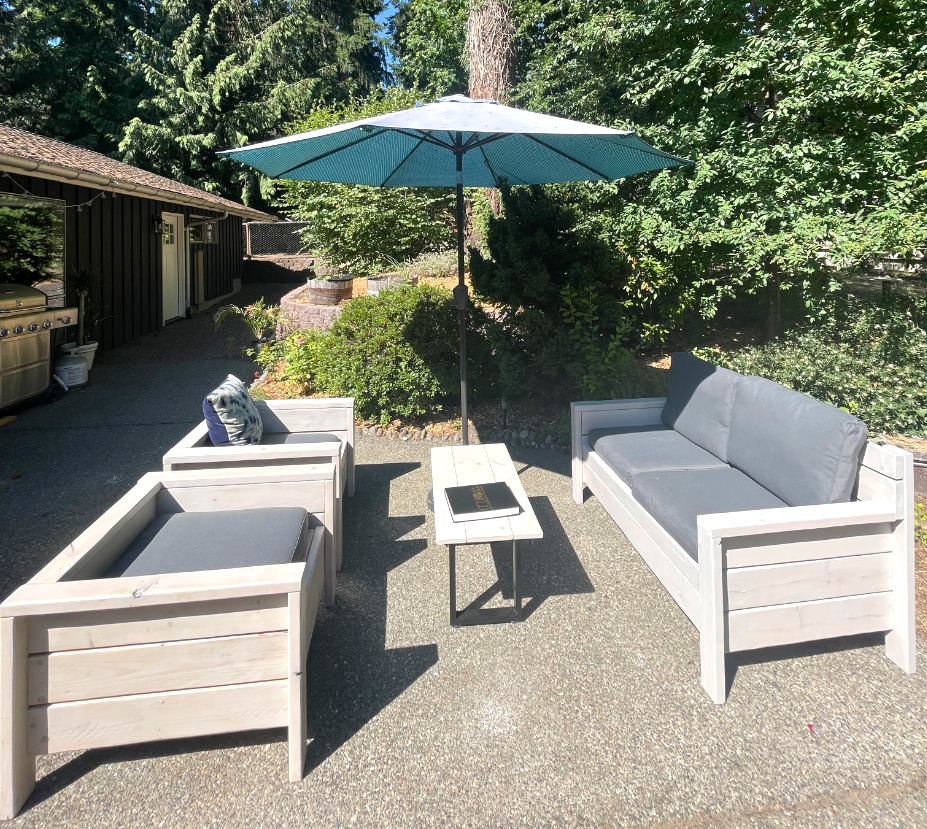
Modern outdoor chairs and loveseat with a slightly modified loveseat for my husband who insisted on having a backrest.
Built from Plan(s)
Modern outdoor chairs and loveseat with a slightly modified loveseat for my husband who insisted on having a backrest.
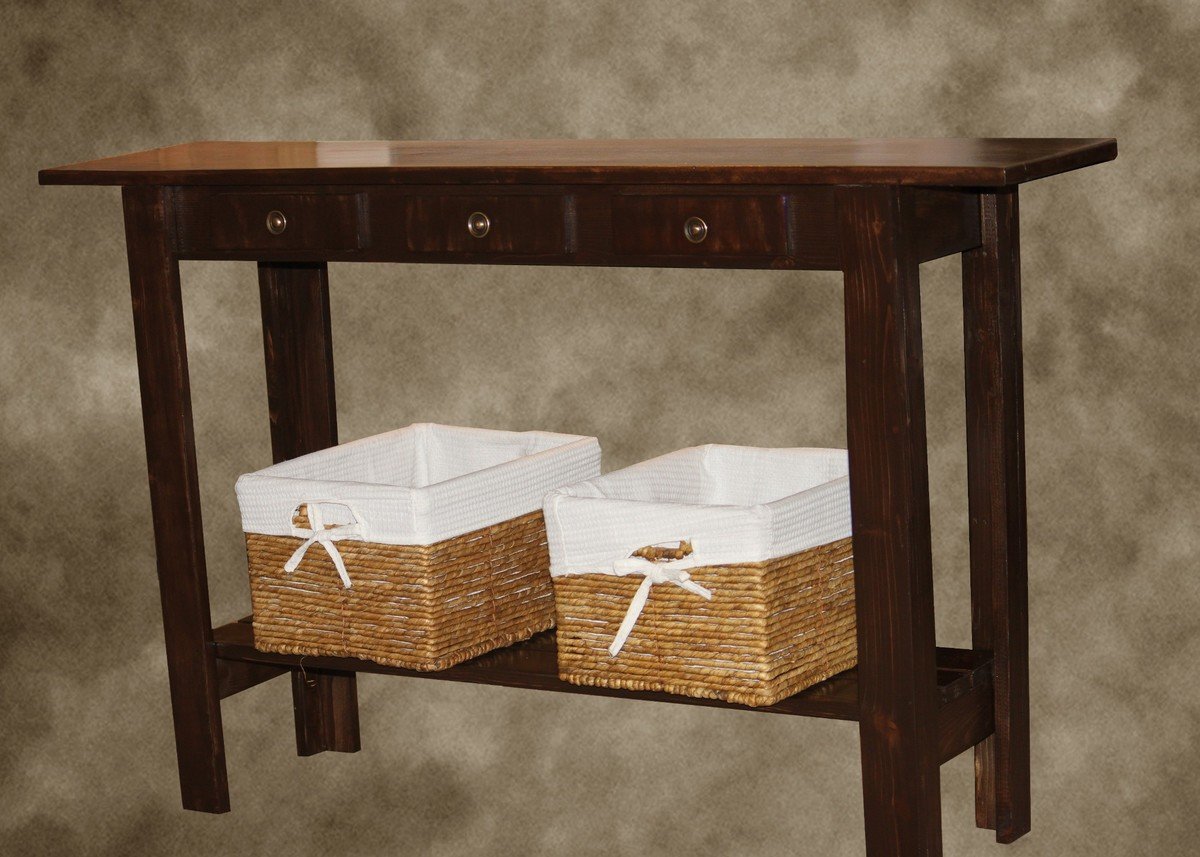
A friend needed an entry table, so I went with the Cheap and Easy Console plan and found the baskets at Ross. I modified to include lower shelf and did a single board top because I was trying to avoid buying more wood.

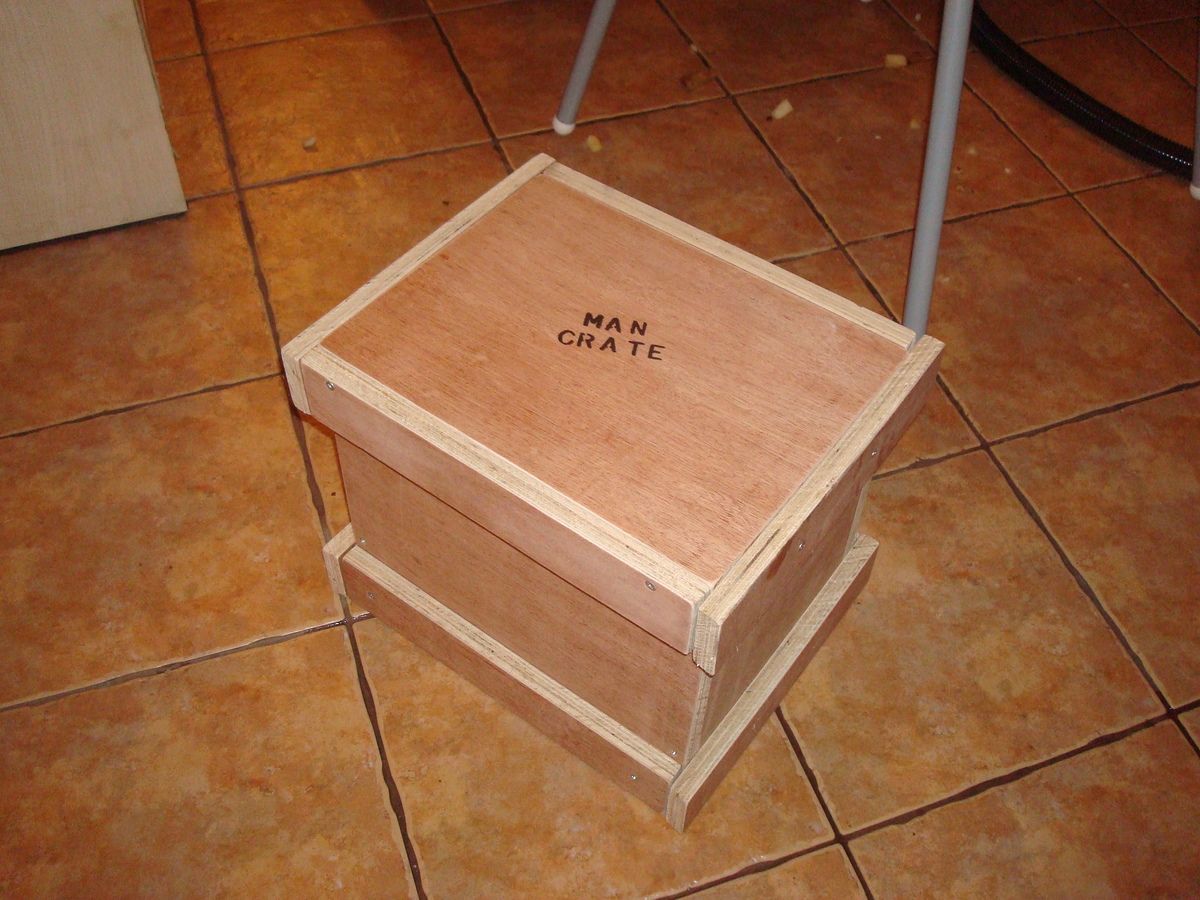
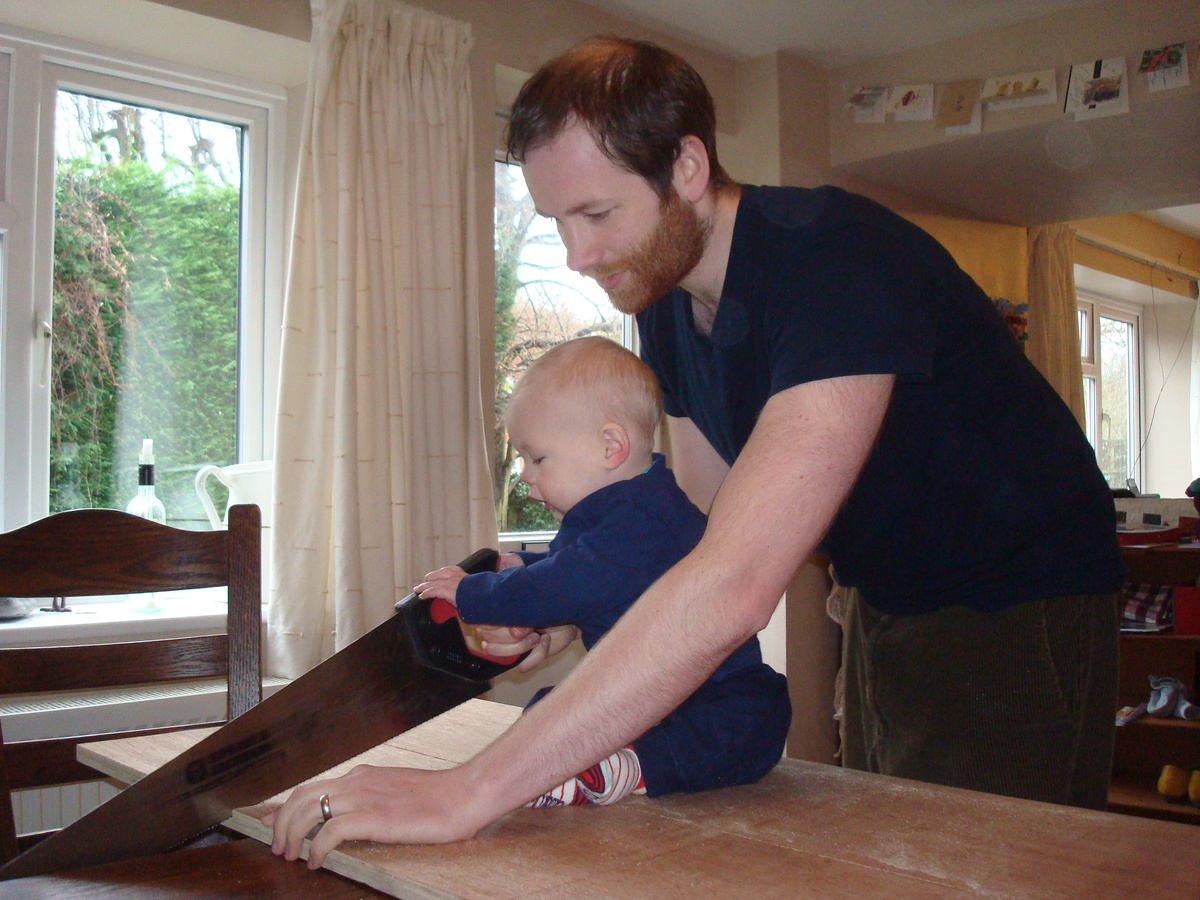
Men come in crates - who knew?
My crate is a gift for a friend, to be filled with manly foodstuffs, but in the mean time, the little 'un loved trying it out.
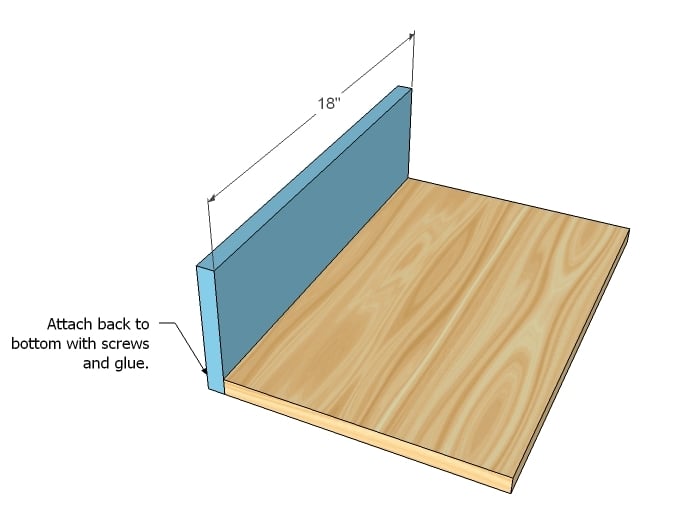
I didn't follow the plans rigidly, but I absolutely loved the idea and was inspired by all the great photos on this site. Mine looks the same from above and below, but the front and back side slats are attached to the lid while the left and right ones are attached to the box. Also, everything uses the same 18mm ply (what I had available!) which means you can easily lift it using the side slats, but lift the lid off with the front and back slats.
Enjoyed this project - will more than likely make others in the future. Maybe even spend a bit of time on the finish next time - the 'rough 'n' ready' look works well enough for this kind of project though, so it plays to my strengths!


Thu, 01/02/2014 - 11:04
Your man crate looks great! You can definitely say your little guy has "man tested" it as well! (super cute pictures with him, by the way) The idea of using the top side trims for handles is super! Thanks for sharing this build! :)
Joanne
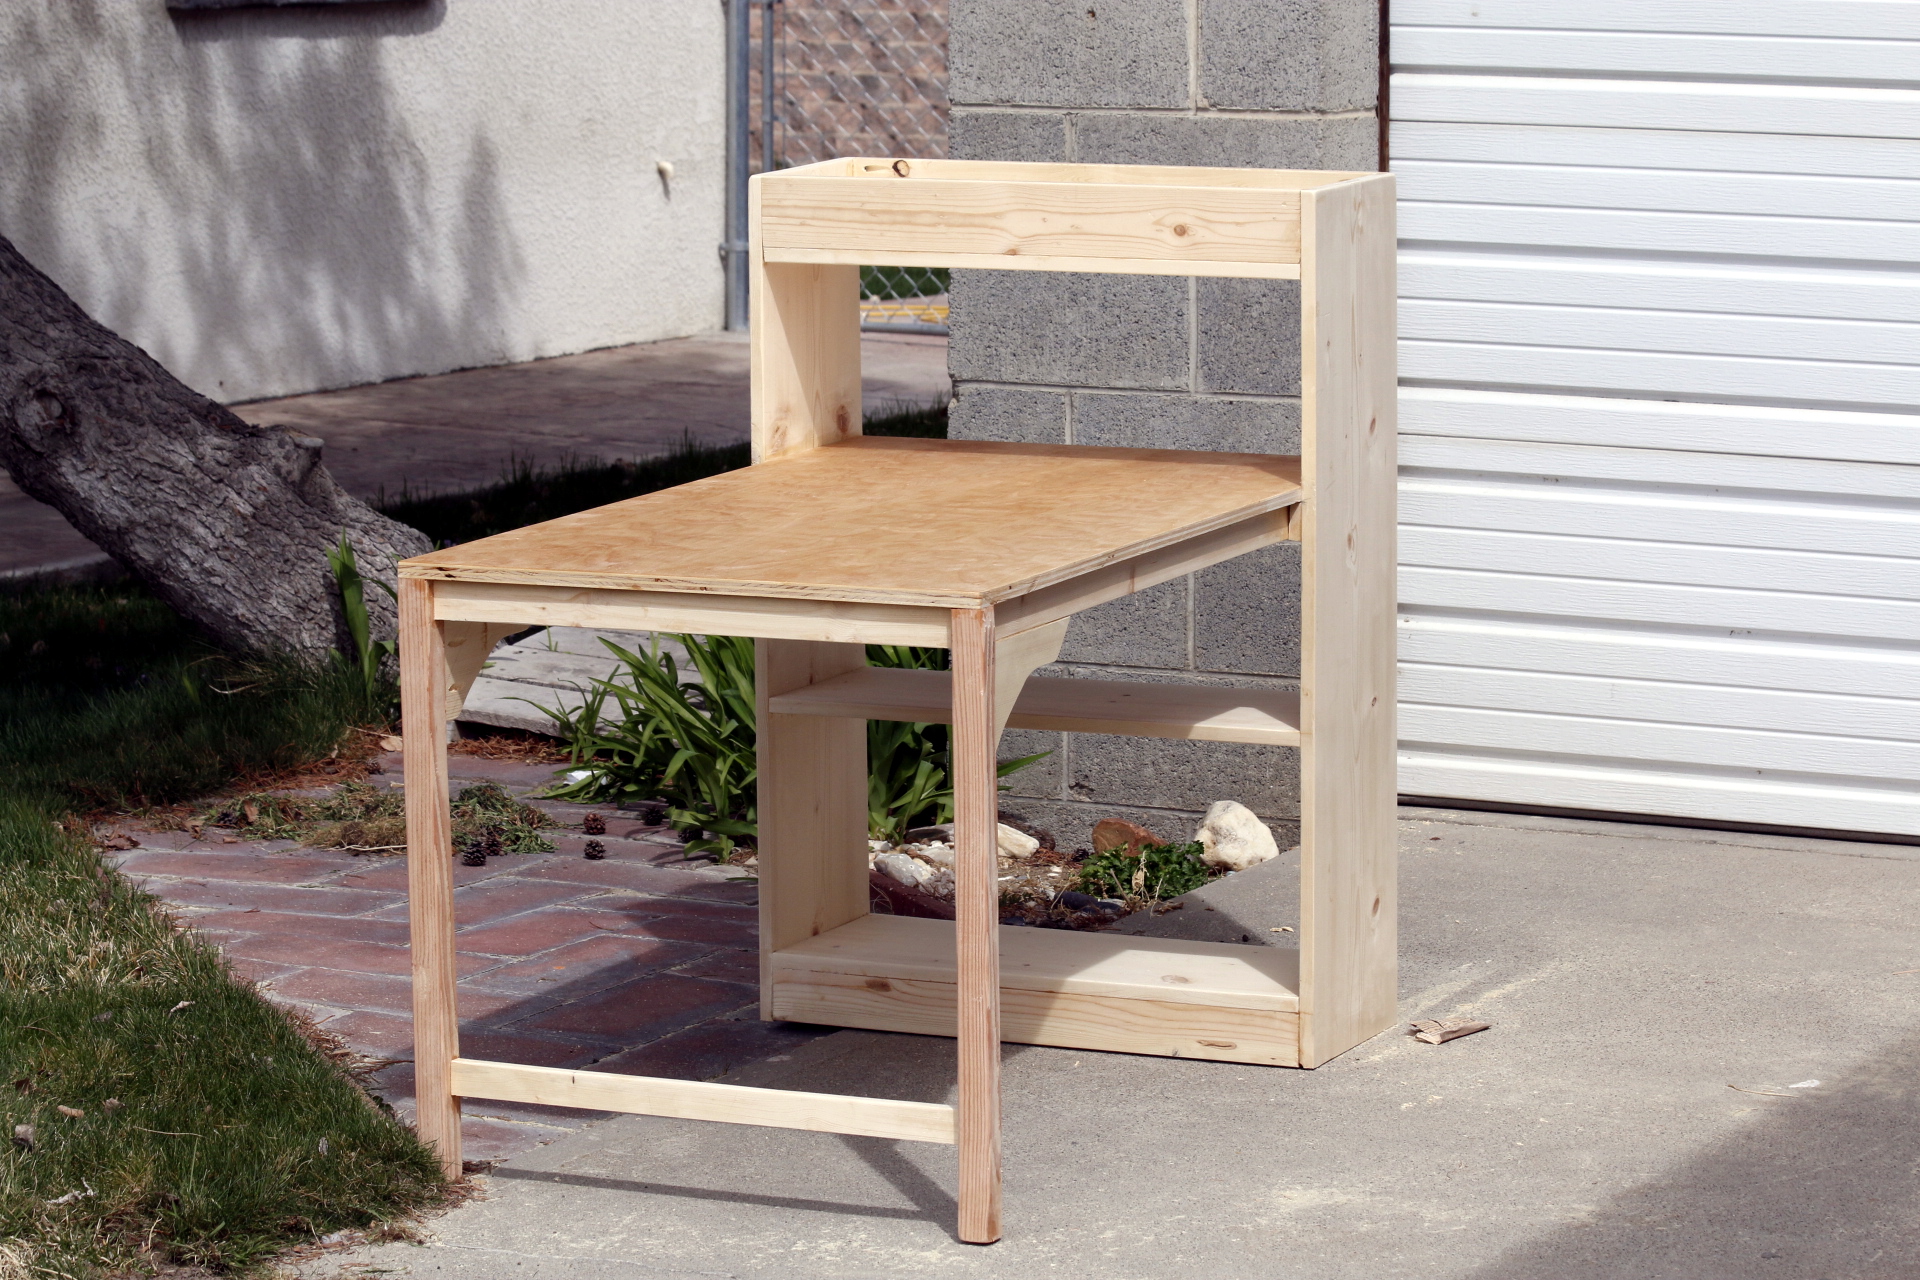
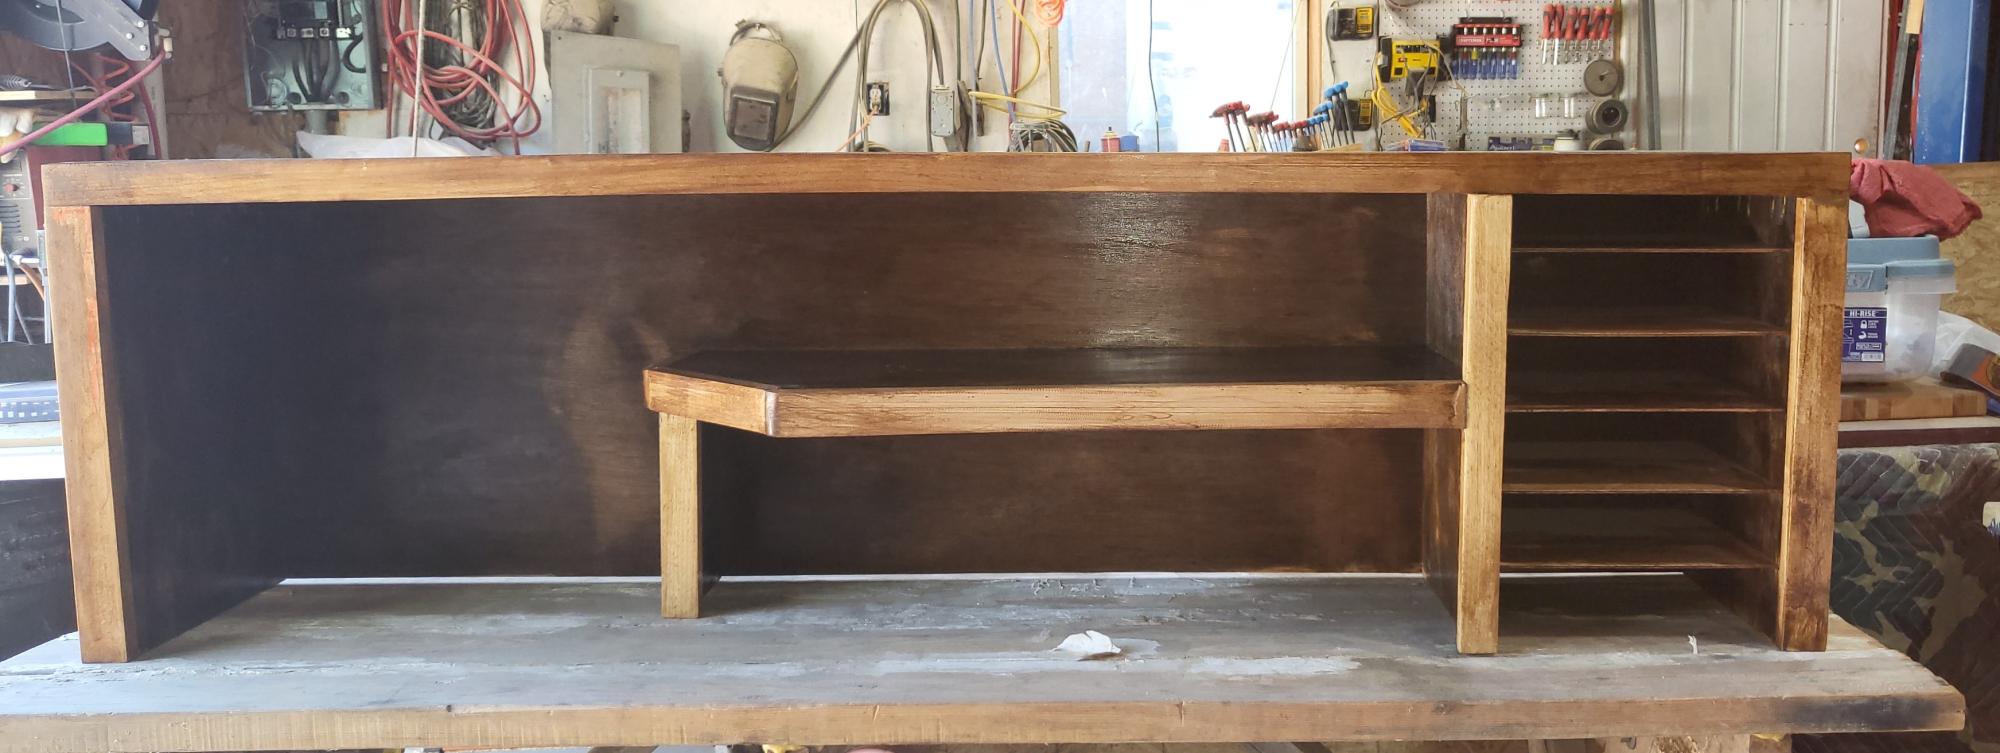
Ana sized her plan for 2-6 year olds, but a friend asked me to build this for her 9-year-old granddaughter as an art table that would live outside, on their covered patio. I made the table top 28x48, and set the top at 28 inches off the ground. The bookcase part is 42 inches tall, in keeping with the "rule of thirds."
In light of the larger size, I decided the legs needed some braces, so I added a cross brace at the bottom and some curvy side braces.
I considered adding some cupboard doors to keep the dust out, but decided to leave it open so it wouldn't become a haven for spiders. Doors don't really keep dust out anyway, the way the wind blows around here.
As shown, the birch ply top has natural stain on it. I'm going to finish the top with spar varnish. For the rest, I'm going to primer it, and deliver it with a few pint cans of water-based outdoor paint in basic colors so the girl can paint the rest of it herself.
Thank you, Ana, for another enjoyable project!
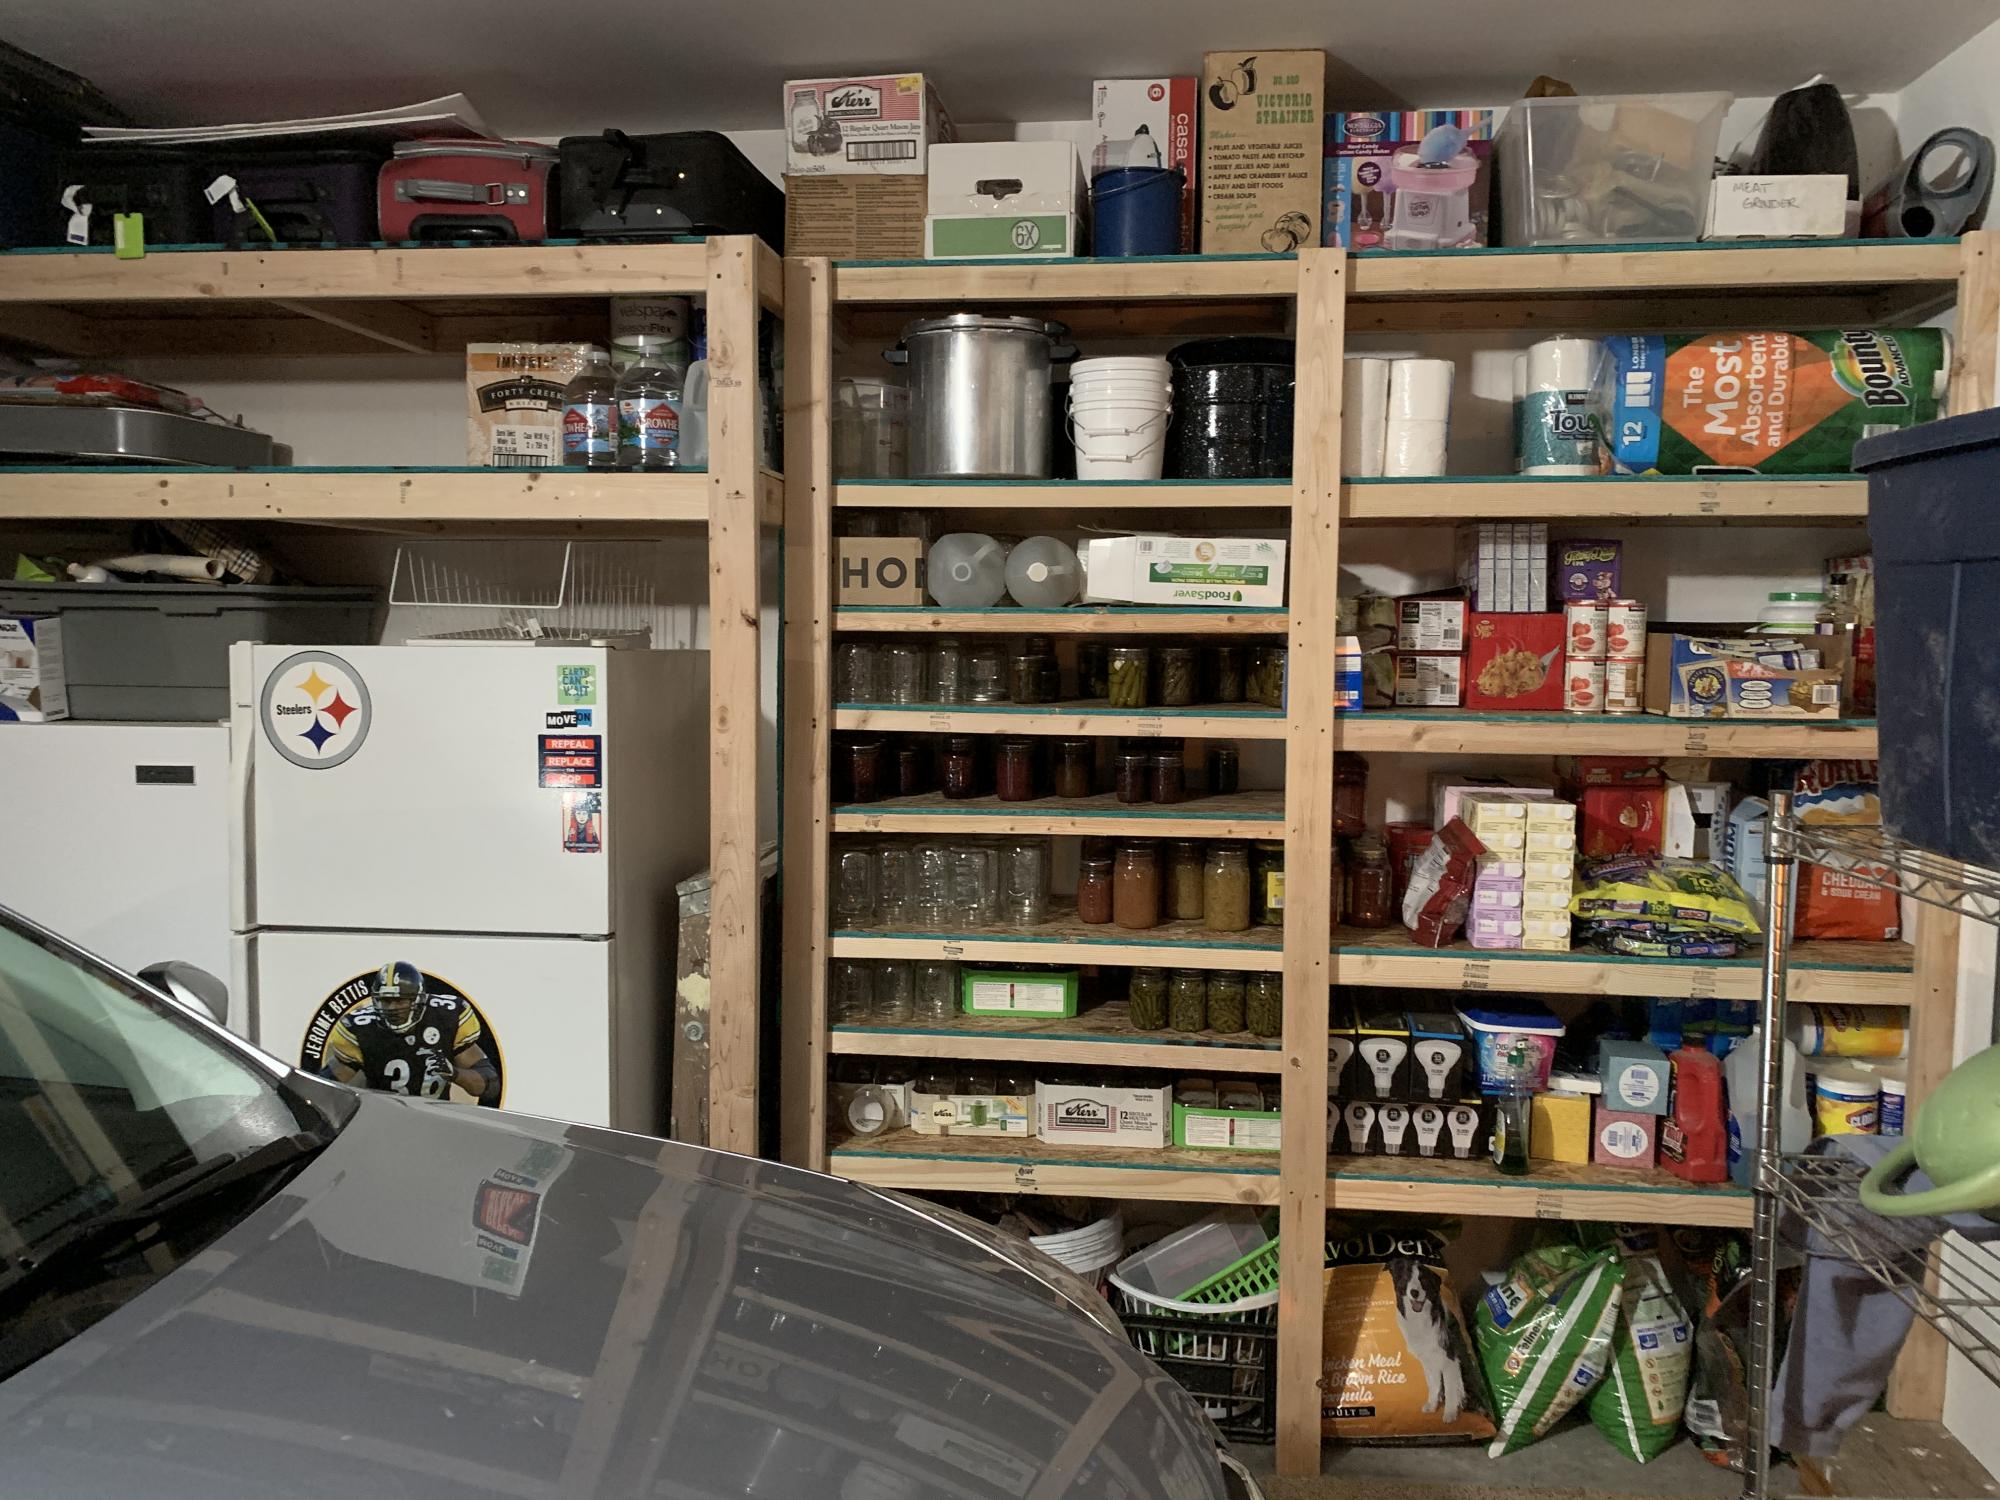
Added some storage to the garage. Wife got some more room for her canning. Looks much better than older metal shelving. Thanks for the ideas, again!

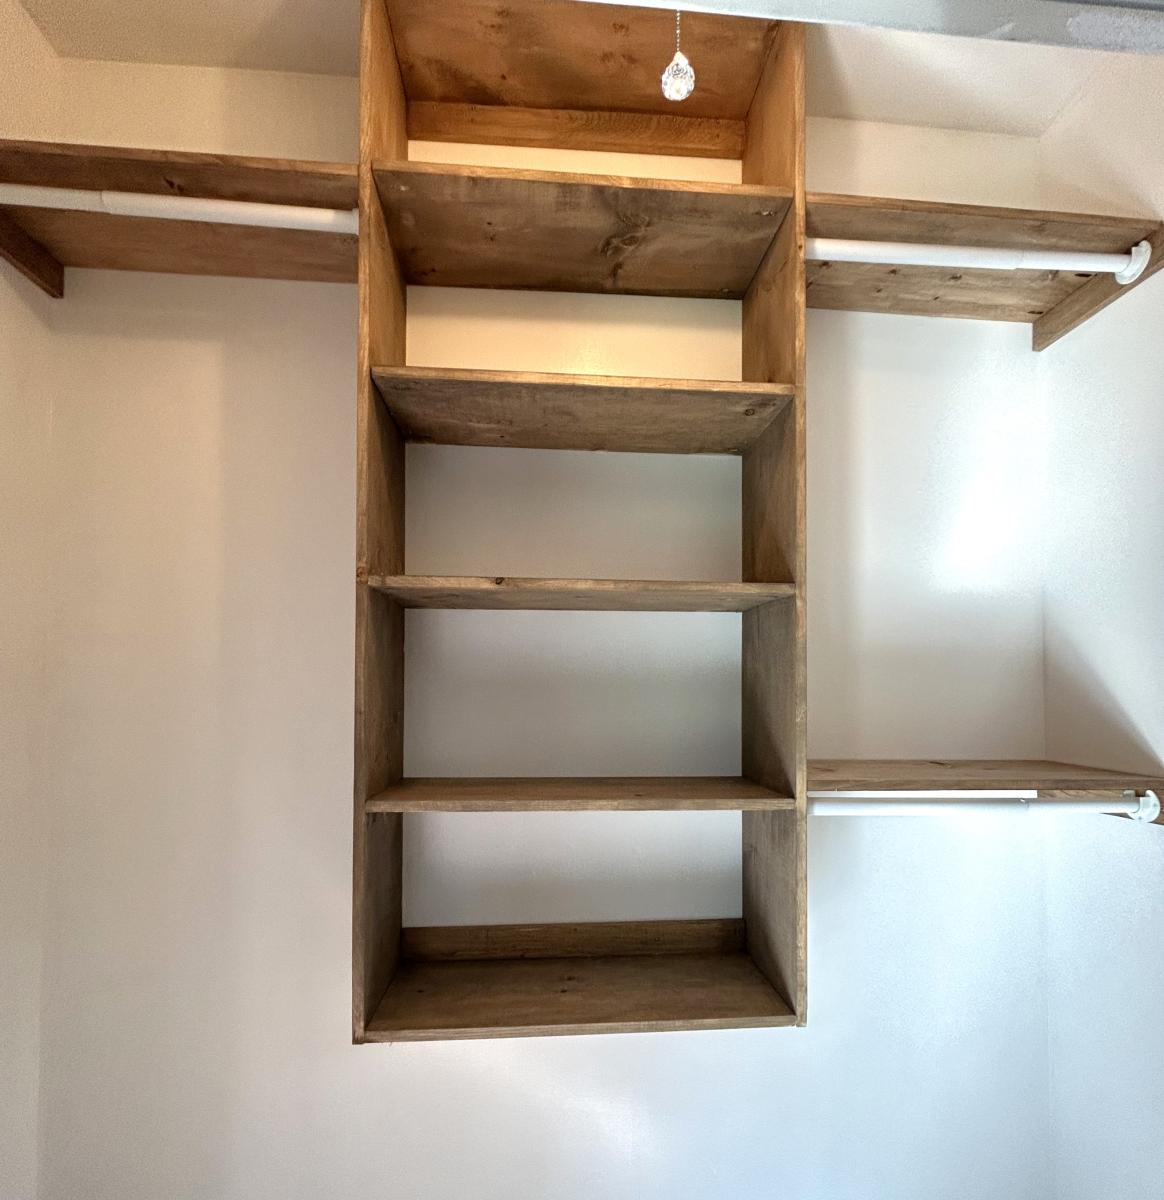
Closet by Joanie
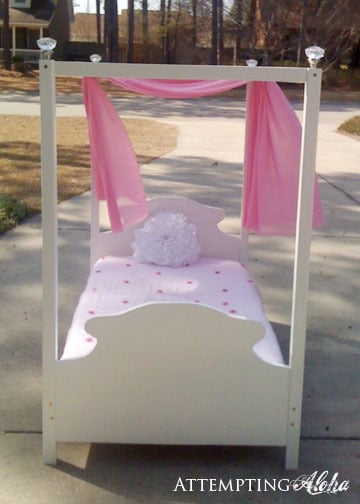
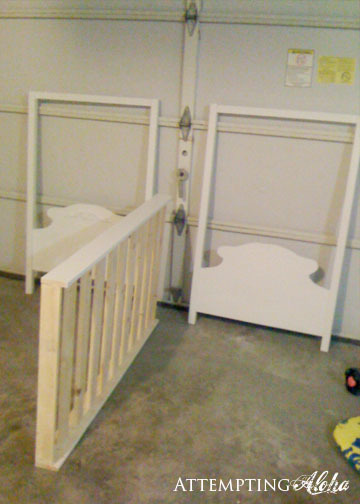
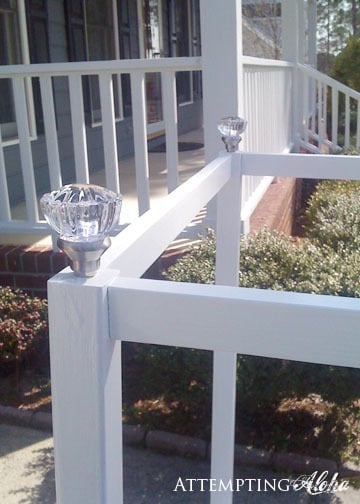
I designed and built this canopy bed without knowing Ana had already done a toddler canopy bed! Talk about reinventing the wheel. I should have known she already had plans up. ;)
Full plans are on my site, but I thought I'd add this as a brag post instead of a project plan since Ana's plans are already here. They're different, but the end result is very similar!


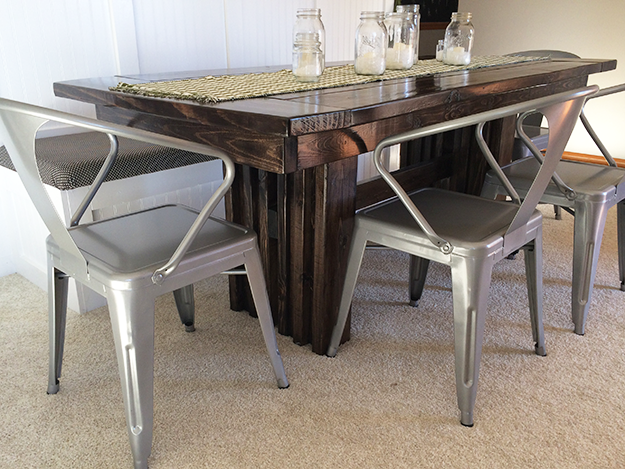
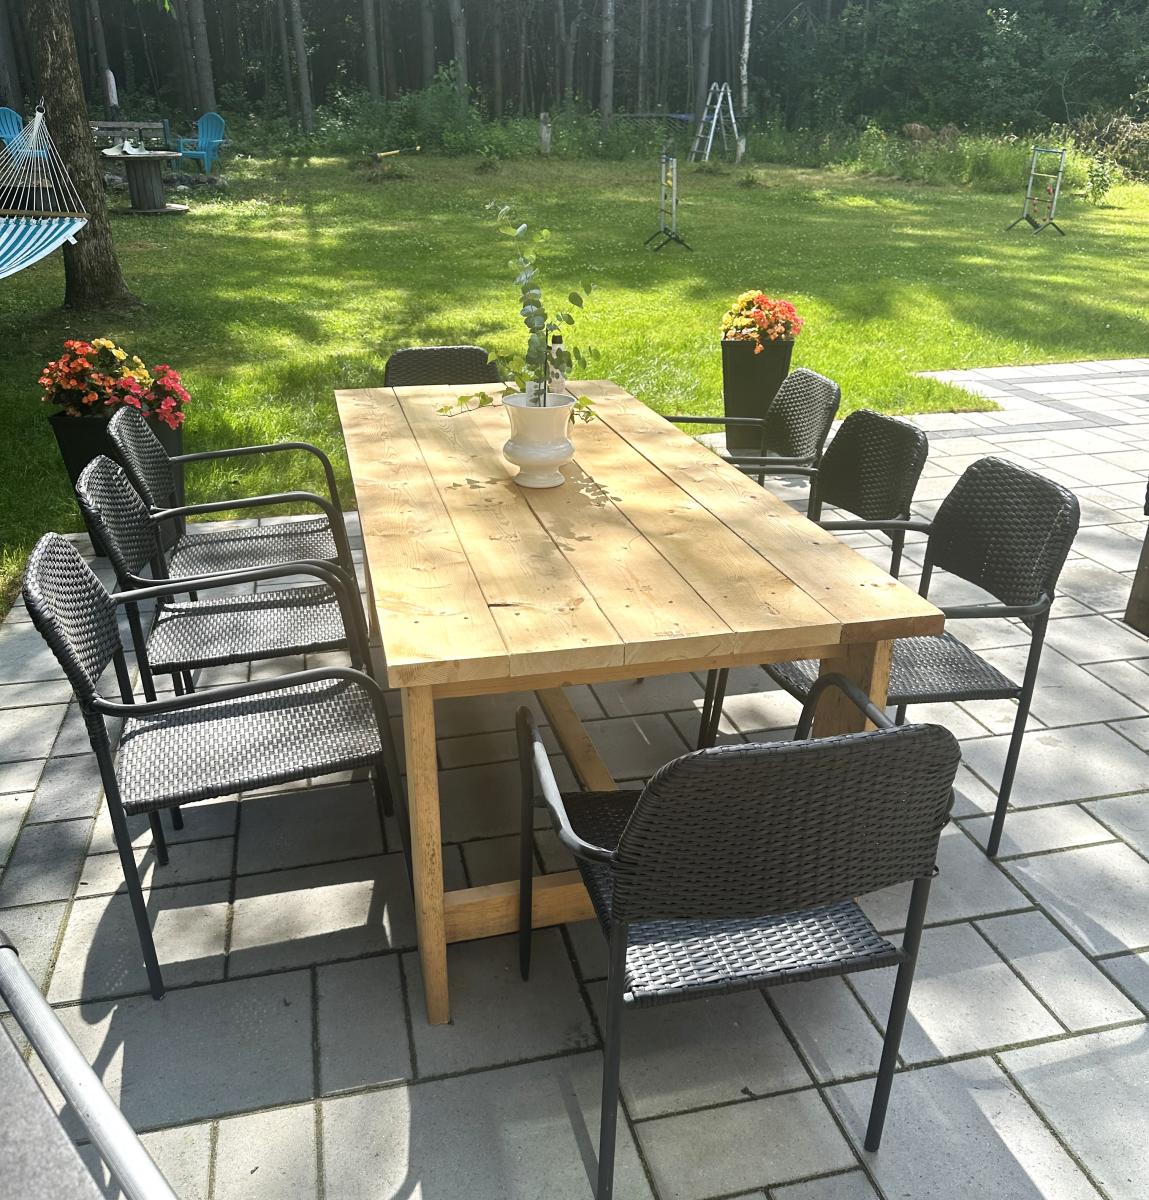
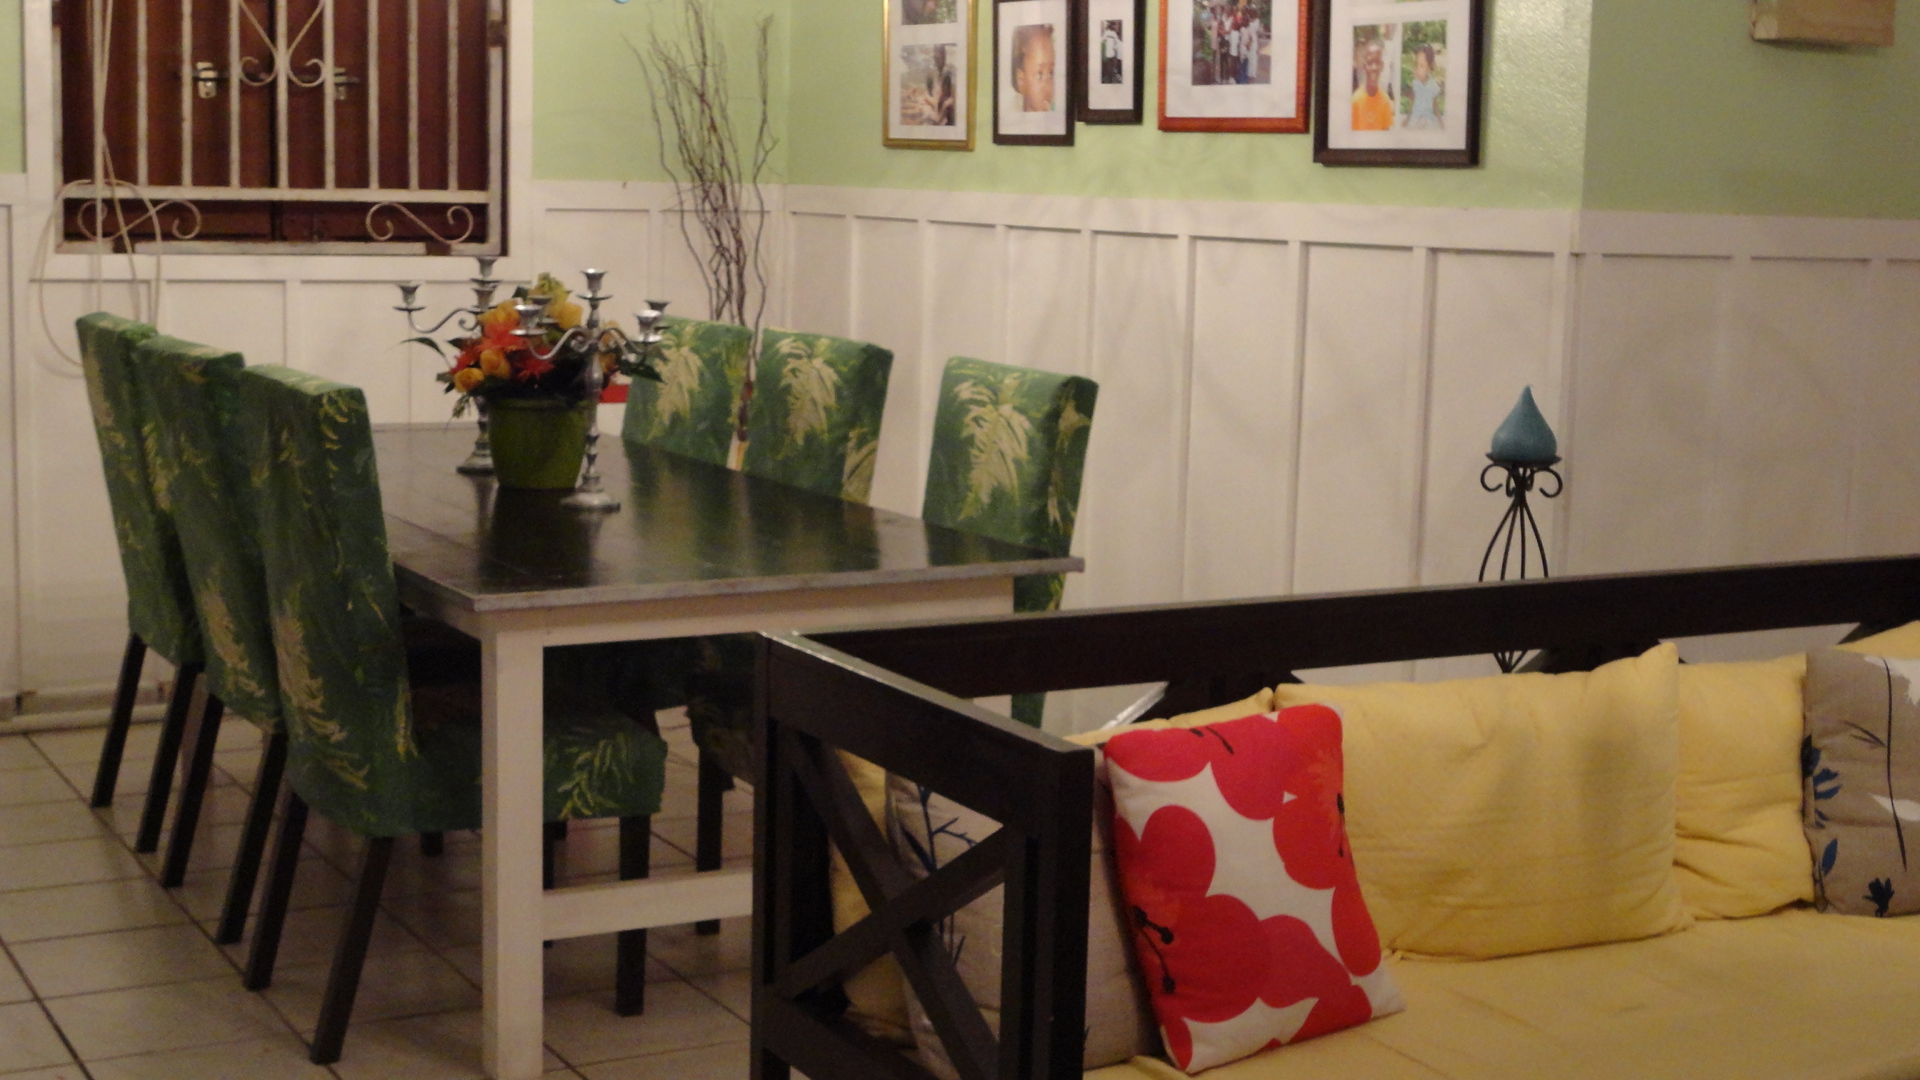
Our extra long living/dining room was just begging for a little definition. So I scoured all of Ana White's plans for some inspiration for the perfect-for-us table. I have never built anything, so I enlisted the help of my genius dad and we got to work!
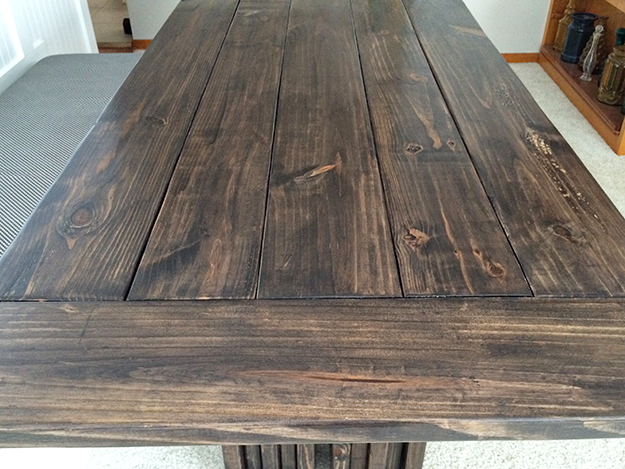
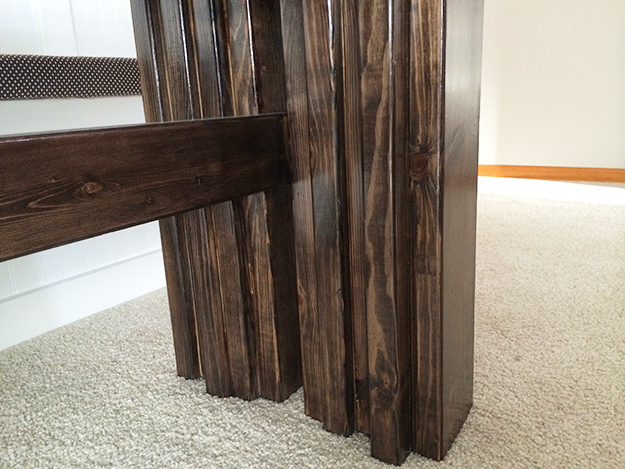
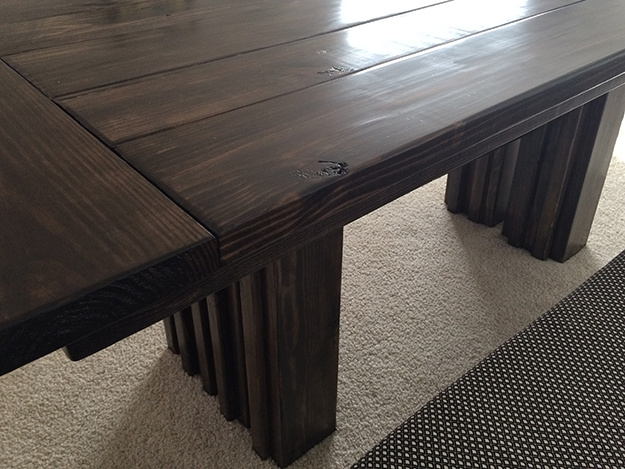
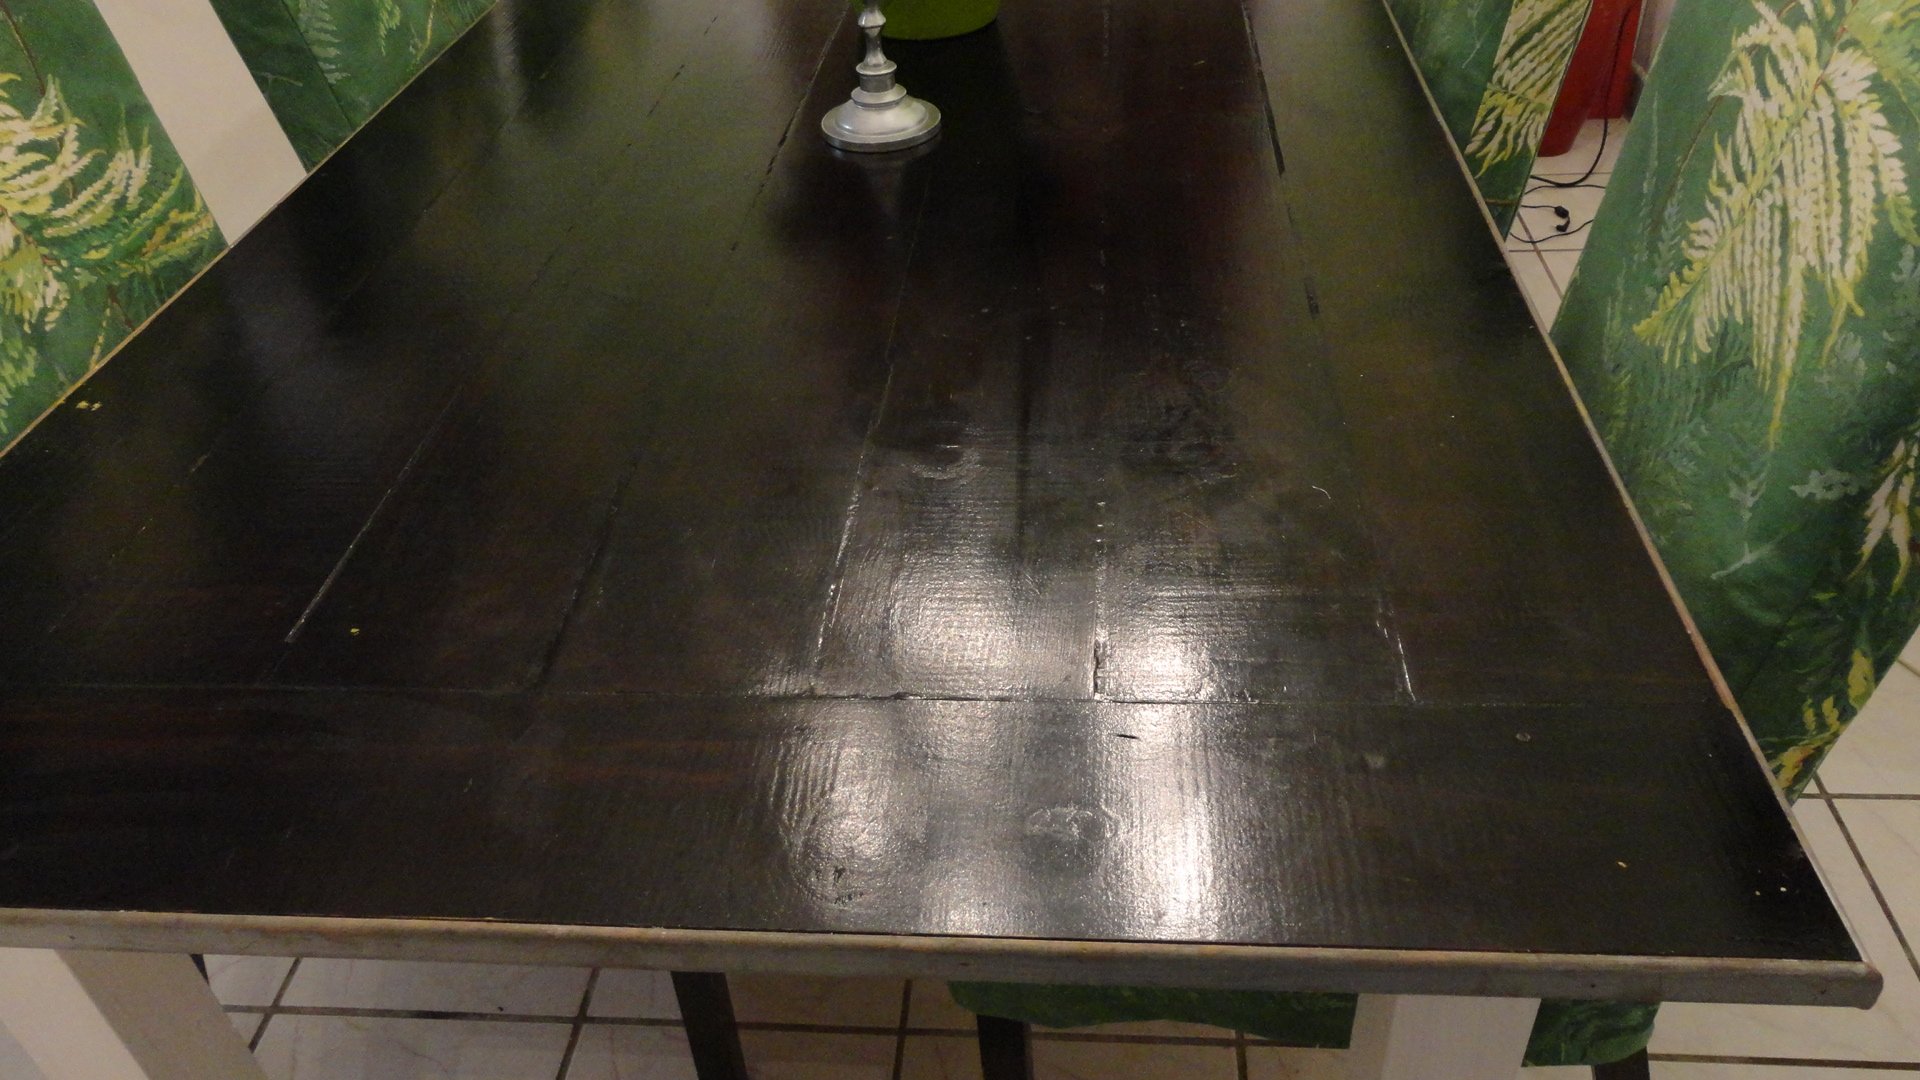
We ended up using elements of the Modern Outdoor Patio Table and the Farmhouse Table. We sized the patio table down to six feet long and used the board layout from the farmhouse table for the table top. We also changed up the table legs a bit to add some visual interest.
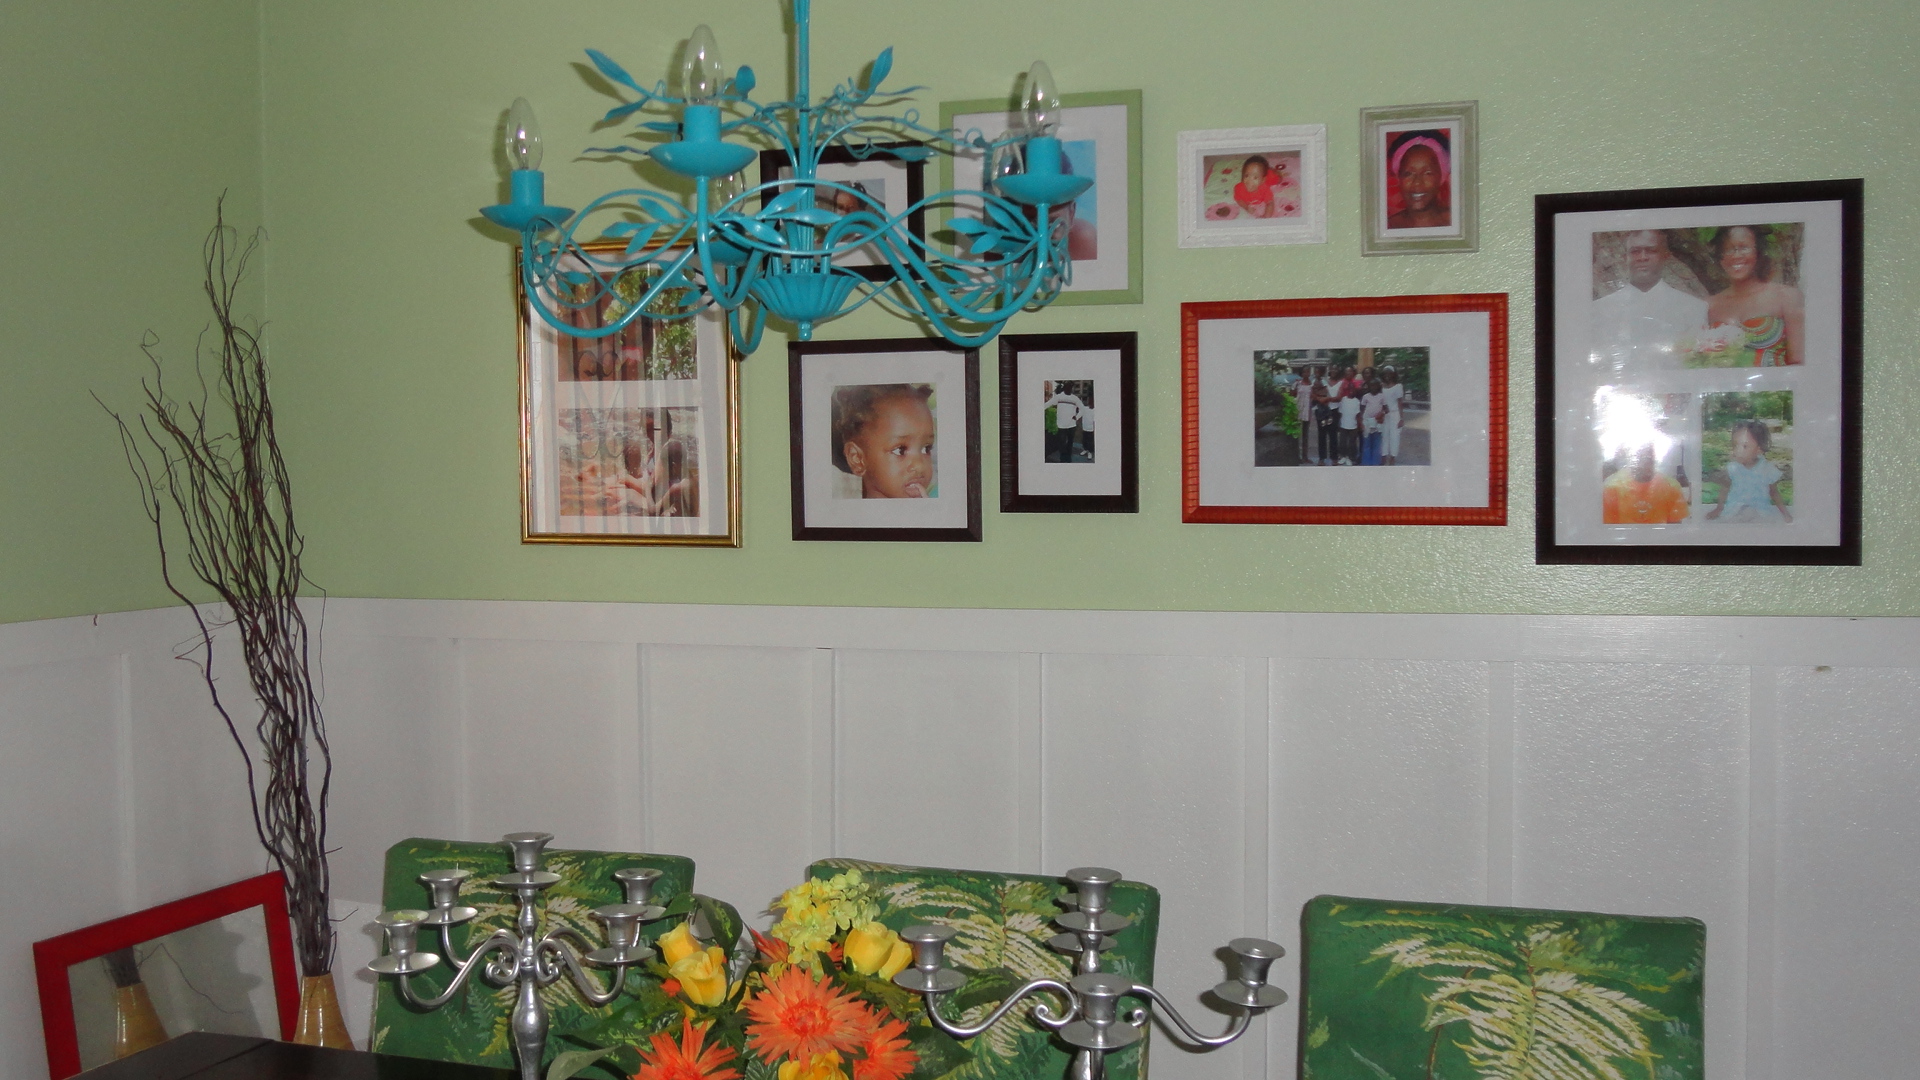
After tackling the table, we built the banquette and beadboard wall. I never thought I would learn so much about power tools. Ha! This project was so much fun. Thank you for the free plans!! I can't wait to work on our next project!
You can read more about our table here: http://www.becomingwhitney.com/dining-area-progress/
here: http://www.becomingwhitney.com/it-is-finished/
and here: http://www.becomingwhitney.com/christmas-cheerin-it-up/

Tue, 01/07/2014 - 10:15
The fabulous thing about DIY is how you can modify a plan to suit your needs. You and your dad have built a one-of-a-kind that can be handed down to future generations. Love the style and finish. Keep up the good work!
Tue, 02/18/2014 - 19:39
can you share the cut list and measurements for your beautiful TABLE?
BIG STEVE
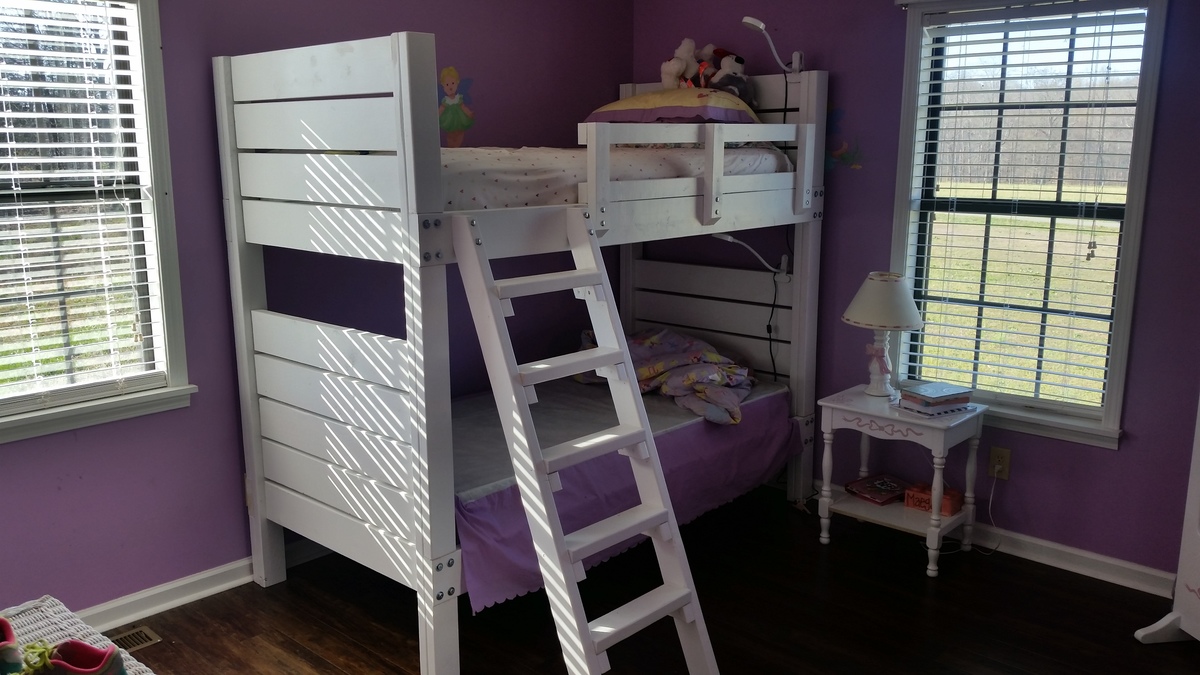
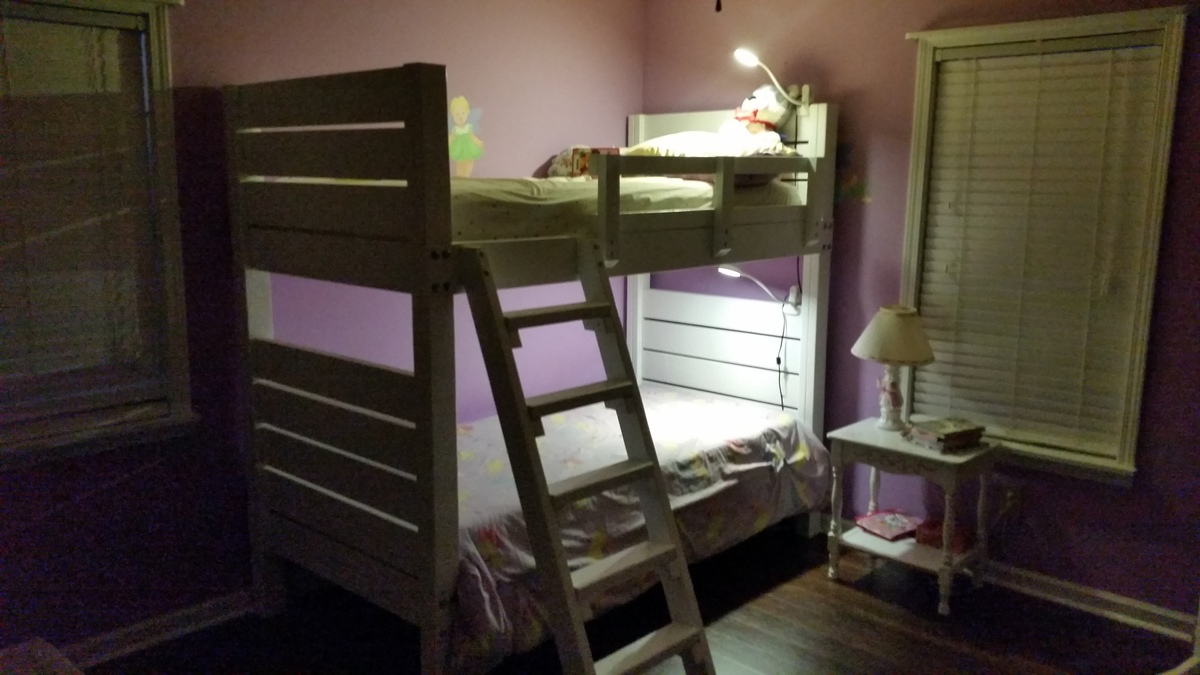
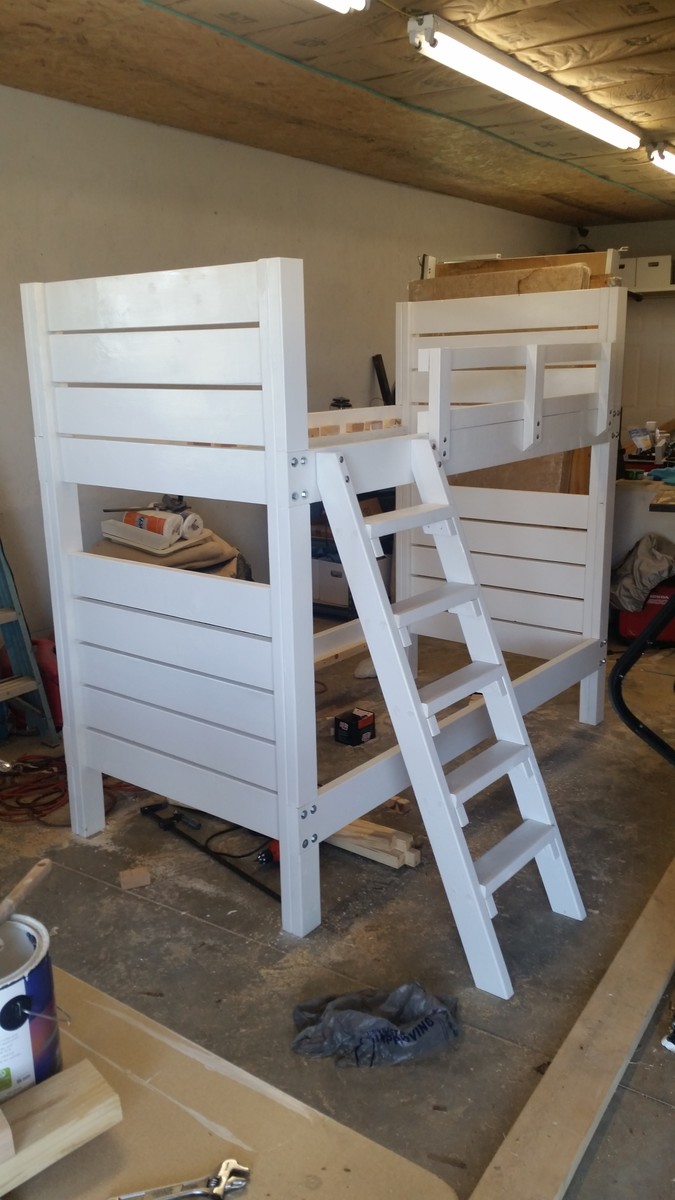
Followed the plans exactly and all worked out perfectly. I designed my own ladder and rails. Kids love this bed. Took about 1 gallon of valspare 2000 paint to paint everything.

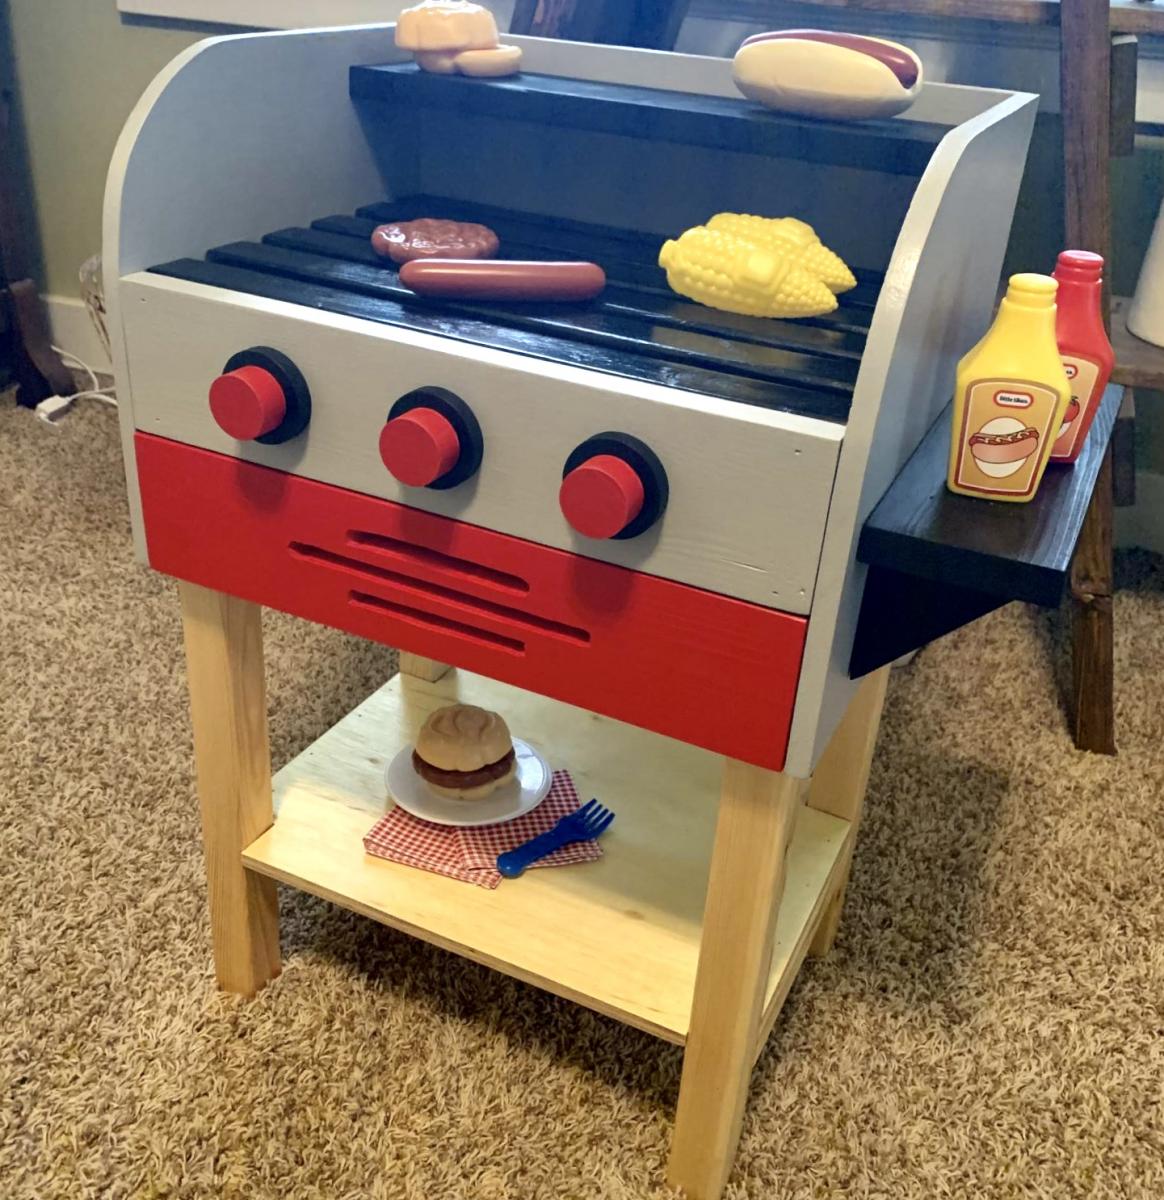
Built this toy grill for my nephews first birthday. Went together without many hiccups. I will say these plans seemed less detailed than other Ana White plans I have worked on...but for the better I guess, as it forced me to figure somethings out on my own. I opted to add the drawer behind the grill plate, like the blogger who also made this grill did. Kept the same color scheme as well. Pretty proud of how it turned out.
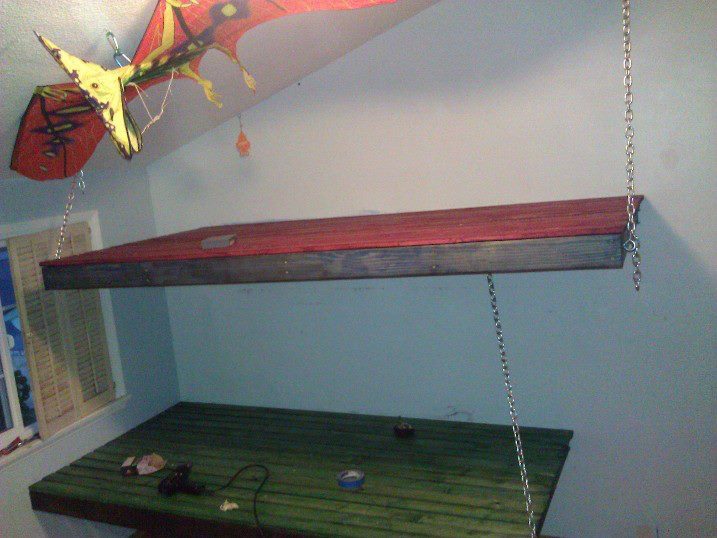
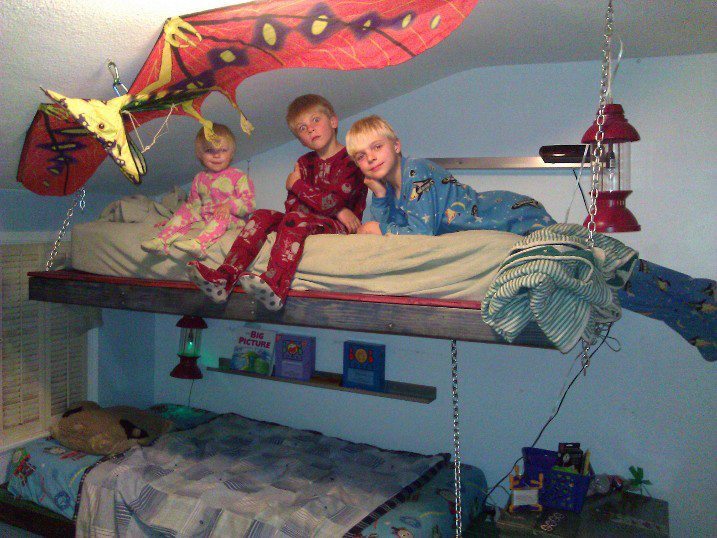
My hubby and I took the weekend to remove the loft and twin bed that was squeezed underneath it to give our boys more space in and around their beds. Thanks for the idea Ana, we like wood, but we also like color so the beds where stained two colors one for the frame and one for the slats. The boys chose red and blue, and green and black. We decided to hang the beds with chain from a stud in the ceiling. They were so exicited to sleep in their new beds that i believe bedtime will be much easier! Thanks Ana
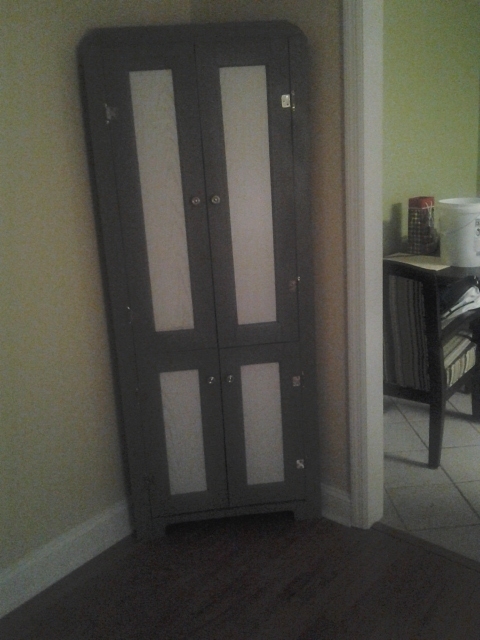
This was such a fun project. I had been shopping for a corner cabinet for months before I decided I either couldn't afford what I liked and didn't like what I could afford. So I built it! I added the top doors... I didn't need one more thing to dust.
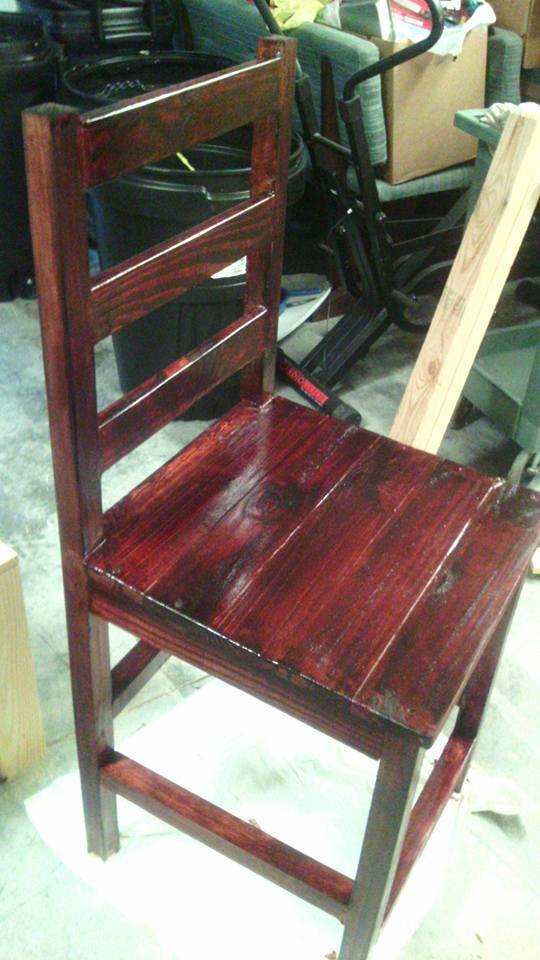
My mom moved into an apartment and had a bar that needed some bar stools so I made two of these bar stools that she loves.
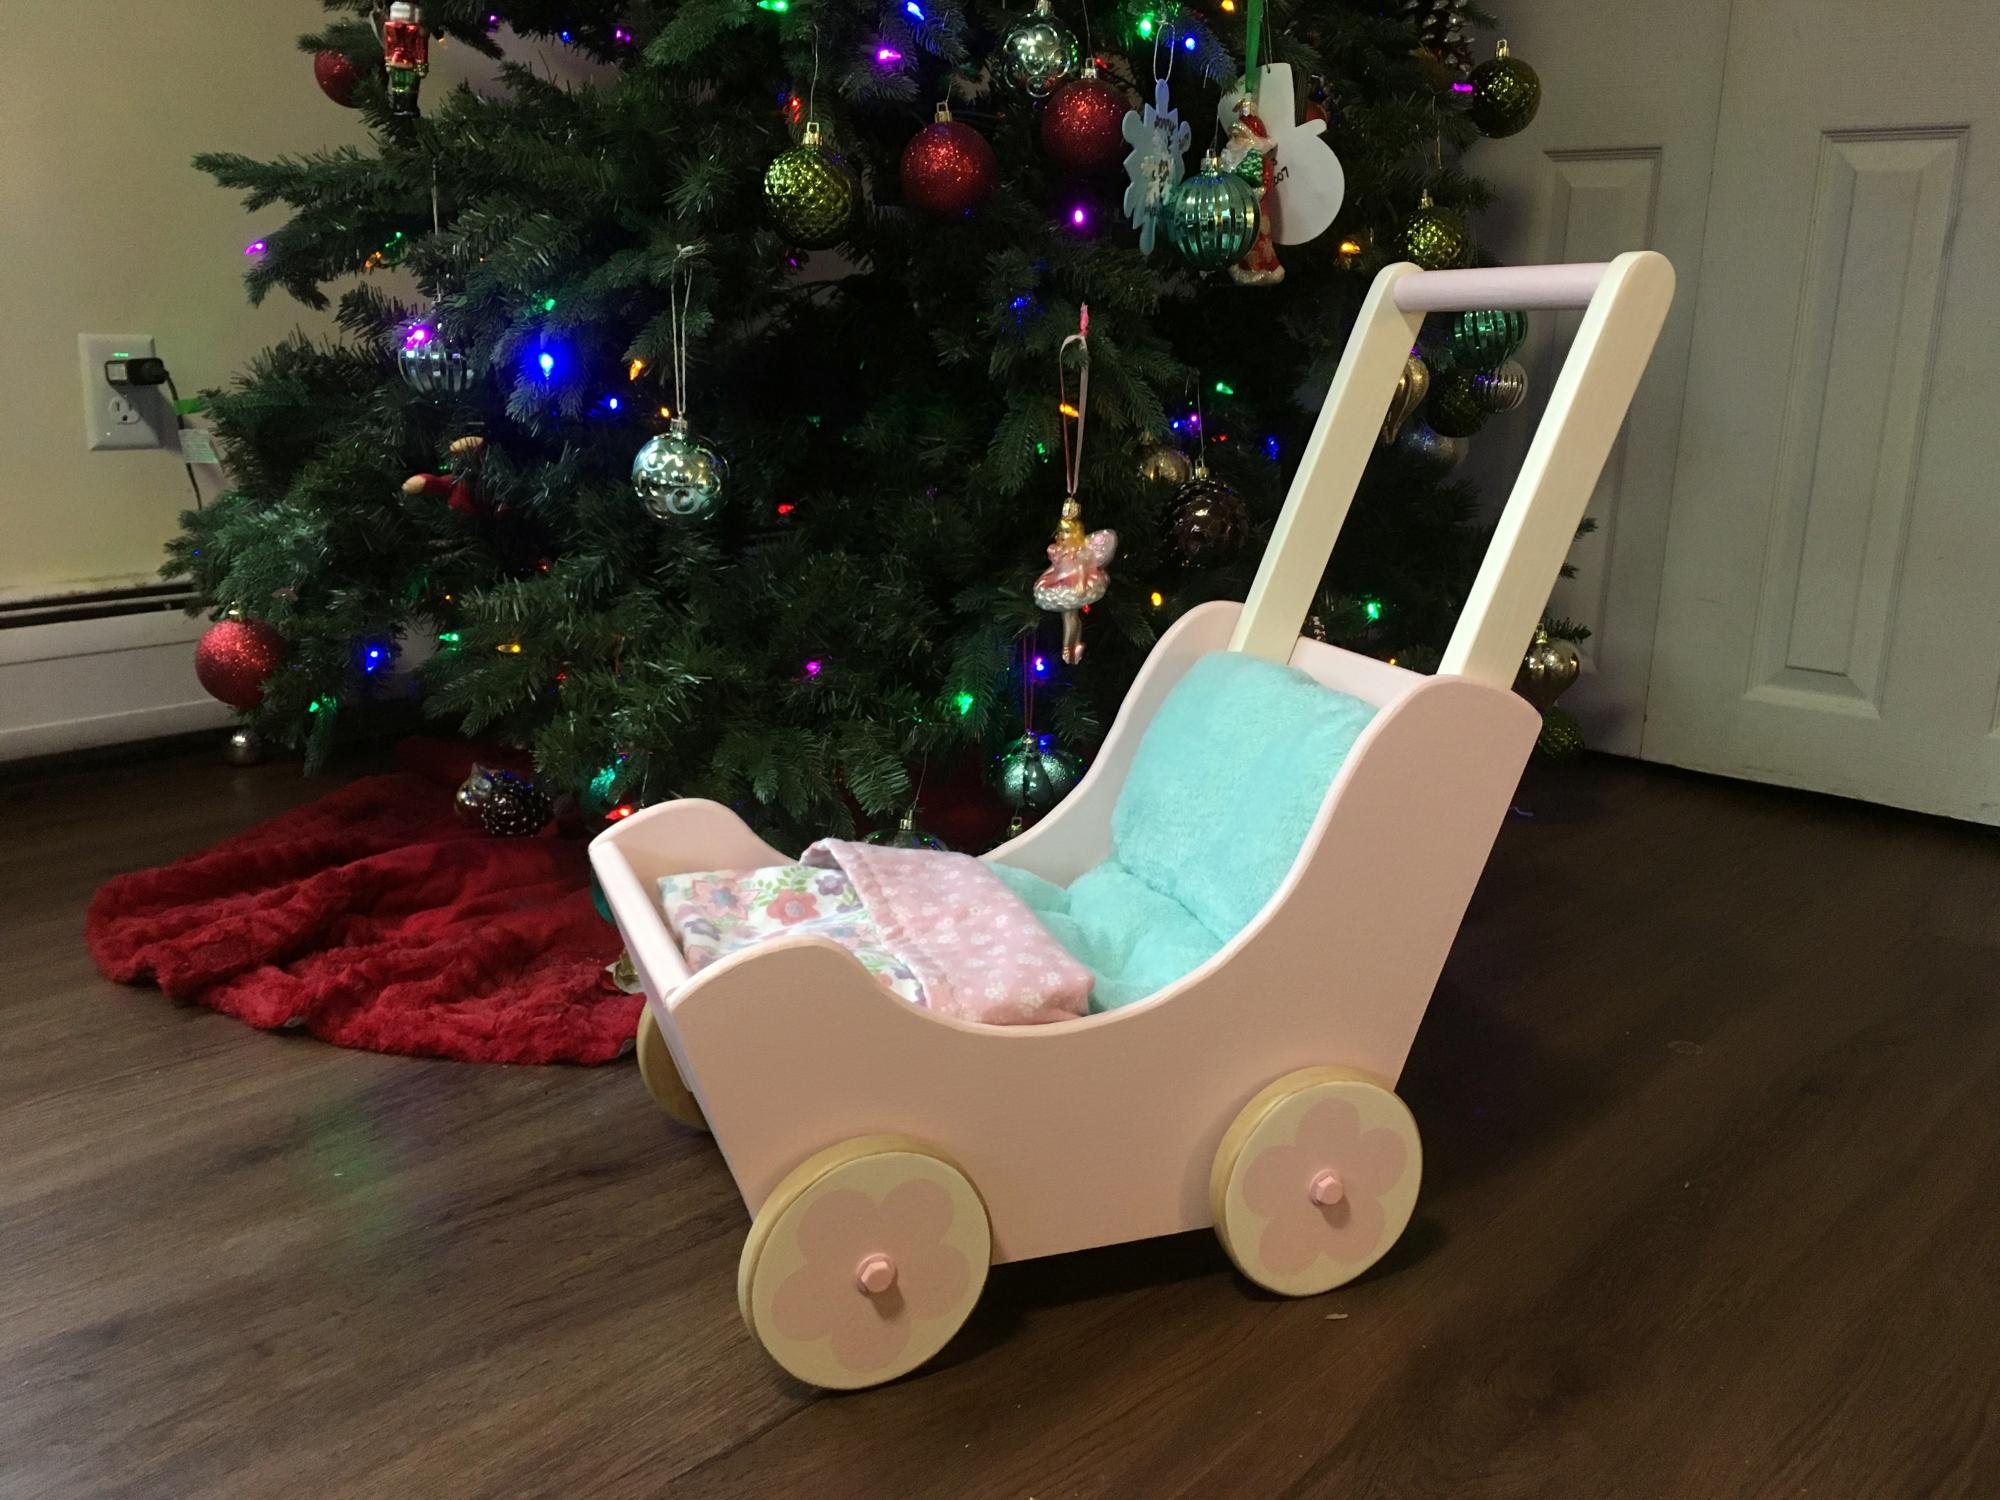
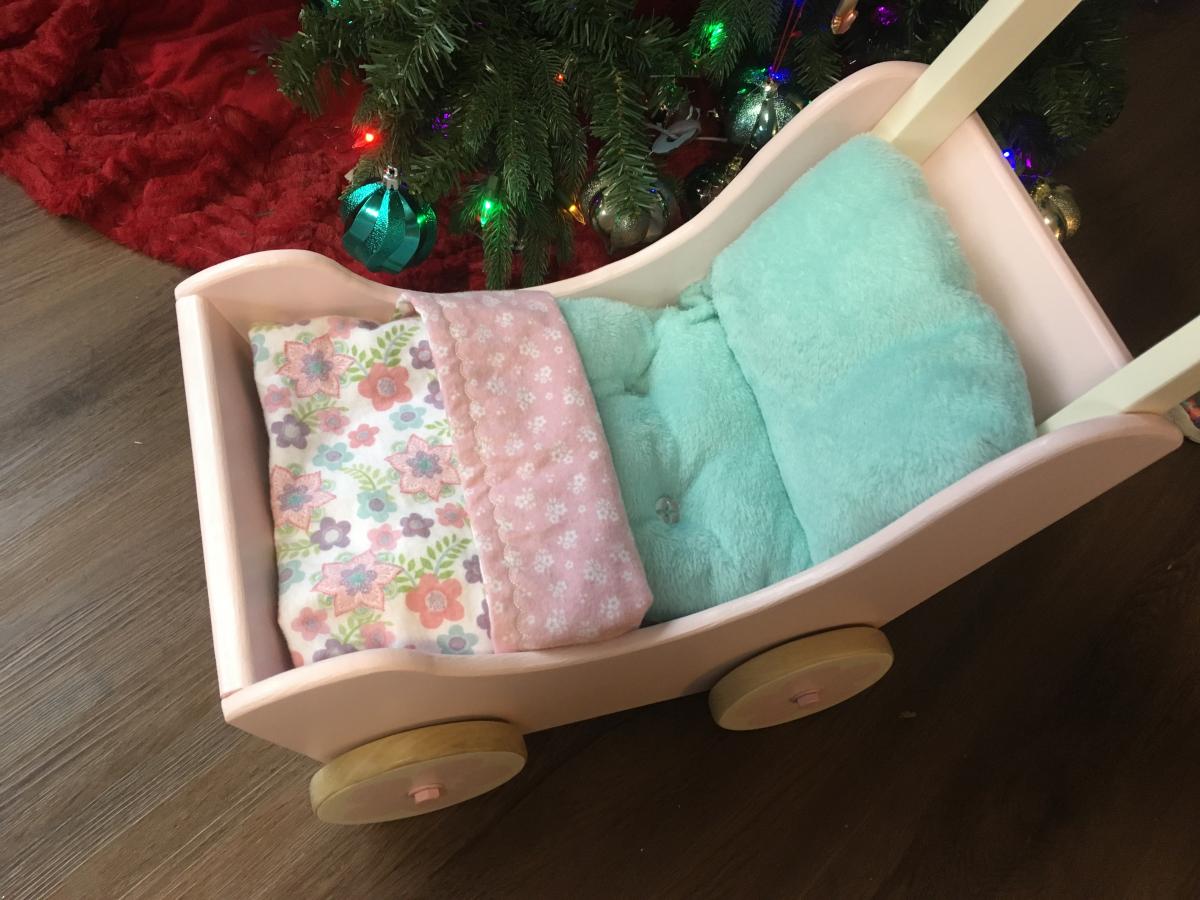
I made this stroller to donate to a charity fundraiser. I'm very pleased with how it turned out! I routered the edges with a small round over bit, which I think makes it a bit safer for little ones. I attached the 1x2's of the handle 3" above the stroller bottom, which gives it a height similar to other doll strollers. I also decide to change the way the wheels were attached. In the picture, the wheels are attached as the plan shows. I decided I would use (2) 3/8" metal rods as axles, washers for spacers, and an axle cap on each end. This works really well, and the axle caps look nicer than the painted bolts. Unfortunately, I donated the stroller without taking updated pictures!
More Photos and details: https://www.ana-white.com/community-projects/reclaimed-wood-headboard-q…
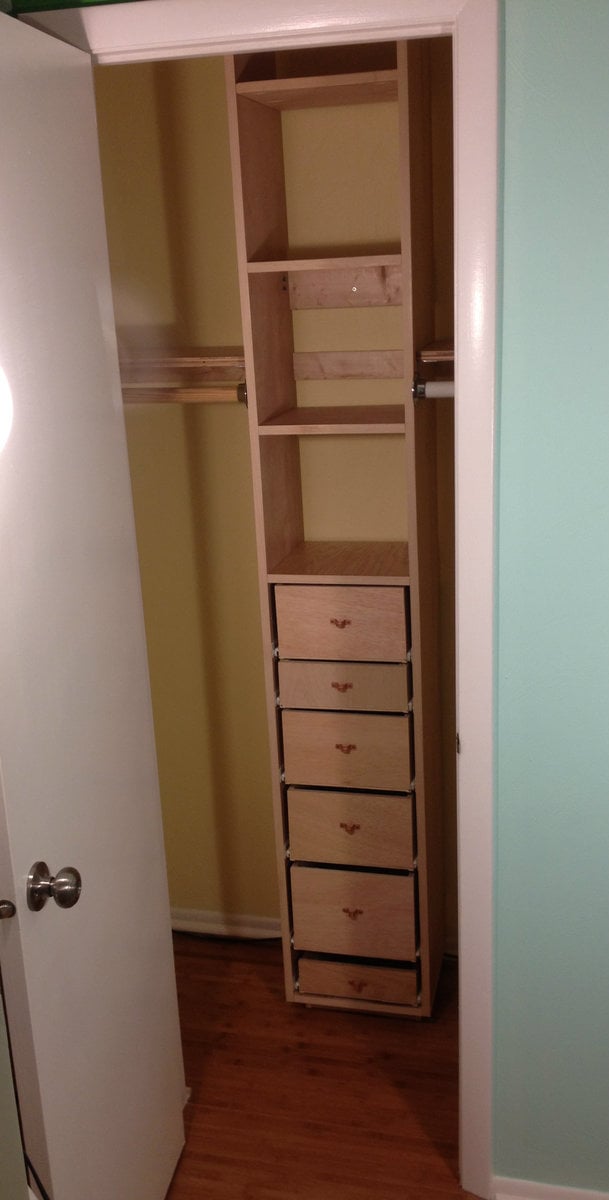
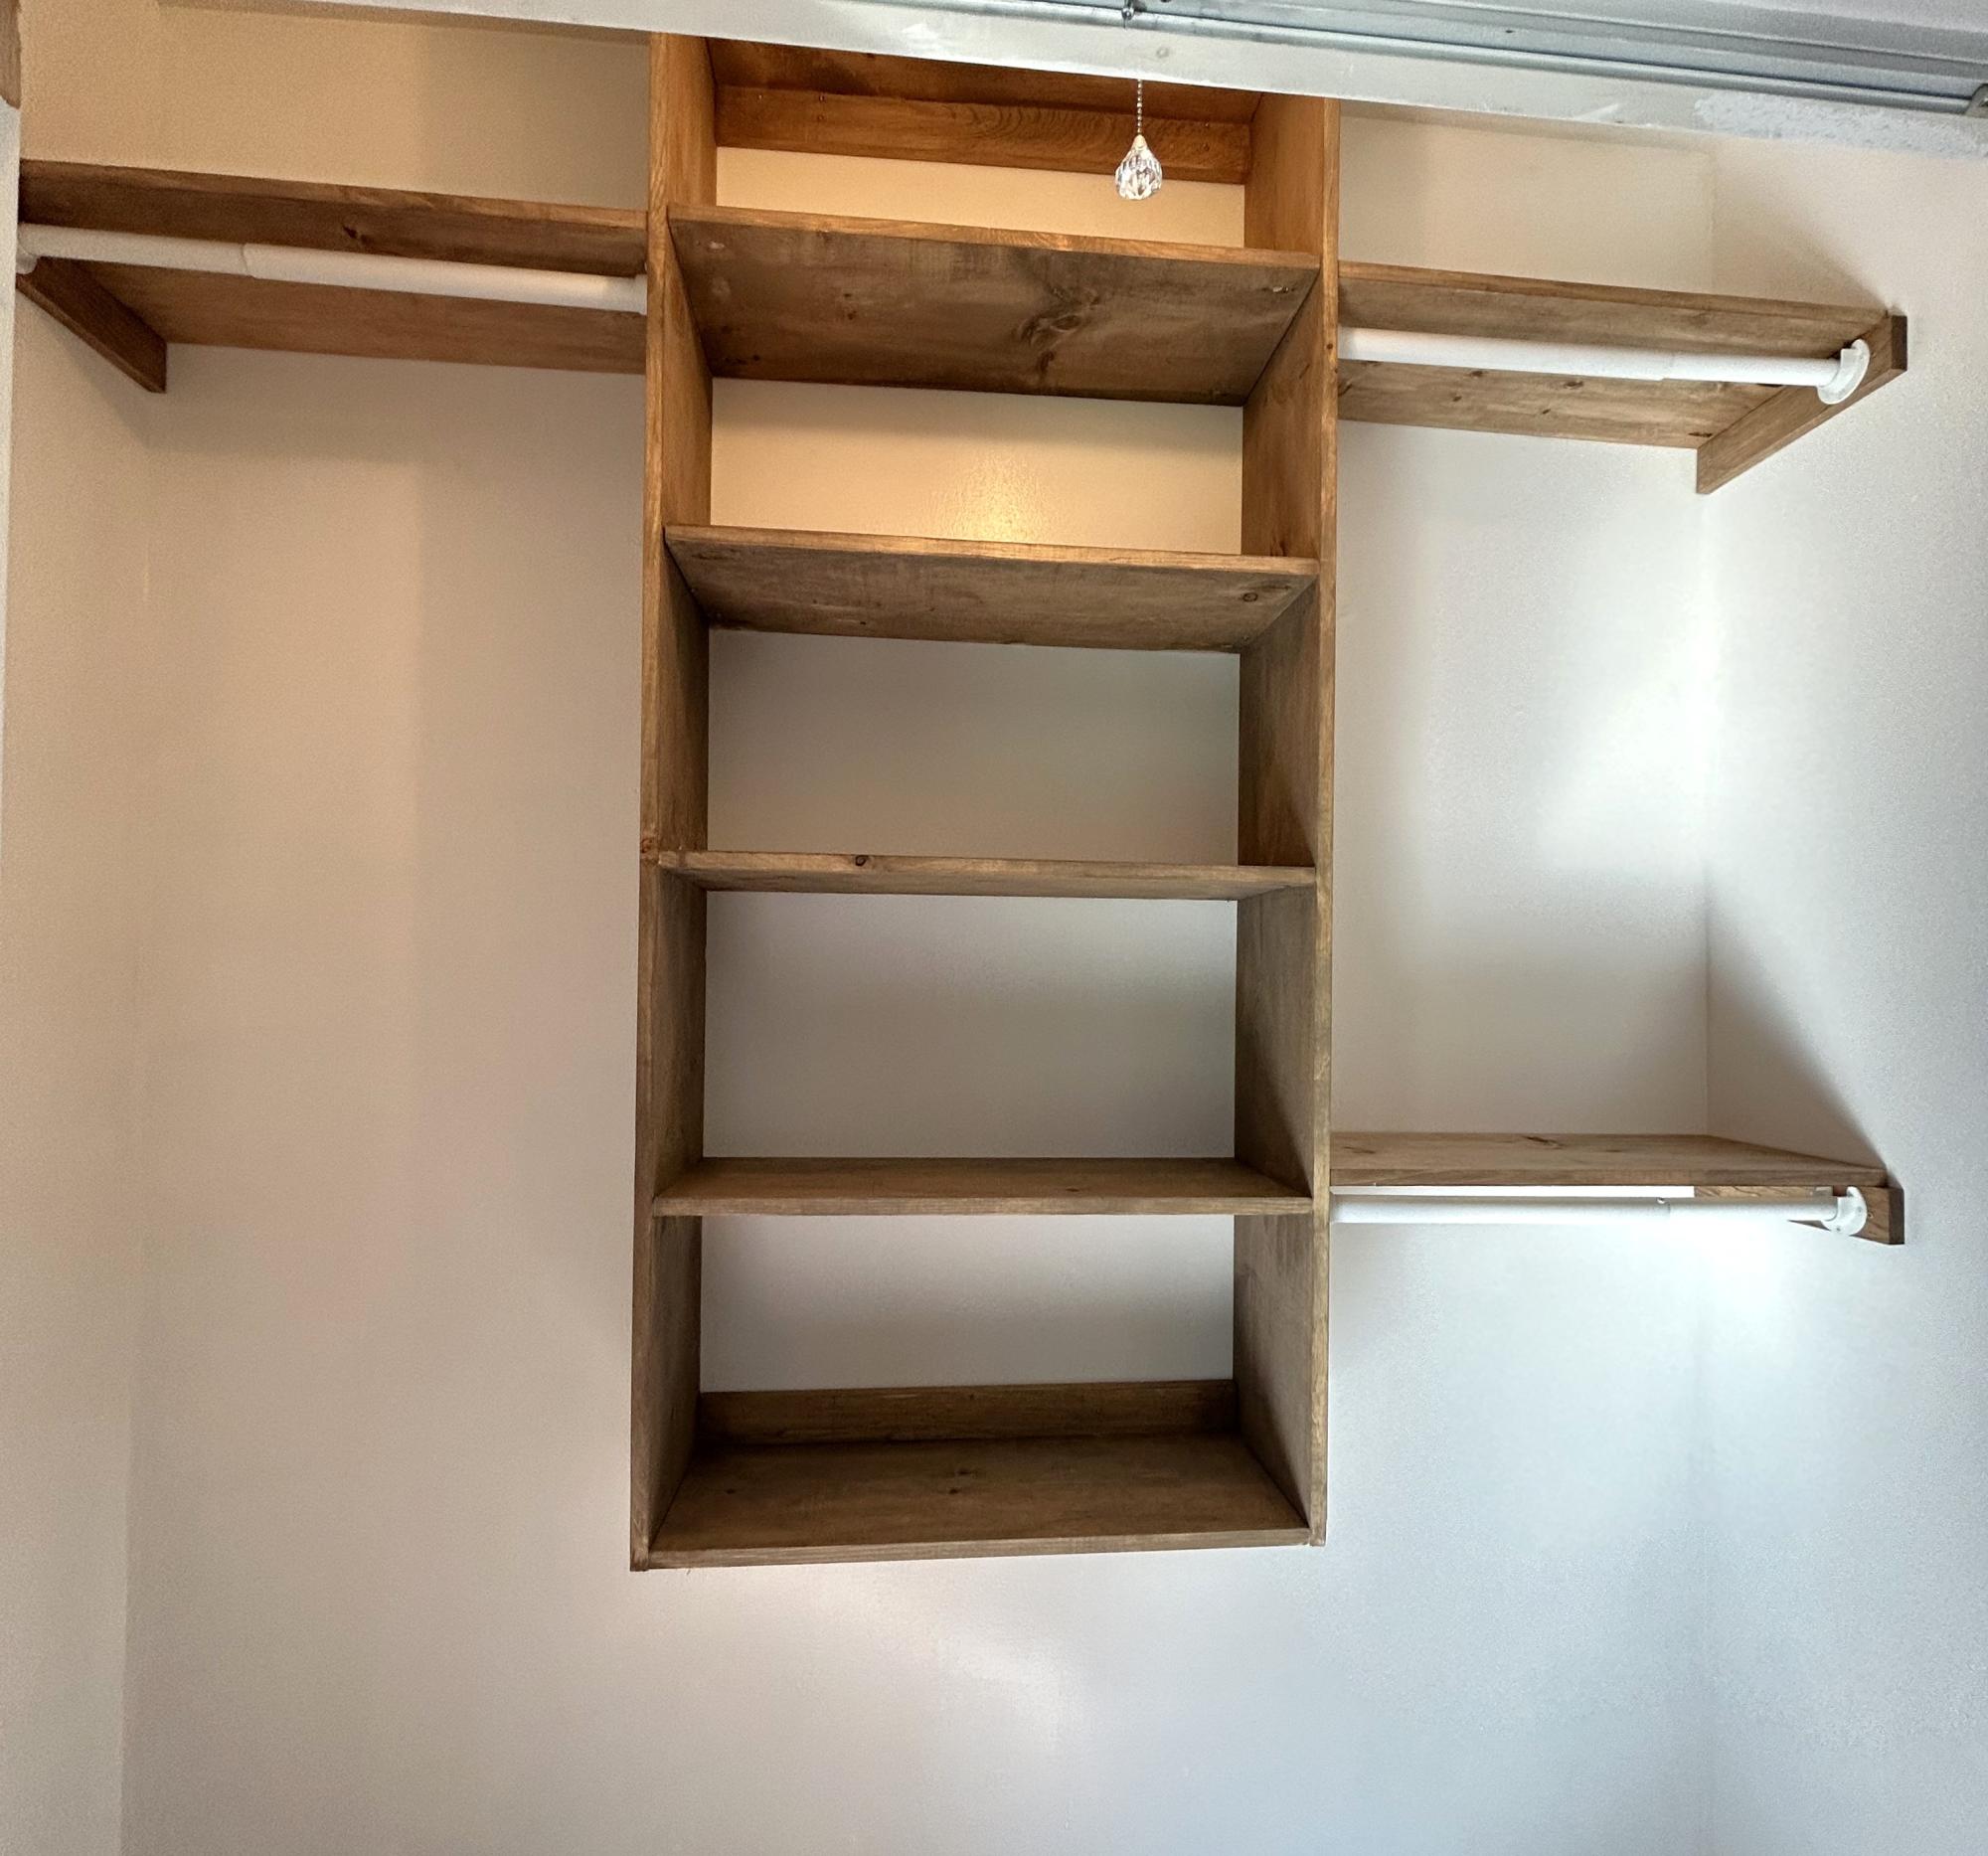
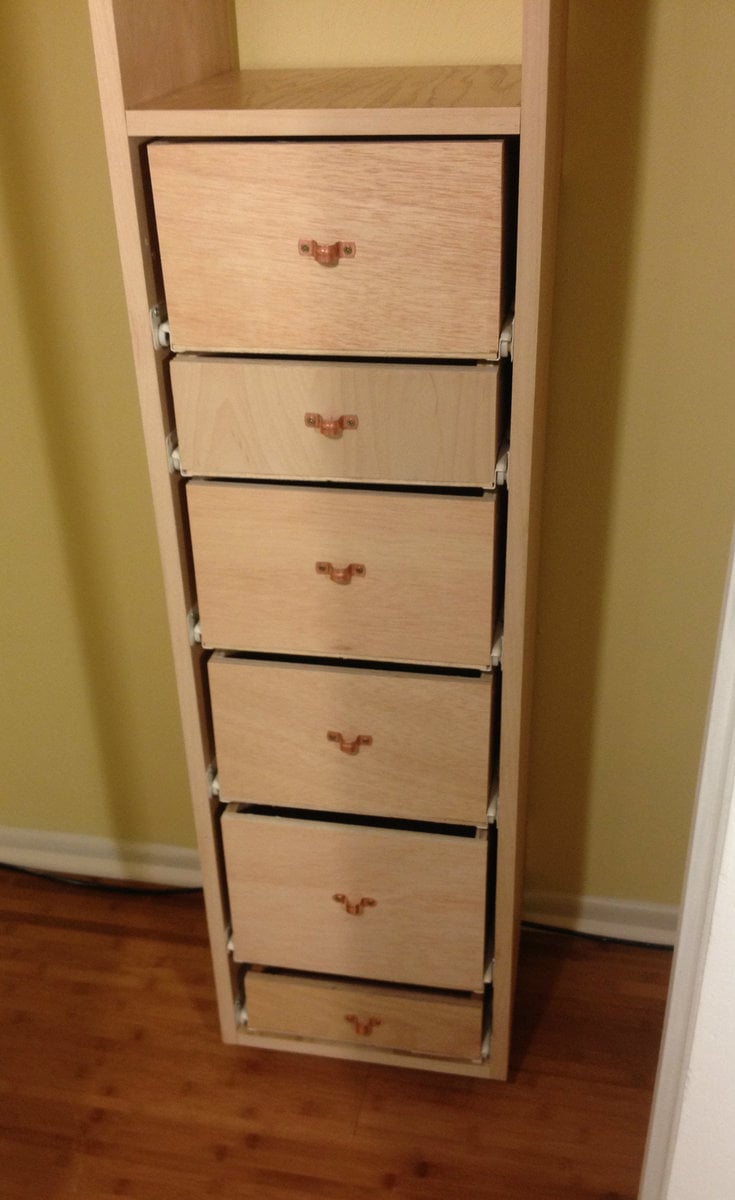
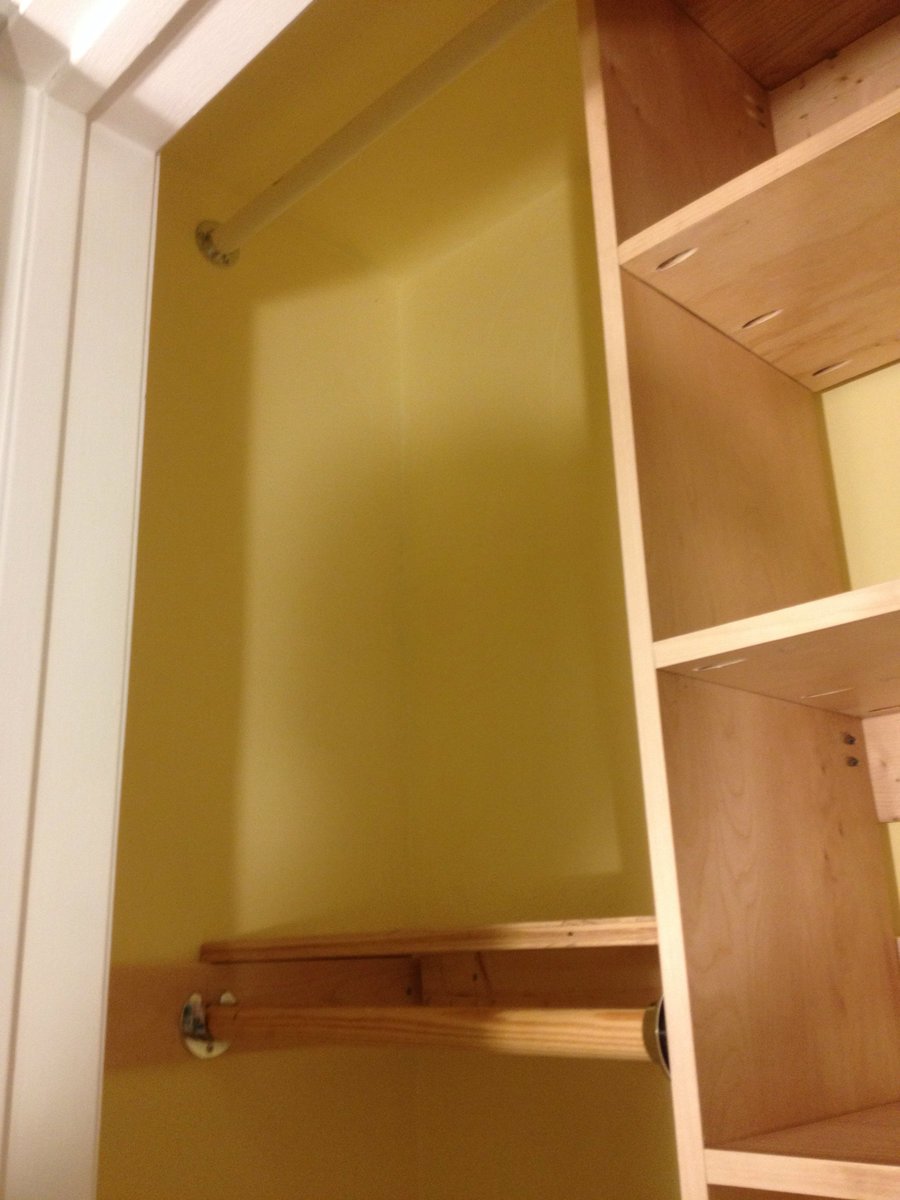
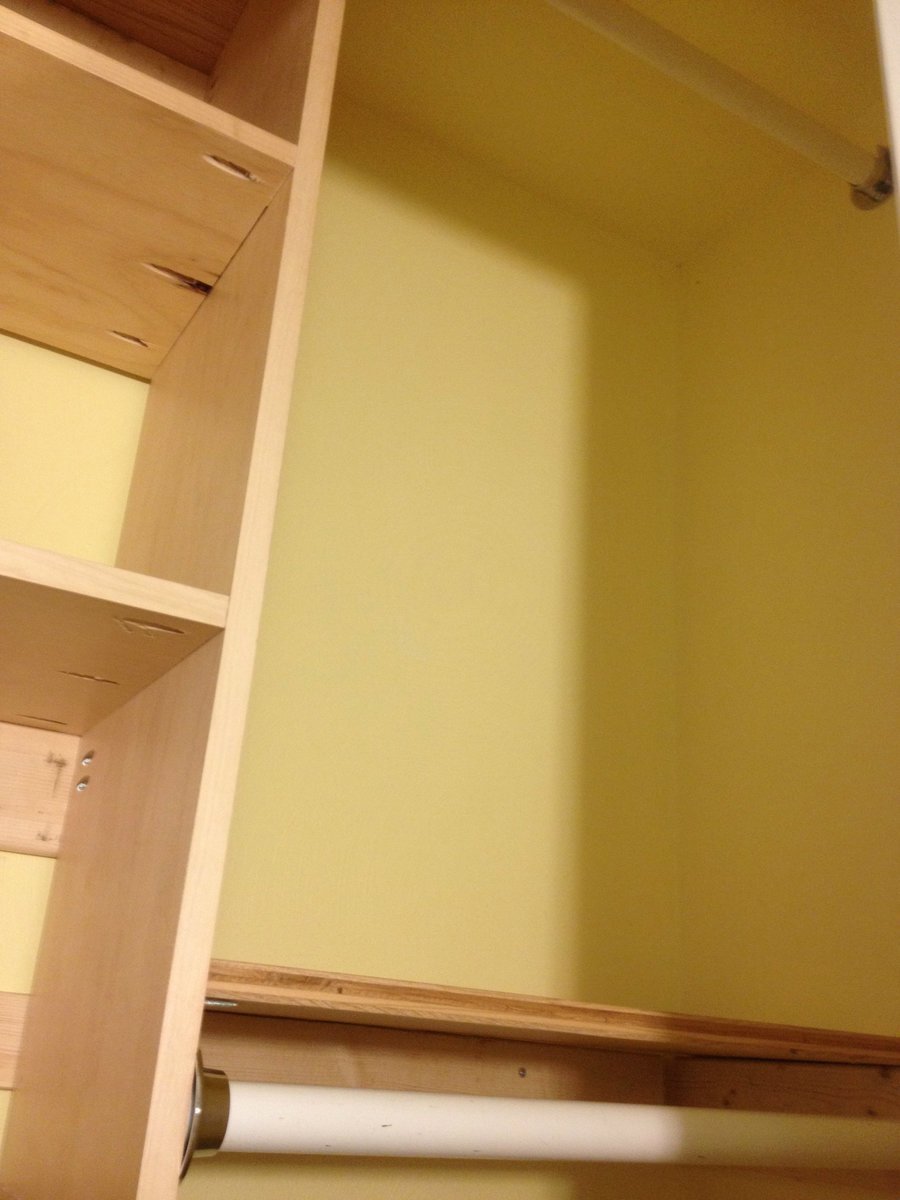
I needed some organization in my small closet, which originally only had one rod and one shelf. This is what resulted, and I made it from scraps from other projects, which is why the closet rods are mismatched...they'll be covered up with clothes hangers soon anyway. I had to buy the drawer slides and one more set of closet rod holders. I had some copper pipe straps and decided to use them as pulls on the drawers. I plan to make some crates out of cedar fence pickets to fit the shelves.
I just got the Kreg Micro Jig and used it on the drawers, which were made out of 1/2" plywood. I prefer to make drawers by using the table saw to create overlap rabbets and then use the nail gun to put them together, but it was 15 degrees outside today so I opted for the micro drill. It went pretty well...definitely caused less splitting in the 1/2" plywood than the regular kreg jig.
Fri, 08/22/2014 - 21:34
I just wanted to give you props on your organizer! It's so cool! I love the drawers and are those casters on the bottom? I looked at yours before I did mine and your comments helped!Thanks for posting this!
Wed, 08/27/2014 - 16:43
I love projects made from scraps - yours is awesome! You did a great job on all those drawers, and the idea to use the copper pipe straps as drawer pulls is so creative!

My son is obsessed with Pokemon, and has amassed quite the collection of Pokemon plush toys. I wanted a simple way to keep them contained but accessible, and this was the perfect solution! I changed a few things in my build to make it shorter and square, and used shock cord instead of rope for more give. My son loves it!
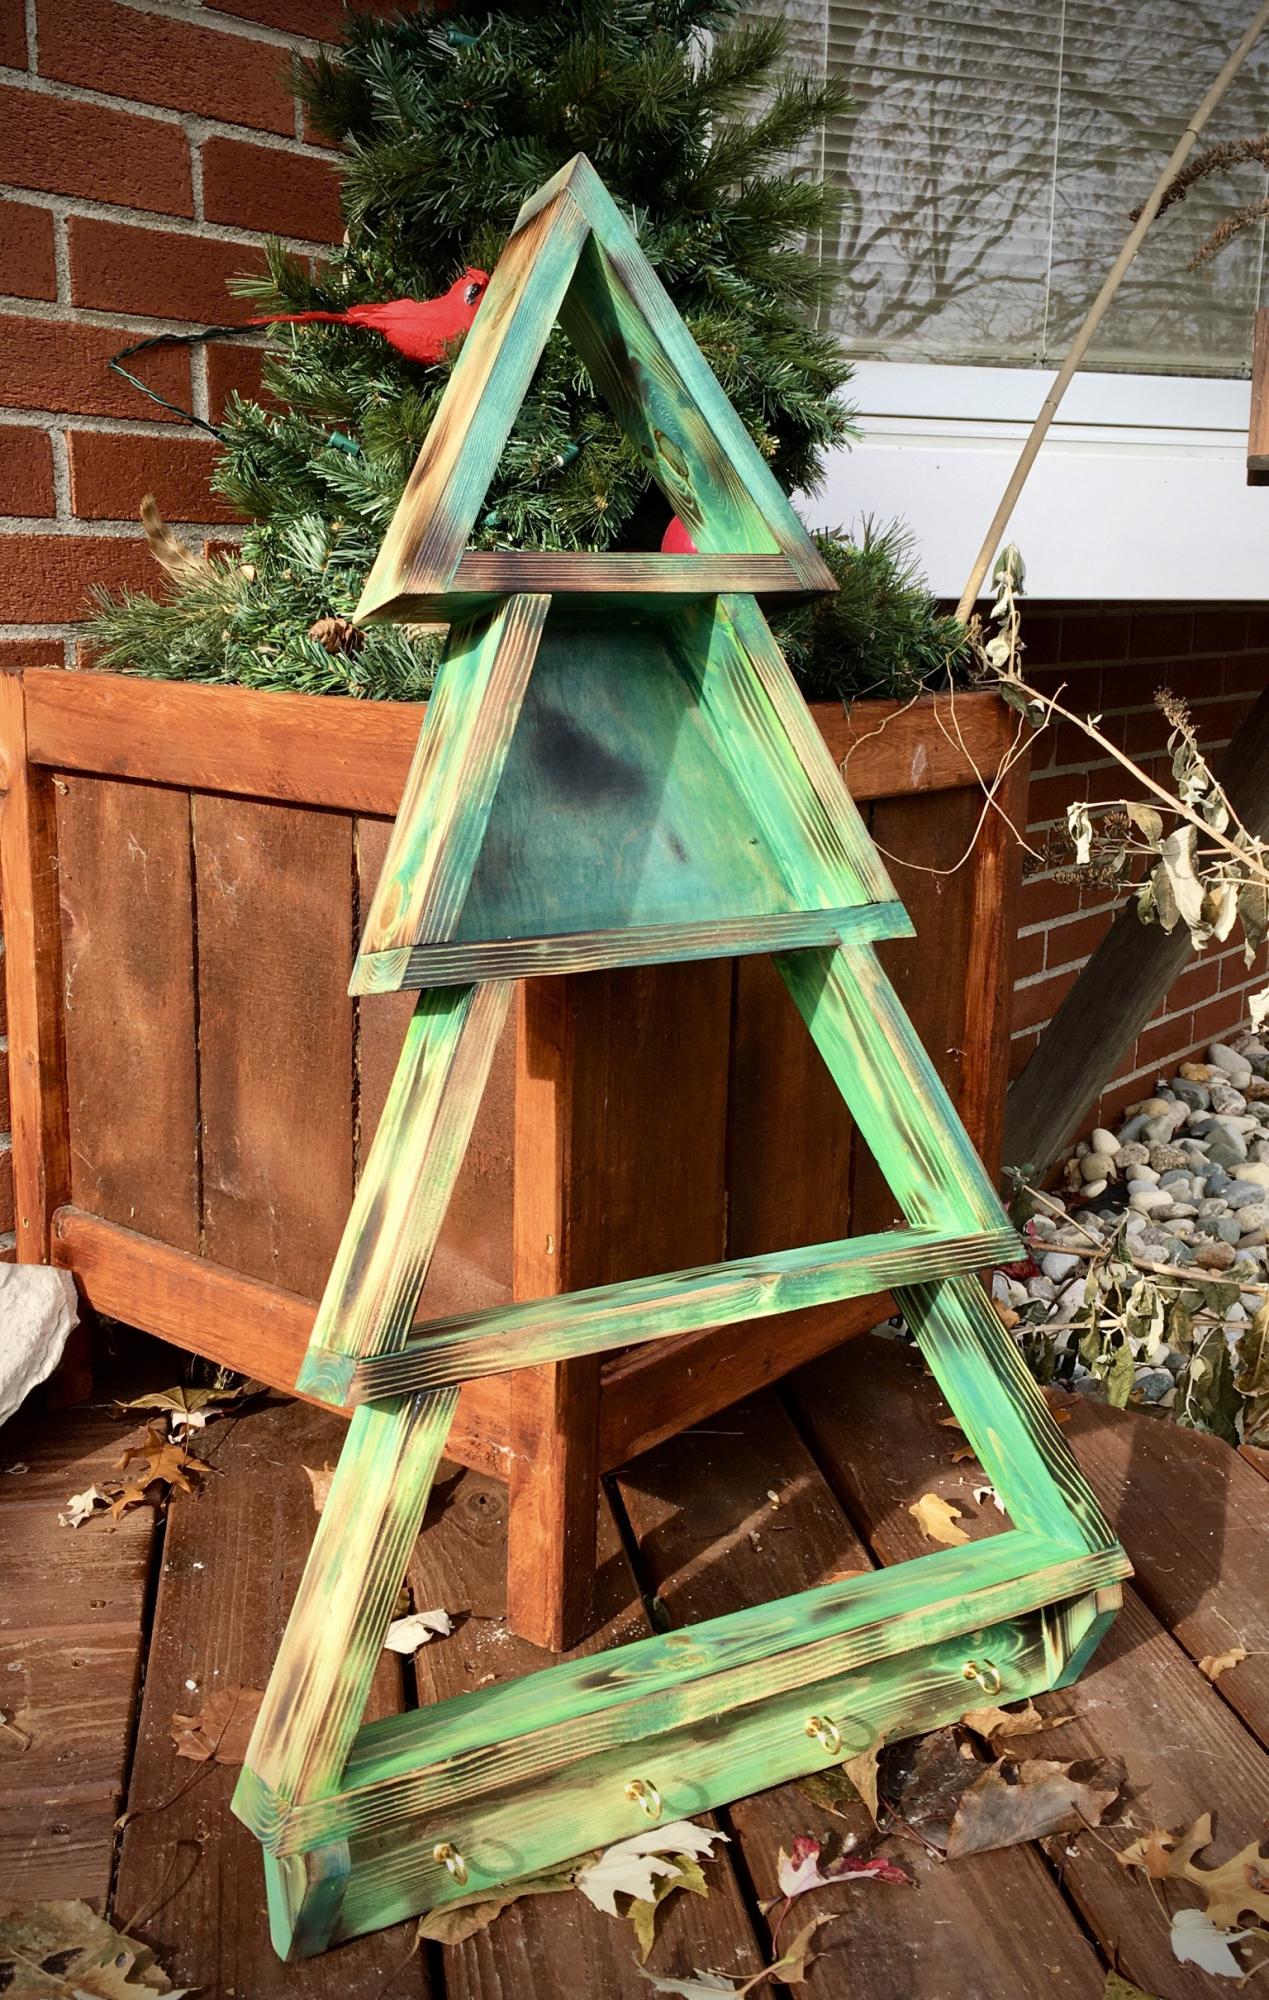
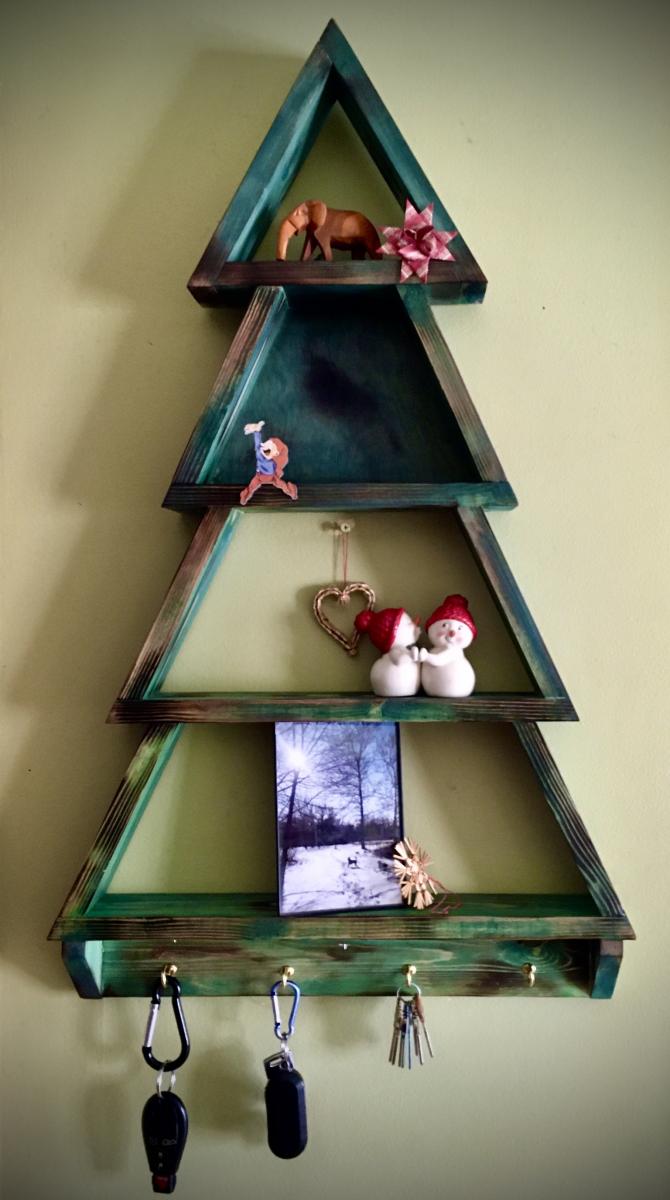
Modified the plans slightly to make each shelf taller. Stained and used a heat torch for the burnished effect. I like it!
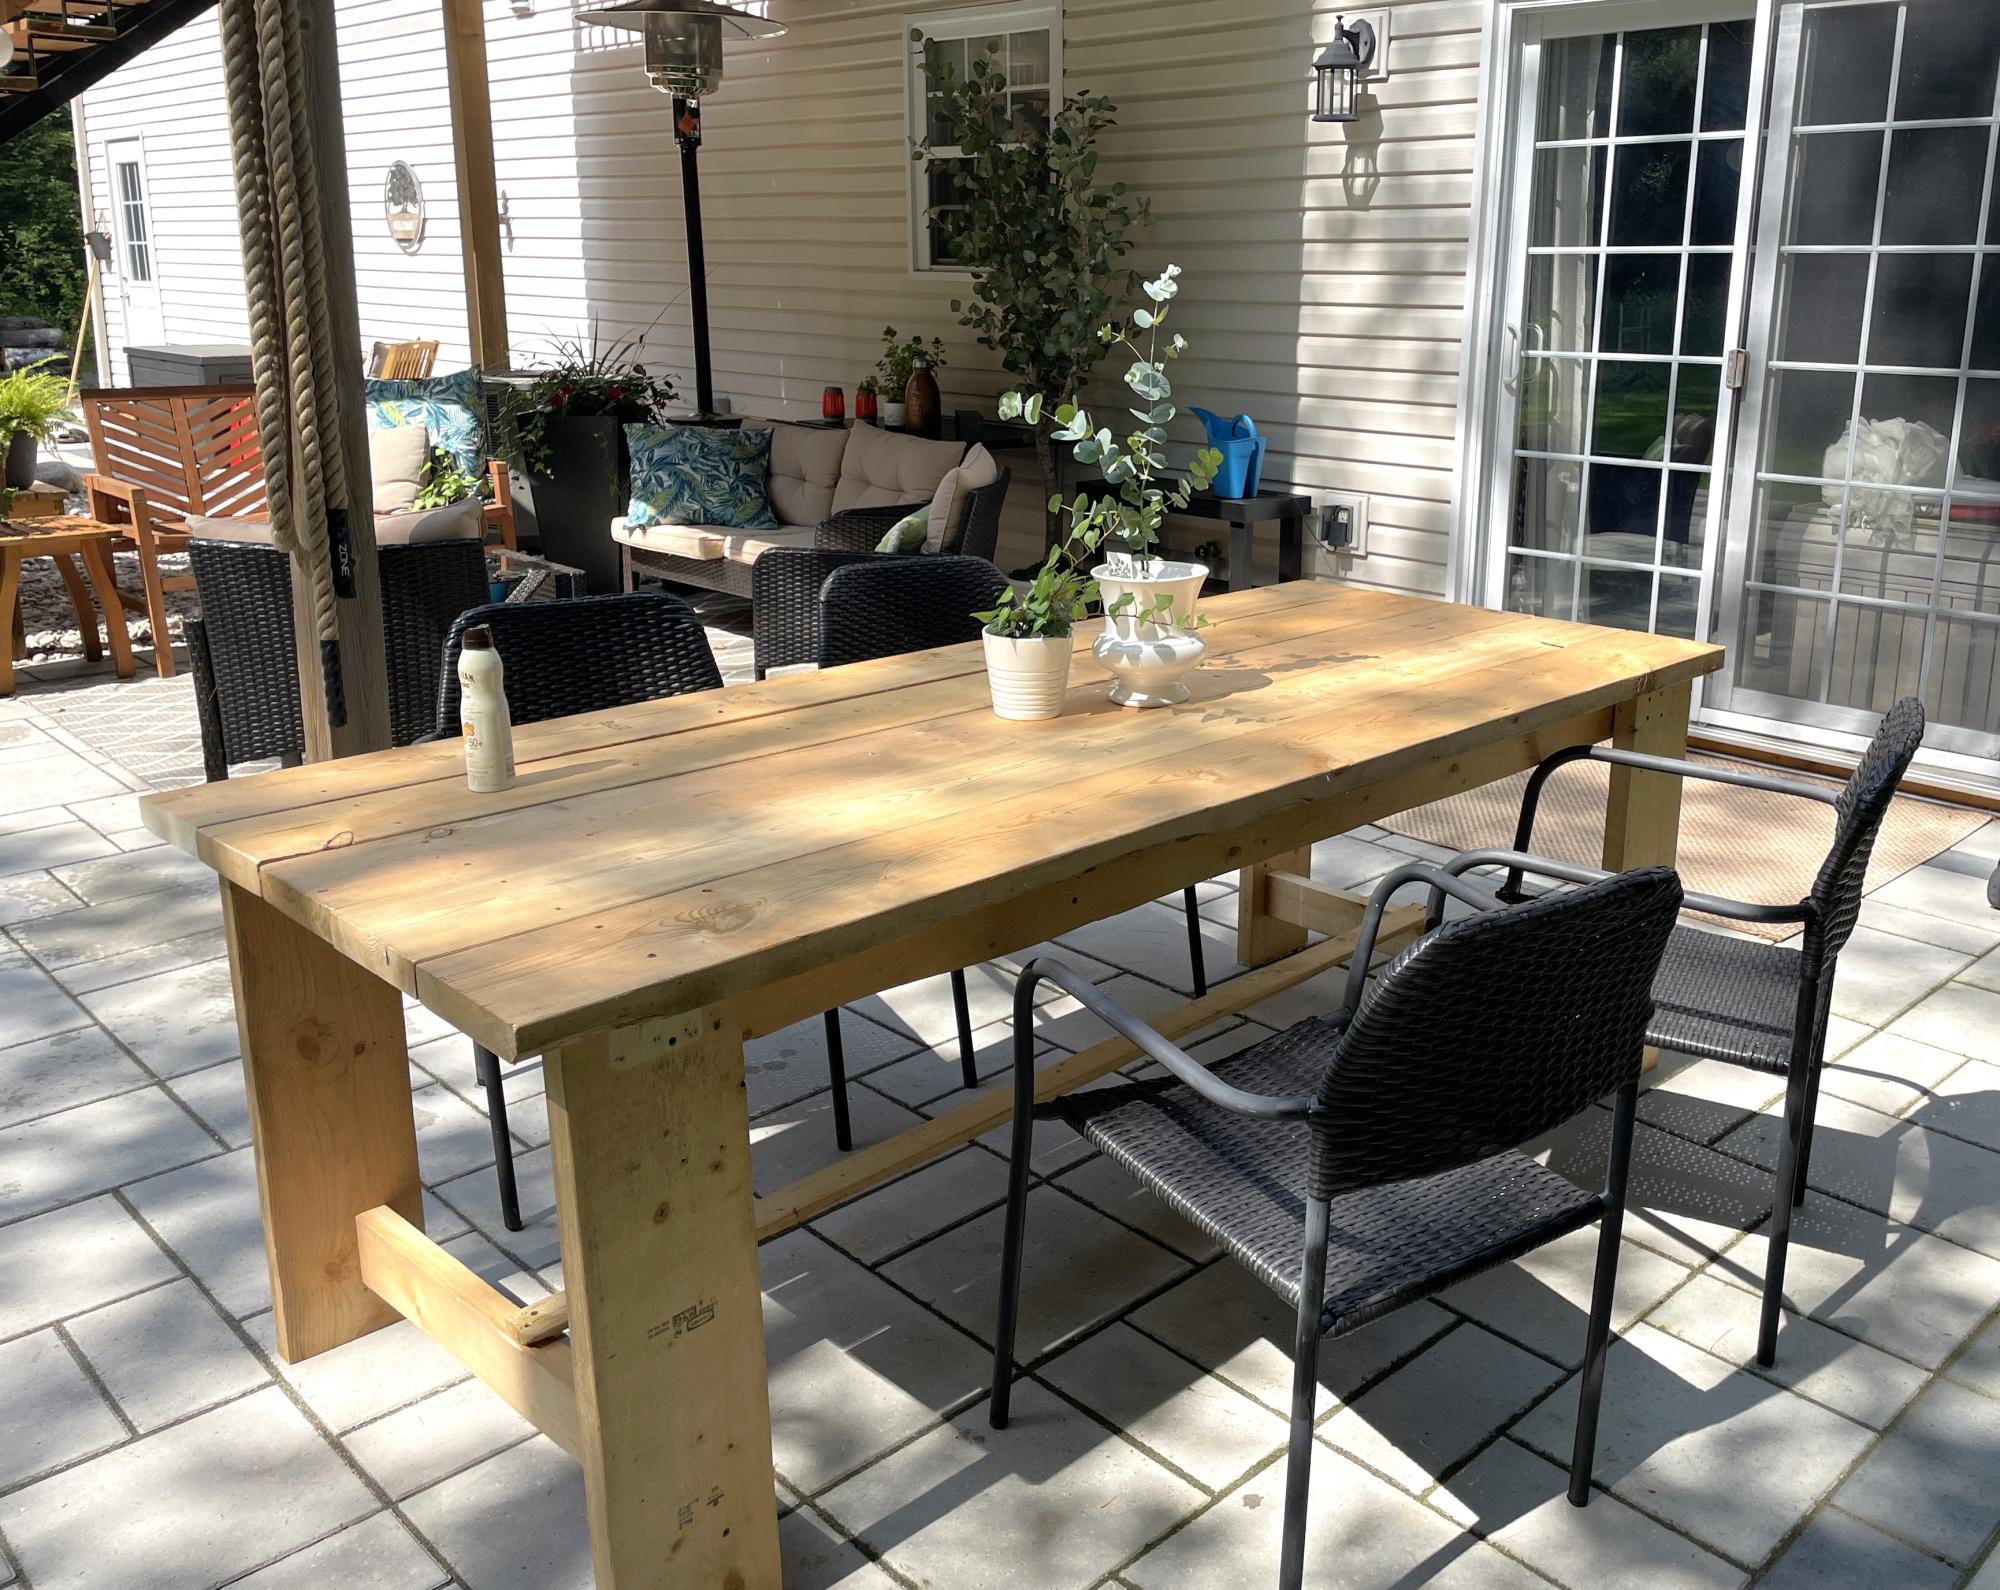
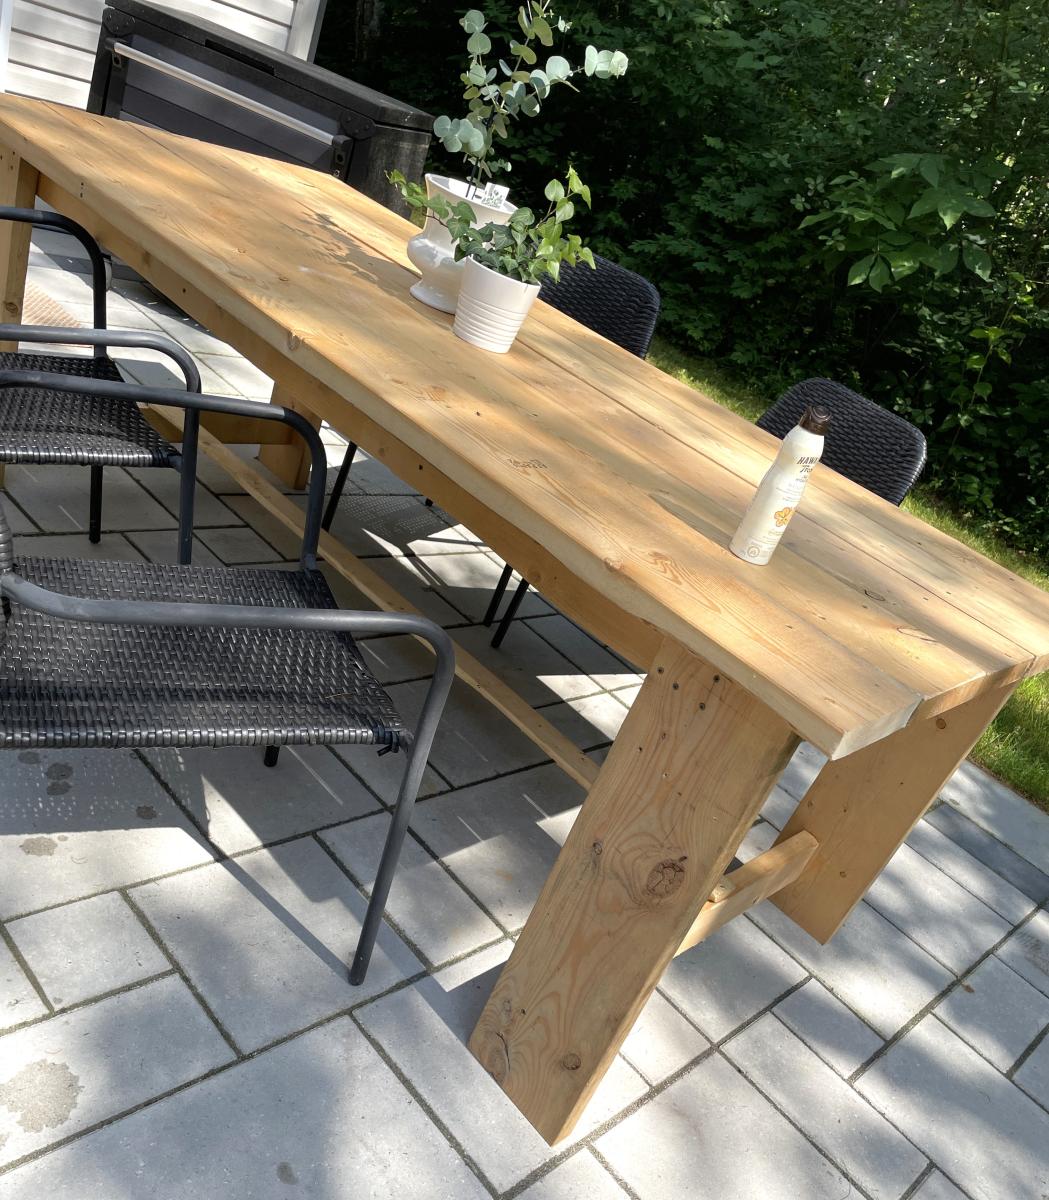
I decided to build a table and followed your plans (loosely). You inspired me and now love my outdoor harvest table.
Amanda www.nurtureyourbeauty.ca :)
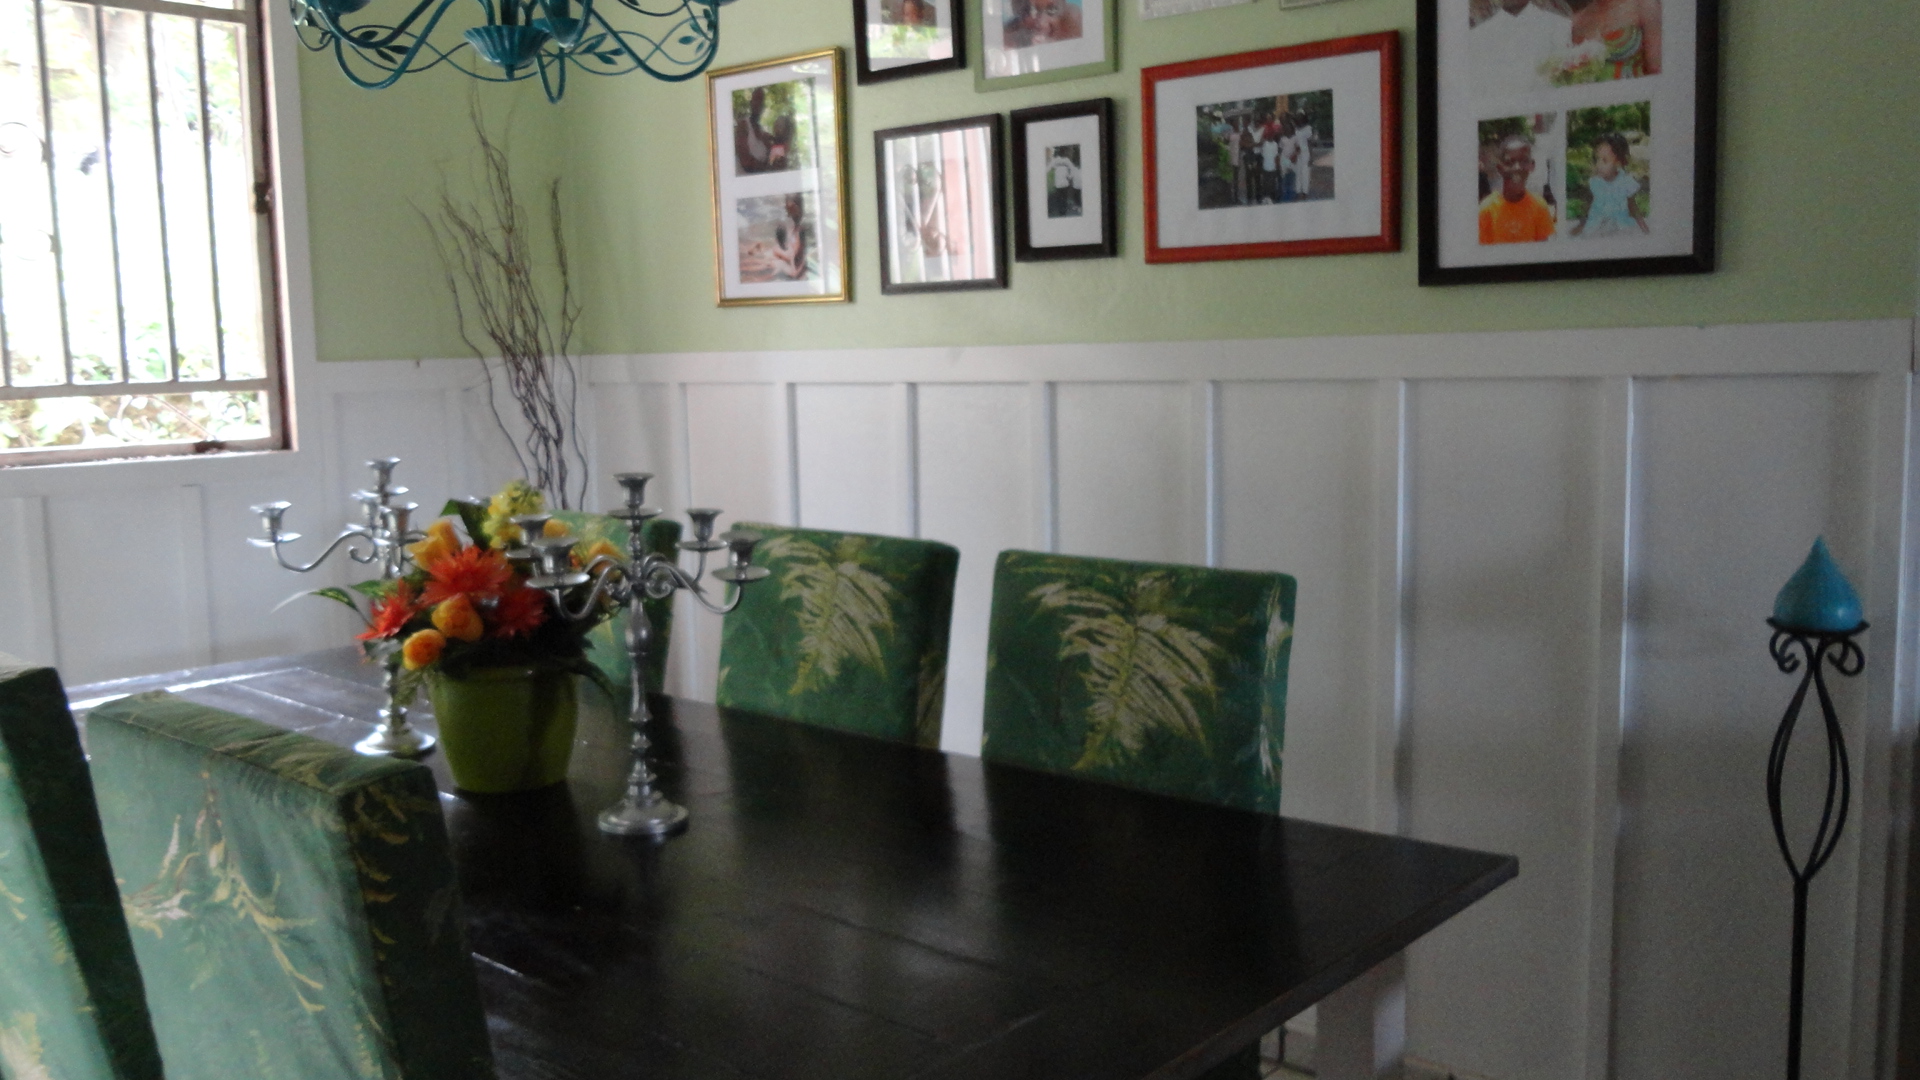
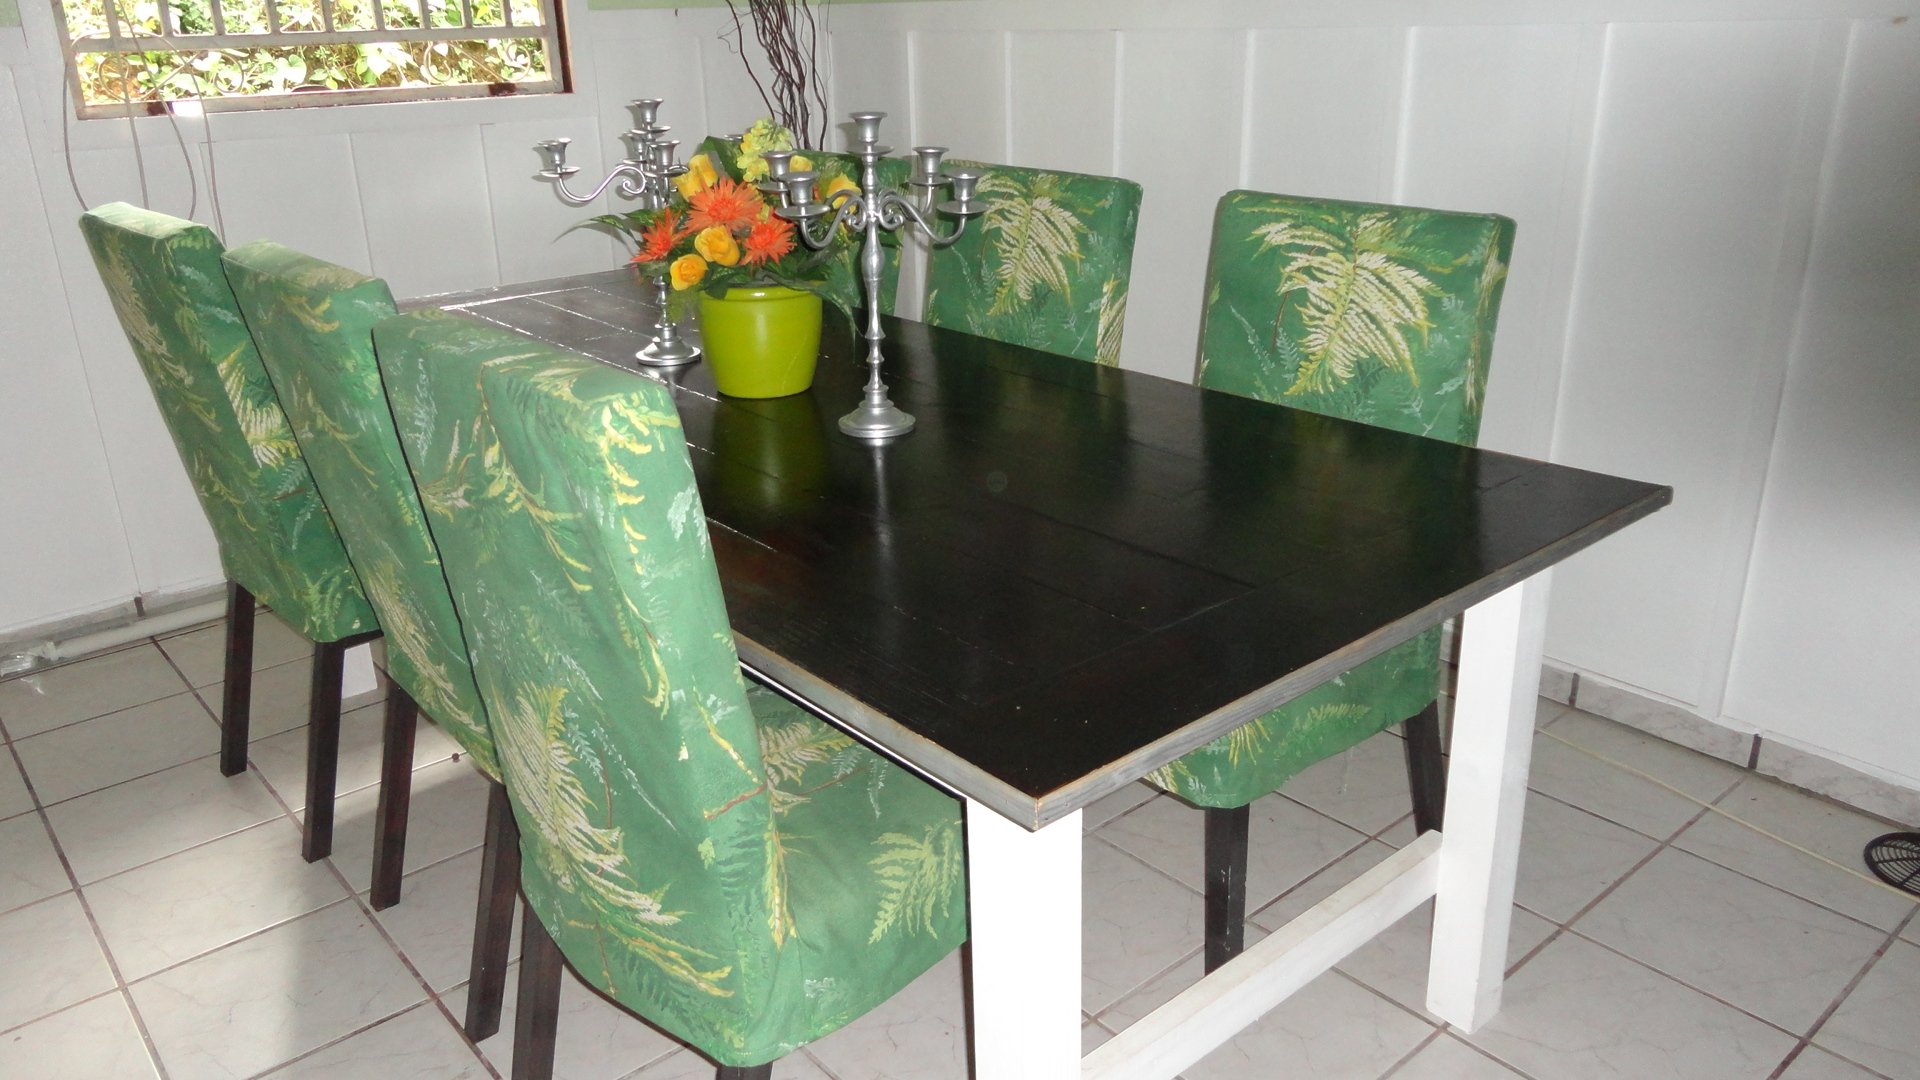
New dining room with a board and batten, farmhouse table and six parson chairs.
Thanks Ana!
Mon, 03/19/2012 - 18:15
This room is absolutely gorgeous! You did an awesome job- love all the finishes and colors, and the fantastic chairs!

Tue, 03/20/2012 - 23:19
Agreed! Huge accomplishment! I can't believe you made 6 chairs! And they all look so nice and well made! Thanks for sharing, it's a lovely room!

Wed, 03/21/2012 - 01:54
I love the painted chandelier! This is a cool room, and you made the whole thing. wow.
Wed, 03/21/2012 - 09:16
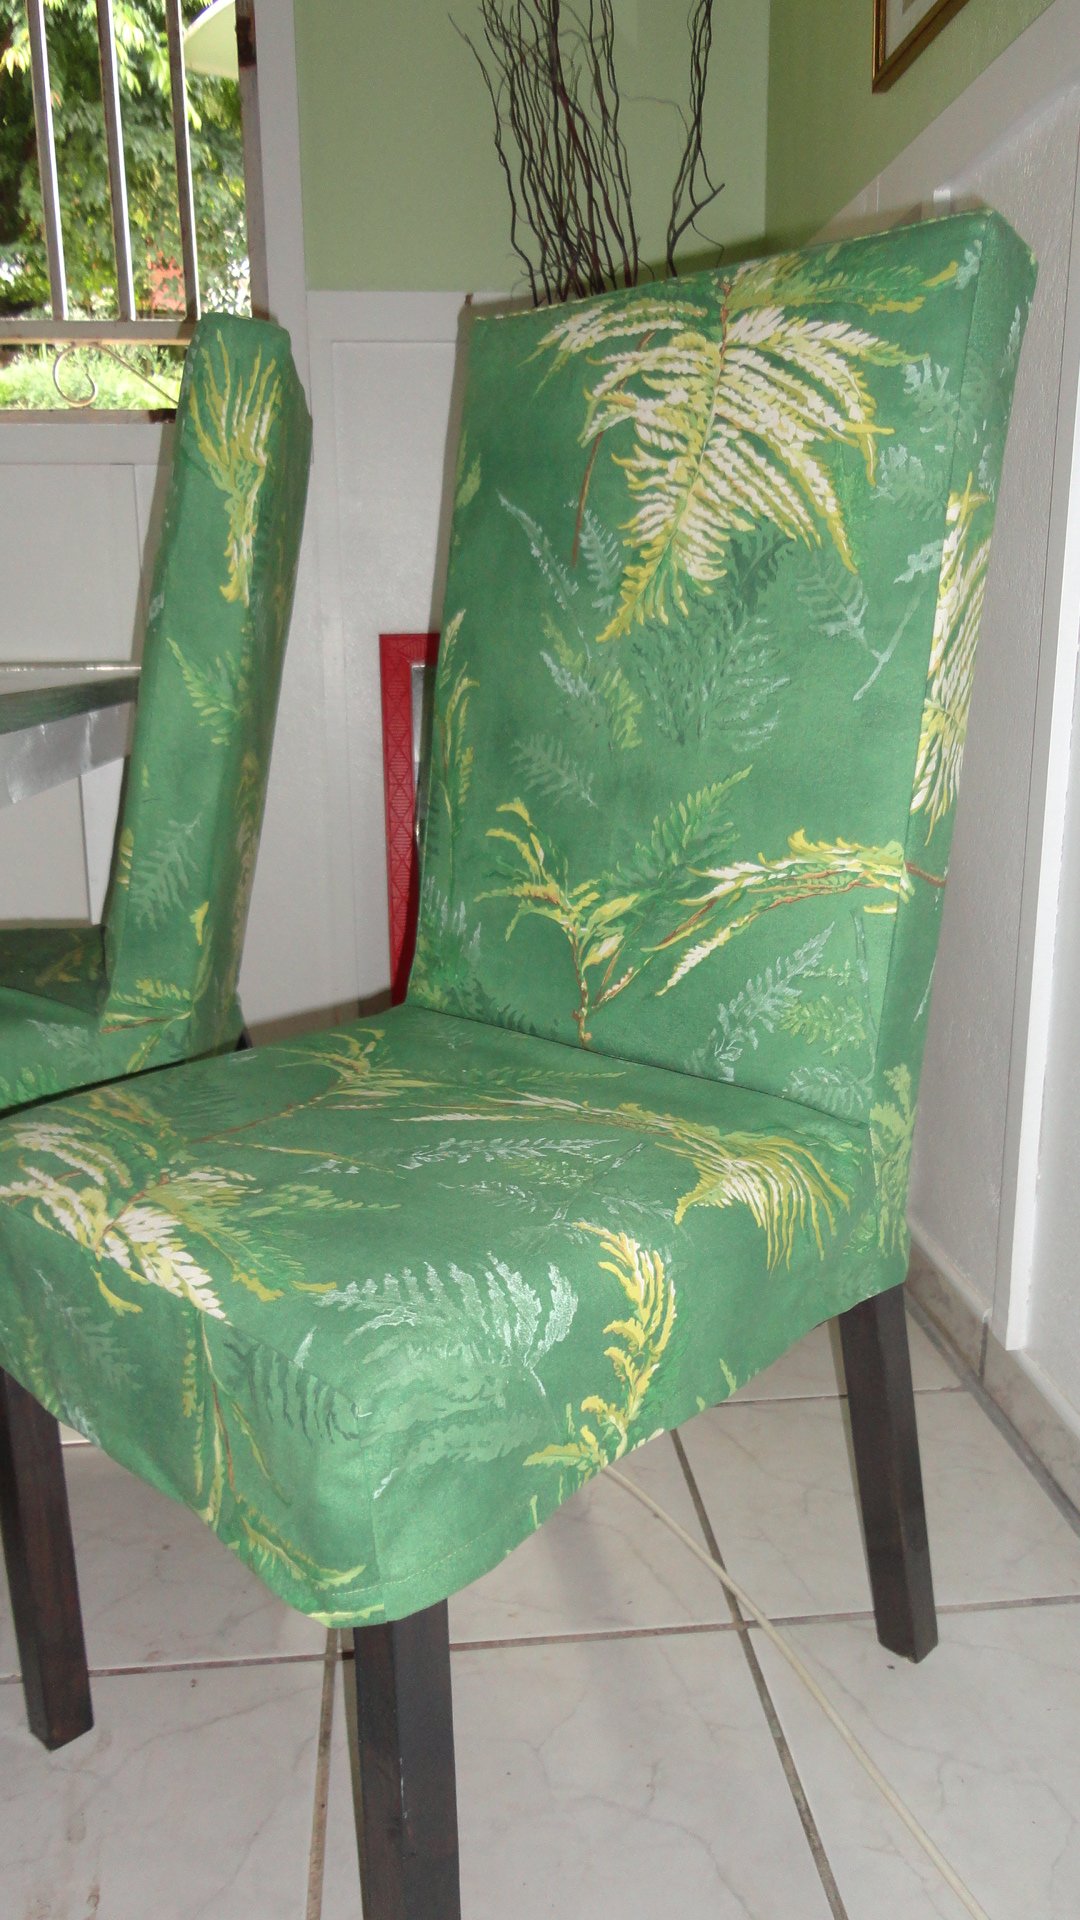
Thank you for all these compliments. I don't speak English very well because I'm french but I will try to make me understand. I built a chair with the modifications to see the result, then, I made all the cuttings with my miter saw for the 5 other chairs, then I made every chair within half an hour. I cut all that it was necessary foam and fabric in one step and I sewed everything for covers. To make covers, I made a paper pattern, then I sewed them in 10 minutes.
I am very happy I found this site with all that wonderful projects. It's my favorite site . Thank you Ana, you changed my life!
Thu, 12/13/2012 - 17:48
The covers of the chairs come out. I used ana's plan to make chairs and covers. I modified the cover's plan to fit the chairs because I made them taller. It is very practical because I have a four-year-old girl even if I have no cat and no dog =)
http://ana-white.com/2010/11/plans/drop-cloth-parson-chair-slipcovers
Thu, 07/18/2013 - 12:37
I love your chairs and especially like the extra height. How tall did you make the backs of the chairs?