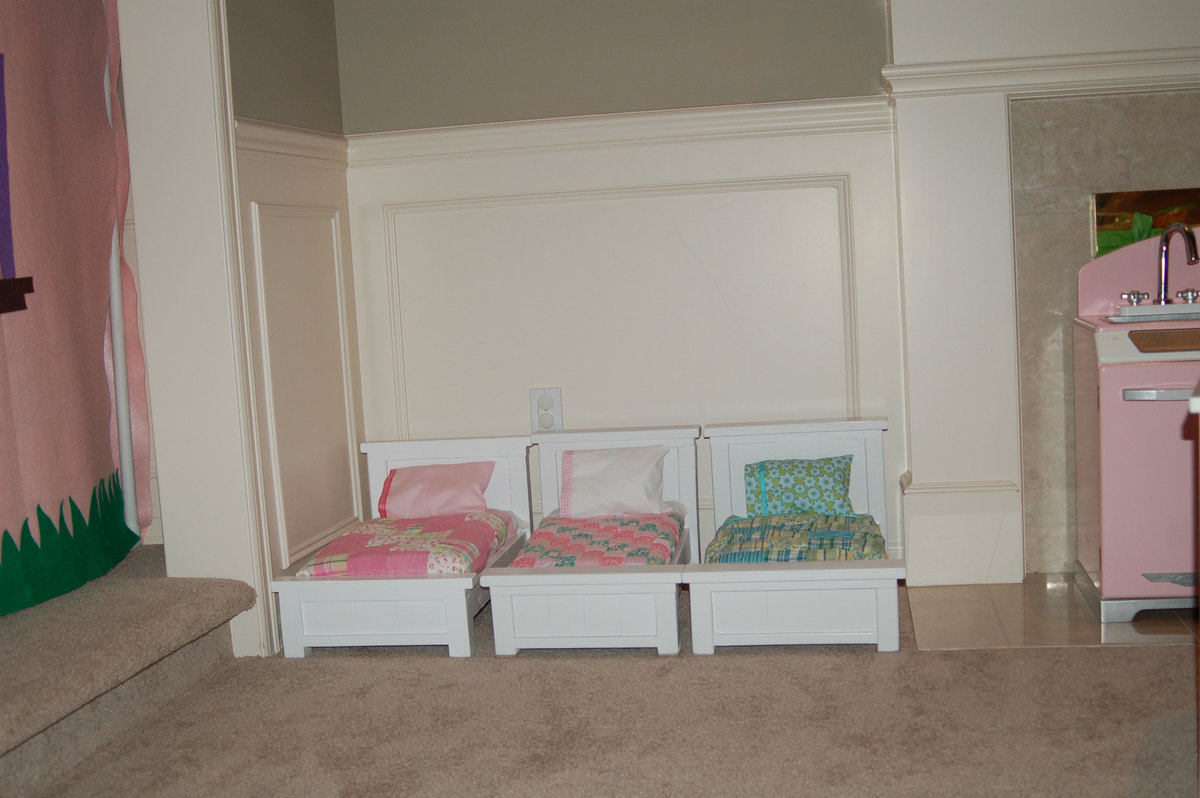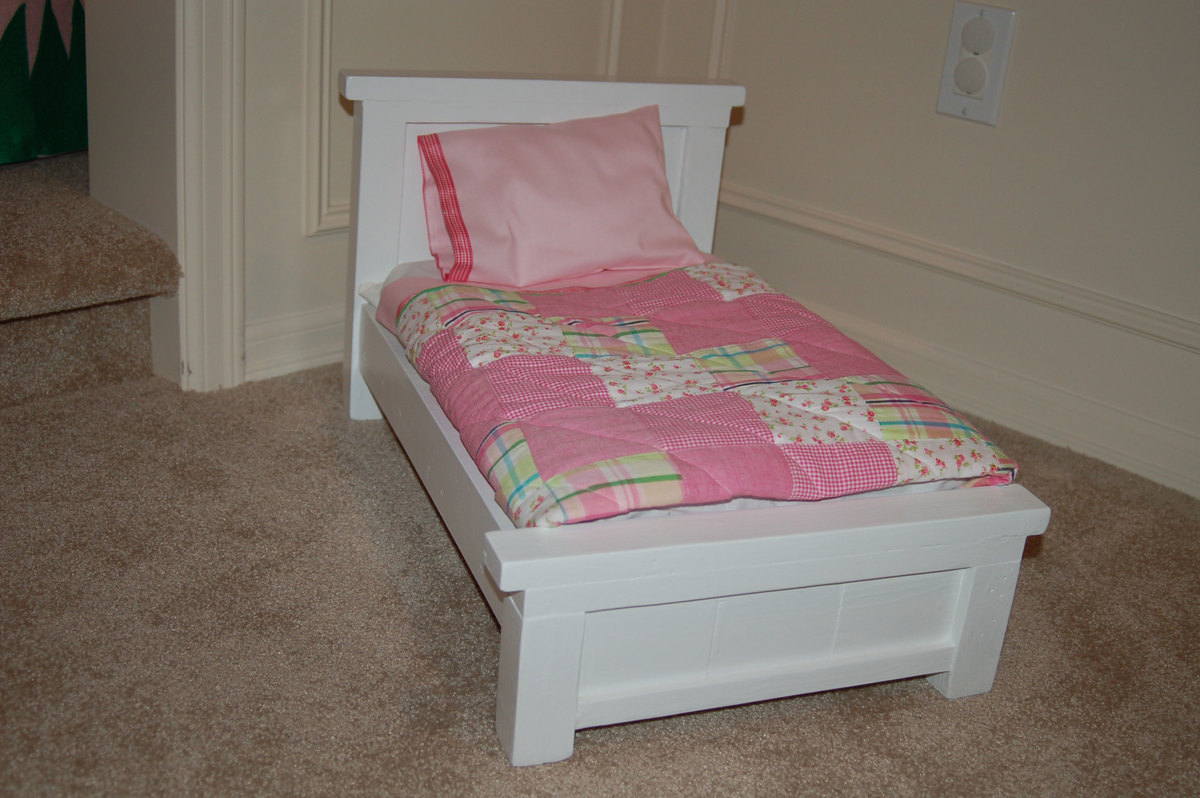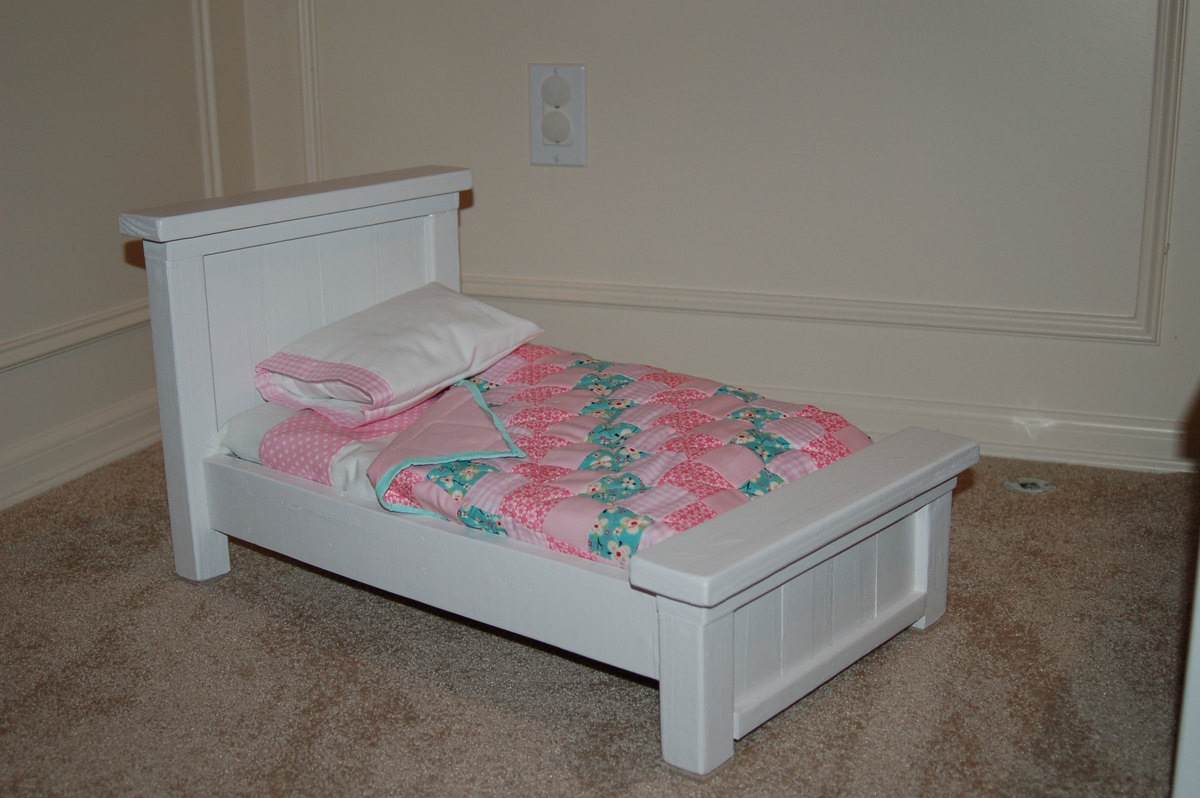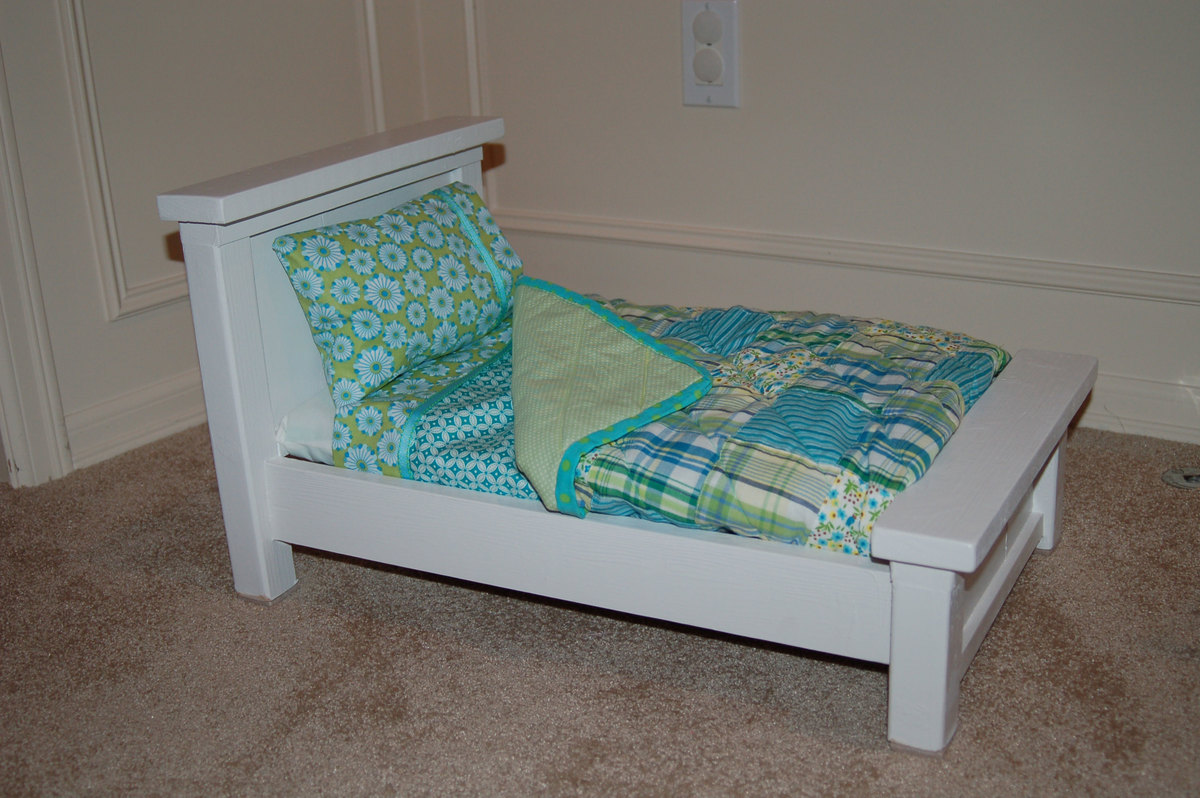
I made these three farmhouse doll beds for my daughters. Initially, I made two beds following the plan as written but started feeling like they would take up too much space. My girls are close in age (4 and 2 yo twins) so waiting for one to outgrow something and passing it on isn't an option.
I gave the first two regular sized beds away as gifts and made three narrow versions that I saw on another blog http://thatsmyletter.blogspot.com/2011/02/b-is-for-bed-5.html Her bedding is still the gold standard in my eyes. LOVE IT!
On two of my beds, I left off one 1x2 slat, and on the other I used 3-1x3's. The width of the 3 beds are slightly different. Heck, I think I am incapable of making two things exactly the same. lol The girls love them so that's all that matters. For the bed that used 3-1x3s, I didn't write down the width of the top boards. I measured and cut as I assembled.
I put an extra 1x2 mattress support in the middle because I knew they would sit on them and used masonite to hold the mattress. Seems strong enough so far.
Before painting, I used lots of wood filler and caulk to hide some flaws. By the way, I feel like painting the beds is the hardest part. So many little grooves, nooks, and crannies. I recently bought a Graco 3900 HVLP paint sprayer. Painted a half wall and 6 long pieces of trim in 30 minutes today---love it! If I make another bed (or anything for that matter), I'm totally going to spray it.
Oh and I have to confess that after the first two beds, I got too impatient to use just screws so I used the nailer, glue, and used a few screws at key points. It made things go so much quicker, and the beds still feel quite sturdy. If my kids manage to break them, I'll make them new ones. :-)
I used 1" foam and muslin for the mattress & cover and fabric that I obsessively buy and hoard for everything else. The middle quilt is an actual quilt. I cut the squares and all---first time for that too. The other two are made of pre-made patchwork fabric from Joann's.
Thank you to everyone for sharing your creations, and thank you, Ana, for the plans. I am so inspired!


