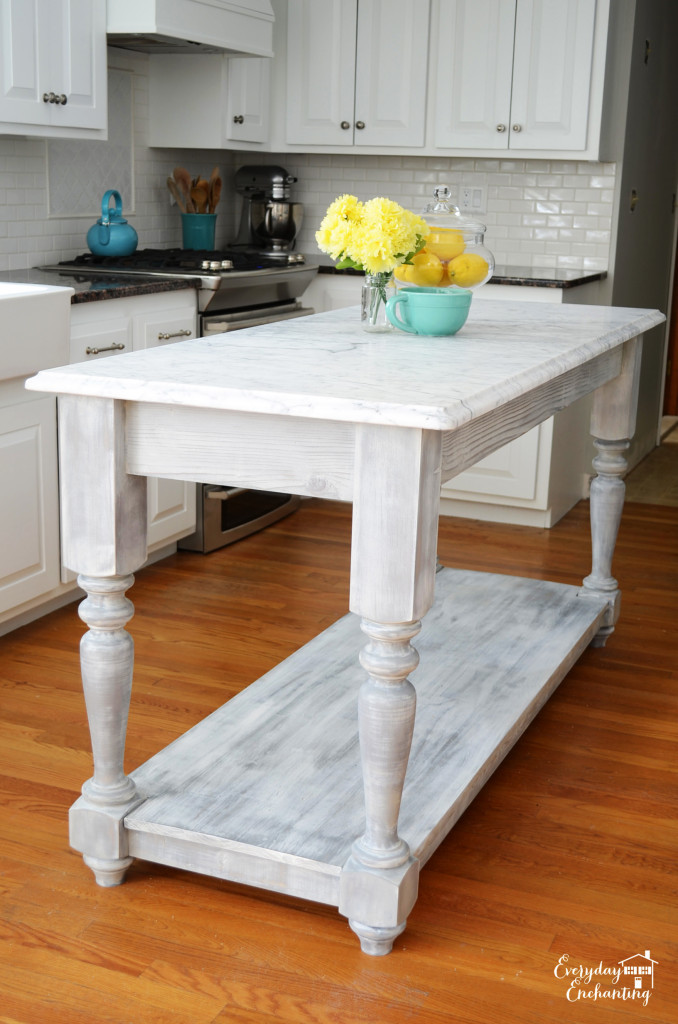
Today I’m sharing this unexpected addition to our kitchen! Everything about the construction of this furniture-style kitchen island seemed to be charmed. There is usually a lot of trial and error that goes on behind the scenes during our projects- but everything seemed to just kind of fall in to place. We enjoyed it while it lasted, since we know it won’t be that easy again! ;) Without a real plan for the island, we found the beautiful marble slab on Craigslist for a steal. While the slab was having it’s edges finished, I began comparing island legs. The ones I decided on came from Osbourne Wood, they are called The Grand Harvest Island Posts. I liked the chunky style in order to support the heavy marble. We are so so happy with the quality of the legs that we plan on using this company for all future furniture building projects. For the specifics on how to build the island, we were a bit stumped. We were just kind of going to wing it. Then, when I was daydreaming about a completely unrelated project, I stumbled across the kitchen island plans in Ana‘s book The Handbuilt Home. The dimensions were almost perfect for the slab! We modified the plans slightly- we didn’t need casters, and our island needed to be a bit narrower than the plan in the book, and we swapped out the 2×4′s for 2×6′s in some places- but the length was perfect, so we were still able to use most of the materials list (a huge time & money saver!) to maximize yields. We ordered a Kreg Jig, like Ana recommended, and I have to say- I love it! This island was so much fun to build and finish- and it makes a huge statement in our DIY renovated kitchen!


Comments
Ana White
Thu, 02/27/2014 - 21:41
Charming is right!
Love this, thanks for sharing!
In reply to Charming is right! by Ana White
EverydayEnchanting
Fri, 02/28/2014 - 07:57
Thank you so much Ana, and
Thank you so much Ana, and you are very welcome! Thank you for the wonderful plans :)
suschen
Fri, 02/28/2014 - 05:22
Gorgeous!
This looks amazing! I was wondering how you attached the marble slab to the posts?
In reply to Gorgeous! by suschen
EverydayEnchanting
Fri, 02/28/2014 - 08:00
Thank you! To attach the
Thank you! To attach the marble, we used silicone caulk per the recommendation of the fabricator who finished the edge for us. I hope that helps!!
gkubrynski
Mon, 03/03/2014 - 17:24
Great Job!
Unbelievable! Great accent to the kitchen. You mentioned you used both pine and maple... can you specify which parts were pine v. maple? Beginner here... Thanks