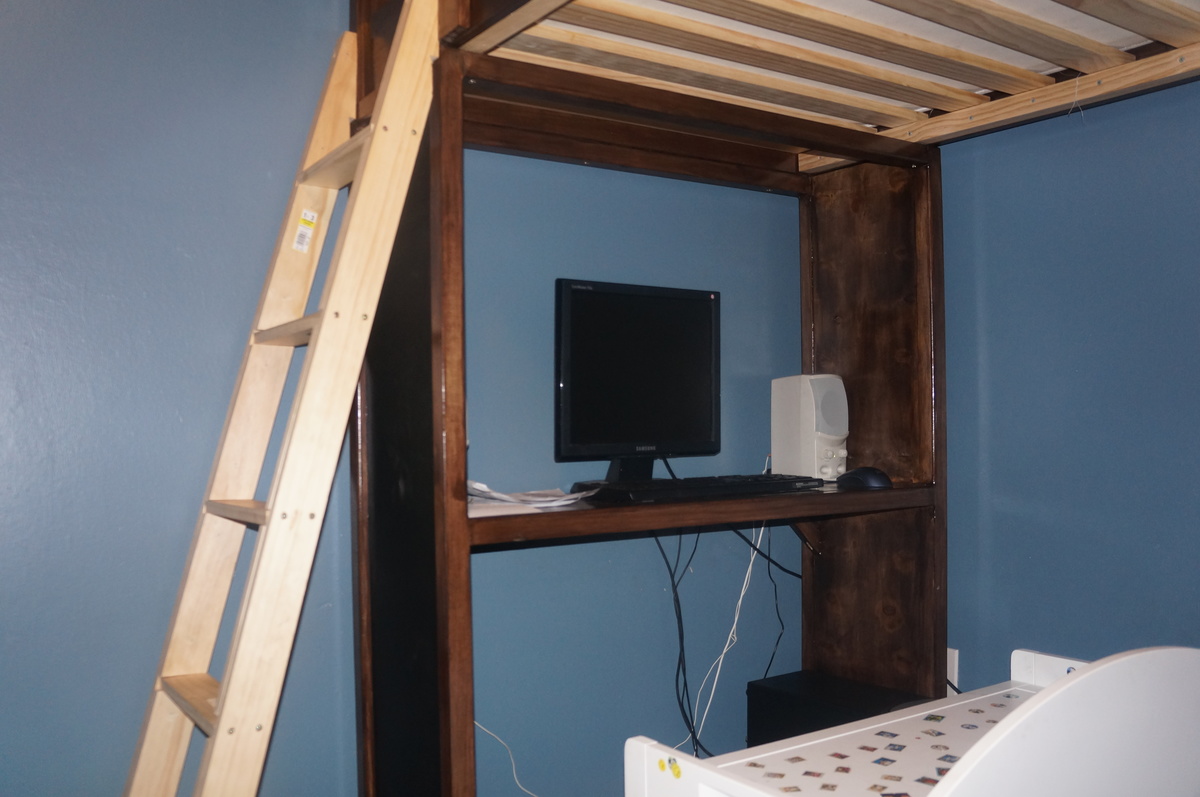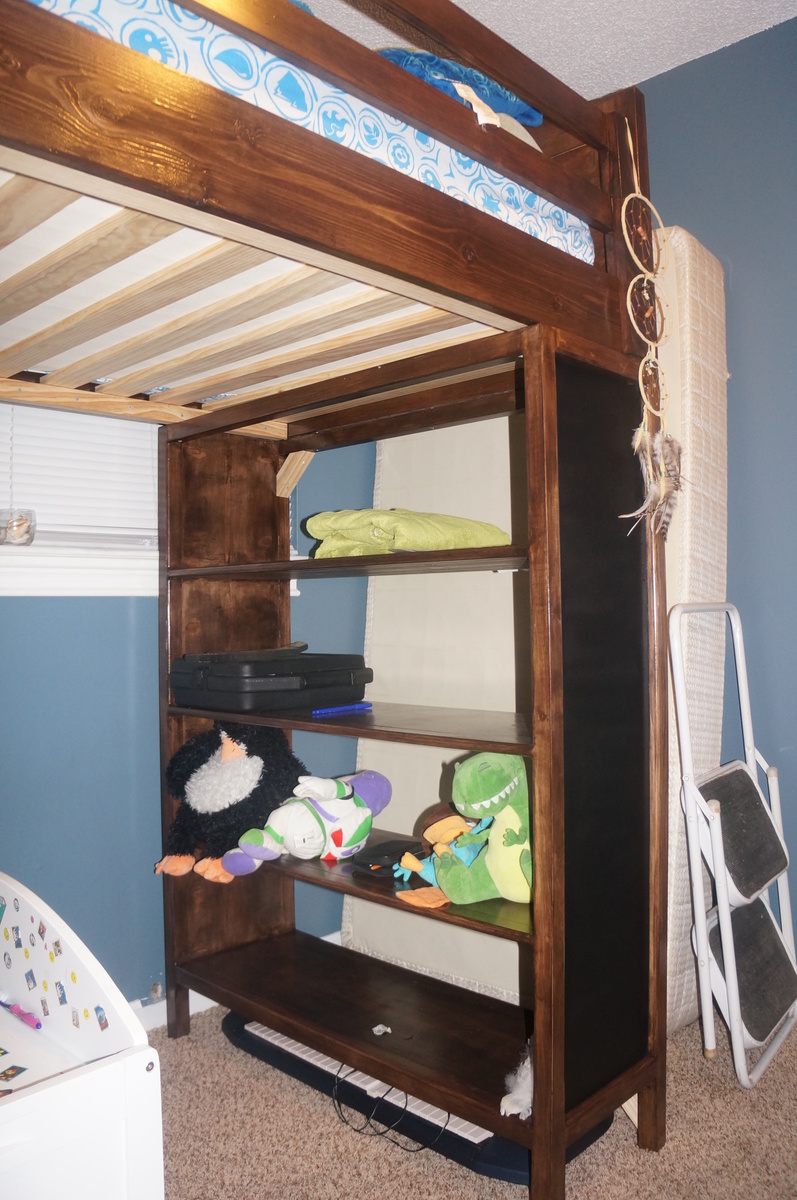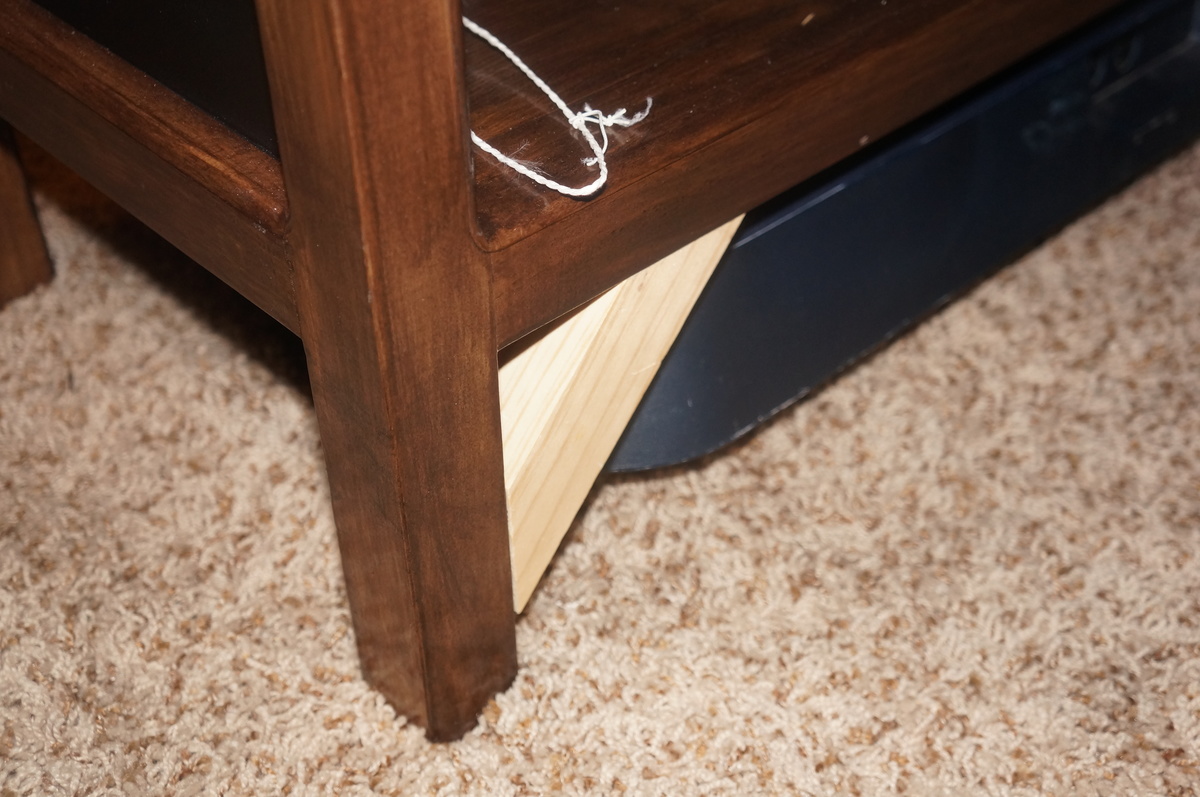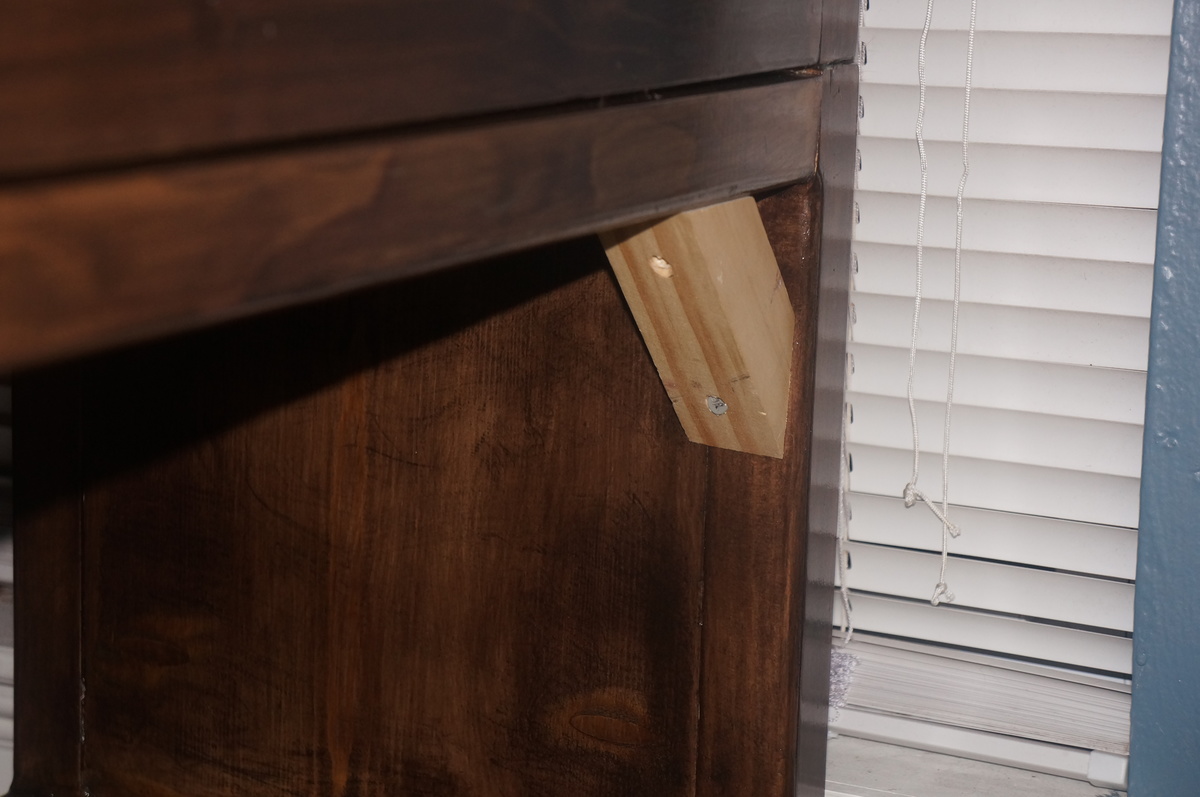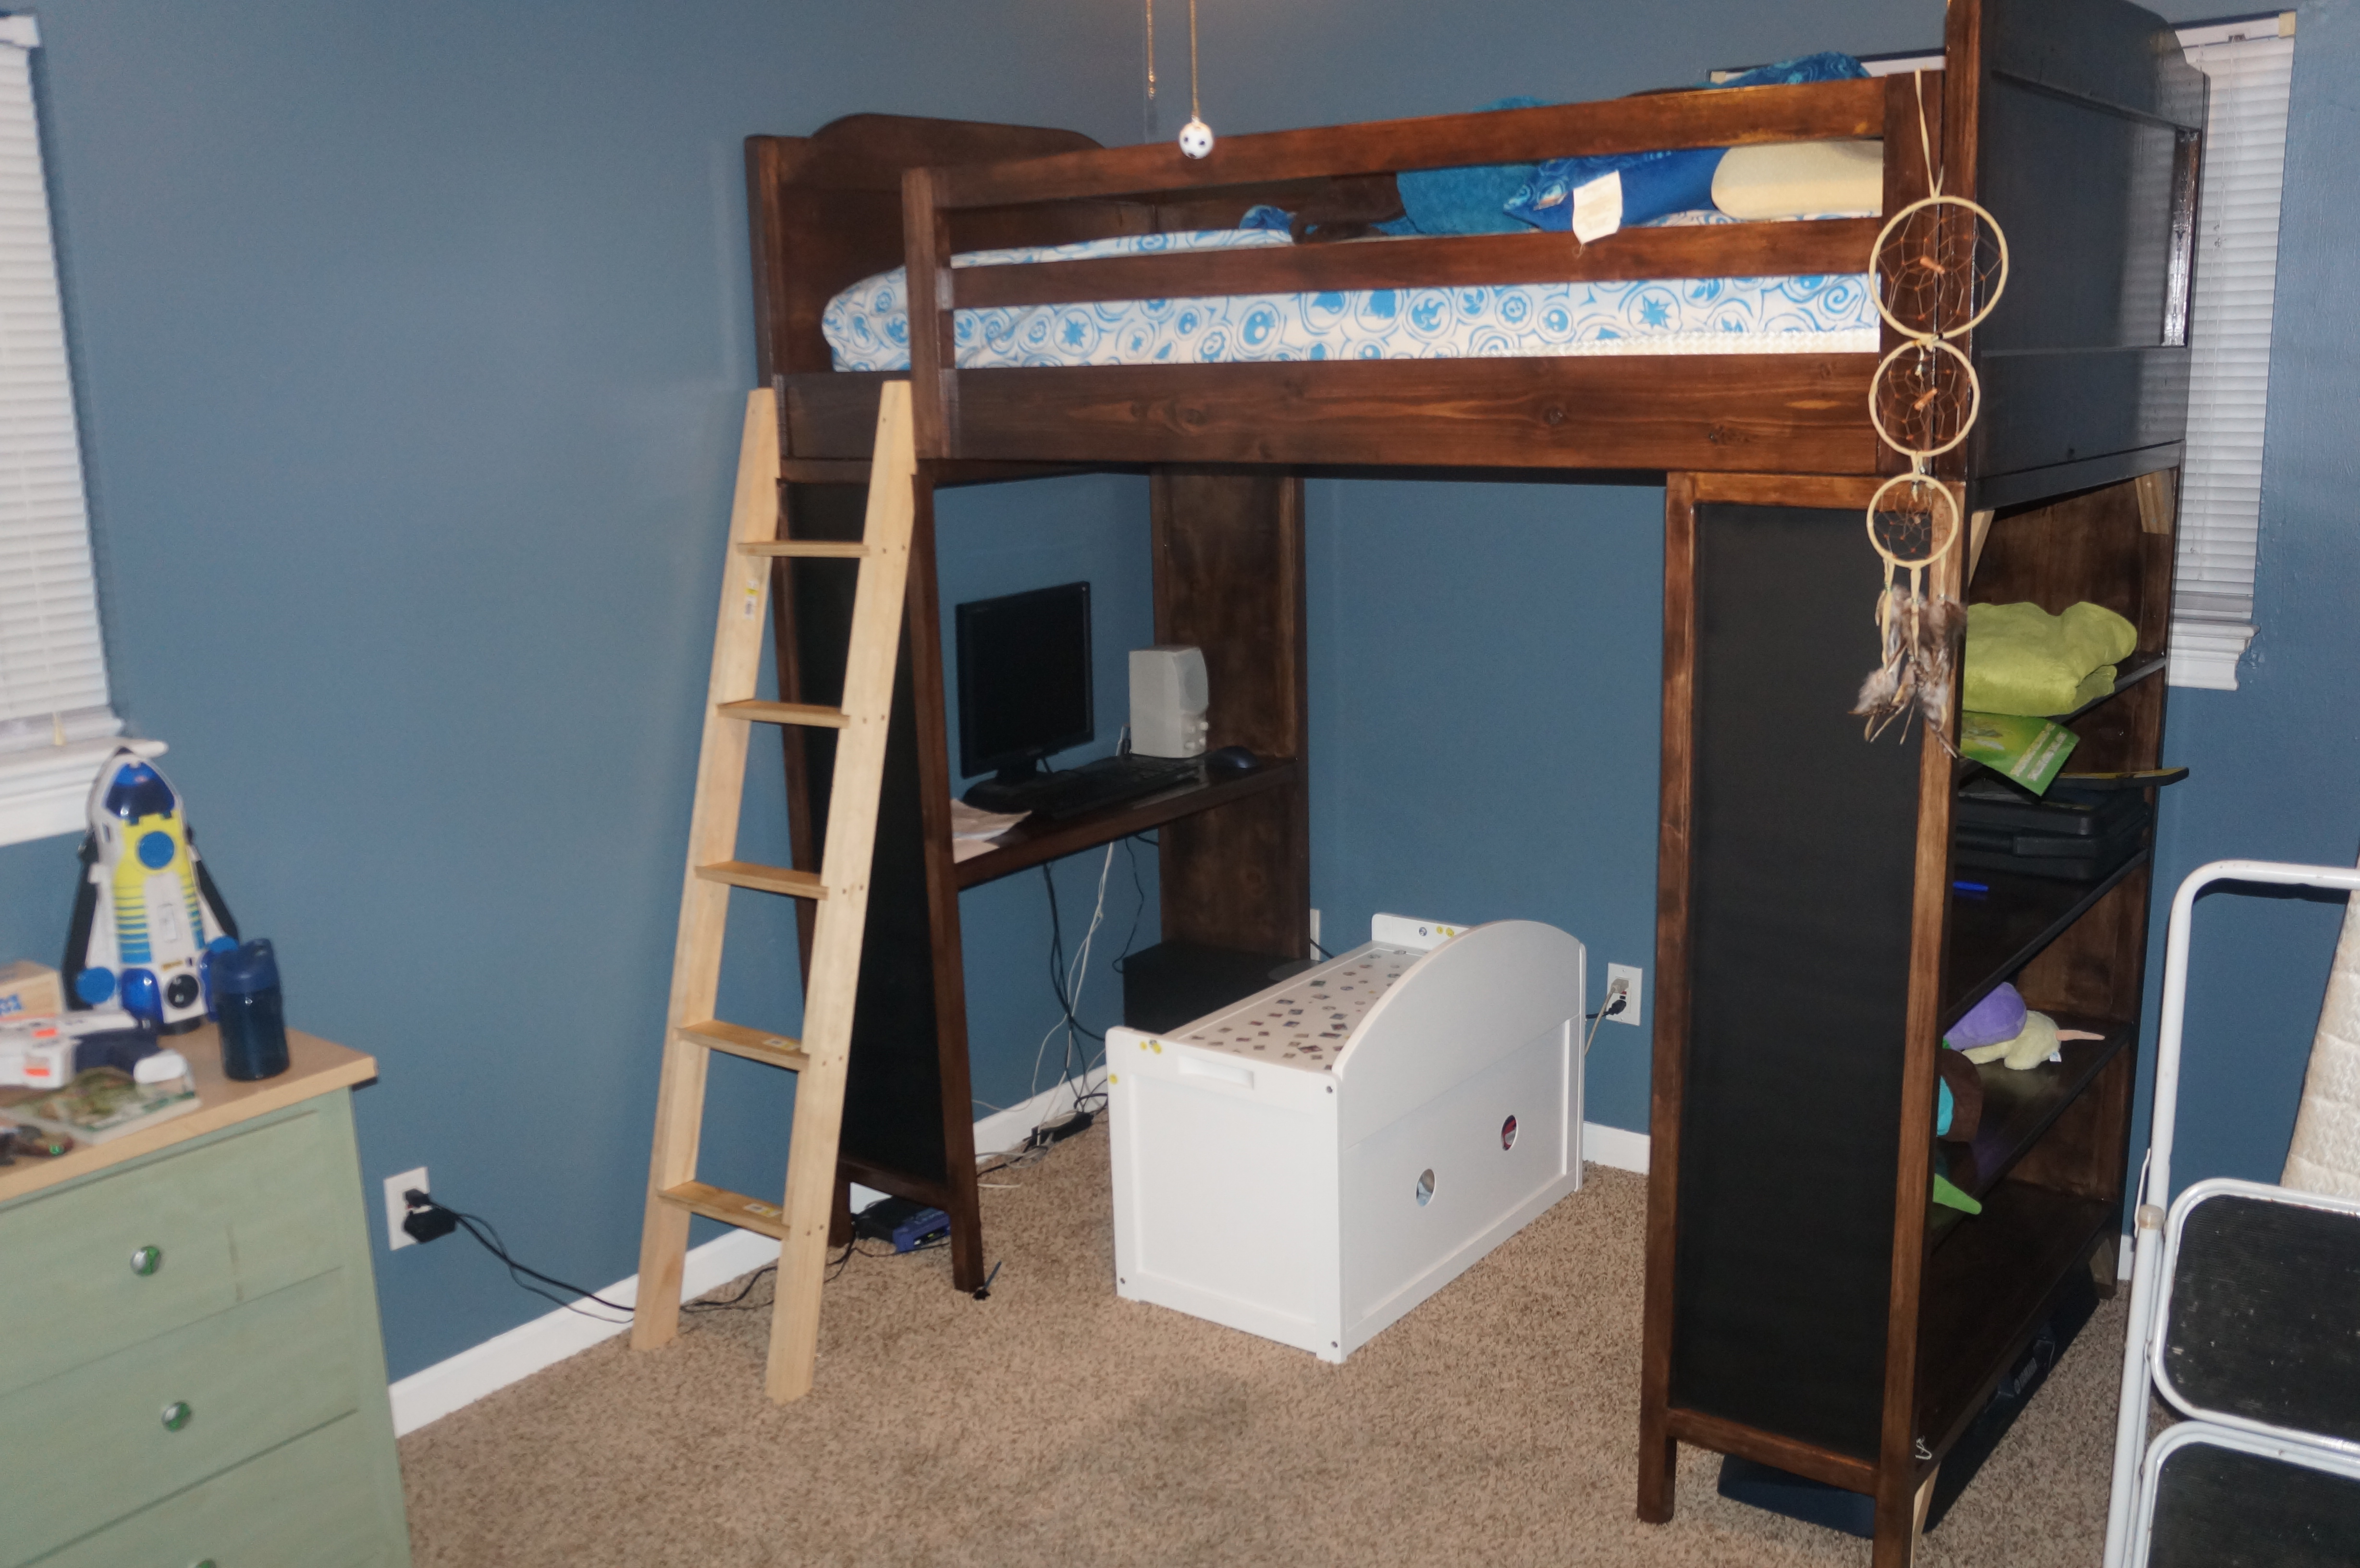
It was time that my son finally got a real bed. Additionally, he needed a desk as well. This is why I chose the Chelsea bunk system plans. I had to make some modifications that you can see in the pictures. The first modification was taken from GROOVYMOM2000, the chalkboards. I don't have any chalk at the moment so it looks like black paint from the picture but its the spray on chalkboard stuff. The subsequent modifications were made for stabilization. I added supports to the desk before I started finishing the wood with stain and polyurethane because it was WAY too unstable. I thought that the bookcase was going to be okay but once the bed was on top it had more wobble than I felt comfortable with. This is why I added the 45 degree 2x2s to the bookcase corners. I will have to remove them and add some better looking ones in the future but they REALLY made a difference; the bed is rock solid now. The ladder was thrown together last minute with a rather advantageous plan that didn't work out. I tried to incorporate hangers into the cut so it could be removed easily but my jigsaw blade was too dull and ripped the wood to pieces. At this point I just slapped the pieces together and screwed it into the side of the bed. He might have to go a couple months before I decide to build a new one the right way. This honestly turned out to be a lot bigger project than I planned at first. Building the bed was fairly quick and easy but sanding, conditioning, staining, and protecting the wood took almost a week. I am pleased with the outcome but painting the bed would have made a significant time difference. If you do go with stain then let me suggest you stain the guardrails before assembly.