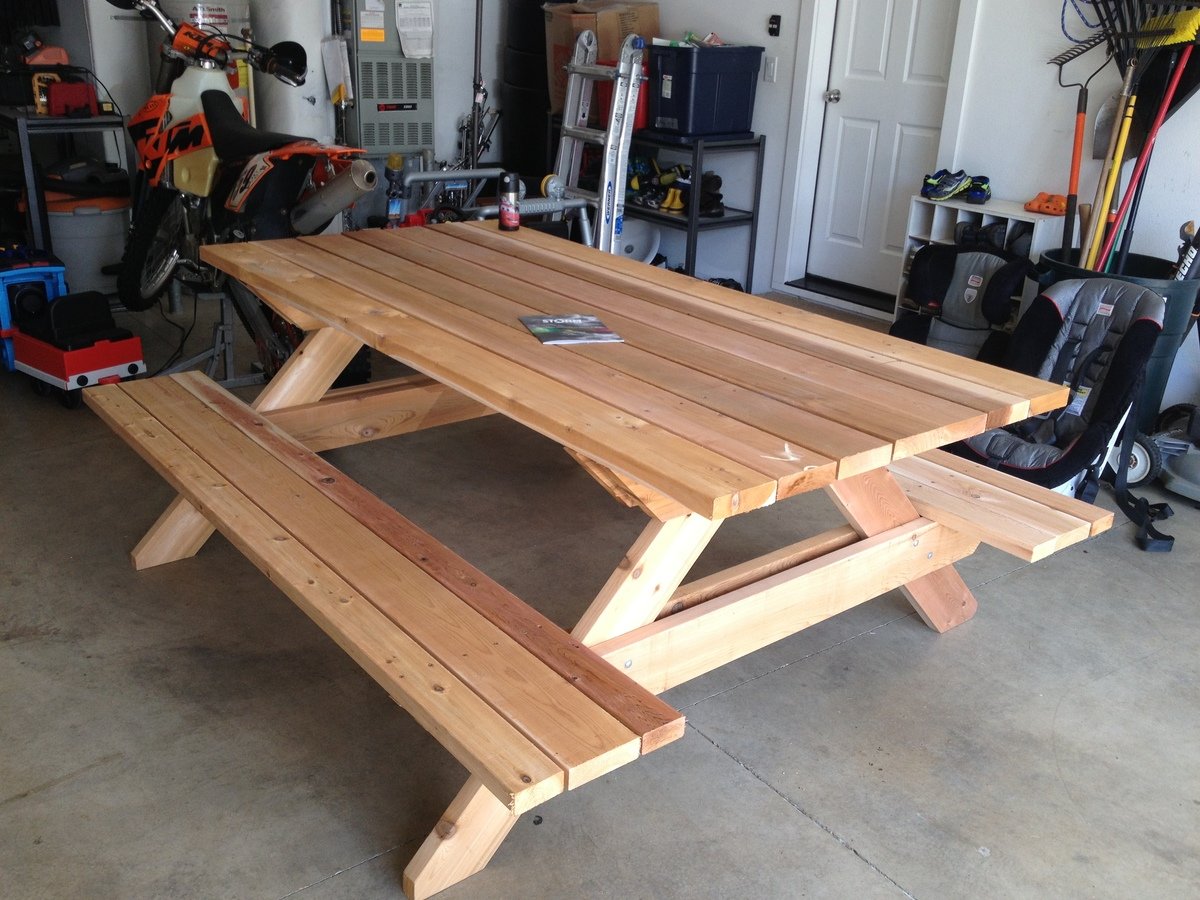
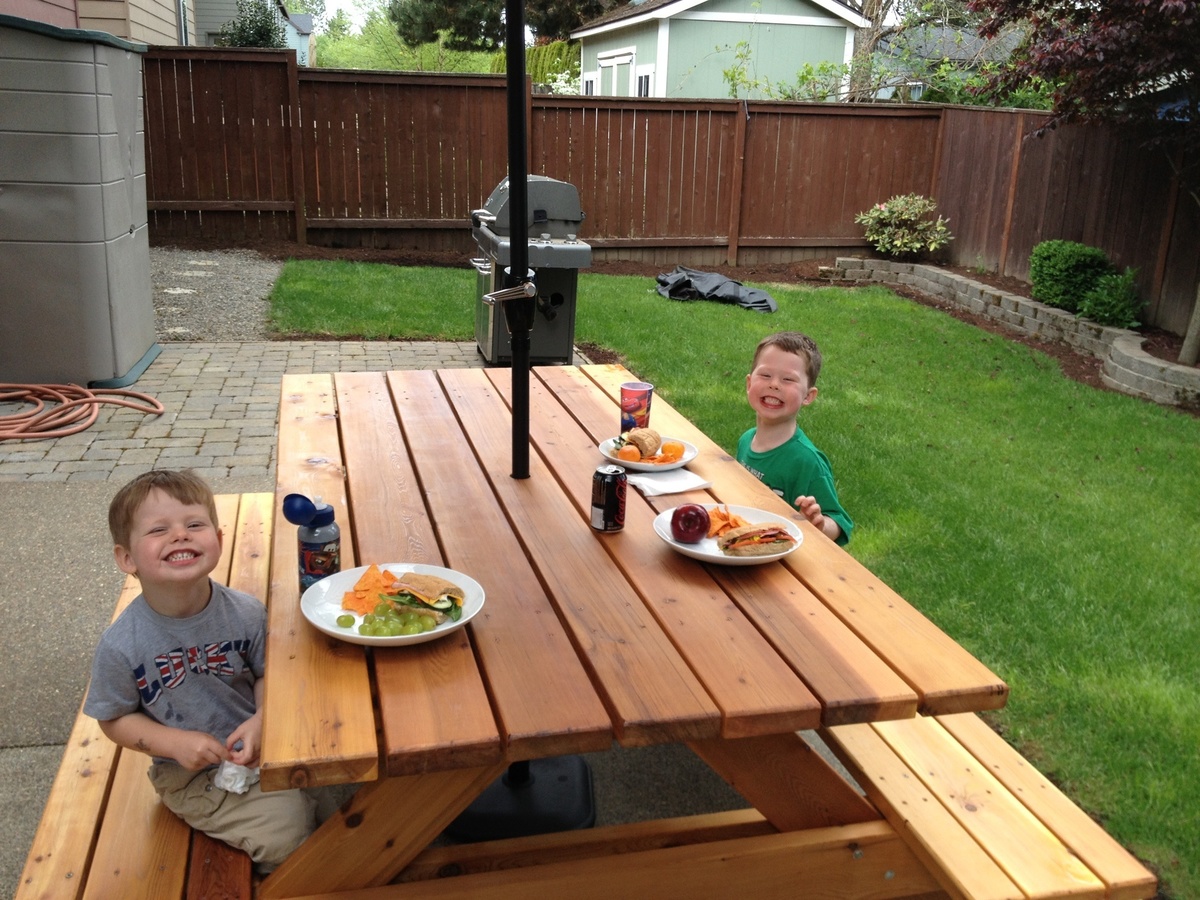
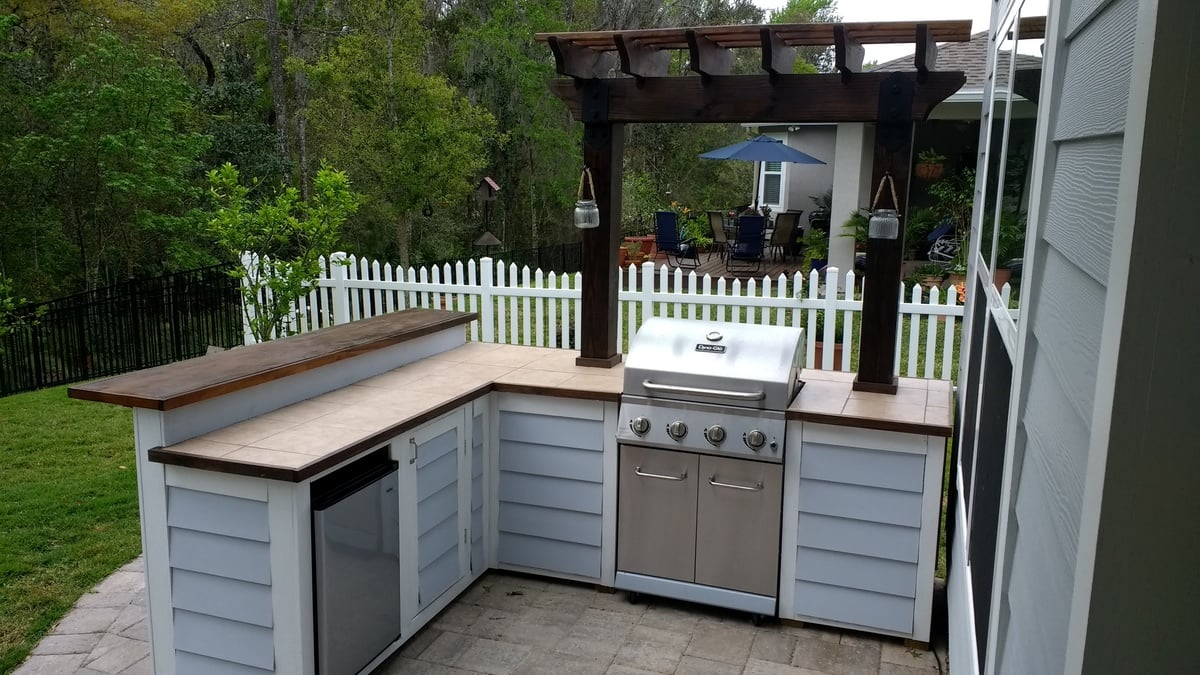
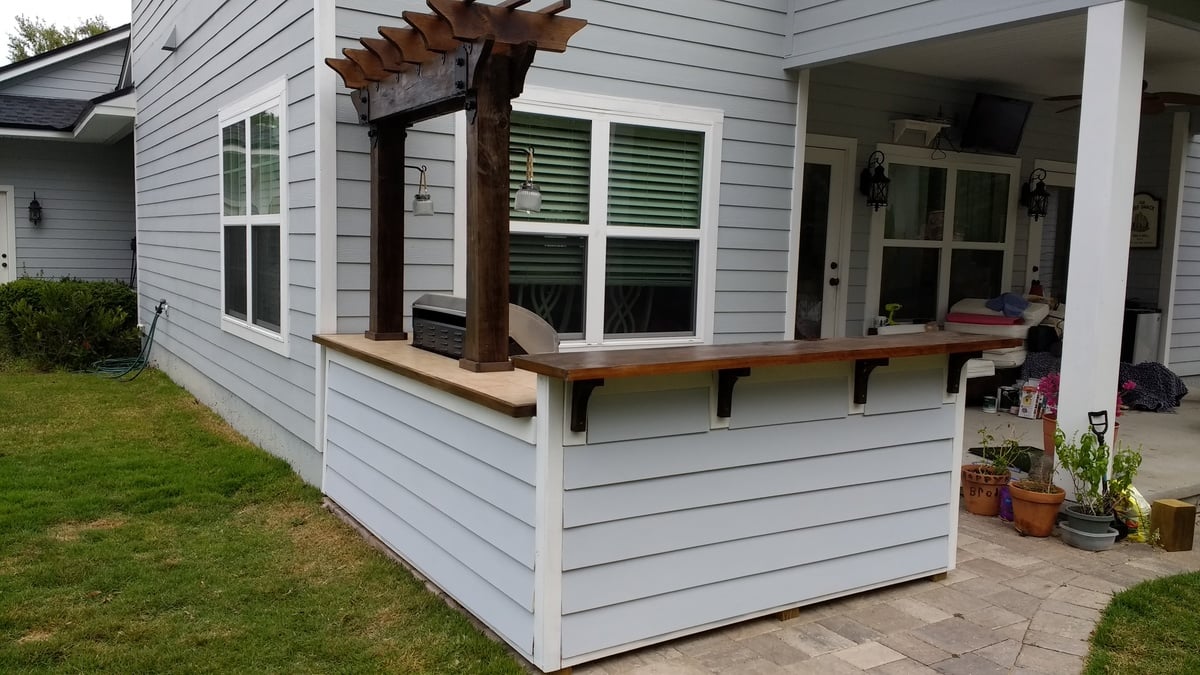
Picnic Table

My wife started looking at expensive patio sets, which I thought were not worth the price, so I decided to build a picnic table. This is not the cheapest table out there, but it's built to last for years!! I used a high quality cedar as I got a price cut from a friend. I also used deck screws, so there would be no rusty screws!! The table top measures 7' long and looks like one you would see at a state park, notHome Depot!
Built from Plan(s)
Estimated Time Investment
Weekend Project (10-20 Hours)
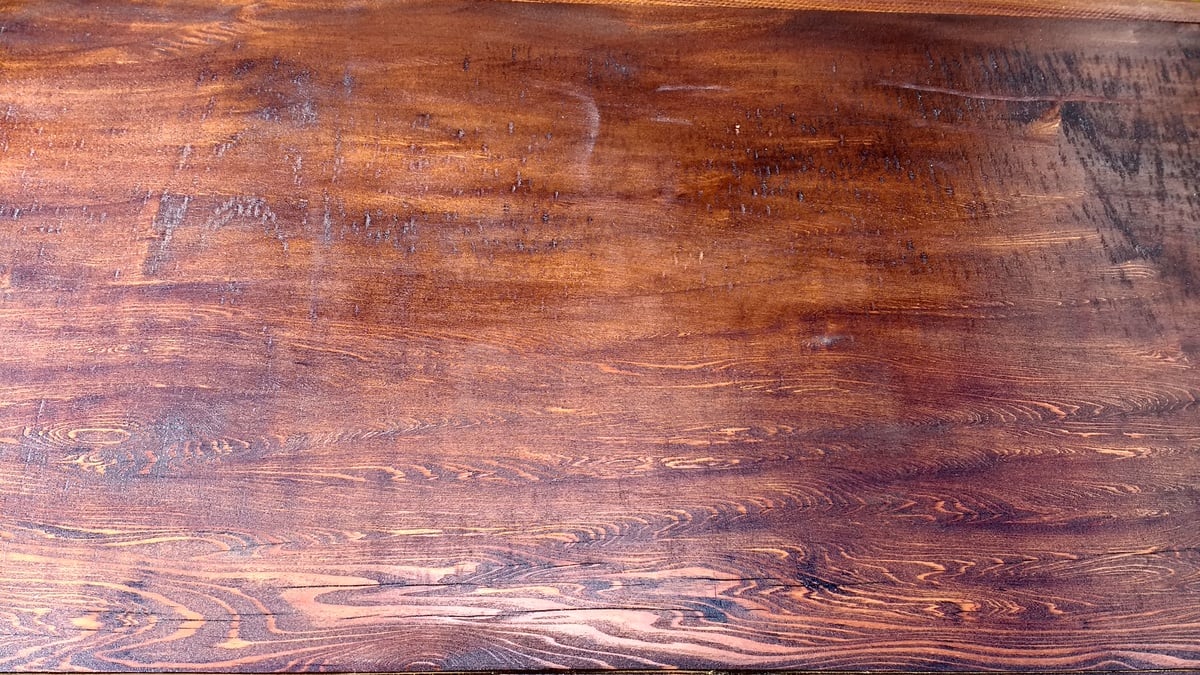
Finish Used
Cabot Australian Timber oil: For this project I went with an oil project so I wouldn't have to sand it every year, like so many in my area with their decks. With this product, you simply clean the table and reapply!!
Recommended Skill Level
Beginner


Comments
yurra-bazain
Wed, 09/04/2013 - 18:28
Beautiful picnic table!
Beautiful picnic table!
Medickep
Thu, 09/05/2013 - 13:04
Thank you
Thank your hanks for the kind words! This was my first real project and I was pleased with the results!
freddyg
Sat, 12/20/2014 - 07:36
plans
do you have plans for this table. Its really nice
Gerry Czerniawski
Thu, 08/25/2016 - 09:48
lovely table but...
Really like the picnic table - do you have plans for this? (I'm new to this site so apologies if they are here but I just could not see where?).
best wishes
Gerry