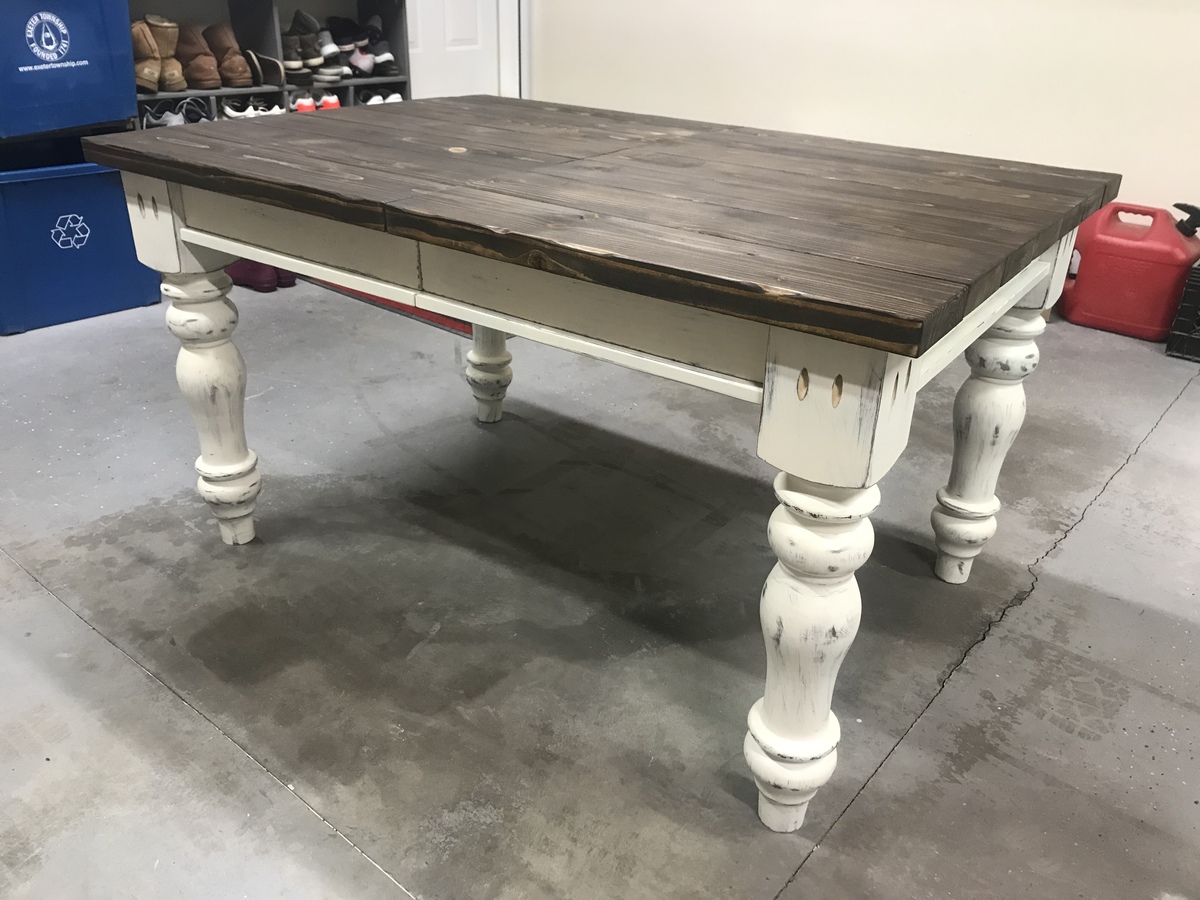
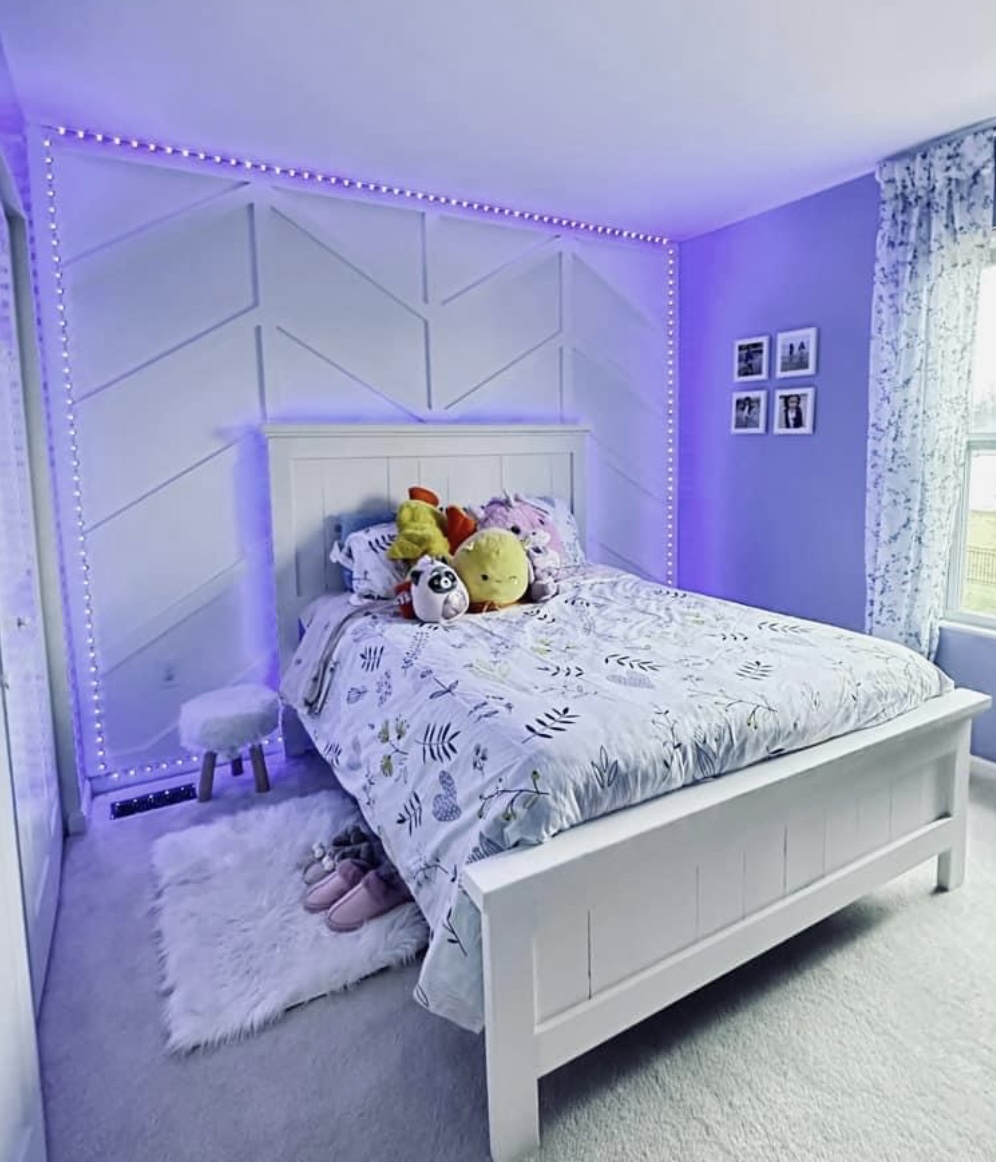
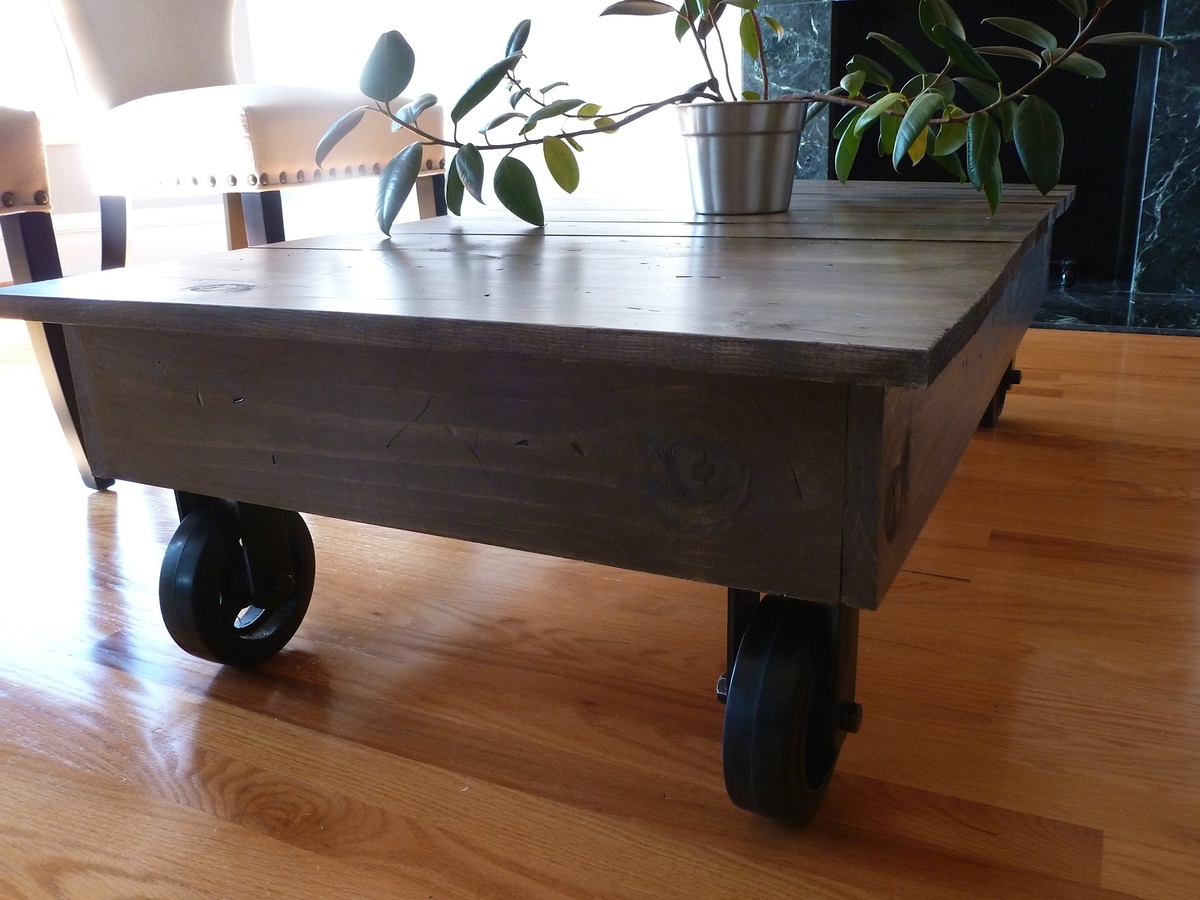
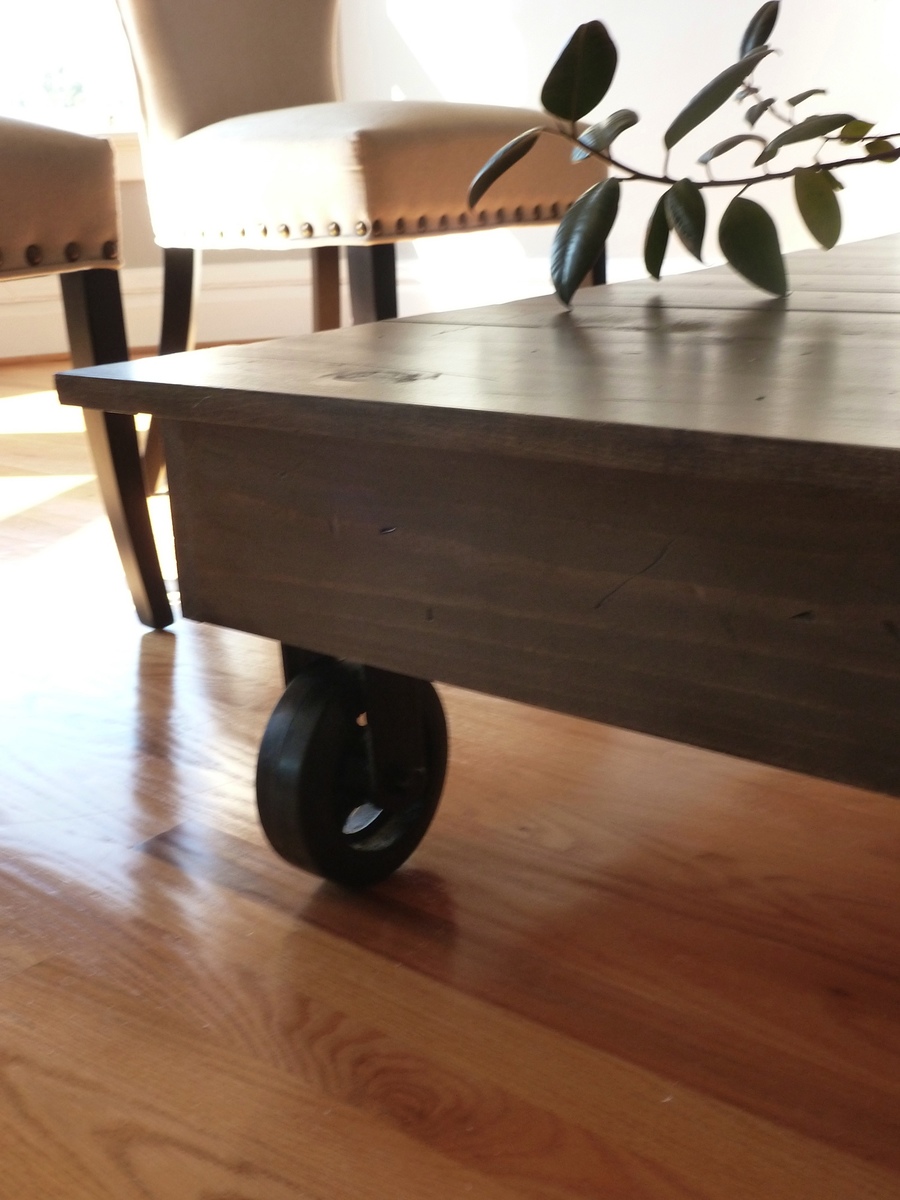
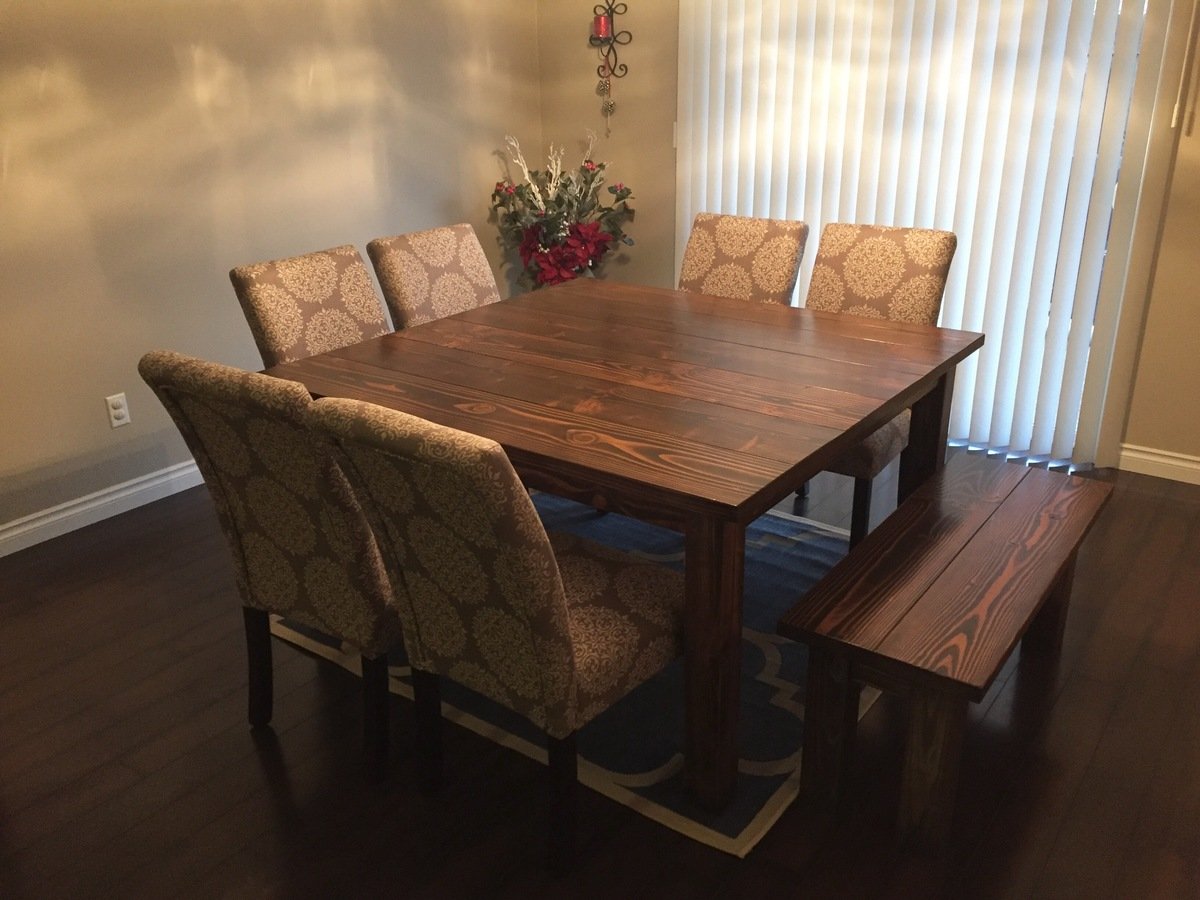
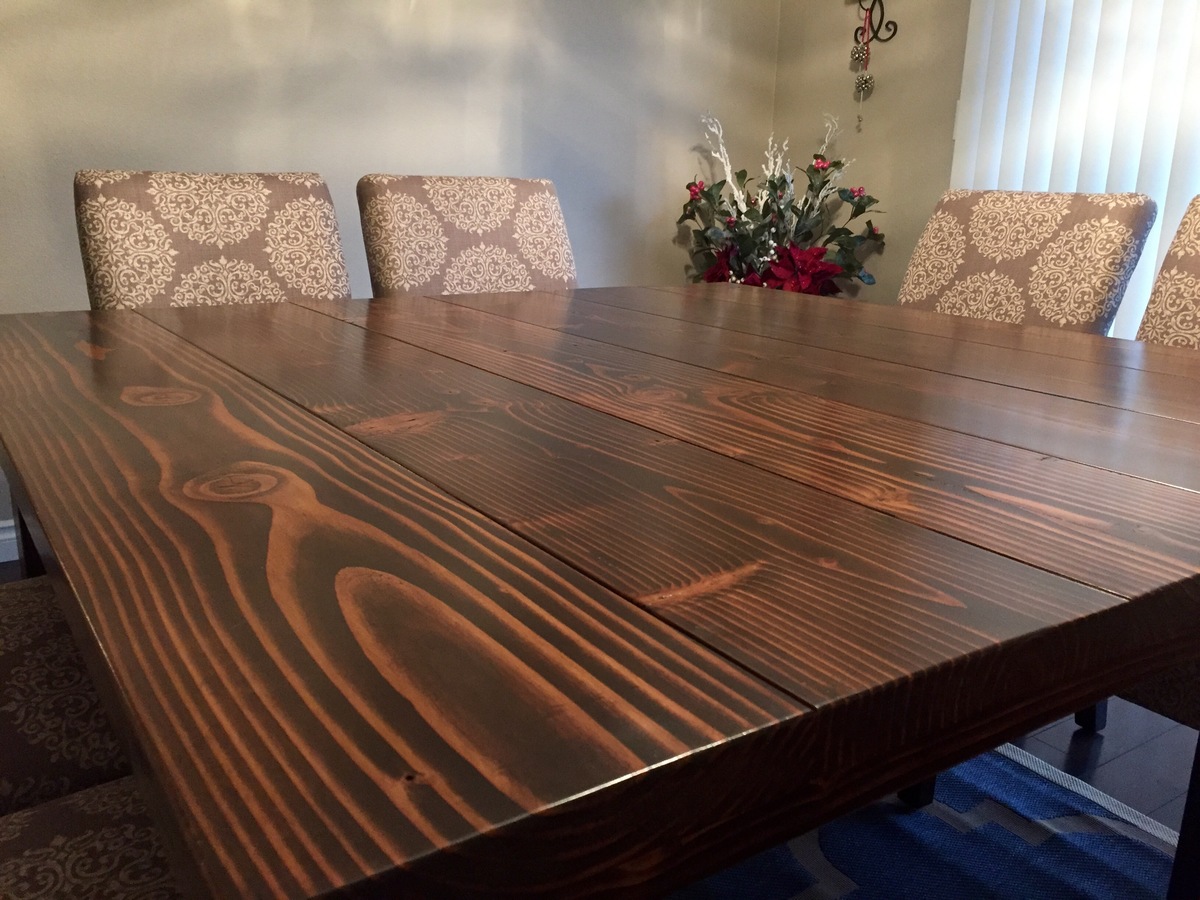
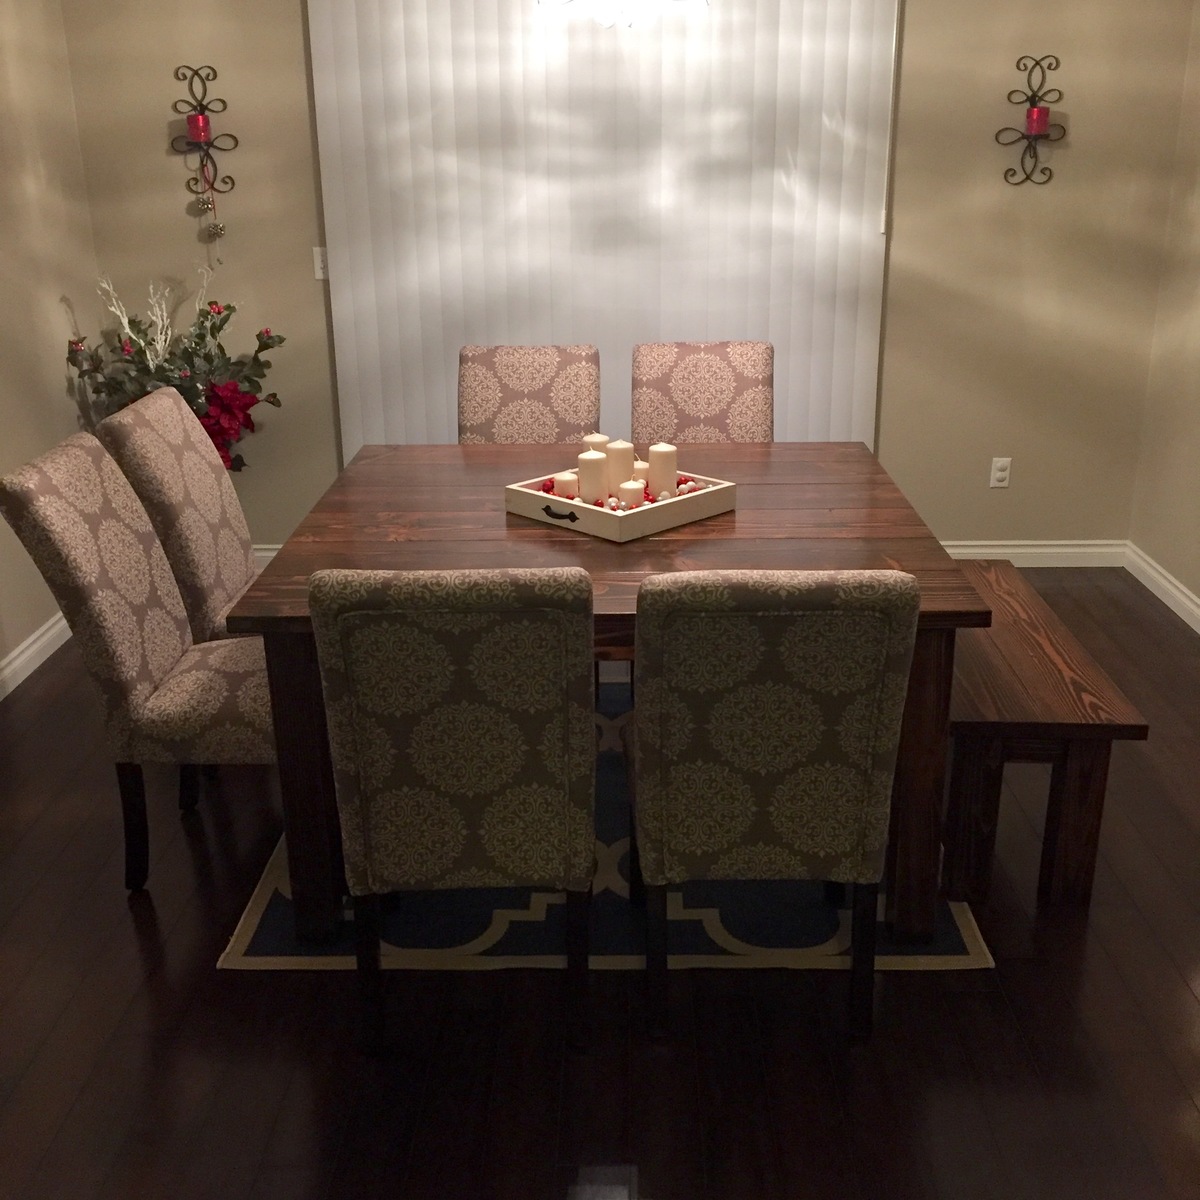
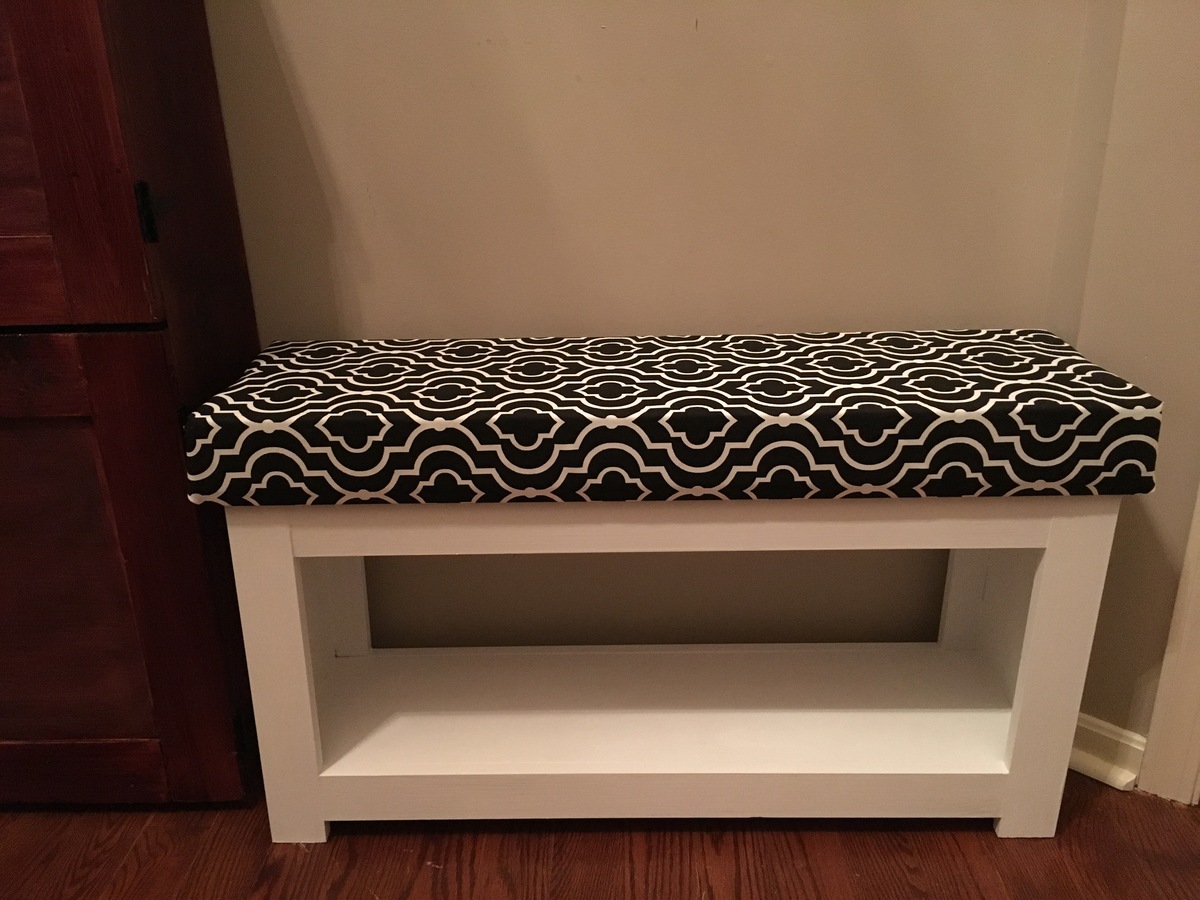
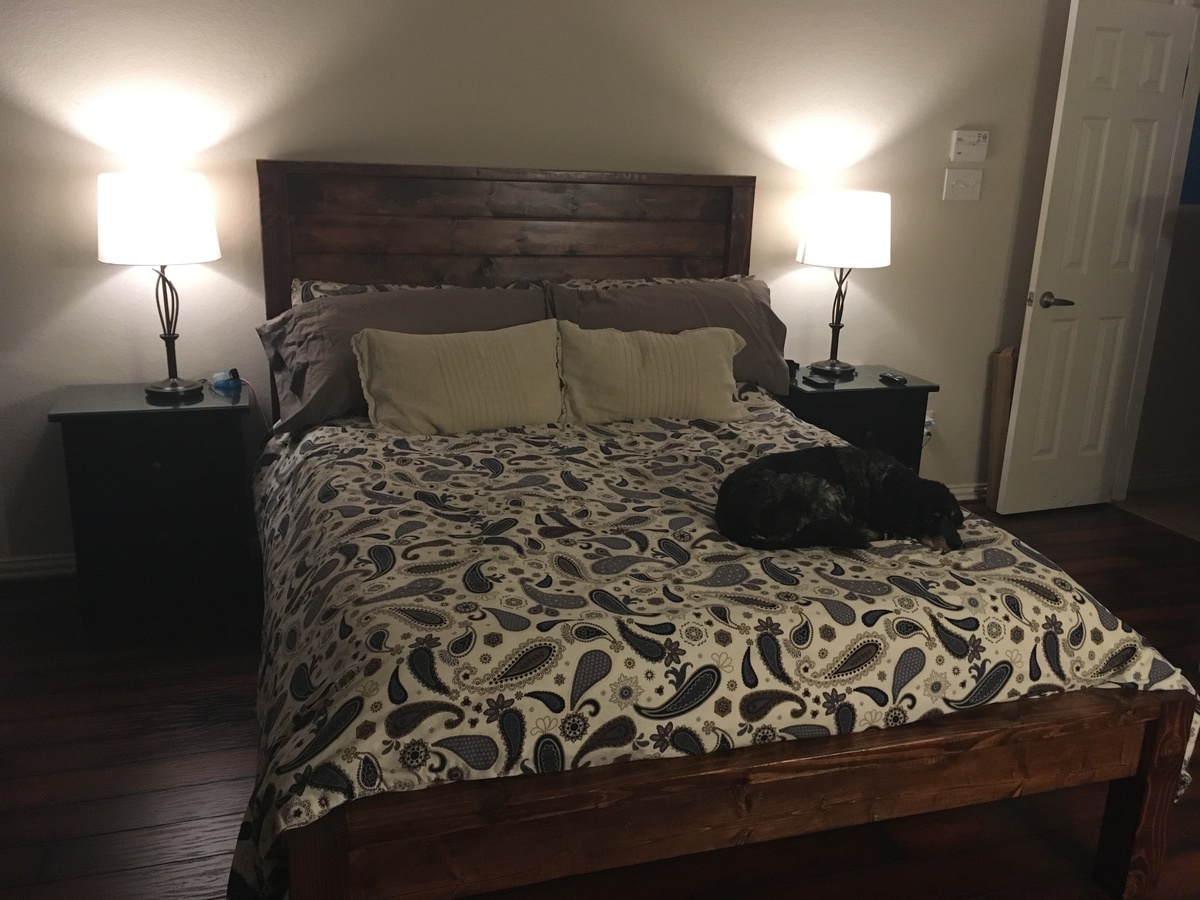
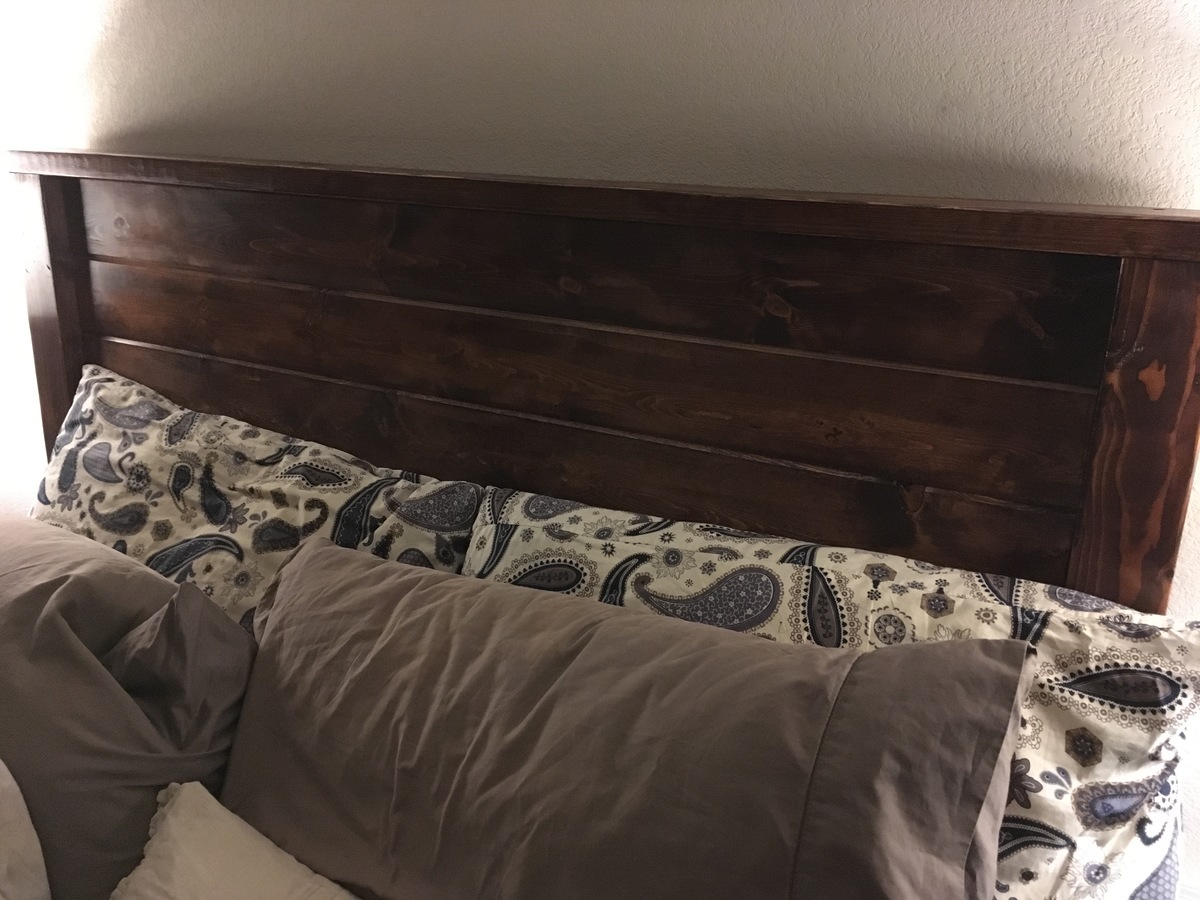
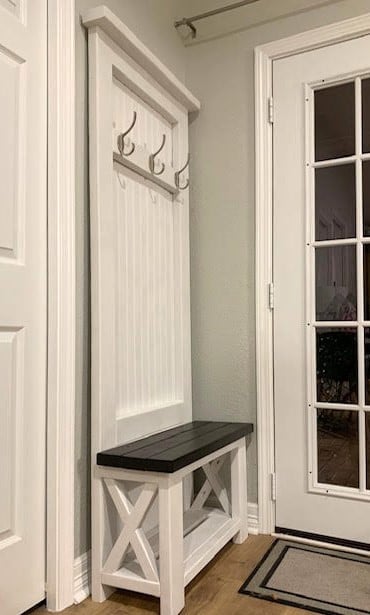
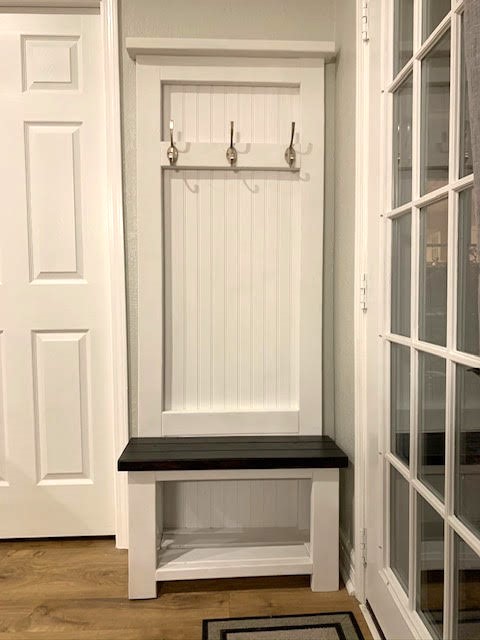
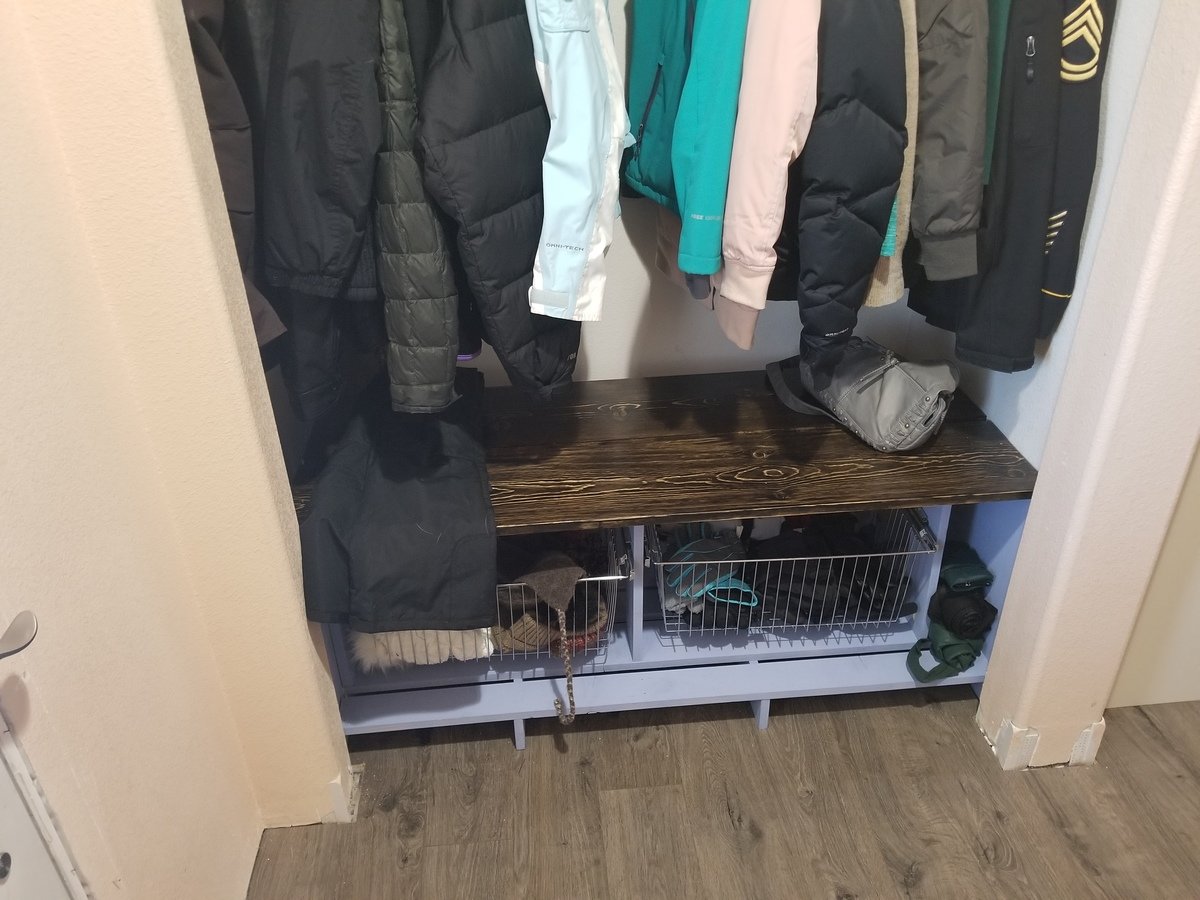
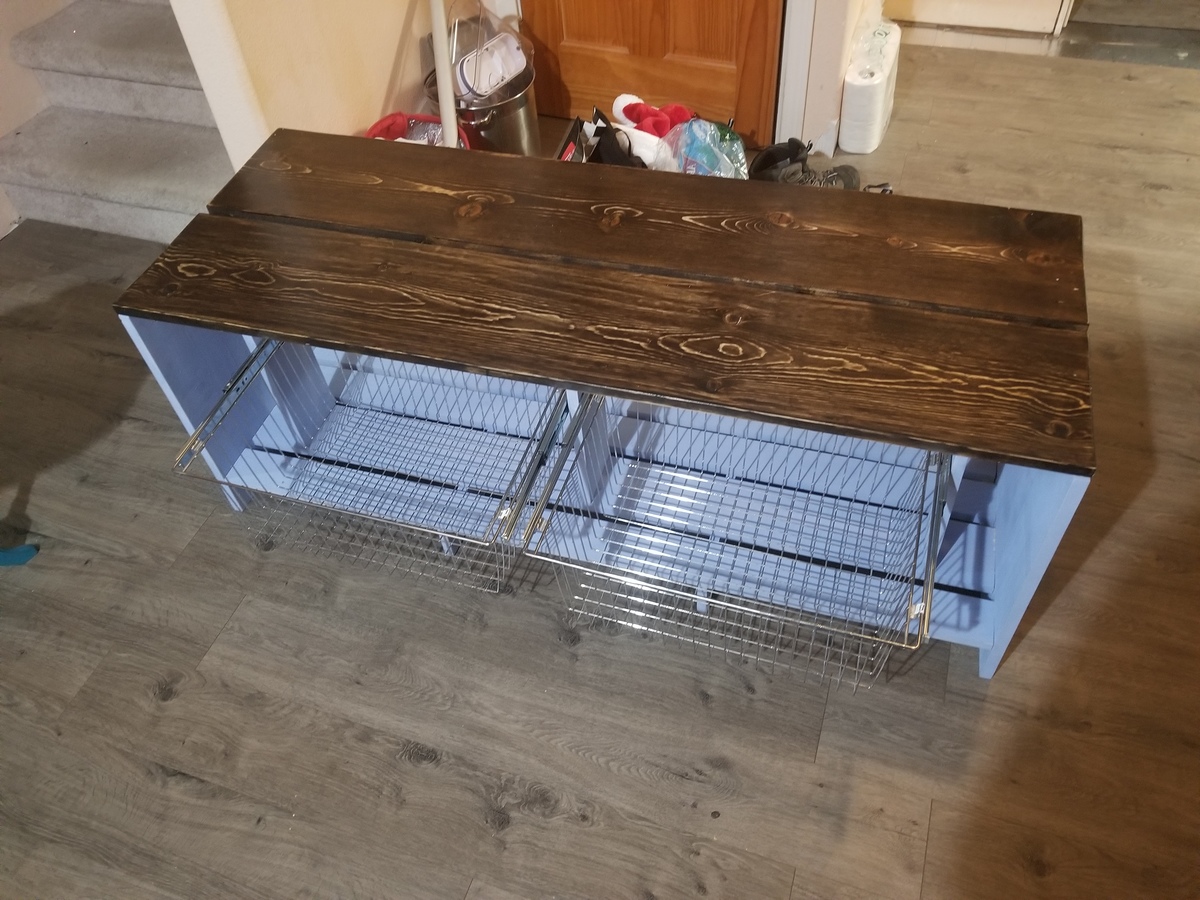
Stool
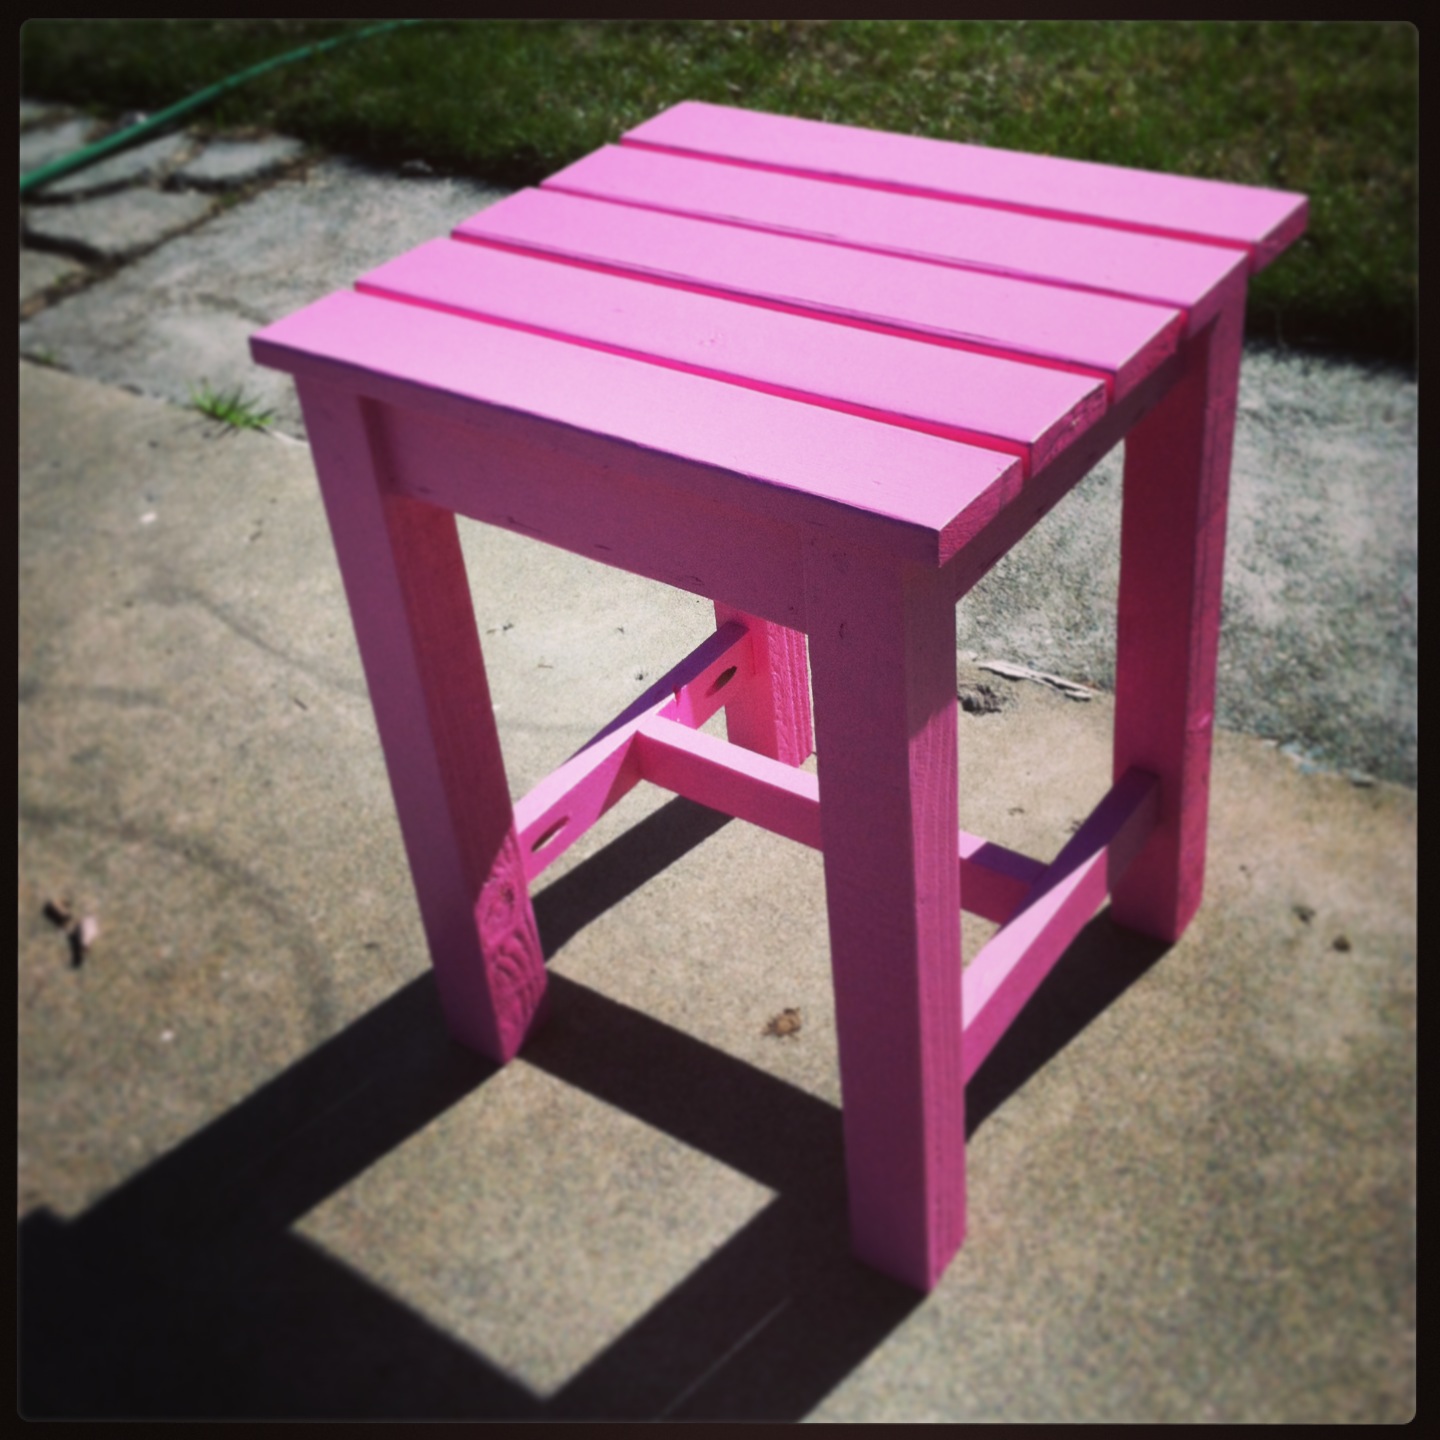
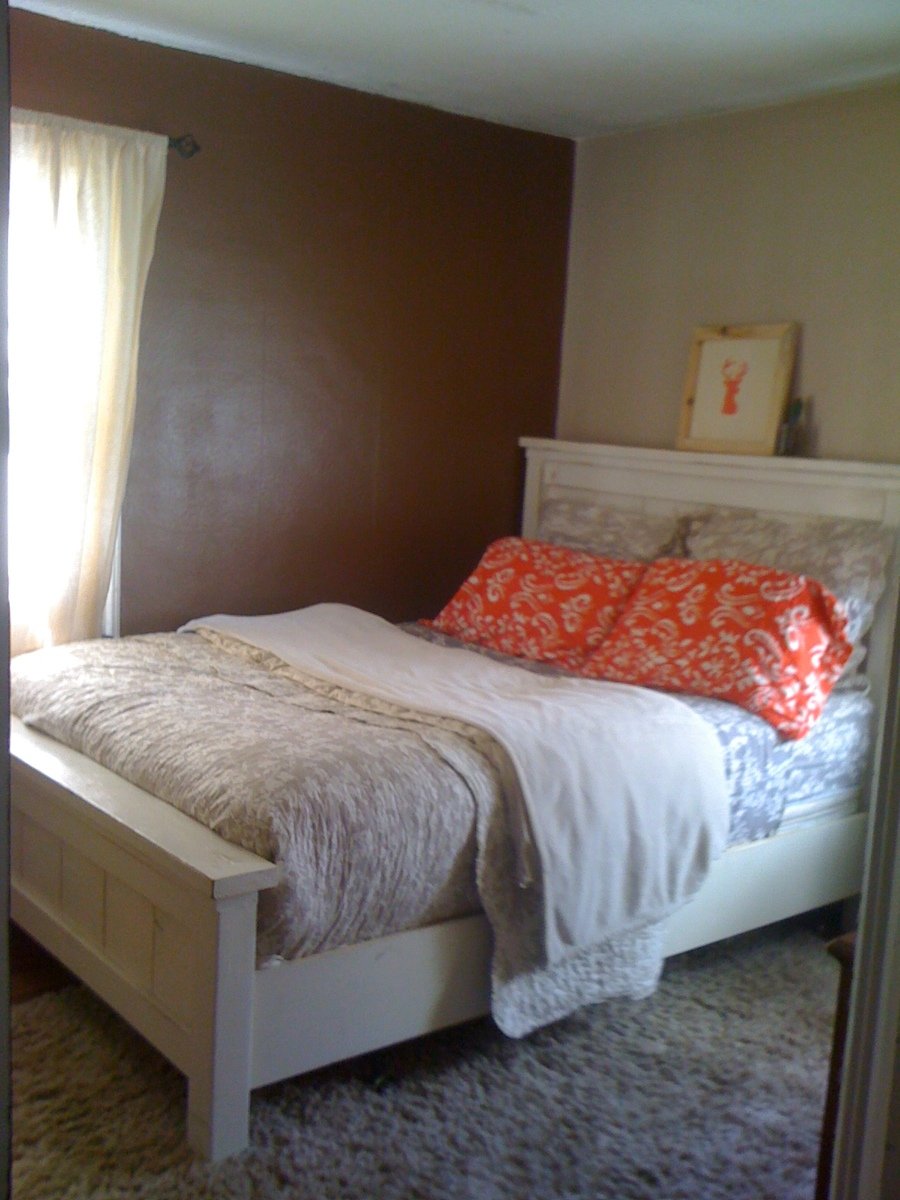
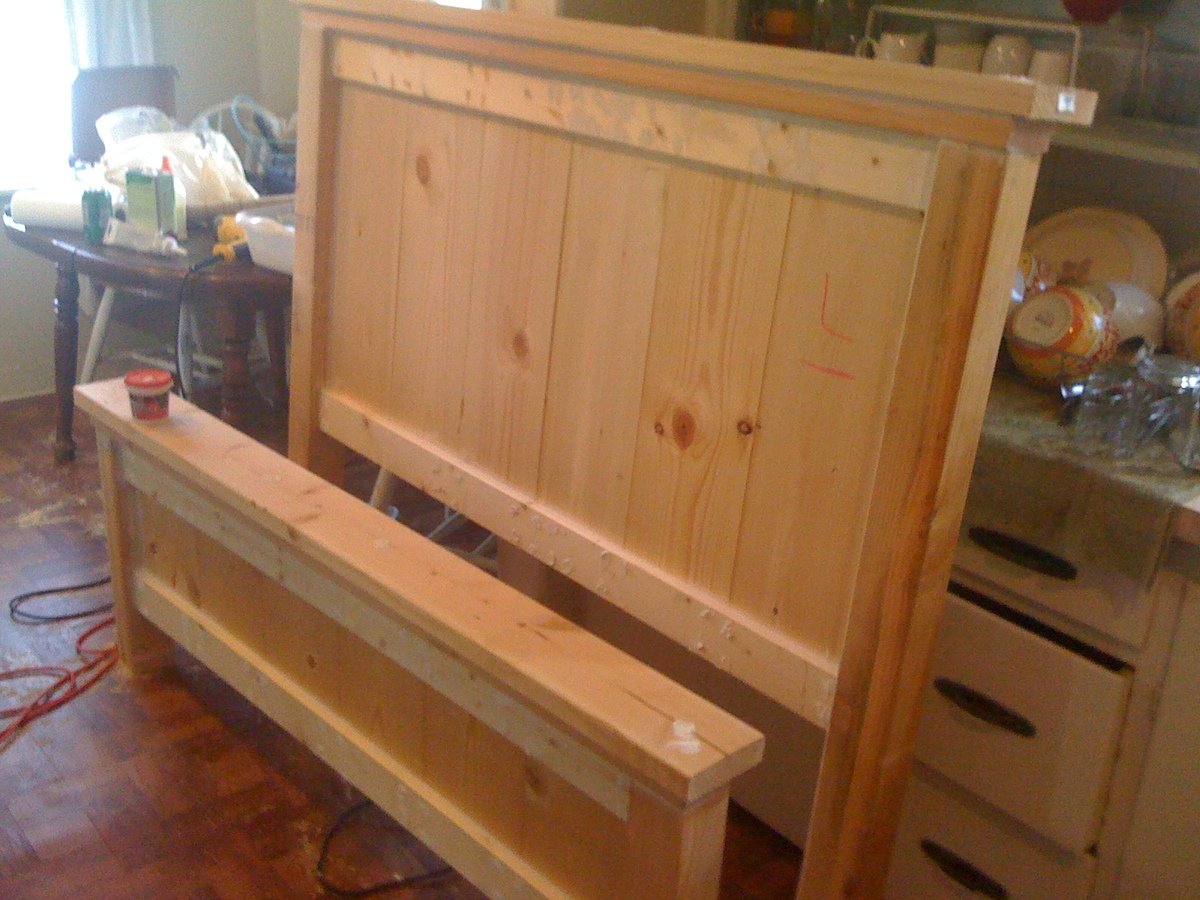
First woodworking project!
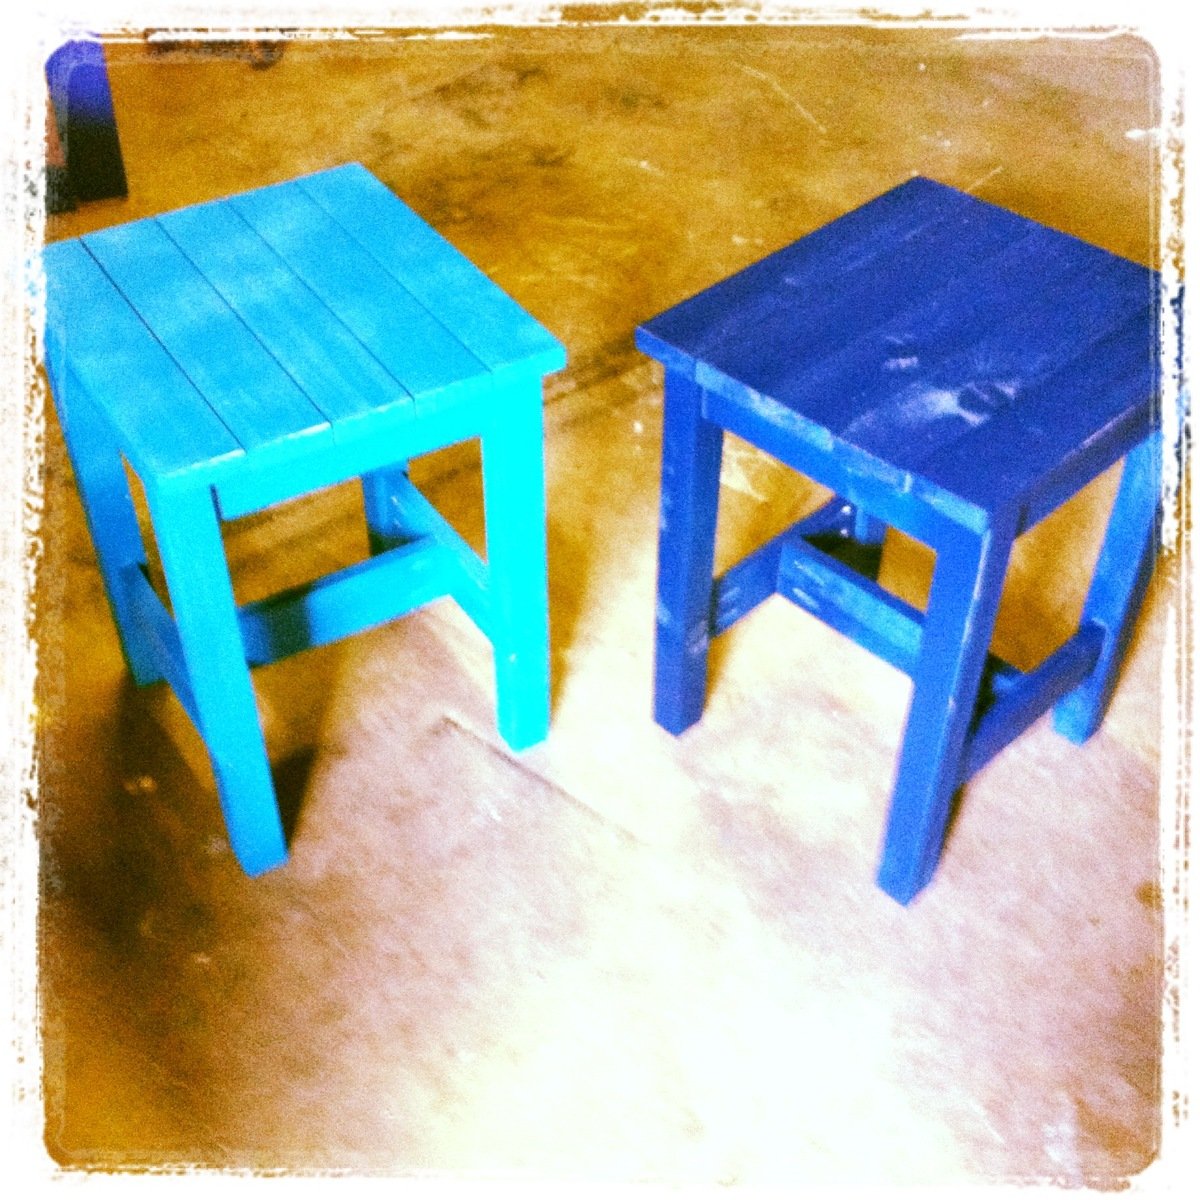
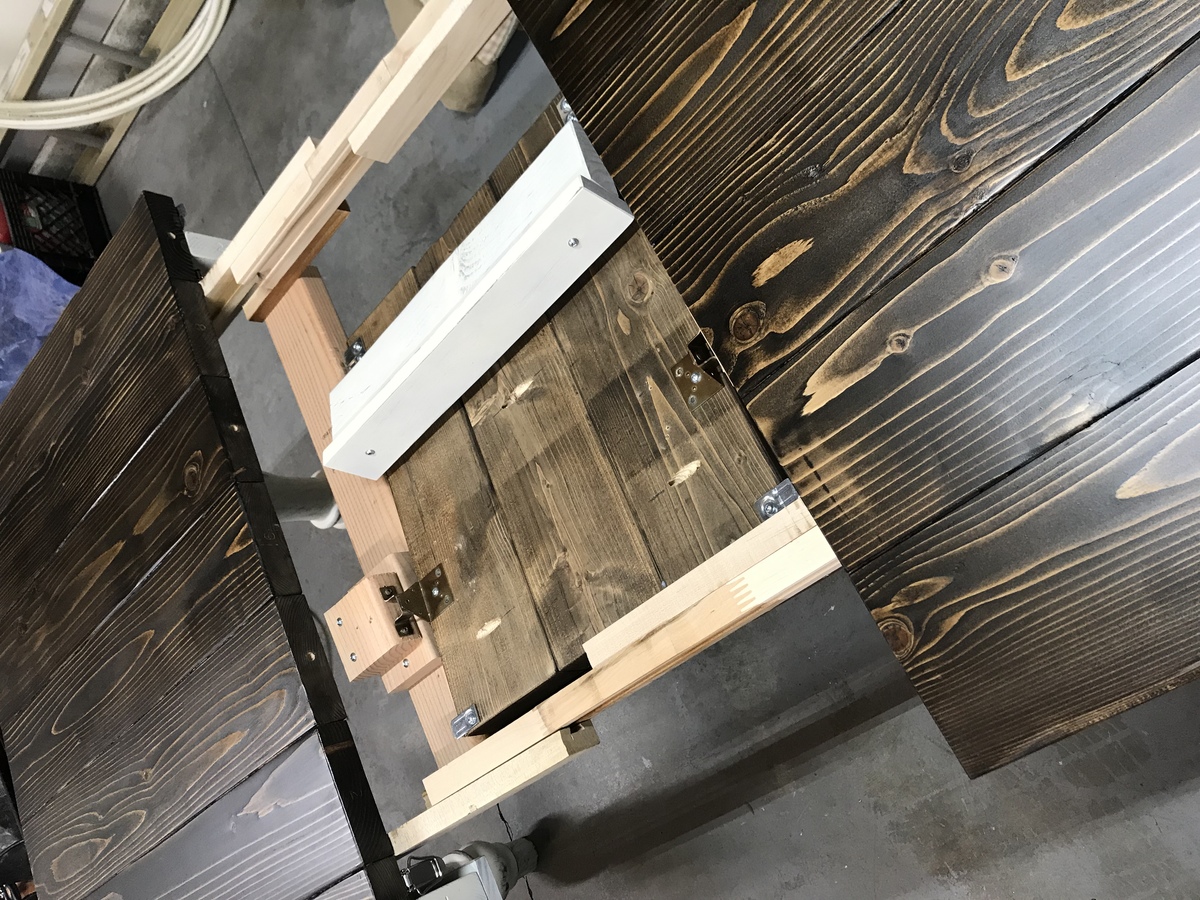
Built from Plan(s)
Estimated Time Investment
Afternoon Project (3-6 Hours)
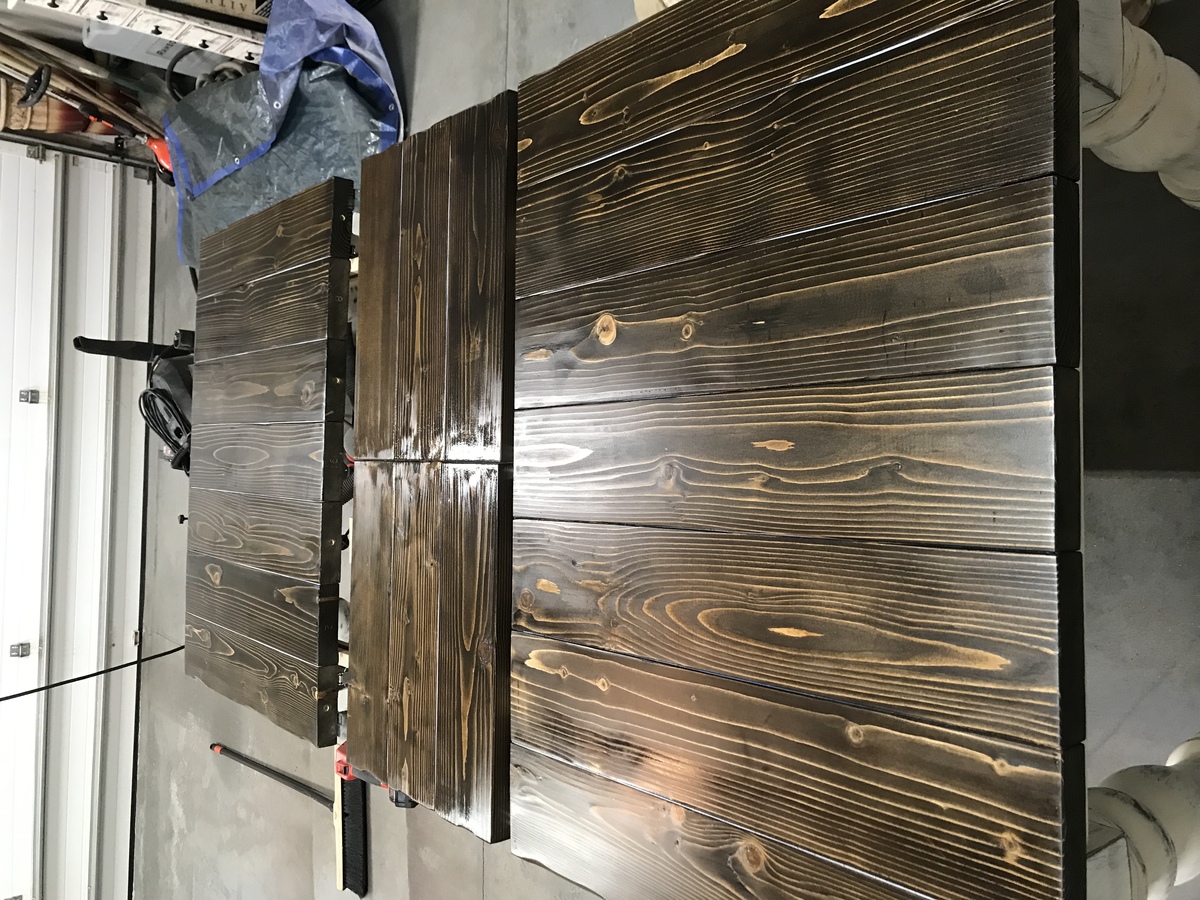
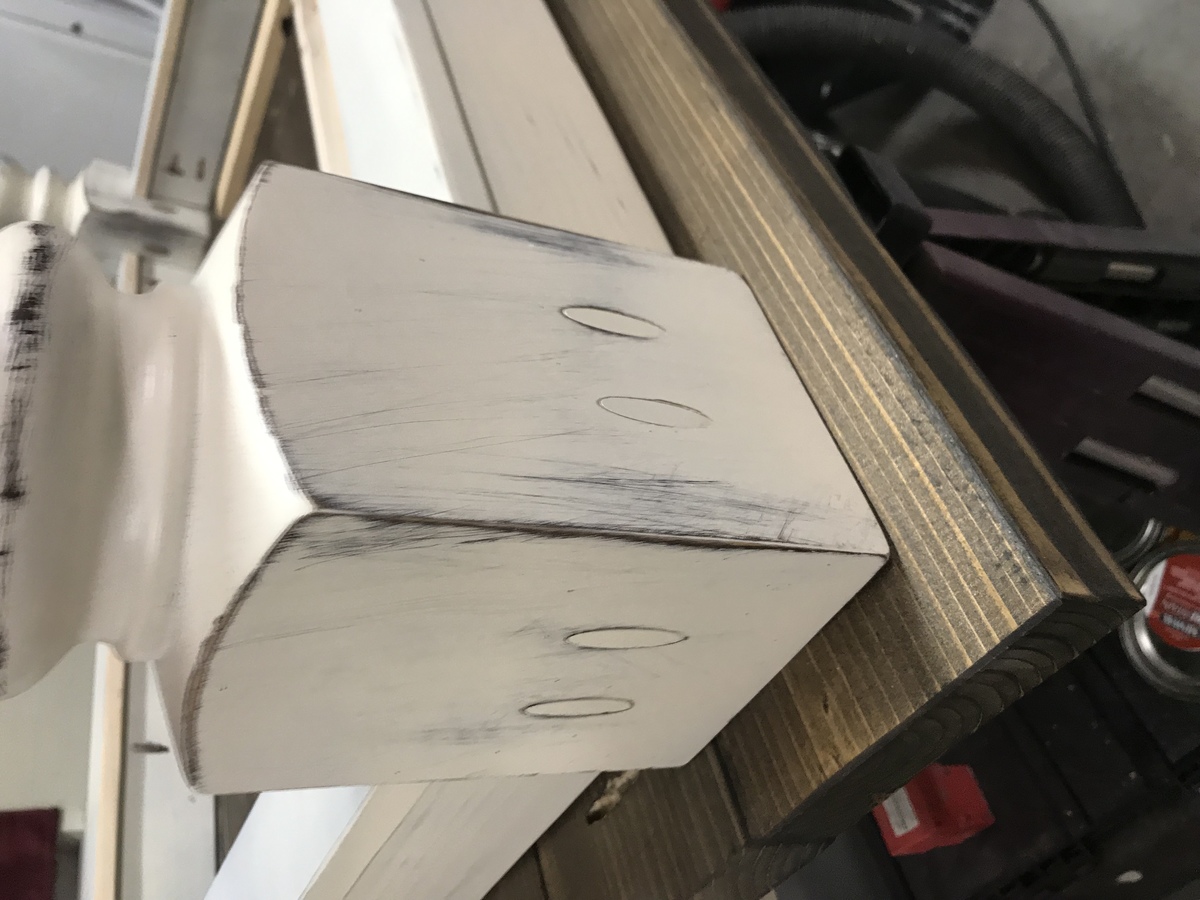
Finish Used
paint
Recommended Skill Level
Starter Project