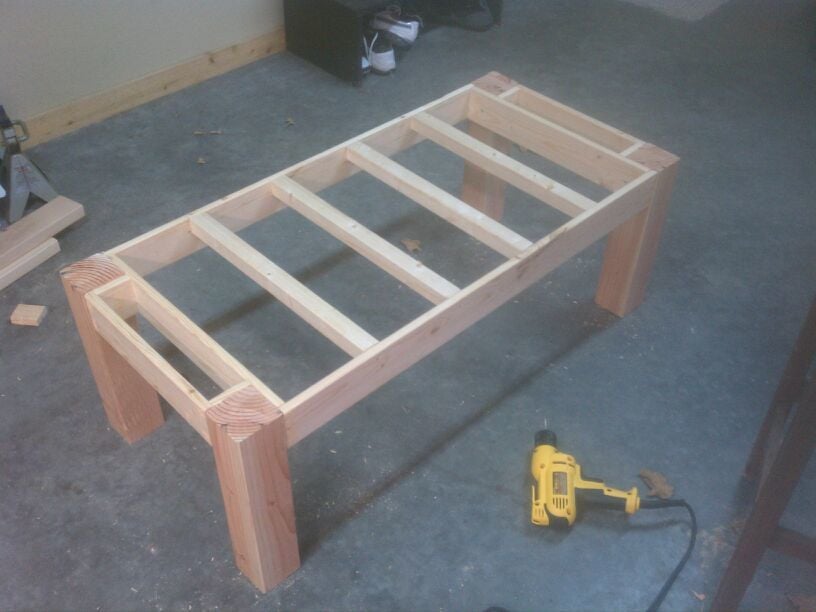
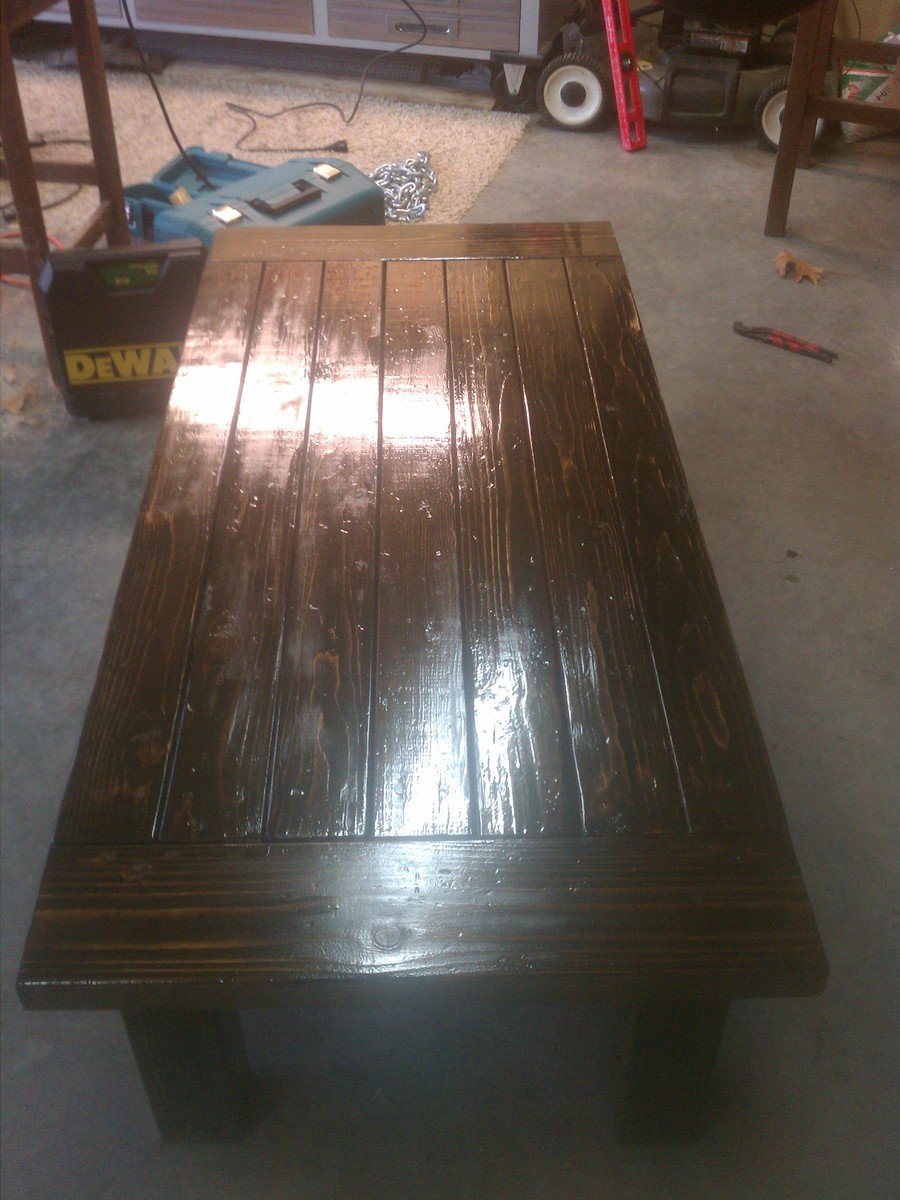
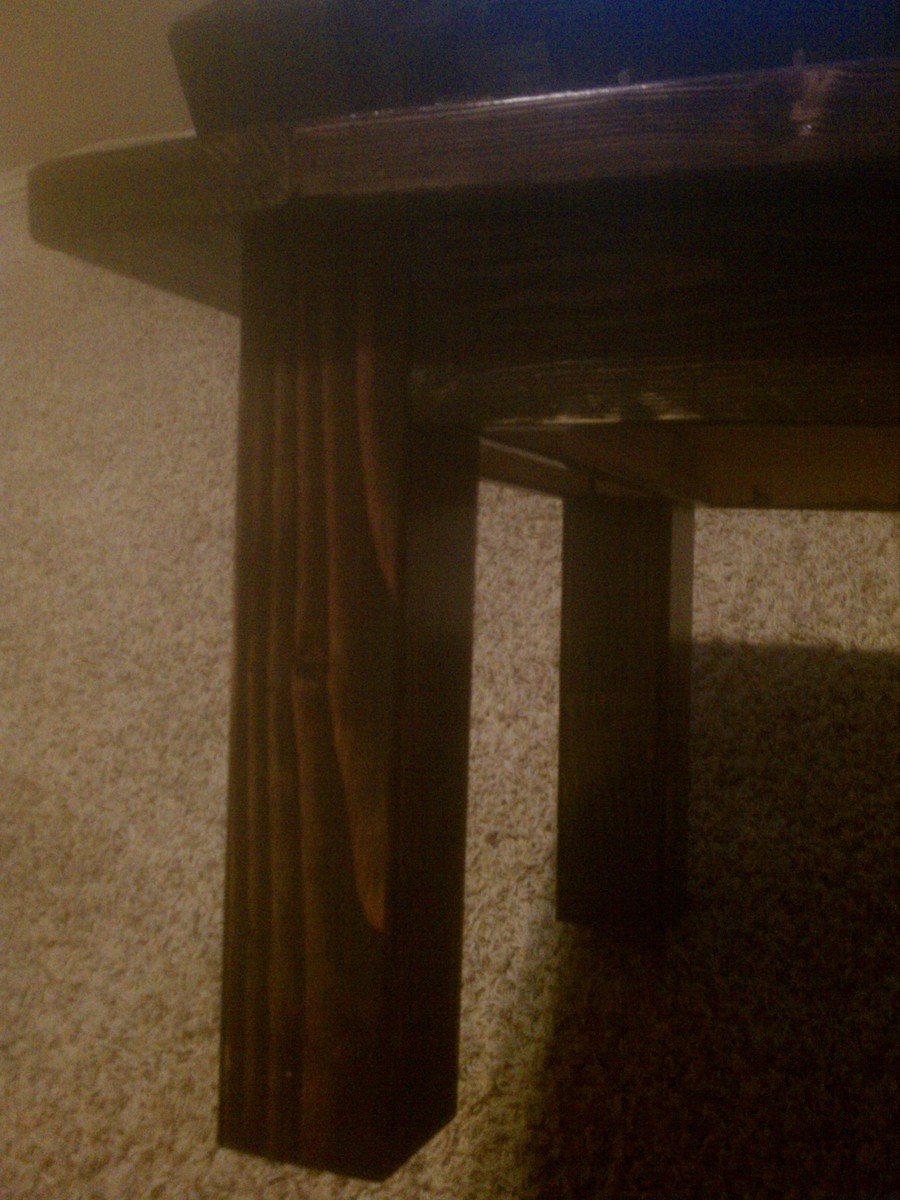
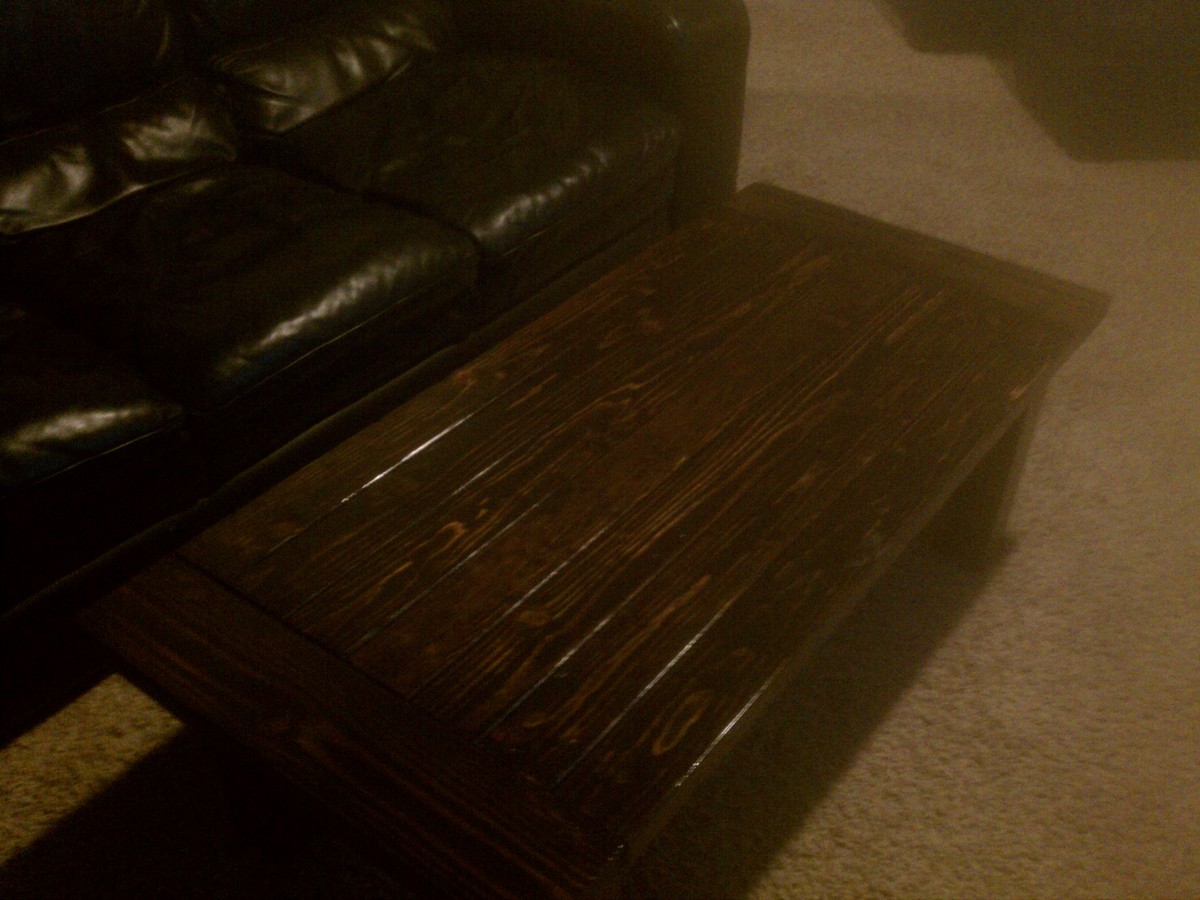
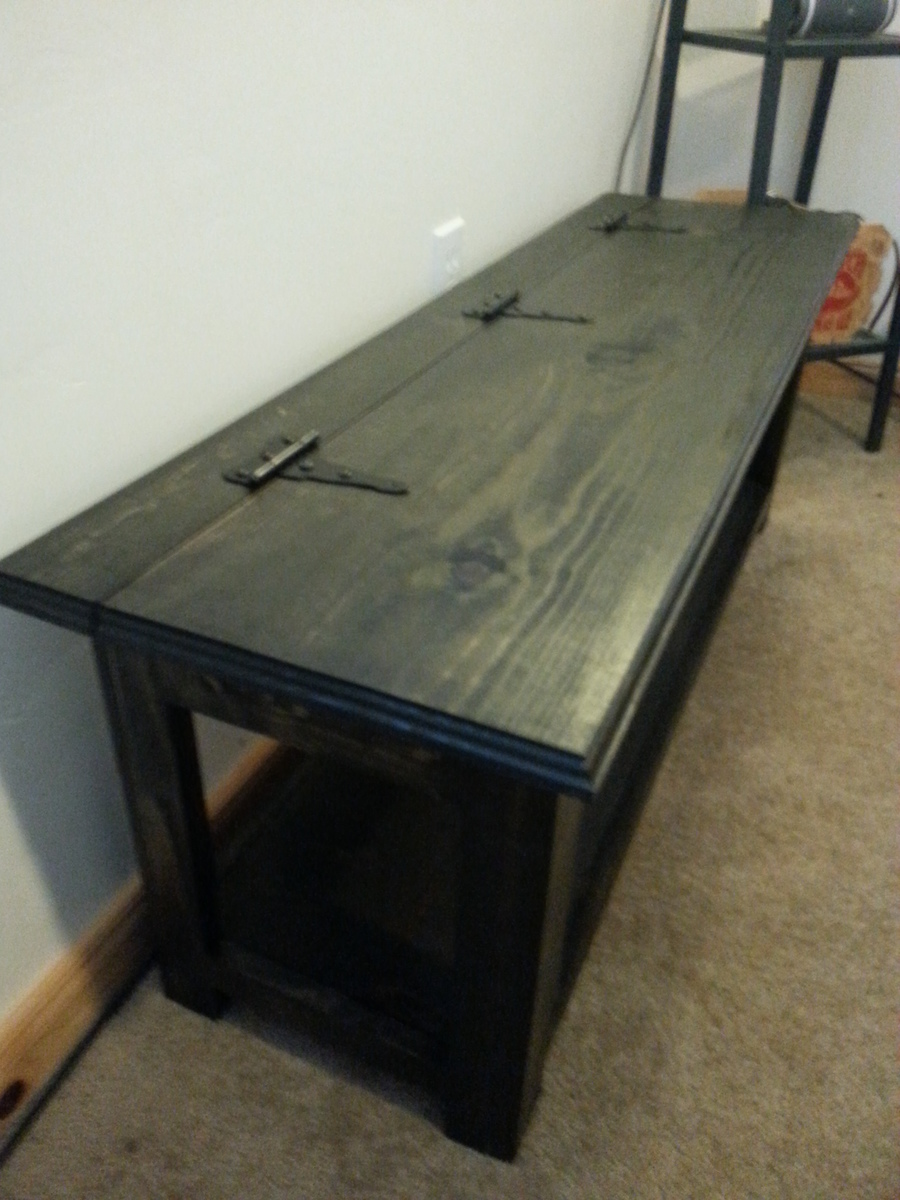
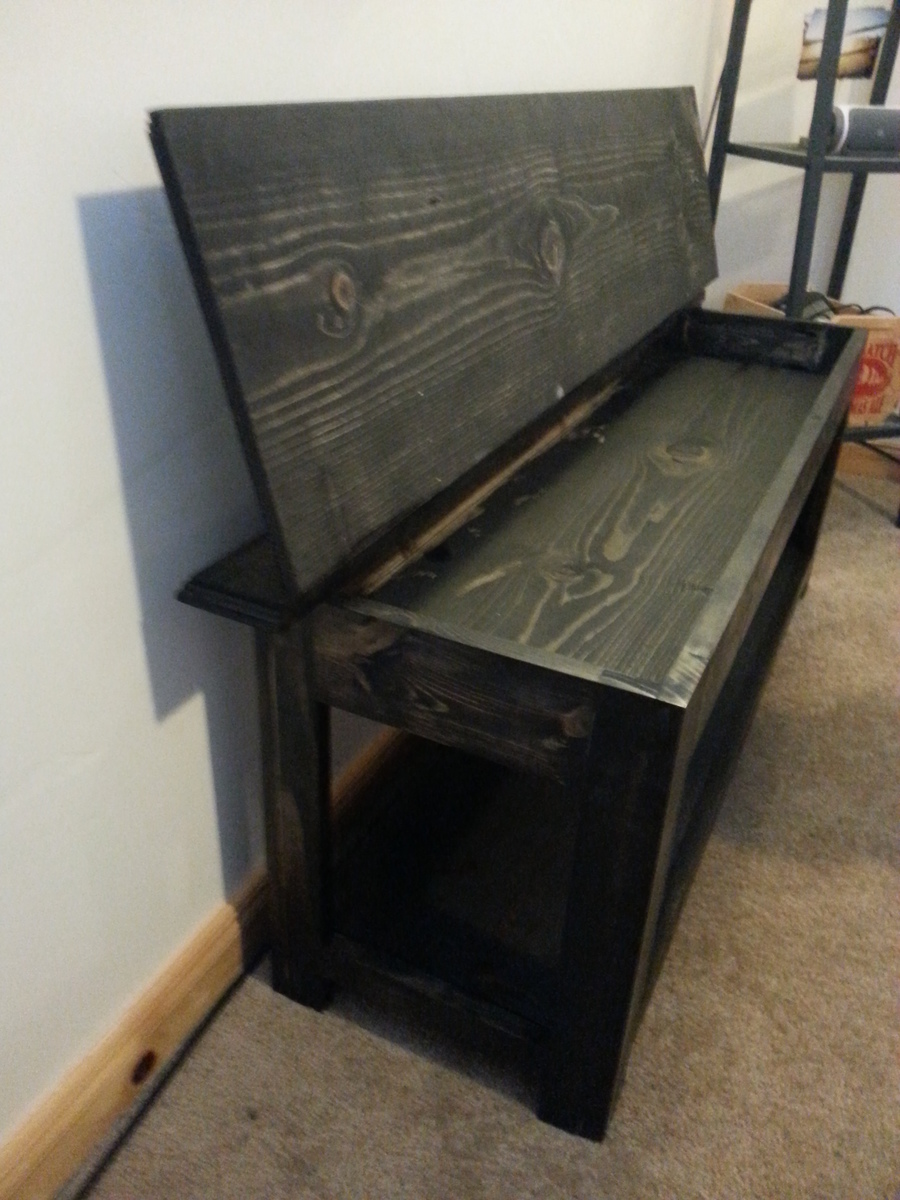
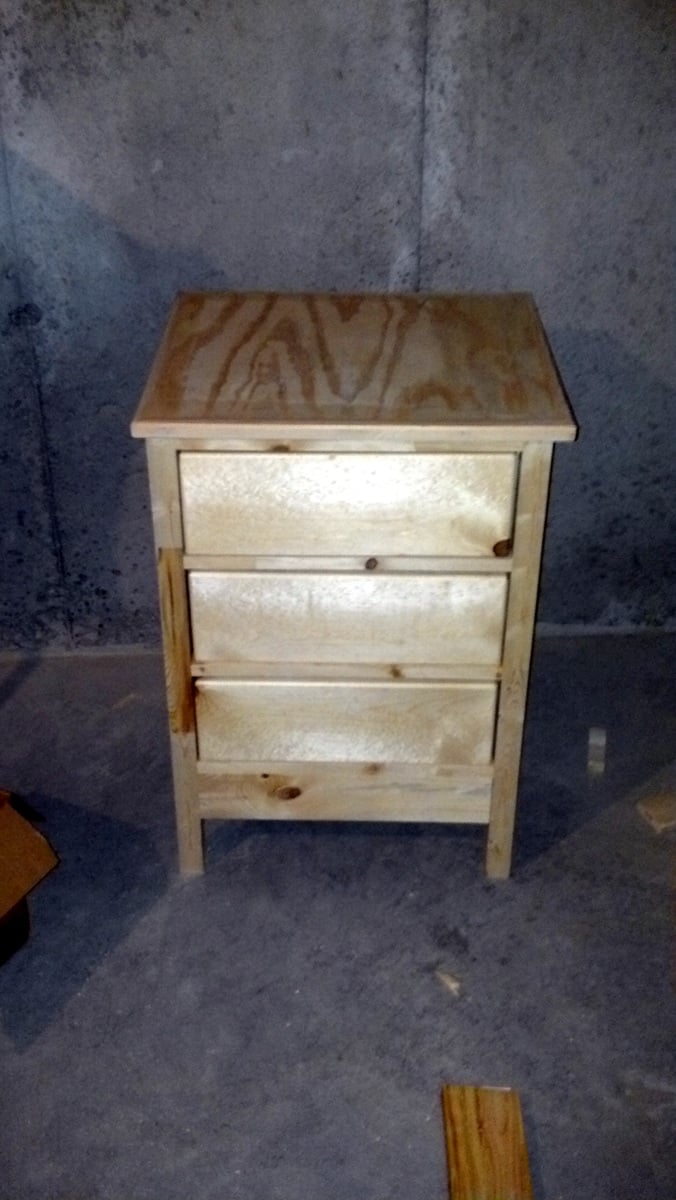
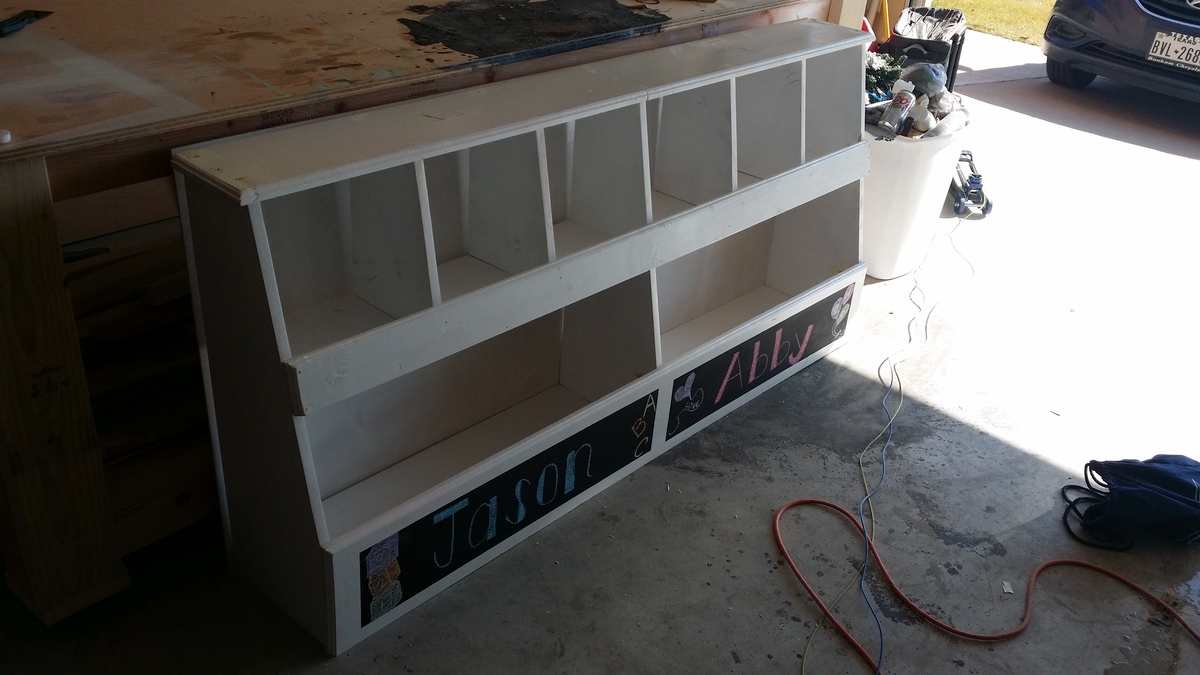
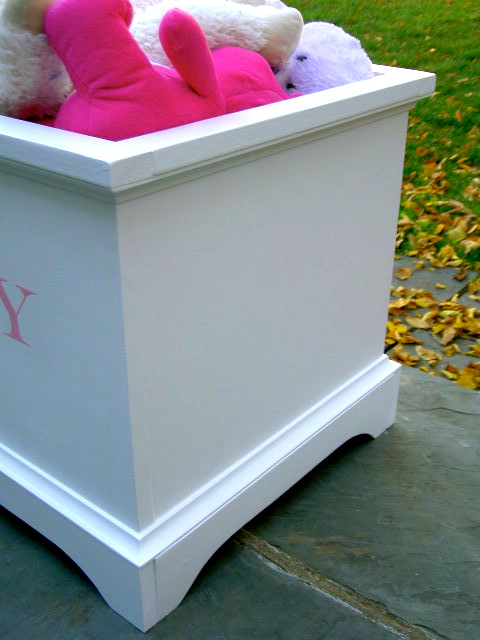
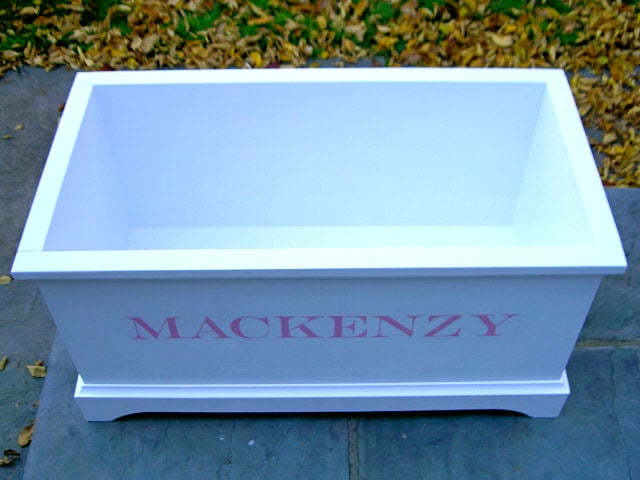
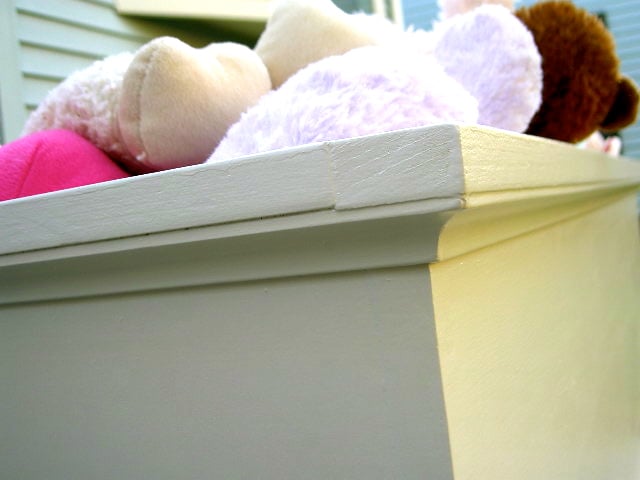
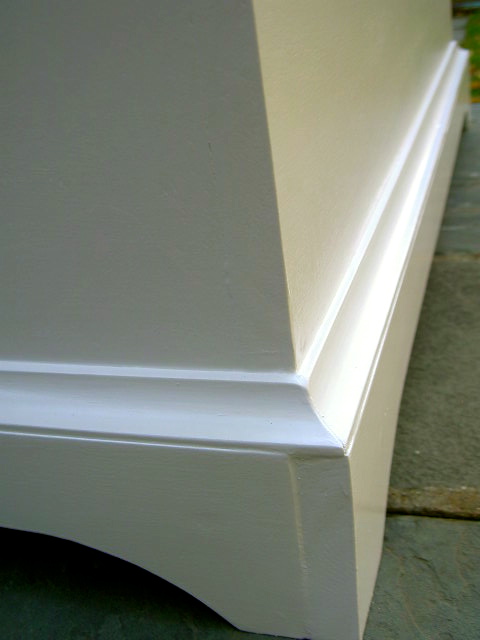
toy box #4
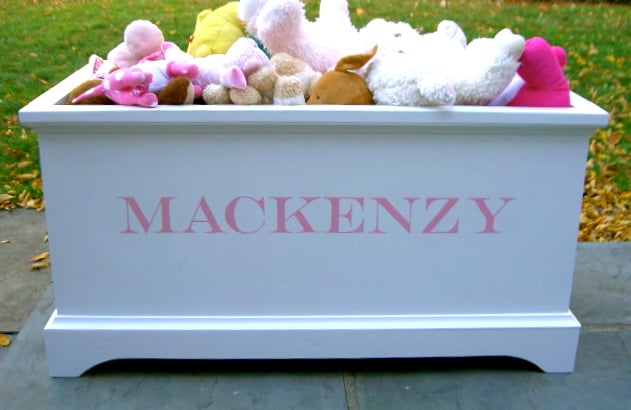
Kids toy box with personalization.

Built from Plan(s)
Estimated Cost
$50
Estimated Time Investment
Afternoon Project (3-6 Hours)
Finish Used
1. One coat primer
2. Two coats semi-gloss white
3. Acrylic for personalization
4. clear acrylic spray
2. Two coats semi-gloss white
3. Acrylic for personalization
4. clear acrylic spray
Recommended Skill Level
Intermediate