Community Brag Posts

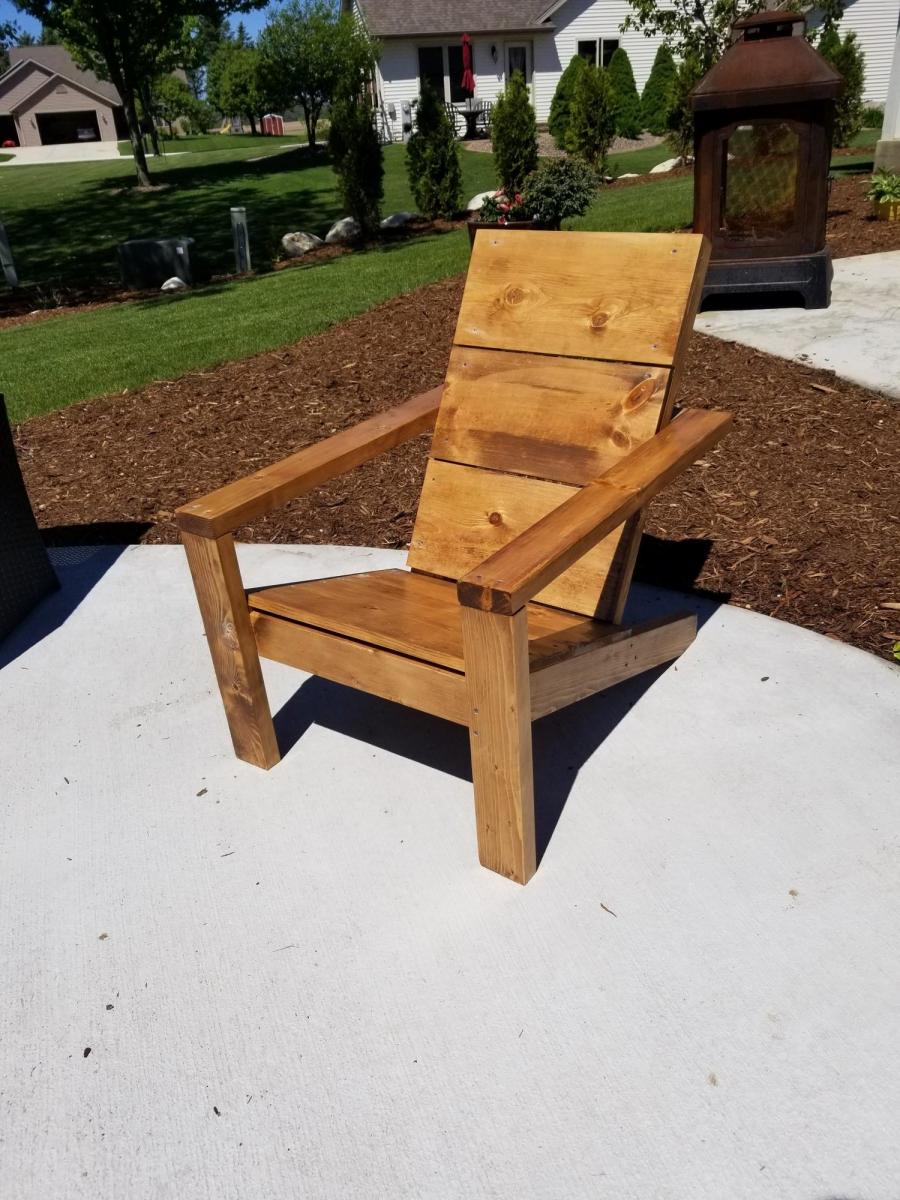
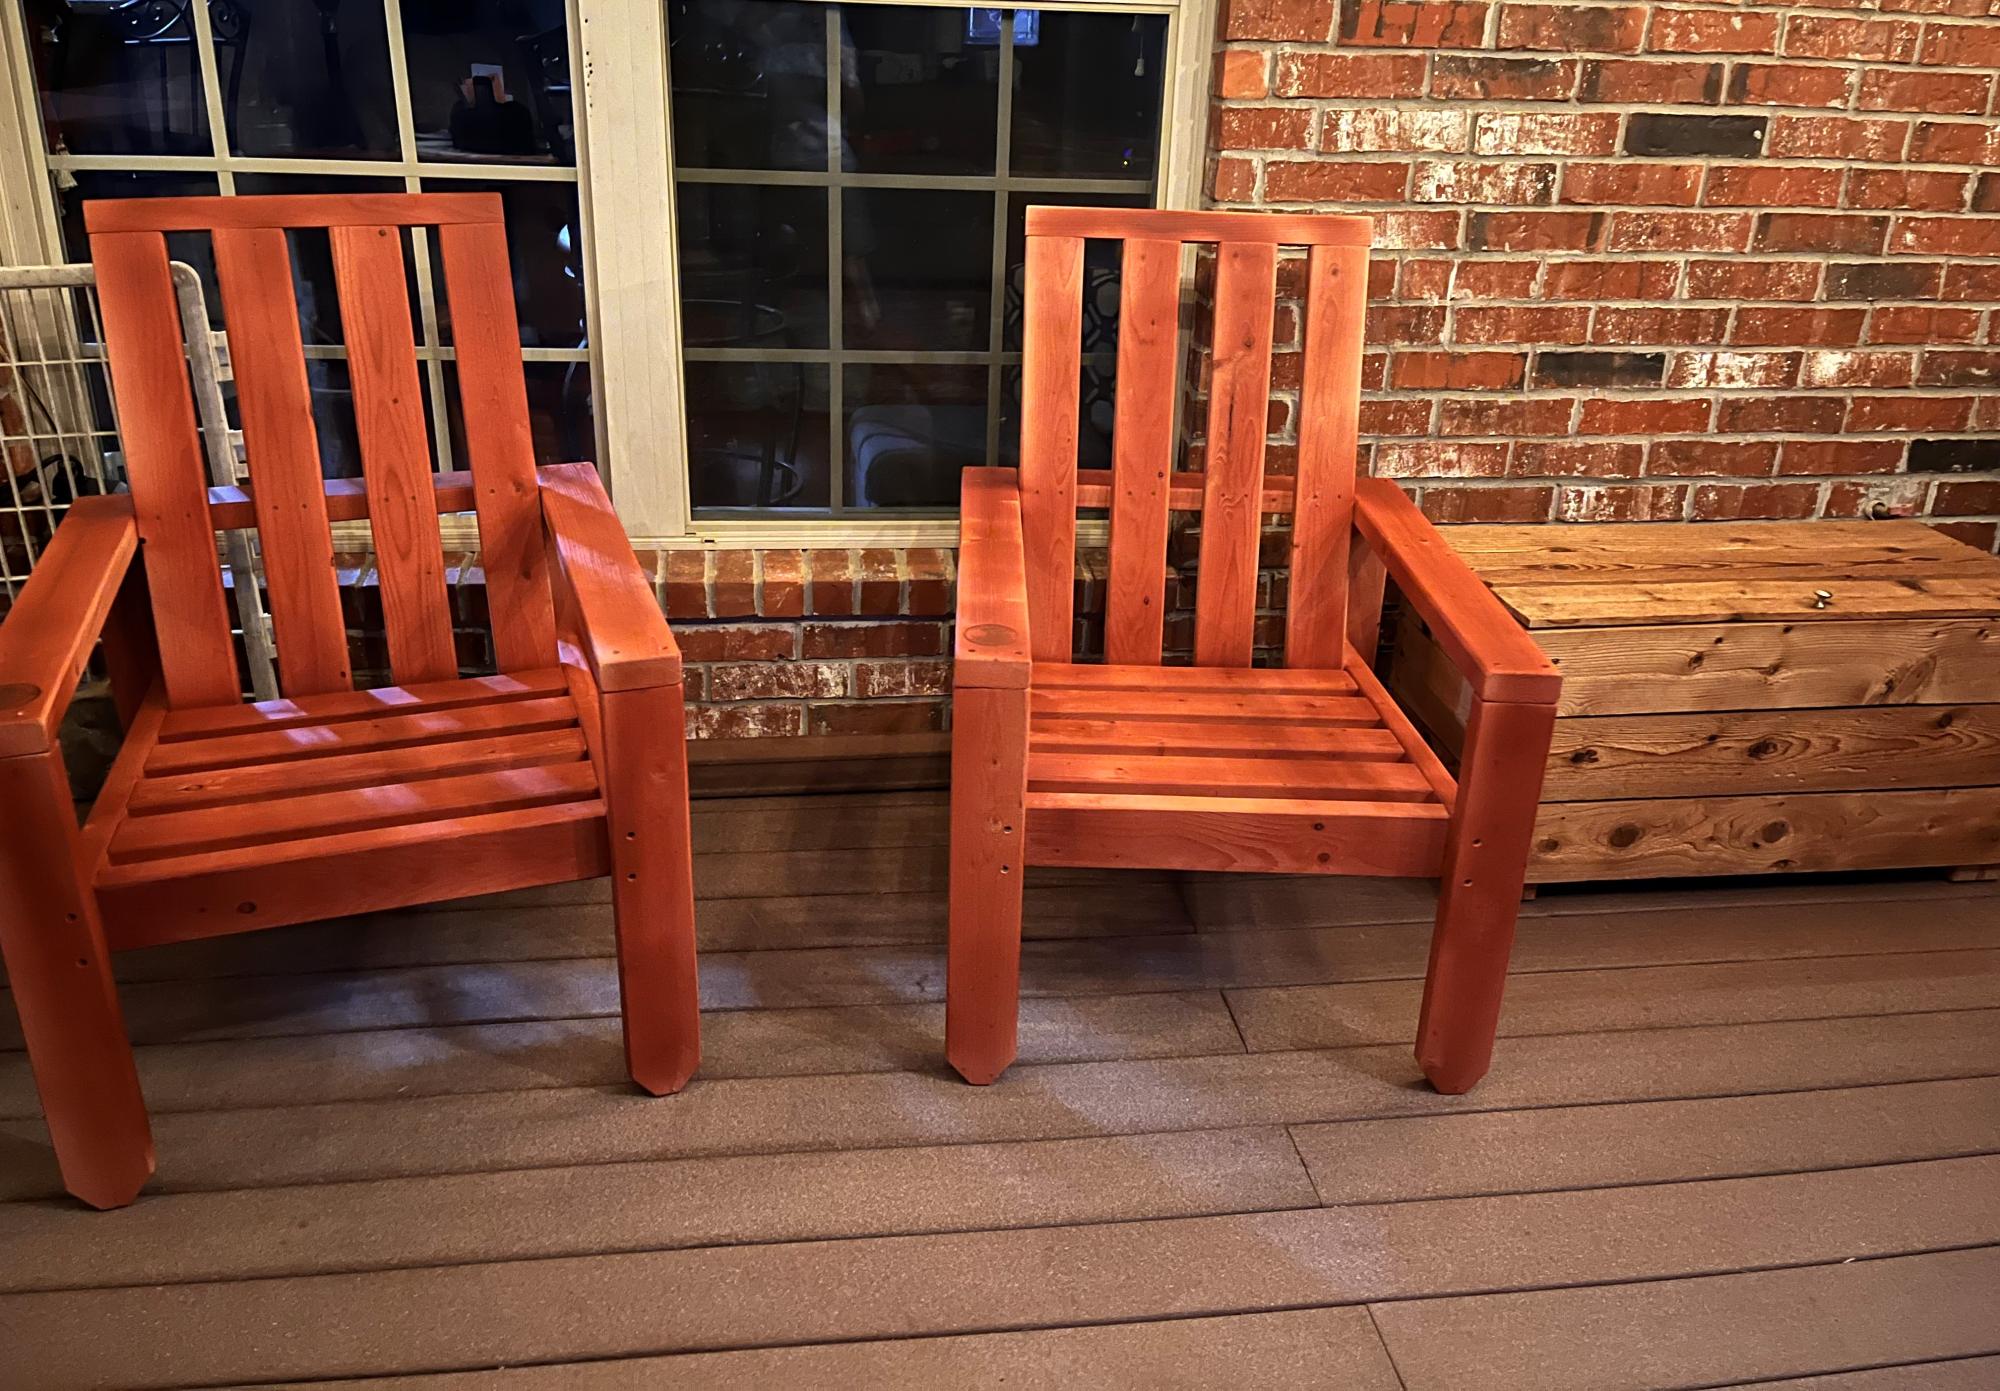
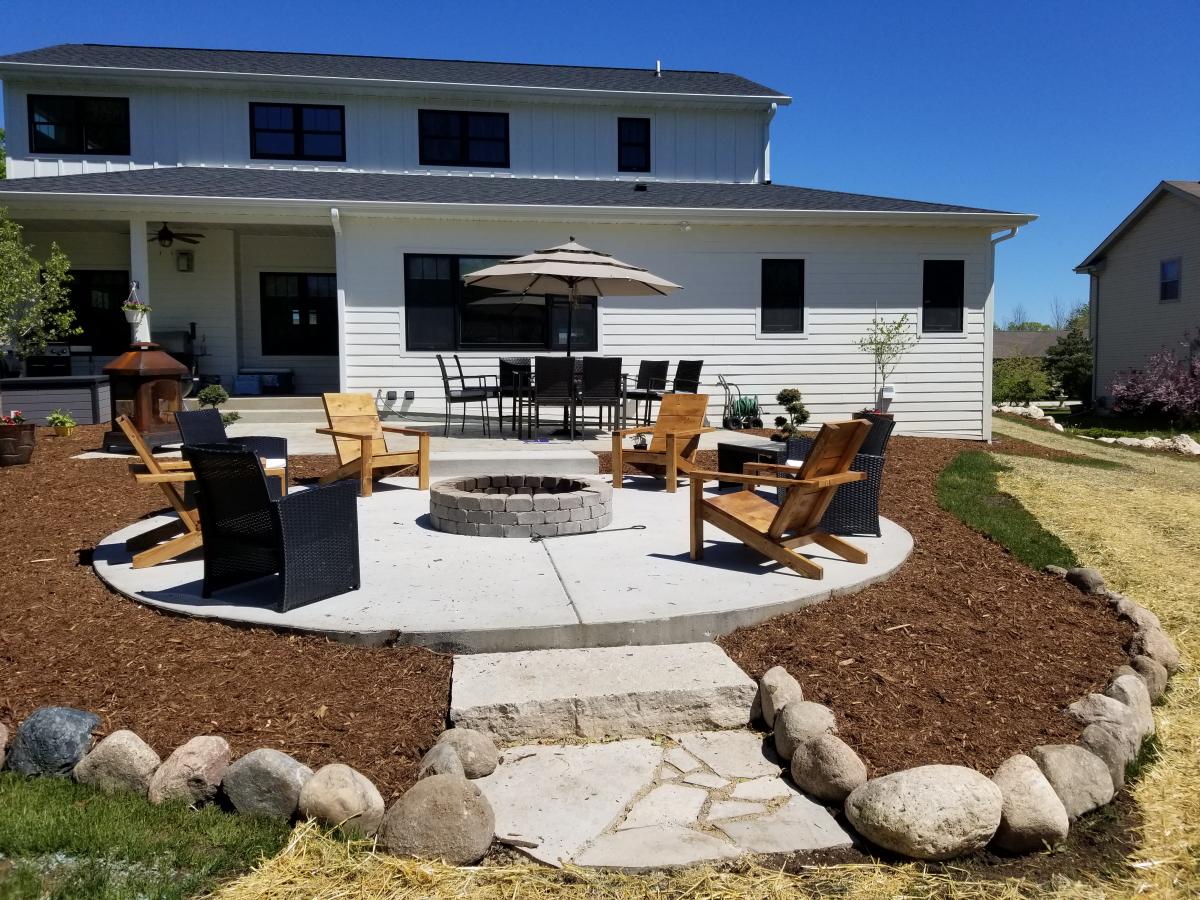
Modern Adirondack Chair

Submitted by rendall28 on Wed, 06/03/2020 - 10:59

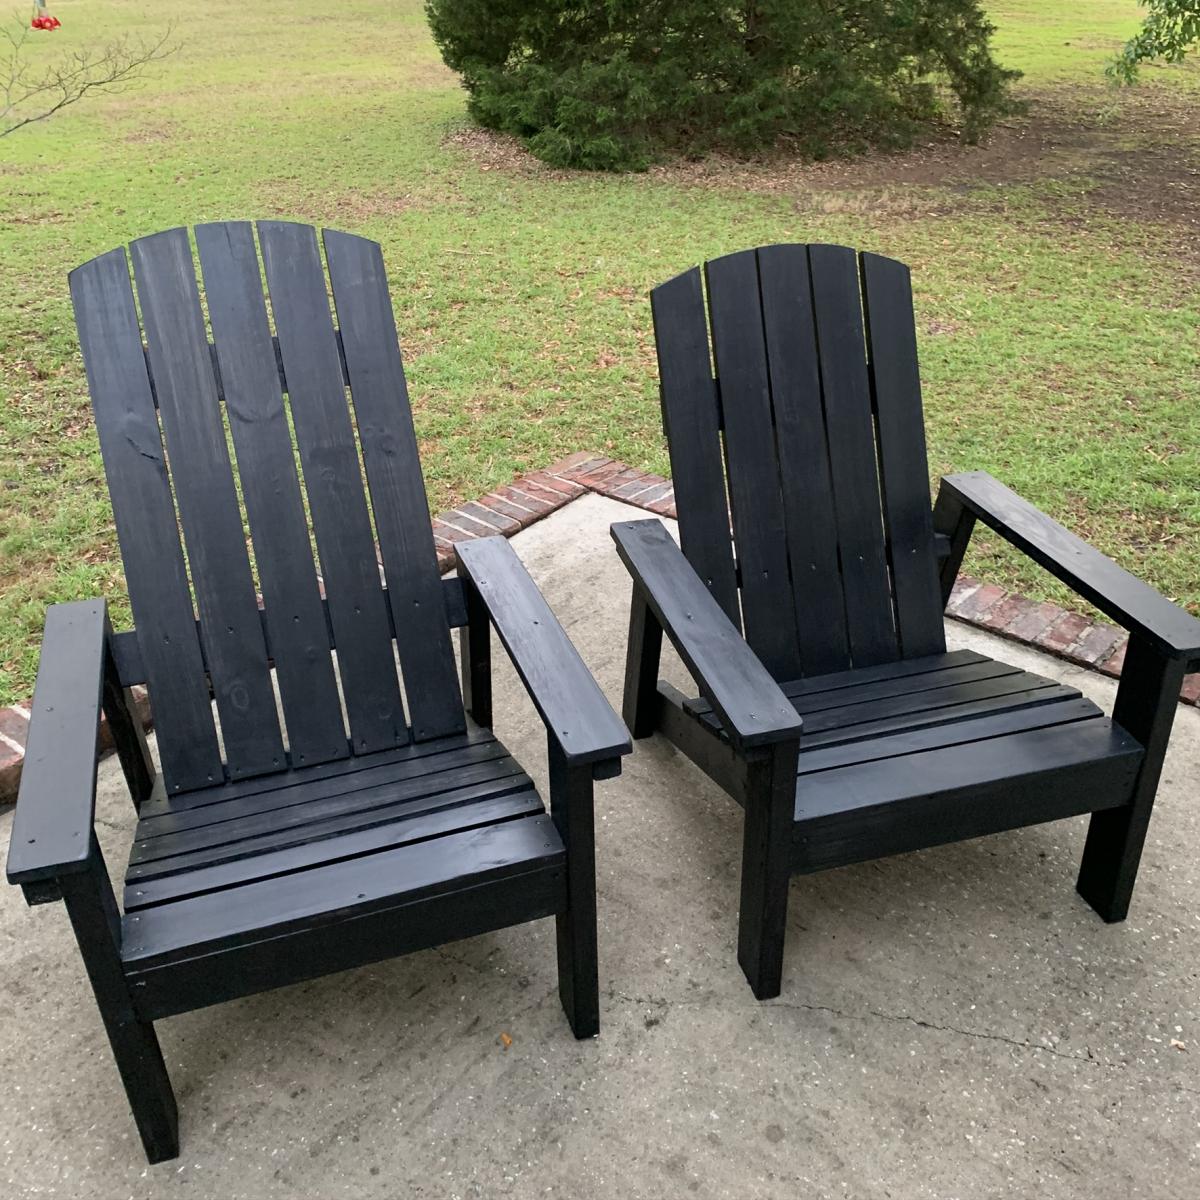
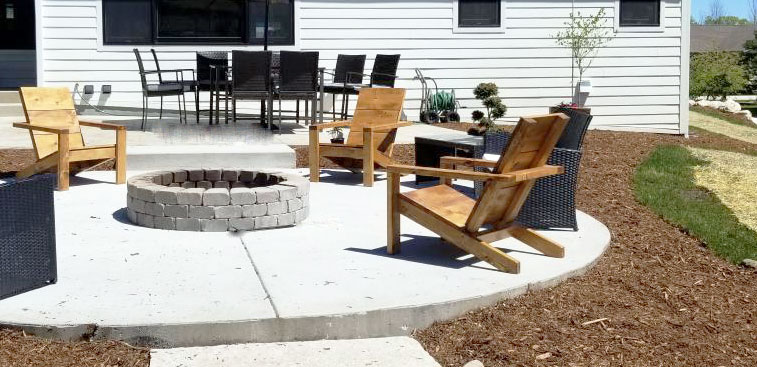
I made 4 of these chairs for around our fire pit. I chose to sand stain and poly before assembling and plan to add another coat of poly now that they are assembled. Sanding was the longest part of the process for me, but if you aren't as particular as I was about the finished project the time investment would be substantially reduced. I also of course had drying time for the stand and poly. Assembly itself was simple and the finished chairs are comfortable and sturdy without being overly heavy and bulky.

Estimated Cost
130 (4 chairs including finishing)
Estimated Time Investment
Weekend Project (10-20 Hours)
Finish Used
Stain: special Walnut

Double Desk

Submitted by mtroutman on Wed, 07/25/2012 - 09:28

This was our first project! We built it exactly like the plans. We finished it with a clear satin poly and we are thrilled with the results. Next we plan to paint the room.

Estimated Time Investment
Week Long Project (20 Hours or More)
Recommended Skill Level
Intermediate

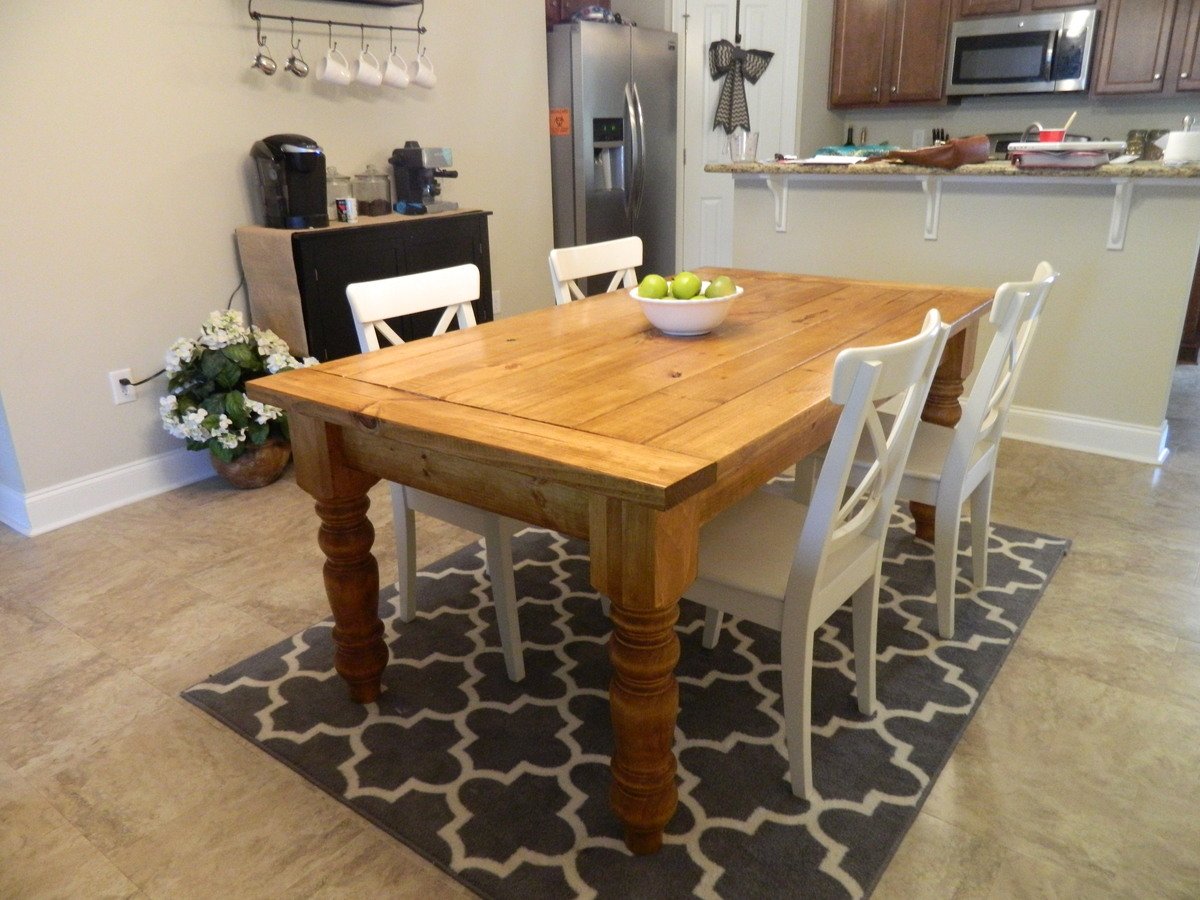
Husky Farmhouse Dining Table

I love building my own wood furniture so that I can have beautiful pieces of furniture in my home while saving money! And while this project definitely cost more than the others I have done, I am so glad I splurged on the table legs. They ran me about $260 after tax and shipping costs, but I really think they give the table that extra OOMF! So a total of about $300 is nothing compared to a price tag at Pottery Barn or Restoration Hardware!

I chose this stain because I really wanted something to contrast with our dark leather couch and white dining chairs and this stain was even more perfect than what I expected it to be.

Built from Plan(s)
Estimated Cost
$300
Estimated Time Investment
Weekend Project (10-20 Hours)
Finish Used
Varathane Early American with Helmsman protective coating
Recommended Skill Level
Beginner

Farmouse

Submitted by Anonymous (not verified) on Fri, 08/19/2016 - 23:09

My first building project ever. Love it and plan on putting it in my dining eventually 

Built from Plan(s)
Estimated Cost
70
Estimated Time Investment
Weekend Project (10-20 Hours)
Recommended Skill Level
Beginner

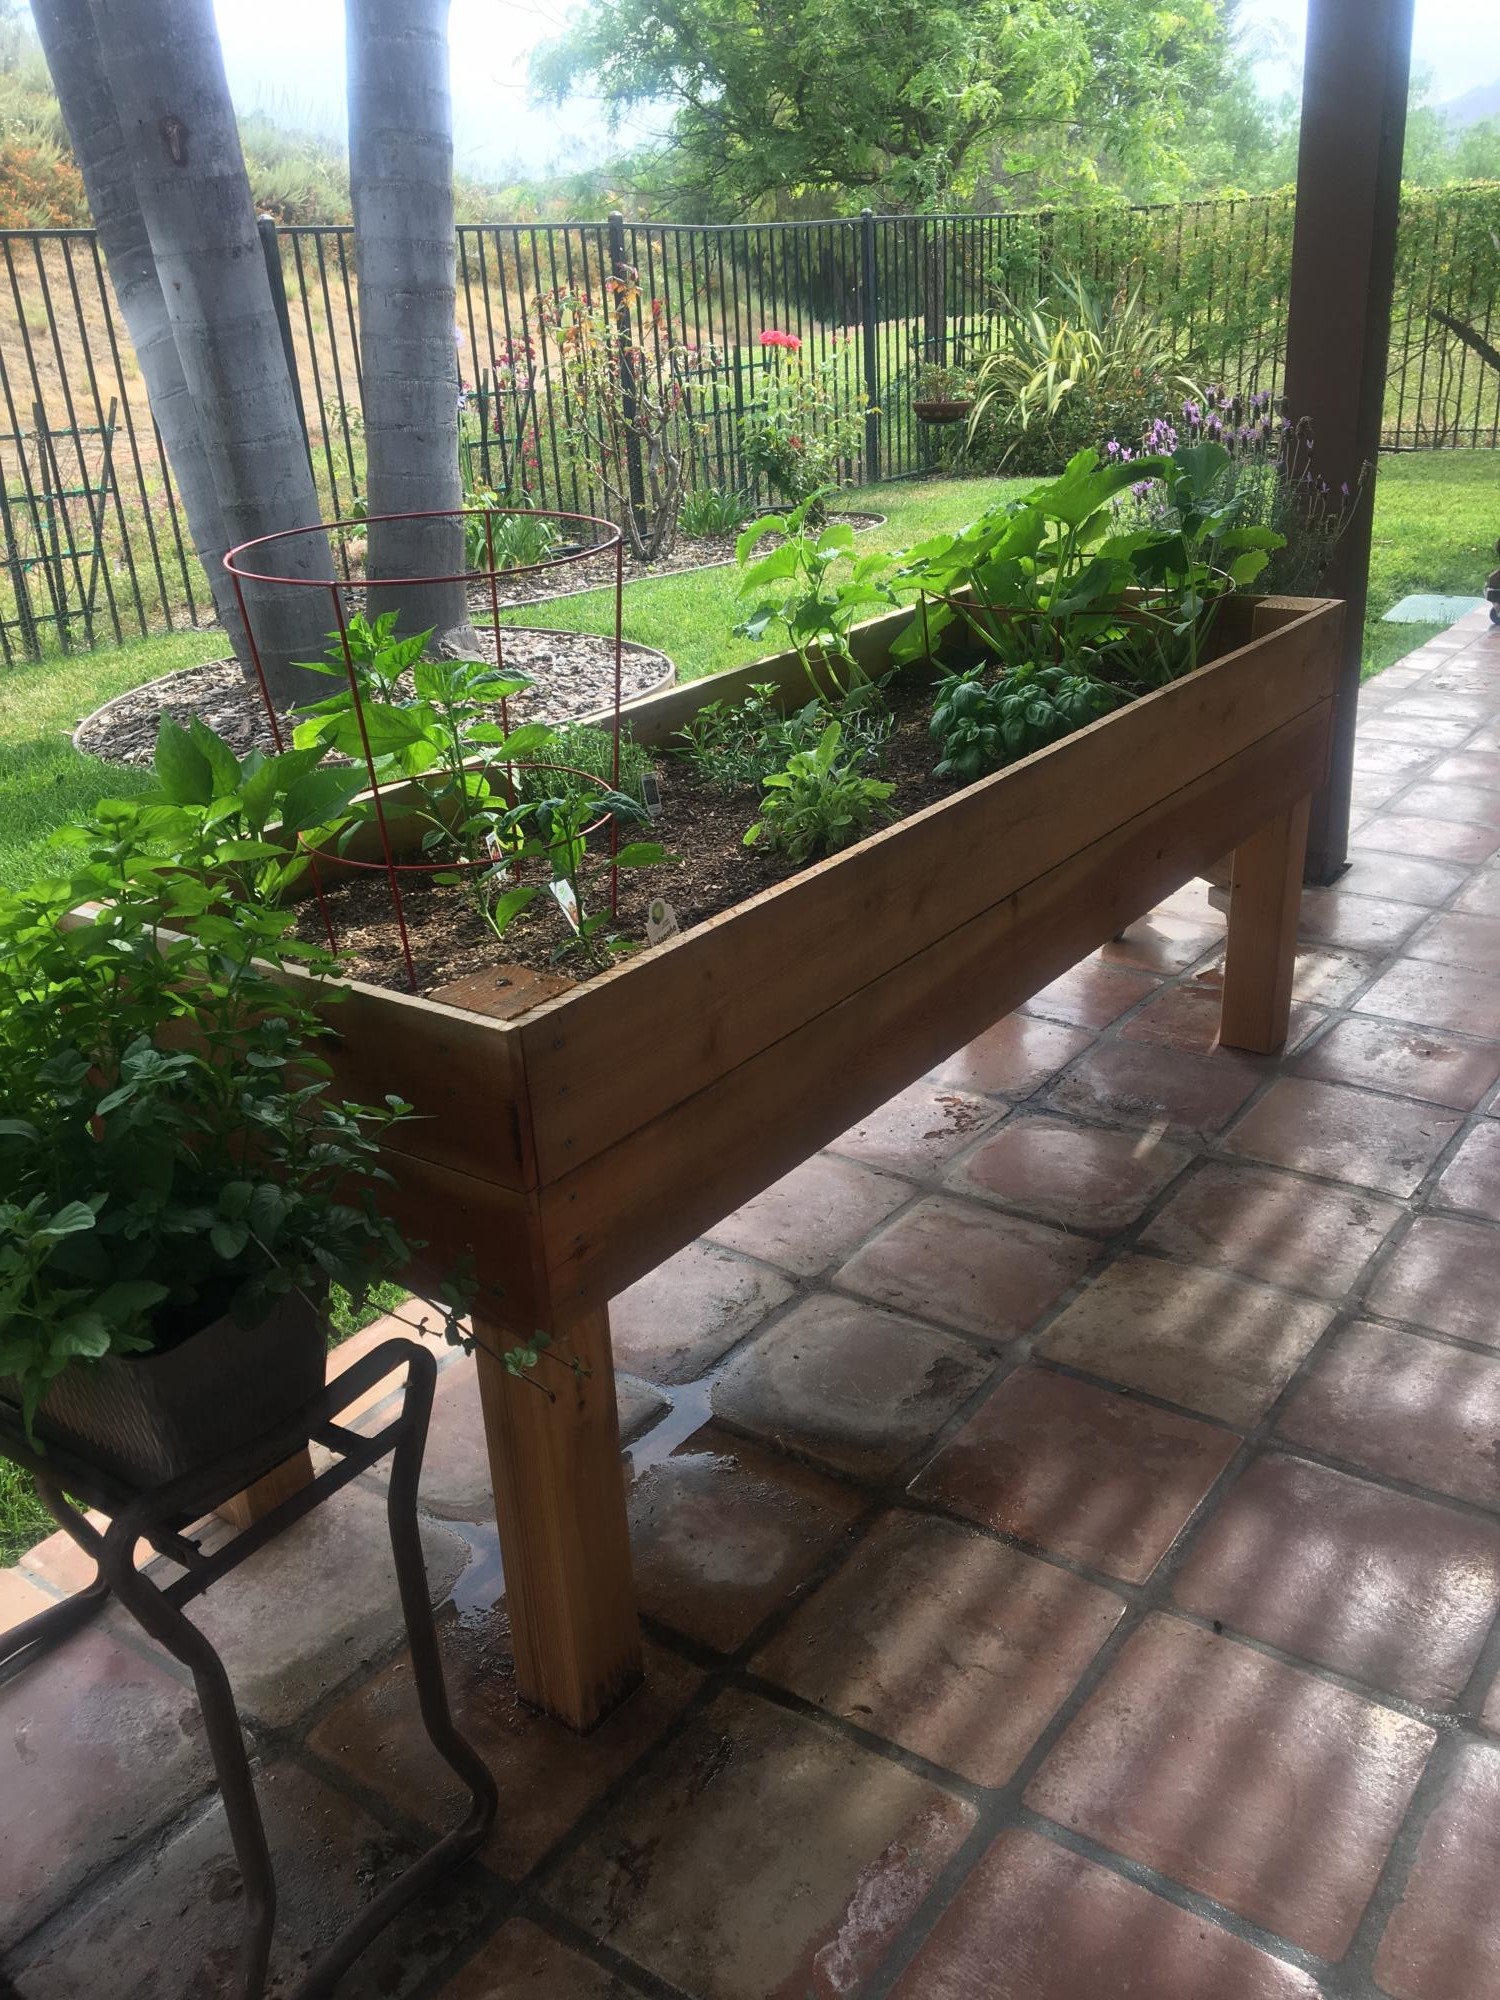
Raised bed planter

Submitted by Anonymous (not verified) on Tue, 06/02/2020 - 16:36

Hey Ana,

I saw your raised bed planter and decided to tackle it for ourselves. It measures 2'x8' and stands 28" to the bottom of the planter. I used redwood fencing for the sides and bottom at a cost of $1.79 each. I didn't use the wire mesh for the bottom but drilled 1/4" holes in the redwood fencing for drainage.

Thanks for the idea!!

Mike Howell

Estimated Cost
$45
Estimated Time Investment
Afternoon Project (3-6 Hours)
Finish Used
I left ours in it's natural state
Recommended Skill Level
Intermediate

Saw Horse Work Bench

Submitted by jsquires3 on Thu, 07/26/2012 - 23:34

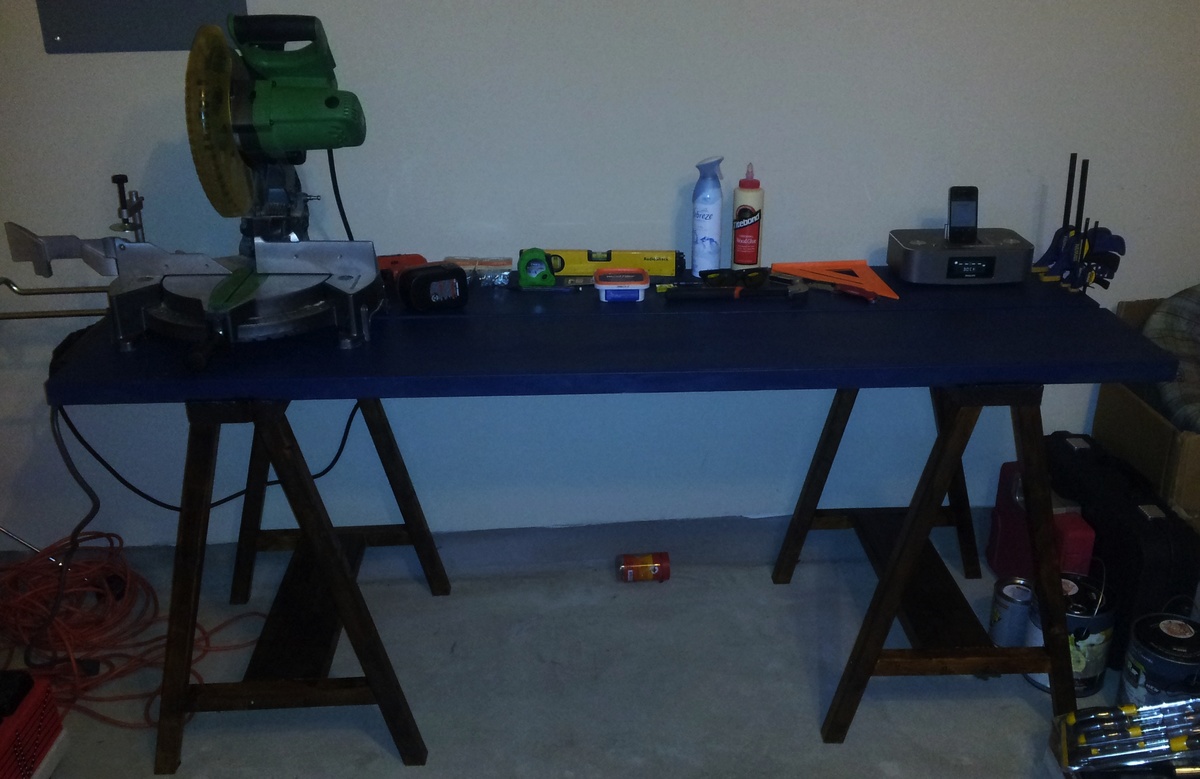
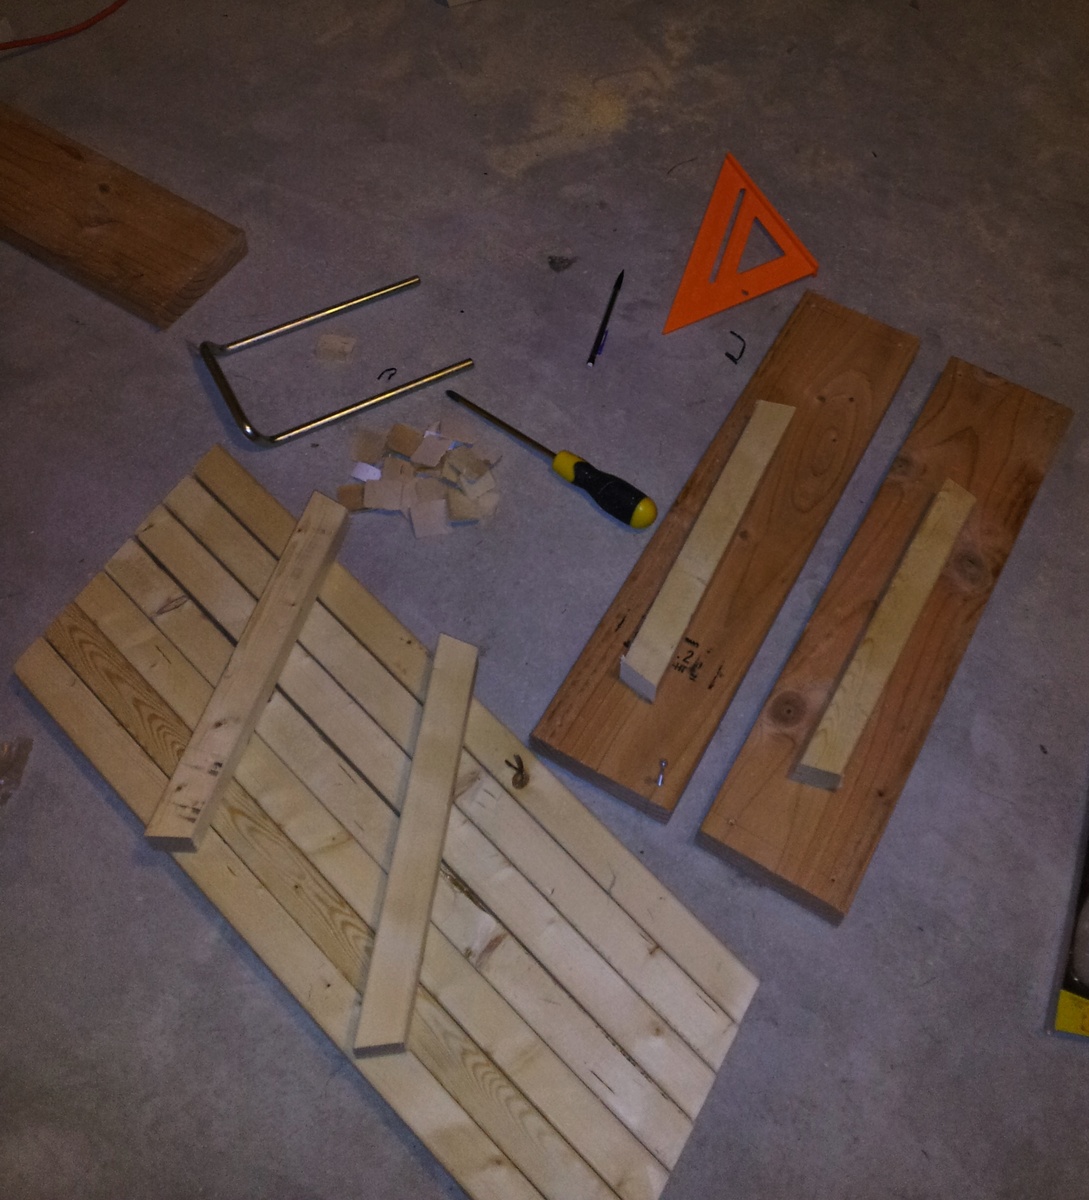
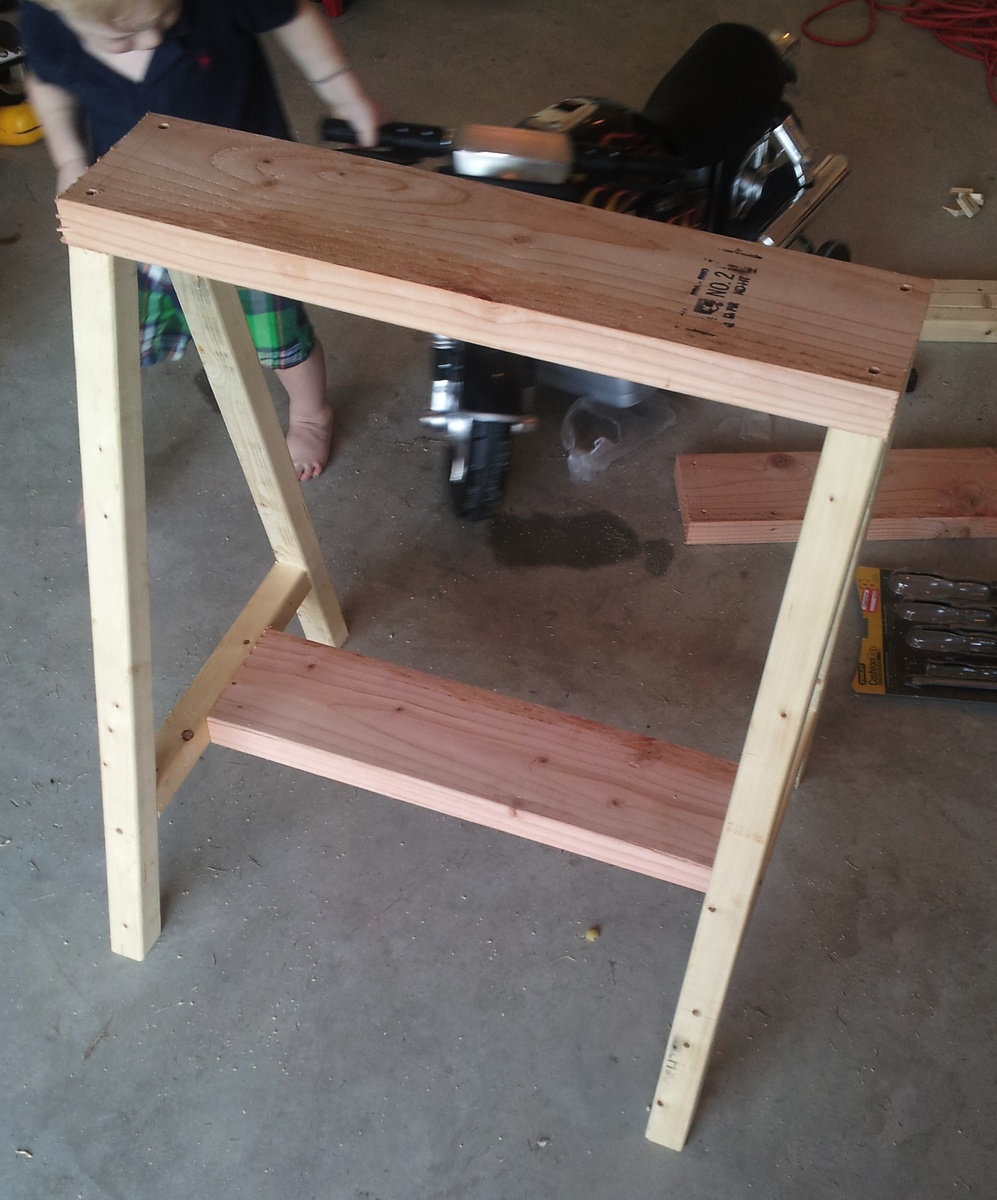
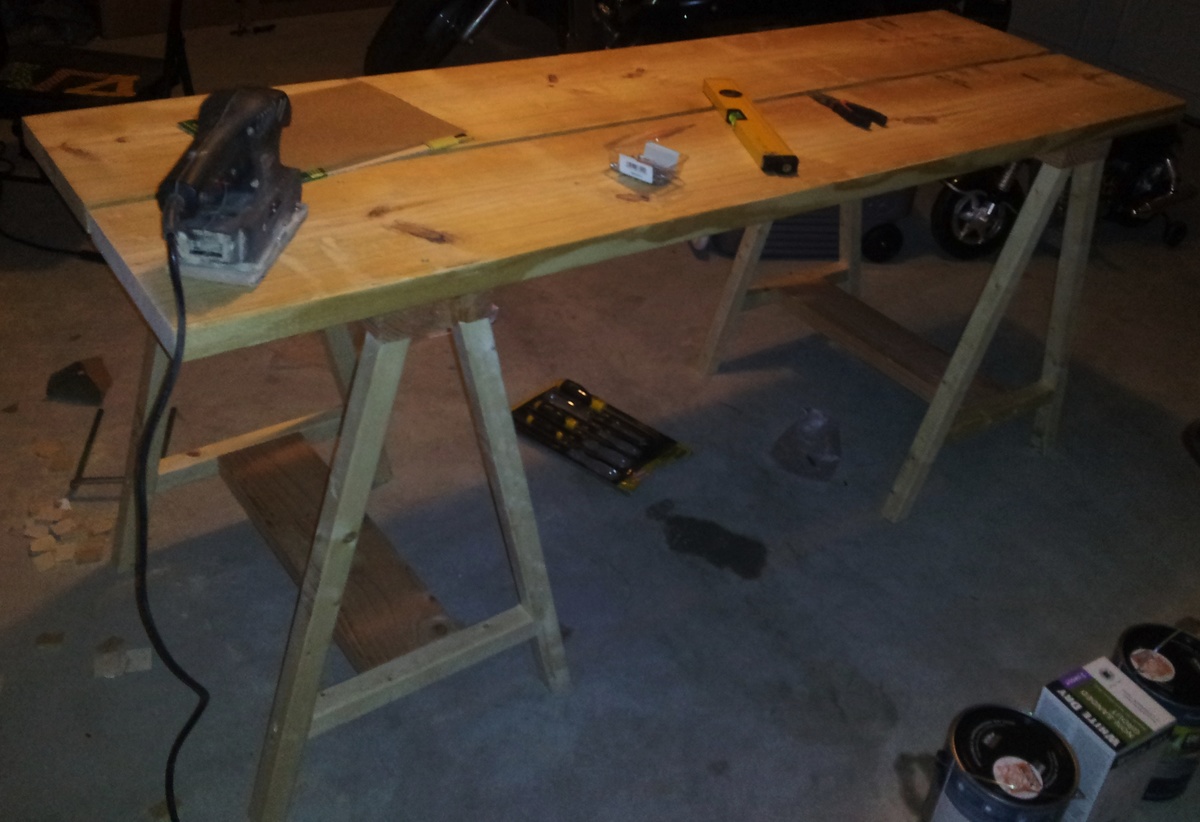
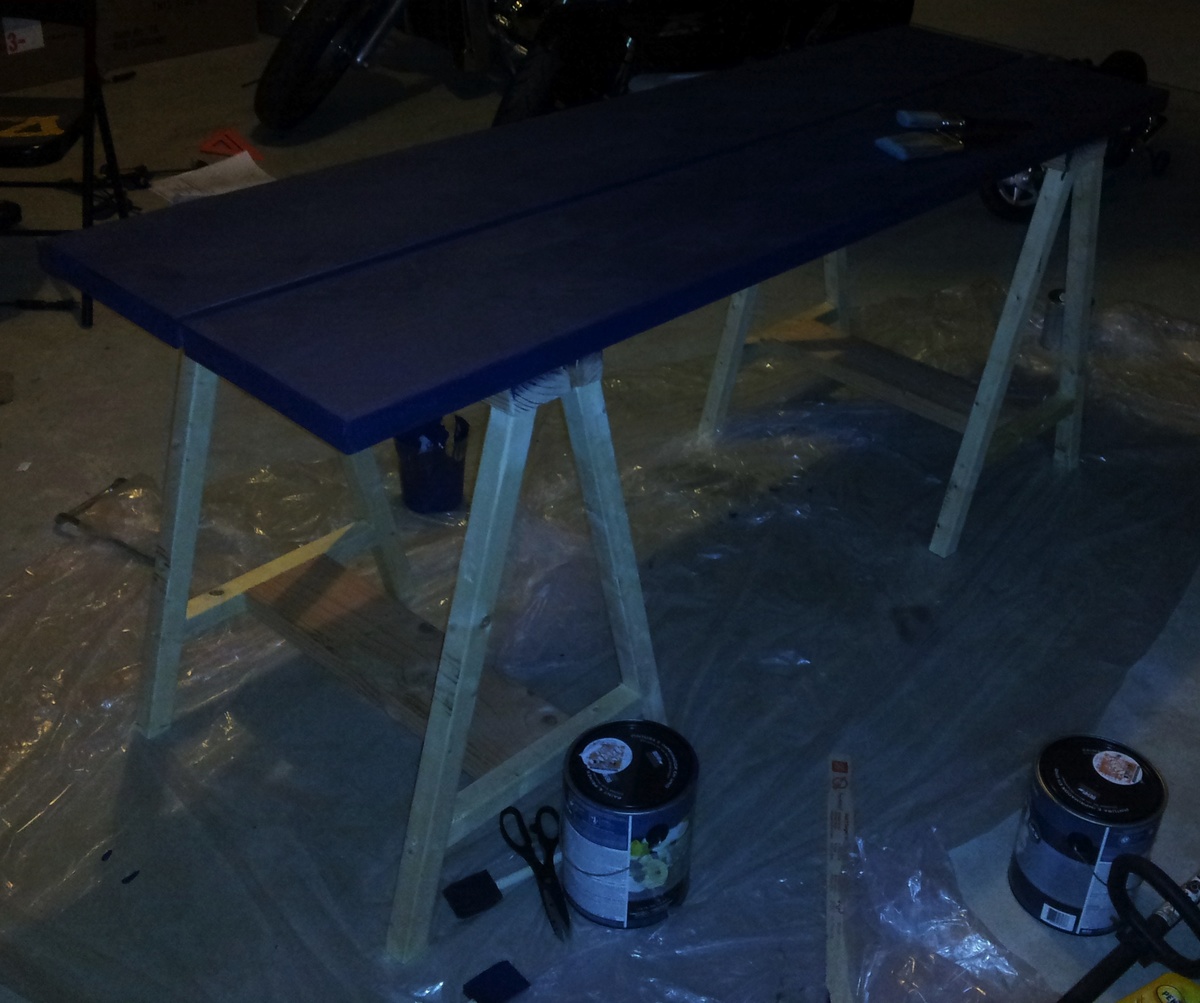
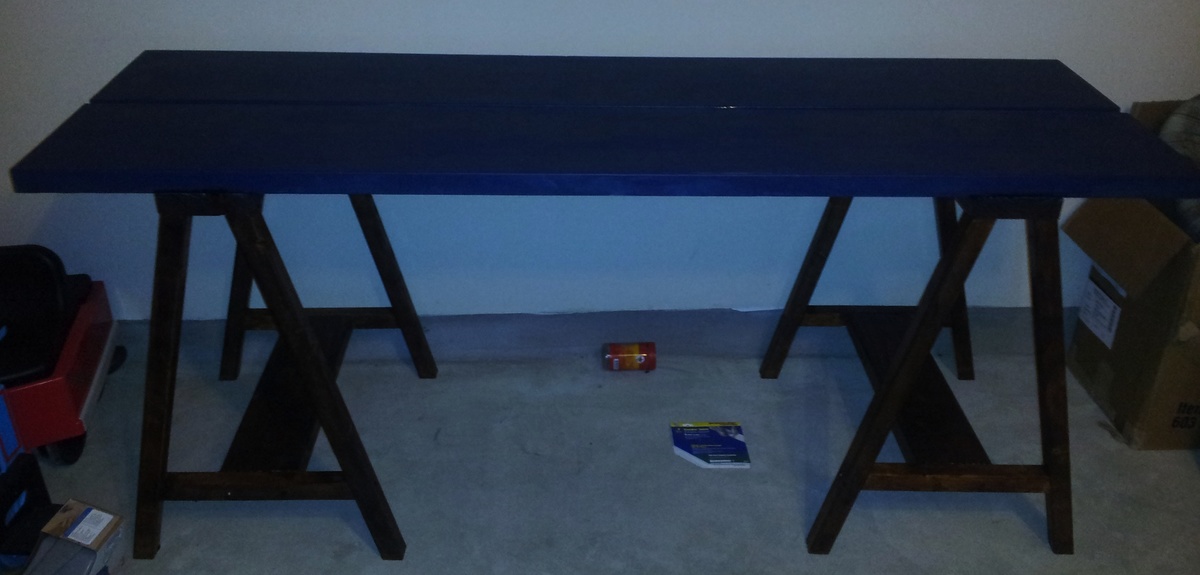
This was my first project off of Ana's site. I followed her simple sawhorse table plans verbatim. The only thing different I did was use a self-made chalkboard paint for the top (instructions under the finish section) and added screws to the left side to mount my power strip with (easy on and off for everything on the bench). I made the top a chalkboard top so that I could write notes on the table and mark measurements for various projects. Costs were $30 for wood (some leftover), $8 for paint, $2 for screws, and $5 for surge protected power strip. If you have any other questions please let me know.

Built from Plan(s)
Estimated Cost
$45
Estimated Time Investment
Afternoon Project (3-6 Hours)
Finish Used
Espresso stain for legs and a self-made dark blue chalkboard paint for top (mix about 1 cup of paint with 2 tablespoons of non sanded tile grout).
Recommended Skill Level
Beginner

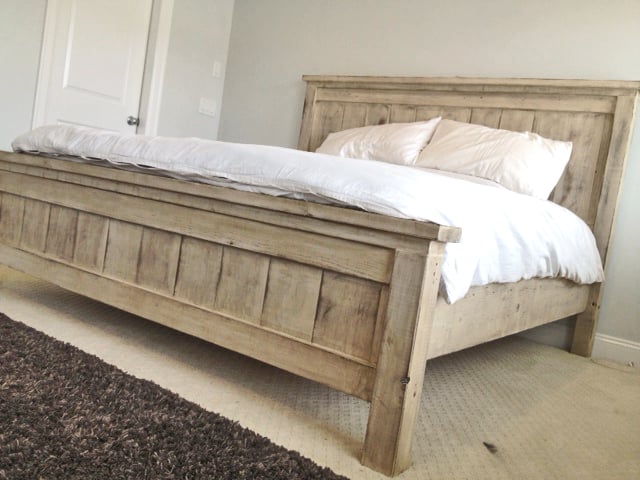
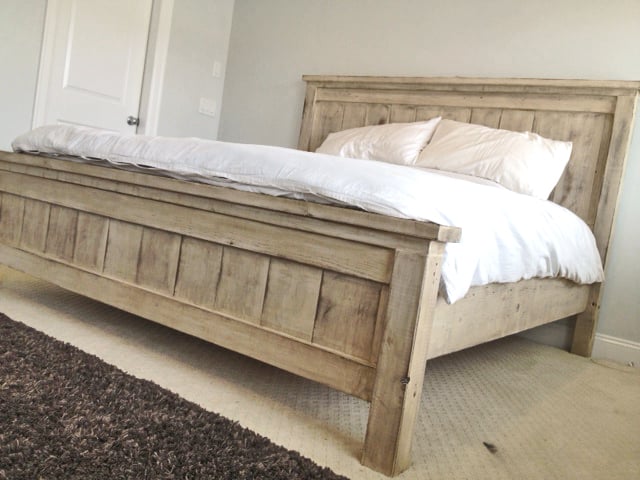
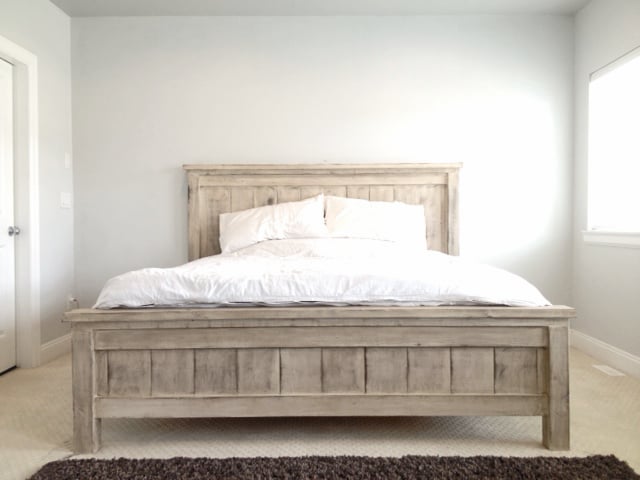
King Farmhouse Bed

Submitted by jhavinga on Thu, 05/22/2014 - 16:31

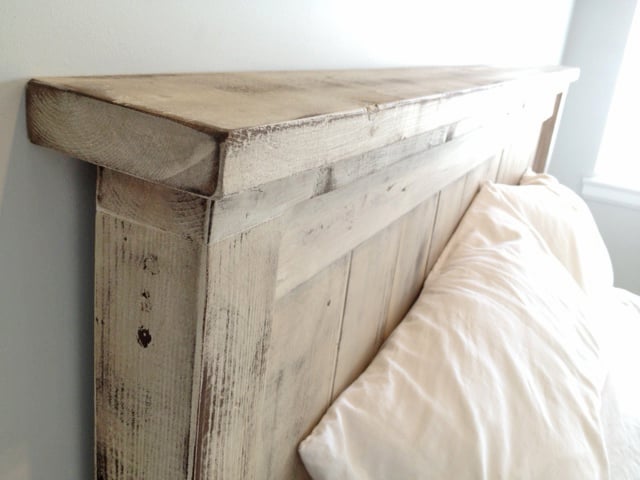
Second project ive completed from Ana White, and I am very happy with how this bed turned out! The only thing I would fix would be the finish, I wanted it a bit whiter. not so creamy. Otherwise very quick and easy fun project to do. =)

Estimated Cost
$300
Estimated Time Investment
Day Project (6-9 Hours)
Finish Used
1 coat of a basic latex white paint.
Then I sanded down just so raised grains would become exposed.
1 coat of dark walnut stain (wipe on with cloth)
Done.
Recommended Skill Level
Starter Project

Comments

jhavinga

Thu, 05/22/2014 - 16:34

Thank you for sharing all of these awesome projects. I was always hesitant when it came to wood, but now I cant seem to stop!

jhavinga

Wed, 06/11/2014 - 13:43

(You can do all this before or after your project is put together or not.)
Be sure to do a test piece before hand so you can see exactly what your getting :)

The first step I did once the head board and foot board were put together, was to sand any sharp edges or corners. I liked mine rounded and worn looking. I did not sand anything else.

Second step is to paint 1 even coat of a basic white latex paint.

Third step is to sand away some white paint. because we didnt sand it before hand the grains in the wood will be very bumpy. so the paint on the grains will sand off while the paint lower than the grain will remain. makes sense? hopefully i explained that right!

Fourth step is to now wipe on the stain of your choice. I went with Dark walnut. It stains the paint a bit bringing the white to a gray/brown tone. and stains the wood dark walnut so the grain patterns show up dark.

Let me know if you have any other questions and good luck!

jbogan15

Thu, 01/29/2015 - 07:49

What grit of sand paper did you use to sand off the white paint? and did you sand it by hand? Also, for the dark walnut stain, did you wipe off immediately or leave it on for a bit before wiping? Beautiful bed, I want to achieve this look!

In reply to by jbogan15

jhavinga

Fri, 02/06/2015 - 09:15

Hi jbogan15, thank you!
For sanding I used a palm sander with 120 grit to get the job done a bit quicker, than went over lightly with 220. When staining I actually just dipped a rag in the stain and would wipe the stain on. =)

Good luck!
Justin

kosborn

Fri, 01/27/2017 - 11:05

Love this look! Exactly what I am trying to achieve...A few questions about the side rails. How high did you connect them to the 4x4 posts and exactly how did you connect them? Did you use brackets or screw right into the posts? Thank You!

barkleyl

Thu, 09/05/2019 - 15:07

I have seen several beds from Anna White. I was wondering if the frame require a box spring mattress or not. If not, are the beds lower than what a traditional mattress and box springs are. Thanks ! 

Keepsake doll crib and highchair

Submitted by Anonymous (not verified) on Mon, 08/22/2016 - 12:54

We were trying to figure out what to give our granddaughter for Christmas when the great grandparents arrived with our 2 kids old maple crib from the 80's. After much debate(well, not really, apparently the crib now breaks every law in the book!)  we decided to repurpose it into keepsakes. Enter Ana White!  We settled on a doll crib and doll highchair.  After many design changes trying to best utilize the old wood we came up with these. As you can see they were a hit and luckily very sturdy!  There are now 2 doll cribs, 2 high chairs and 4 granddaughters, each family has a set as a keepsake.  There are a few scraps left just in case a grandson happens along! Should be enough for a logging truck!

Estimated Cost
$30
Estimated Time Investment
Weekend Project (10-20 Hours)
Finish Used
Original finish plus Danish oil and clearcoat on cut ends
Recommended Skill Level
Intermediate

Farmhouse Headboard and Planked Wood Bedside Tables

For this project, I made the headboard from the Farmhouse Bed plans. I omitted one of the 1x6 slats to fit to my metal frame. I made two planked wood bedside tables with shelves and I created a lift top bench that was inspired by both the bed, and the side tables. Finally, I threw together a blanket ladder using 2x3s.

Estimated Time Investment
Weekend Project (10-20 Hours)
Finish Used
Behr off the shelf white in Satin, and shou sugi ban with Maker Brand simple finish.
Recommended Skill Level
Intermediate

Washer and Dryer Pedestal

Submitted by katie0910 on Mon, 07/30/2012 - 13:10

Our very first project! We absolutely love how it looks and that there's an easy way for our kids to sort their laundry. Can't wait to start more projects! You can see how we built it here http://addicted2diy.com/2014/01/14/diy-laundry-pedestal/

Estimated Cost
$125
Estimated Time Investment
Weekend Project (10-20 Hours)
Recommended Skill Level
Beginner

School Library Cart

Submitted by dmfinet on Sun, 05/25/2014 - 19:11

My 11 year old son made this library cart for our homeschool books. He followed Ana's plans with a few changes on dimensions. I love how it turned out, and it is a perfect addition to our school room. We kept the cost low by using some wood and paint that we already had.

Built from Plan(s)
Estimated Cost
$23.00
Estimated Time Investment
Day Project (6-9 Hours)
Recommended Skill Level
Beginner

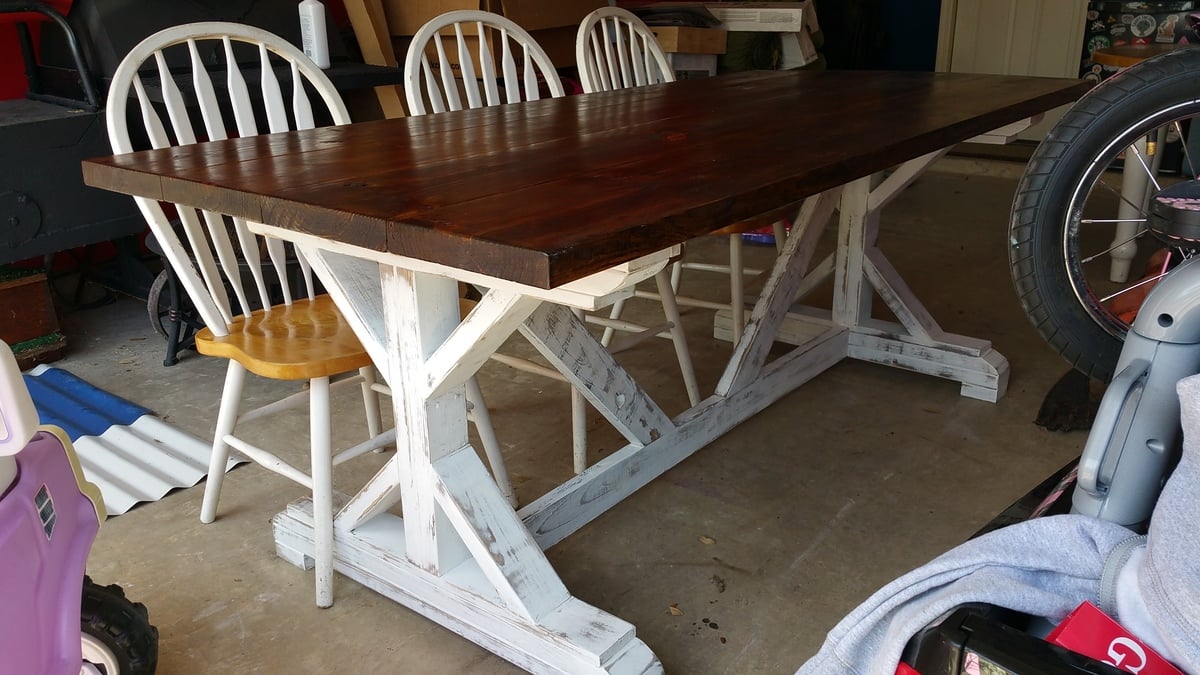
Pine Farmhouse Table

Submitted by jaykruger on Fri, 08/26/2016 - 07:45

Simple pine farmhouse table, top is 2x6 Pine cut down to 5" wide strips top was joined with pocket screws and glue

Base is 4x4 pine joined with lag bolts

Longest part of the buld was sanding the top smooth, special care was needed in measurig the notches to fix the X-Brace legs


Tools: Drill, Table Saw, Circular Saw, 1/2 socket drive

Estimated Cost
$150 all in for wood, bolts, screws and stain
Estimated Time Investment
Weekend Project (10-20 Hours)
Finish Used
minwax espresso and poly clear
Recommended Skill Level
Beginner

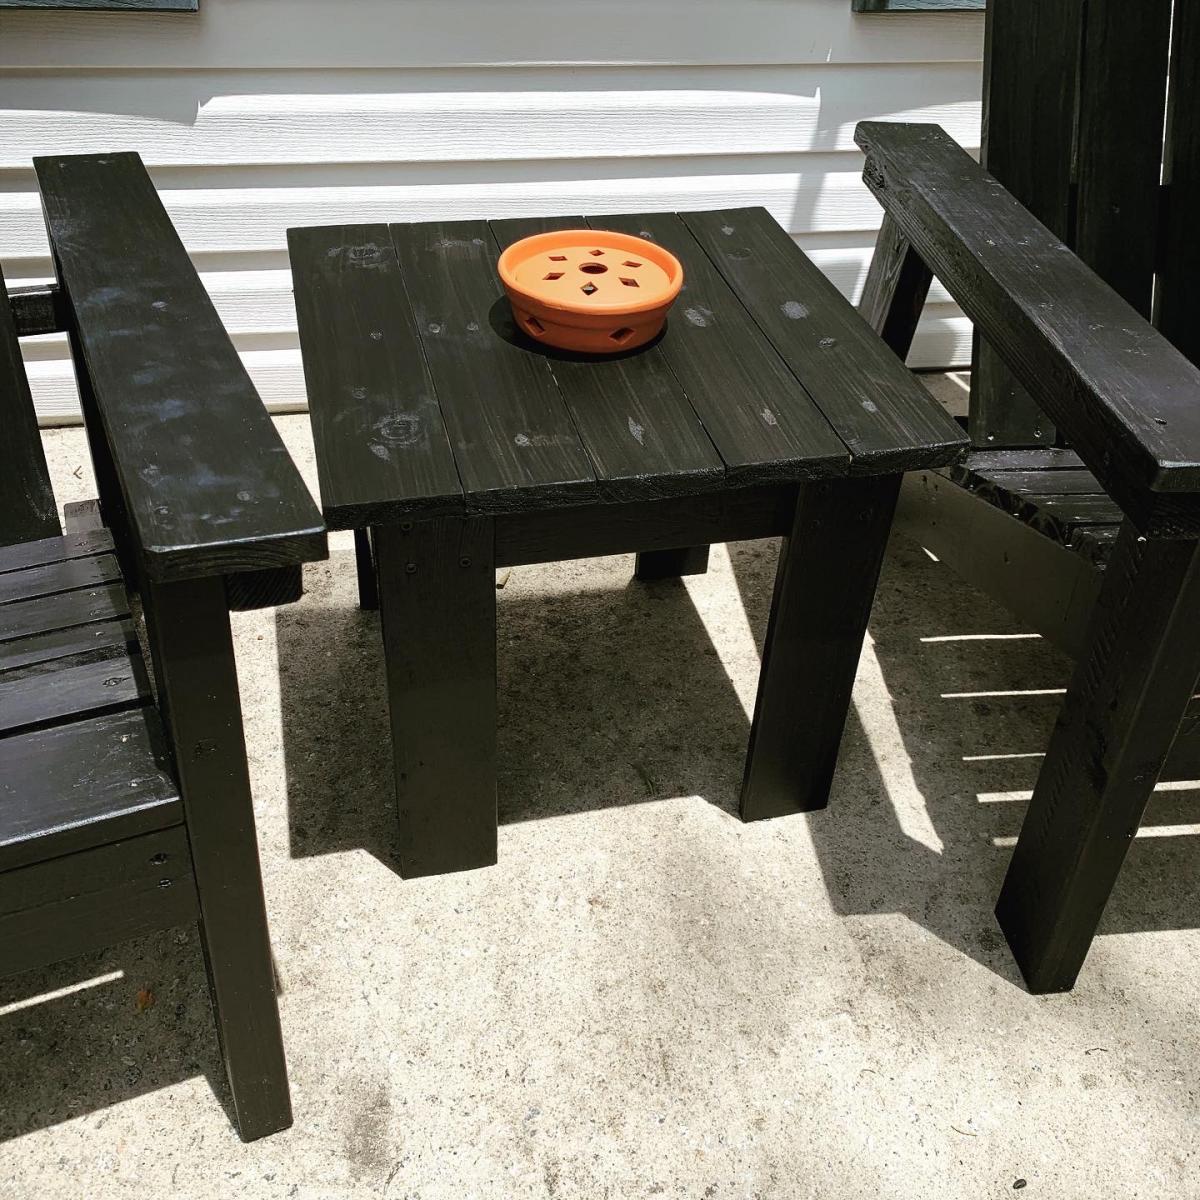
Adirondack Chairs with matching table

Submitted by Anonymous (not verified) on Sun, 06/07/2020 - 12:08

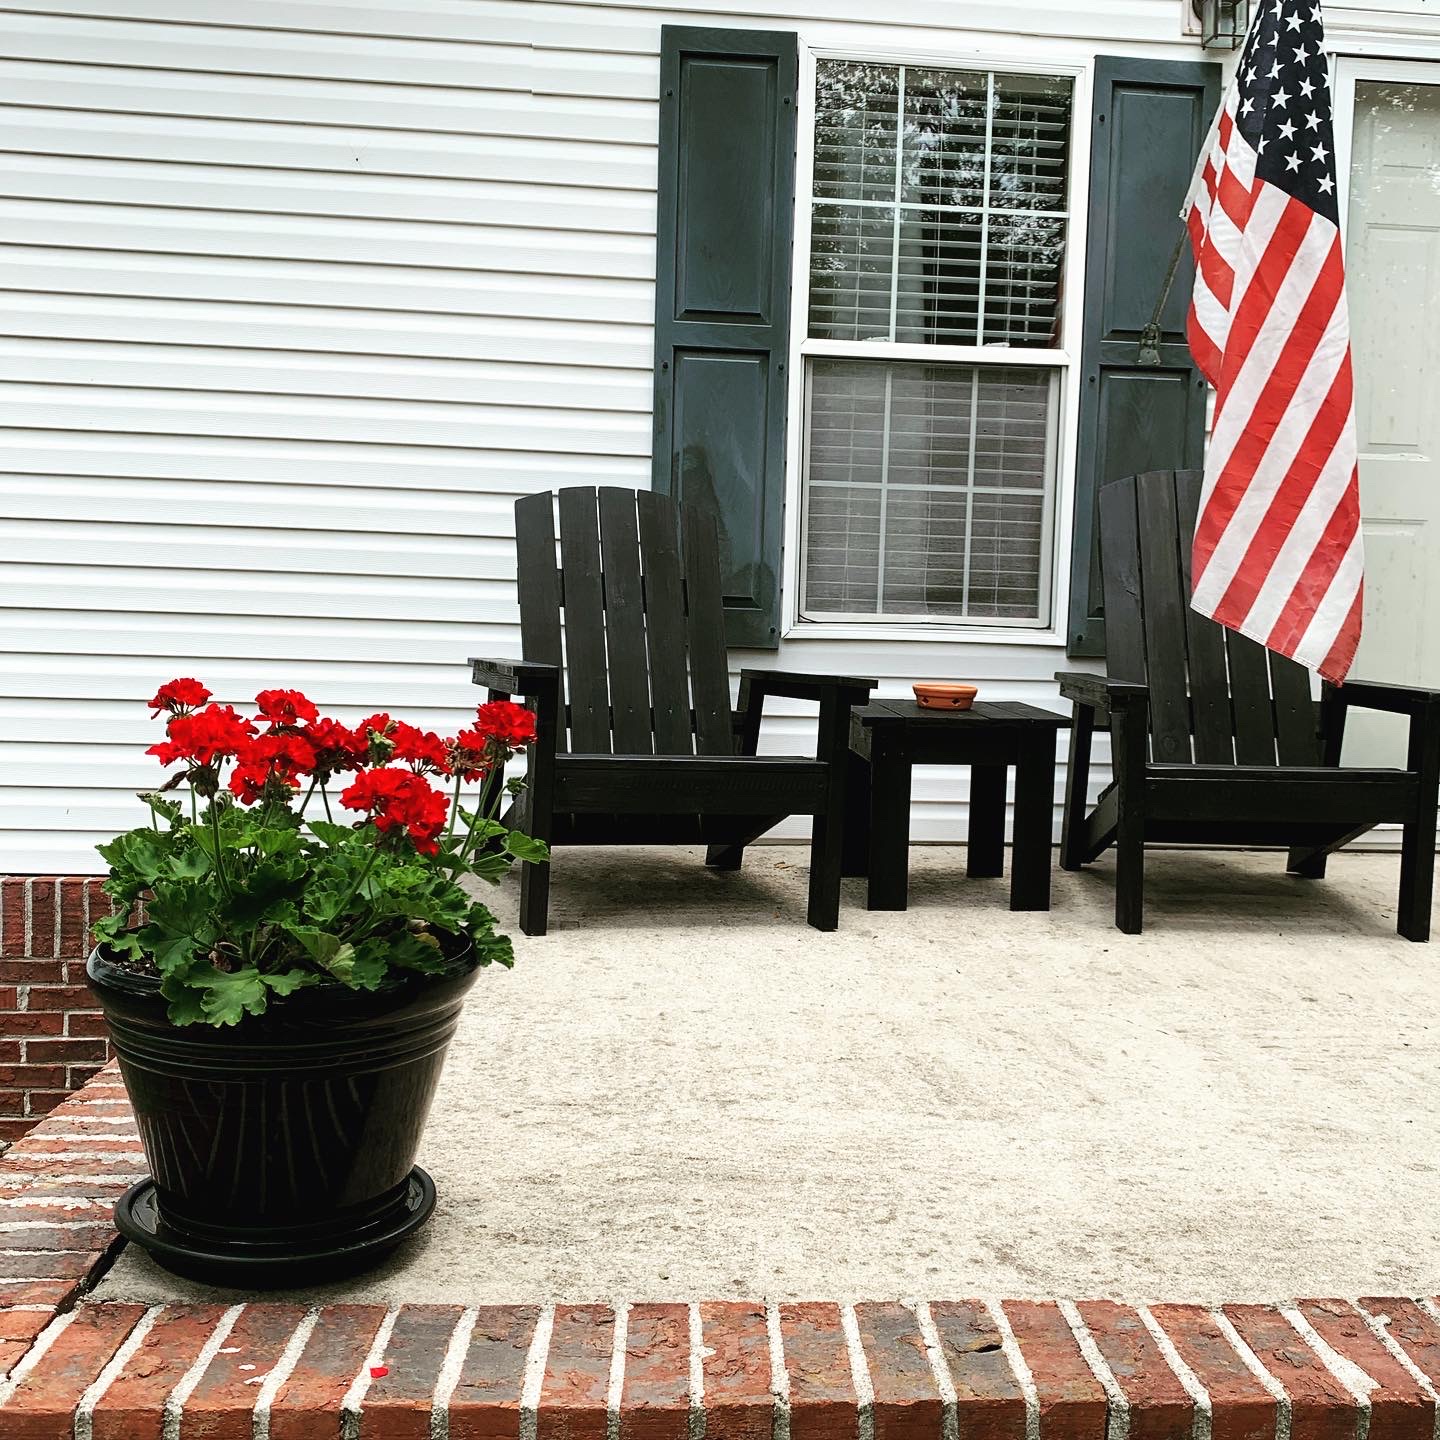
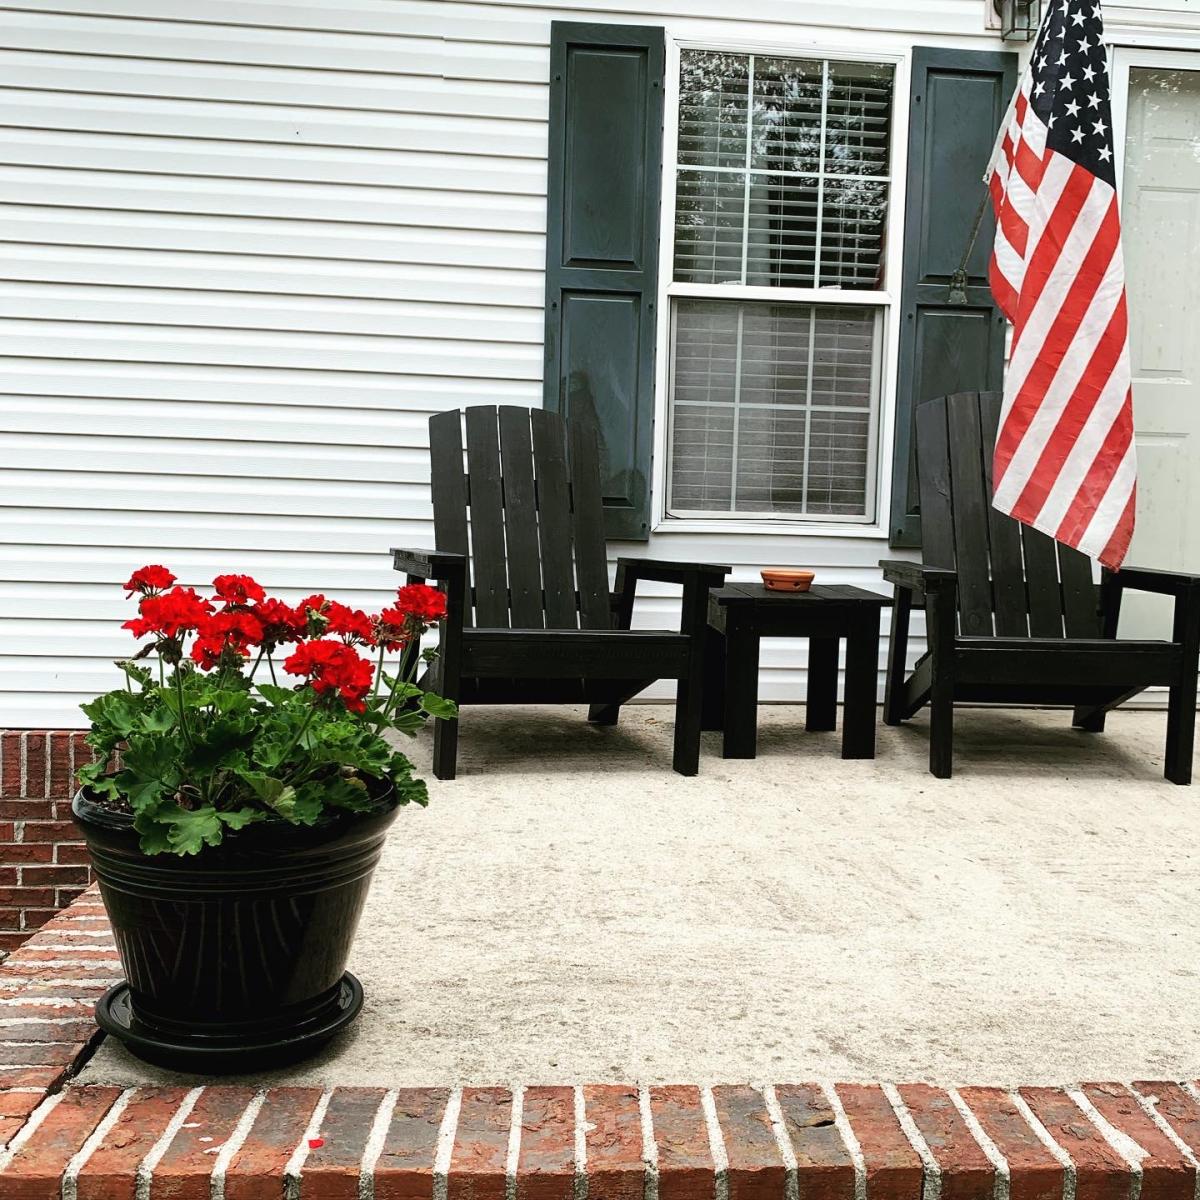
My dad and I spent 2 weekends making his and her Adirondack chairs for my husband and I and a matching side table!

Estimated Cost
$140 total for chairs; $9.96 for table
Estimated Time Investment
Weekend Project (10-20 Hours)
Recommended Skill Level
Intermediate

Sewing Tables

Submitted by sgilly on Thu, 08/02/2012 - 12:58

I have a friend who makes beautiful quilts. She's been doing this by sitting on the floor to cut her fabric and plopping her sewing machine on a wobbly folding table. When she decided to turn her guest room into a dual purpose sewing/guest room she asked me to build her something that would fit into a niche under her dormer window.
The built in table has two large drawers for sewing notions and is supported at the back by a shelving unit with adjustable shelves. She plans to store items that she seldom uses here. They will be accessible, but out of the way and barely visible when she has guests using her room.
I suggested that I also build Anna's sewing table for small spaces so that she use that as a night stand when not in use as a cutting table.
I usually don't finish projects I build for others - I'm just not good at it! But, my friend asked me to put a finish on it. She picked out the Minwax polyshades product, and I have to tell you that it was a nightmare! (You can read about that here: http://thewidowsworkshop.blogspot.com/2012/06/lessons-learned-again.html)
I ended up using a stripping product to remove that finish. The final finish, just a stain and rub on poly, turned out beautifully!
Installation was also a challenge, but using brute force - and a hammer! - I was able to fit it between those very out-of-square walls!
She's happy, I'm happy to be done!

Estimated Cost
$150 for both
Estimated Time Investment
Weekend Project (10-20 Hours)
Finish Used
Originally, Minwax polyshades, had to strip that off. Then I used Minwax wood finish in Colonial Maple. I applied 3 coats. Then I used Minwax rub on poly in semi-gloss and applied 3 coats of that (following directions for dry time and sanding). I finished it off with a minwax polishing wax to give it a really nice smooth finish.
Recommended Skill Level
Beginner

Neighbors

Submitted by Pebcat on Tue, 05/27/2014 - 20:22

I found Ana's website in my search for the desk plans, and in the process found many other wonderful plans I want to try. My goal is to make a sawhorse desk for my new home office. I need to learn all proper woodworking skills, however.

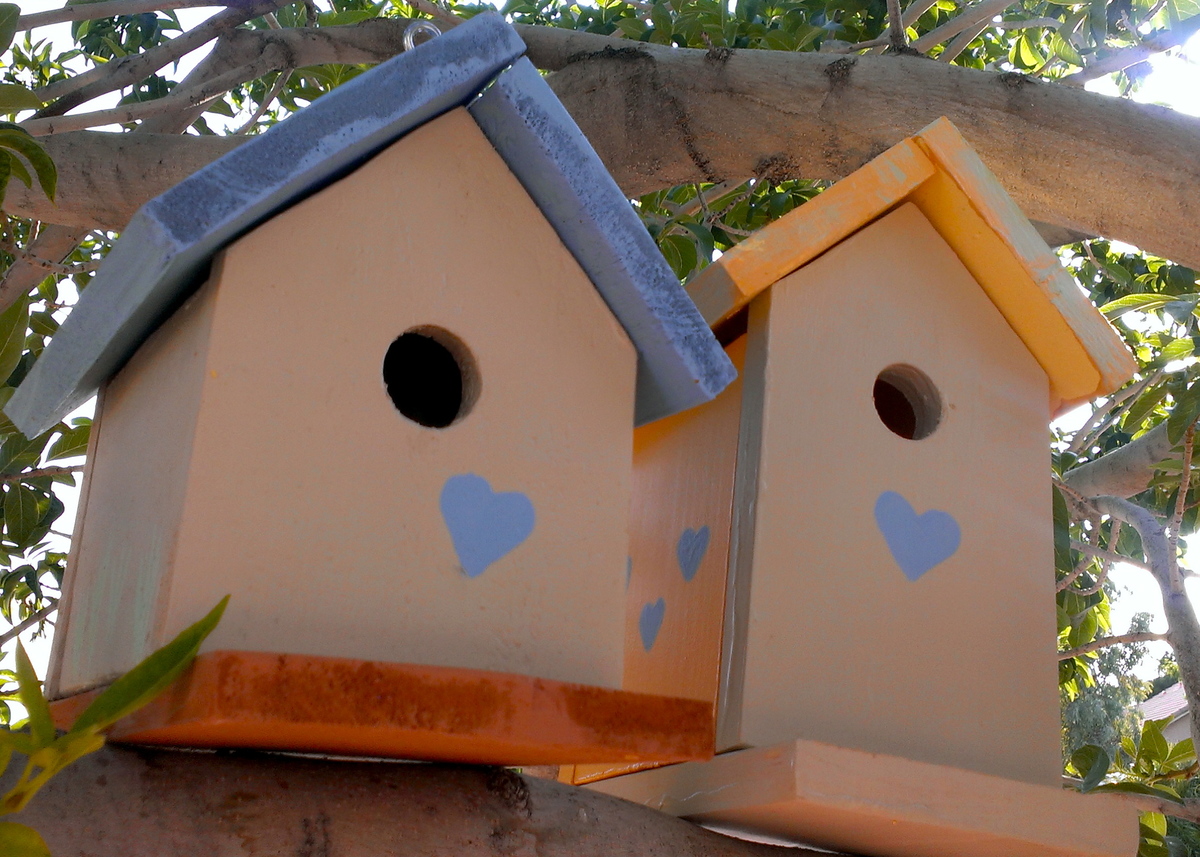
Therefore, I decided to start with this birdhouse project, which was a joy for me since I have a fascination with photographing birdhouses wherever I go. I also have fond memories of making birdhouses with my mother when I was a little girl. She did all the cutting and nailing, and I sanded and painted.

This project brought back happy memories, and my mom got a kick out of seeing photos of the finished results.

In addition, today I had the wonderful opportunity to photograph my own birdhouses!

Estimated Cost
$3 per house for the wood
Estimated Time Investment
Afternoon Project (3-6 Hours)
Finish Used
I used a combination of paint I had on-hand, all Valspar. Most of the paints were Valspar Ultra Paint & Primer.

Paint colors for the birdhouse on the left are called: Country Heather (blue), Bittersweet Stem (beige), brandywine (terracotta), and Pistachio Ice (green) for accents.

The colors of the house on the right also included Country Heather, Bittersweet Stem, and Pistachio Ice (again for accents). In addition, Buttered Hazelnut was used for the walls and roof.

I completed most of the painting prior to assembly, adding only accents such as hearts and windows post-assembly.
Recommended Skill Level
Starter Project
Cubby Desk

Submitted by Anonymous (not verified) on Mon, 08/29/2016 - 07:56

I modified the plans so the top was 2 ft x 4 ft, more suitable for a college student like myself. I also used a full sheet of 3/4 MDF and used that for the top as well as all of the 3/4 plywood pieces. MDF was much cheaper but next time I would spend the extra money on plywood because the MDF cracked a bunch and was not as easy to work with. Thanks for the plans!

Estimated Cost
$100
Estimated Time Investment
Weekend Project (10-20 Hours)
Finish Used
Shellac based primer and latex white paint
Recommended Skill Level
Intermediate

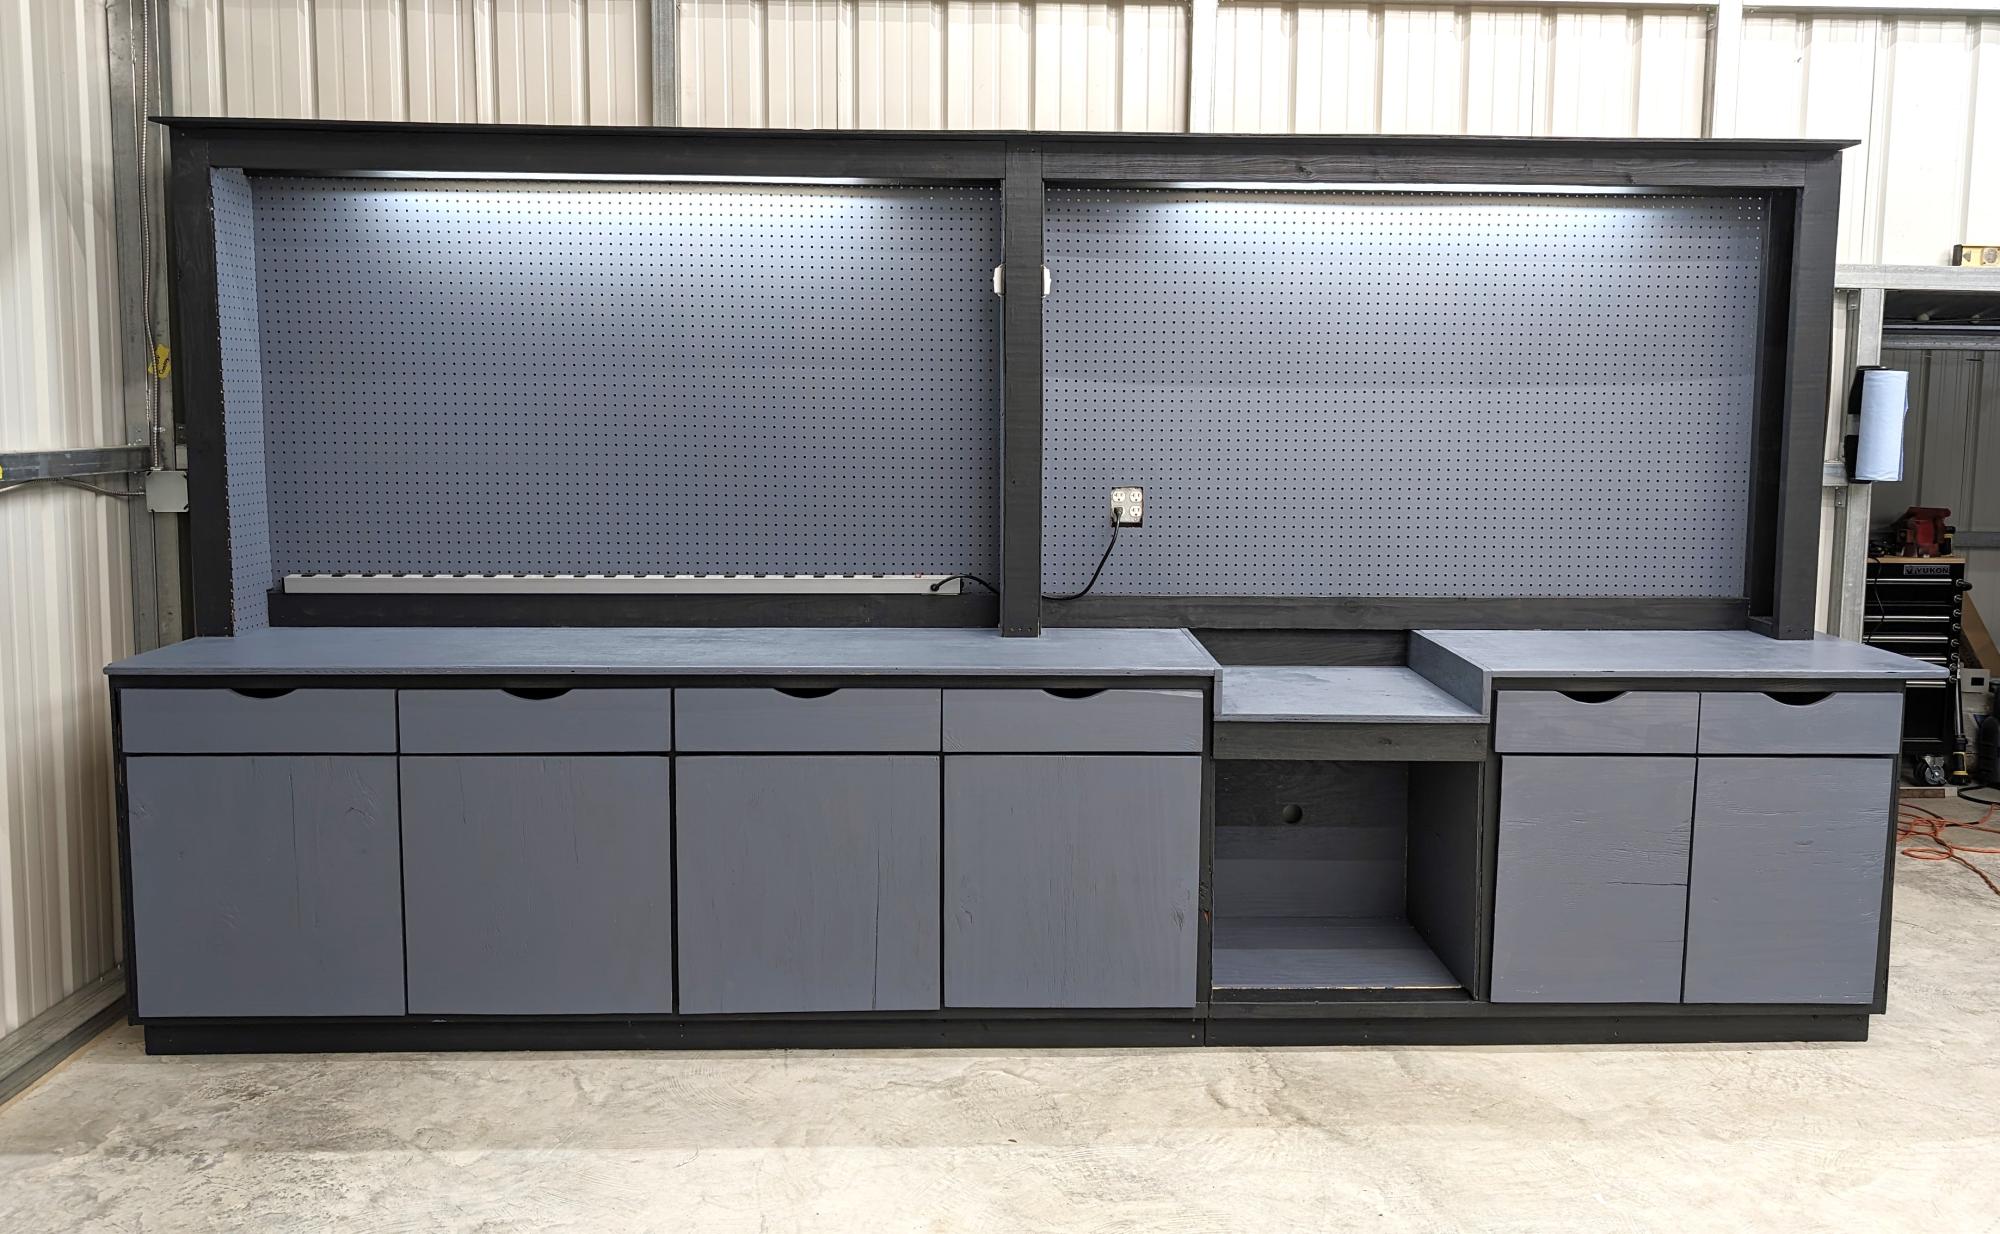
Pony wall work bench

Submitted by Anonymous (not verified) on Wed, 06/10/2020 - 09:22

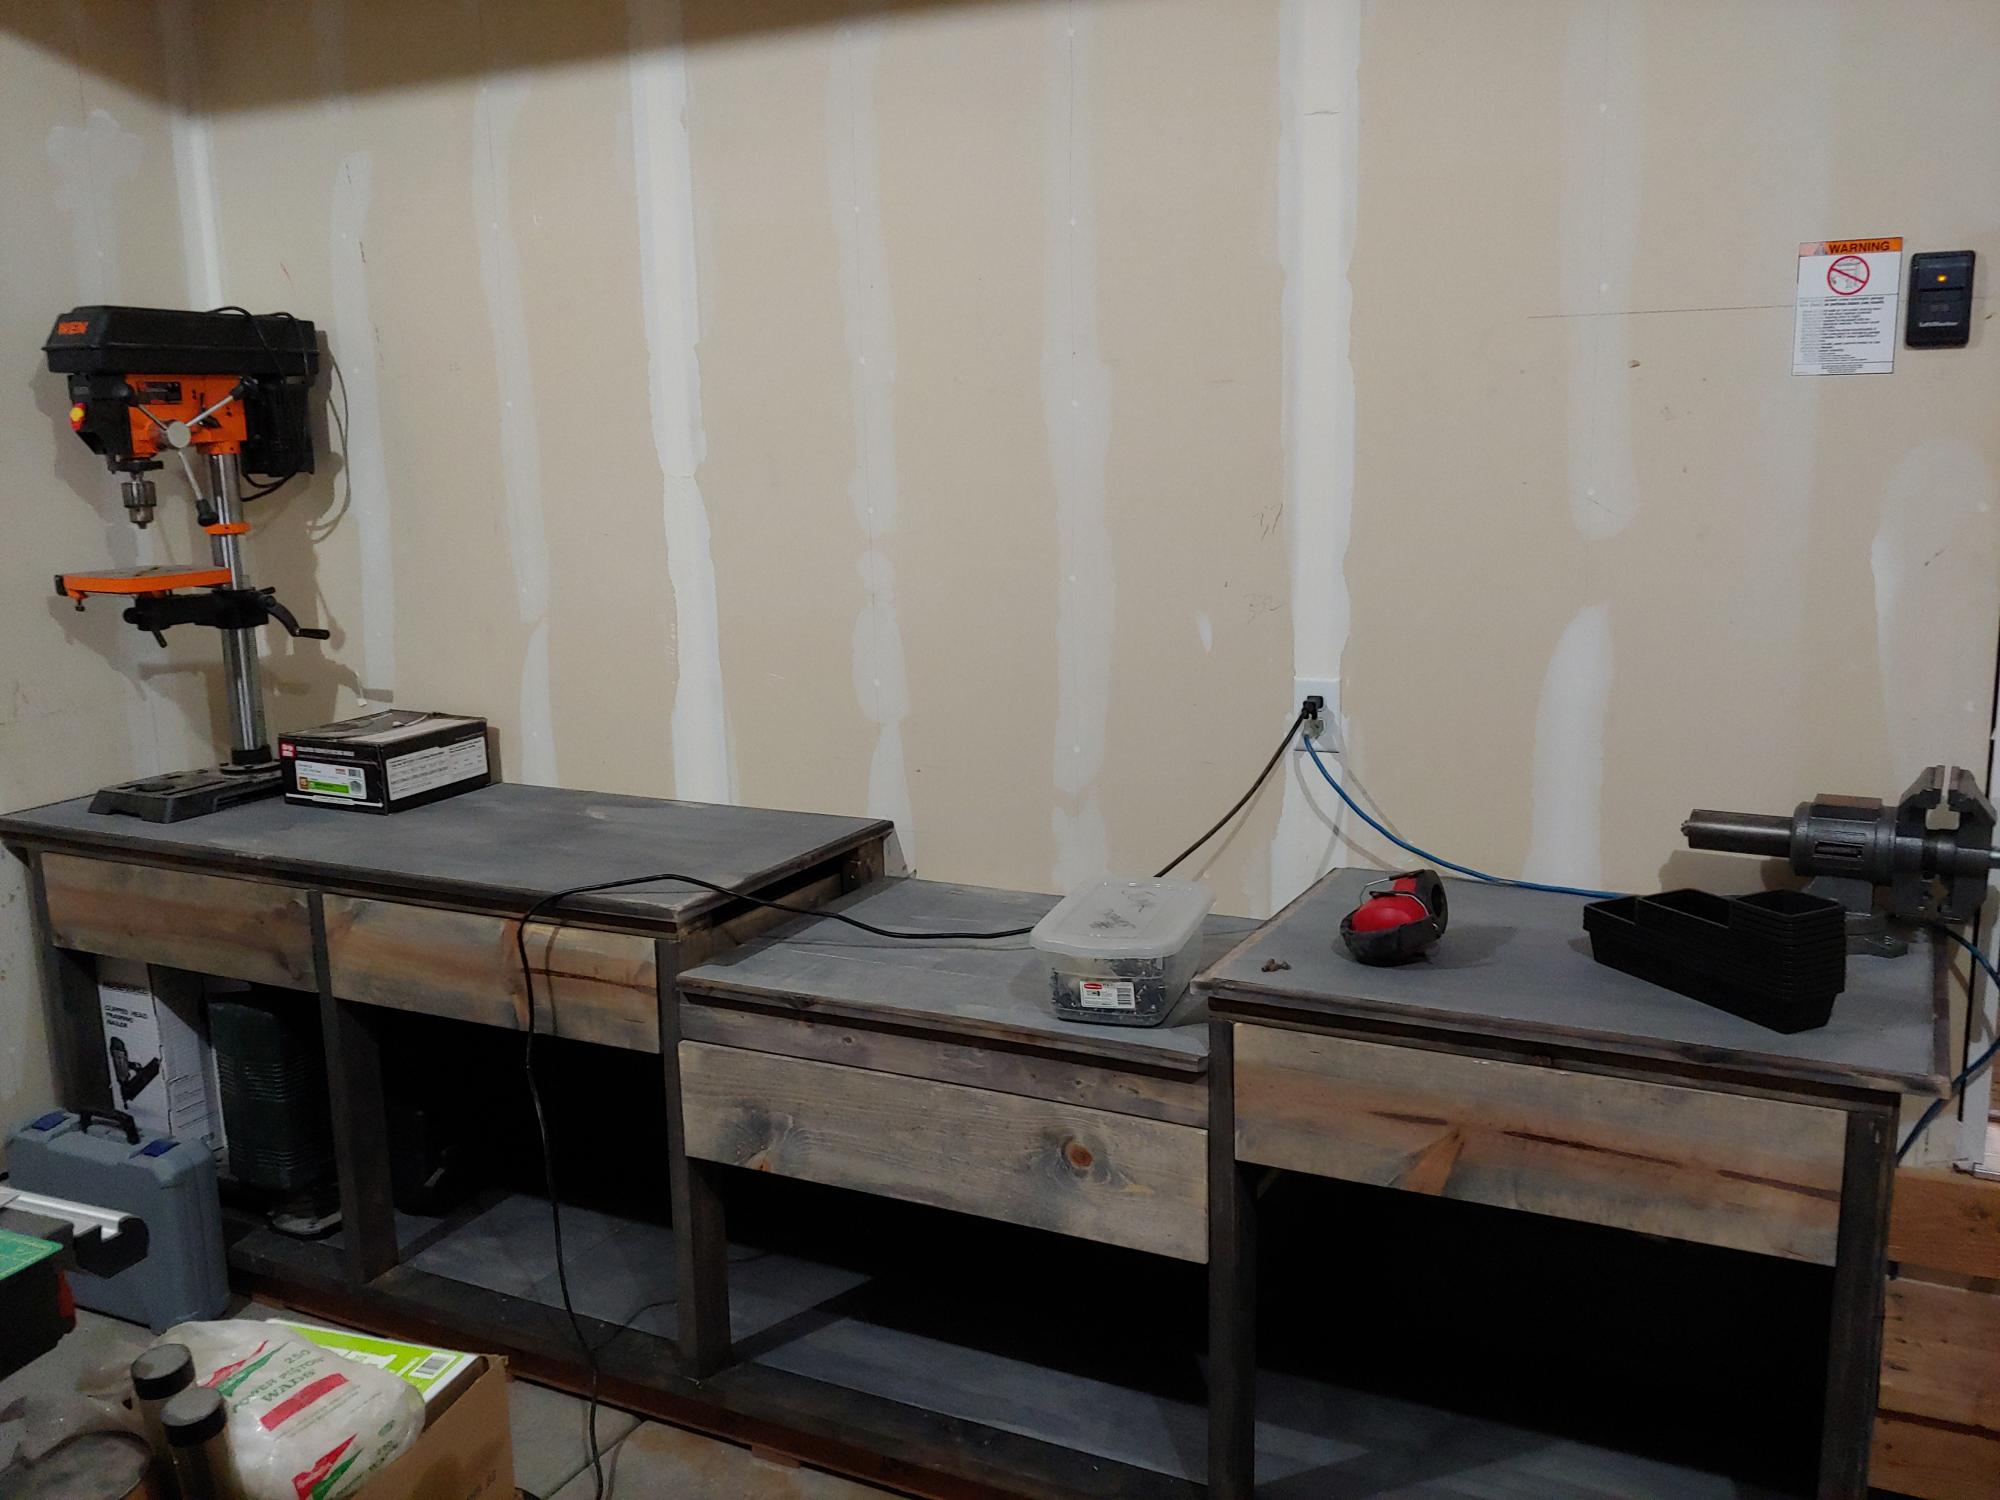
Had to shorten plan due to garage size. Added drawer under miter station. Pined weather wash.

Built from Plan(s)
Estimated Cost
$450
Estimated Time Investment
Weekend Project (10-20 Hours)
Finish Used
Pined
Recommended Skill Level
Intermediate
Back