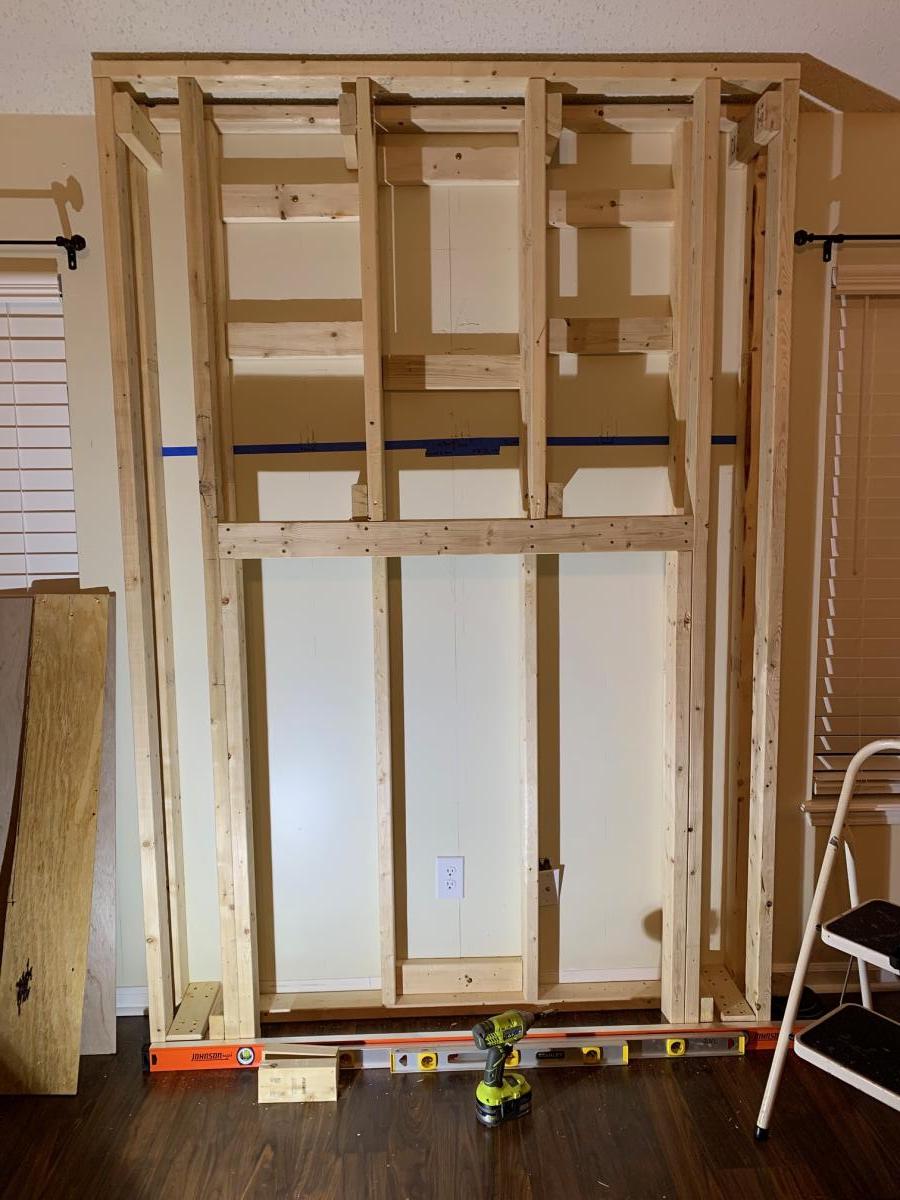
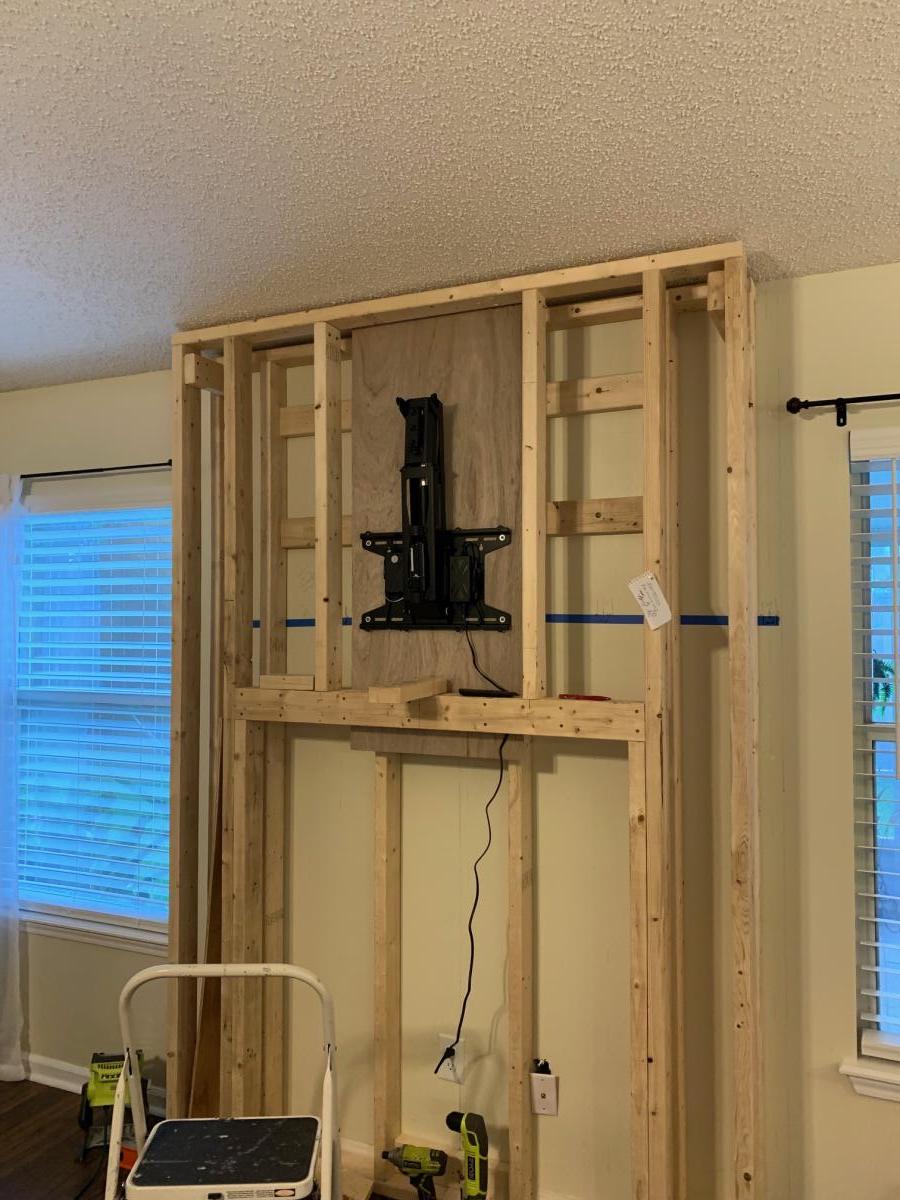
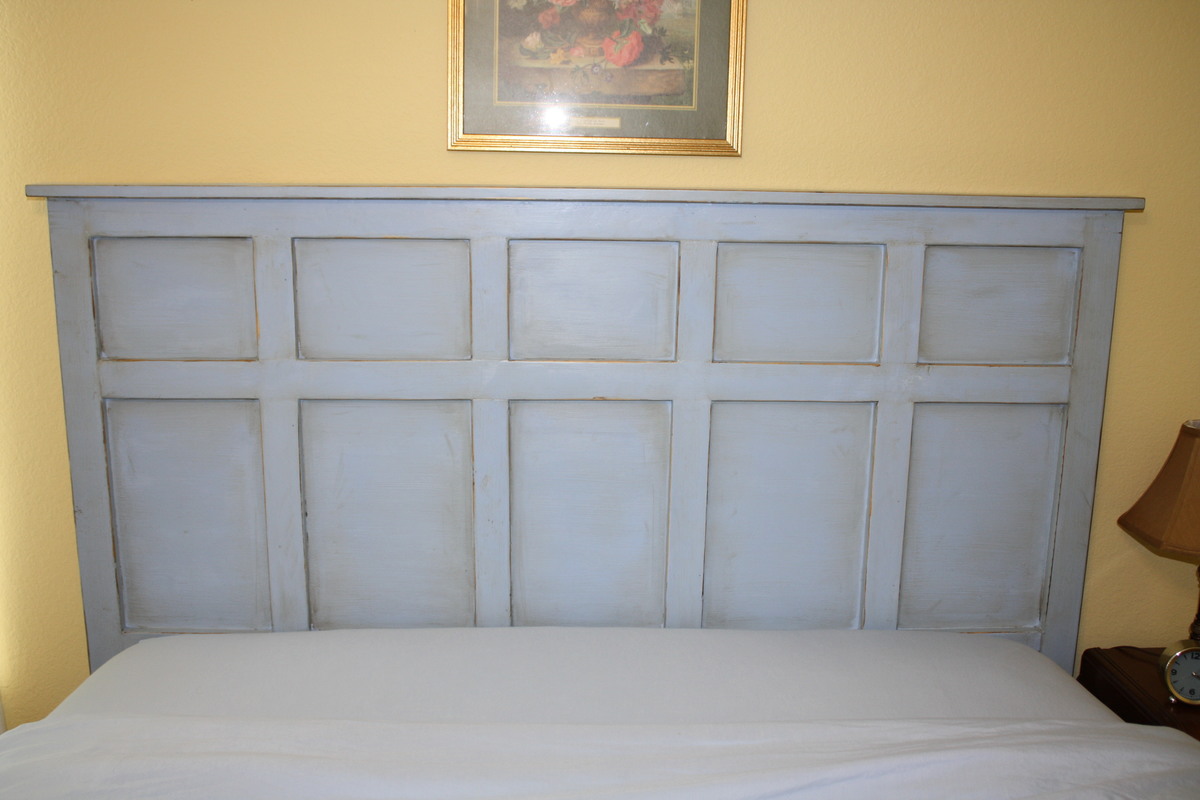
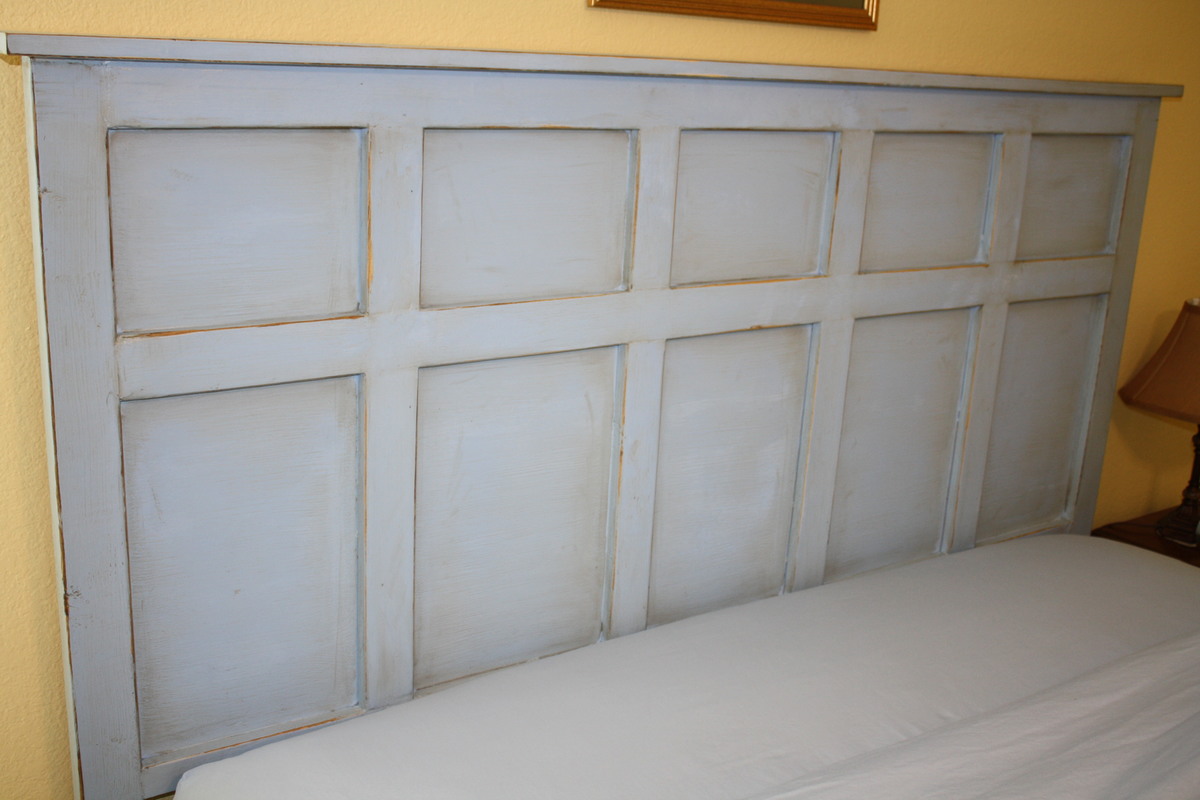
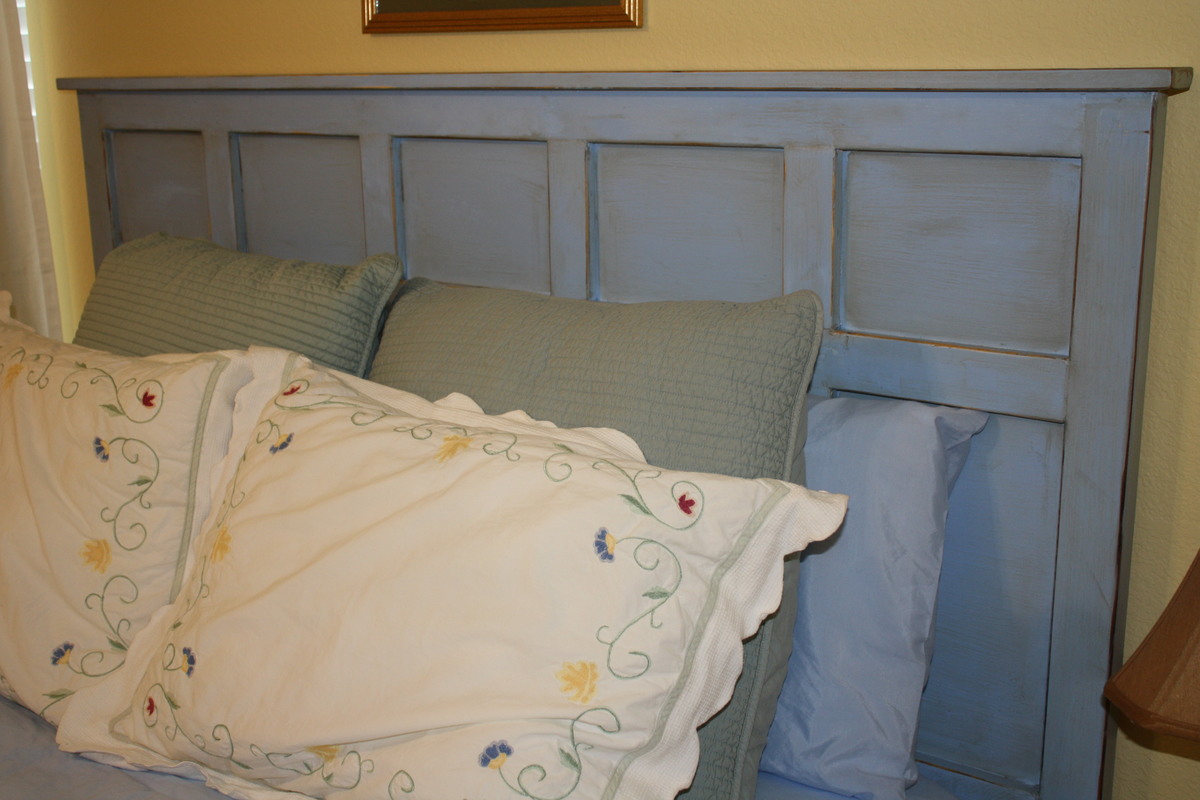
Our guest room finally has a headboard! I put together this queen size headboard using what I had learned building my daughter's headboard (and consulting the plans for the Reclaimed Wood Headboard) using the remainder of the plywood sheet from her headboard project, 2x3s for the legs, a 2x4 to join the legs (and connect to the metal bed frame), furring strips, and a 1x3 to top it off.
Our plywood had been cut to fit our car, so the first vertical furring strip was placed to hide the seam where I joined the two pieces back together. Then we evenly placed them from center as just looked right to us.
We had a great time seeing this come together as we didn't follow a specific plan, but were able to be a bit more creative inspired by various plans.
Estimated Cost
$45 including hardware & paint
Estimated Time Investment
Afternoon Project (3-6 Hours)
Finish Used
We painted with Martha Stewart's Stratosphere in a flat finish, distressed and rubbed on Minwax Provencial stain. Unfortunately, the stain gave the headboard a very green tint, so after a lot more sanding, we were able to finish the project with two quick coats of Minwax water based Poly.
Recommended Skill Level
Beginner


Comments
kg112677
Tue, 06/28/2016 - 19:09
plans???
The plans catalog link does not work. Can you please repost these plans? Thanks
Dunnie
Sun, 01/15/2017 - 21:24
Help
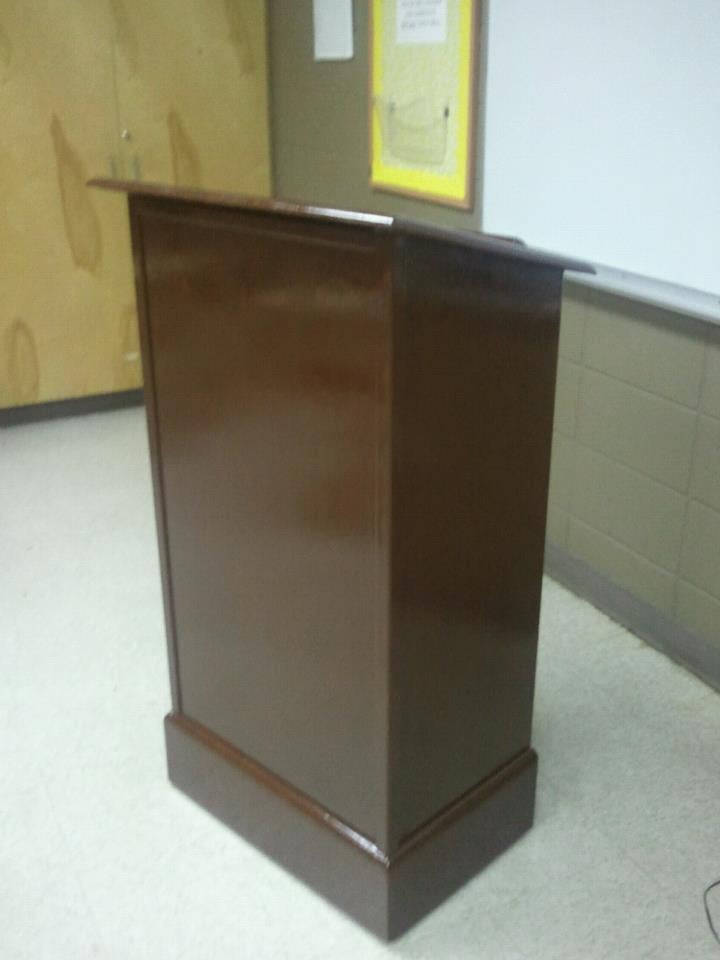
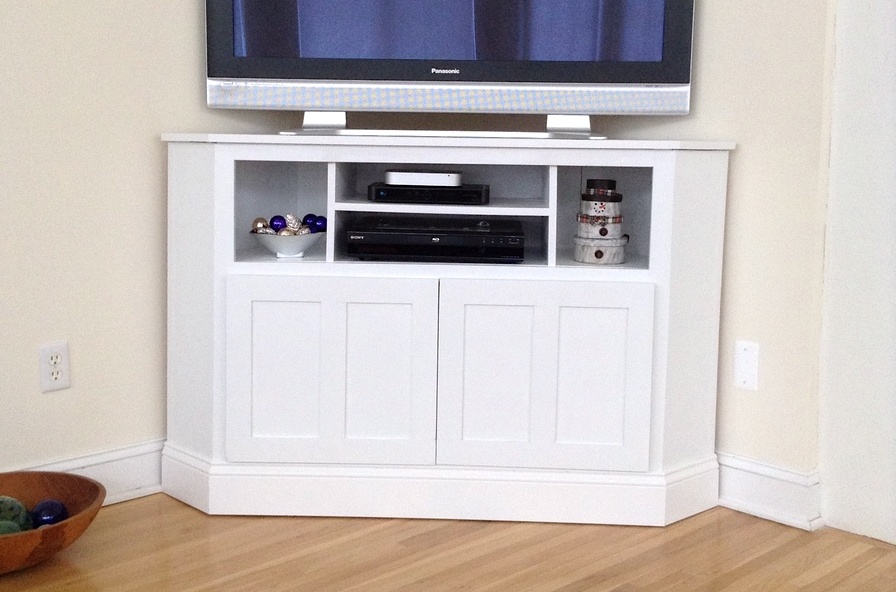
I am in desperate need of instructions for
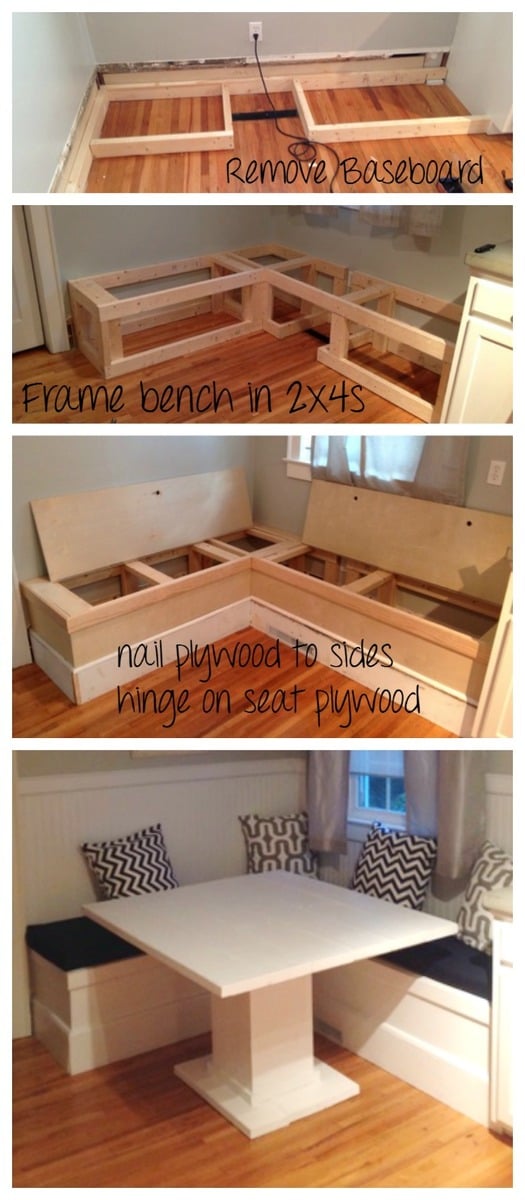
this mini console table. I can't find them anywhere. I won't be able to modify other plans, lol I need it all planned out.
In reply to Help by Dunnie
Dunnie
Sun, 01/15/2017 - 21:24
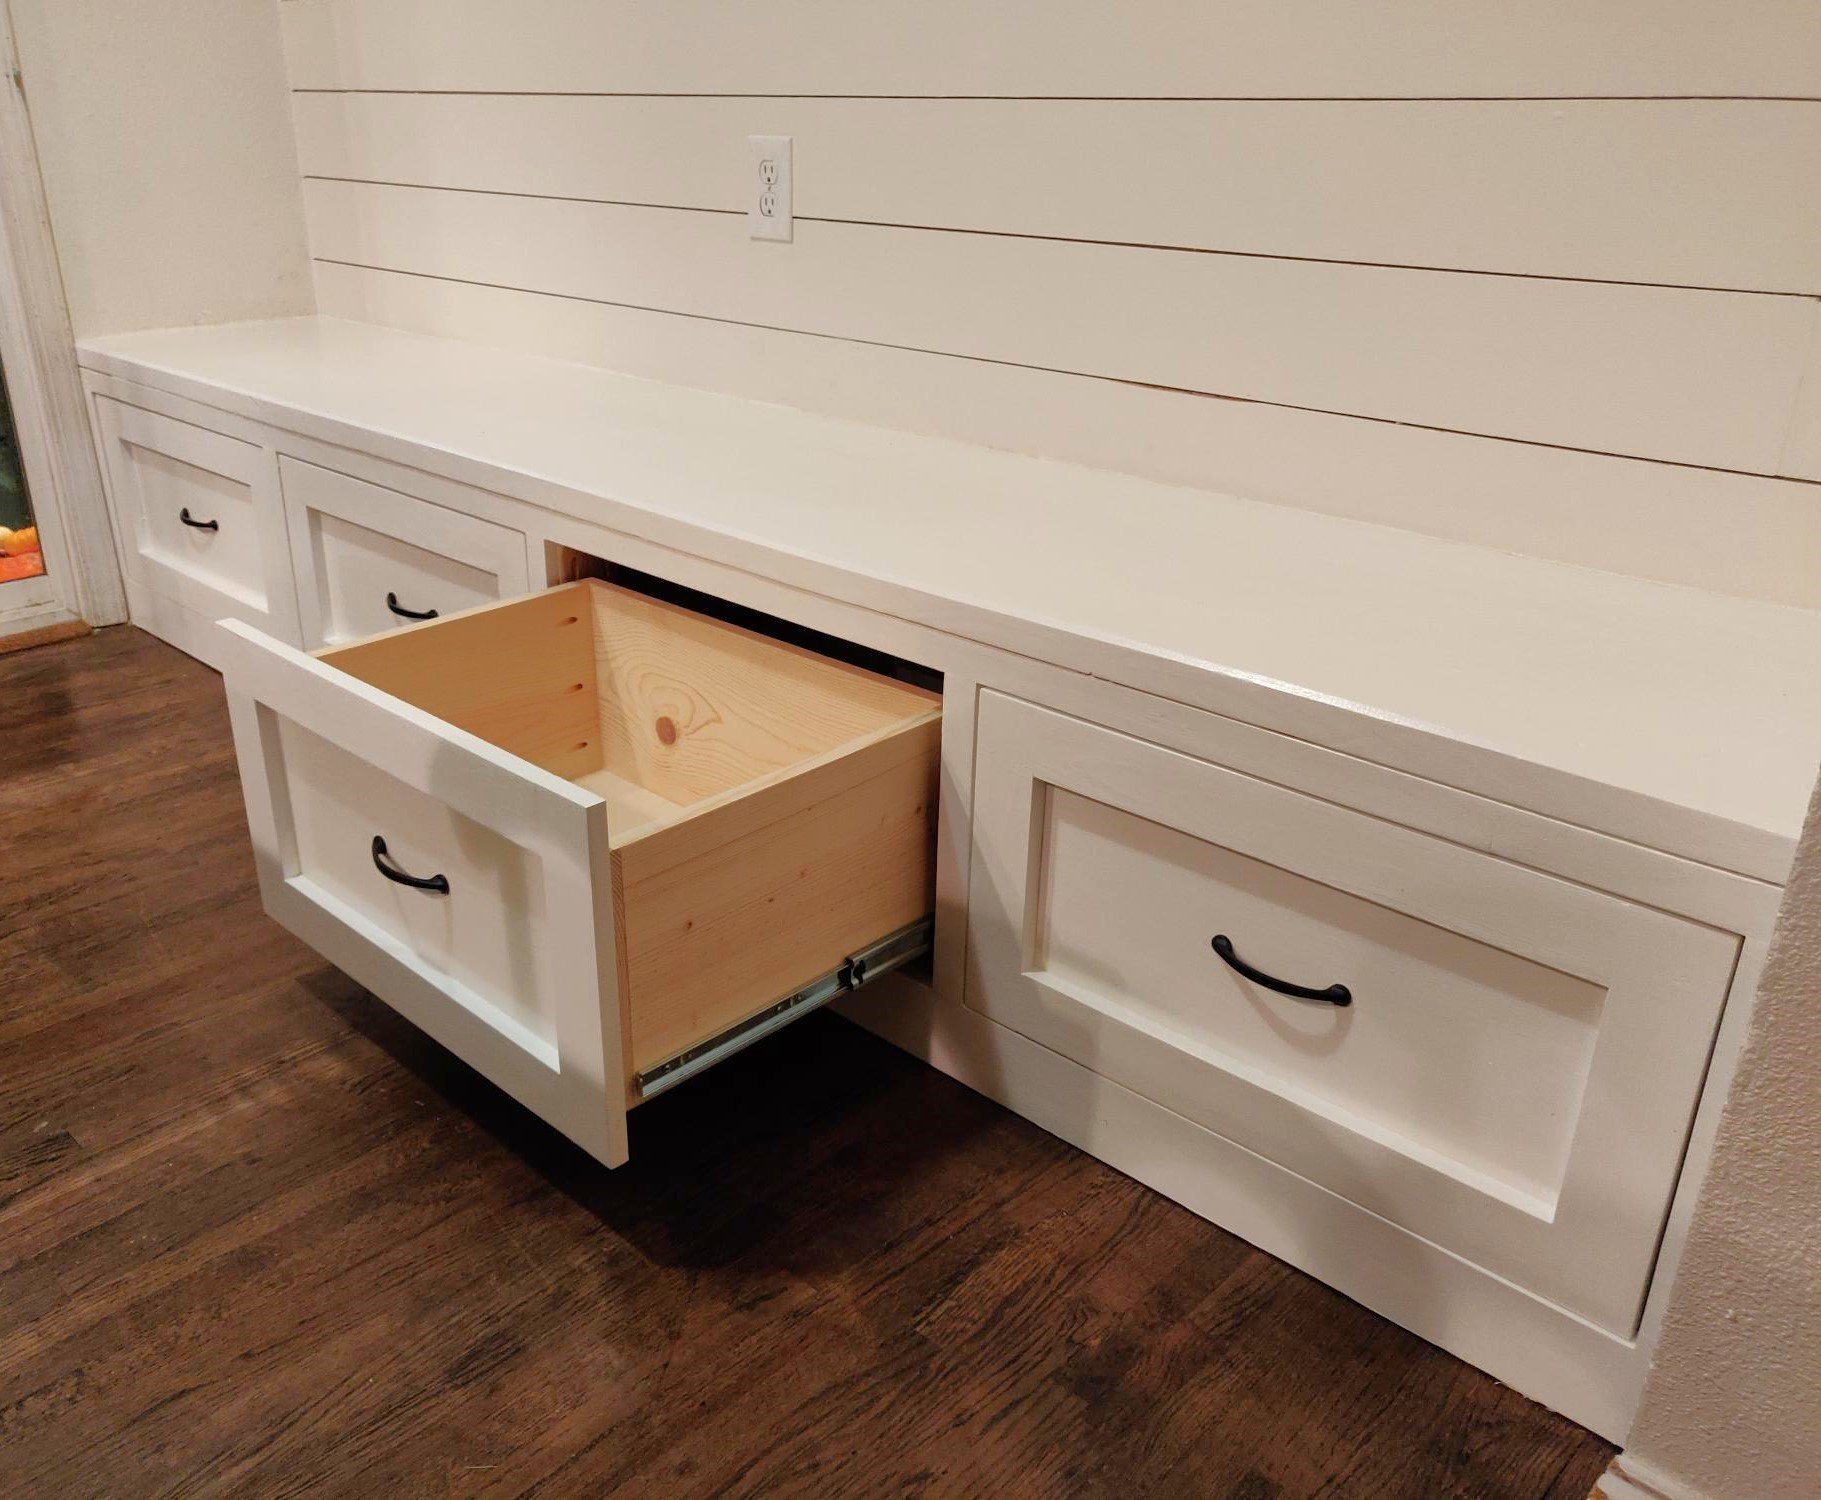
I need the table that is
I need the table that is green/gray/blue whatever on the bottom and stained brown on the top
theUgly_bear
Tue, 01/17/2017 - 12:35
Future plans to come
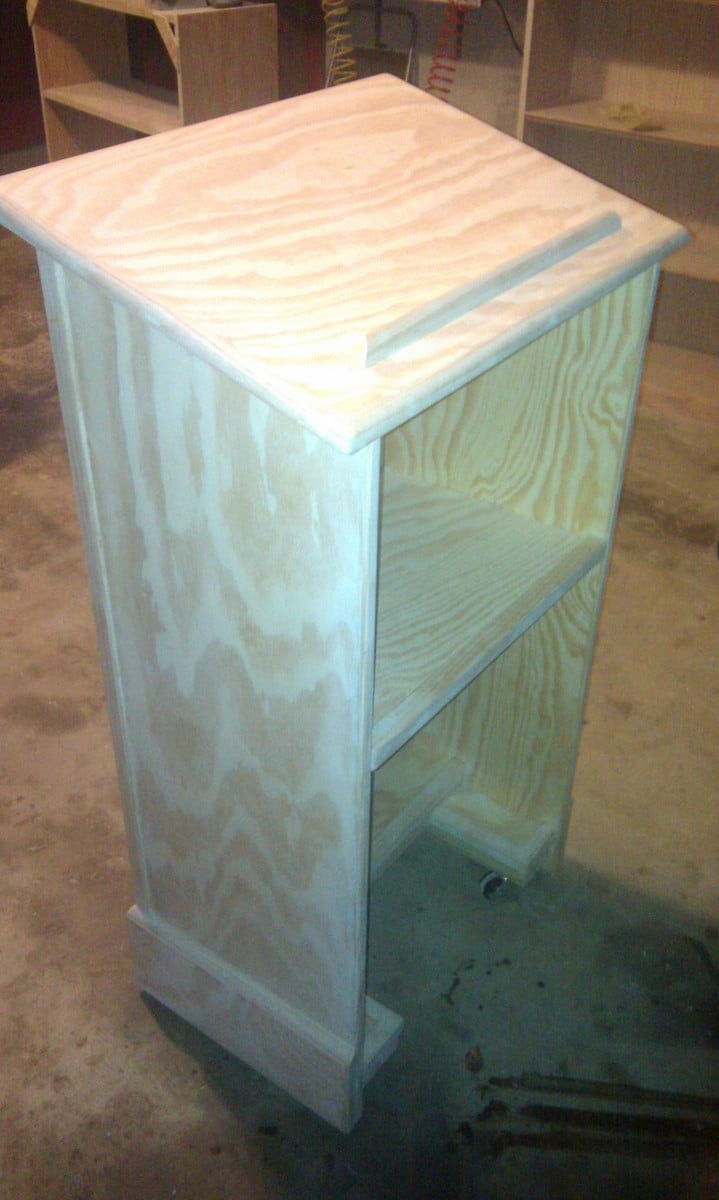
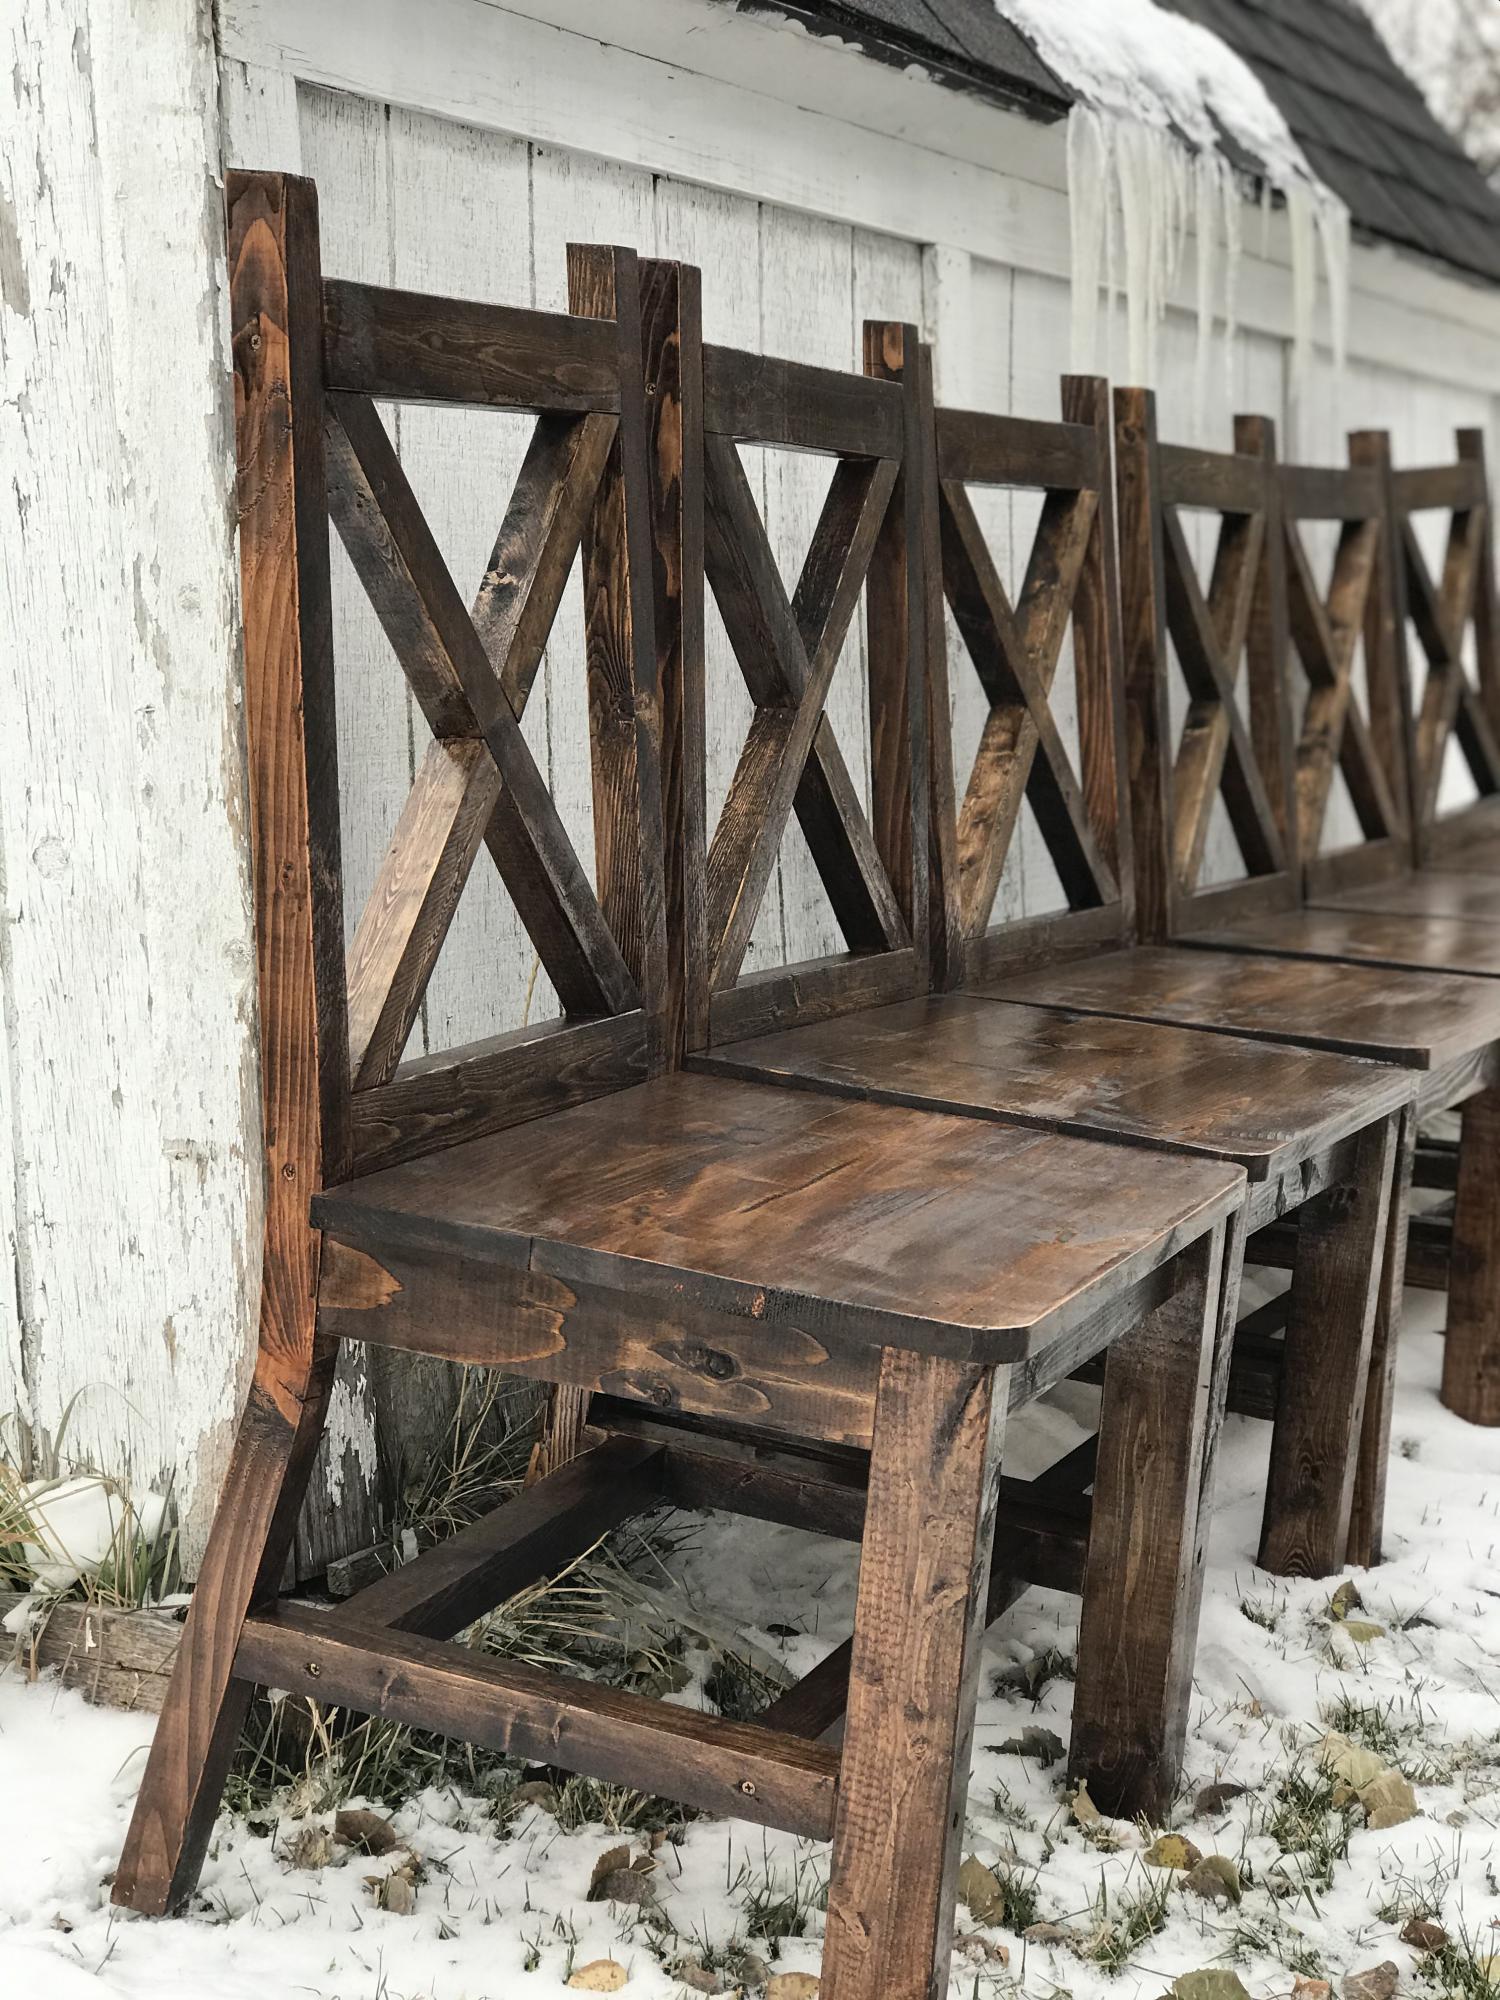
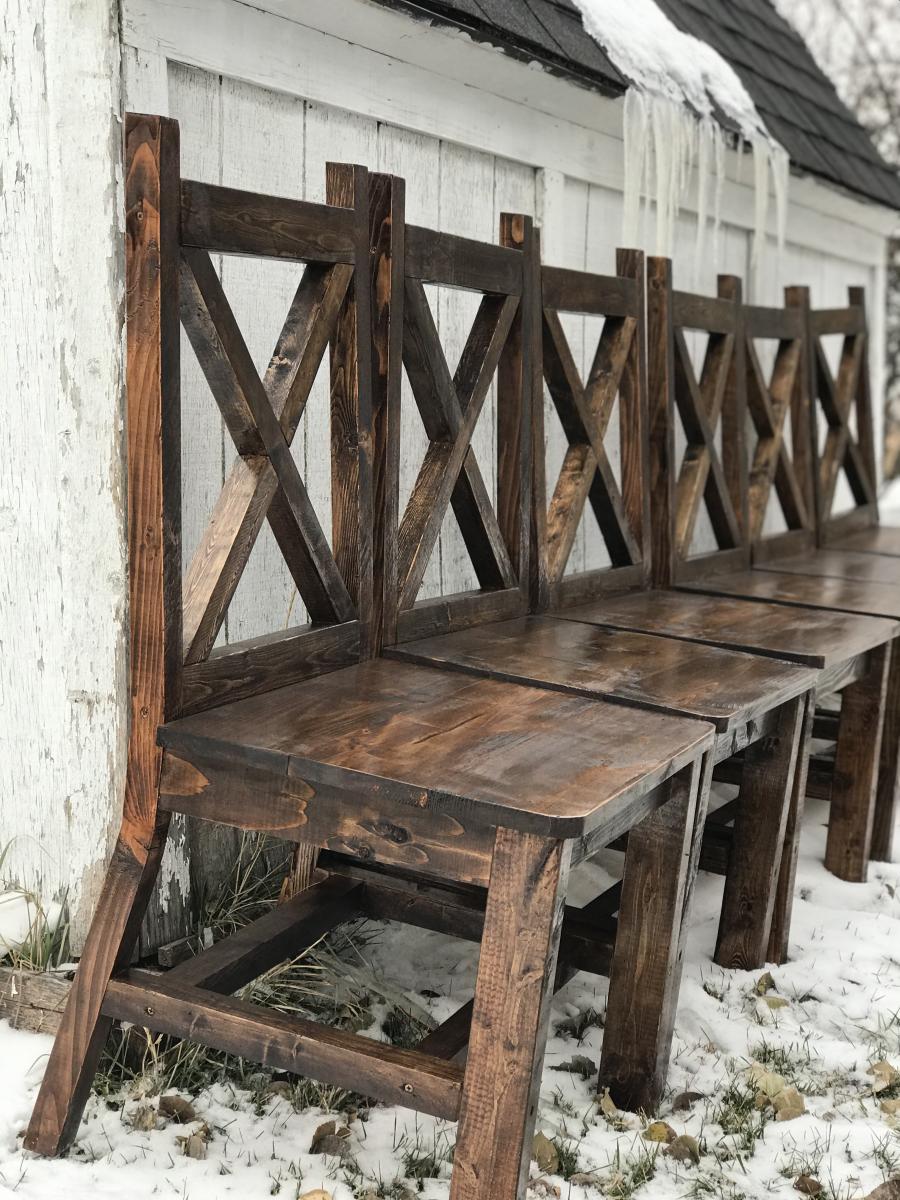
i plan on making this next week, so i can update you with the plans, the only thing i am doing different is the way i am doing my cross in the back.
stay tuned
theUgly_bear
Tue, 01/17/2017 - 12:35
Future plans to come
i plan on making this next week, so i can update you with the plans, the only thing i am doing different is the way i am doing my cross in the back.
stay tuned
Mrs.tash
Sat, 02/04/2017 - 13:12
Original plans?
This is beautiful and simple! Great job!
You costum built it to fit the baseboard, were the original plans Ana White's? Can you link it or tell me the name to find it?
I'm new to the site and not navigating very well. I'm trying to save plans for a console similar to this to my profile/account and looking for the little "save to plans" to easily find this again