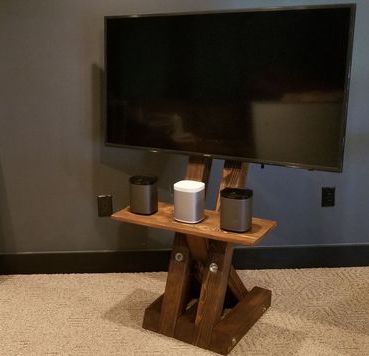
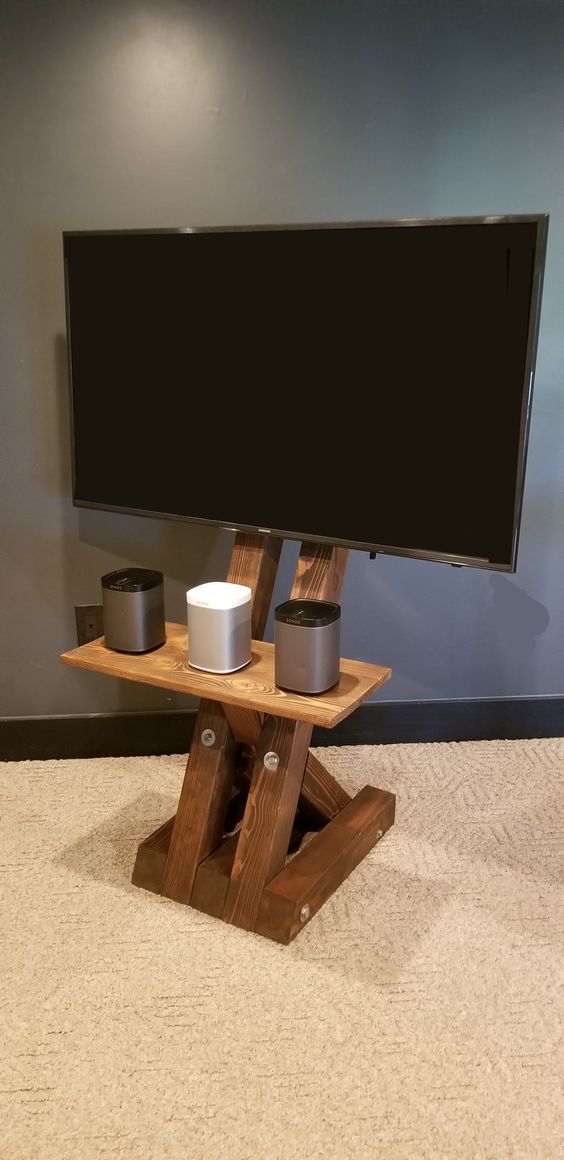
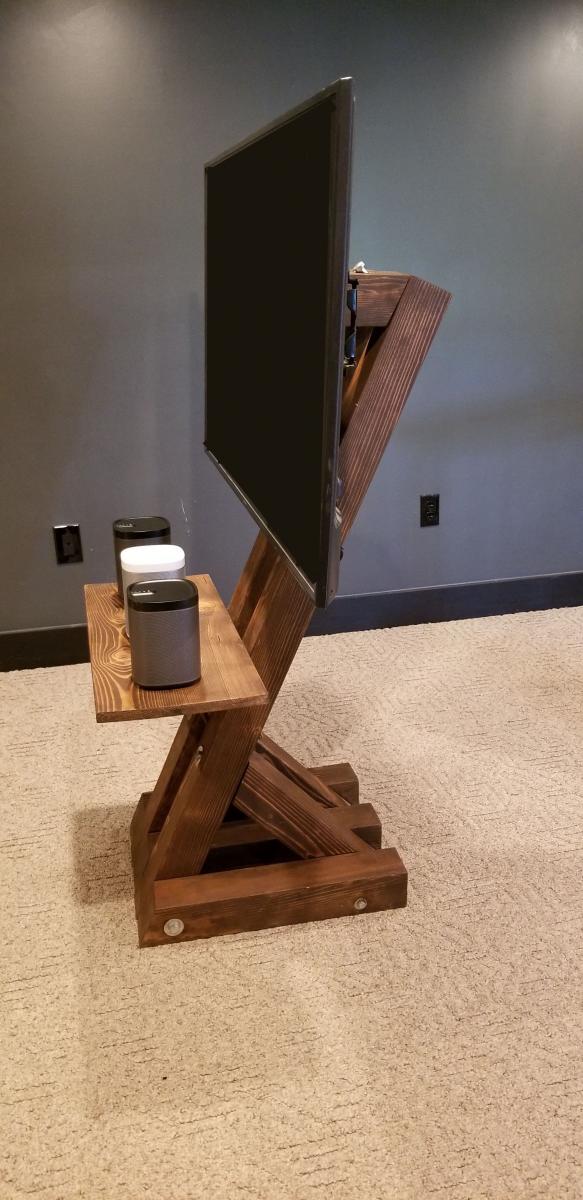
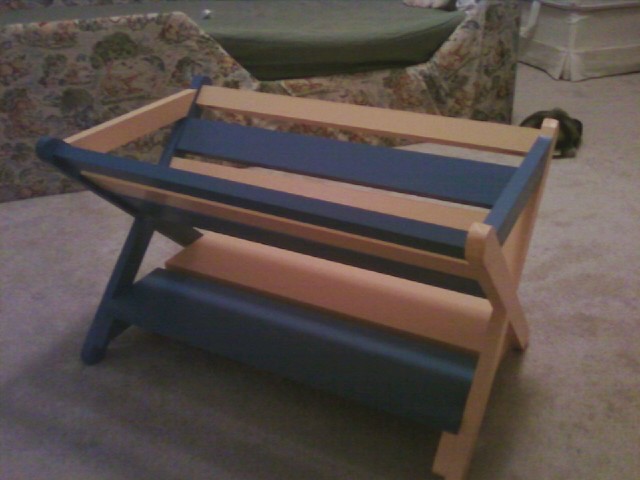
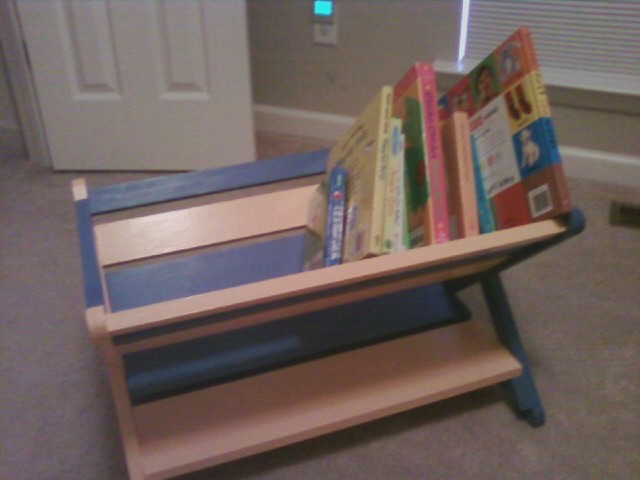
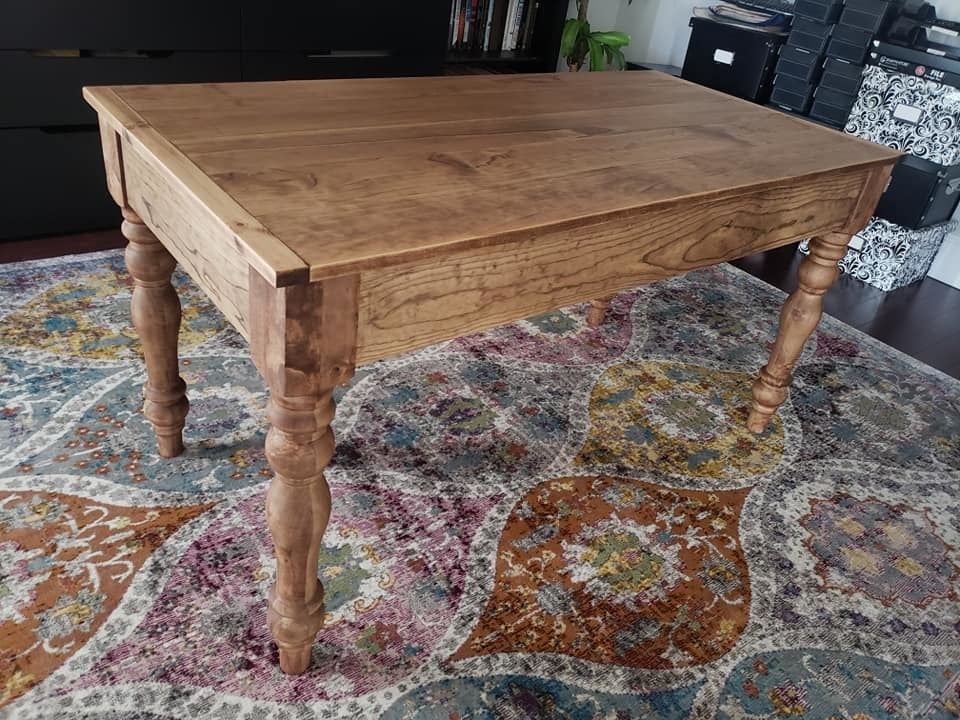
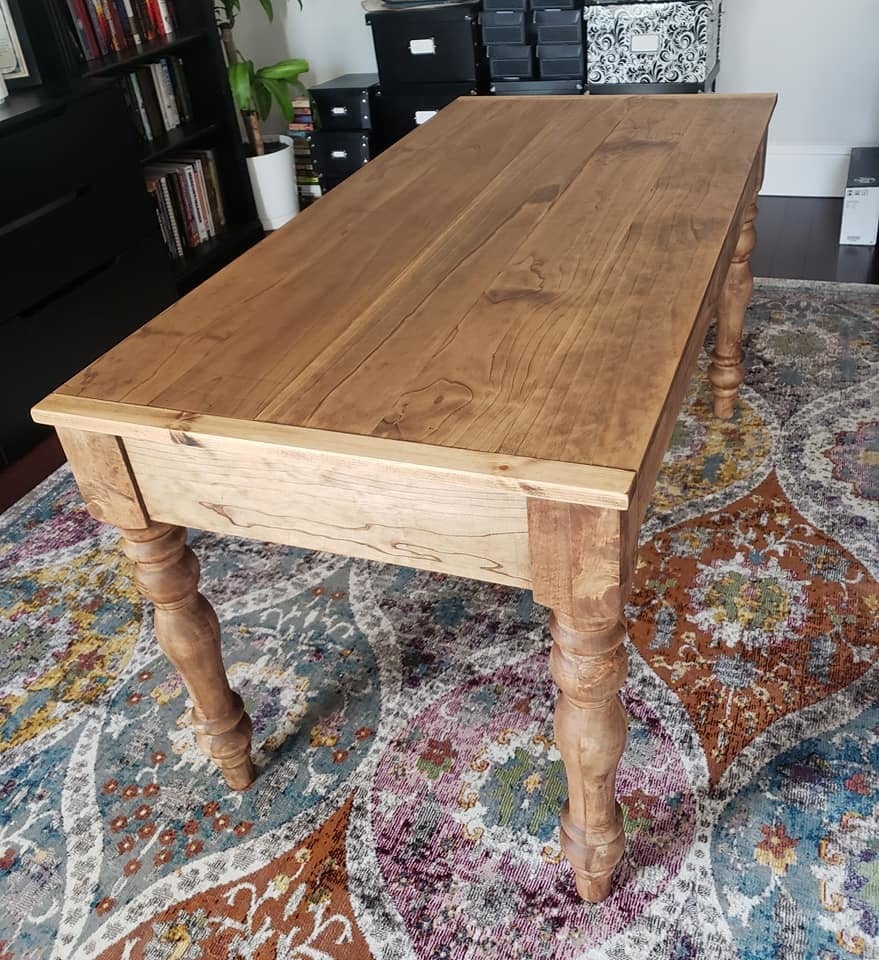
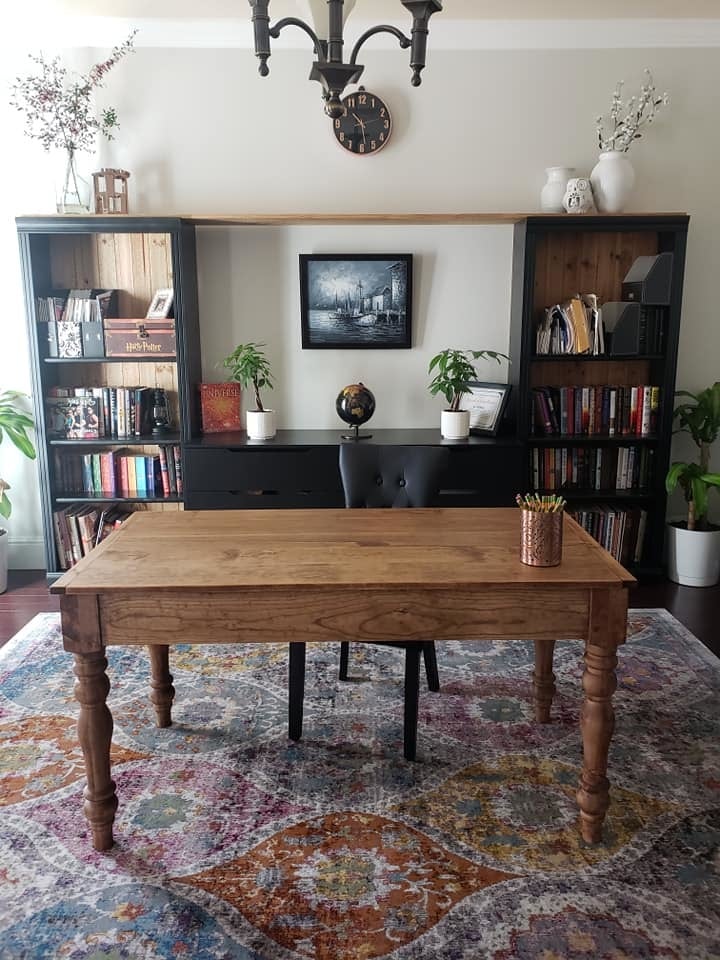
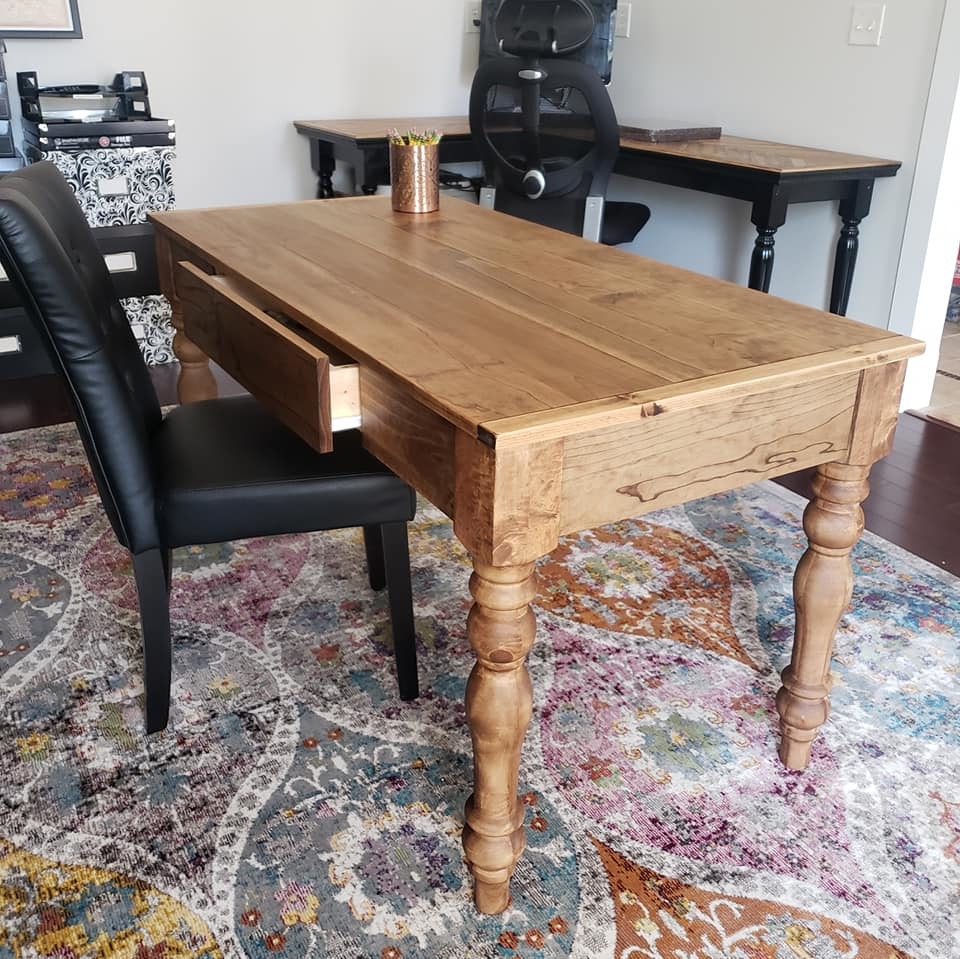
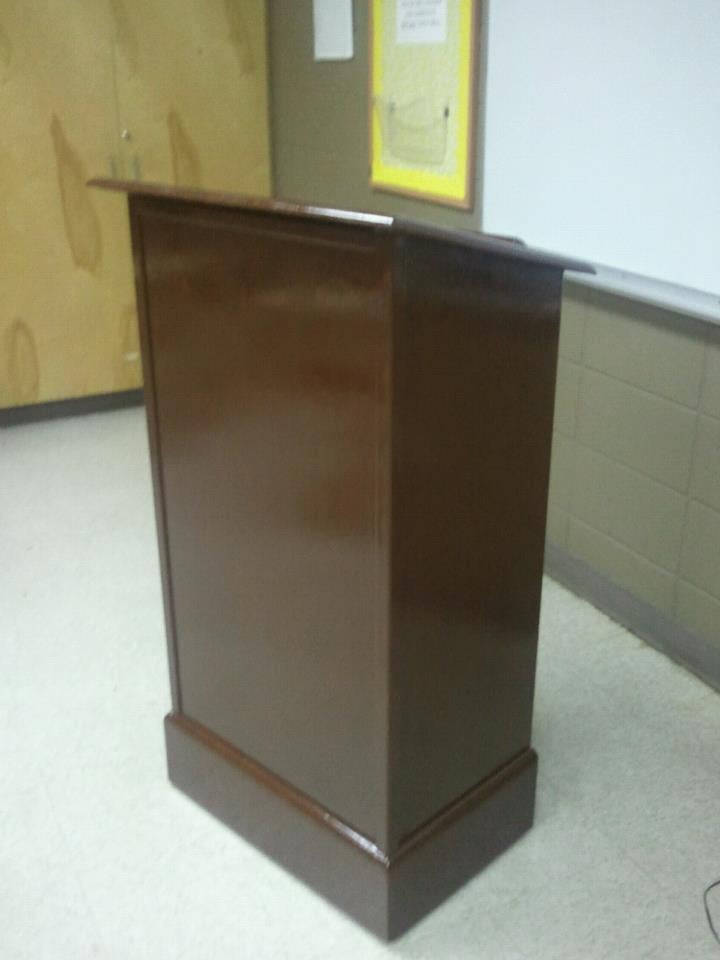
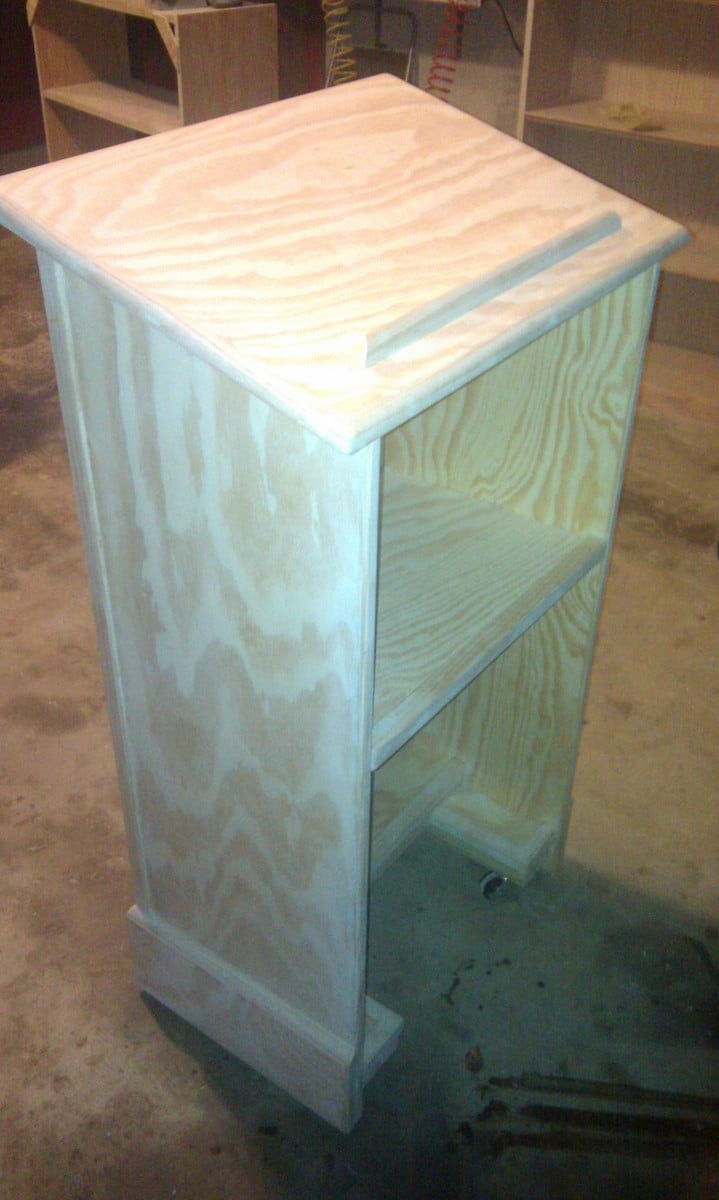
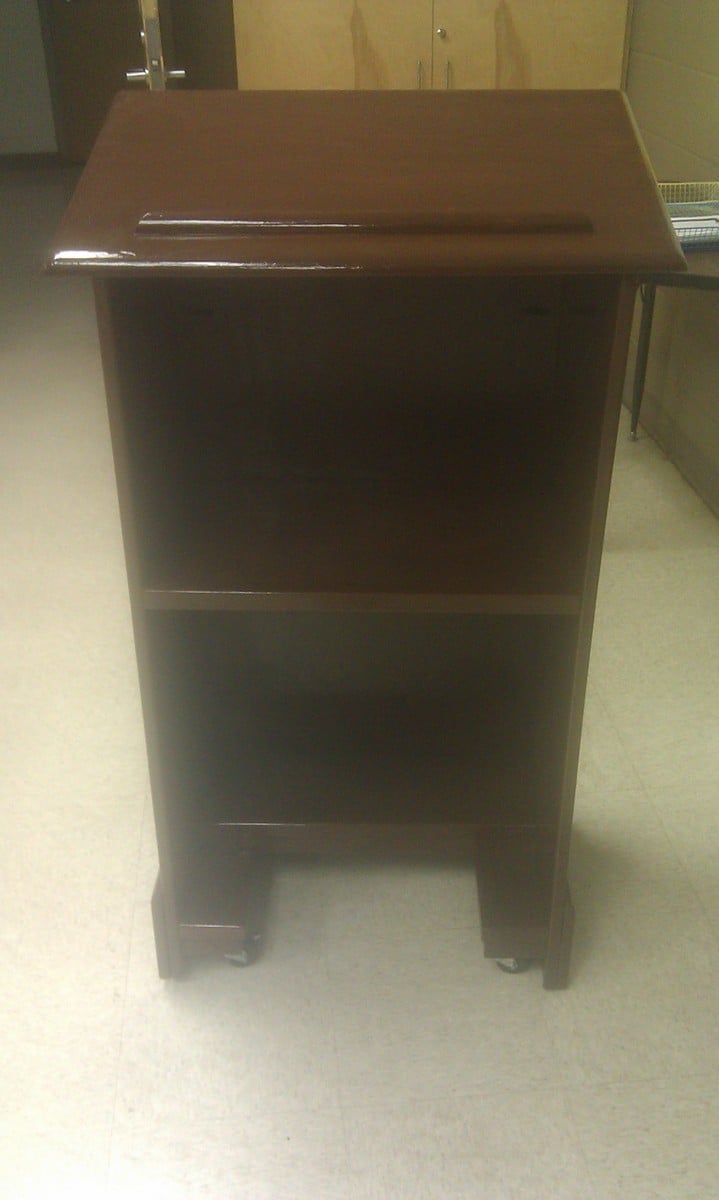
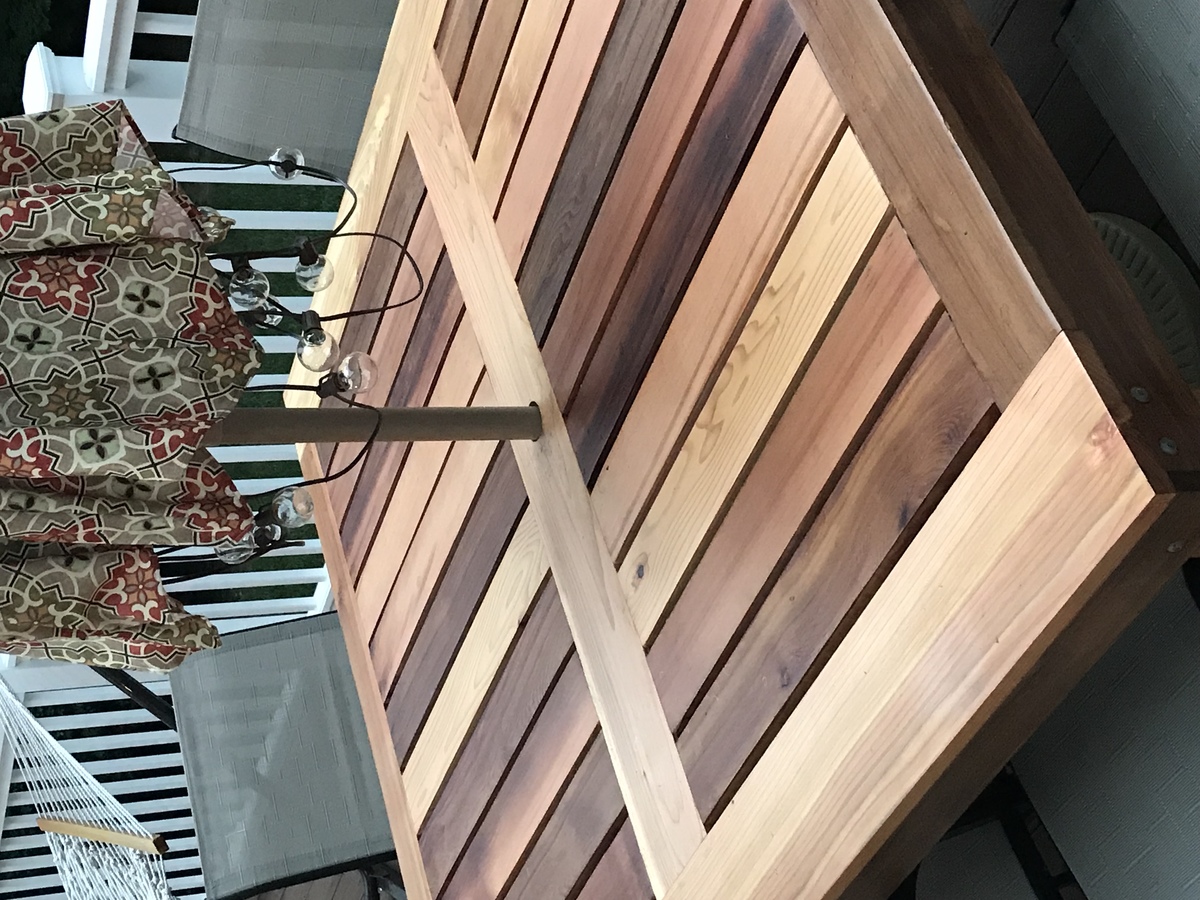
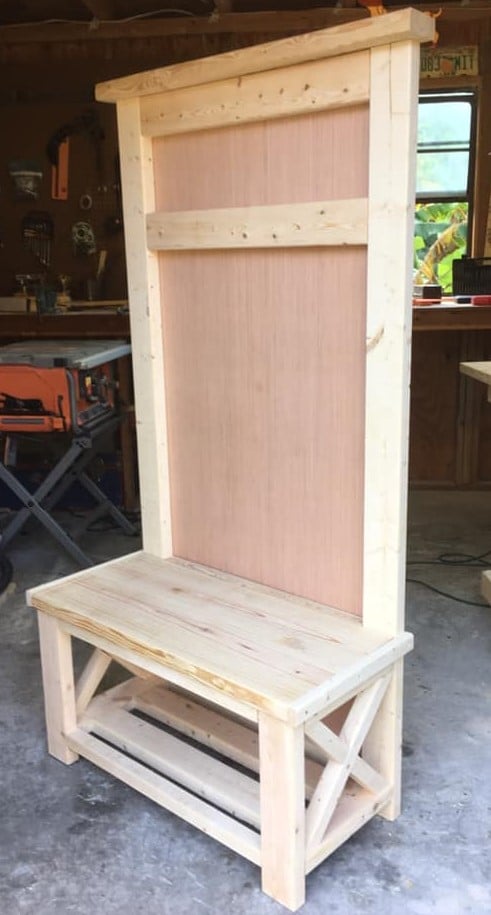
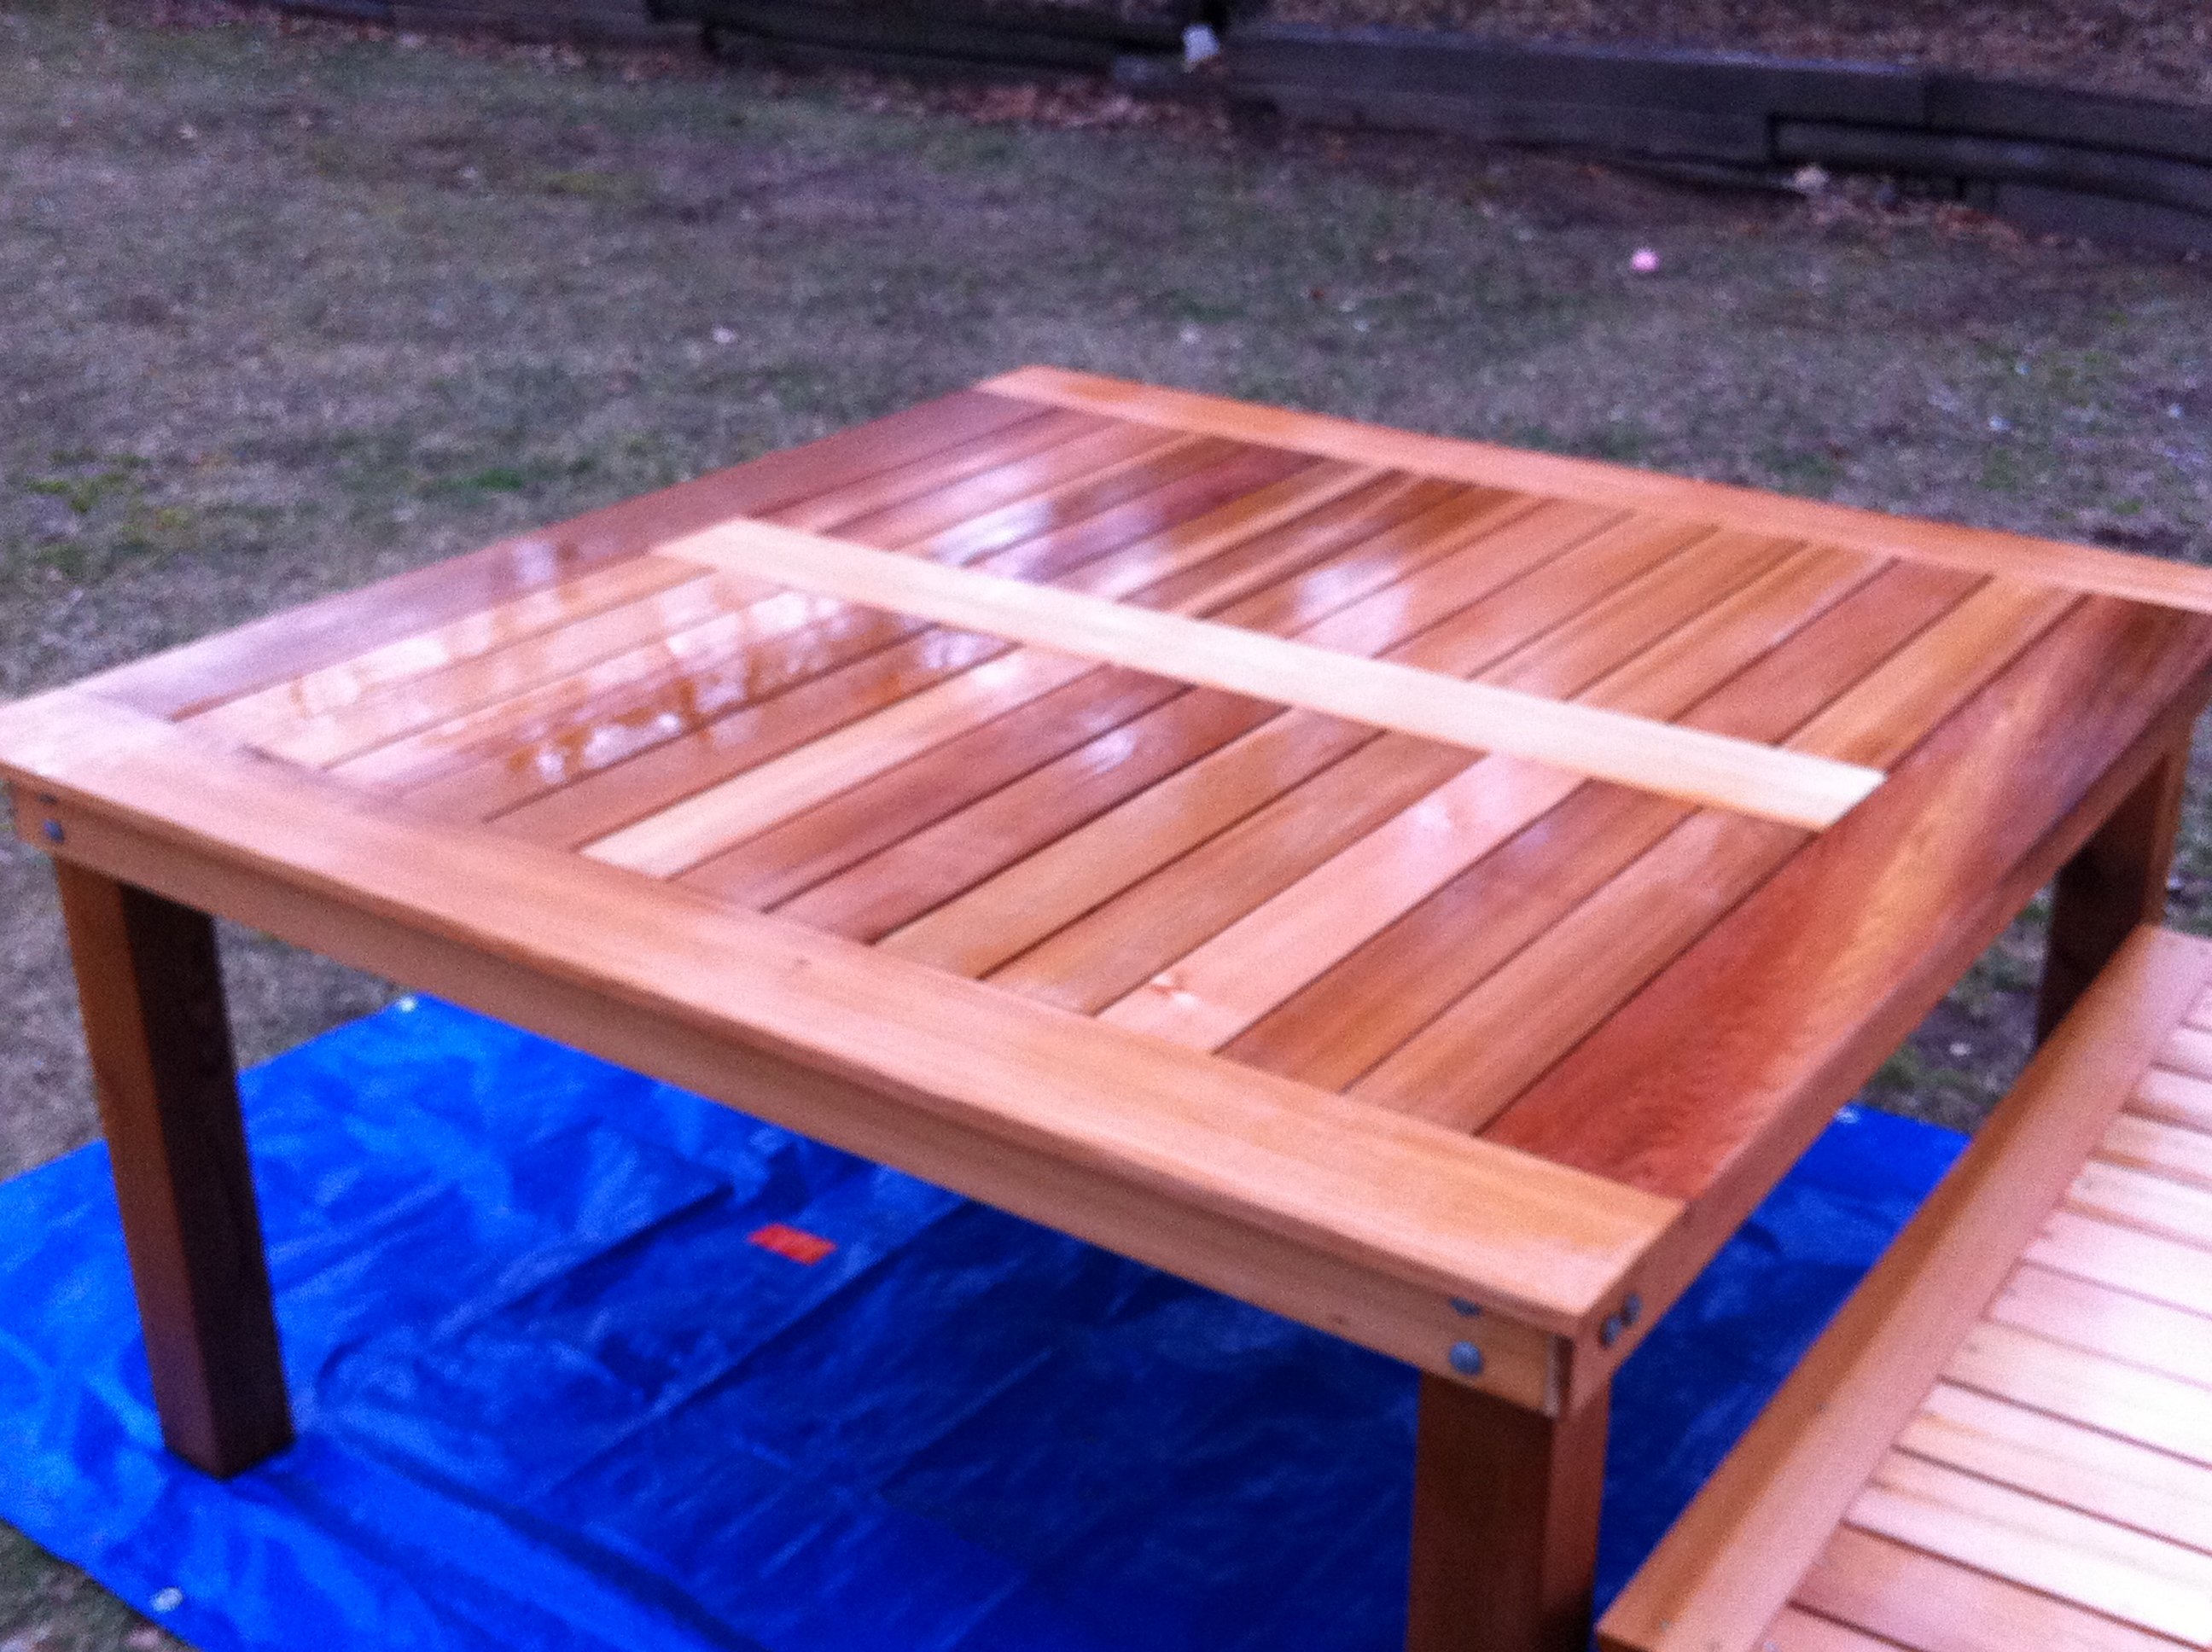
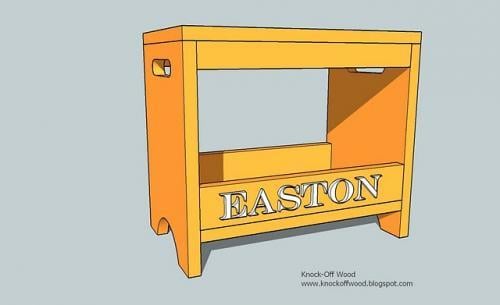
The Gíaffe TV Stand
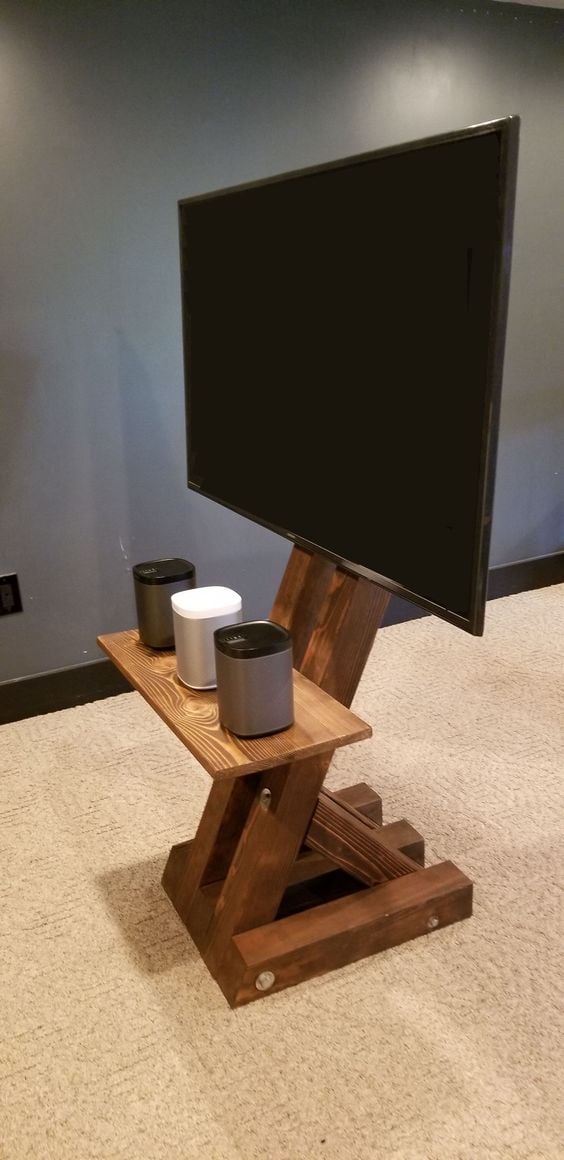
The Gíaffe Free Standing TV Mount. Handcrafted and engineered to use its center mass to deliver strength and balance for tv sizes 30-60". Display your television without detracting from your home's decor. The Gíaffe Free Standing TV Mount is the perfect solution and its rich finish will be perfect for any house/office room.

Estimated Cost
$109
Estimated Time Investment
Day Project (6-9 Hours)
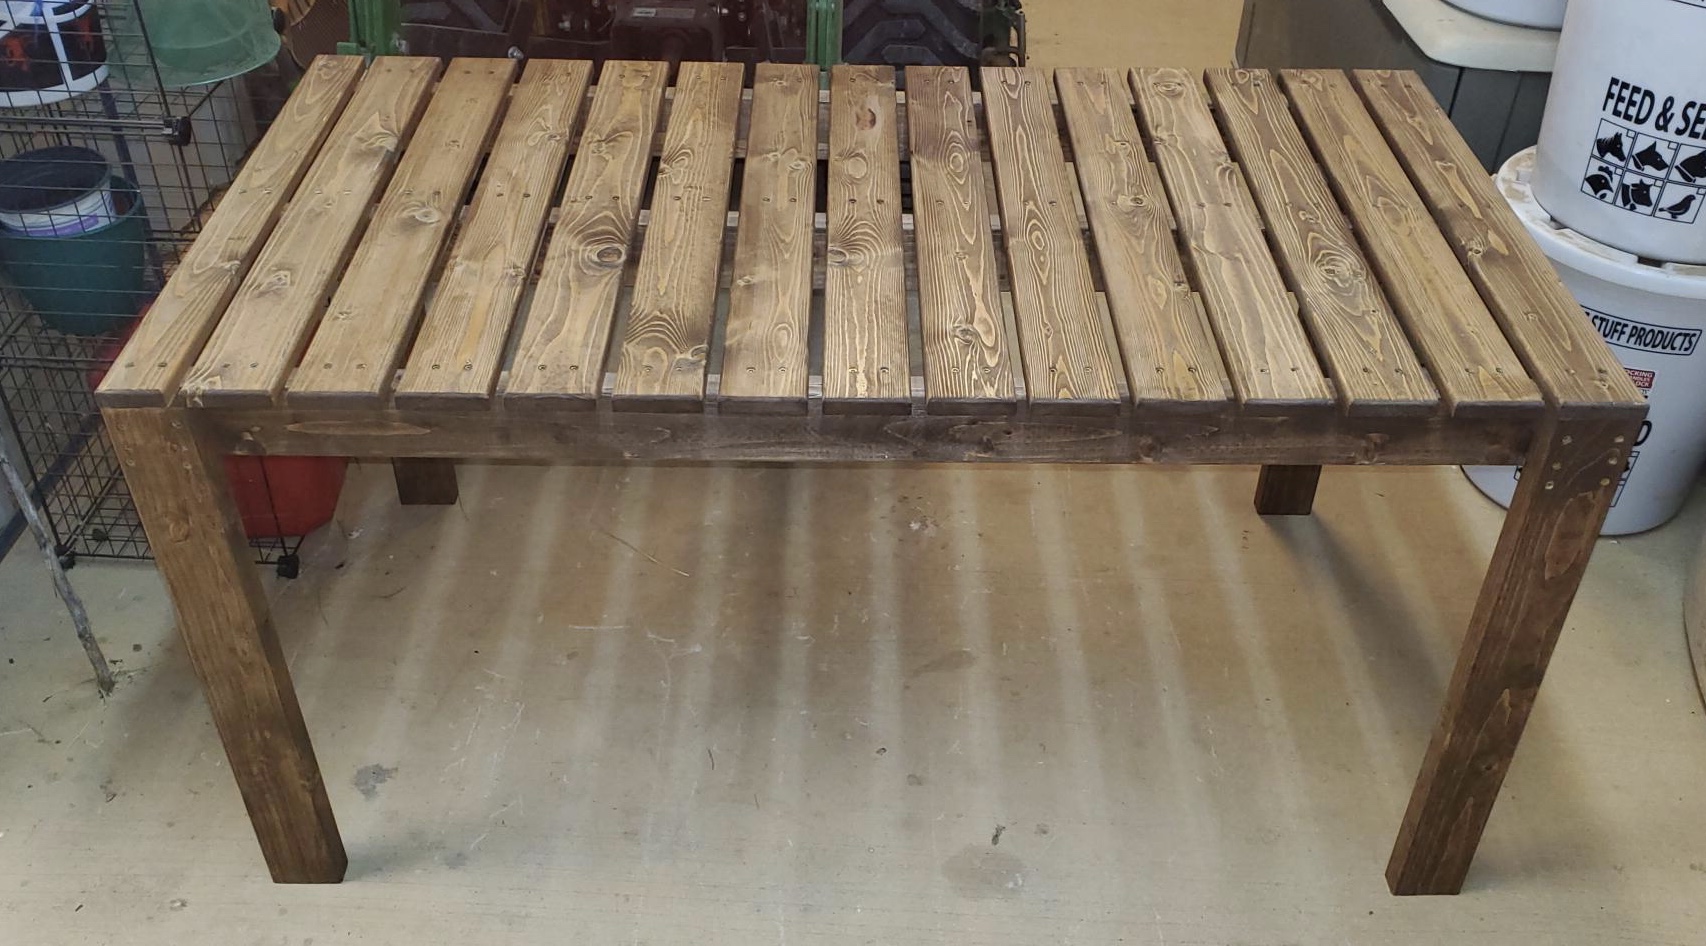
Finish Used
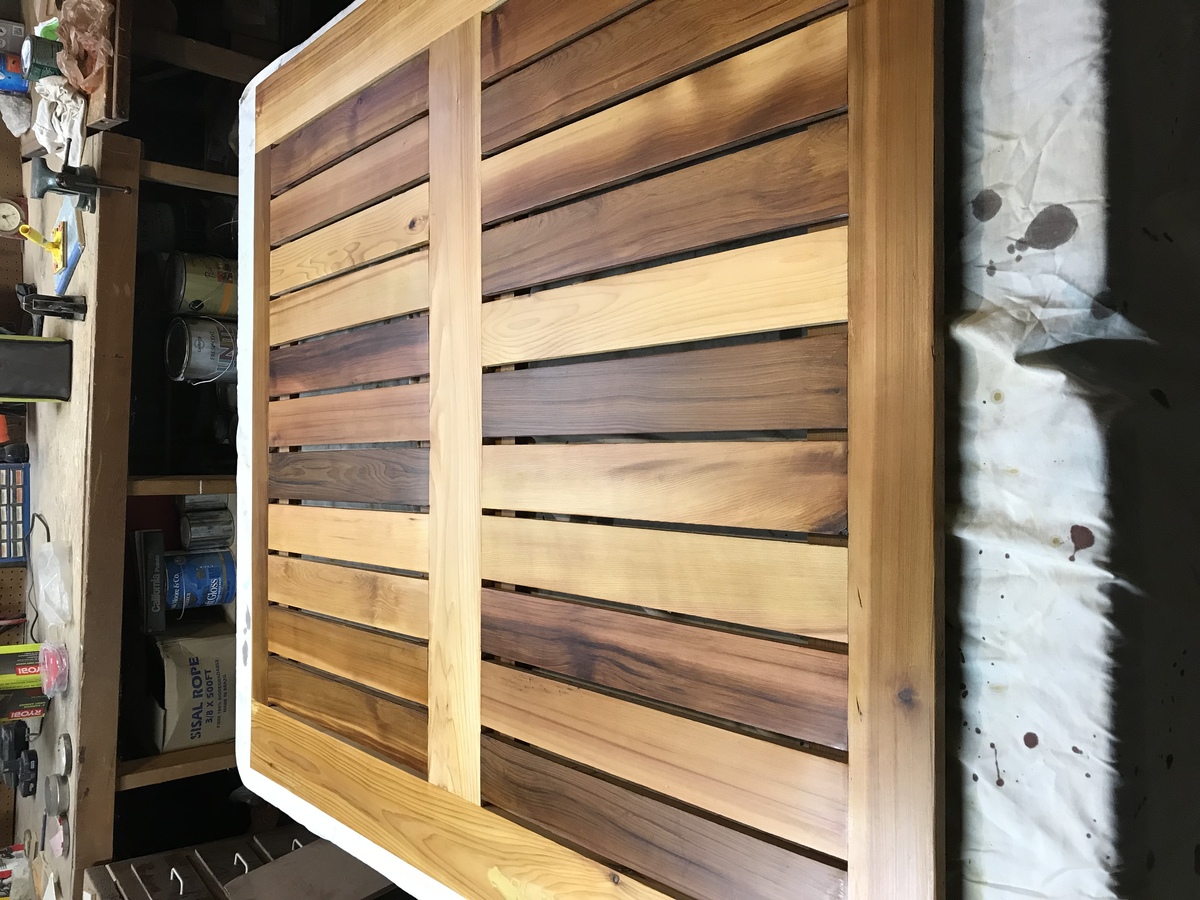
Stain - Dark Walnut - Varathane - 2 Coats
Finish - Water Based Polyurethane - Varathane - 3 Coats
Finish - Water Based Polyurethane - Varathane - 3 Coats
Recommended Skill Level
Intermediate


Comments
erindenise2323
Wed, 03/11/2020 - 07:16
I absolutely love this!! Are…
I absolutely love this!! Are there plans available?
J3jays
Sun, 02/06/2022 - 15:39
TV stand
Where can I get the plan?