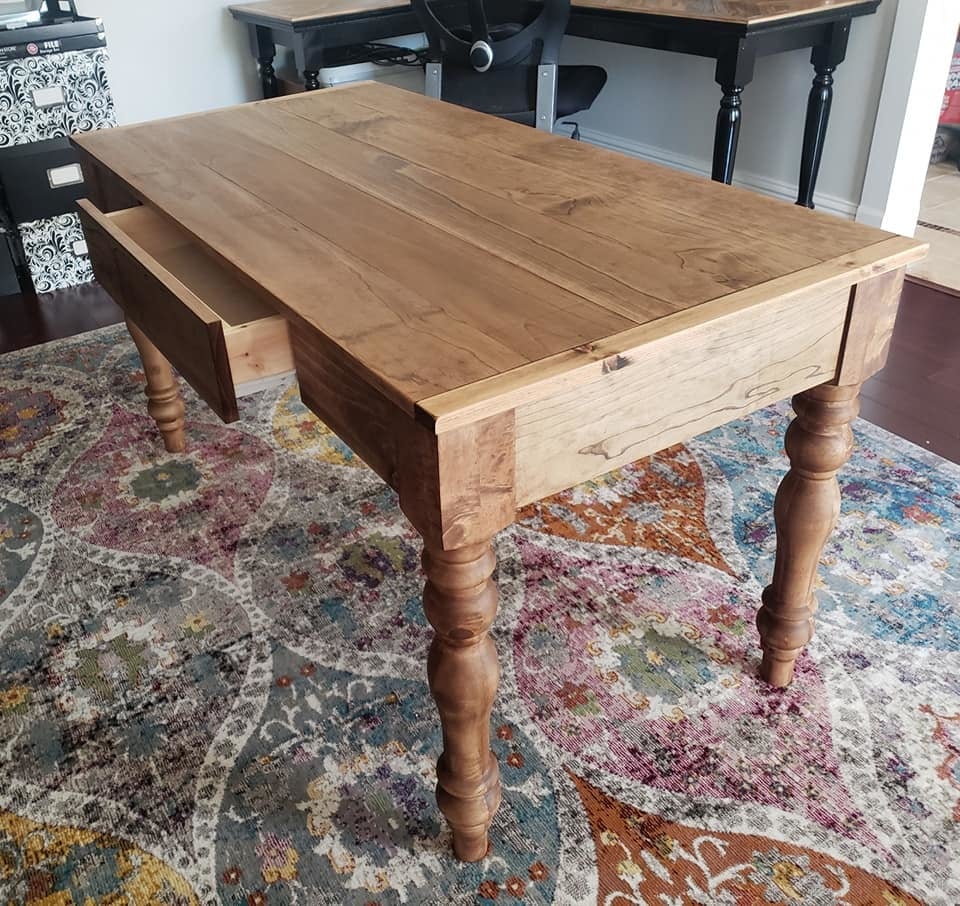
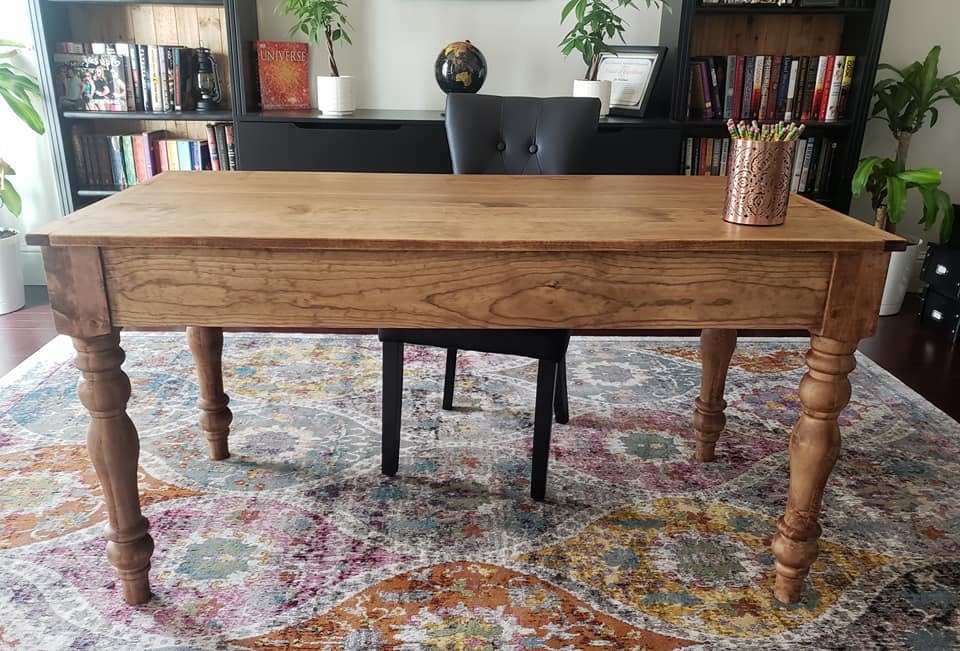
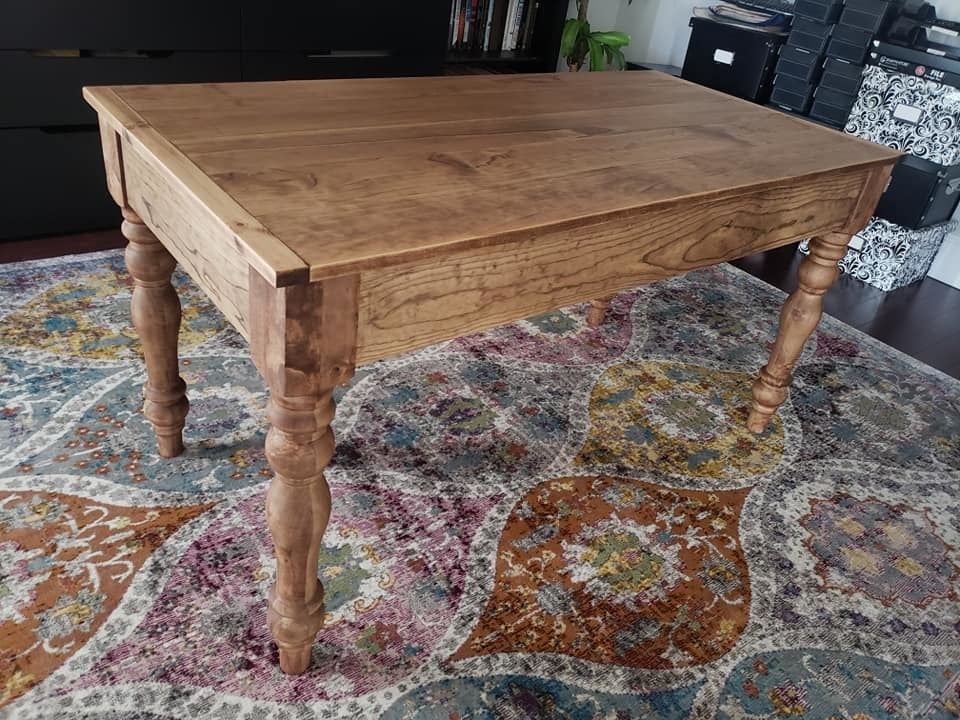
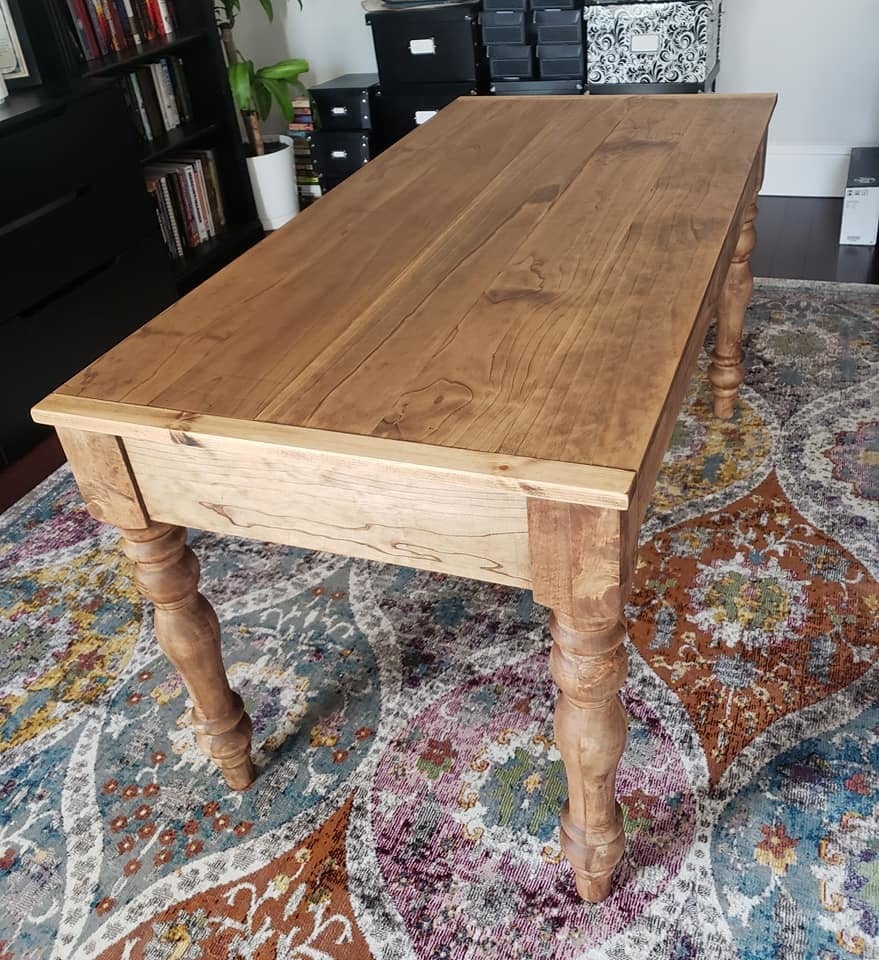
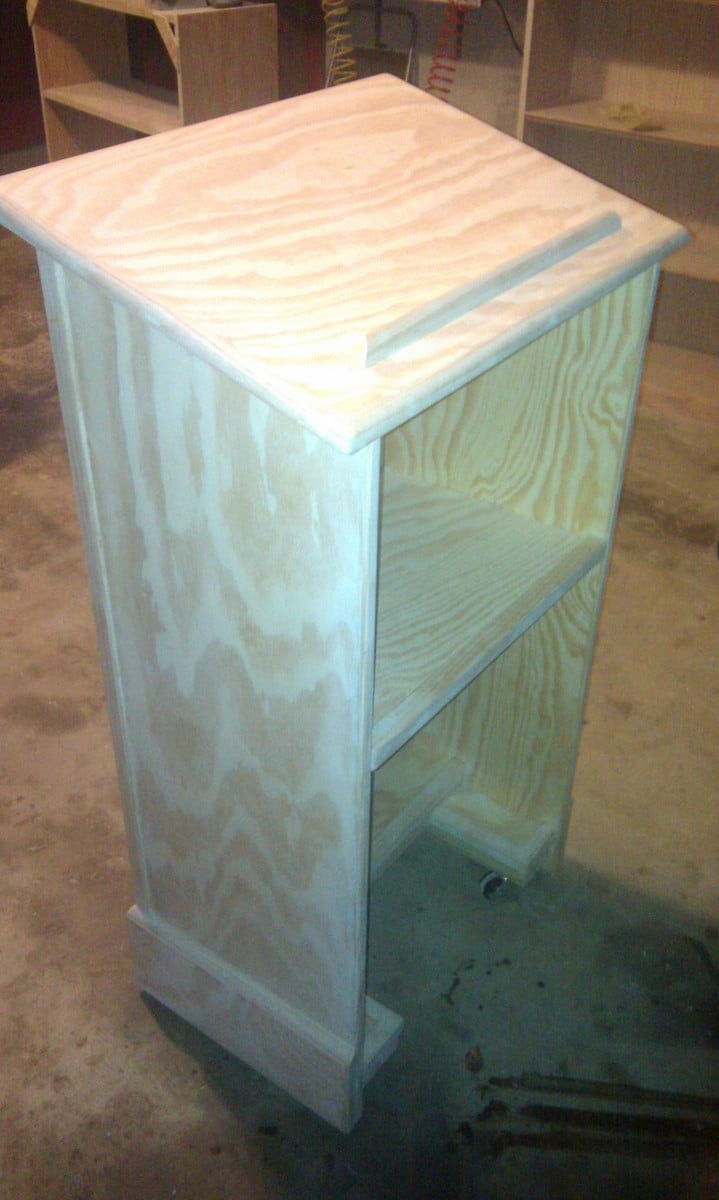
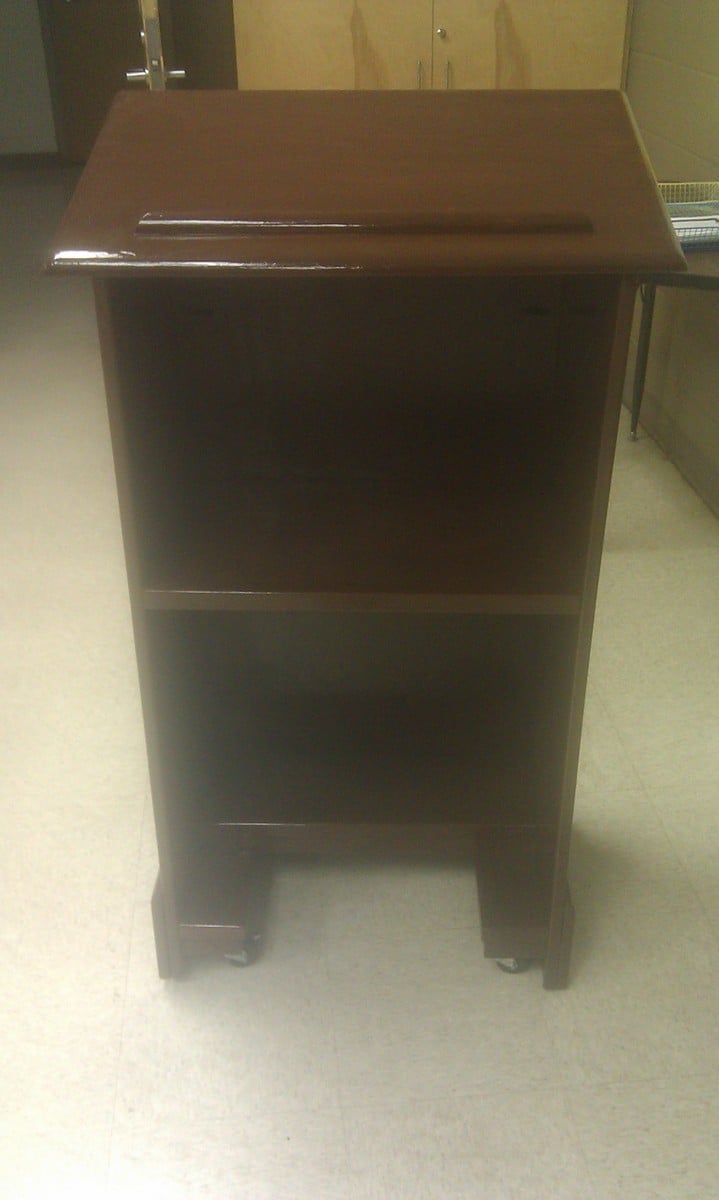
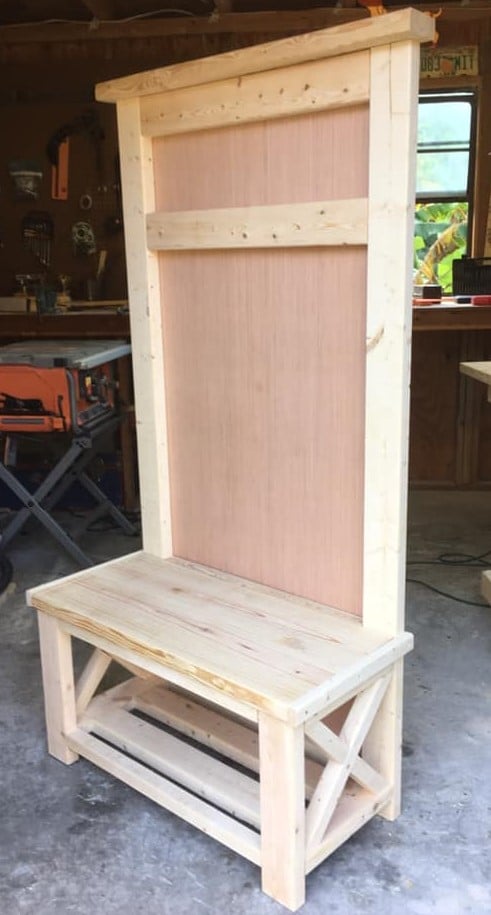
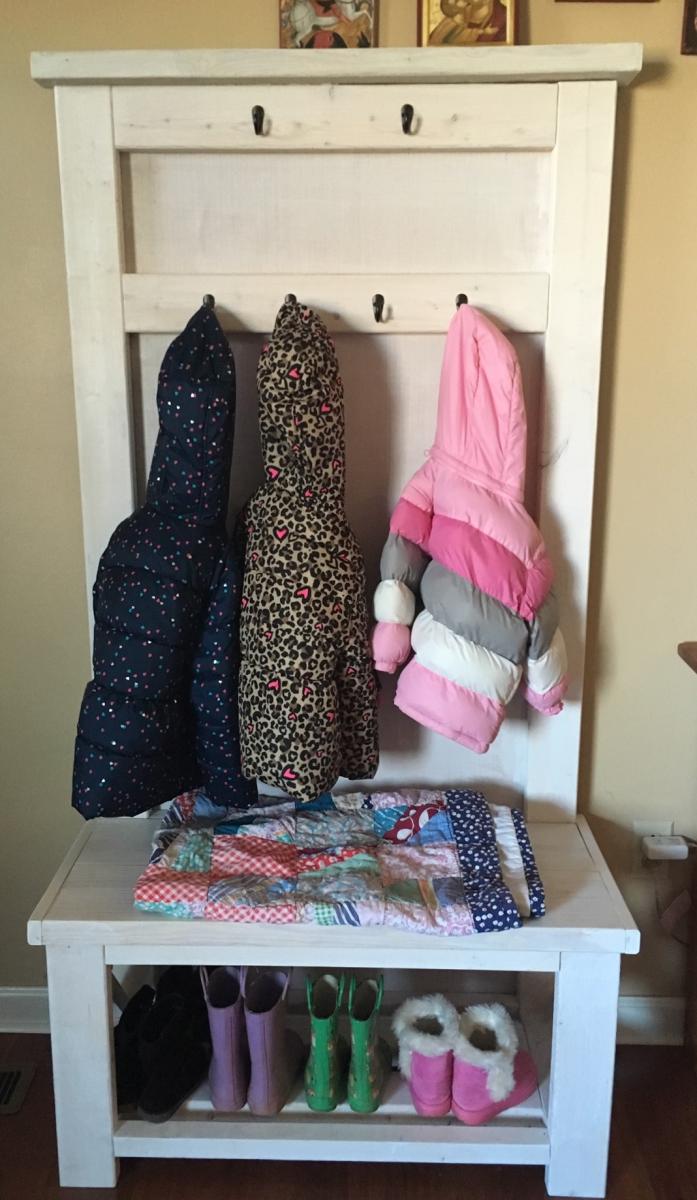
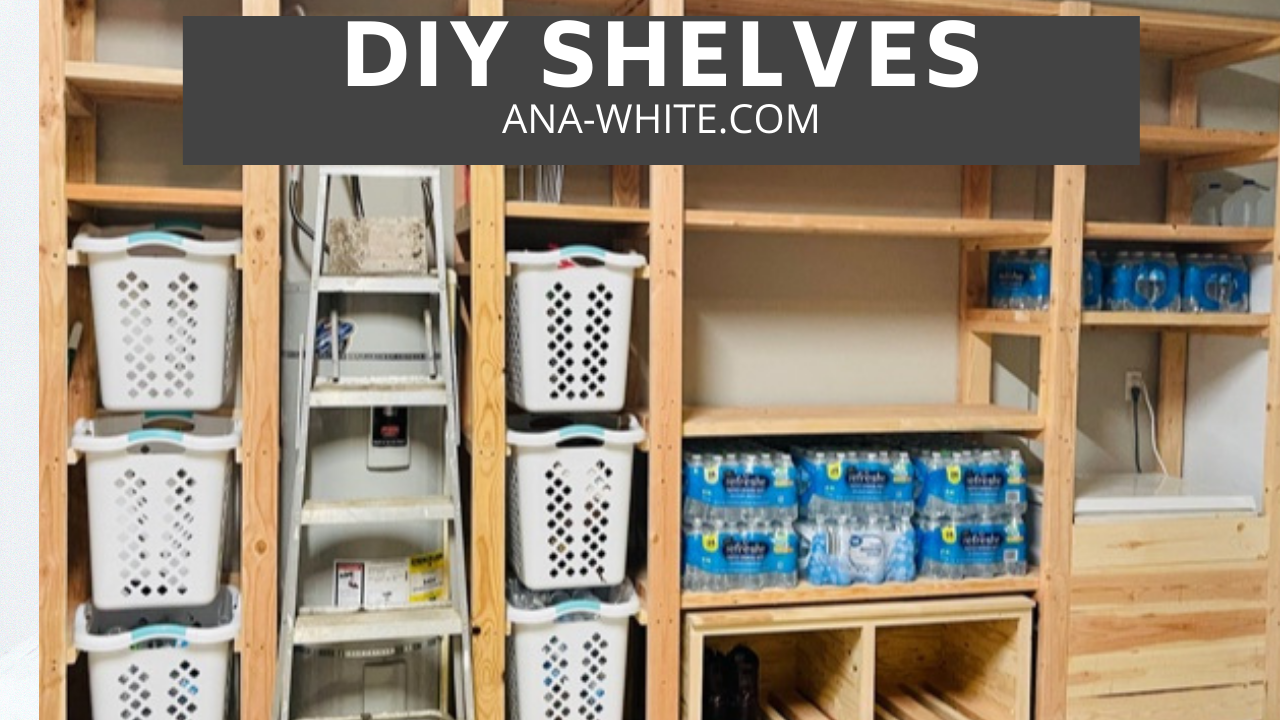
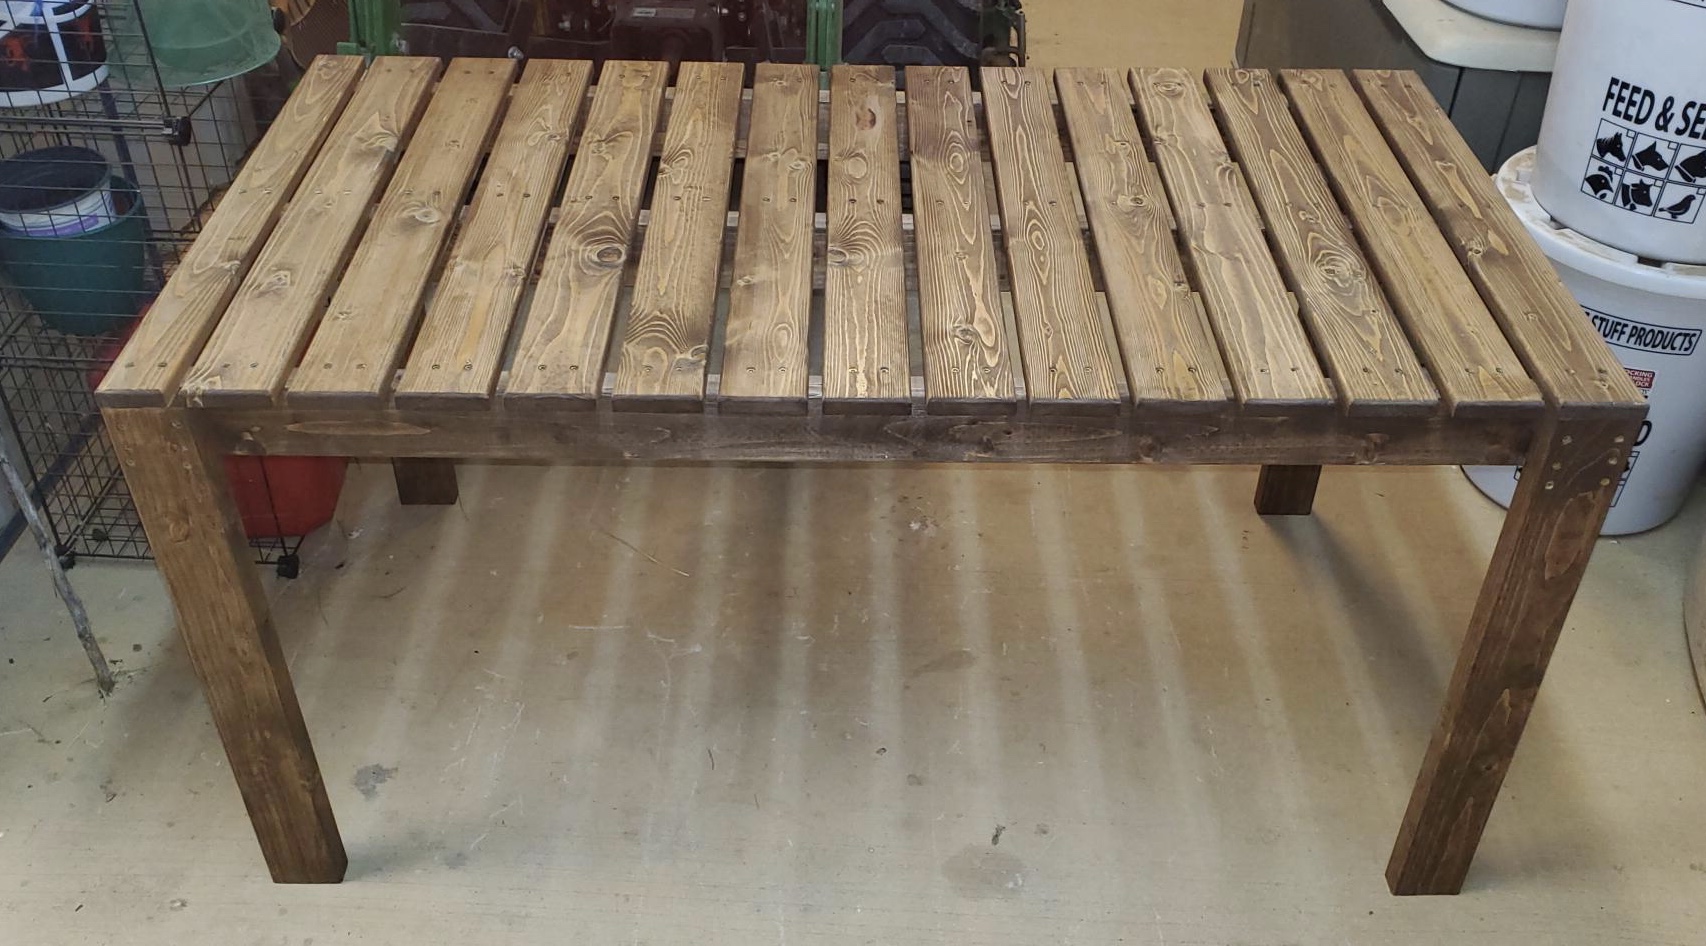
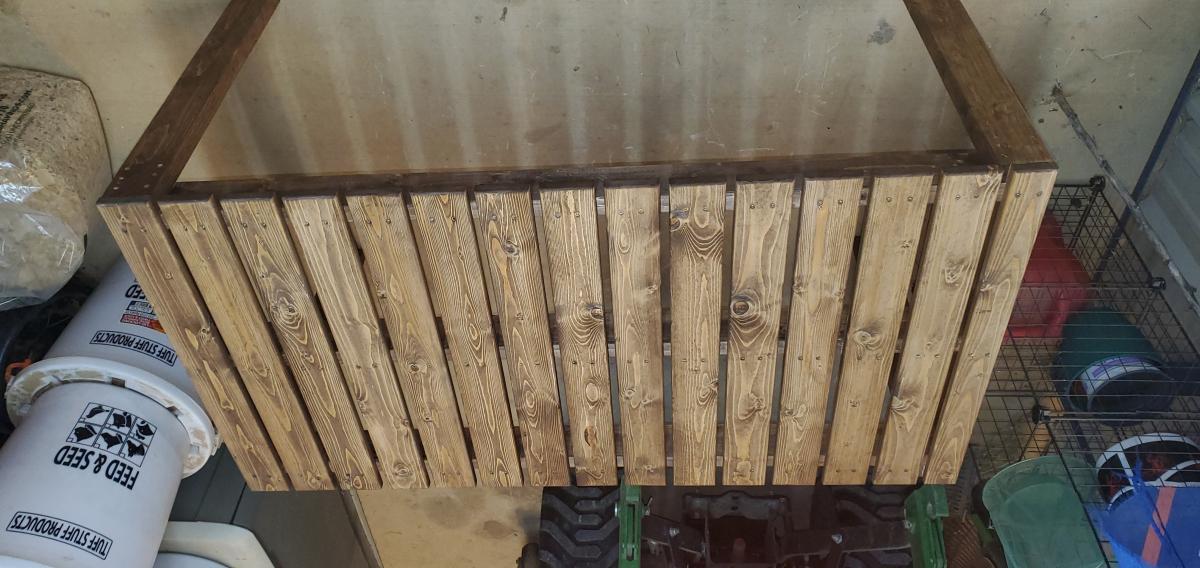
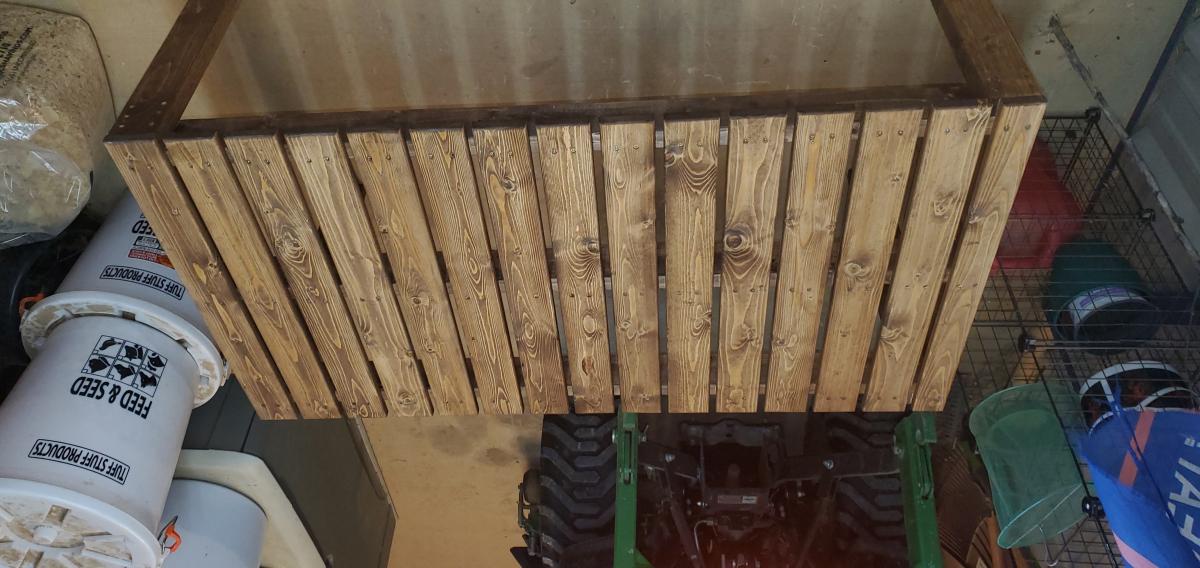
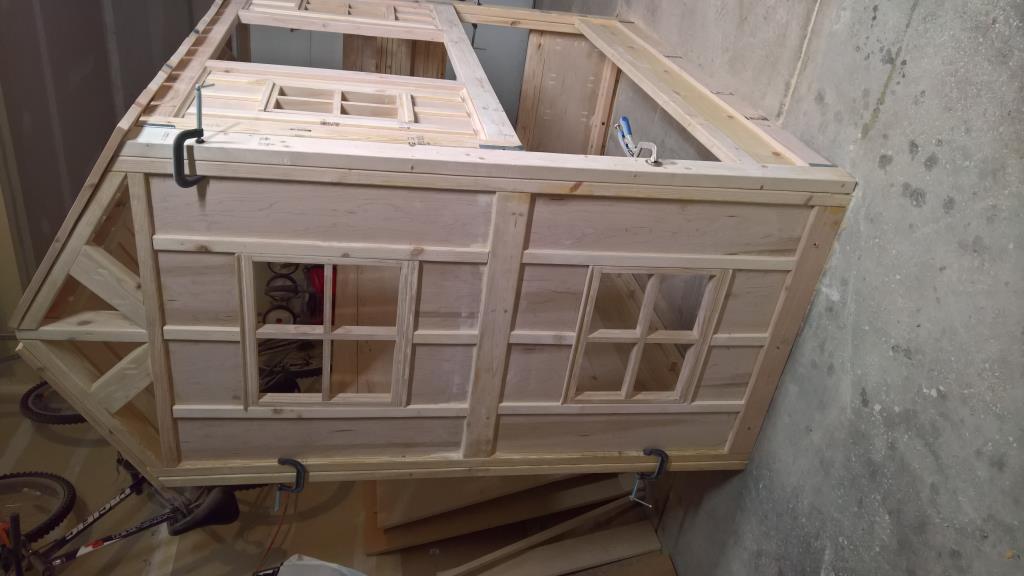
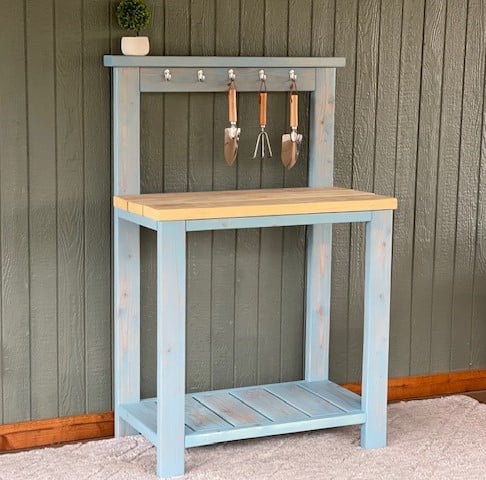
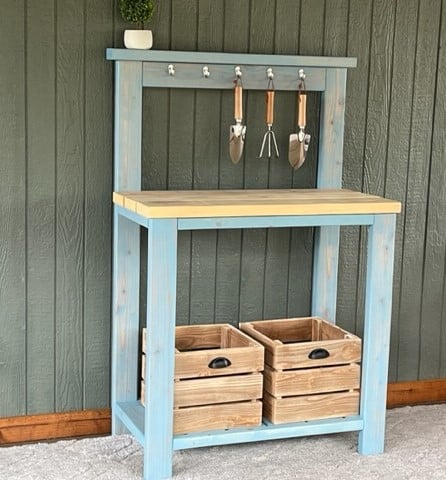
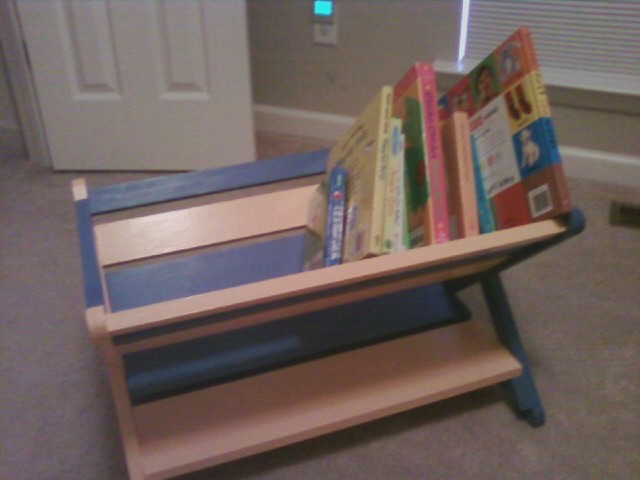
Book Caddy
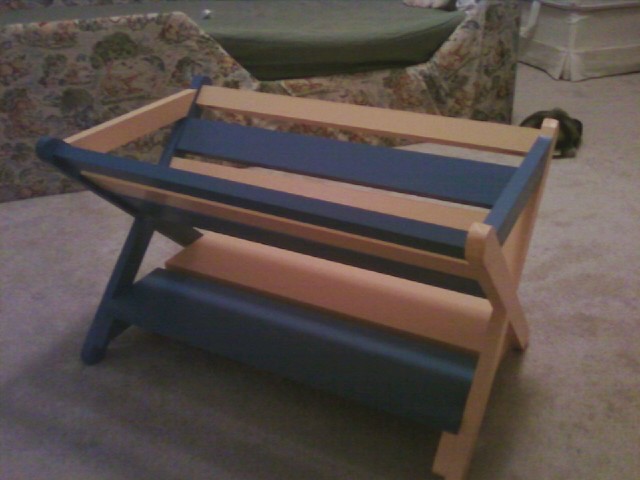
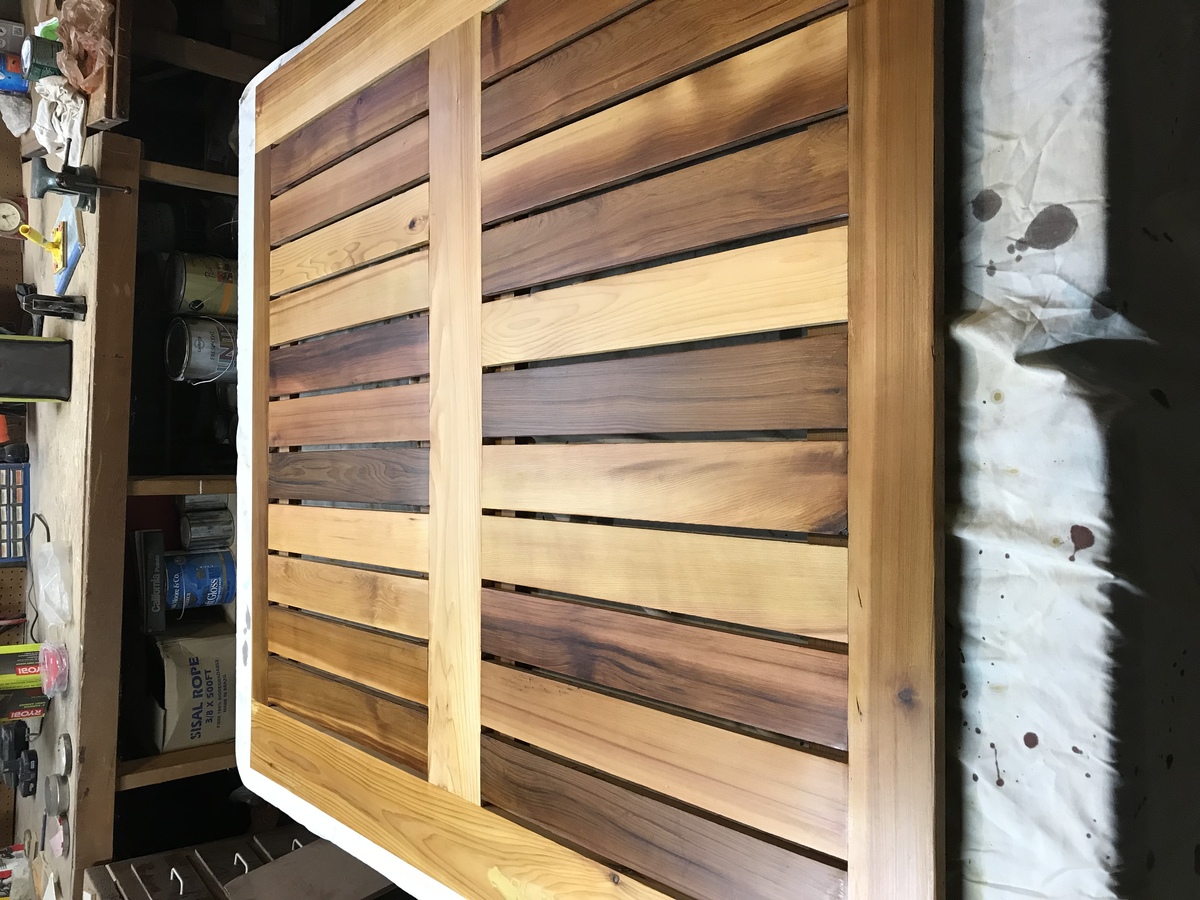
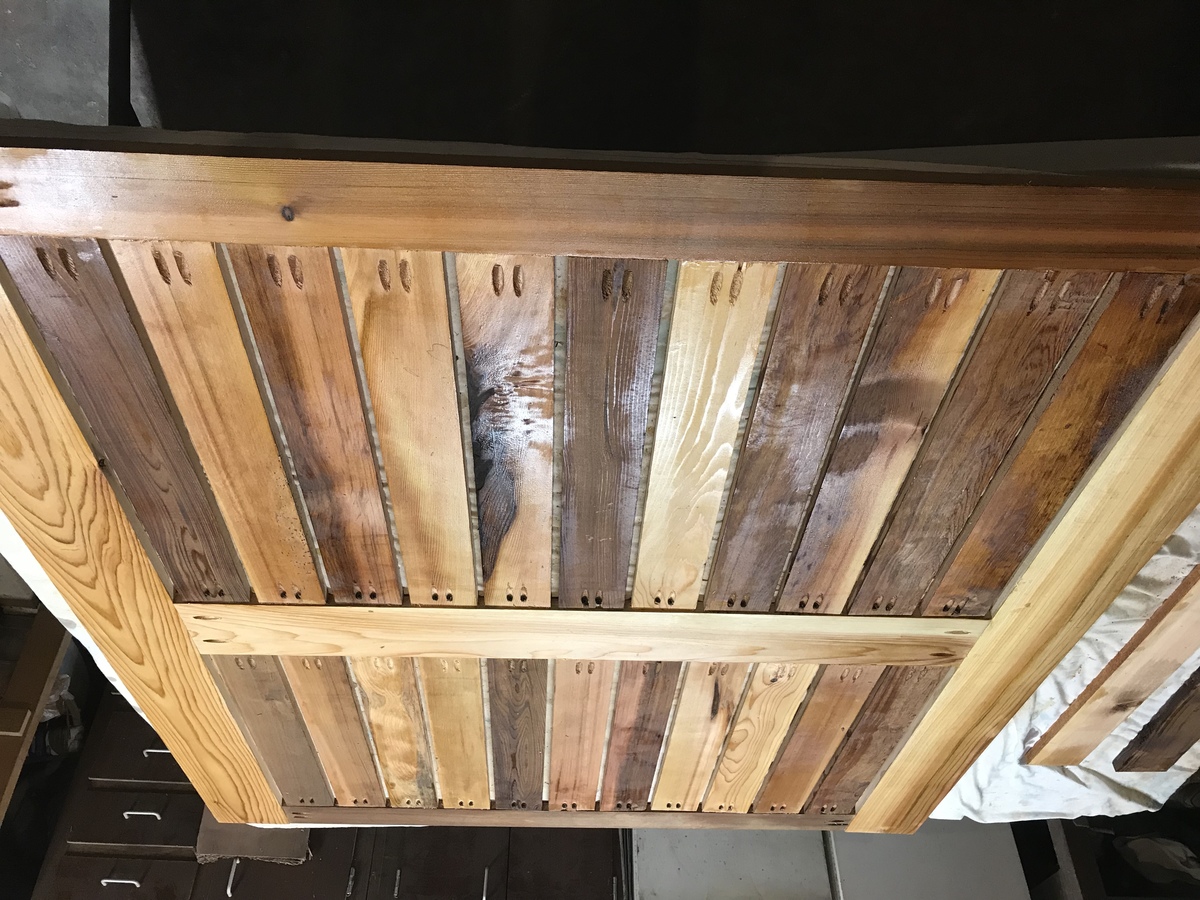
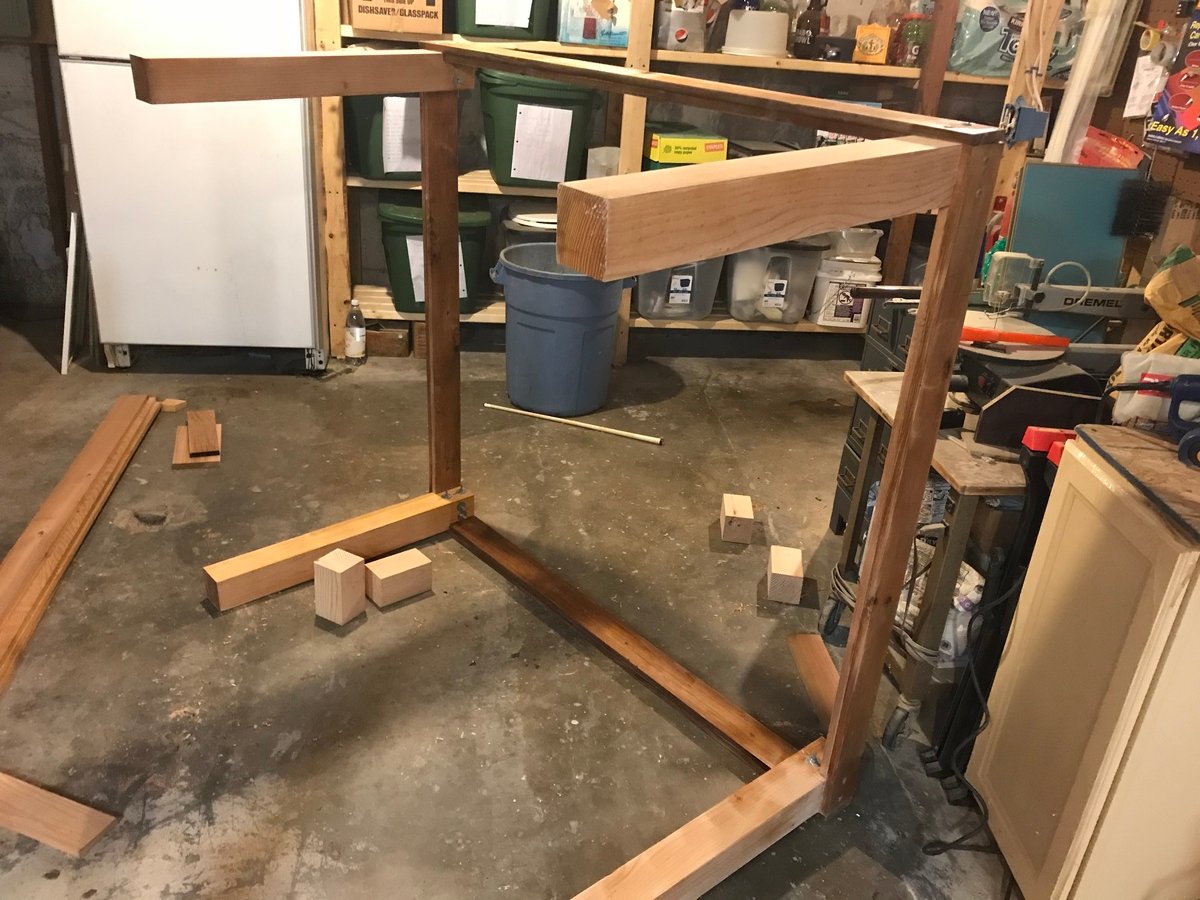
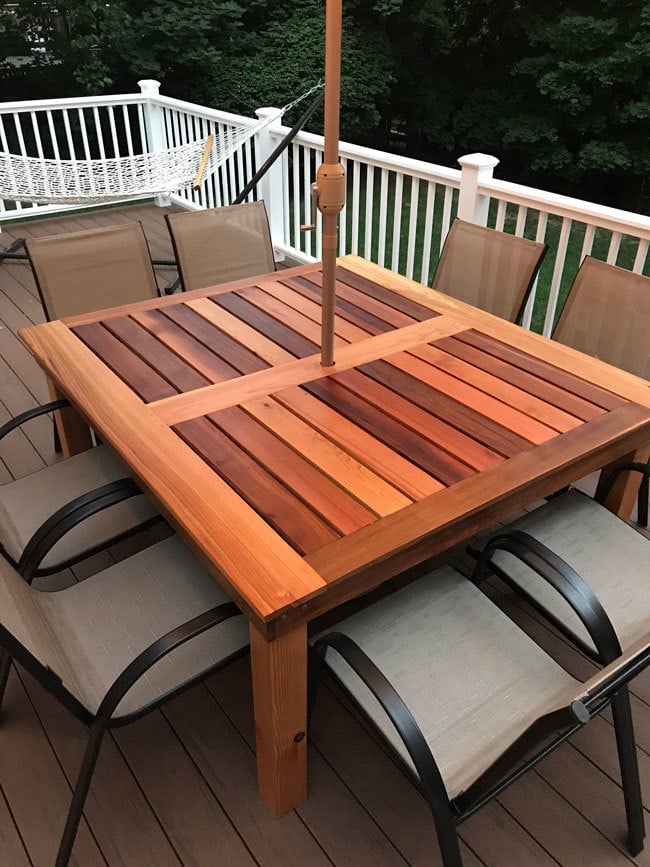
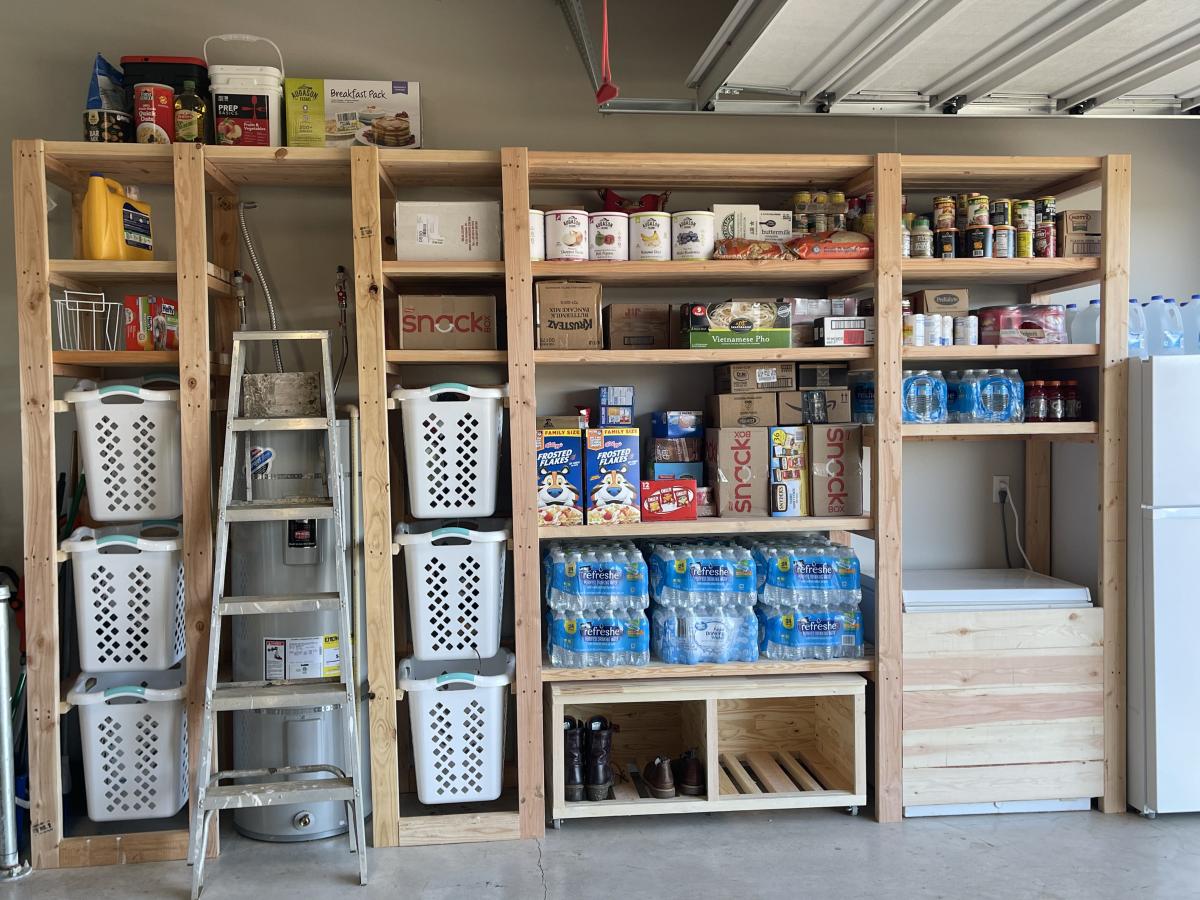
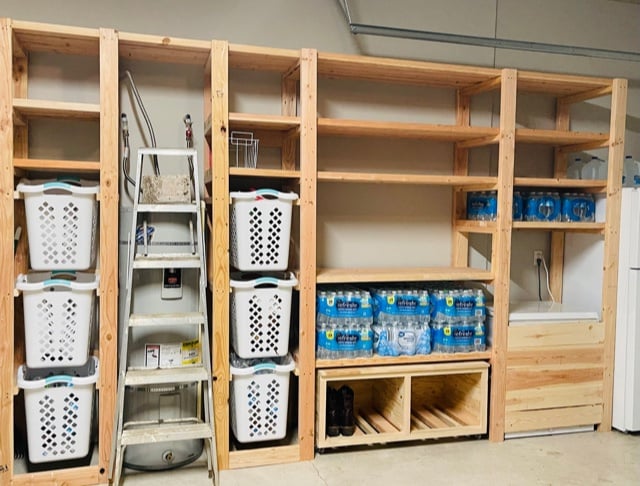
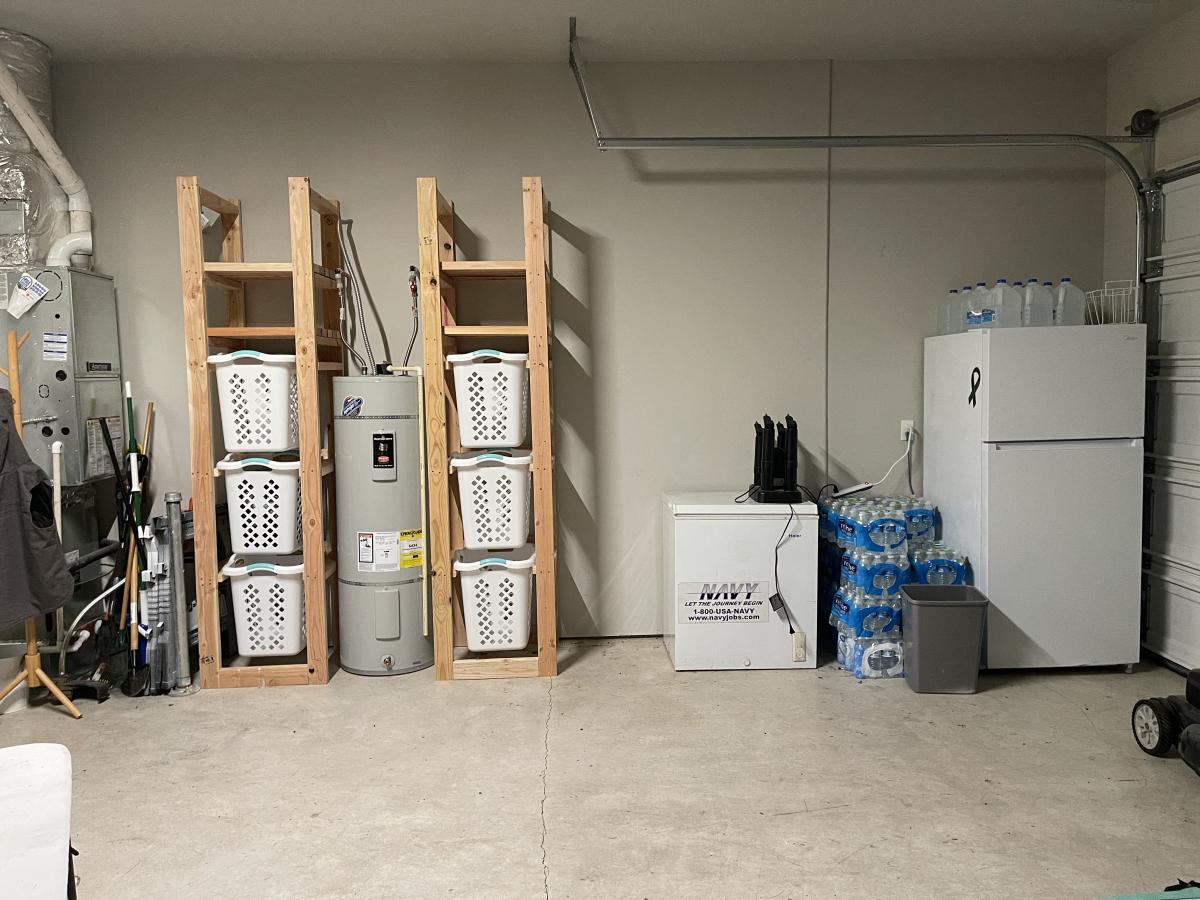
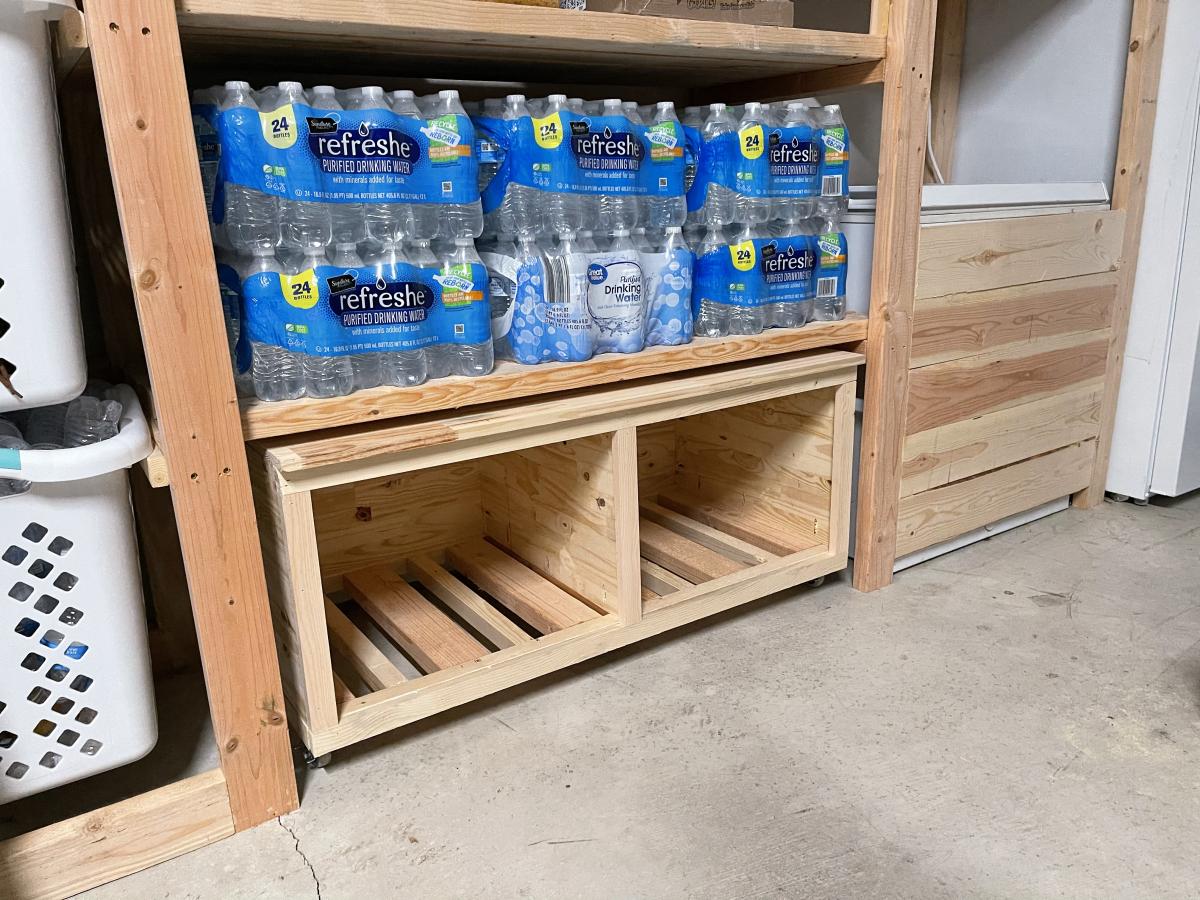
I built this little book caddy for my son's room. I used pocket holes to attach the horizontal slats as well as for making the 'X' pieces. I glued the bottom boards and used long (2.5") screws to attach the top horizontal pieces. I was really happy with the way it came together, once I figured out that I could use pocket holes on the horizontal main beams. I realized you just have to start at the top and work your way down, because starting at the bottom would mean blocking your access to the bottom of the other boards.
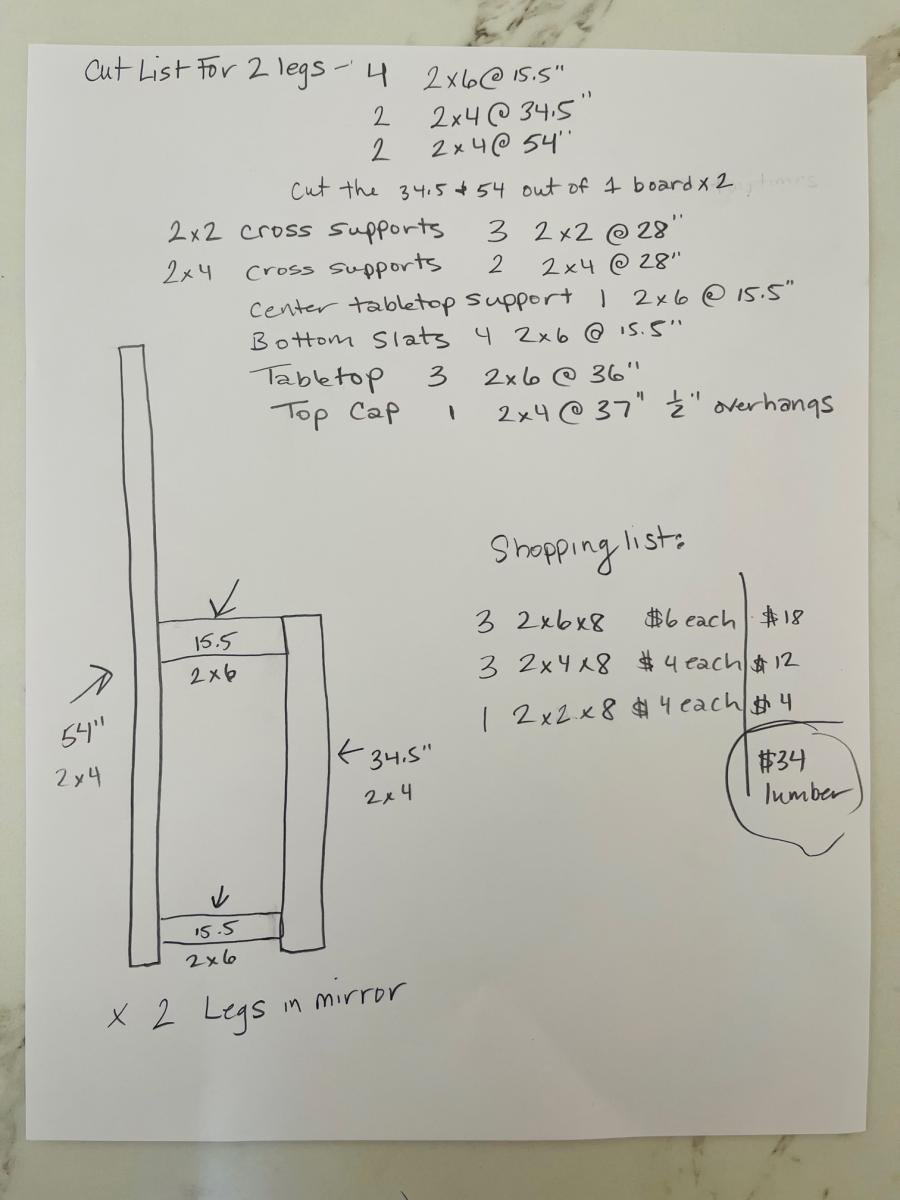
Built from Plan(s)
Estimated Cost
$35
Estimated Time Investment
Afternoon Project (3-6 Hours)
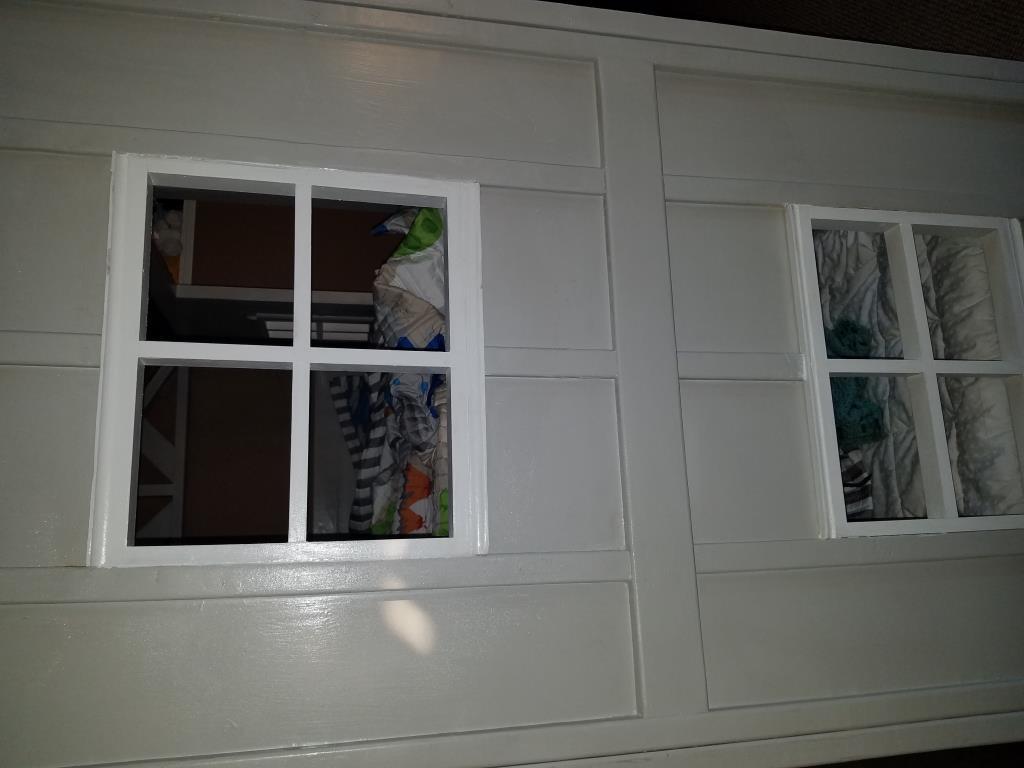
Finish Used
Rust-oleam polyurethane
Minwax Duo paint
Minwax Duo paint
Recommended Skill Level
Beginner