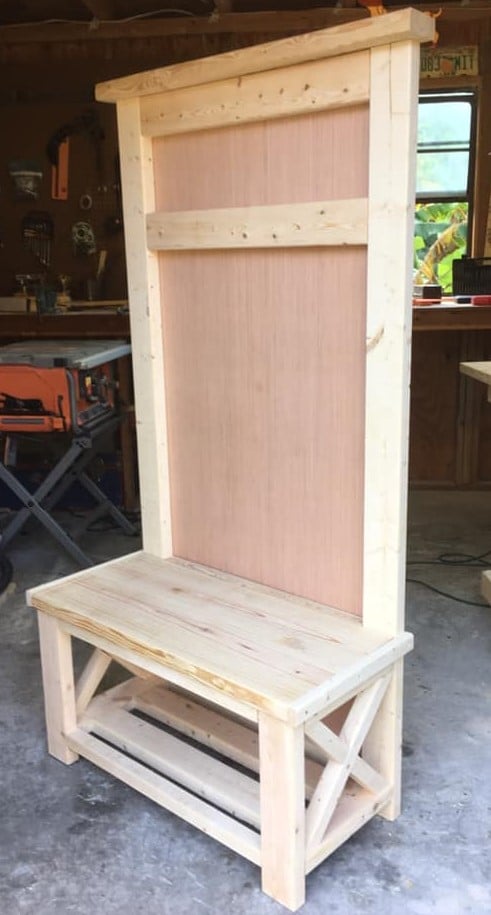
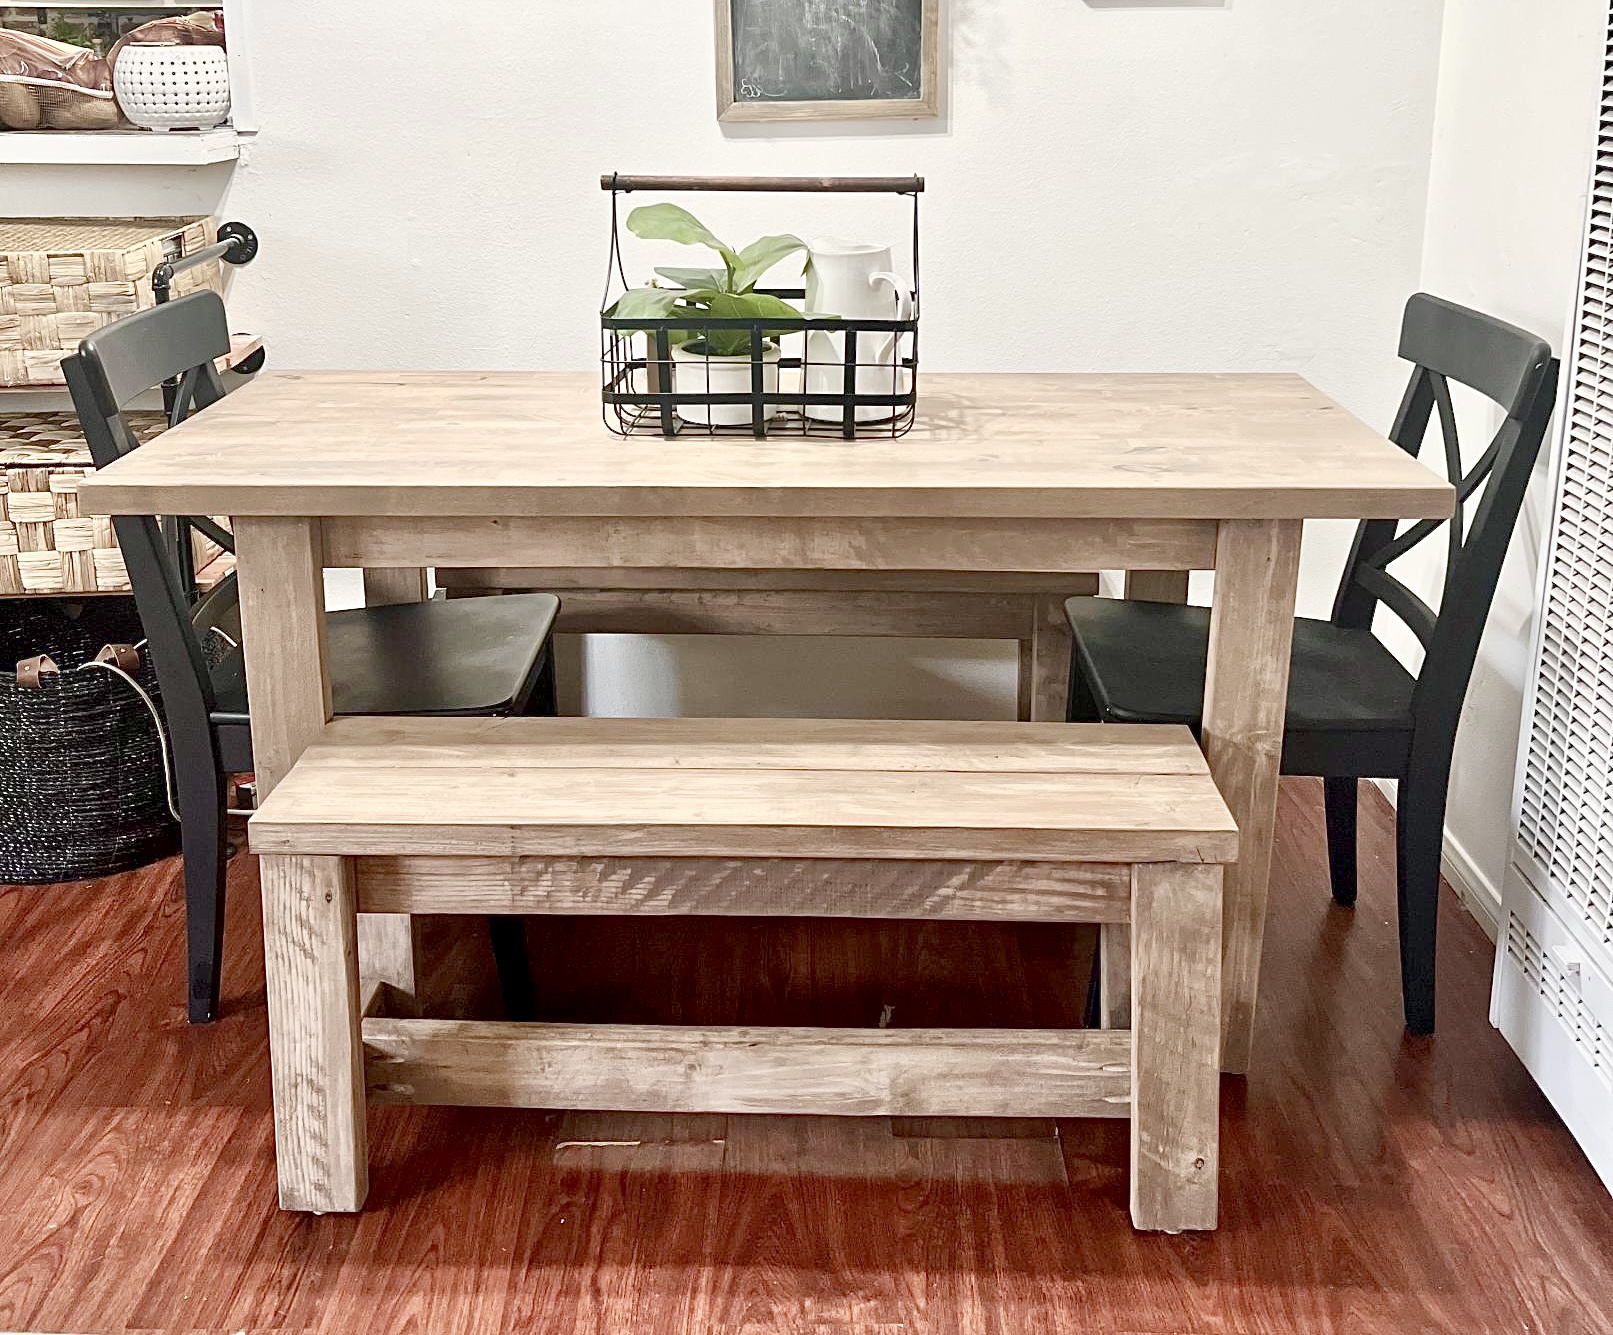
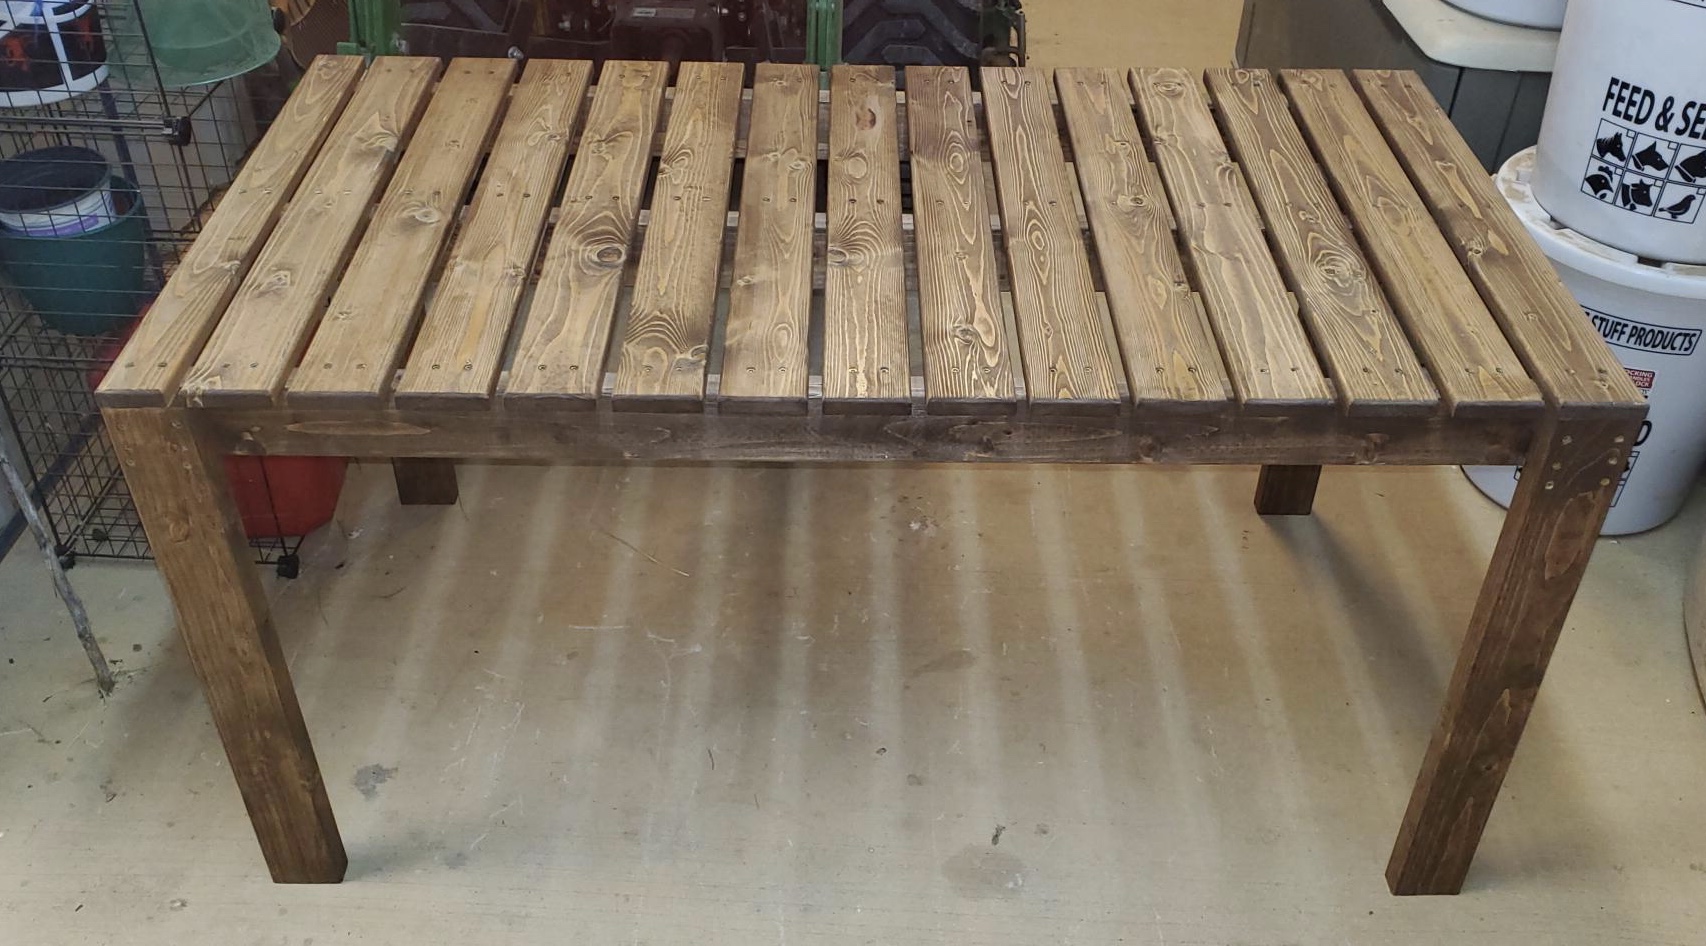
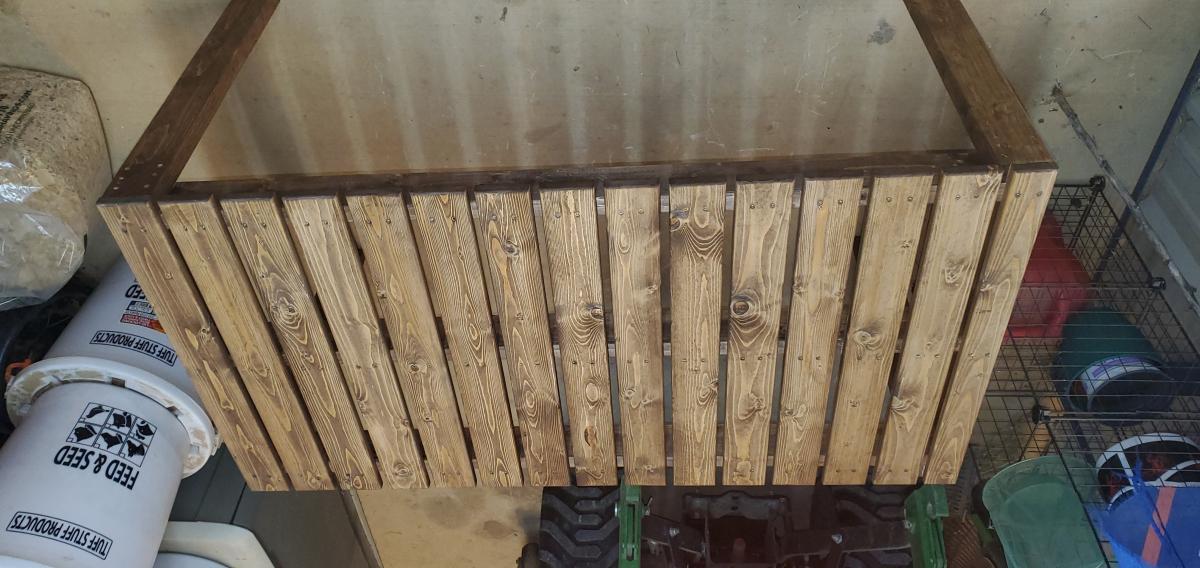
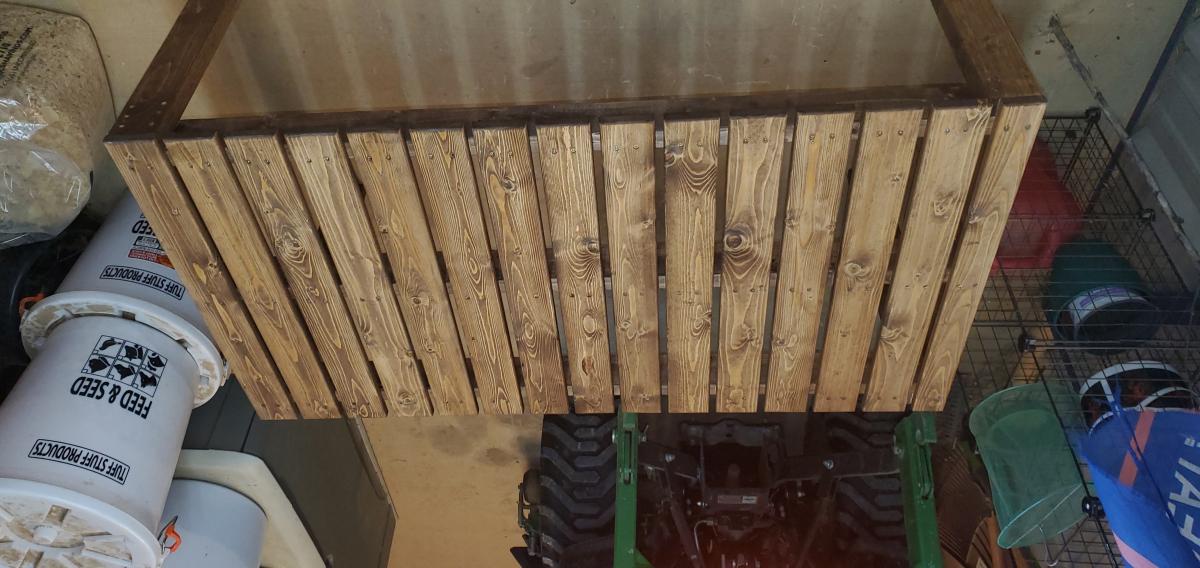
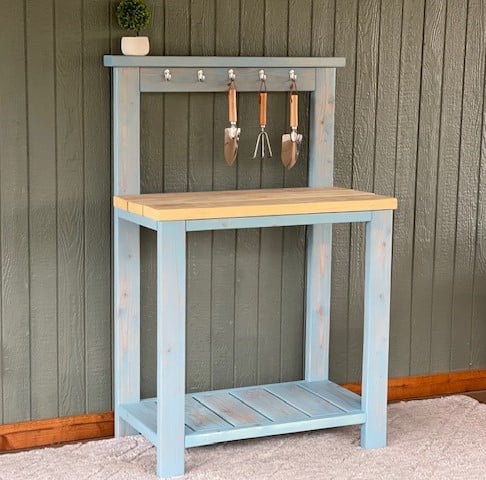
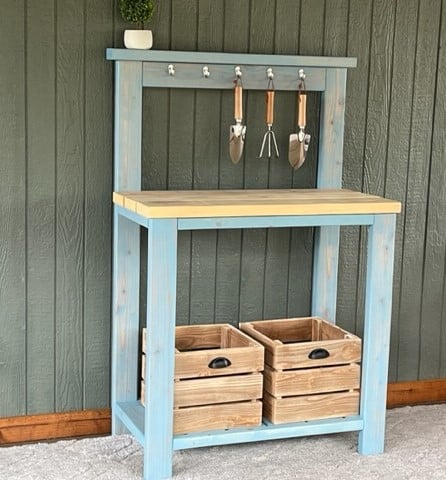
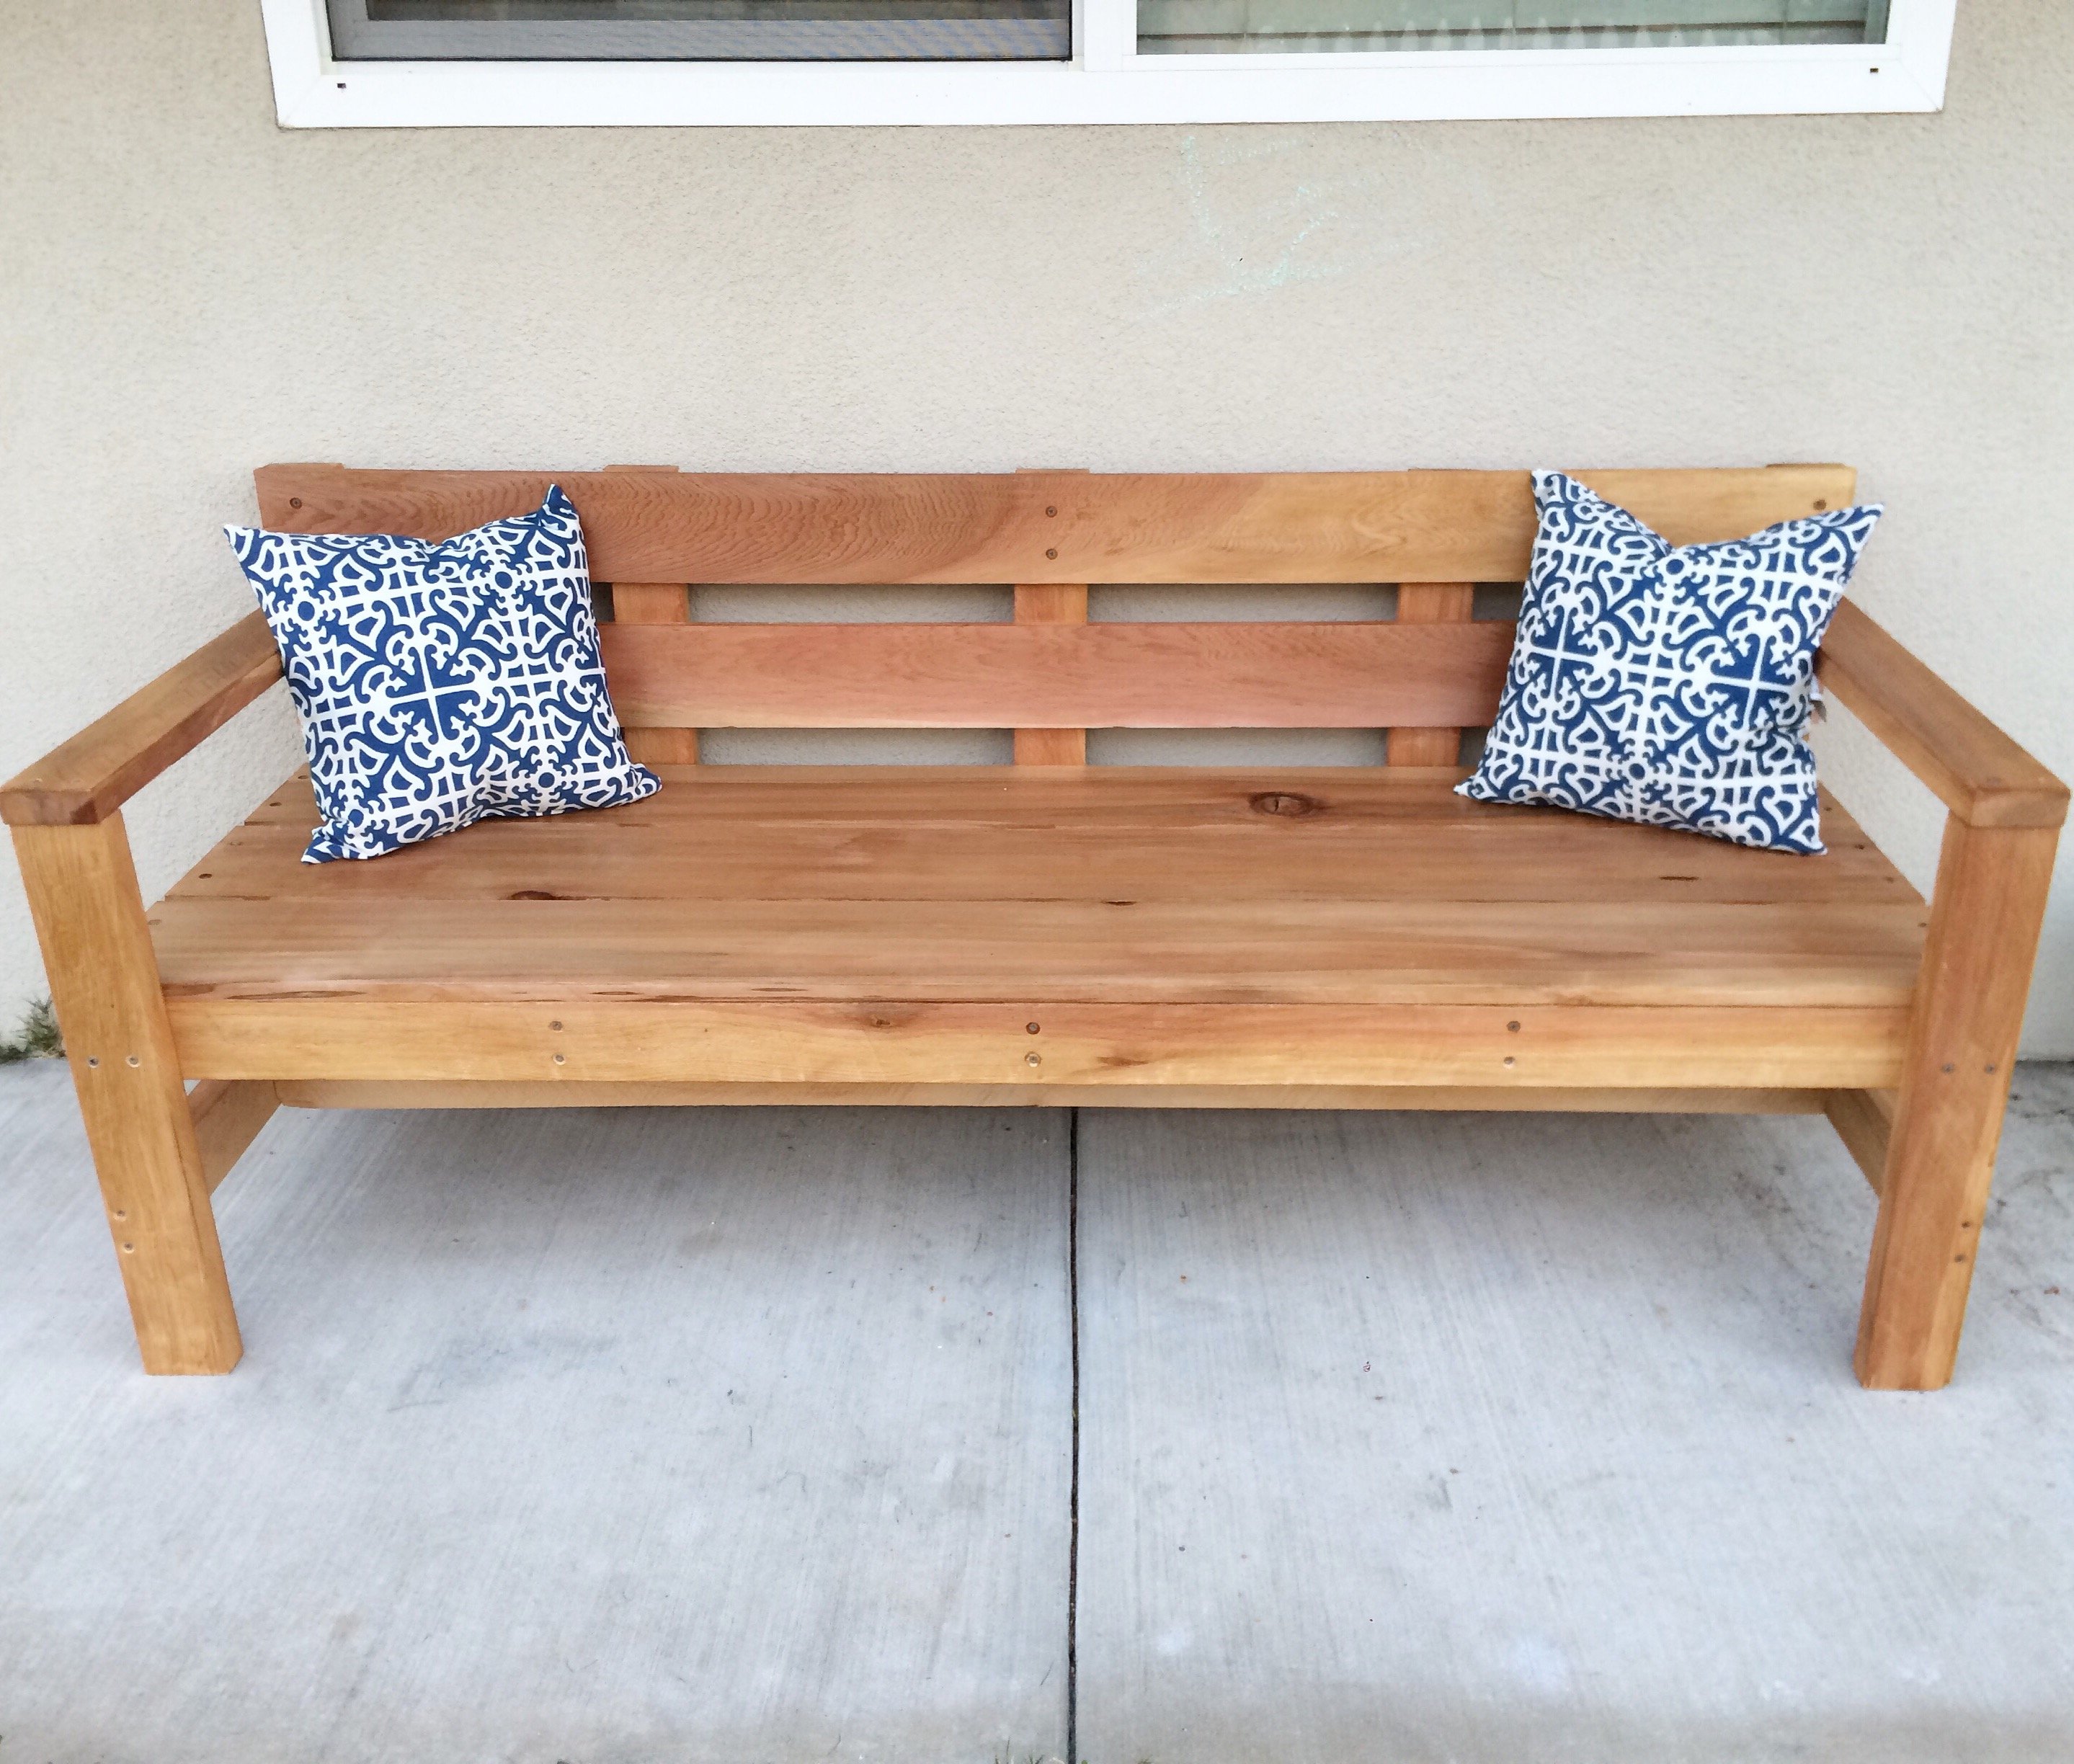
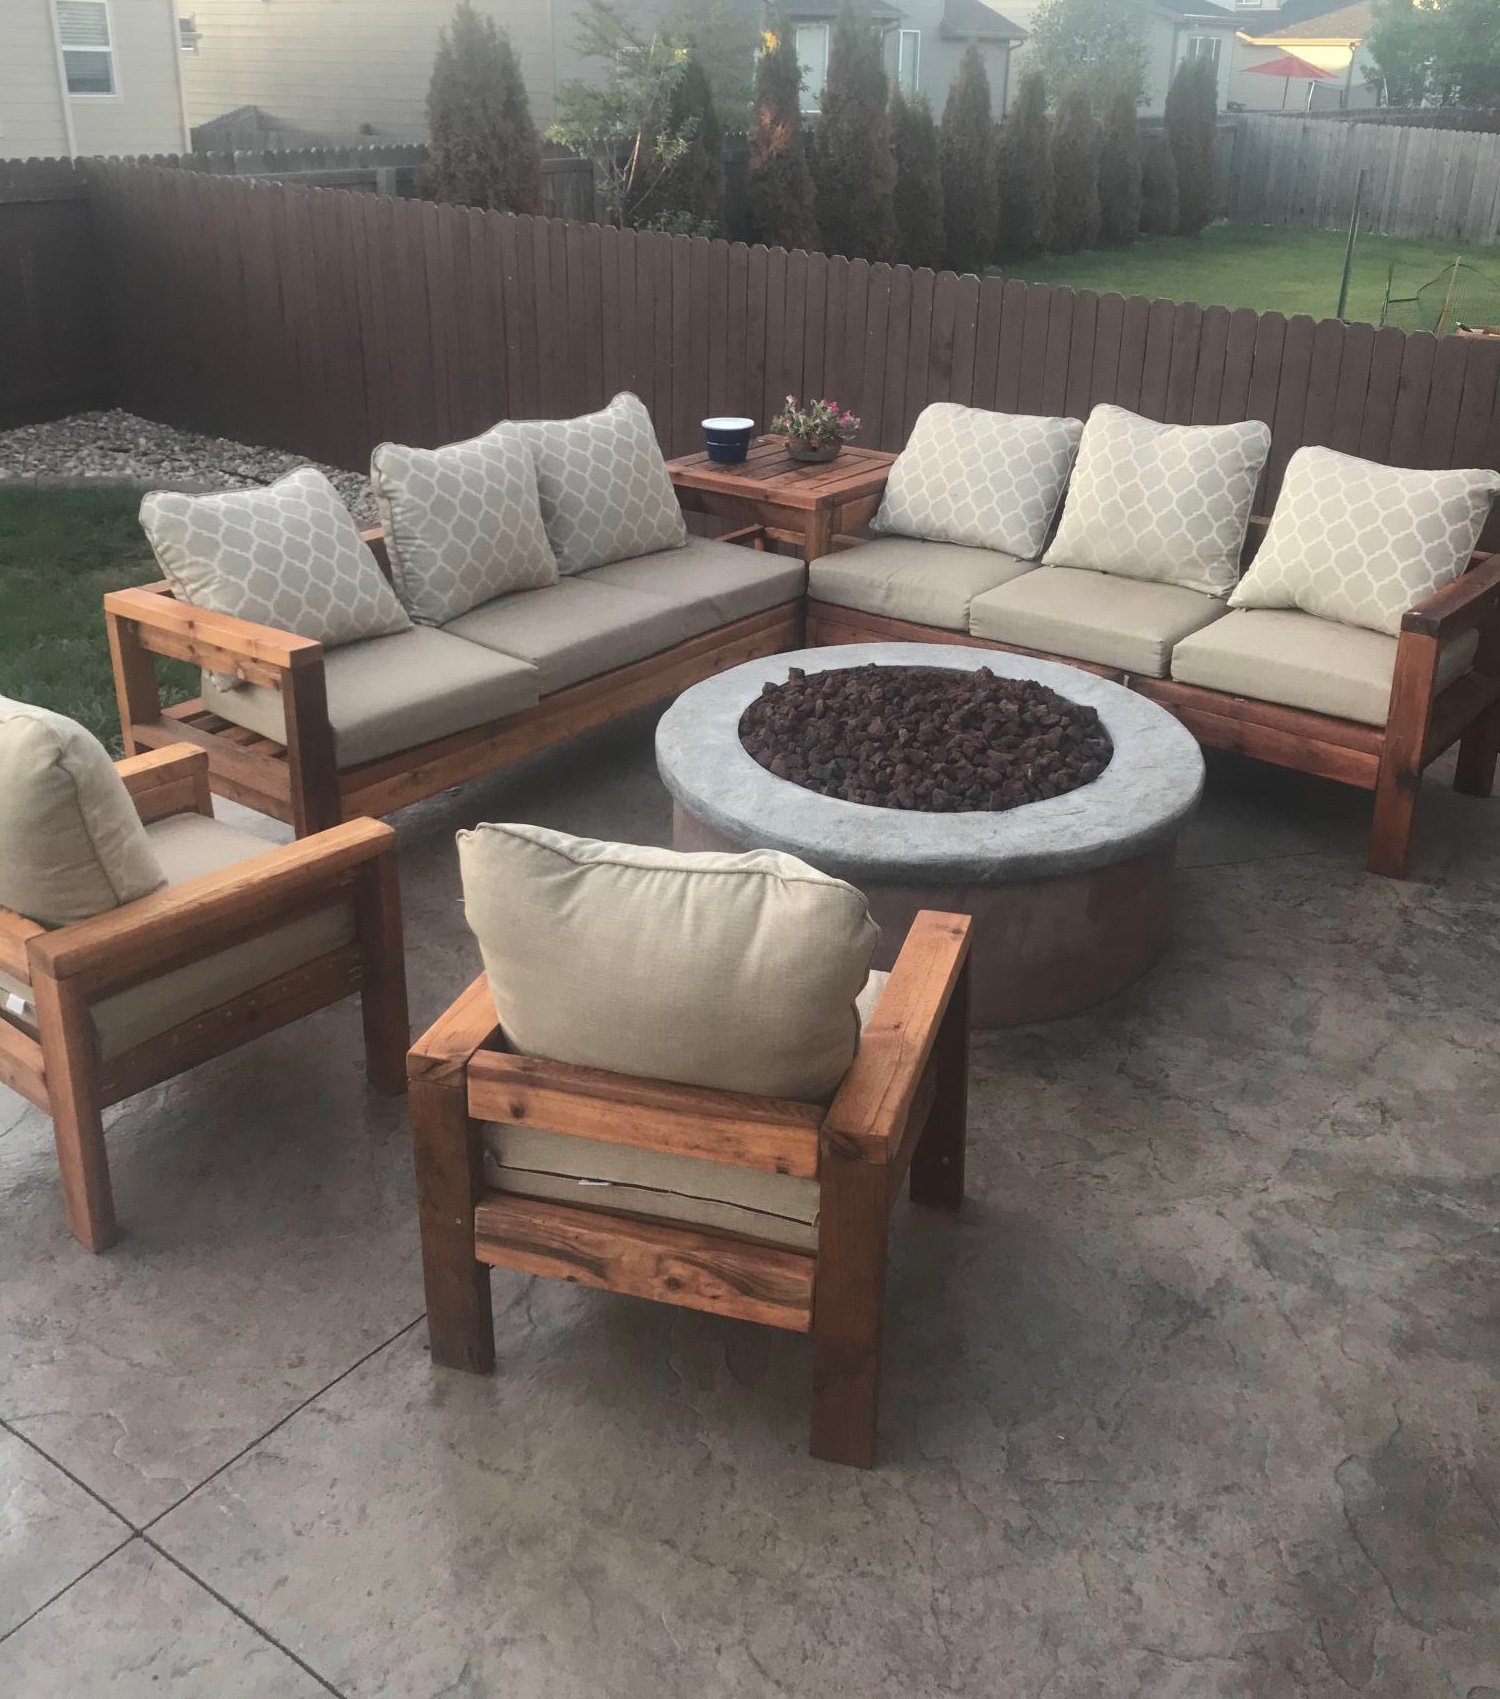
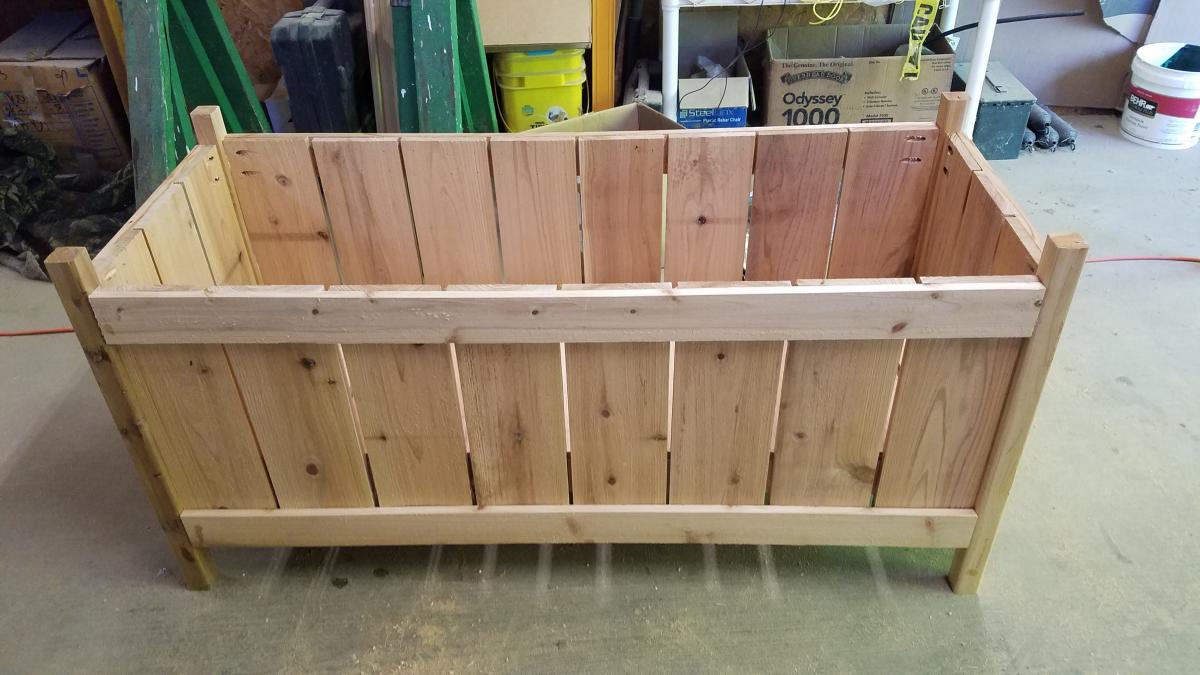
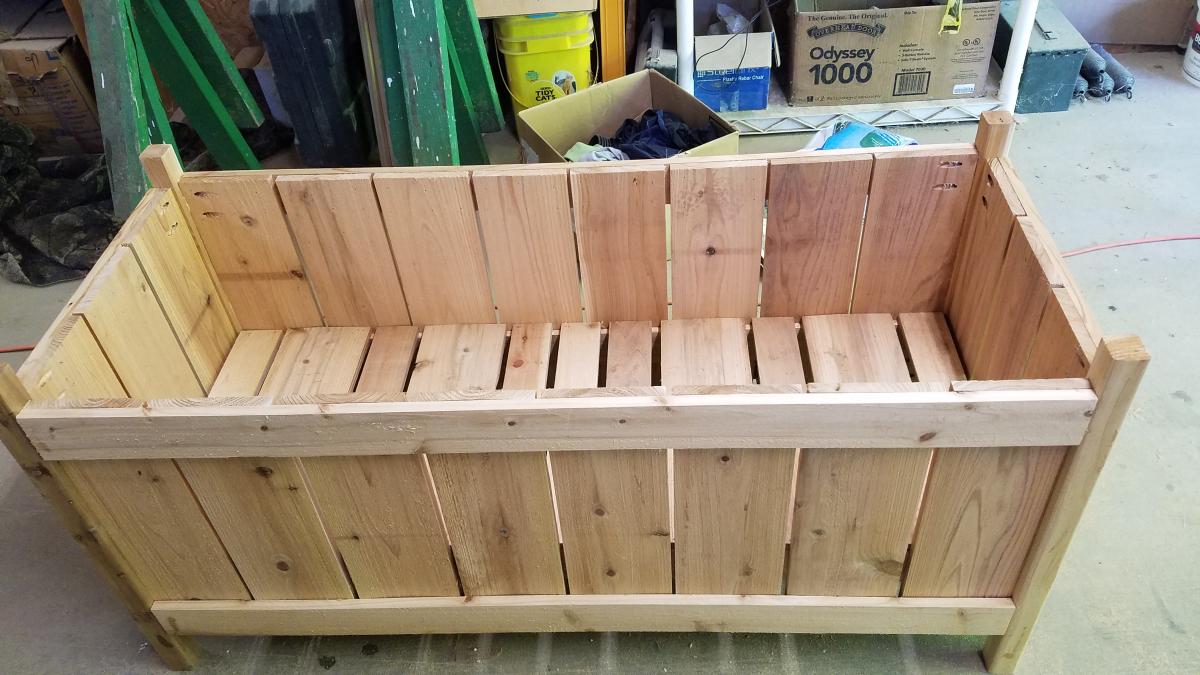
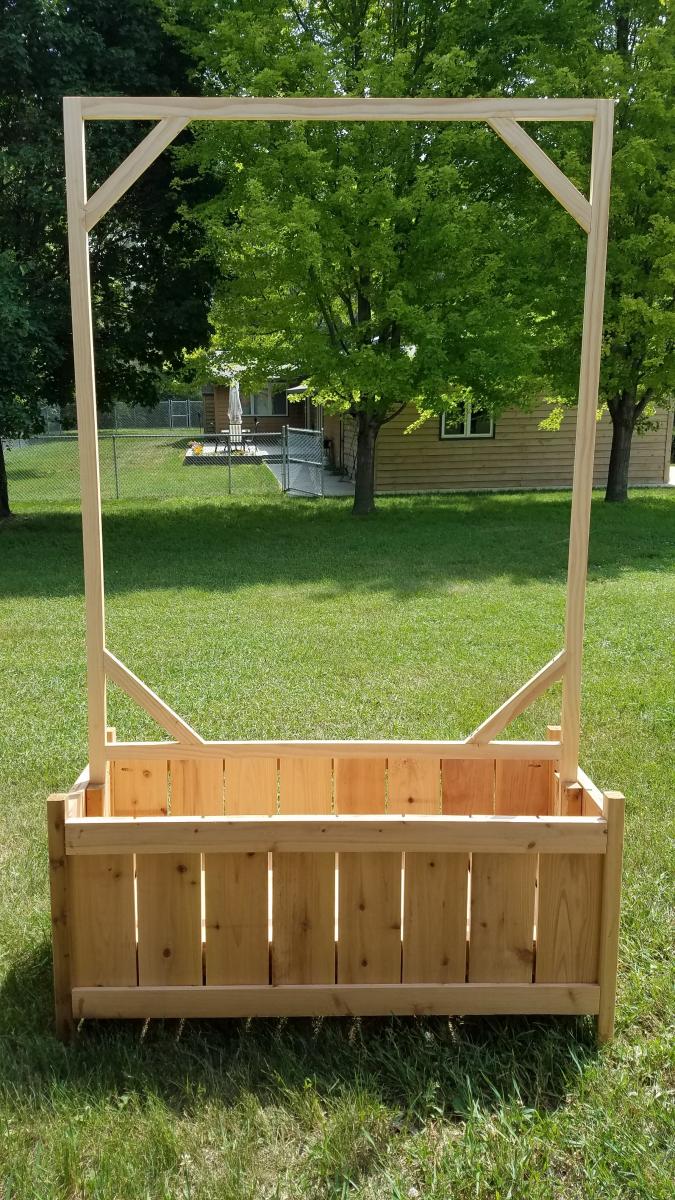
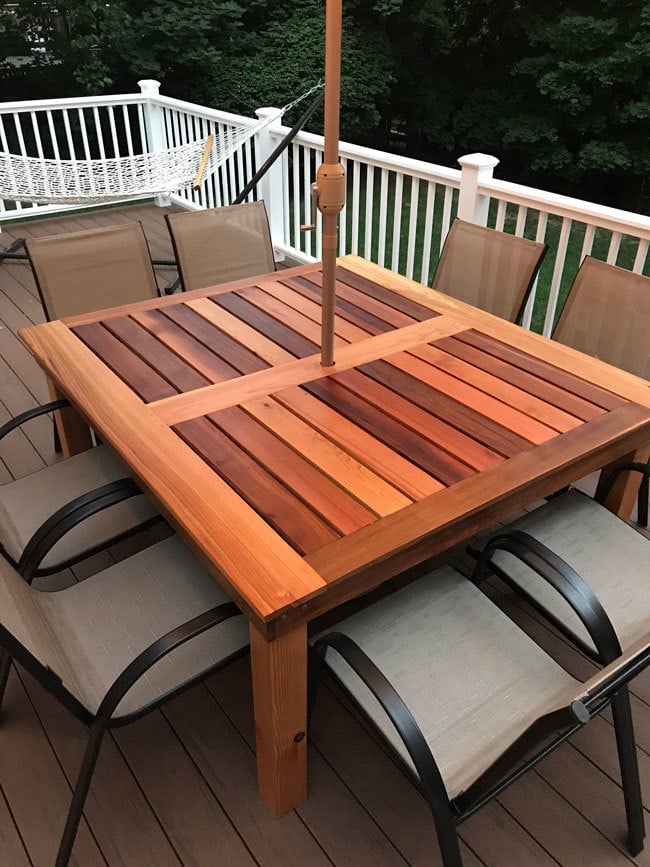
Simple Outdoor Table
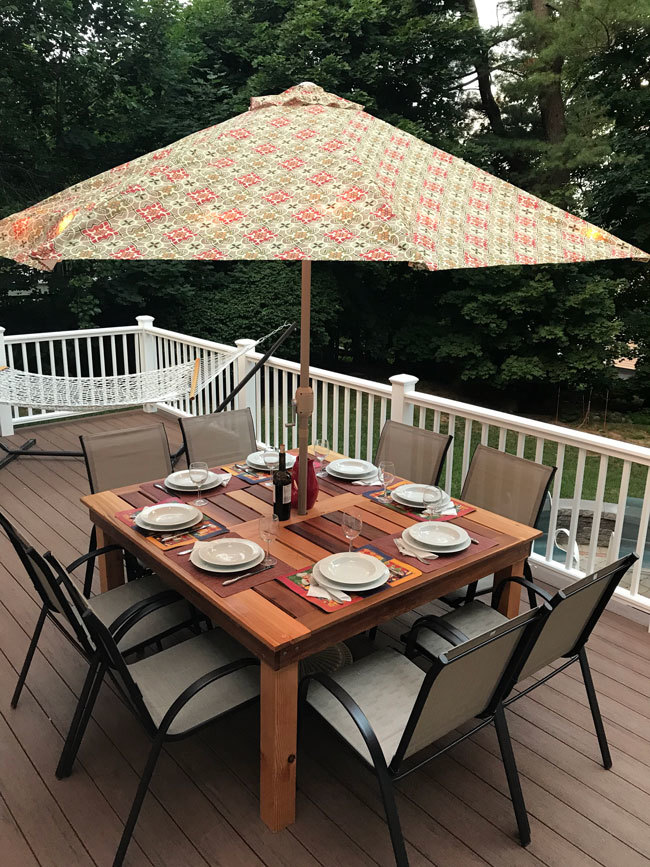
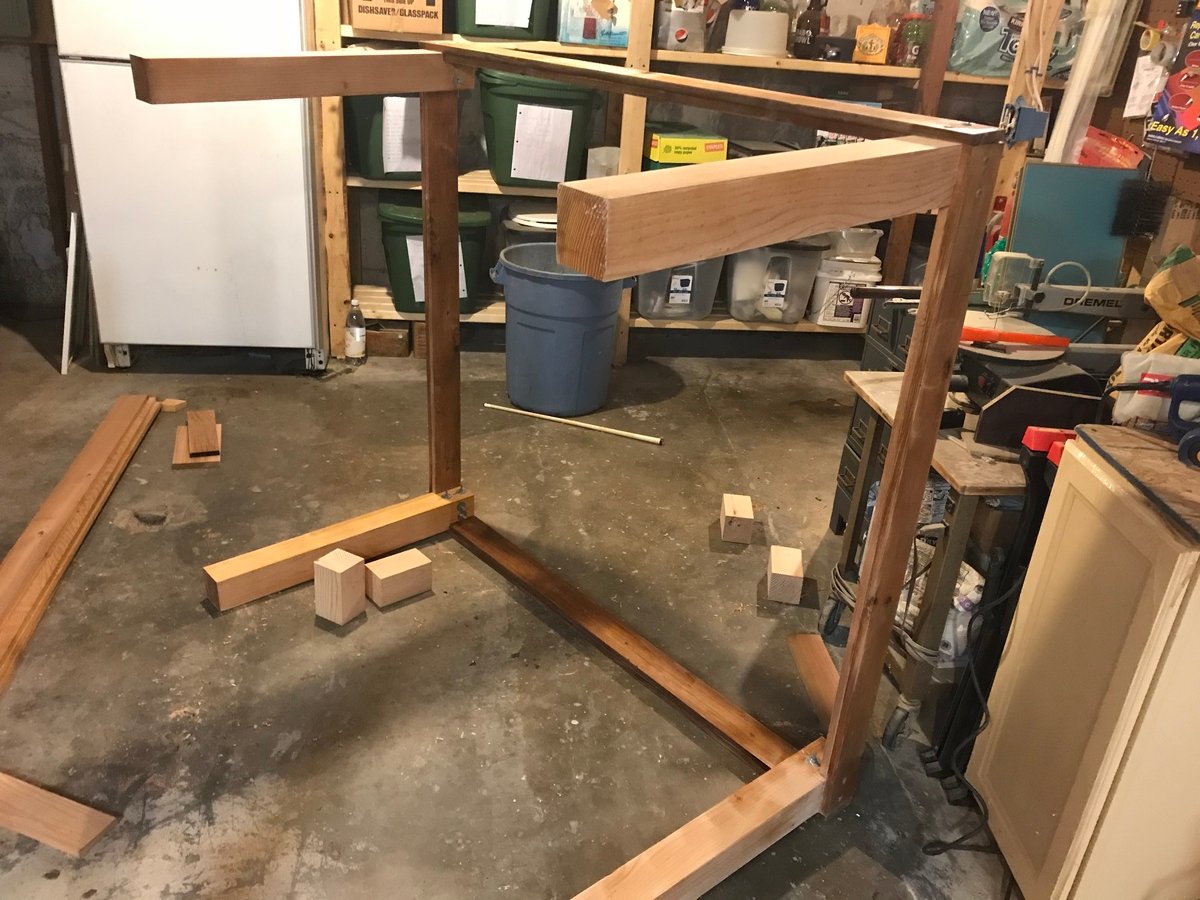
Modifications to the simple outdoor table plan thanks to Finn’s dad.
Built from Plan(s)
Estimated Cost
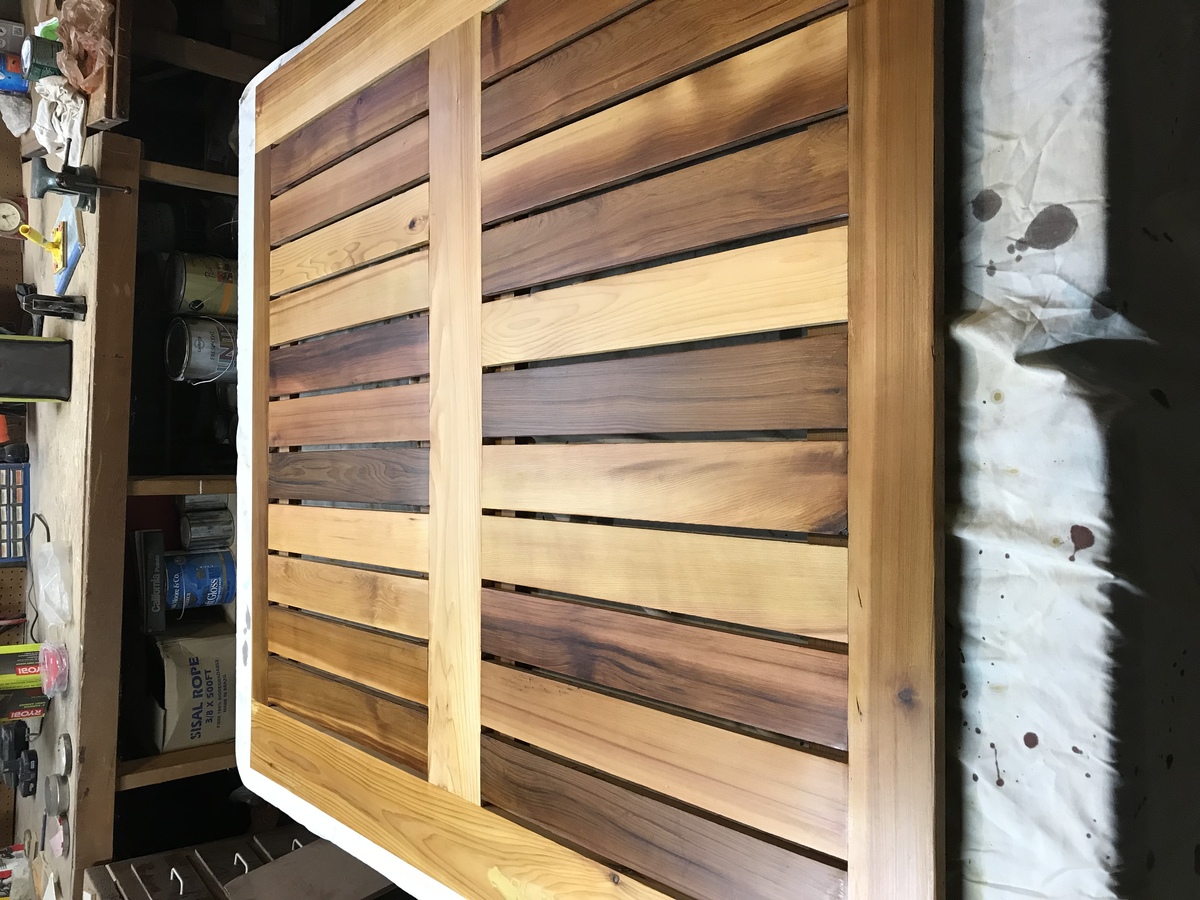
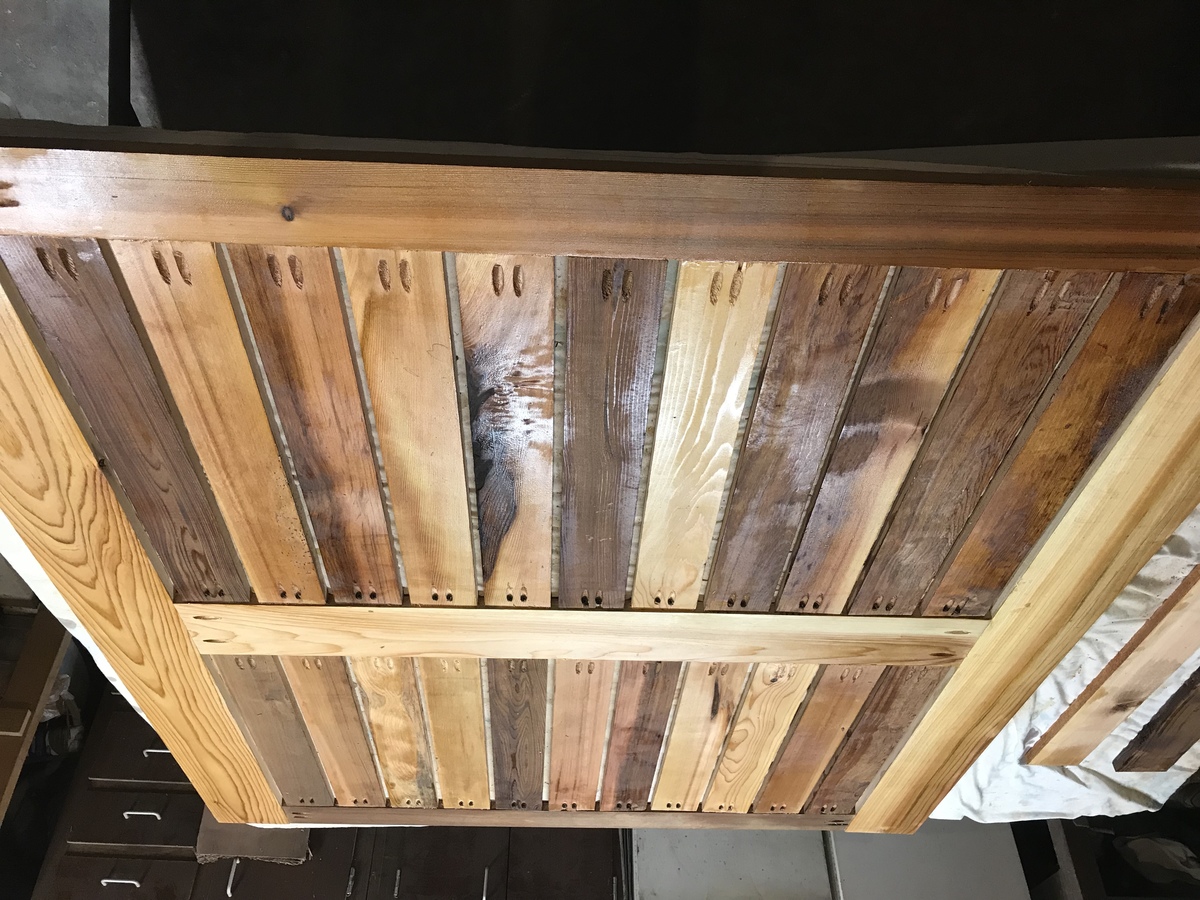
$200 -Found a place that had Cedar shorts “B quality”, but very few knots for an unbelievably cheap price. I ran all to boards through a planer to start and saved a bundle.
Estimated Time Investment
Week Long Project (20 Hours or More)
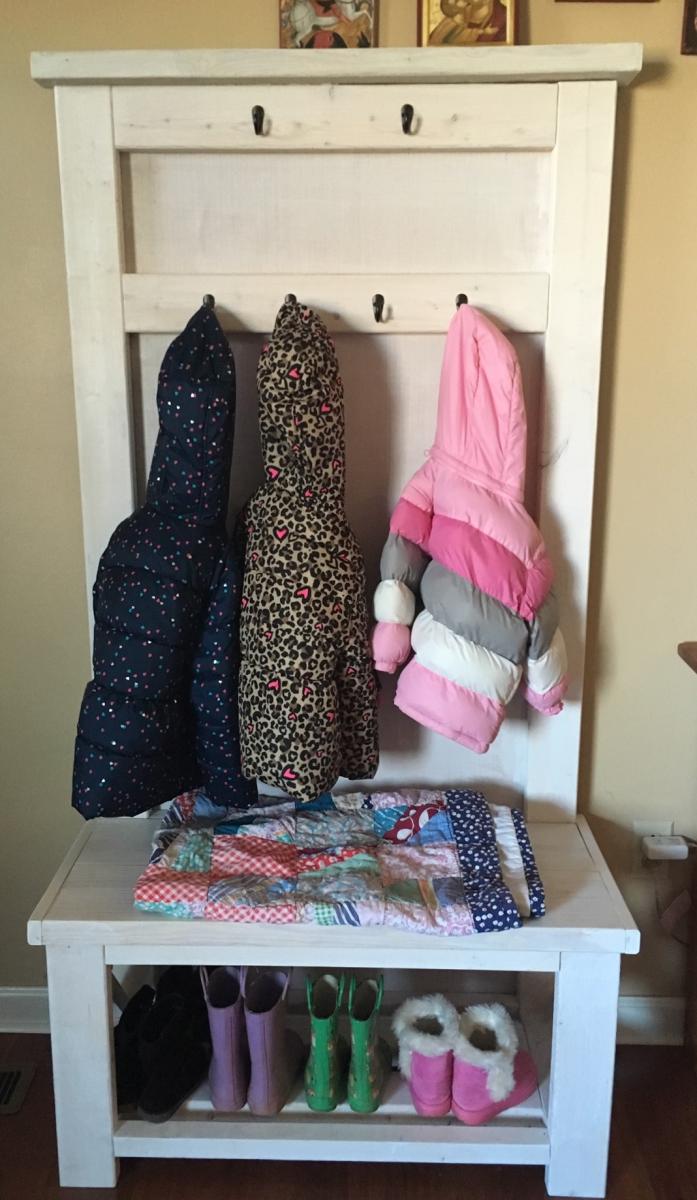
Finish Used
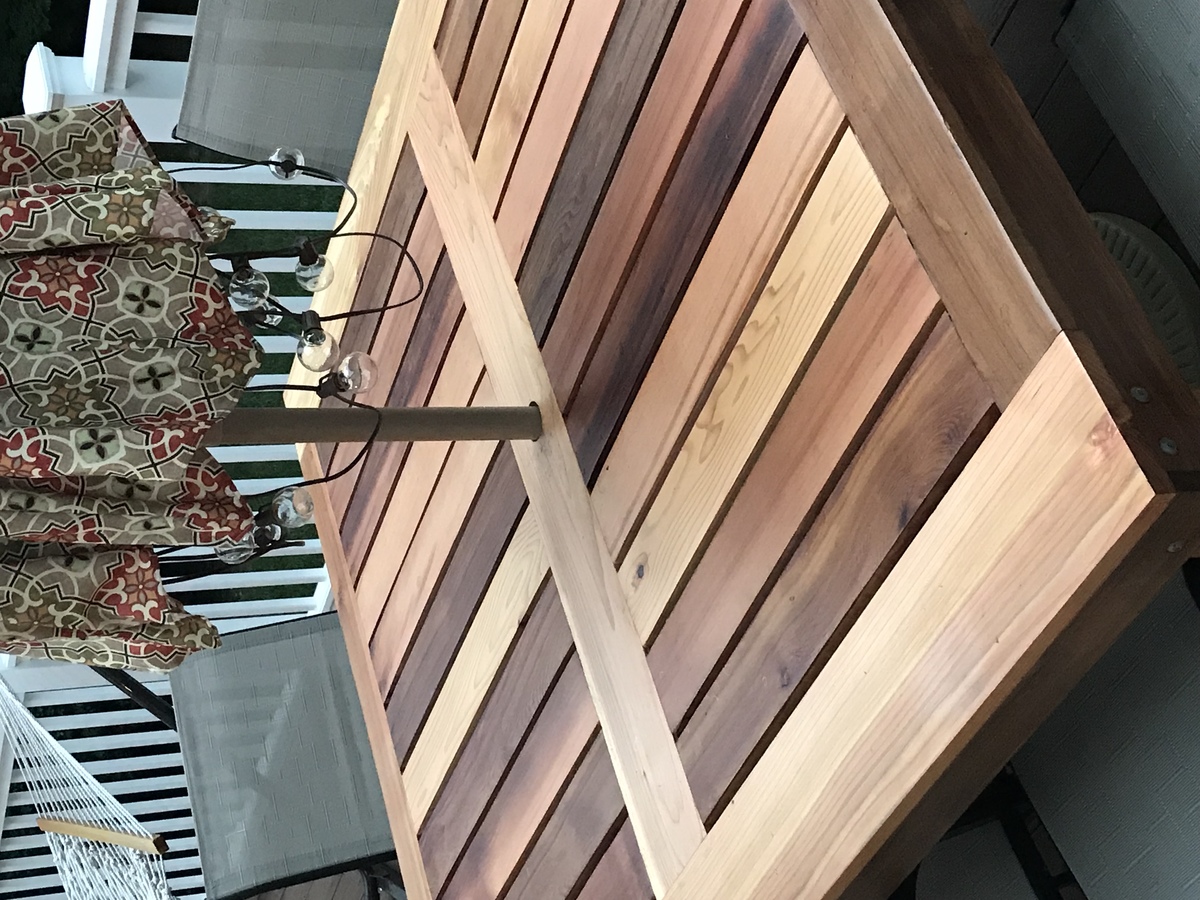
3coats Spar Urethane. I’ve heard the Spar doesn’t hold up well, so would have used something rlse if I knew that at the beginning.
Recommended Skill Level
Intermediate