Community Brag Posts

DIY Garden Box with Trellis

Submitted by JenFarrell on Mon, 06/30/2014 - 07:13

We wanted a small garden to fit on the back patio stones and this plan fit well. We reduced the height because we have 3 small children to "help" water the plants. The trellis was hoping that we could extend the amount of produce we could grow. They're very heavy, sturdy and straightforward to build. Thanks very much!!

Estimated Cost
$120
Estimated Time Investment
Weekend Project (10-20 Hours)
Recommended Skill Level
Beginner

Modern Adirondack Chair, Super Sized

Submitted by Anonymous (not verified) on Fri, 08/21/2020 - 10:39

Am a big fan of Ana's work, and have used several of her plans in prior builds including the more traditional Adirondack chairs. Those stayed with my old house, and I wanted something different for my new house. Really liked her Modern Adirondack design with the floating arm rest. However, plans are like recipes to me--a guideline. I wanted the back boards to run up and down, and I am a bit more robust than the lovely and petite Ms. White, so they would need to be wider after I built the first one at 19 1/2" wide per plan. The next three I made 22" wide and that worked well without throwing off the geometry and angles of the other parts. Since I ran the backboards up and down, I needed some cross beams for stability and to give an attachment point for the middle of the boards. Cut some 2x4s at 15" wide, drilled pocket holes in both ends, and attached in between the back supports with the pockets facing up to be hidden by the back boards. All of the 2x4s were leftover cut-offs from the houses being built in my neighborhood. Since the frames were free, I splurged and went with cedar boards for the backs and bottoms. With the wider frames, I had to use 1x12s ripped down to 10 3/4" to get the right look (about a board's width in between). Needed some color, so I painted the frames Teal Seaglass from Menards. Cedar was stained with a natural deck stain from Sherwin Williams. I experimented with salt paint (mixing unsanded grout with the paint) to give a heavily textured and weathered finish but this was unecessary--the wood was distressed enough and I am a terrible painter. It also toned down the color so I skipped that step and just went with 2 coats of plain paint. It looks like outdoor furniture should up close. As always, am pleased with Ana's plans. Thank you for doing all the hard work!

Estimated Cost
about $200 for all 4 chairs due to cedar and paint
Estimated Time Investment
Weekend Project (10-20 Hours)
Finish Used
Paint - Pittsburgh matte exterior with Dutch Boy coloring Teal Seaglass
Stain - Sherwin Williams Superdeck stain, Natural finish
Recommended Skill Level
Starter Project

Comments

Seasonal And Holiday

Book Ledges

These ledges are incredibly versatile and will easily grow with any child.  Books for the younger ones and then a gallery wall for when they grow.  They are so easy to build that literally, a child can do it, as you can see.  This was her first build that she completed by herself.  After the boards were cut of course.  Thanks Ana, this is a great plan and it was an AWESOME  day for the girls!

Built from Plan(s)
Estimated Cost
$25
Estimated Time Investment
An Hour or Two (0-2 Hours)
Finish Used
sanded and painted white.
Recommended Skill Level
Starter Project

Guest Room Farmhouse Bed with planked wall

Submitted by The Allens on Sat, 11/02/2013 - 15:05

We loved the first farmhouse bed we built so much, that we decided to build another one for our guest bed. We loved the red paint, and weren't too sure how to accent it, so we went with a planked feature wall. Just need to build some night stands and hang some pictures and our guest room should be complete!

Built from Plan(s)
Estimated Cost
$150
Estimated Time Investment
Weekend Project (10-20 Hours)
Finish Used
We primed and then painted 3 coats of red paint, I think California Poppy BEHR paint. Then I used a glaze, that I tinted with black paint, brushed it on and then wiped off with a damp rag. Finished it off with Minwax Polyurathene semi gloss clear coat.
Recommended Skill Level
Starter Project

Comments

JoanneS

Sat, 11/02/2013 - 18:16

Awesome project! Love the bed and red finish, and the plank wall is brilliant! Love it!

The Allens

Sun, 11/03/2013 - 19:22

We didn't have any old distressed wood, so we bought pine tongue and groove from the hardware store and stained them ourselves. Then we just used a nail gun to attach them to the studs on the wall. It was surprisingly easy to do, just a bit time consuming. And nerve wrecking, we figured it would look either really good, or just awful! W are very pleased with how it turned out!

Bunk Bed

Submitted by hoffer5353 on Wed, 02/08/2012 - 14:04

I am very happy to have completed the up portion of the bunk bed. The full size down was done quite sometime ago and I became sidetracked on other projects.
This is a sturdy bed and a favorite in my home. One day I even found my husband napping (hiding) on the top bunk.
The part that I like the best is when we graduate from bunk beds we still have two beds to use.
I also completed the ladder and it works, but I cut it just alittle shorter than the plan called for. Lets just put another on my to do list.

Estimated Cost
100-200
Estimated Time Investment
Week Long Project (20 Hours or More)
Finish Used
minwax, red oak stain. Minwax Poly
Recommended Skill Level
Beginner

Comments

hoffer5353

Sat, 02/11/2012 - 14:37

It was surprisingly more easy that I expected. It helped me stay motivated to finish both beds.

First Project!

Submitted by katiea40 on Sat, 04/07/2012 - 18:20

I saw this and thought - FINALLY...the answer to my laundry chaos! My husband built it for me this weekend with a couple of minor modifications. He put casters on the bottom, so I can move it to clean and sweep. He also added clear plastic drywall corner protectors over the 2x2's so that they paint is protected when the baskets slide in and out! Pretty clever! Oh, and I thought I was being super creative when I picked the color - and then saw that it is the EXACT color that you painted it! So much for that creative spark - but, I'll work on it! Thanks for the plans!

Built from Plan(s)
Estimated Cost
$100
Estimated Time Investment
Afternoon Project (3-6 Hours)
Finish Used
Primed and painted with high gloss finish.
Recommended Skill Level
Beginner

Sliding "barn" door from reclaimed pallet wood

I saw many different sliding door projects online, so I did my own spin on one. I was able to get several old pallets for free (pine and oak). I went to Lowes and bought a few 2x3s which I used as the frame, and the track hardware which was only $13! Most doors I see are mounted from the wall, but since I have 7' ceilings downstairs I mounted mine from the ceiling. This project only took about 4 hours total and cost about $40 when you figure in costs for screws, stain, etc. The most difficult part was taking apart the pallets. Using a reciprocating saw with a 12'' demolition blade is the best way to take them apart. Thanks for the idea Ana.

Estimated Cost
$40
Estimated Time Investment
Afternoon Project (3-6 Hours)
Finish Used
Minwax Dark Walnut
Recommended Skill Level
Beginner

Comments

BREATHESMILEBE

Mon, 05/13/2013 - 20:00

Hi!!
This looks so awesome! I came across this and was hoping to repeat it. You mention that you found the door hanging hardware at Lowes for $13. I can't seem to find it. Do you happen to remember the name of it? I'm entering "hanging door hardware" into Lowes and Home Depot and can't seem to find any hanging door hardware at all. I'd appreciate the help. Thanks!
Tina

Farmhouse Chairs

I found a picture of this style of chairs, and I really wanted to make them for my table. I created my own plans and adjusted them until they were perfect. I’ve since made several sets of chairs for other people including this set of 6. 

Built from Plan(s)
Estimated Cost
$25
Estimated Time Investment
Afternoon Project (3-6 Hours)
Finish Used
After sanding down the chairs, I apply a coat of Preston by minwax. To get the color I wipe on the stain gunstock by winwax. After letting it dry for about an hour, I then wipe on a coat of espresso stain. For the finish, I apply coats of a gloss polyurethane by Minwax.
Recommended Skill Level
Intermediate

Comments

6' Square Sandbox

I've been wanting to buy or make a sandbox for my son for a couple of years now. Since seeing this on Ana White I knew I had to make it. My son is 4 yo and I didn't think the 4' square sandbox would be big enough for him, so I made it bigger. Ours is 6' square.

Materials:
4@1x8x6'
12@1x6x6'
2x4 - used leftovers from another project
8 hinges
4 handles
decking screws

Cut lengths:
2@1x8 cut to 71.5 (long sides of the box)
2@1x8 cut to 70.5 (short sides of the box)
did not cut the 1x6 boards (top planks) - actually designed the other boards to fit their length to prevent cutting (saving time) (note that original plan uses 1x4 planks - I used 1x6s so I could use the same number of planks but cover a larger area)
4@2x4 cut to 11.5 (arm rests)
4@2x4 cut to 18.5 (back supports)

followed instructions for assembly otherwise. At my husbands suggestion we put the handles on the sides and can easily open from either side - prevents having to lean over to the middle to open (back saver)

I finished the project in 4 hours including clean up and a couple of small breaks. This is my first Ana White project. It was a lot of fun to build and I hope my son will enjoy it for years to come!

Built from Plan(s)
Estimated Cost
$190
Estimated Time Investment
Day Project (6-9 Hours)
Finish Used
Sand and stain with sealer included
Recommended Skill Level
Beginner

Comments

Mrs. Chellebelle

Sat, 09/01/2012 - 20:59

Wow, this is just what I need! I've been wanting to make a sandbox for under the playhouse but the other plan was too small. This would be great for the little guys. Thanks!

Daybed with Storage Trundle Drawer (Modified)

Submitted by Honeyb65 on Sat, 09/26/2020 - 10:05

Great plans for a really useful storage daybed! I modified the plans to include a slat back and rustic x sides, as well as changing the Trundle drawers to a single drawer to fit my exercise equipment. I finished the daybed with stain and chalk paint in old white and Paris Grey distressed for the perfect shabby chic look!

Estimated Cost
$200
Estimated Time Investment
Weekend Project (10-20 Hours)
Finish Used
Varathane stain in Dark Walnut, Annie Sloan Chalk Paint in Old White, color wash over the white with Paris Grey and then sanded for the white and some of the stain to show through.
Recommended Skill Level
Intermediate

Comments

Nursery Shelves

Submitted by crisaphi on Fri, 07/22/2011 - 14:24

I used Ana's plans to build floating shelves and the ledge shelves for my nursery.

Estimated Cost
$50-75 for both
Estimated Time Investment
Day Project (6-9 Hours)
Finish Used
High gloss white
Recommended Skill Level
Intermediate

Comments

Guest (not verified)

Sun, 07/24/2011 - 09:03

It looks great! Also, where did you find the vintage reading week posters? I'd LOVE to know! Thanks!

Faux Fireplace

Submitted by Anonymous (not verified) on Thu, 12/29/2022 - 05:37

Small space faux fireplace. Thank you for the plans for the faux fireplace. Easy to make and has been used for every holiday.

Comments

Gas Pump Curio Cabinet

Theses cabinets were built for a customer from plans they had found online. The hardware was ordered with the plans for an extra expense and the glass was made to order. Hope you enjoy them thanks for looking.

Estimated Cost
$450 for two
Estimated Time Investment
Week Long Project (20 Hours or More)
Finish Used
Latex paint
Recommended Skill Level
Advanced

double loft bed

Submitted by smckeand on Fri, 03/23/2012 - 13:01

This is my extremely altered double loft bed. My sister needed a custom sized double loft bed, I figured I could use this plan and make two beds in an L shape, but the space I had to work with was smaller than these plans so I had to re-design most of the bed all together, I ended up attaching two sides of each bed to the wall with legs only on the outer pieces. She wanted a "fun" looking bed so I added a splash of color, just simple enough for me to make.

Built from Plan(s)
Estimated Time Investment
Week Long Project (20 Hours or More)
Finish Used
sanded with 220 grit, primed, painted with sherwin williams pro classic
Recommended Skill Level
Intermediate

Comments

taslytoo

Wed, 08/01/2012 - 18:04

Might incorporate this idea into my girls room bed. Thanks for sharing.

Porch swing bed

Submitted by Beaulook on Tue, 01/28/2014 - 16:29

Started off with the original design but enlarged it to fit an oversize single mattress. The mattress cost me $35 from a local faith farm, while the materials came in around $200. I decided to hang under my backyard pergola. Fun and easy project.

Built from Plan(s)
Estimated Cost
$250
Estimated Time Investment
Day Project (6-9 Hours)
Finish Used
Cedar stain
Recommended Skill Level
Beginner

Comments

bhammond

Tue, 01/28/2014 - 21:10

Wow this looks so inviting I might just have to make one too! Nice work-- it looks great!

Shorty

Tue, 01/28/2014 - 21:26

Really great job on your porch swing bed AND an awesome looking patio/yard. Looks amazing all around!

Debbie Perkins

Mon, 07/27/2015 - 22:45

I want this!  I just made a couple of plant stands for my front porch.  My husband asked me what my next project was, why, a swing bed.  (This was only my second project!)  I want to put cup holders in those big ole arms!  We have a house at the beach in South Alabama, so, you gotta "hydrate."  This is an awesome swing.  I can't wait to do mine...pillows to rest on, one foot on the concrete pushing me in a slow swing. Cold beverage in my hand or in my cup holder. Yep, southern girl has a new project.  Love it!

Sliding Door Console

I modified the plans to have three compartments instead of four. Also, the hardware was a challenge.  Tip: use a wheel that has an internal bearing. 

Built from Plan(s)
Estimated Cost
$200.00
Estimated Time Investment
Weekend Project (10-20 Hours)
Finish Used
pre-stain and golden oak by minwax
Recommended Skill Level
Intermediate

Custom Pallet Laundry Basket!!!

Submitted by Anonymous (not verified) on Fri, 04/15/2022 - 15:43

I told the love of my life about how Ana had a really cool laundry basket shelf, and asked her if she wanted one. Of course she said yes, so I made her one! I added a few twists to mine as you can tell, but the actual shelf itself is completely from her design!

Comments

LARGE FARMHOUSE TABLE

Submitted by mdbennes on Mon, 11/23/2015 - 09:25

I used Ana's plans for this project, but had to deviate since I built it for a friend who needed a table for 14!!  This thing is huge, 12 feet long, and about 44 inches wide.  I made it out of pine, 2x8s for the top but stuck to the plans for the frame.  It weighs about 200lbs or more, and had to move it with 4 guys...used an enclosed trailer to move it from my house to theirs. They love it so that's all that counts!  Oh ya, in the picture, you will see Ana's rustic X console table too! 

Estimated Cost
$150
Estimated Time Investment
Weekend Project (10-20 Hours)
Finish Used
Minwax English Chestnut stain, then a GLOSS polyurethane
Recommended Skill Level
Beginner

twin over full bunkbed

Submitted by sjknecht on Sun, 02/26/2012 - 14:38

This project was so much easier than I thought it would be when we started. If you follow ana's plans your bunkbed will be much stronger than anything you can buy for a fraction of the price. I would never do it but I honestly think I could park my truck on these beds. The finish is red mahogany stain with a couple coats of polyurethane over it. They say not to use dark stain over pine because of the uneven coat but i like the way it striped the grain. Not everyone's cup of tea but we love it.
We've all heard the saying "give a man a fish and you feed him for a day, teach a man to fish and you feed him for life. Thank You Ana for teaching me to fish. This was the first, but will not be the last project i do from your site.

Estimated Cost
about 200
Estimated Time Investment
Week Long Project (20 Hours or More)
Finish Used
minwax red mahogany stain, and 3 coats of minwax polyurethane
Recommended Skill Level
Beginner

Comments

Farmhouse table, table extension, and bench

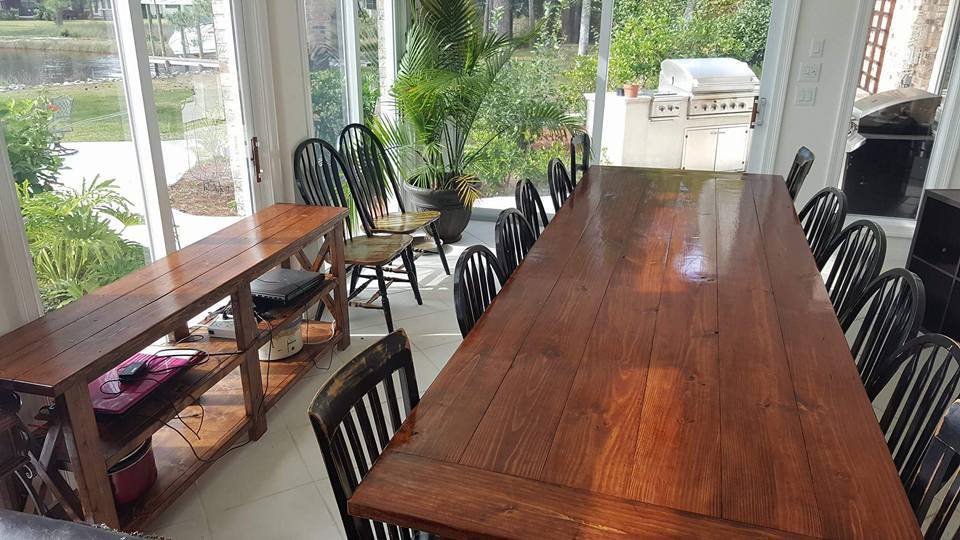
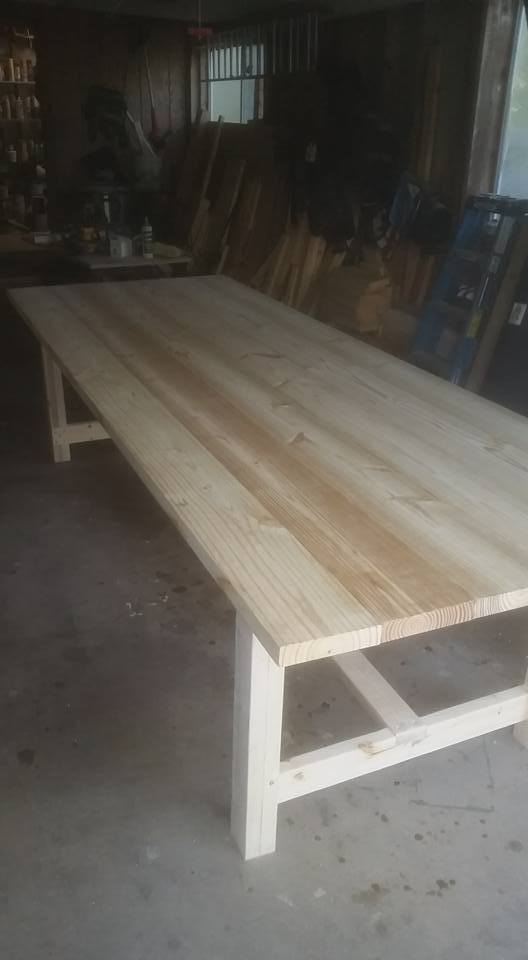
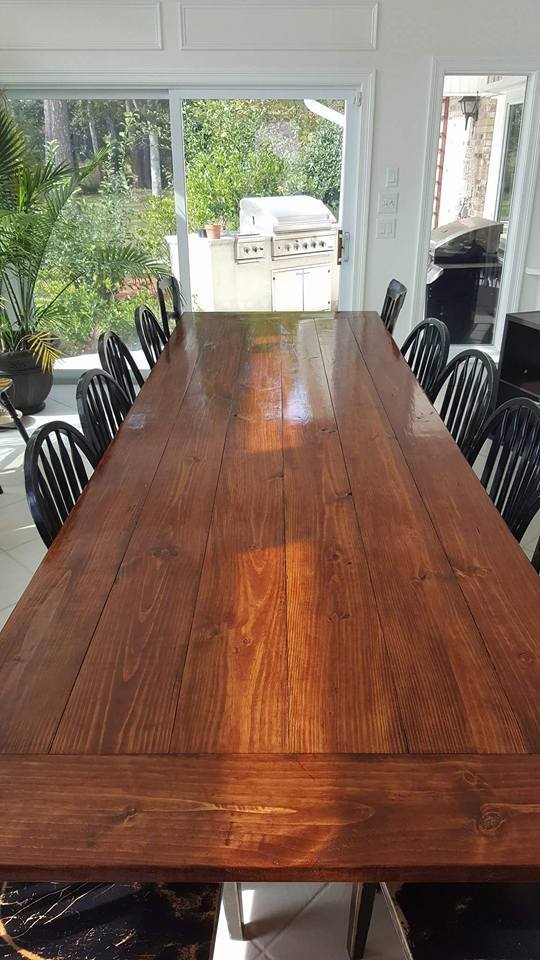
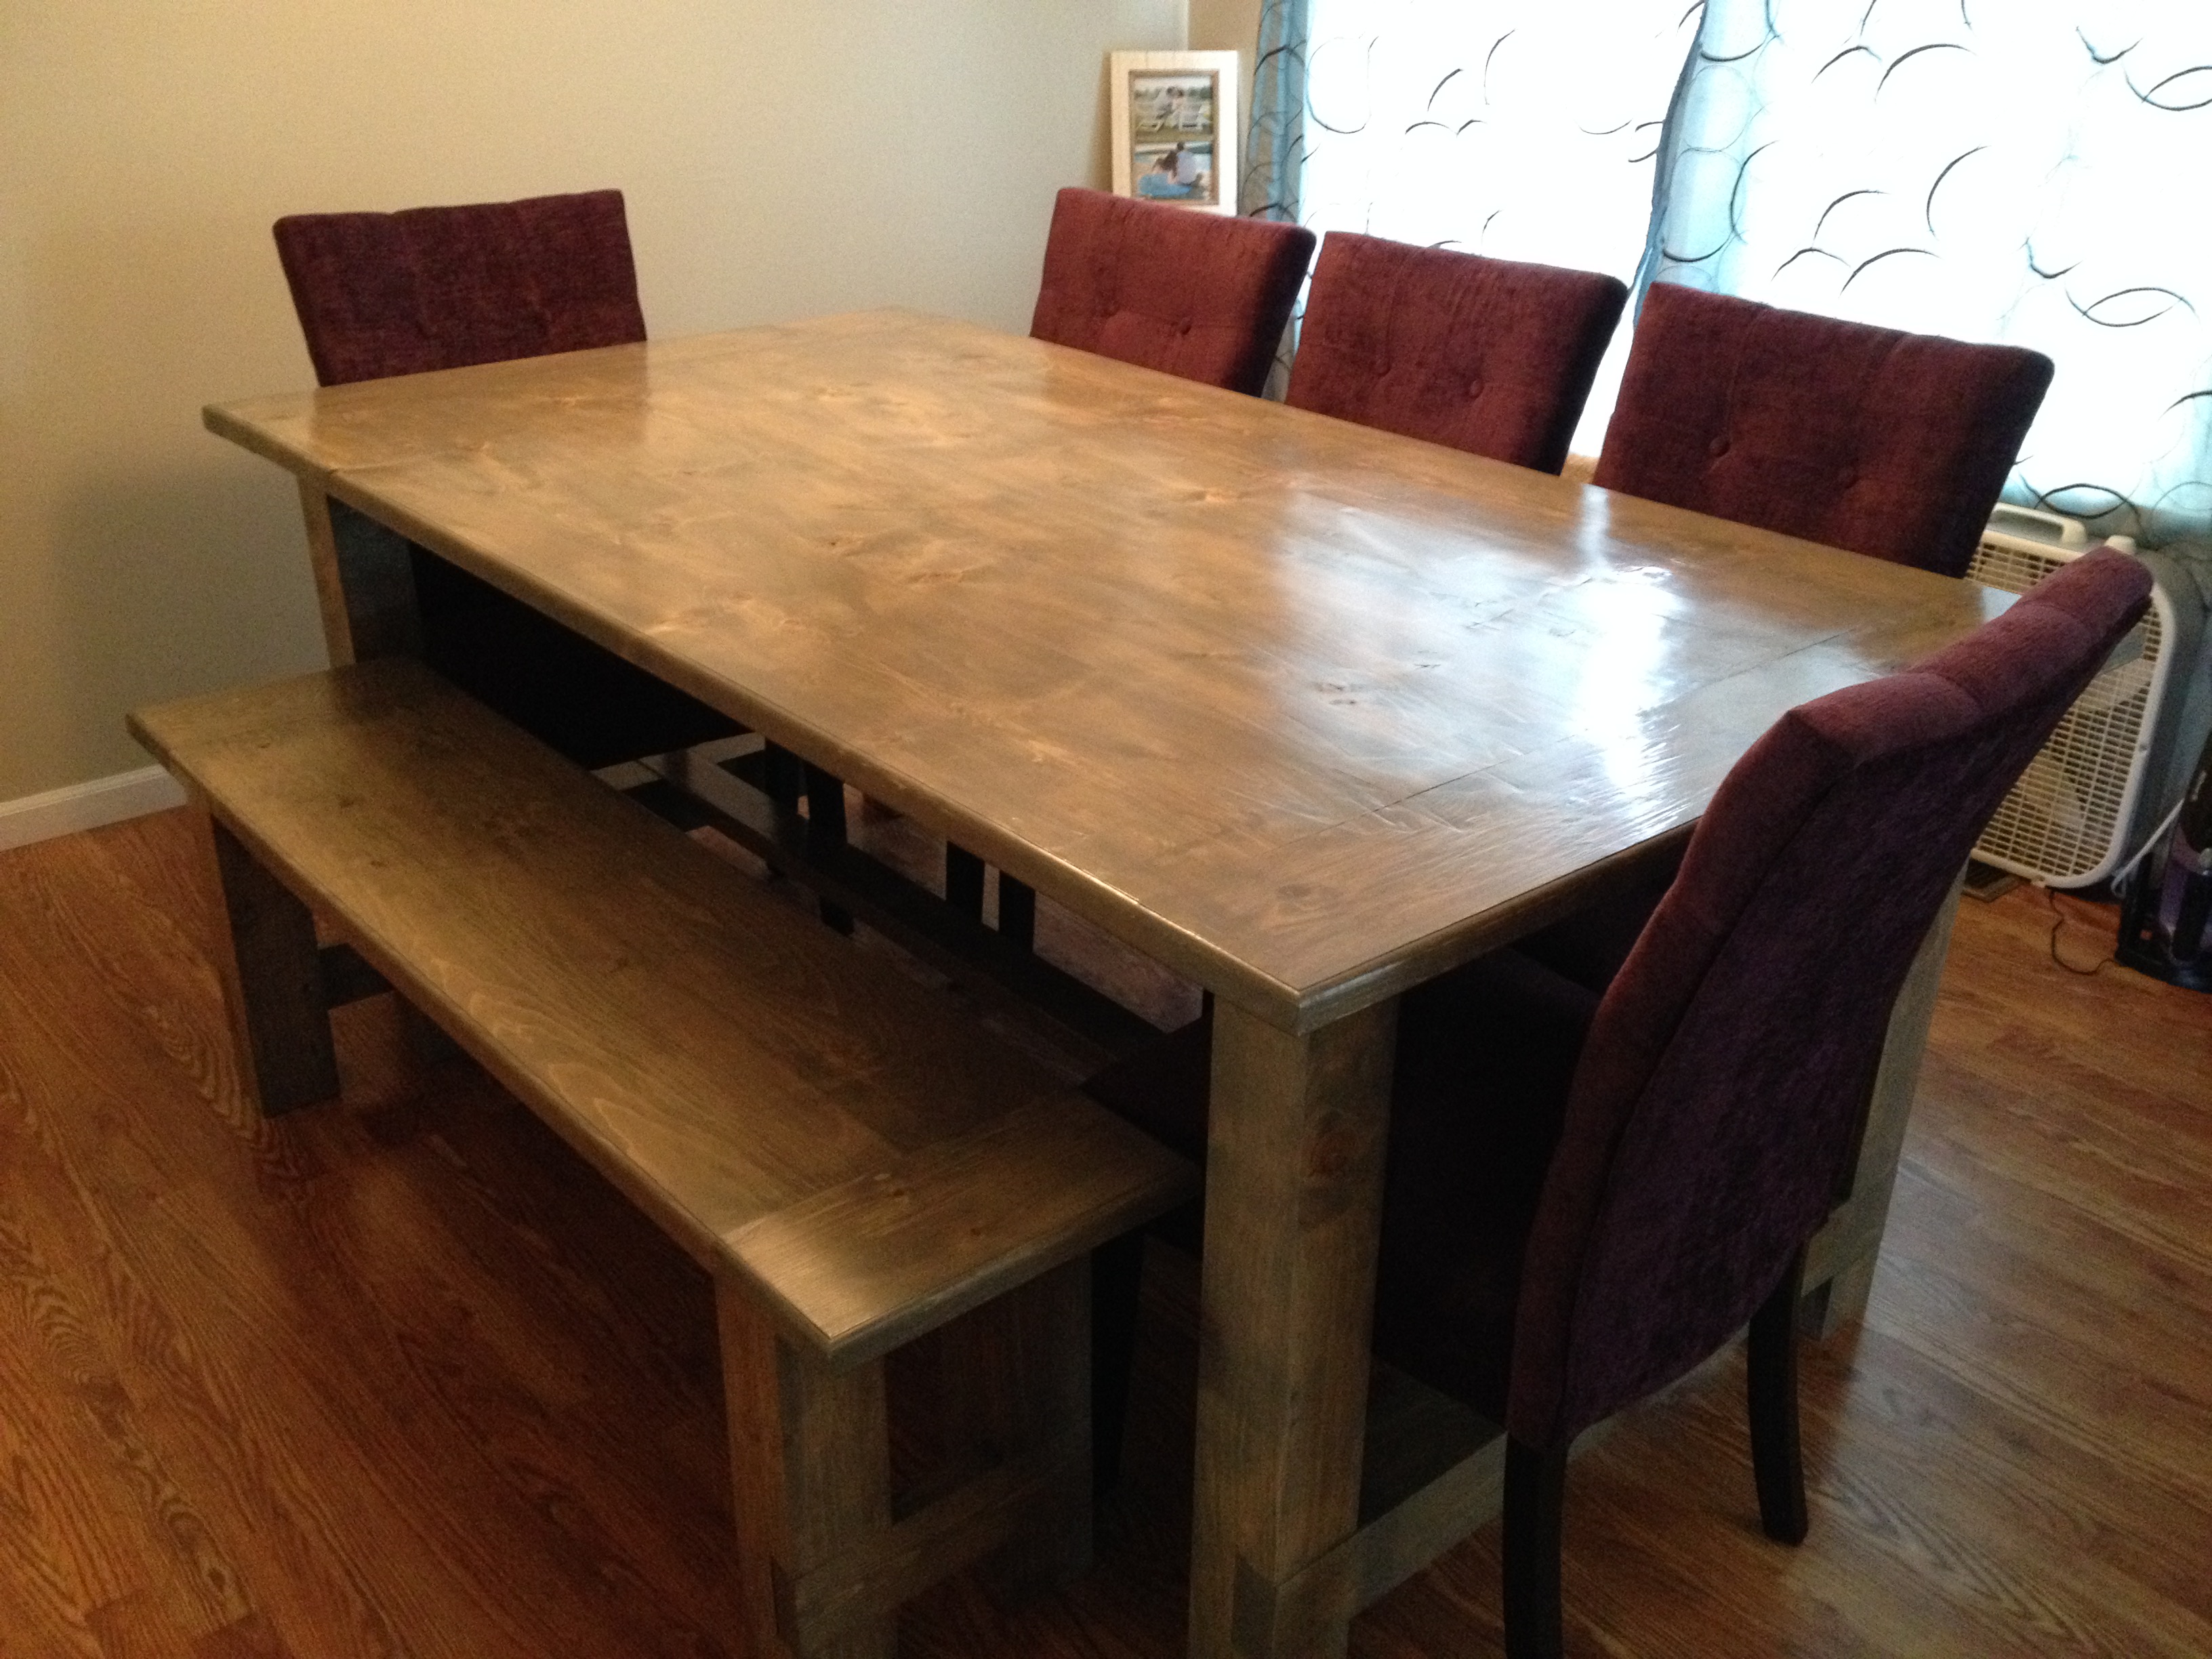
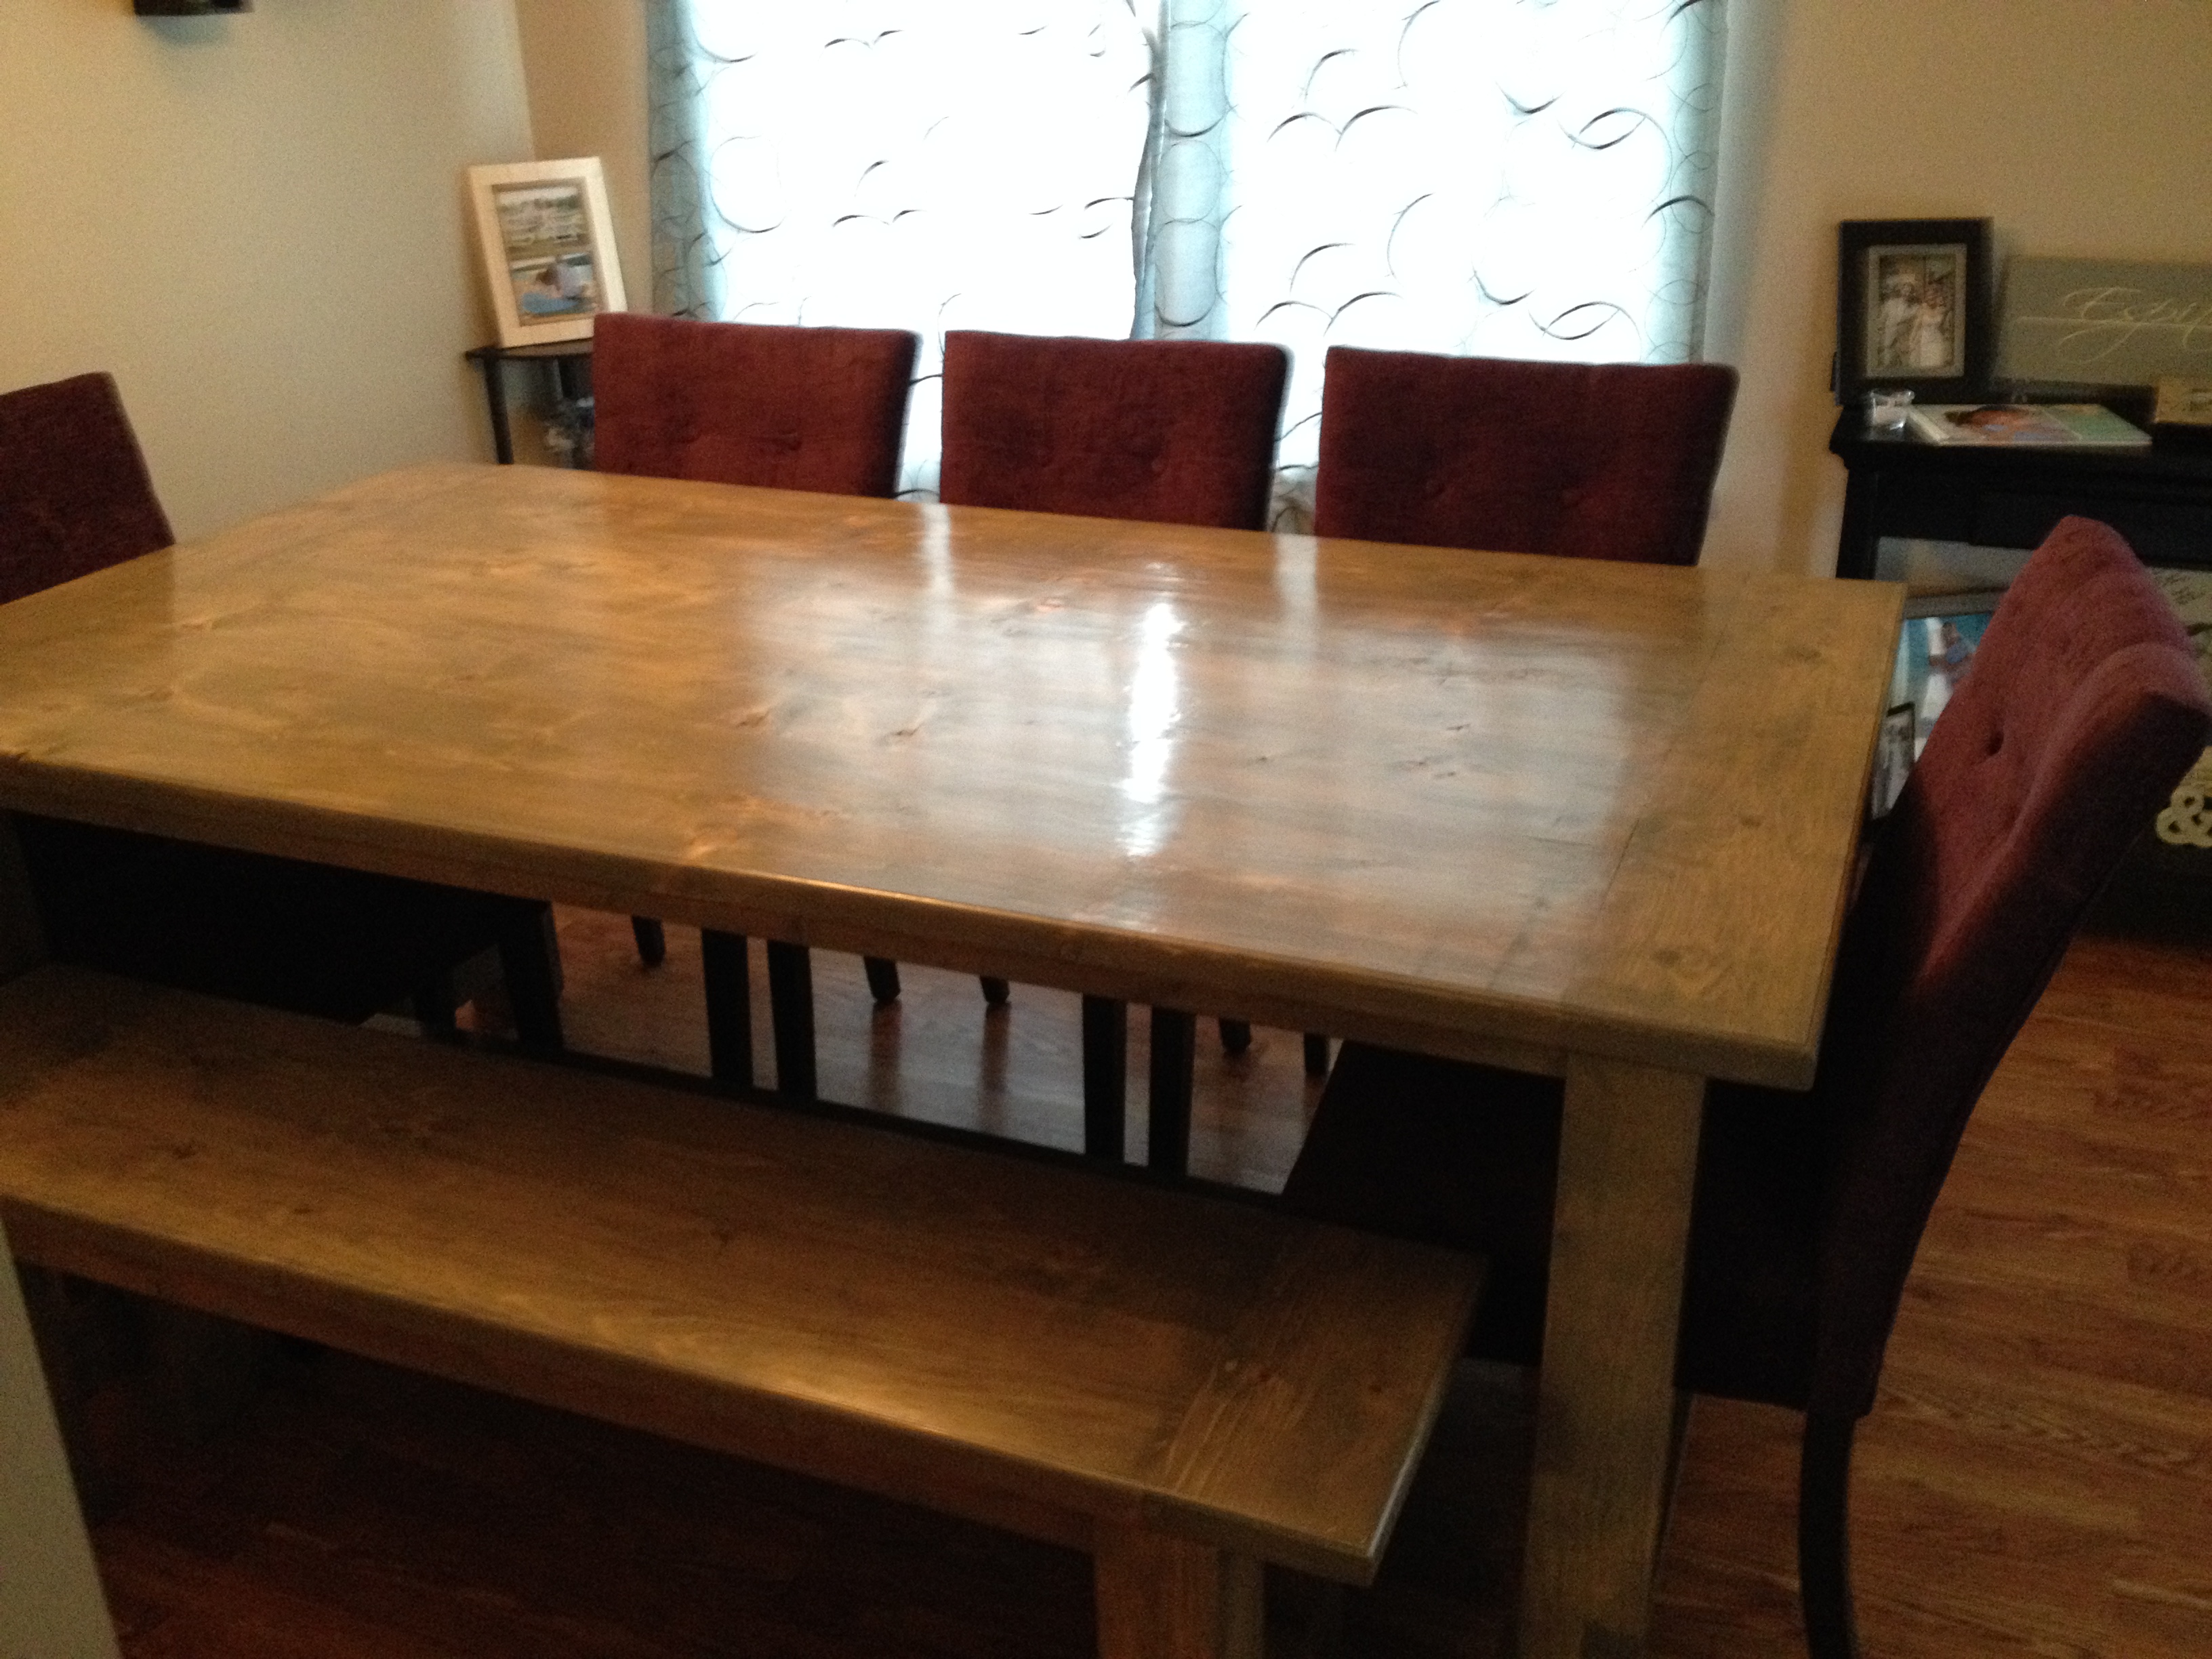
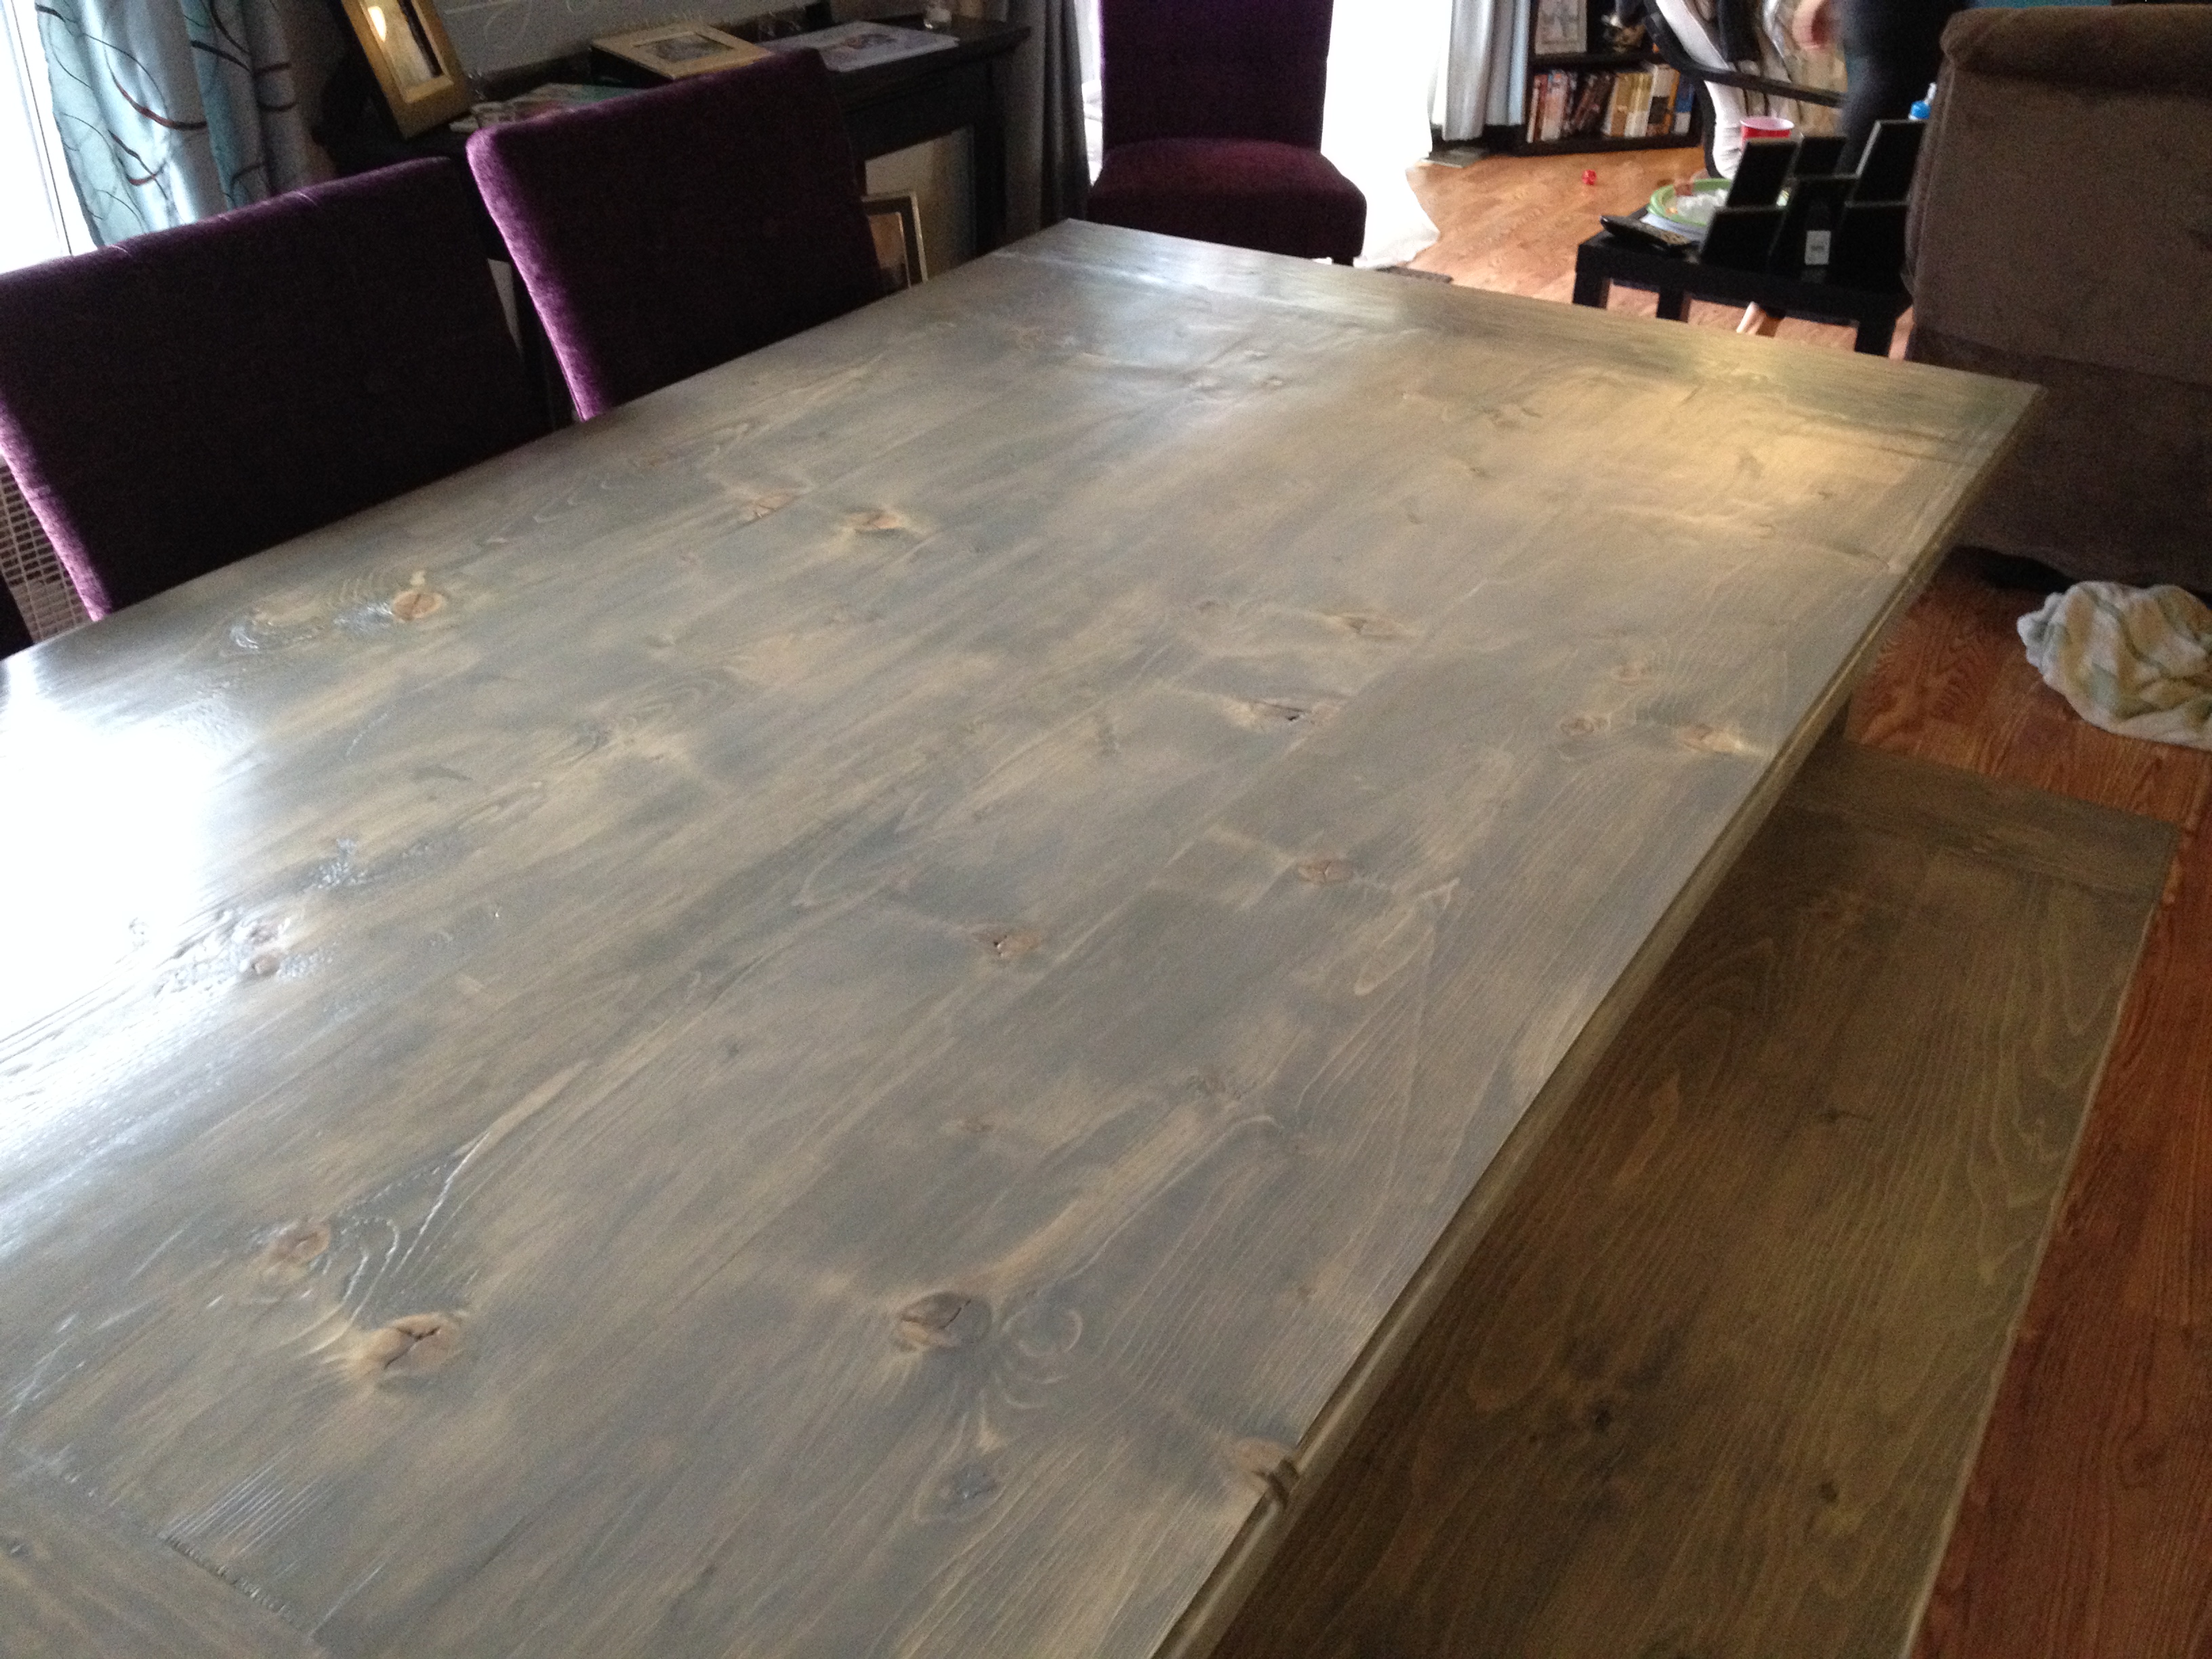
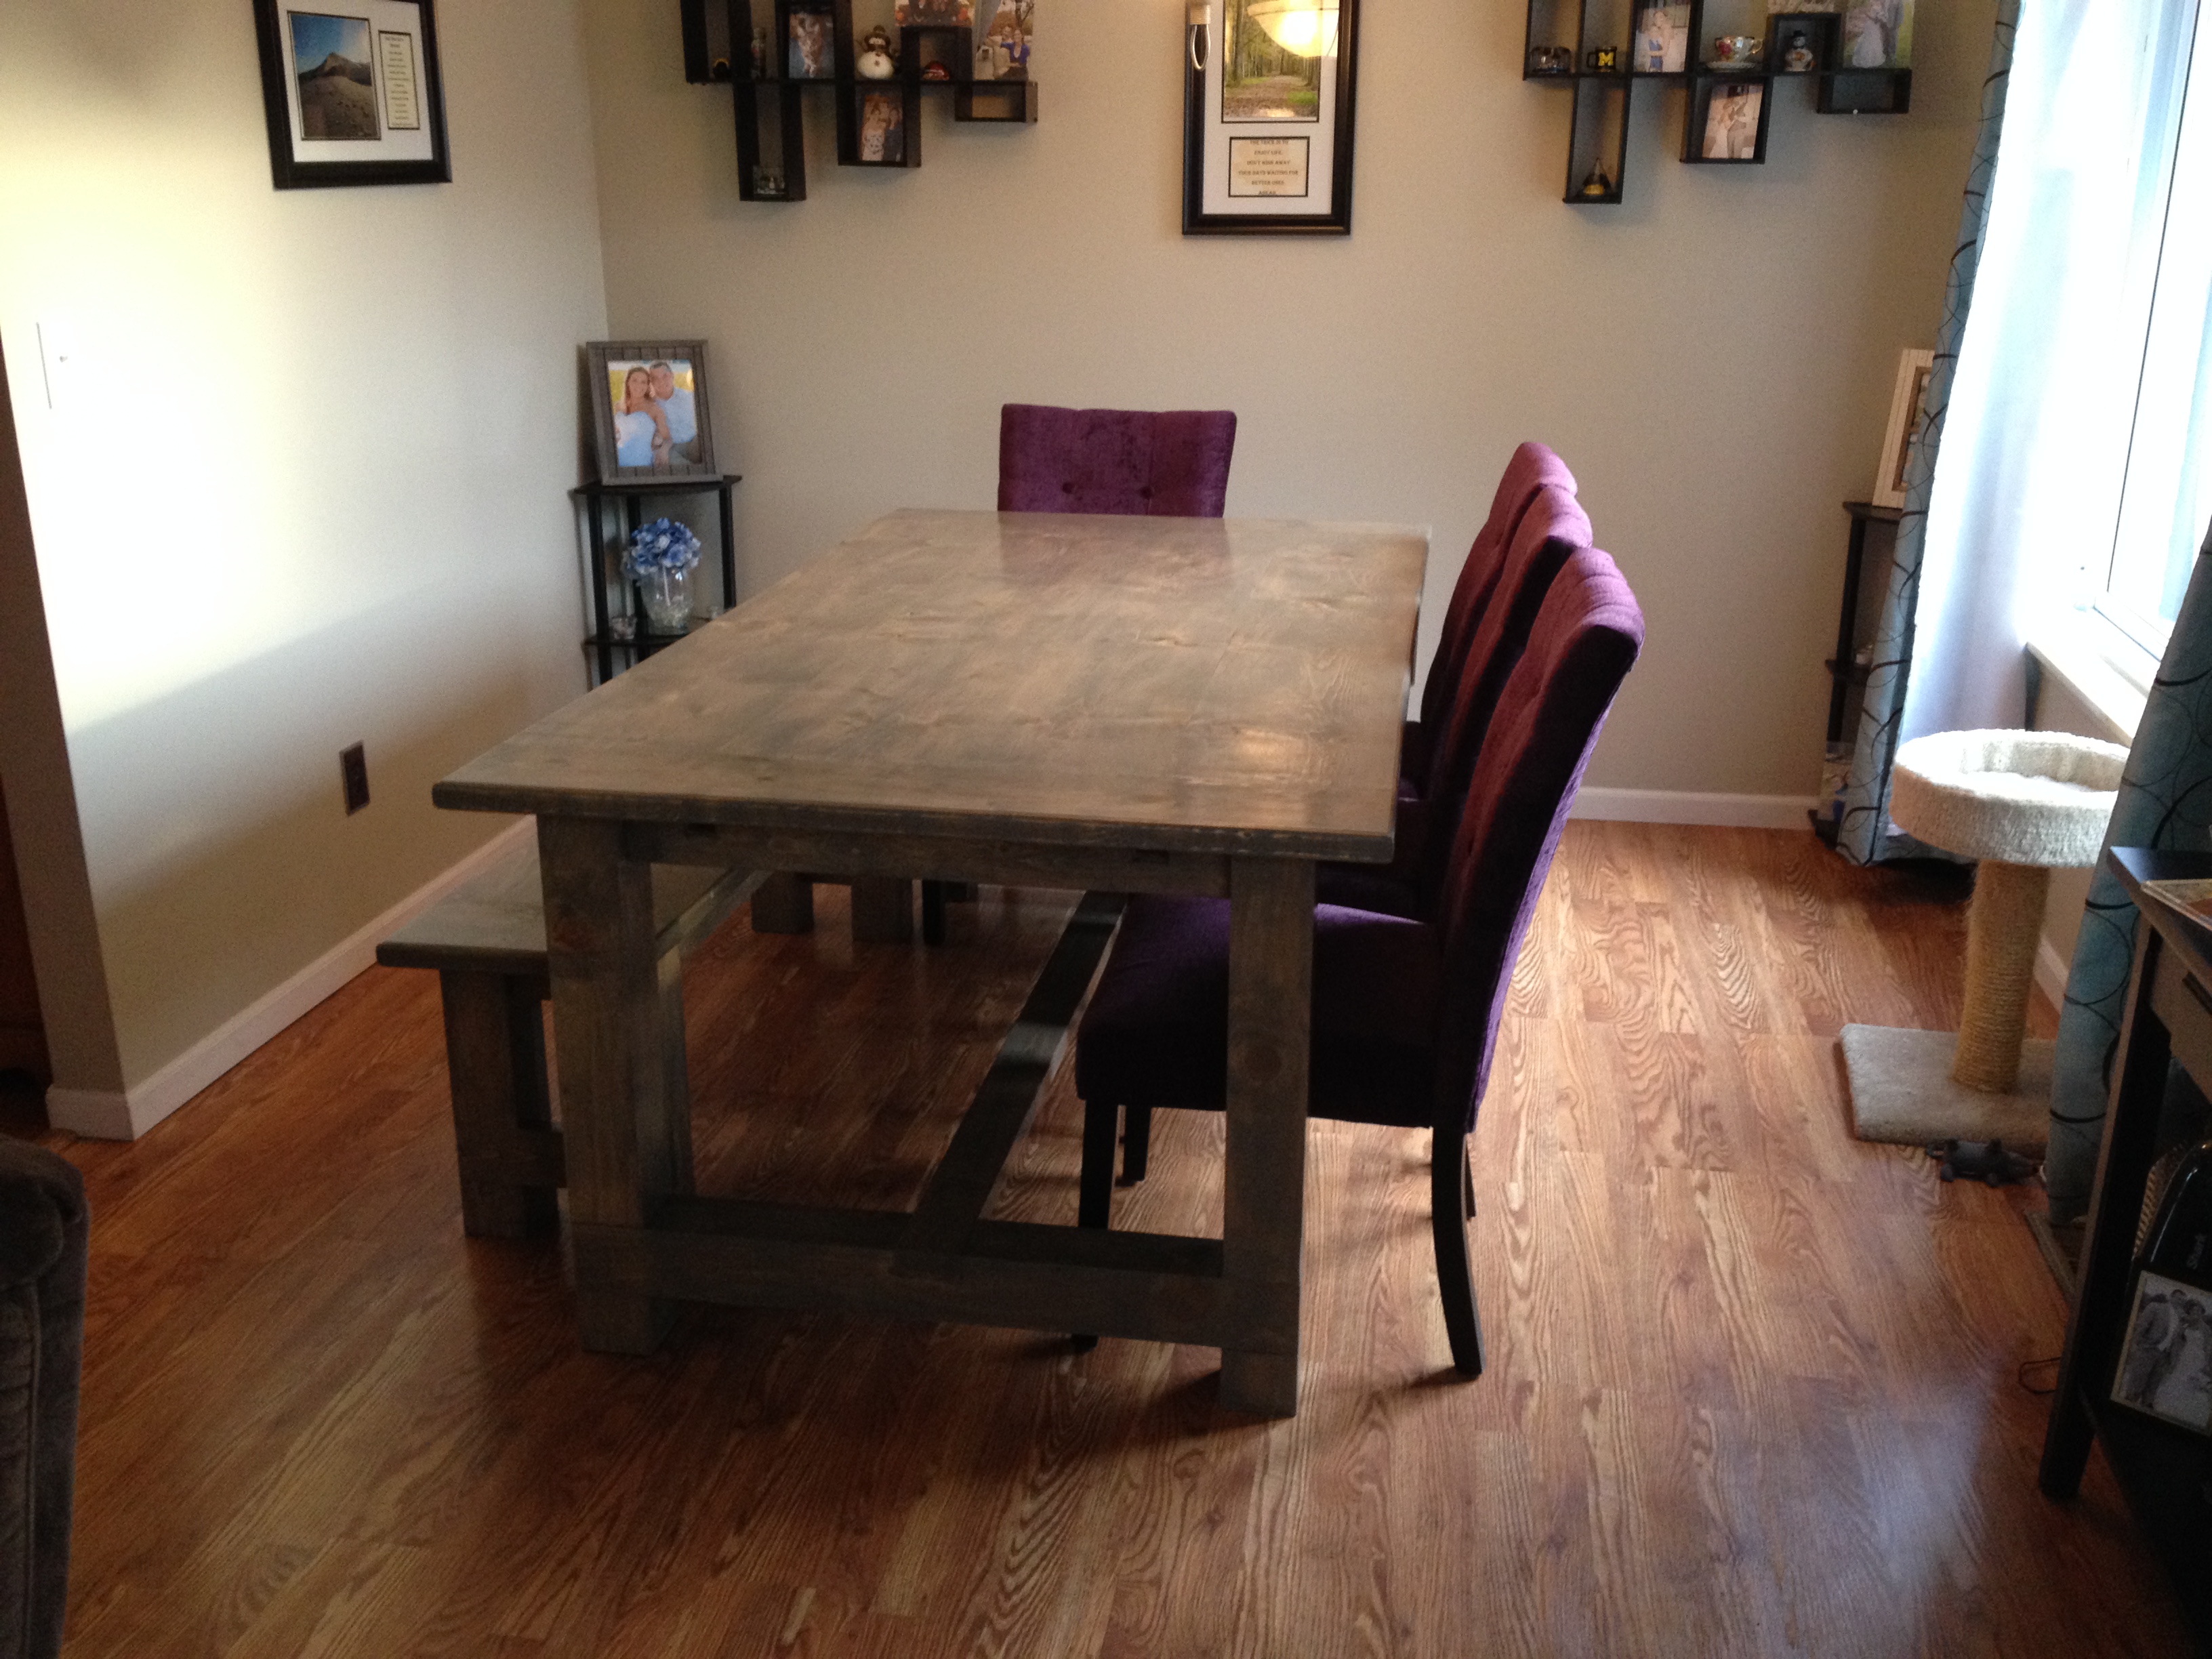
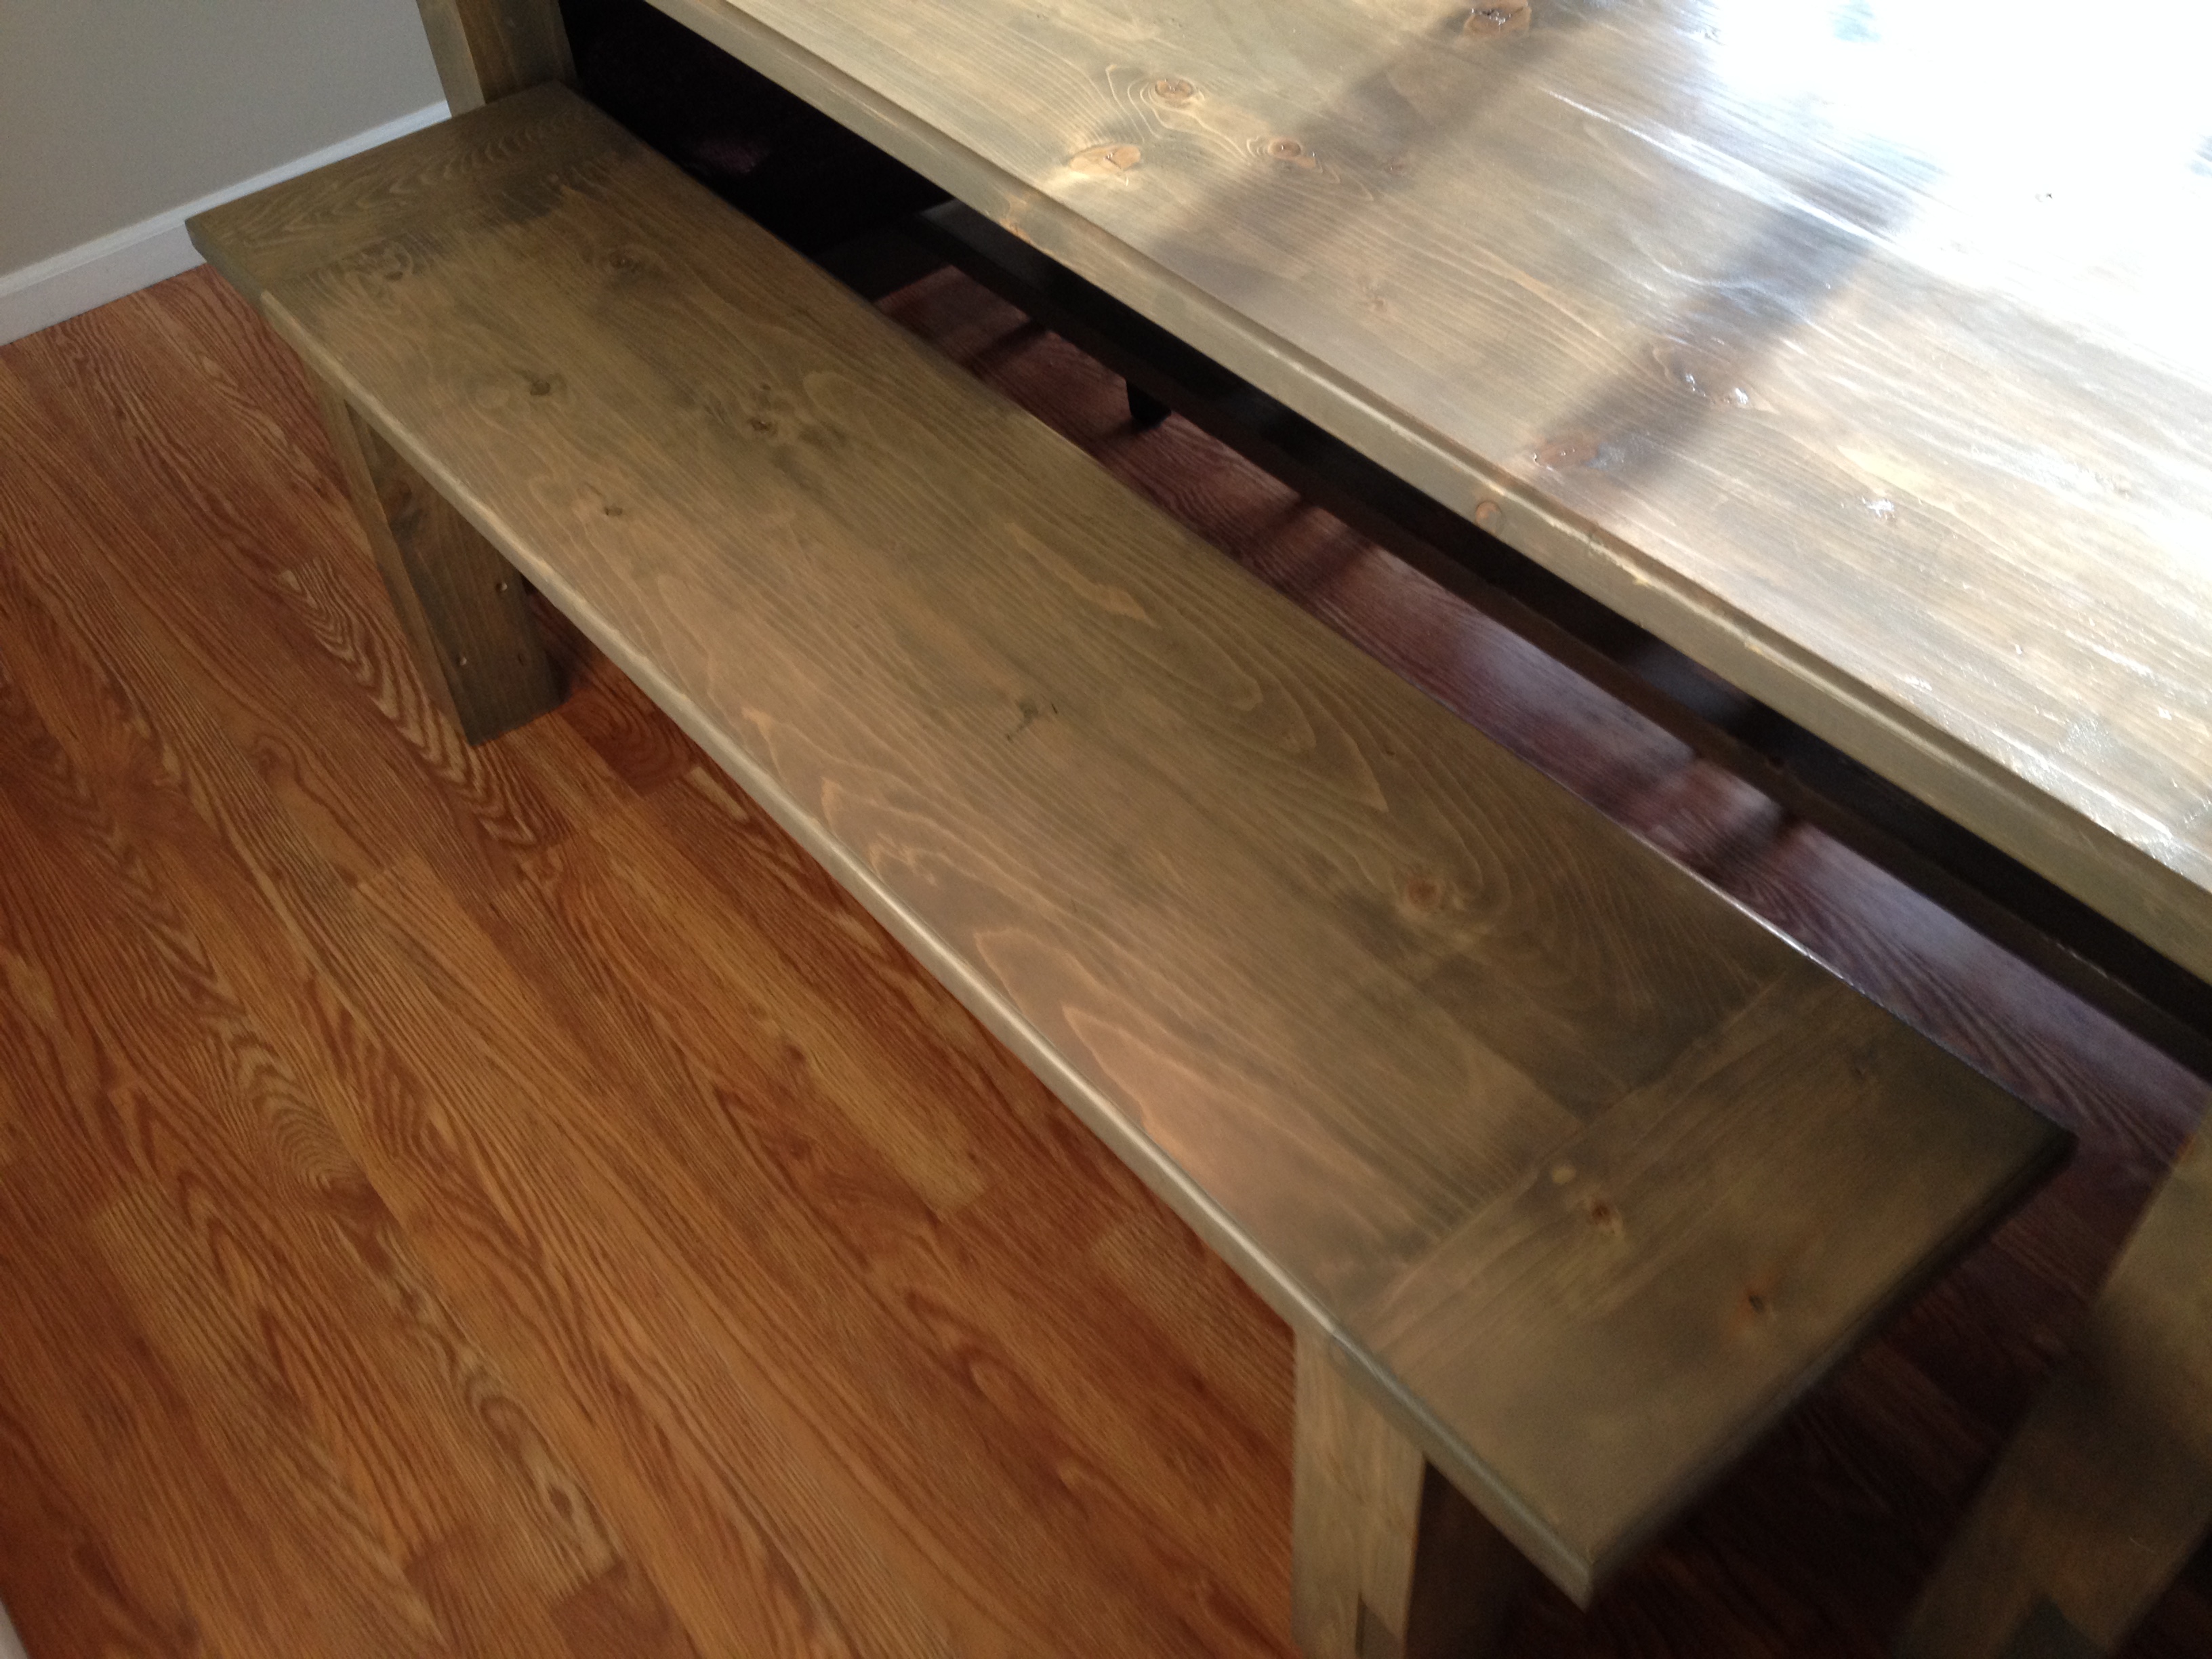
My wife and I recently built this farmhouse table with her grandpa. It was a lot of fun and we are really happy with how it turned out. The table is 80 inches long, 43 1/2 inches wide, and 31 inches tall. The extensions are 15 inches long and 43/1/2 inches wide, and the bench is 61 inches long, 15 inches wide, and 19 1/2 inches tall. 

It tooks us about 4 weekends (around 32 hours) to finish the project and the included rebuilding the base of the table after our first one cracked. 

We modified the plans a bit. We used 4x4s instead of glued together 2x4s for the legs on the table and bench. 

We also used the plans on this blog (http://tommyandellie.com/?p=2582) as a guide. 

This was the first time my wife and I have tired a DIY project and we had a ton of fun. Her grandpa had some experience with wood working and had all of the tools we needed but you can certainly do this without any extensive wood working experience. 


Sorry for the duplicate post. This is my first time on the website and the first time I posted it came across as 'guest'

Estimated Cost
$350
Estimated Time Investment
Week Long Project (20 Hours or More)
Finish Used
We put on one coat of minwax pre-stain wood conditioner. Then we added two coats of stain of a custom mixed stain from Sherman Williams. We started with the Wood Classic Rustic Gray. The store then tinted the stain until we found the color that we liked. Note - the table looks grayer in person than it does in some of the photos. Finally we applied 3 coats of minwax water based oil modified semi-gloss polyurethane.
Recommended Skill Level
Starter Project

Comments

Back