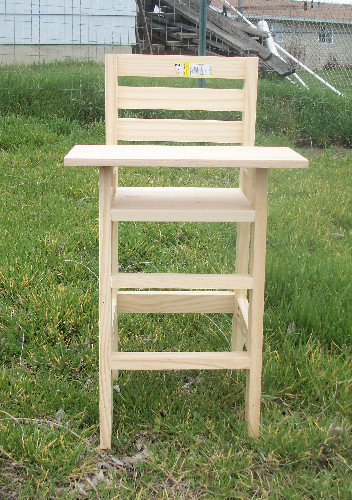
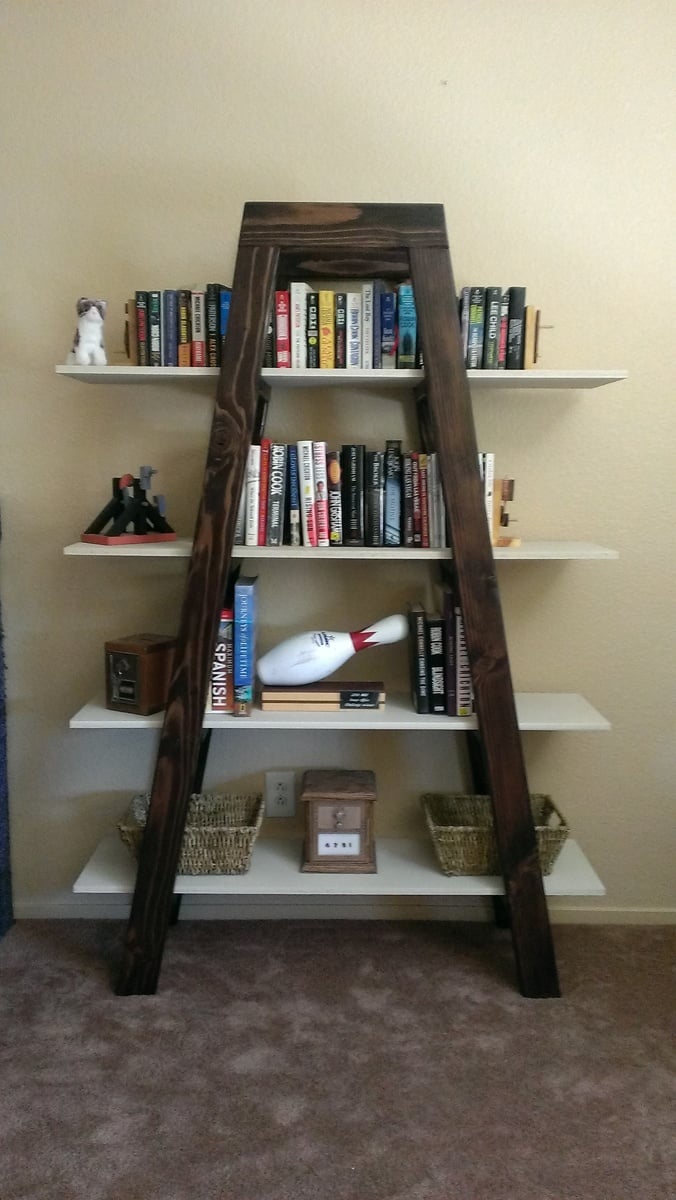
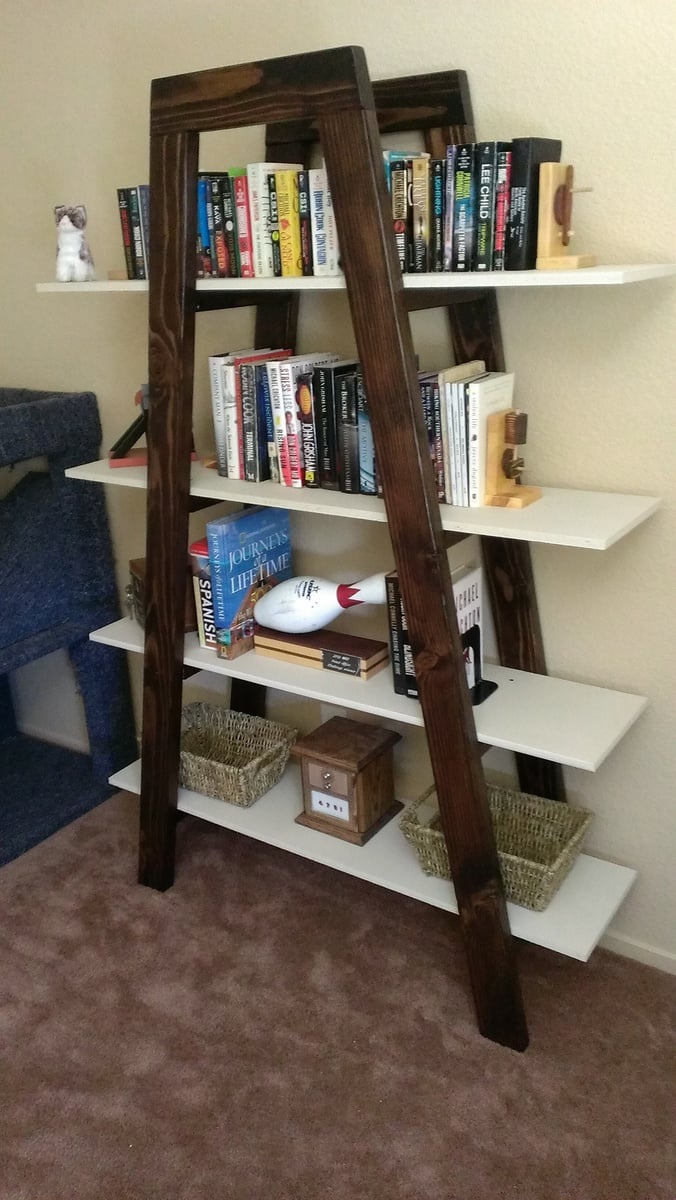
Cutest Baby Doll High Chair
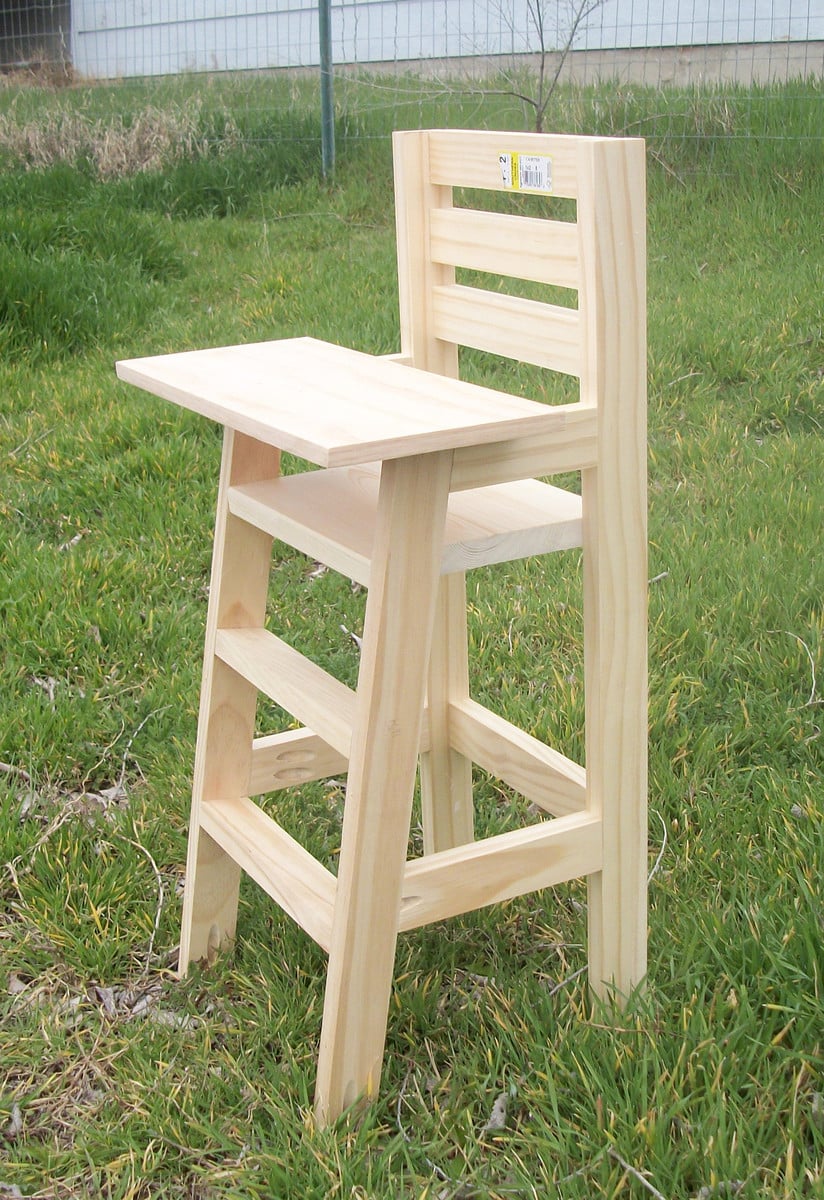
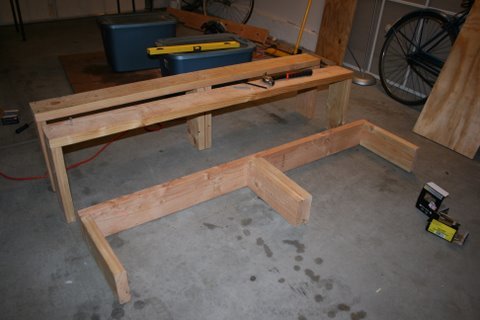
My neighbors grand-daughter is about to turn 3 and I thought this would make a great present for her.. plus, when she saw it online while visiting me (I was checking the website as usual), she said "Oh, I NEED one of those!". I laughed and then that night went out and checked my scrap pile to see if I had everything I needed to build it.
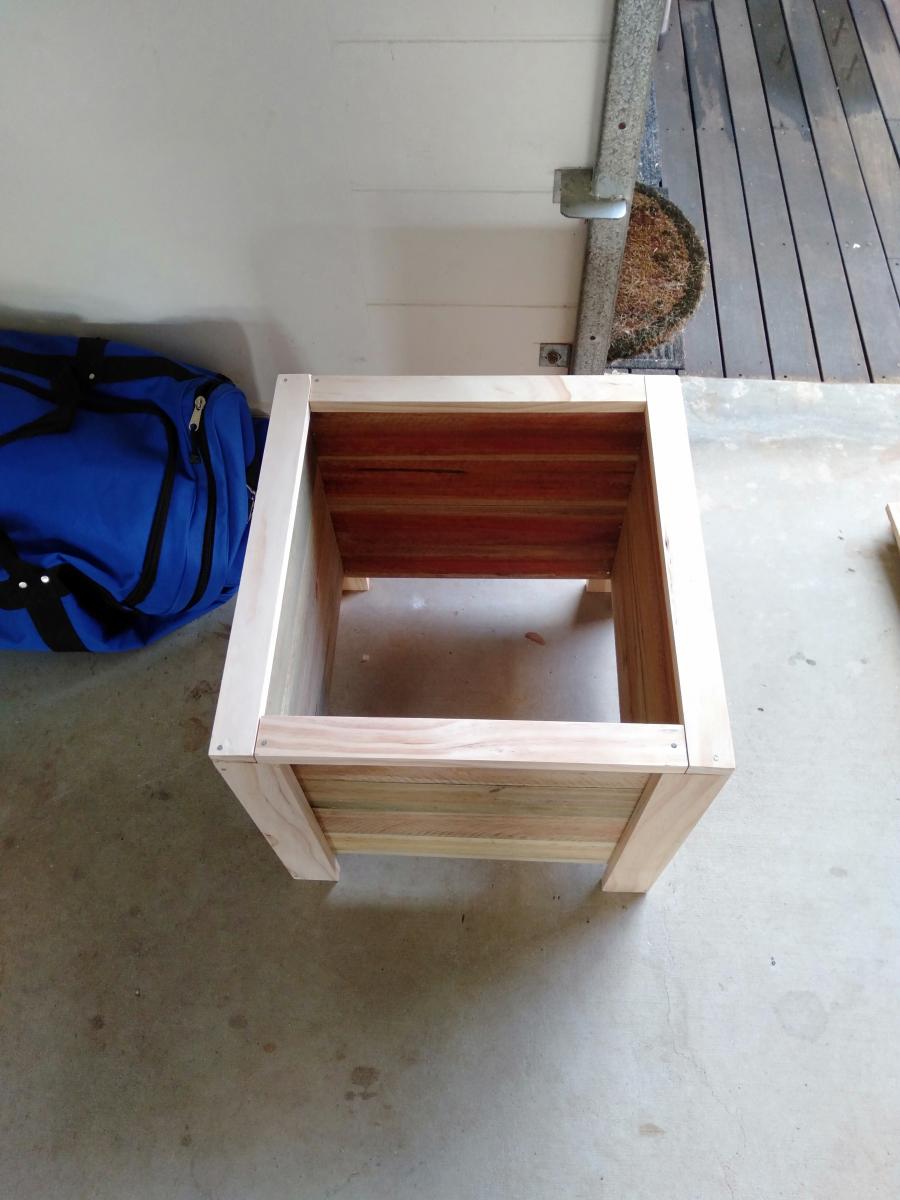
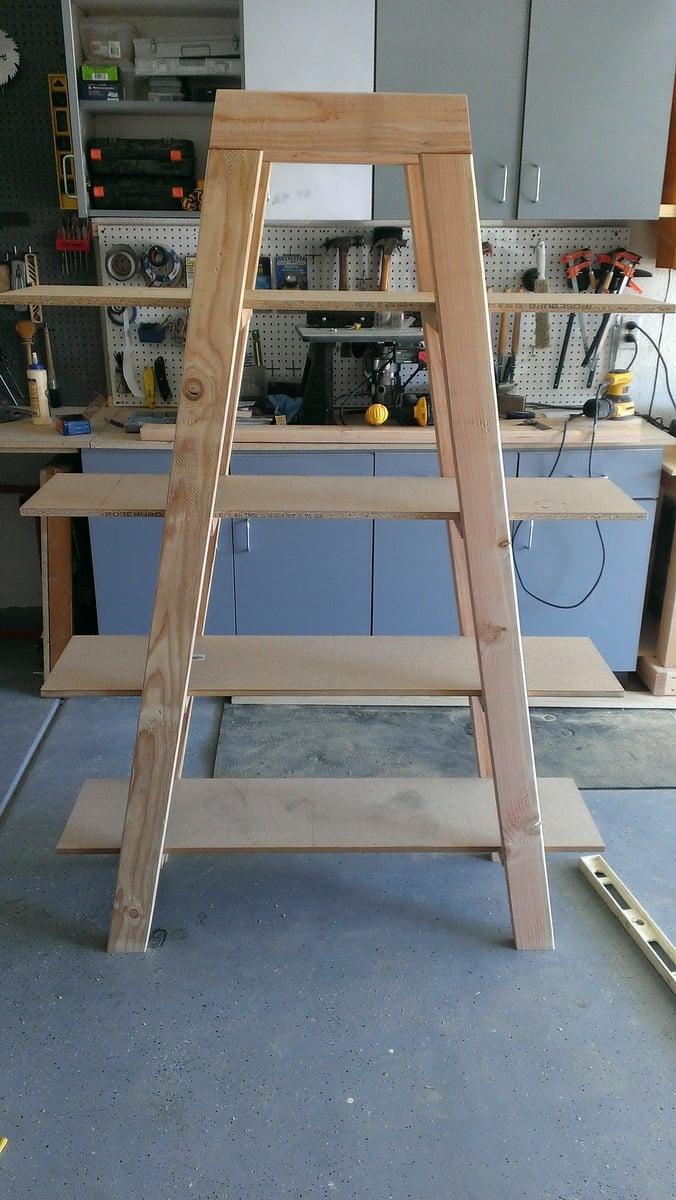
I only needed one 8' piece of 1x2 to complete it.. .everything else I had, so great!
Estimated Cost
About $10 with paint.
Estimated Time Investment
An Hour or Two (0-2 Hours)
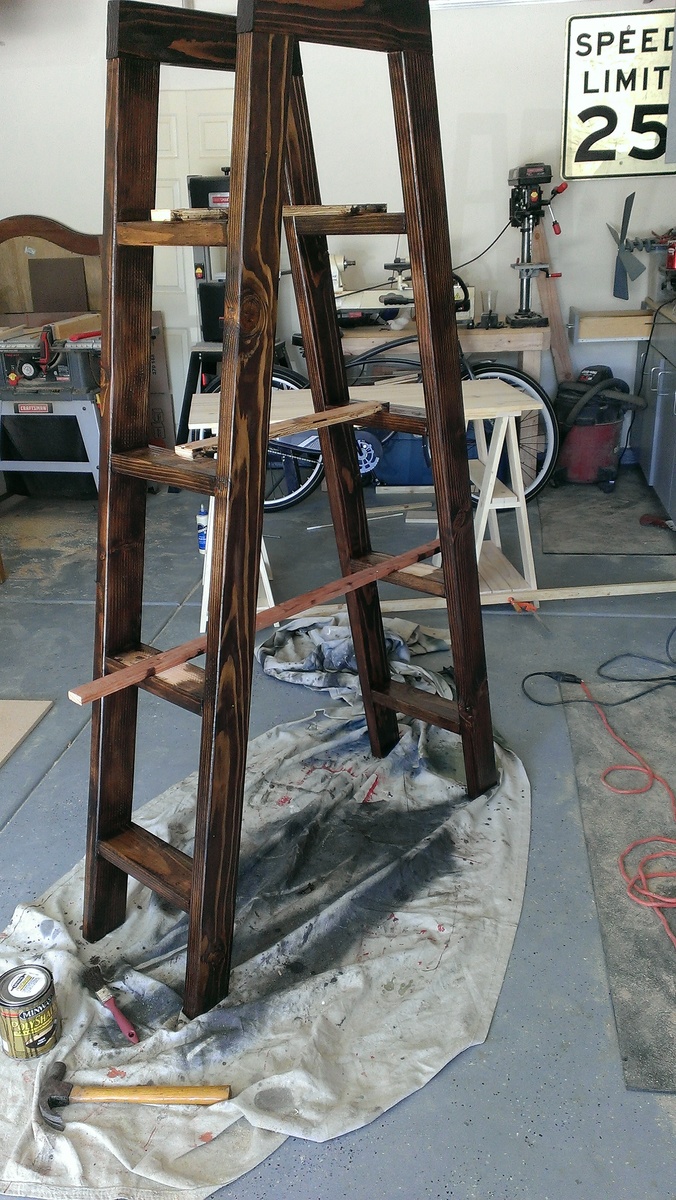
Finish Used
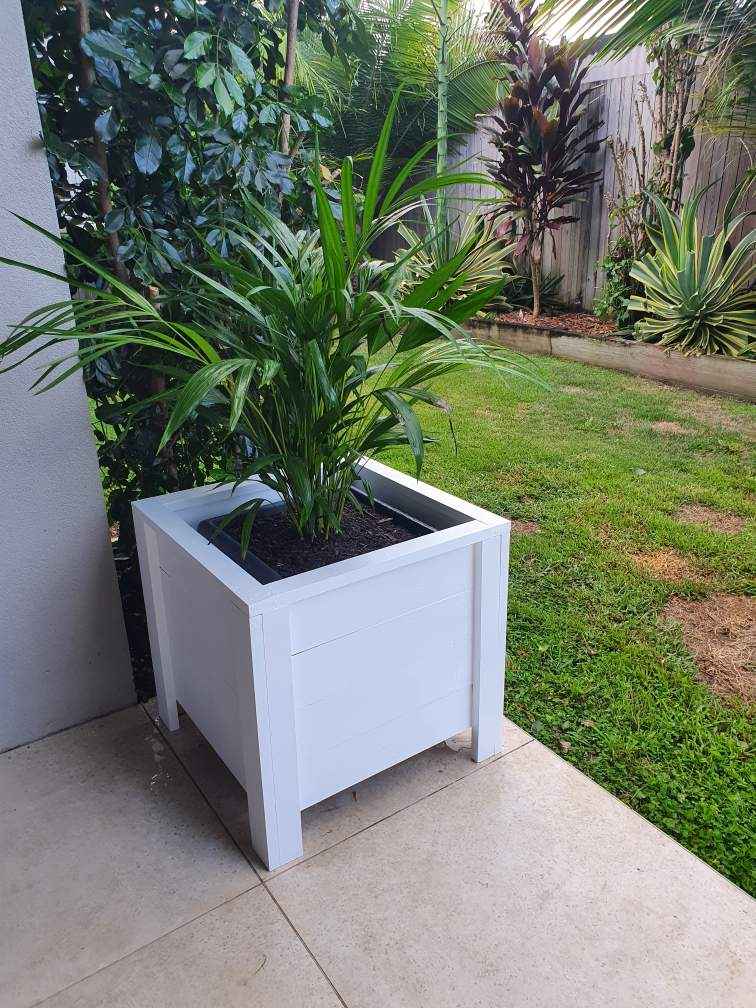
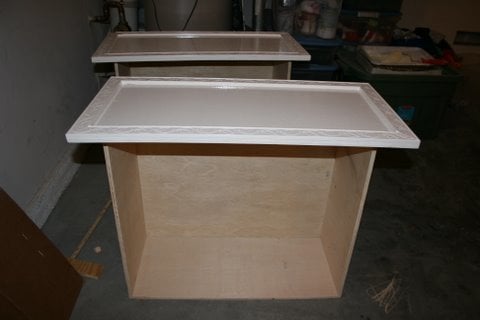
I have yet to paint this little project, but it will be painted in a gloss lavender purple so it's easy to clean.
Recommended Skill Level
Starter Project


Comments
bigchuck3189
Wed, 07/22/2020 - 08:18
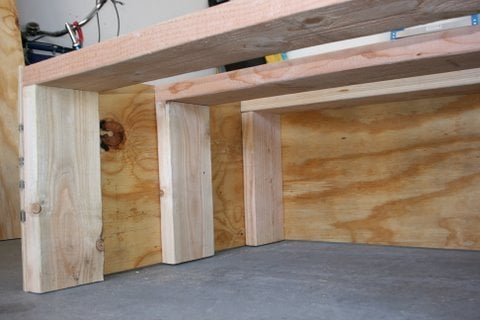
What angles are the front…
What angles are the front legs?