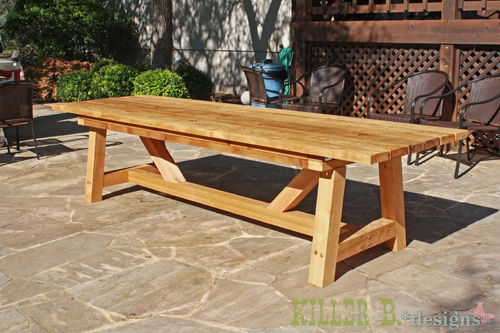
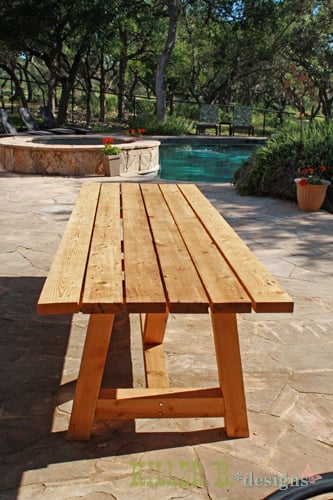
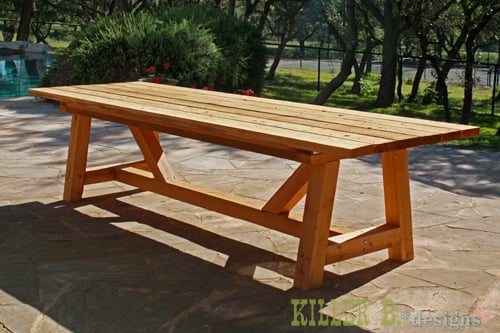
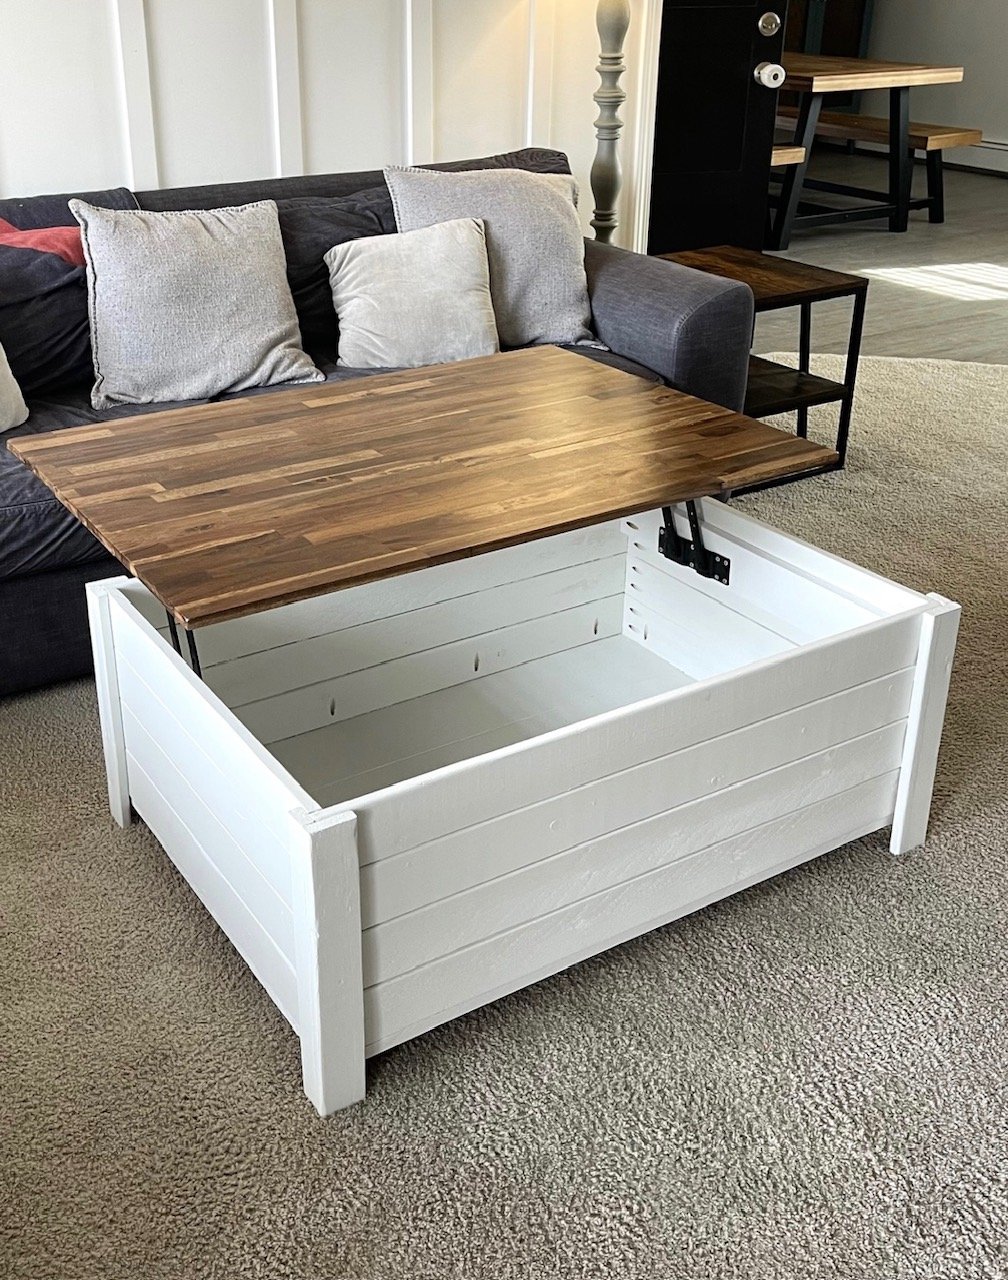
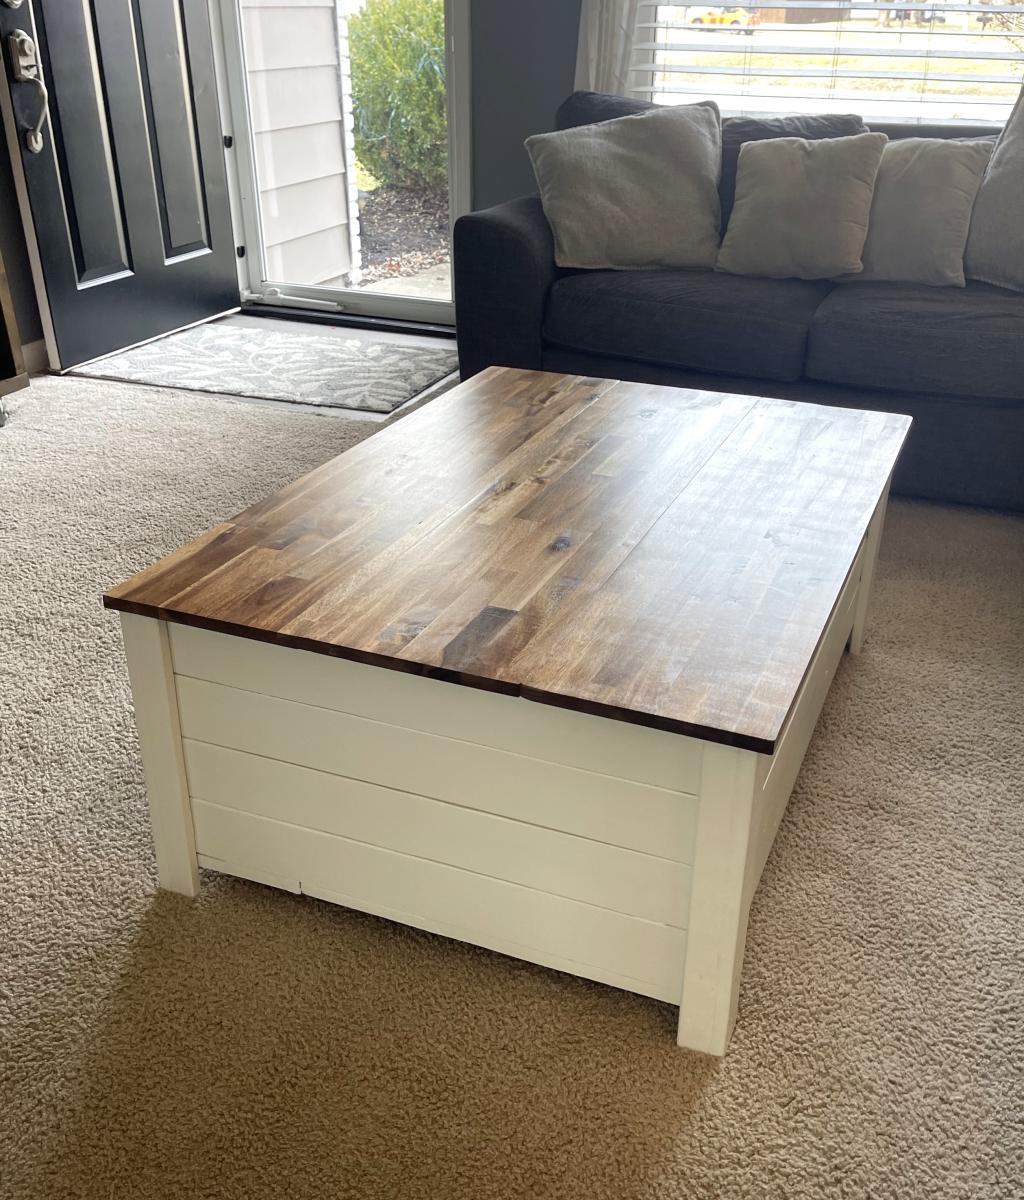
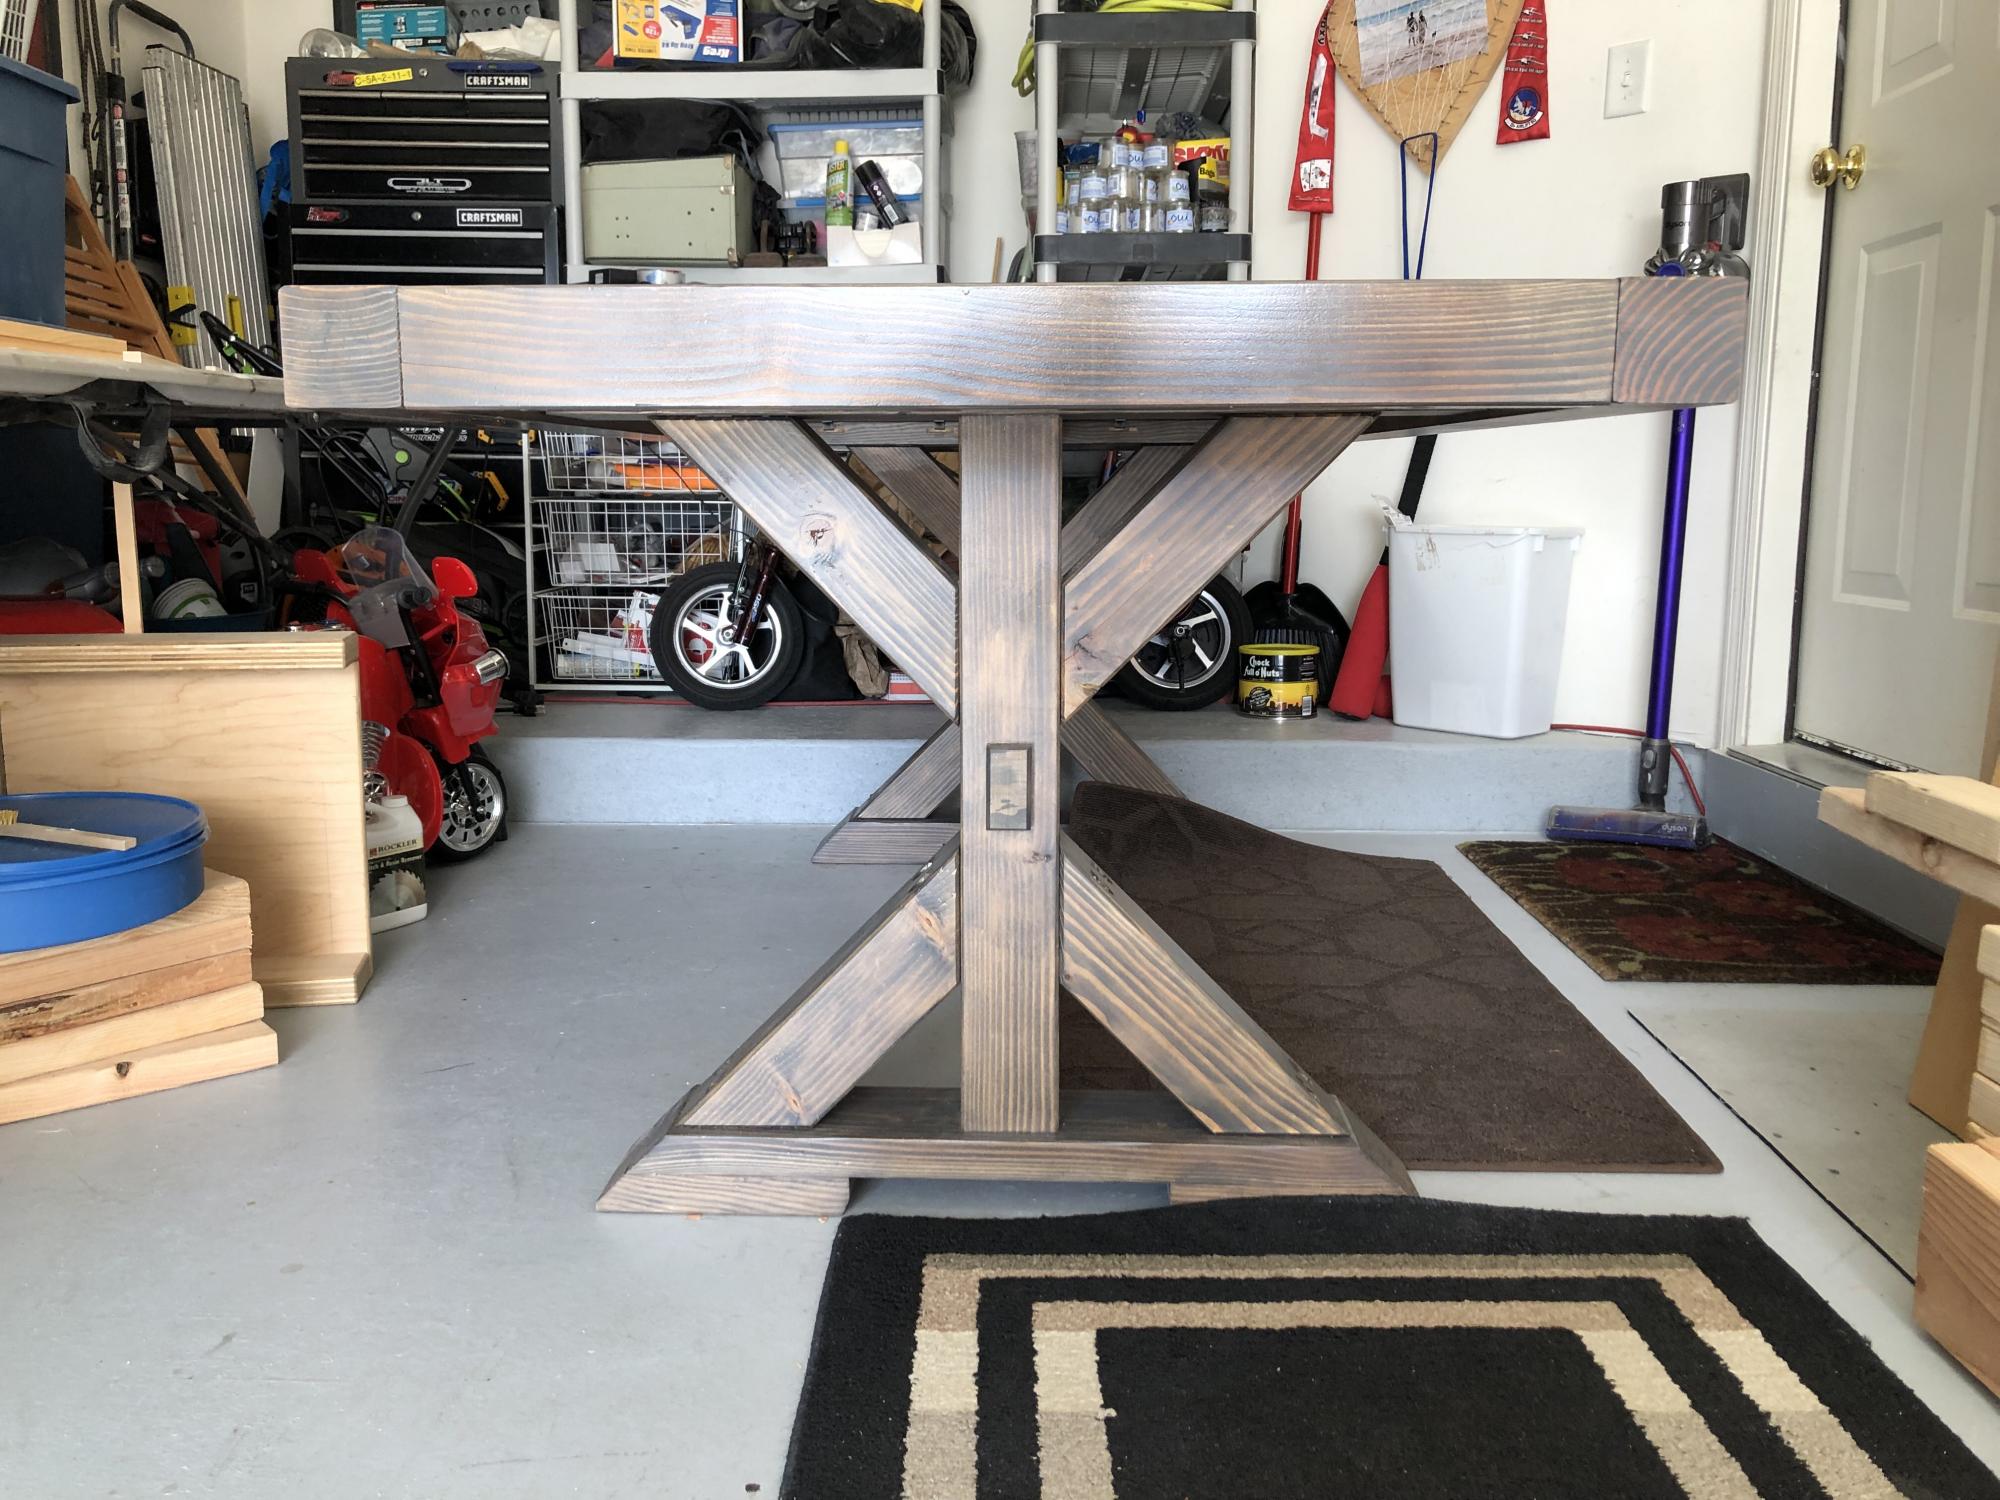
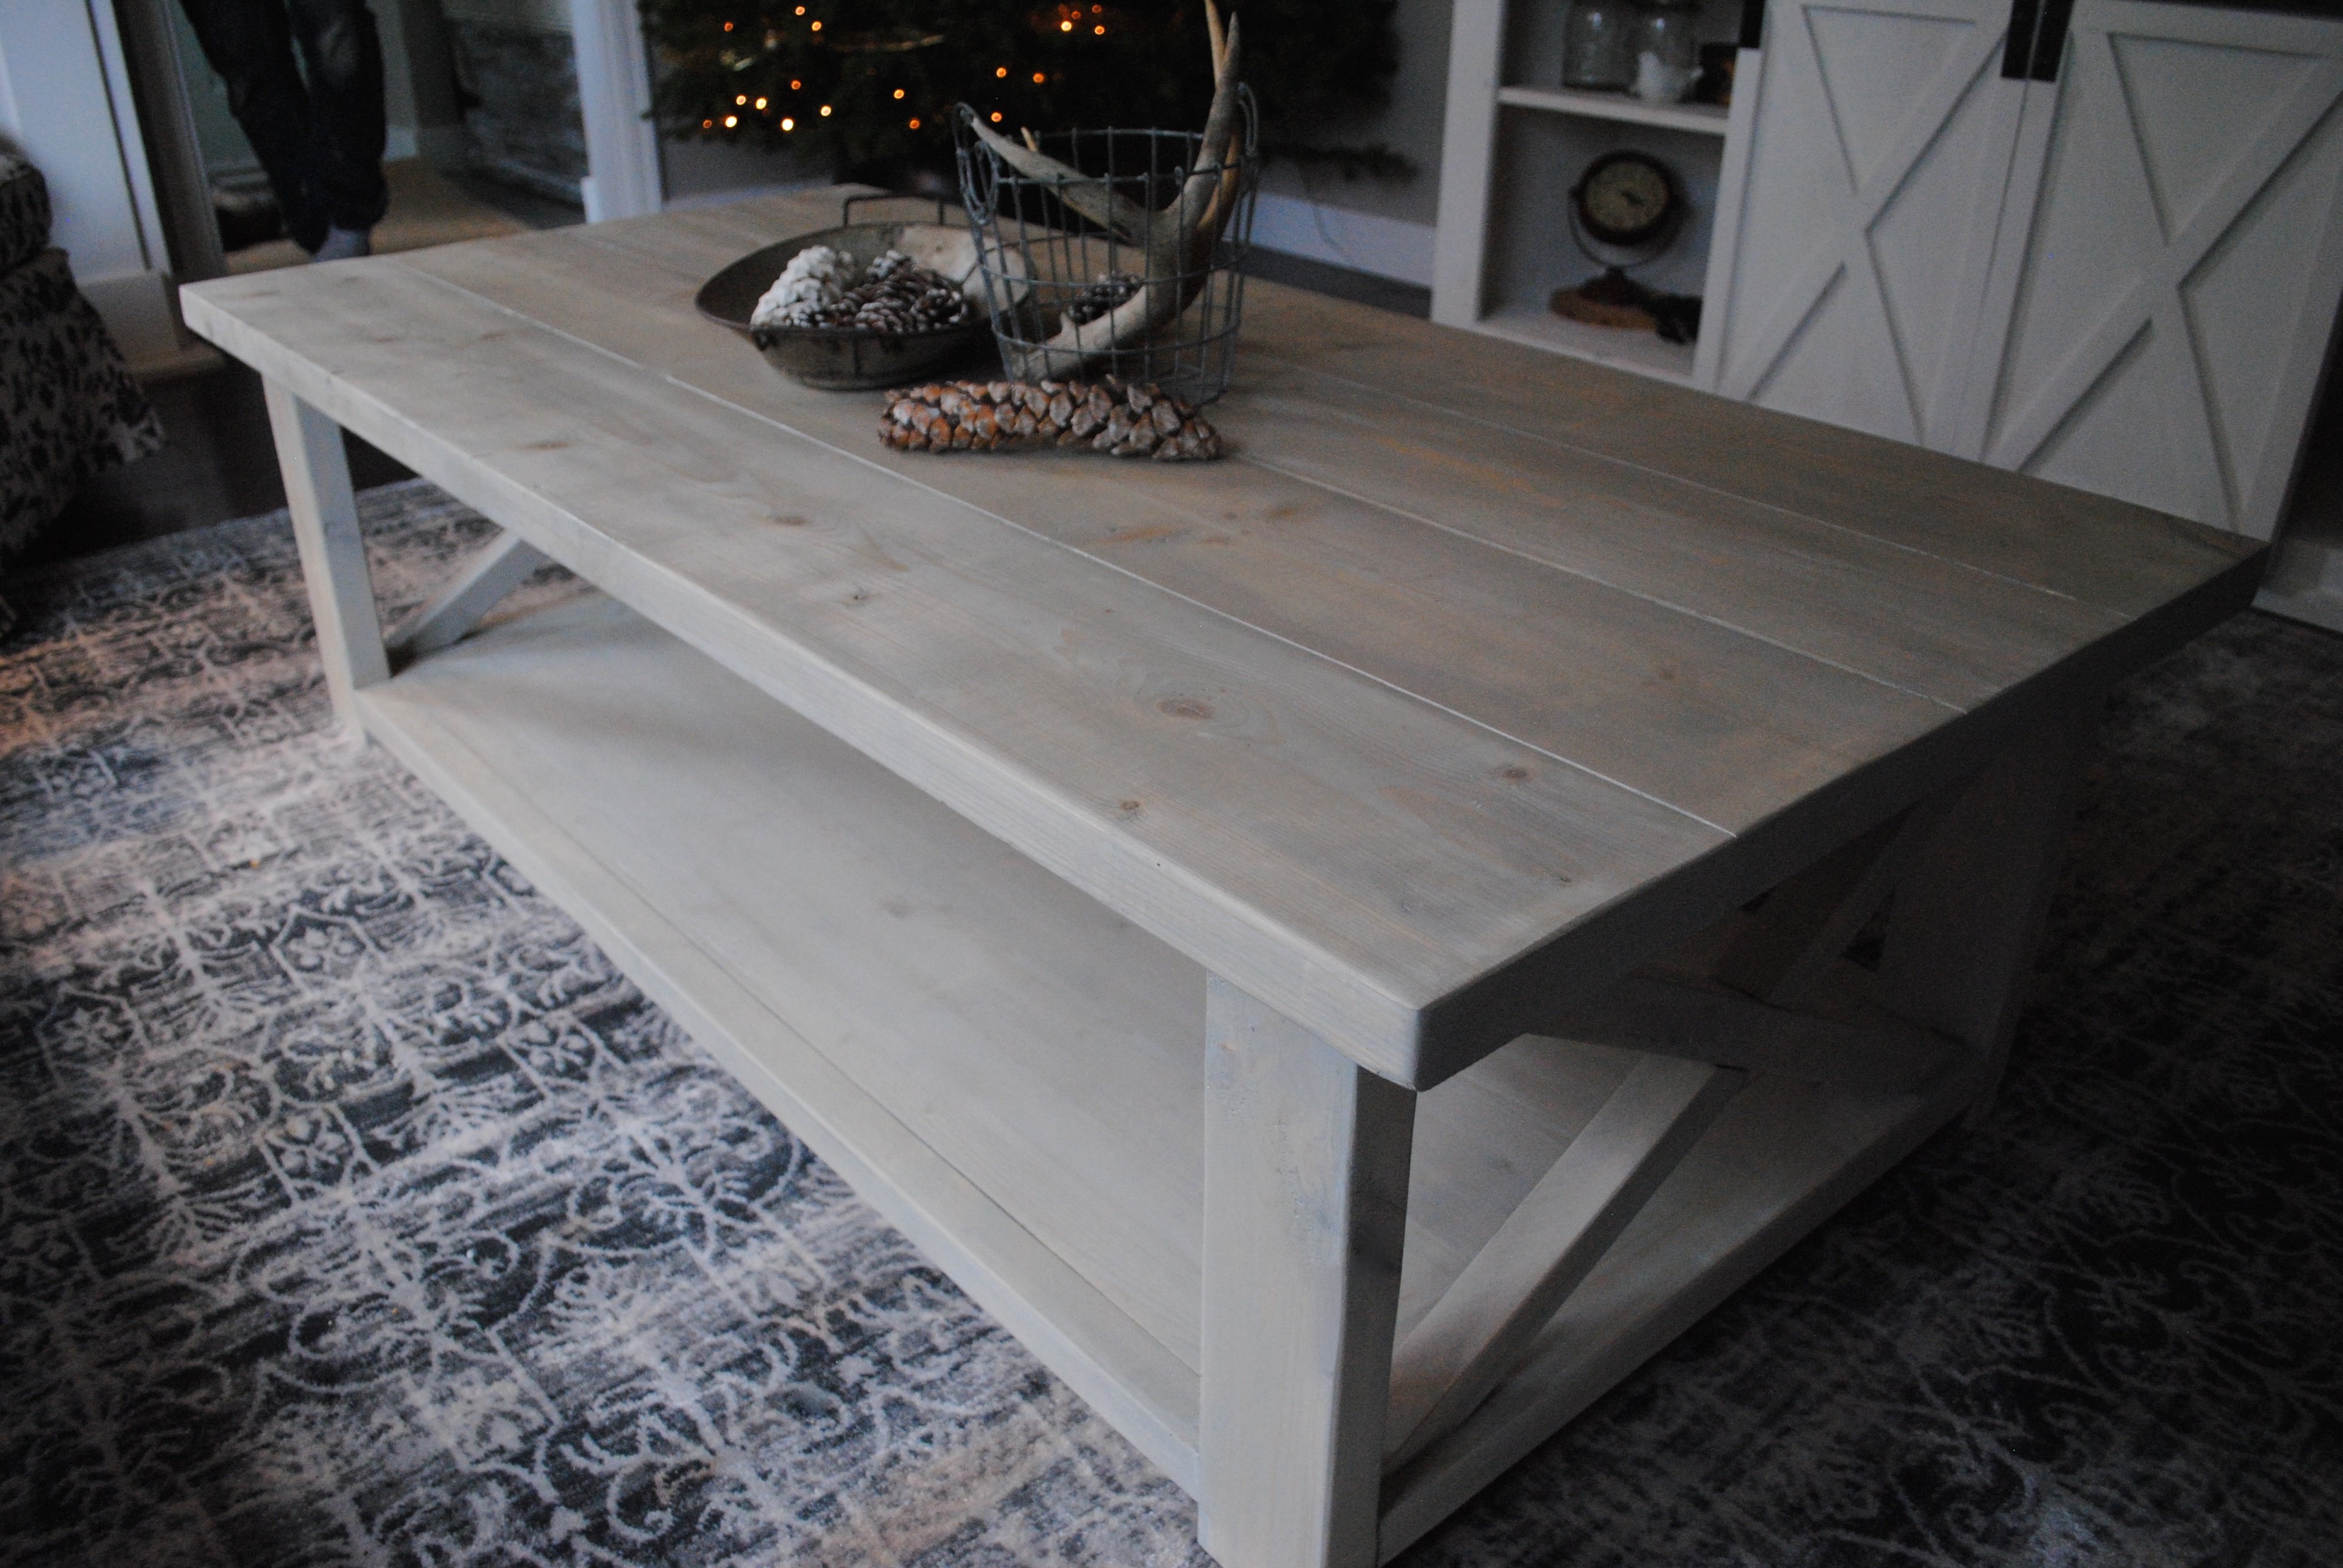
Rustic X-Frame Coffee Table
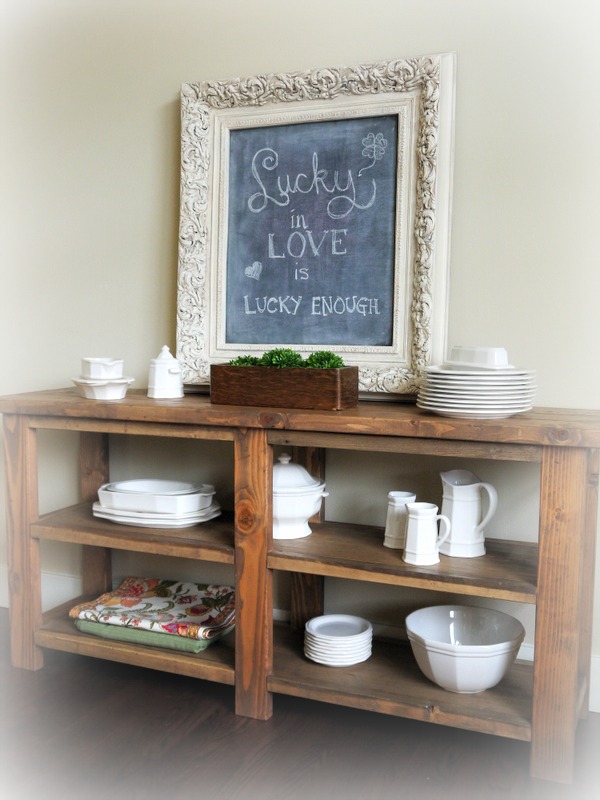
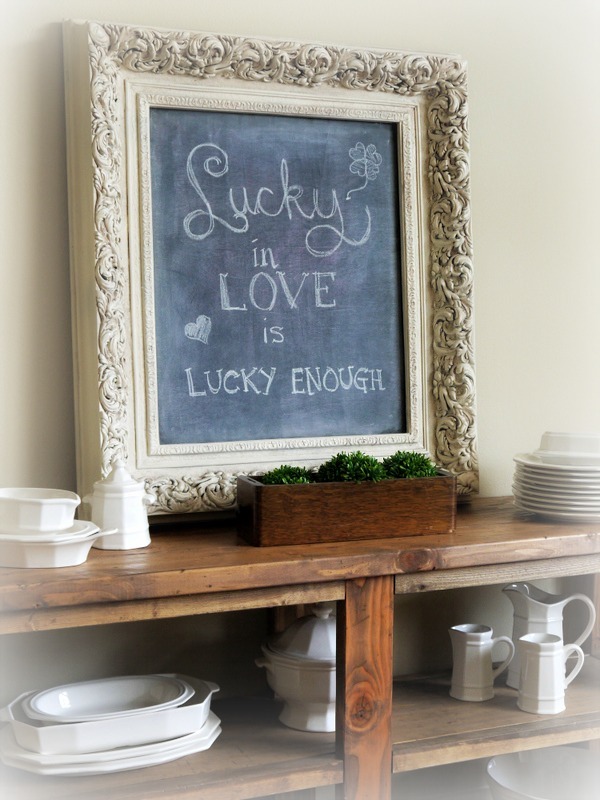
We've built so many of these coffee tables, but this one has got to be my favorite. Isn't the stain so dreamy?
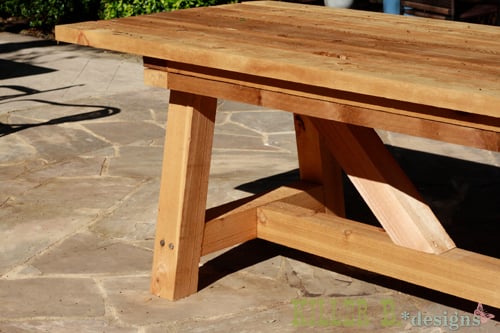
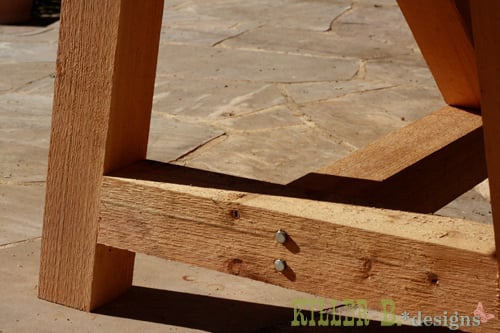
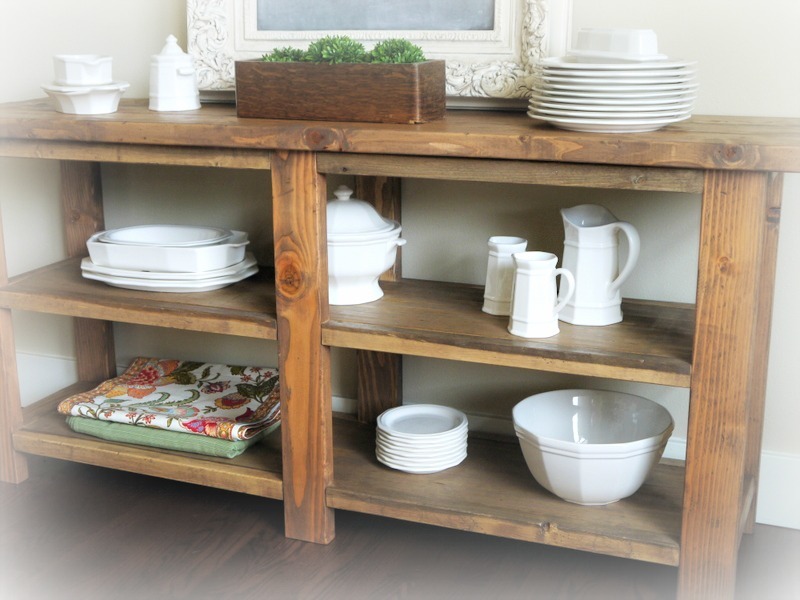
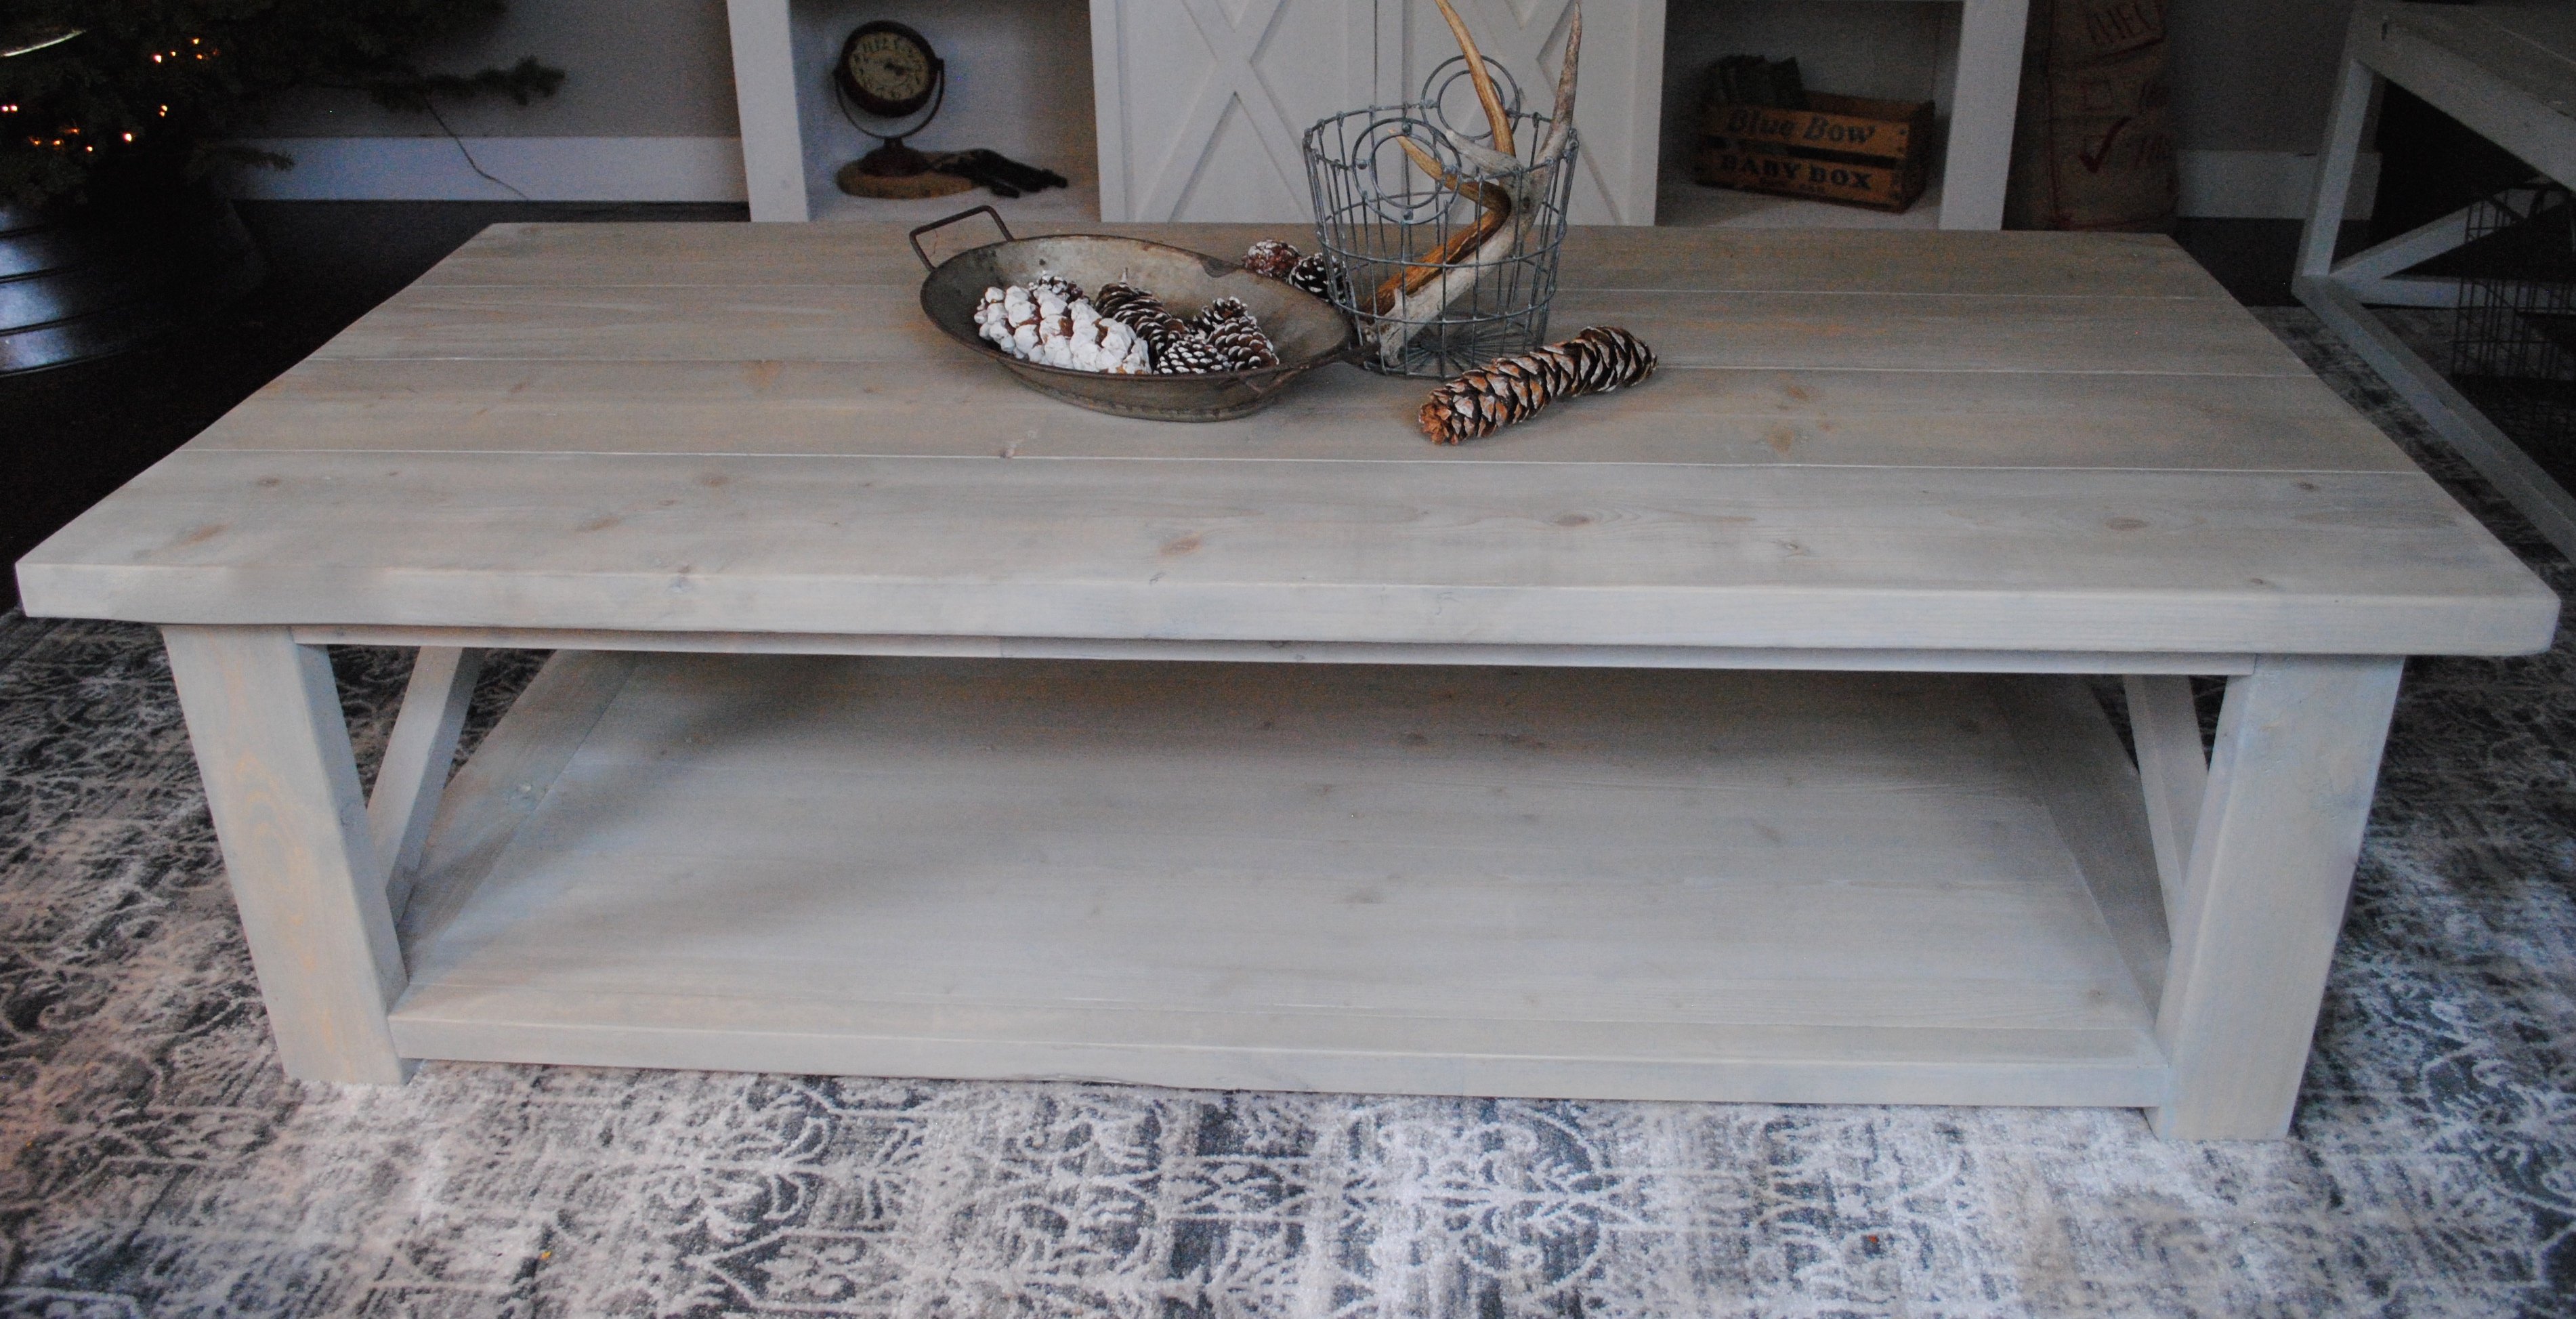
I think the biggest thing about this coffee table is to finish it properly. We like to plane our boards down so it gives it a bit more of a seamless look - but real rustic lovers don't need to do this.
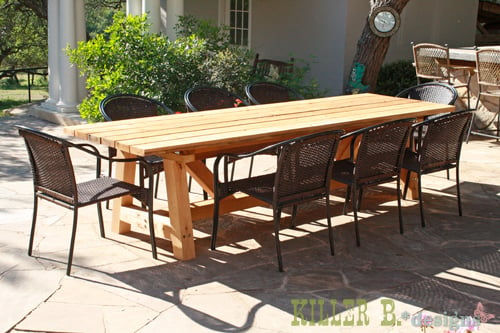
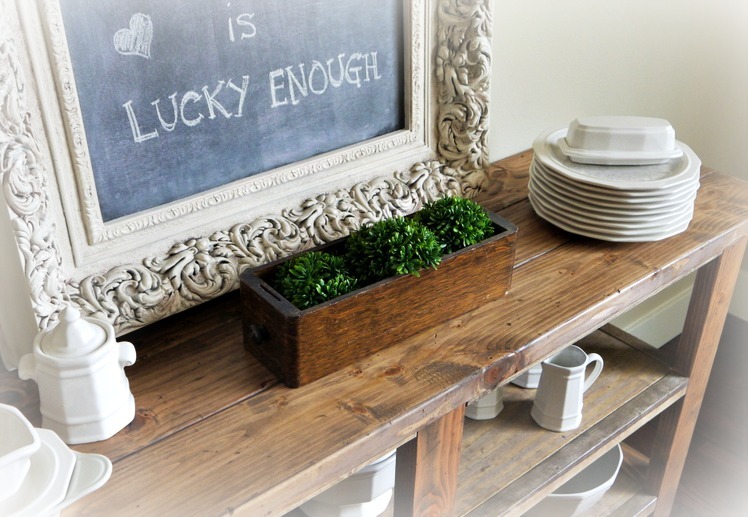
We sanded the coffee table down with 120 grit paper & then stained this table in Sunbleached Oak by Varathane. It's literally the most stunning color. Blends with almost any decor.
Once that was dry, we applied two coats of polyurathane
Built from Plan(s)
Estimated Cost
75.00 CA
Estimated Time Investment
Afternoon Project (3-6 Hours)
Finish Used
We sanded the coffee table down with 120 grit paper & then stained this table in Sunbleached Oak by Varathane. It's literally the most stunning color. Blends with almost any decor.
Once that was dry, we applied two coats of polyurathane
Once that was dry, we applied two coats of polyurathane
Recommended Skill Level
Starter Project