Community Brag Posts

Rustic Buffet Table

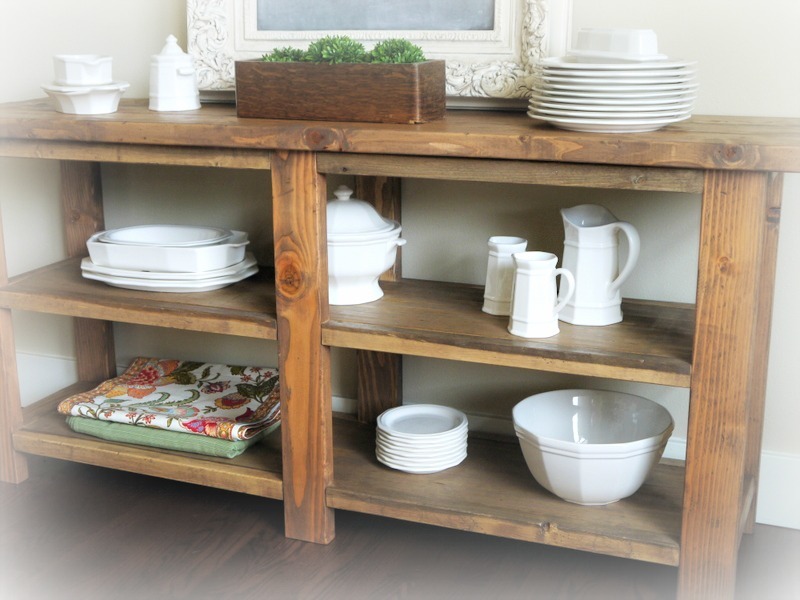
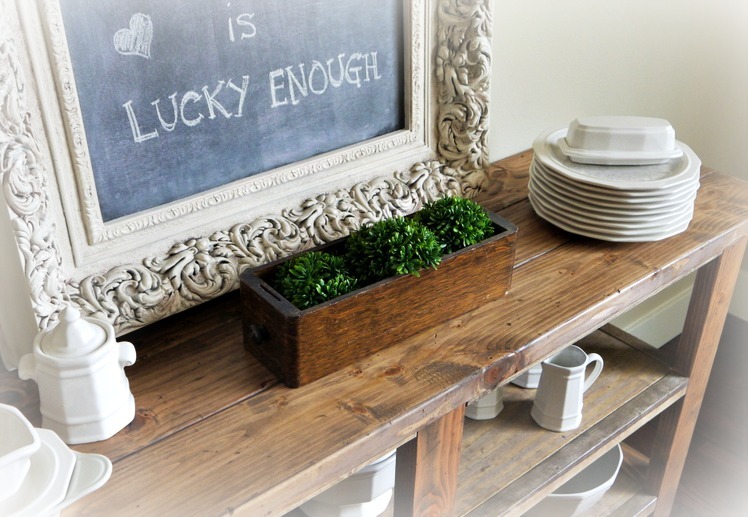
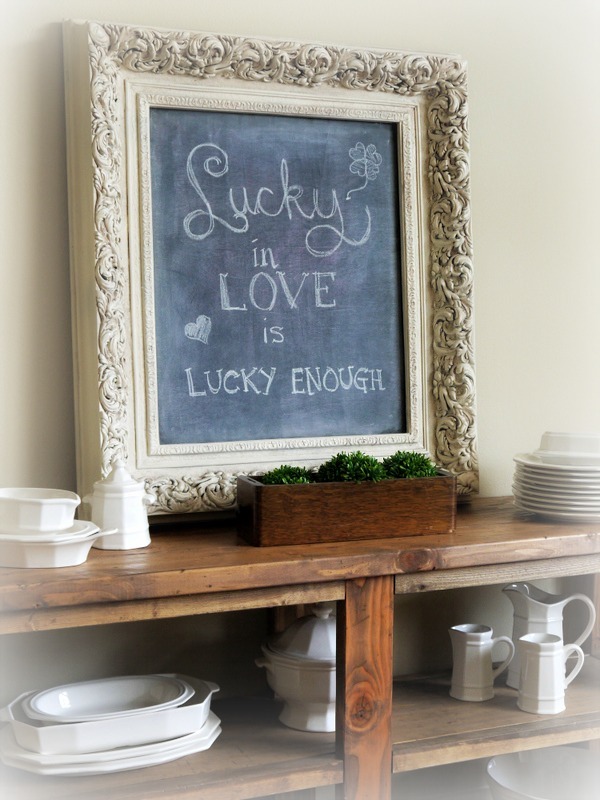
Love how this rustic buffet / console table turned out! It was made as a companion piece for a Farmhouse - style table. Modified to be shorter (64"), and made without the decorative hardware or the "X" detailing from the original plan.

Built from Plan(s)
Estimated Cost
$55
Estimated Time Investment
Day Project (6-9 Hours)
Finish Used
Custom mix of Minwax Weathered Oak + Antique Walnut Stain. Three coats of hand-rubbed polyurethane.
Recommended Skill Level
Beginner

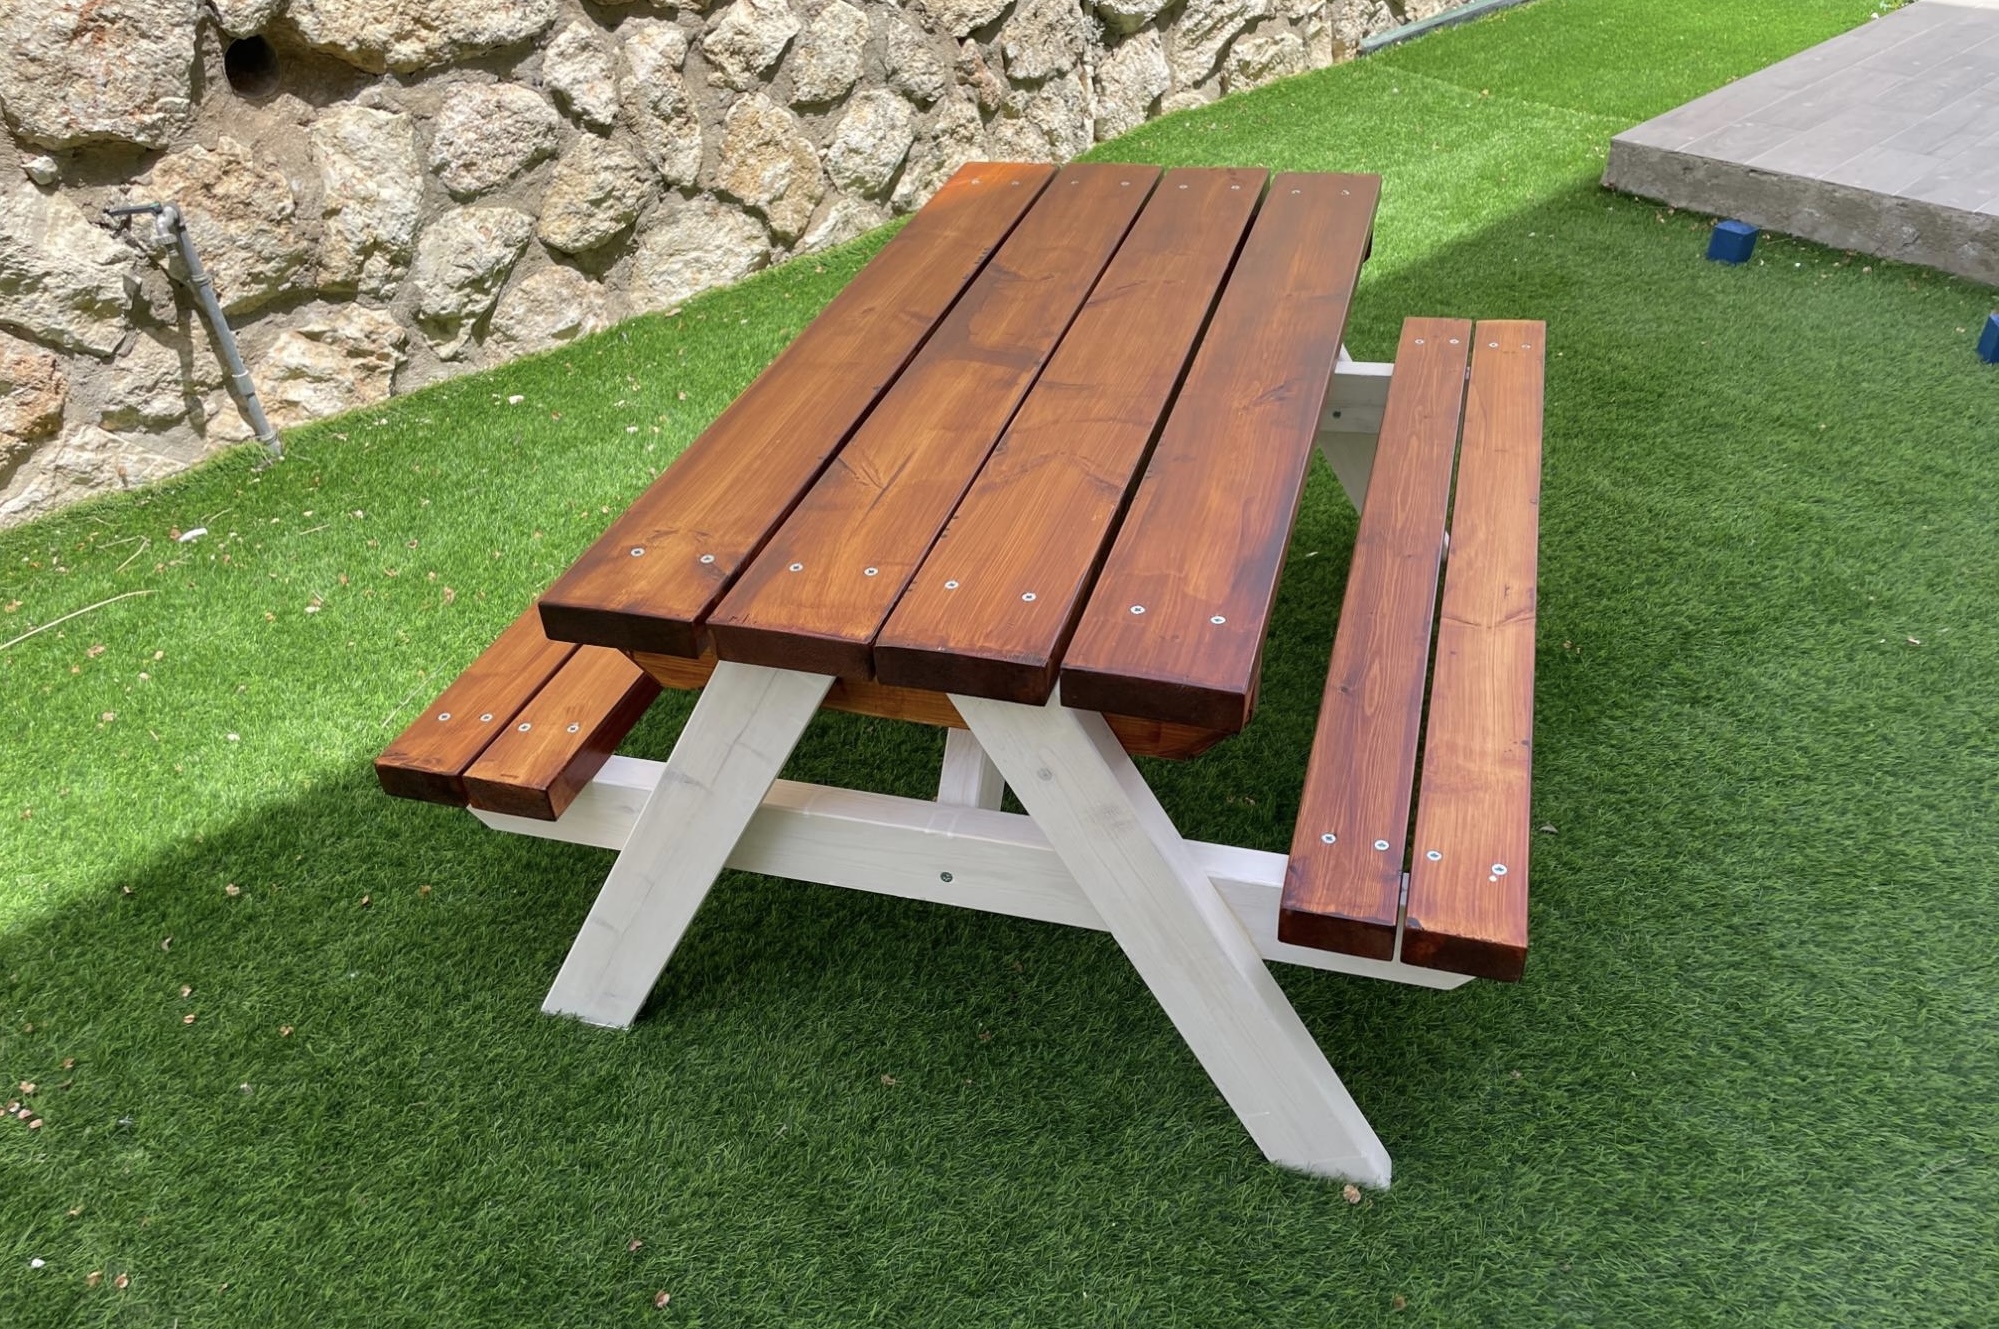
Octagon picnic table

Submitted by Anonymous (not verified) on Wed, 05/24/2017 - 20:34

I love our new table. 

Built from Plan(s)
Estimated Cost
$150
Estimated Time Investment
Week Long Project (20 Hours or More)
Finish Used
Thompson deck stain (cedar) and black Laytex paint.

Recommended Skill Level
Intermediate
Seasonal And Holiday

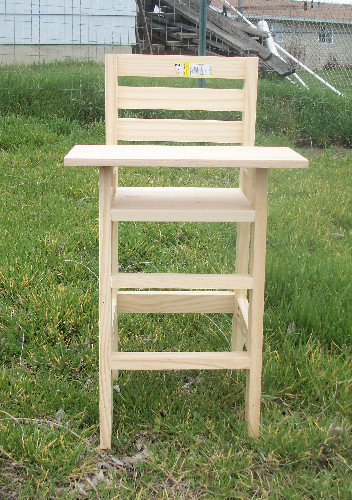
Cutest Baby Doll High Chair

Submitted by tracysmith on Sun, 03/27/2011 - 15:29

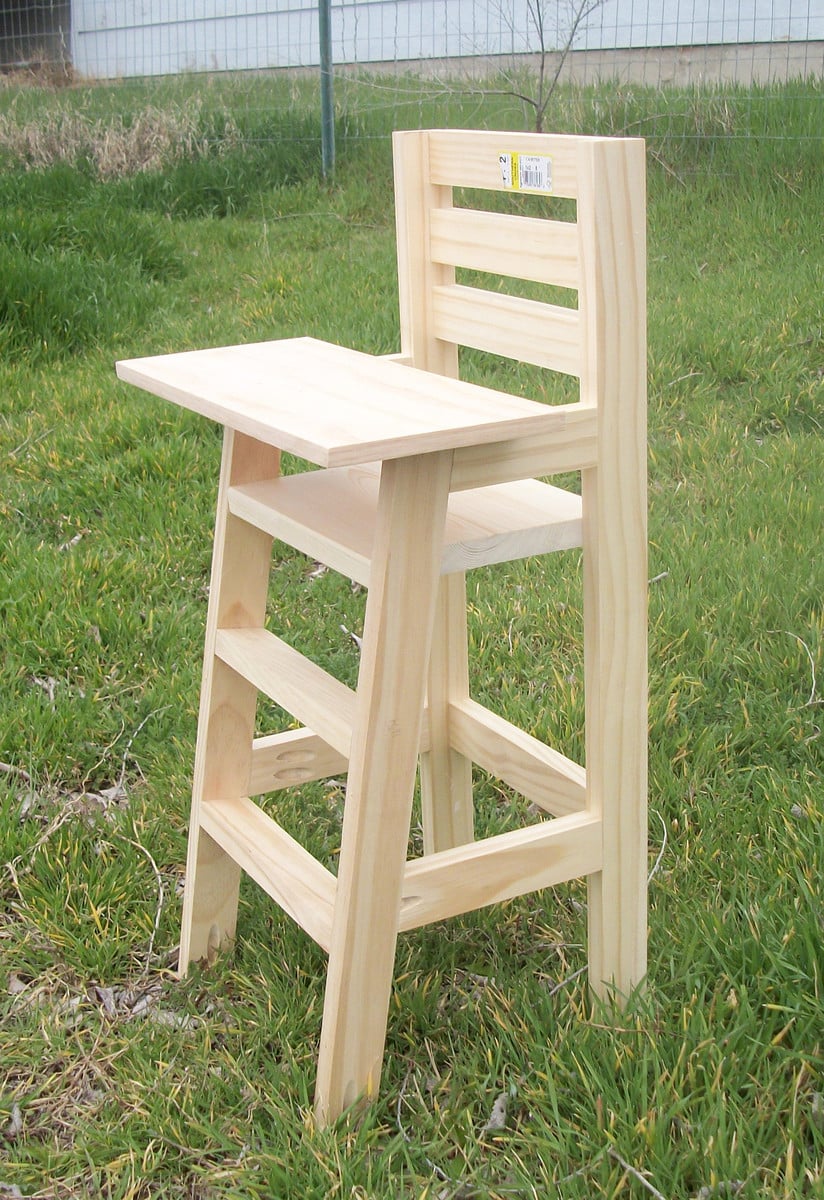
My neighbors grand-daughter is about to turn 3 and I thought this would make a great present for her.. plus, when she saw it online while visiting me (I was checking the website as usual), she said "Oh, I NEED one of those!".  I laughed and then that night went out and checked my scrap pile to see if I had everything I needed to build it.

I only needed one 8' piece of 1x2 to complete it.. .everything else I had, so great!
Estimated Cost
About $10 with paint.
Estimated Time Investment
An Hour or Two (0-2 Hours)
Finish Used
I have yet to paint this little project, but it will be painted in a gloss lavender purple so it's easy to clean.
Recommended Skill Level
Starter Project

Comments

Small raised planter stand

Submitted by Anonymous (not verified) on Fri, 06/10/2022 - 17:04

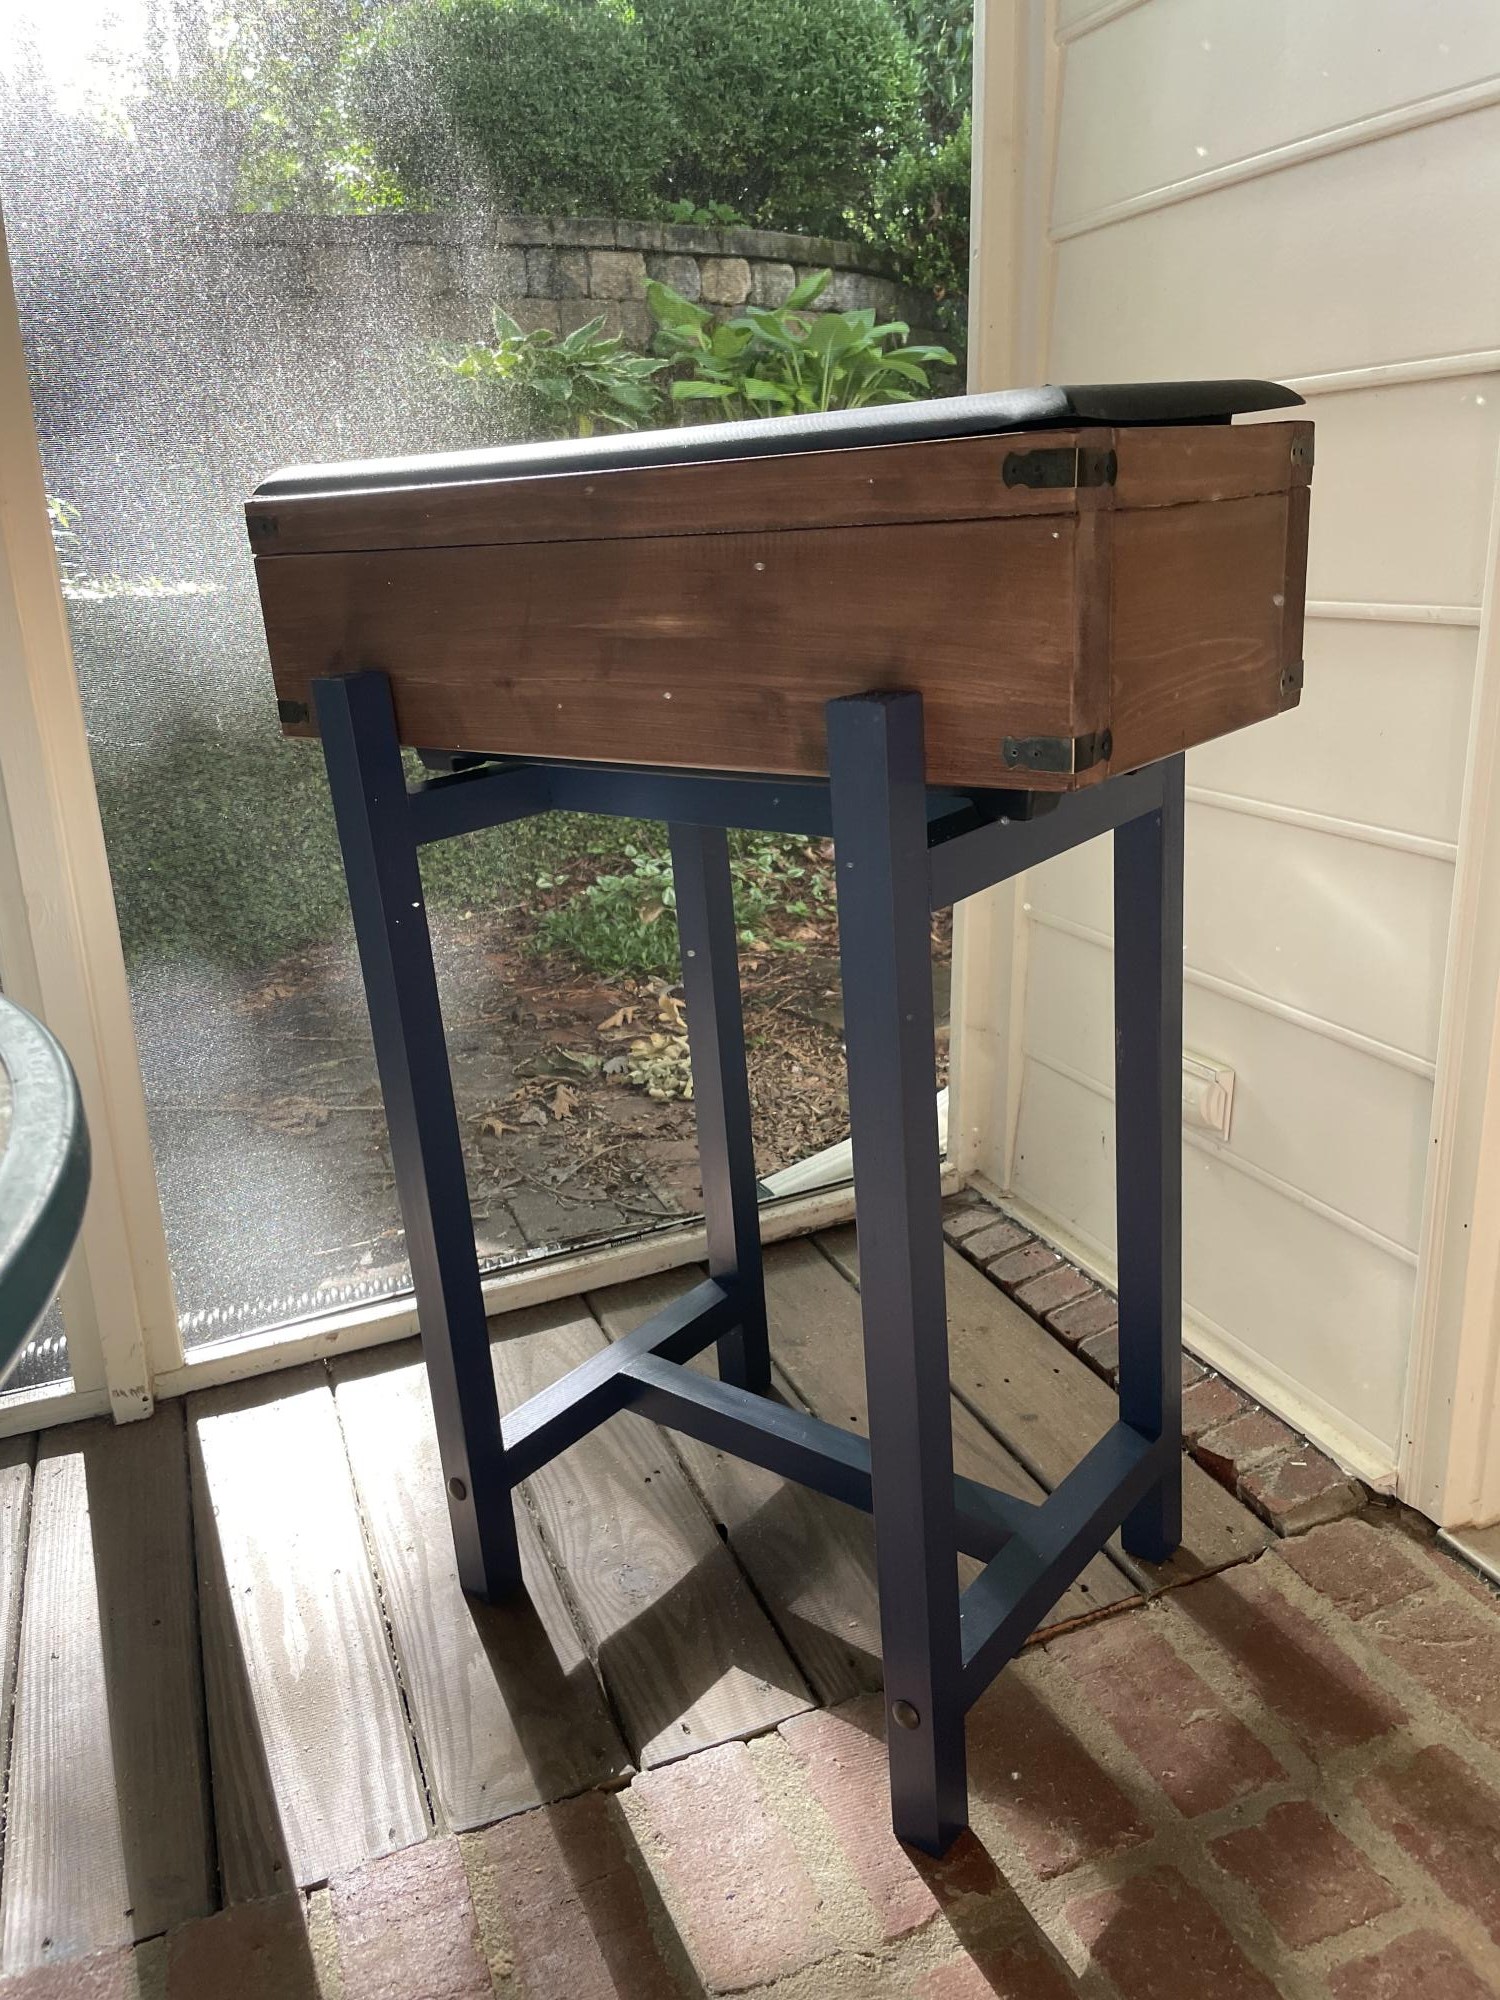
Plan to use as a cooler :) adjusted dimensions to fit a bigger planter box and added some decorative details. It came out great!

Built from Plan(s)

Comments

Slatted Sofa Table

Submitted by raybwright on Sat, 02/13/2016 - 09:36

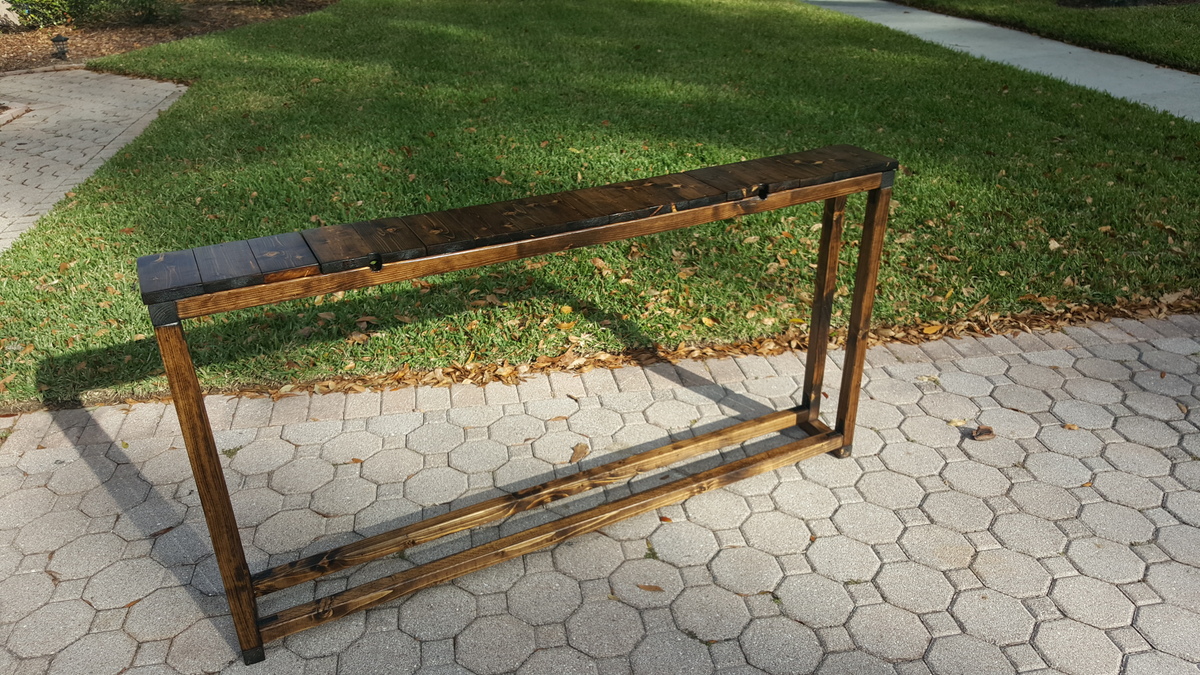
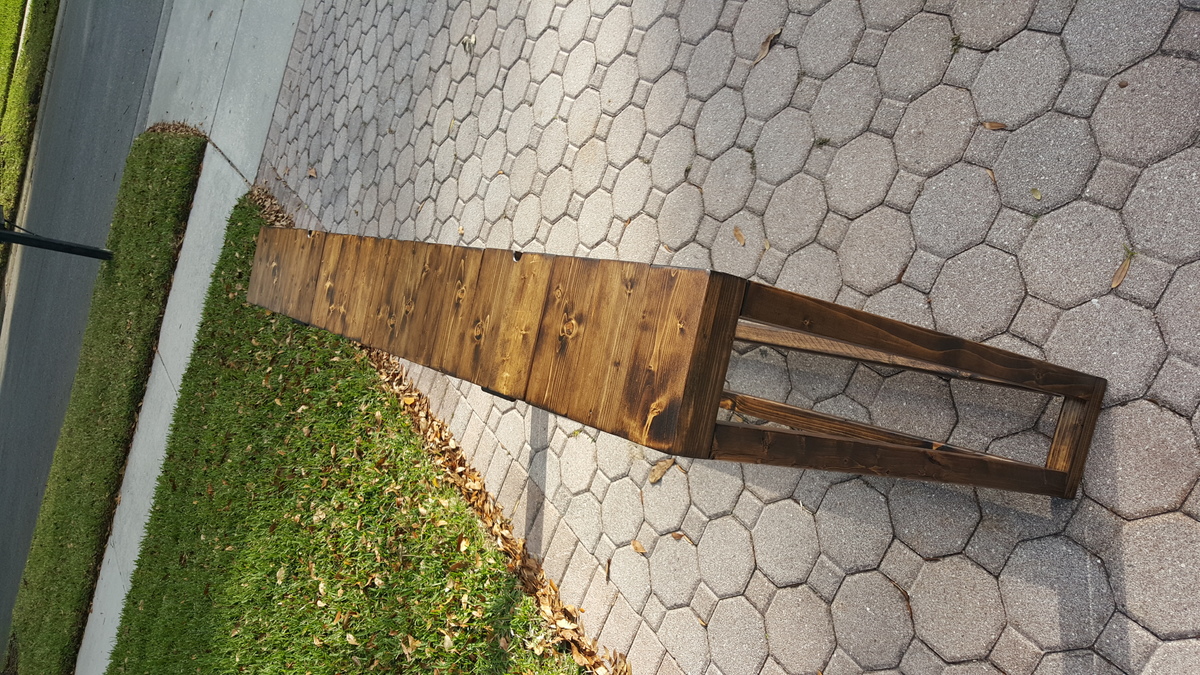
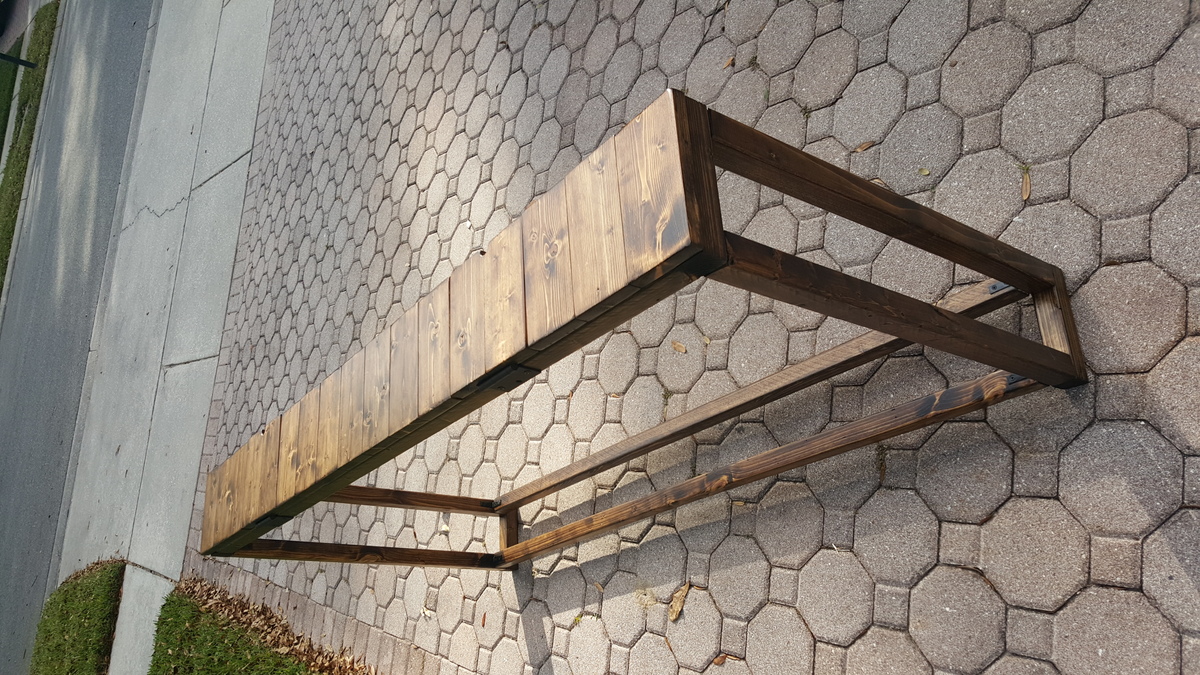
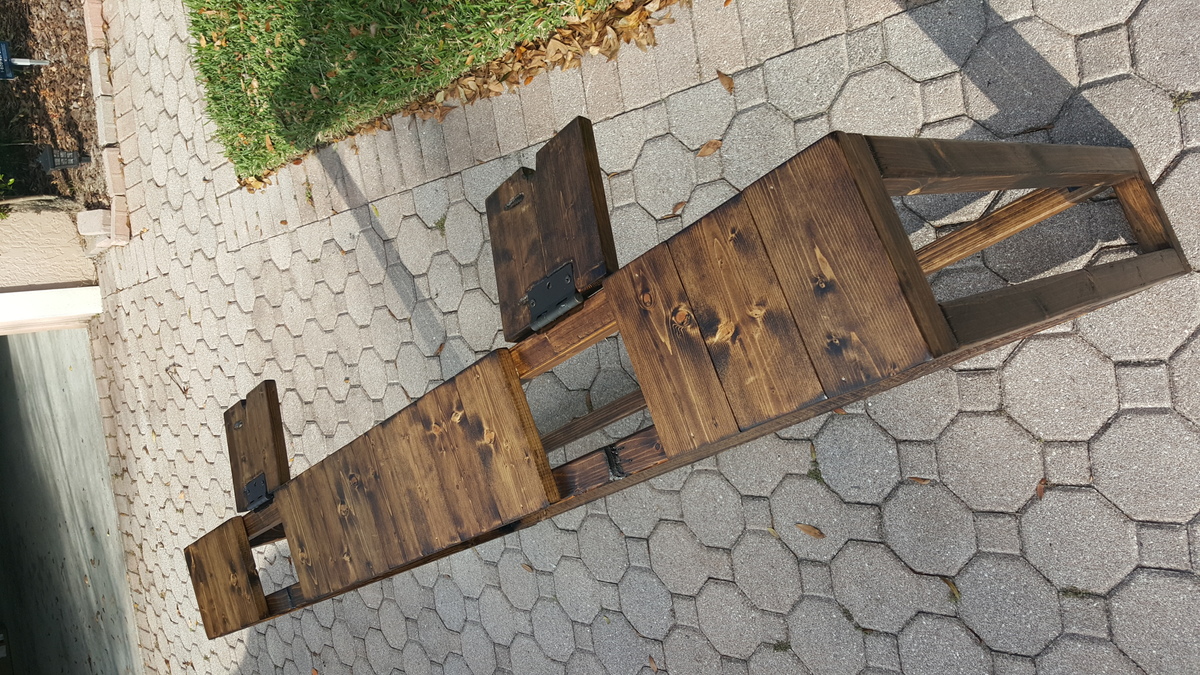
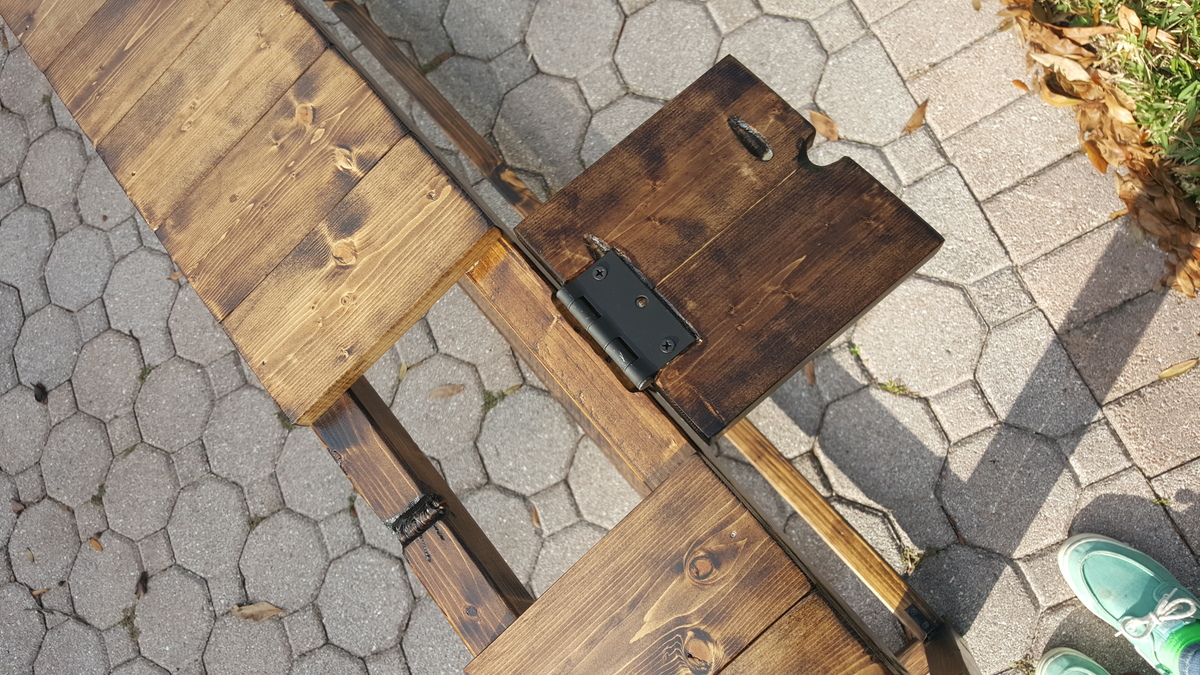
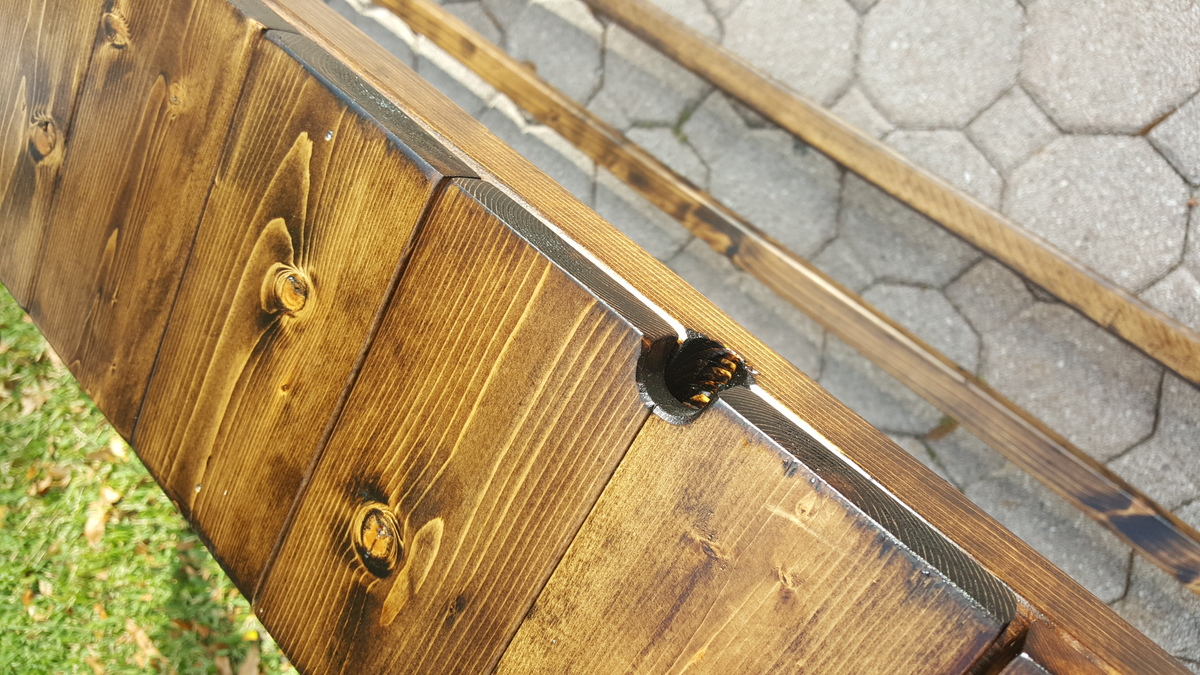
I based this design of the simple Sofa Table by Jenna Sue. Instead of a 2x8 across the top, I opted to use 1x4s side by side. This slatted look matched some of the other items in the house and to allowed me to create two hinged sections. These sections allow for easy access to wall plugs and include small notch for the cables to come through.

Estimated Cost
$35
Estimated Time Investment
Weekend Project (10-20 Hours)
Finish Used
Minwax Wodd Finish Dark Walnut Stain with Minwax Clear Satin Polyeurethane
Recommended Skill Level
Beginner

Kids Picnic Table

Submitted by bkb on Thu, 05/25/2023 - 05:27

I made the picnic table for my grandchildren. The plans were great and so easy to follow. The cuts, measurement are perfect. Table is sturdy and came out balanced! I used water based paint. Thanks for the plans!

Built from Plan(s)
Seasonal And Holiday

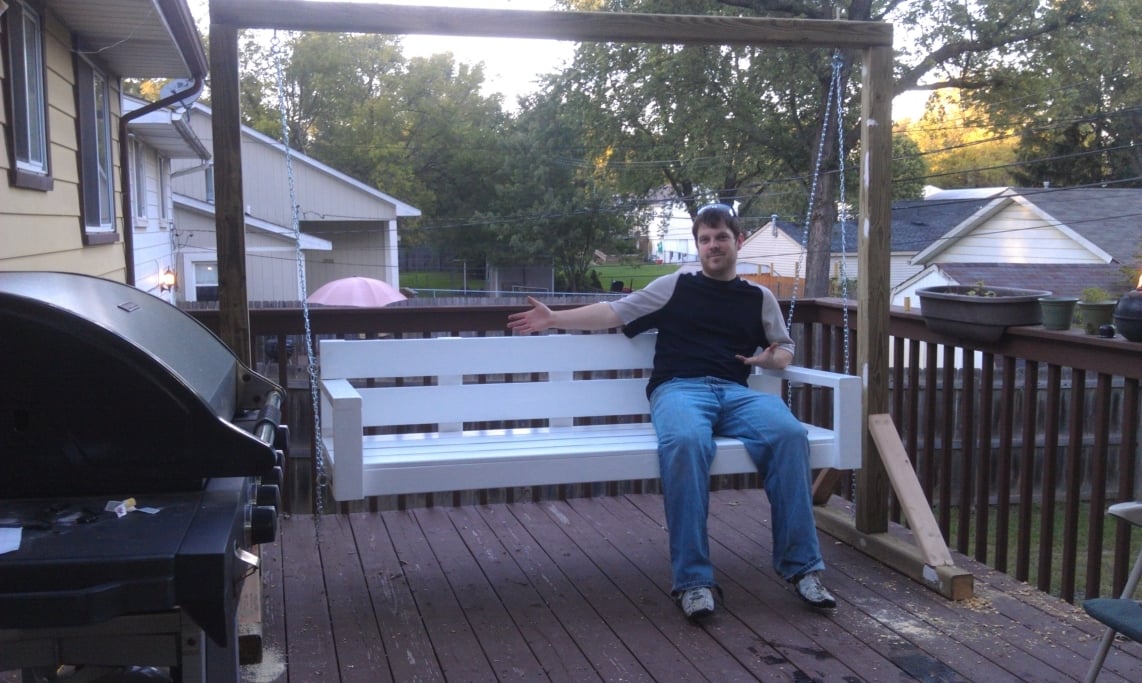
Large Modern Porch Swing + Ghetto Stand

Submitted by mrhelton on Mon, 09/10/2012 - 17:04

Made the swing then just kinda came up with my own frame.

Built from Plan(s)
Estimated Cost
$110
Estimated Time Investment
Weekend Project (10-20 Hours)
Finish Used
Just some semi gloss outdoor paint. Going to paint the frame in a few minutes.
Recommended Skill Level
Beginner

Comments

mikejillnelson

Tue, 09/11/2012 - 05:04

I have been considering making this bench for a friend but I wonder how comfortable it is...is it comfortable? Does it require a cushion? Is the back high enough to be comfortable leaning back in it for long periods? Also - how long did you wait to paint your pressure treated wood? I just recently learned you have to allow pressure treated wood dry out before painting...no one seems to tell you how long you have to wait though. Thanks for any help/opinions you share.

mrhelton

Wed, 09/12/2012 - 19:38

Honestly, it's not very comfortable. I think the seat part is a little too long, and the back is a little too short. We're going to put a beefy cushion on the back, and I think that's going to help because it will push us forward a little bit. It's not bad to sit in, but I definitely think it could be tweaked.

I let the wood dry out for 4 days (but I cut and assembled it the day I bought the wood). I'm not sure if that was long enough of not, but I was getting impatient, and, like you, couldn't find any real answers on drying time. It wasn't really that wet to begin, though. Hope that helps!

tracysmith

Thu, 09/13/2012 - 00:04

I thought my kids and I were the only ones who used "ghetto" as a way to describe things... but I have to say that your frame looks great, it serves its purpose so I have to respectfully disagree with you, it doesn't look anything like "ghetto" :-)

Joe (not verified)

Tue, 01/22/2013 - 10:02

Hey, can you post the dimensions of your frame? its exactly what I'm looking for. Do you have it screwed down to the deck? will it tip over?

Joe (not verified)

Tue, 01/22/2013 - 11:27

Hey, can you post the dimensions of your frame? its exactly what I'm looking for. Do you have it screwed down to the deck? will it tip over?

Laundry Station

Submitted by Anonymous (not verified) on Mon, 02/27/2017 - 10:03
We followed these plans, but instead of building two cabinets, we combined them with one side in the middle. We also used pine planks on top. The sides are painted with chalk paint, and the top is finished in dark wax. 
Built from Plan(s)
Estimated Cost
$200
Estimated Time Investment
Afternoon Project (3-6 Hours)
Recommended Skill Level
Beginner

Comments

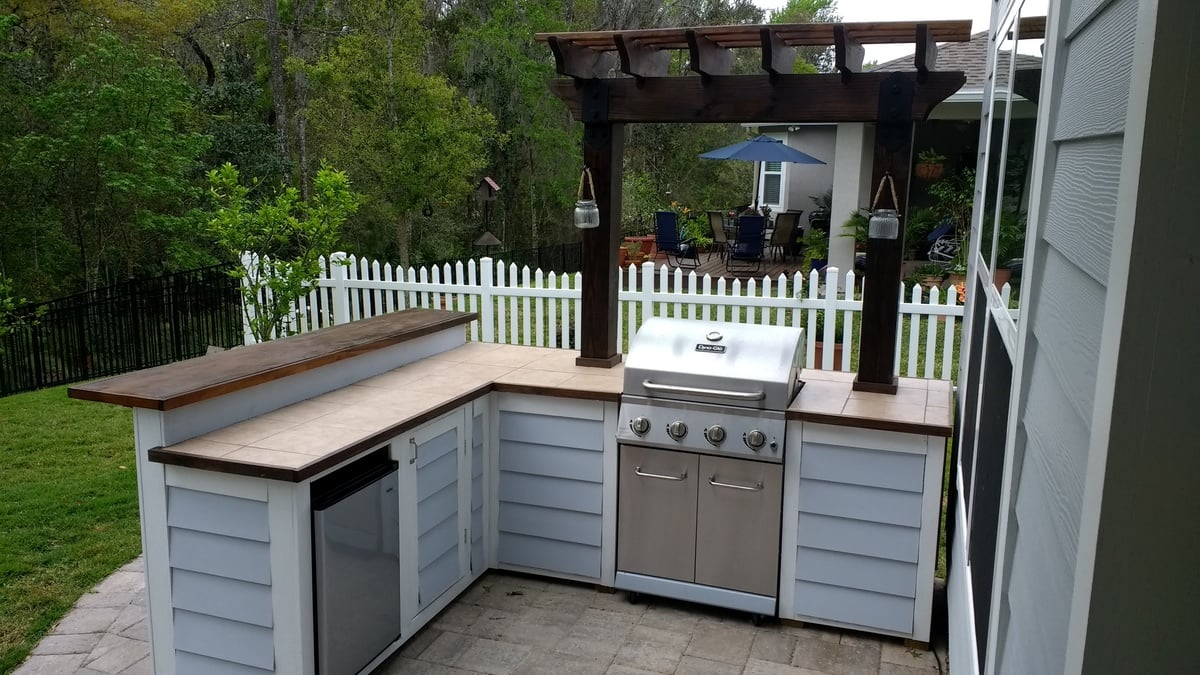
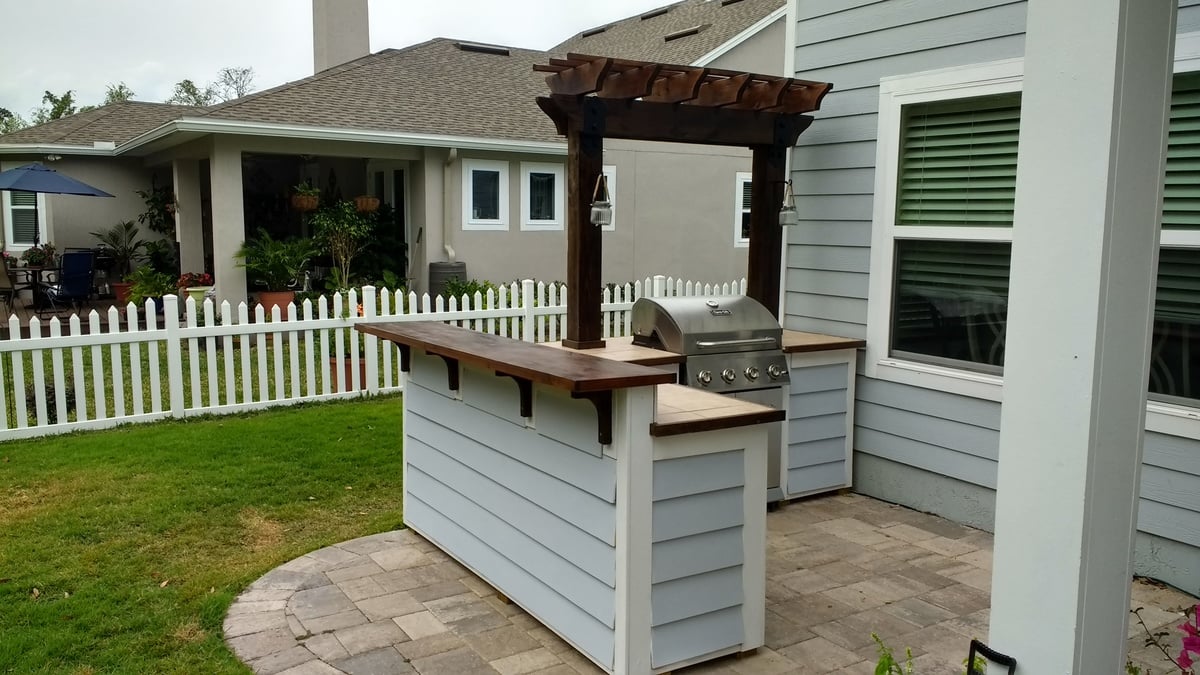
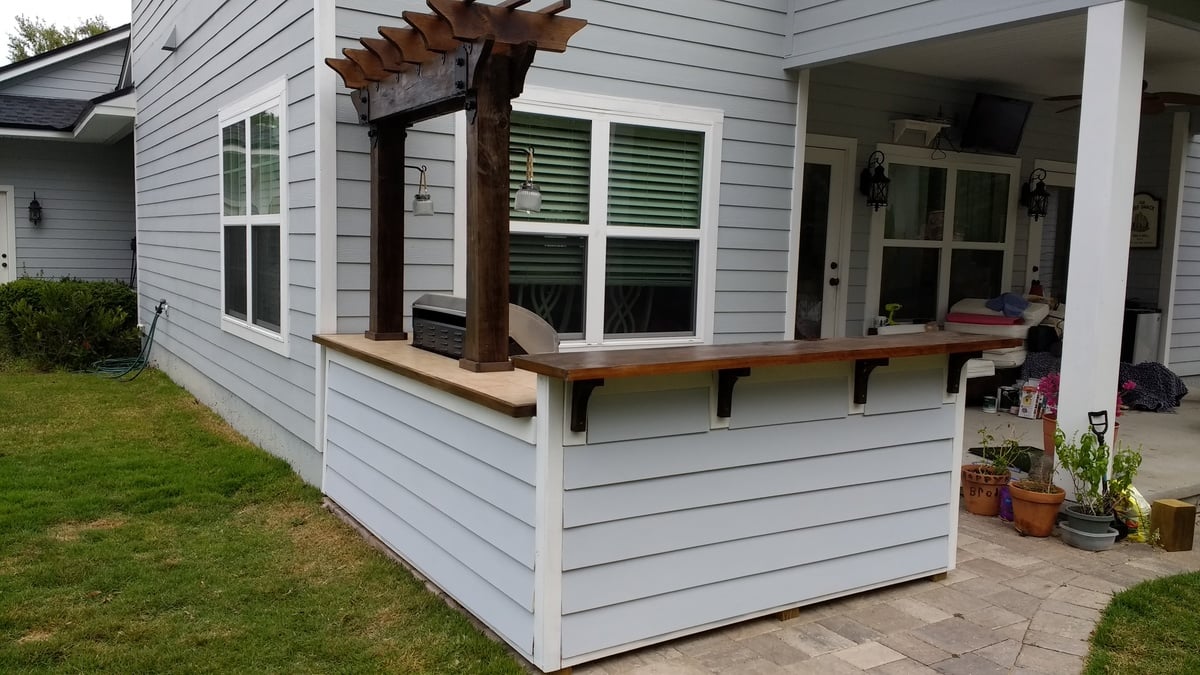
Outdoor bar grill surround with 2 post pergola

I wanted to build an L shaped outdoor bar with a 2 post pergola over the grill.  I couldn't find any plans online that would fit the space I had, so I decided to build it myself with custom dimensions.  The top bar is approx. 7'3" across, and 15" wide, while the distance from the right edge (next to the house) to the end of the bar is approx. 9'1".  

I framed it with PT lumber and the 2 pergola posts are sitting on top of the pavers and supported internally within some of the framing studs.  Since the pavers sit on top of concrete, I didn't feel the need to dig up the existing pavers and achor them in the ground.  

I used hardiboard for the exterior and tiled the lower section of the bar.

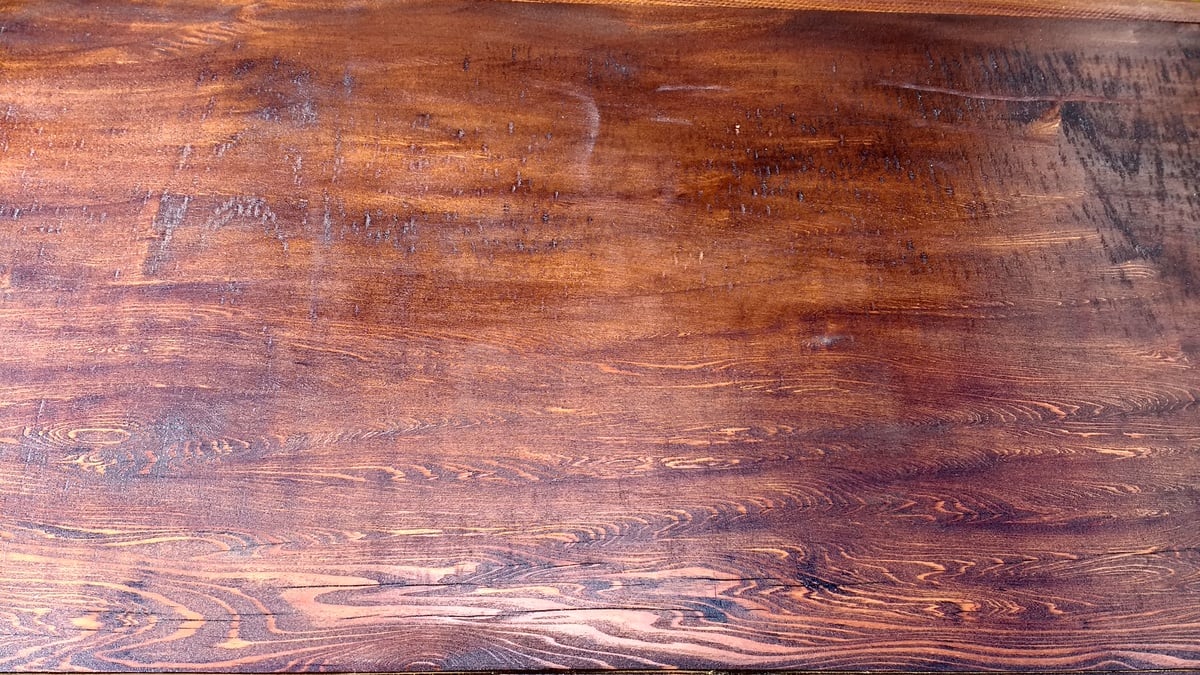
For the actual high bar top, I wanted to do something unique, and found a 900 year old scrap slab of Cypress at a local lumber yard.  One side was smooth, but underneath was gouged out from different saw cuts and very uneven.  I screwed a piece of 3/4" PT plywood underneath and trimmed it with 1-1/2" Cypress.  I stained the whole thing with a dark honey colored stain and put a generous amount of poly on it once it was dry.  There are a few cracks and nicks on it, but once it was stained, it looked awesome.  

Estimated Cost
I lost track after a while, but I would say $600-700.
Estimated Time Investment
Week Long Project (20 Hours or More)
Finish Used
Minwax honey colored stain for the bar top. Minwax provincial stain for the pergola and minwax dark walnut stain for the oak trim.
Recommended Skill Level
Intermediate

Comments

My wooden magazine files

Submitted by NeoMoses on Wed, 02/13/2013 - 20:17

These are my wooden magazine files made after looking at Ana's plans. I chose to paint these to match my bathroom.

See more of my build process at http://www.bryanpryor.com/2013/01/26/magazine-holders/

Built from Plan(s)
Estimated Cost
$2
Estimated Time Investment
An Hour or Two (0-2 Hours)
Finish Used
Semi-Gloss Latex Interior Paint (ColorPlace) brushed on by hand. Two coats of paint for full coverage.
Recommended Skill Level
Starter Project

Comments

Modified for double hanging

Submitted by Anonymous (not verified) on Tue, 04/04/2017 - 14:50

I used 8 ft precut boards for shelves and modified the design so there was enough room for two racks on each side. In addition I screwed 1x4 to the studs to secure the shelving to the wall.  I have a 5 year old climber so it was best to be proactive and secure it. It was easy project took about 4 hours to complete.  I plan to paint the vertical boards a medium gray and stain the shelves a dark coffee color. 

Built from Plan(s)
Estimated Cost
$350
Estimated Time Investment
Afternoon Project (3-6 Hours)
Recommended Skill Level
Beginner

Lawnmower Shed

Submitted by PipesTX on Wed, 01/07/2015 - 06:19

Modified the design to allow me to roll lawnmower directly in the end. Fun project.

Built from Plan(s)
Recommended Skill Level
Intermediate

Comments

A lot of work but worth it!

Submitted by Anonymous (not verified) on Mon, 04/10/2017 - 18:09

A few things that would be helpful - power tools! Nail gun, drill and table/miter saw would all be helpful. I also would stain the pieces beforehand and touch up after. But overall, SO pleased with the final result.

Estimated Cost
$100 for 2 single loungers.
Estimated Time Investment
Weekend Project (10-20 Hours)
Finish Used
Deck stain
Recommended Skill Level
Intermediate

Ambrosia Maple Box Frame Coffee Table with Lift Top

Submitted by Kimiark on Mon, 04/19/2021 - 14:41

Wow, building this table was more than I bargained for, but all the difficulties were my own fault. For starters, although the wood is beautiful (wormy ambrosia maple) the piece I chose to work with had a large knot hole that needed filling with an epoxy pour. It looks pretty good if I do say so myself (it's probably hard to see in this photo). Second, I didn't count on the hinges being so long and my wood came up about 3/4 inch too short for them. Had to scour the internet for some that were not so long. They ended up being a bit of trouble to install, but all's well. I used my router to cut a cove for finger grips which did make it easier to lift the top. I also made the top sides bigger that the original 2 x 2 (2 x 5 maybe) for weight and stability. I had extra wood so I added a bottom shelf as well. The finish is several coats of Varathane semi gloss polyurethane. I really like how it turned out!

Estimated Cost
$200
Estimated Time Investment
Week Long Project (20 Hours or More)
Finish Used
varathane semi gloss polyurethane
Recommended Skill Level
Intermediate

Comments

Triple Bunk Beds

Submitted by hughes3627 on Tue, 03/03/2015 - 07:22

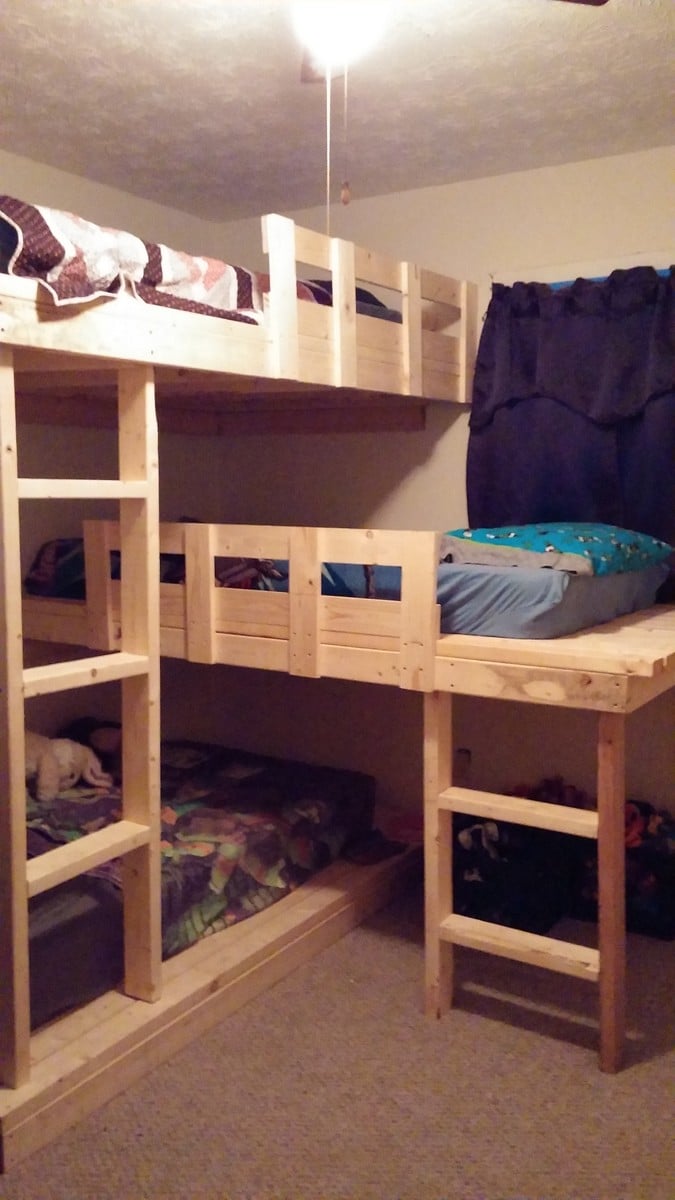
We needed a space saving alternative to individual twin beds...these were very simple to make. Our boys love them! We kept the same deminsions as the original plans and ended up having a little extra room on each bed for storage as well as toy storage under the second bed. Worked out very nicely and left space for the next project...a study station :)

Built from Plan(s)
Estimated Cost
About $230
Estimated Time Investment
Weekend Project (10-20 Hours)
Finish Used
Natural
Recommended Skill Level
Beginner

Comments

The Coffee Table of Fun

Submitted by QueenMahin on Mon, 03/21/2011 - 03:59

Hello Fellow Ana White Fans!

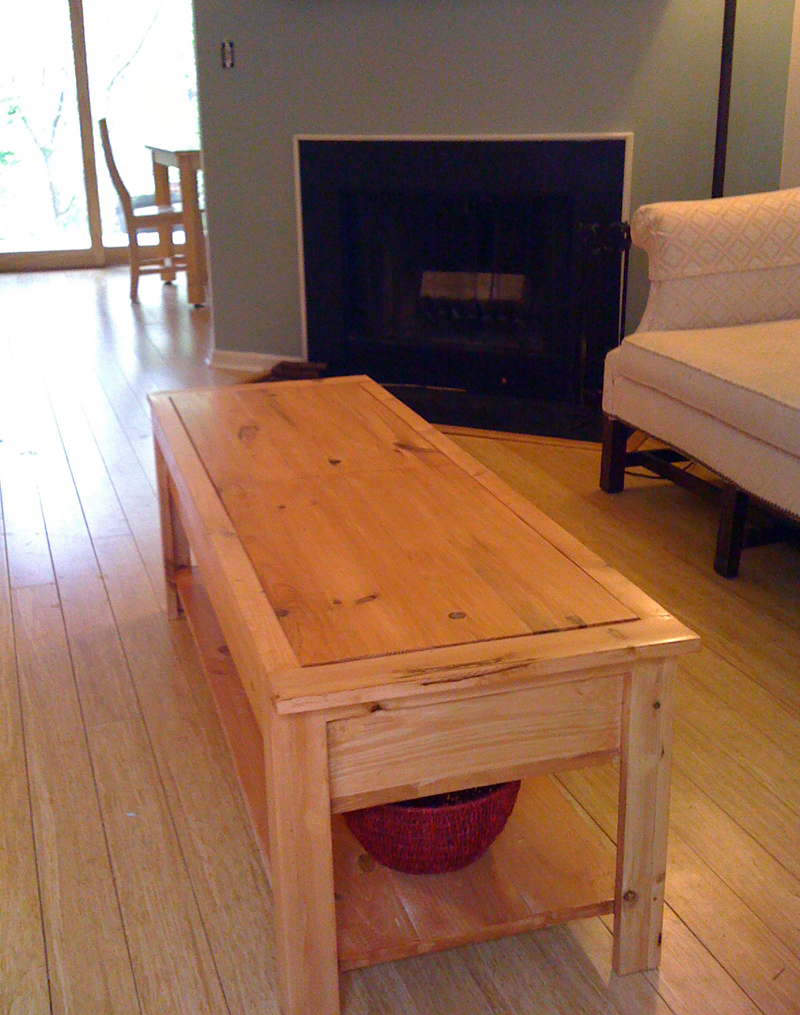
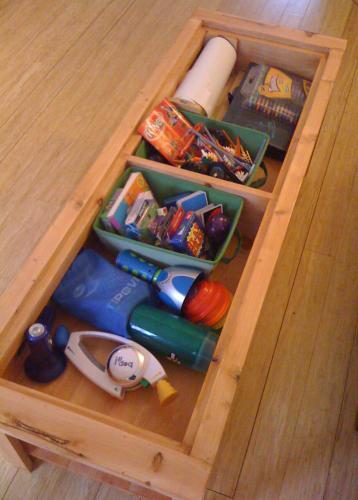
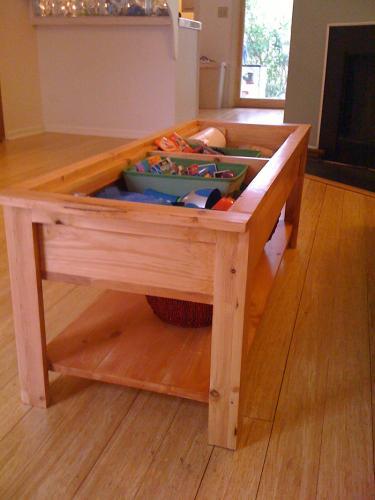
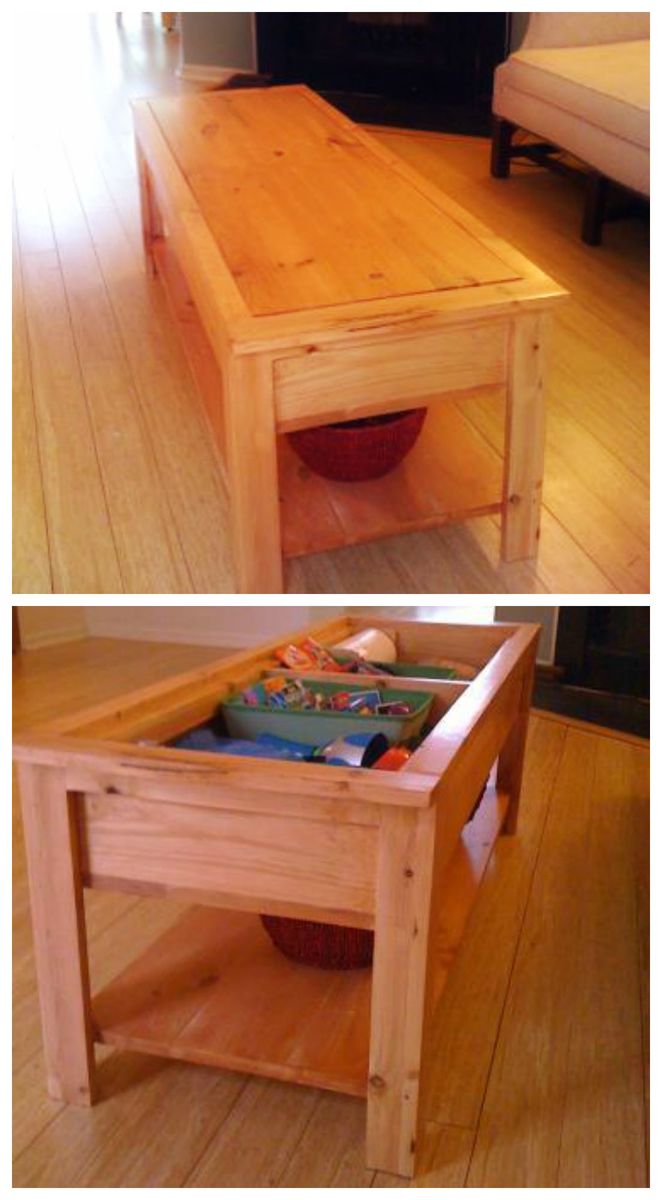
This is from Ana White's lego coffee table plan, but my daughter is not a huge fan of legos, so we’re just calling this project the Coffee Table of Fun!  Indeed it was a fun build.  This project gave me the excuse I was looking for to buy a kreg jig.  Certainly a kreg jig was not required, as the plan calls for a plywood top and bottom, but Ana revealed in the comments that she made her table by planking 1x6 boards with the kreg jig.  I was nervous at first with the kreg jig (it comes with a whopping big bit), but now I see a world of new possibilities in building with this awesome tool.

This table came together very quickly.  In fact, perhaps it was too quick, because I made a substantial mistake during the build.  In step 8 of the plan, adding the top sides, I missed the fact that the top side was supposed to be flush with the top support, not with the box itself, so that there would be a ledge for the top to rest on.  I didn’t realize my mistake until I added the top ends (correctly), and then measured for the top piece.  Then I scratched my head after realizing that the 3 planked 1x6 boards were not going to fit at all.  Oops!

I was disheartened at first, because I didn’t know what to do.  By the way, Ana has included a “How-To’s” section on this new site for fellow builders to submit tips.  I’d love it if someone could give some pointers about fixing mistakes.  Is there any recourse once a board is glued and screwed?  Anyway, I took some quiet time to think about the project and had an “Aha!” moment.  I ended up attaching 1x2 pieces around the inner edges of the two compartments to create the ledge for the top to rest on.  Then, instead of the three planked 1x6 boards that I’d planned on, I used 6 1x3’s planked together to make the top.  Yes, there was an unexpected detour from the plan, but it all worked out just fine.   I’d rather not make mistakes, but at my current level of experience, I think that mistakes are inevitable, and the mistakes actually give the piece a story and a little extra personality.

Looking forward to the next project!

Cheers!
Estimated Cost
$50
Estimated Time Investment
Weekend Project (10-20 Hours)
Finish Used
Stain with Minwax poly shades - pecan satin
Recommended Skill Level
Beginner

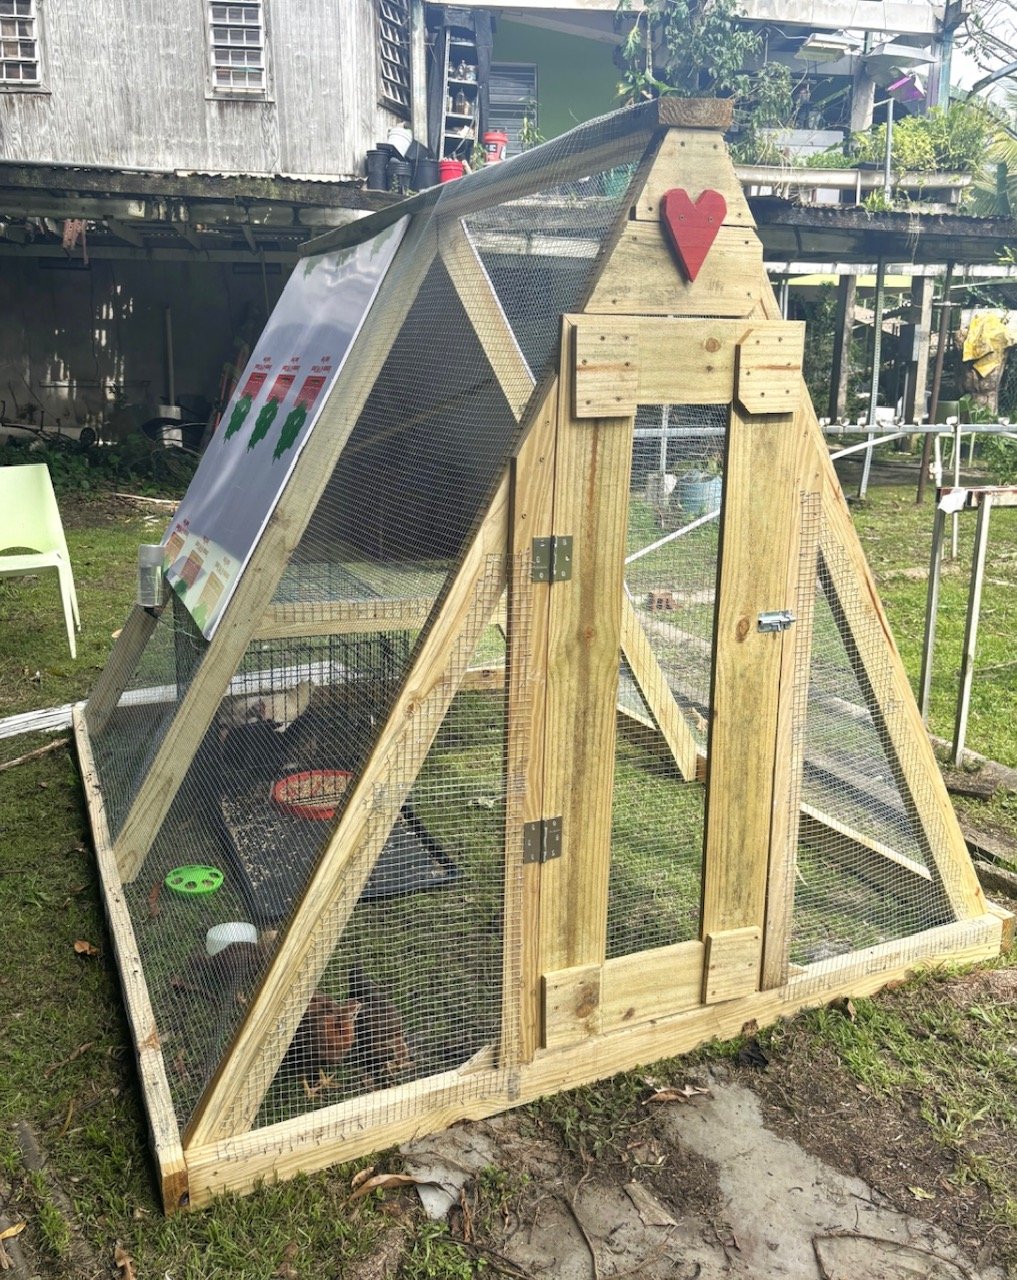
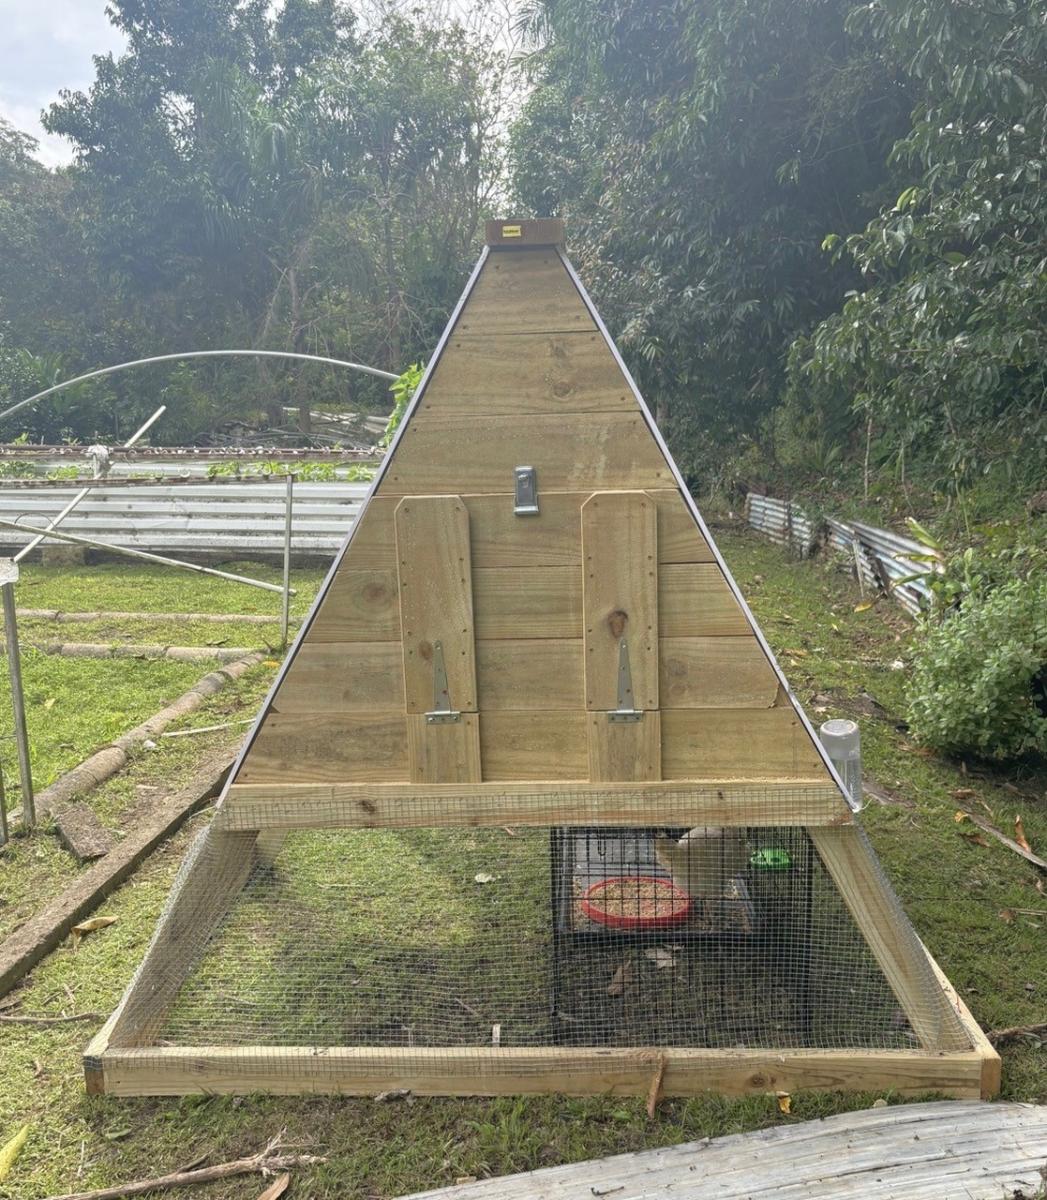
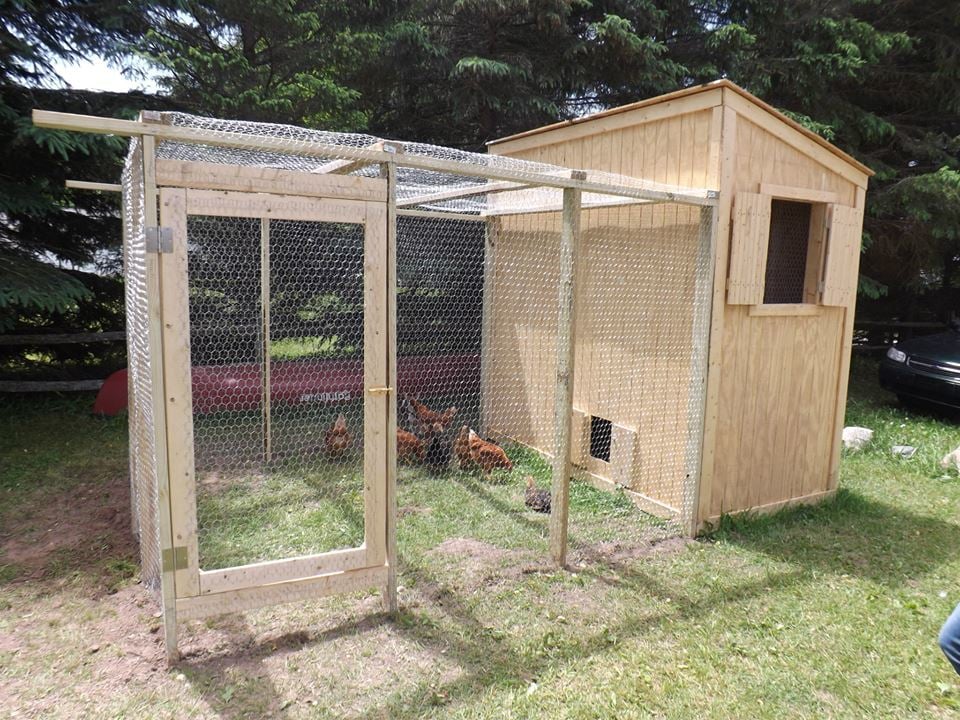
My incredible chicken coop and run!

This was my first attempt at building anything....ever. It was so incredibly fun and I certainly learned a lot. My 8 little chickens are loving their new home and I can't wait to build my next project!

Estimated Time Investment
Week Long Project (20 Hours or More)
Recommended Skill Level
Intermediate

Comments

GreenLaLa

Wed, 06/19/2013 - 11:51

Hello! Could you repost the picture / info on your chicken run? I keep getting "page not available" and I've been trying for days :O) I think I want to build that chicken shed (too big for 3 hens?? It's just so cute!) and a run like that to go with it! Thanks! Have a great day!
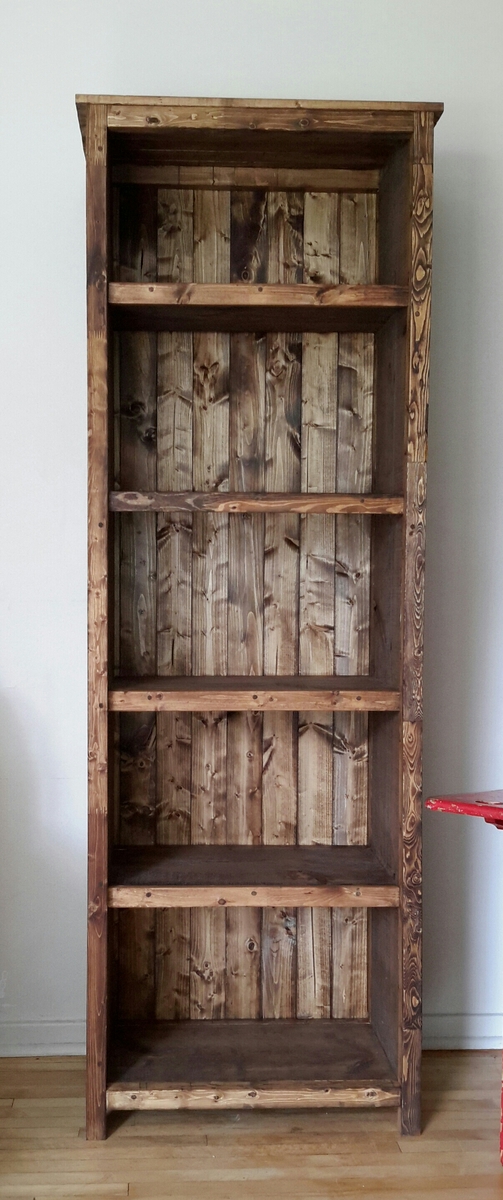

Kentwood Bookshelf

Submitted by worrow on Tue, 08/11/2015 - 17:33

I loved this from Ana's site so much we tacked one. Please note I glued, screwed and dowel ed the holes. I hate kreg jigs. We also made ours taller to add an extra shelf.

Estimated Cost
$90.

Provincial stain and triple coat poly
Estimated Time Investment
Weekend Project (10-20 Hours)
Finish Used
3m triple coat in 1 semi gloss not pictured. My image is stain at this point
Recommended Skill Level
Beginner

Comments

Just one of many Honey to Do projects

Submitted by Anonymous (not verified) on Tue, 04/26/2022 - 04:53

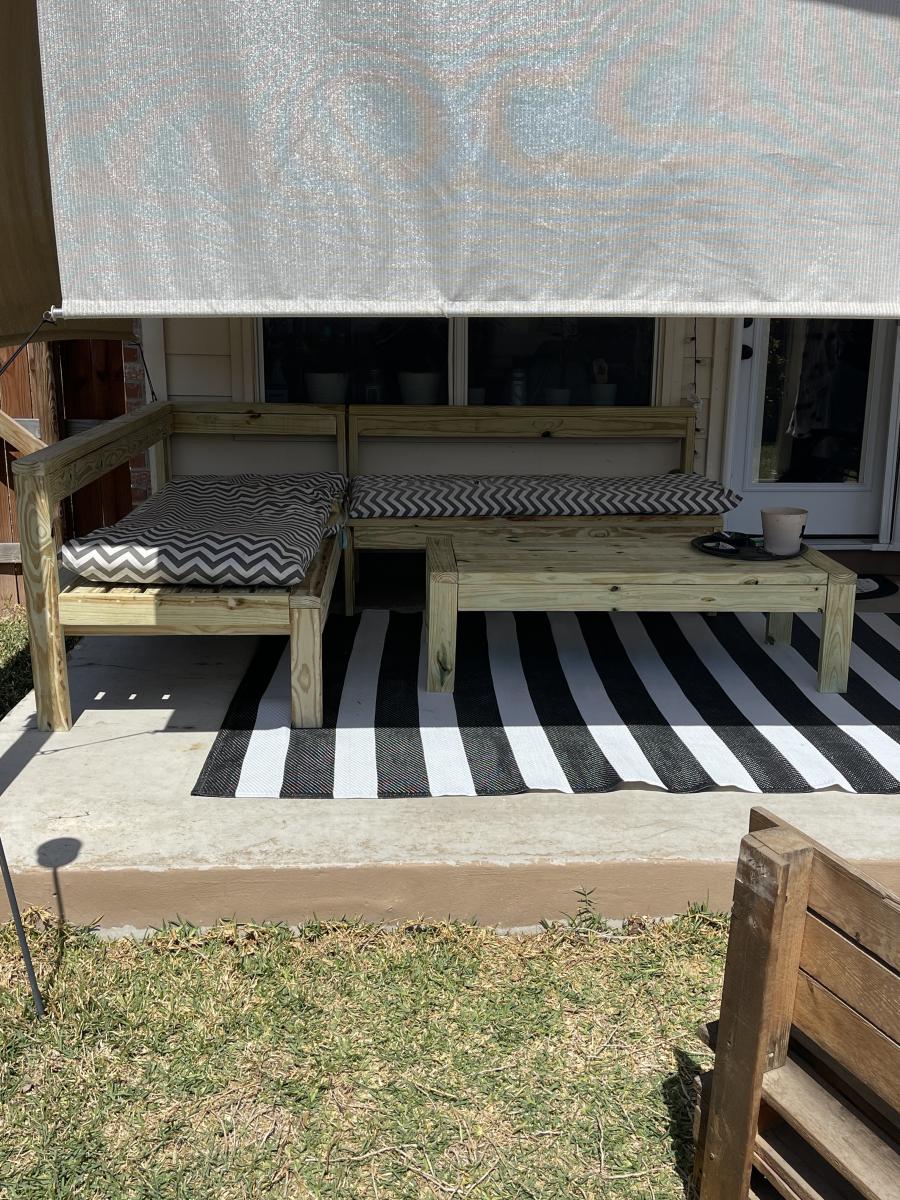
My wife wanted a patio set and I initially made a set using pallets but I knew I could make a better one so after seeing one Ana made on Pinterest I went to work. I have now painted it white and my wife will be make the cushions for it as I made it a little wider than the actual plans called for.

Comments

Back