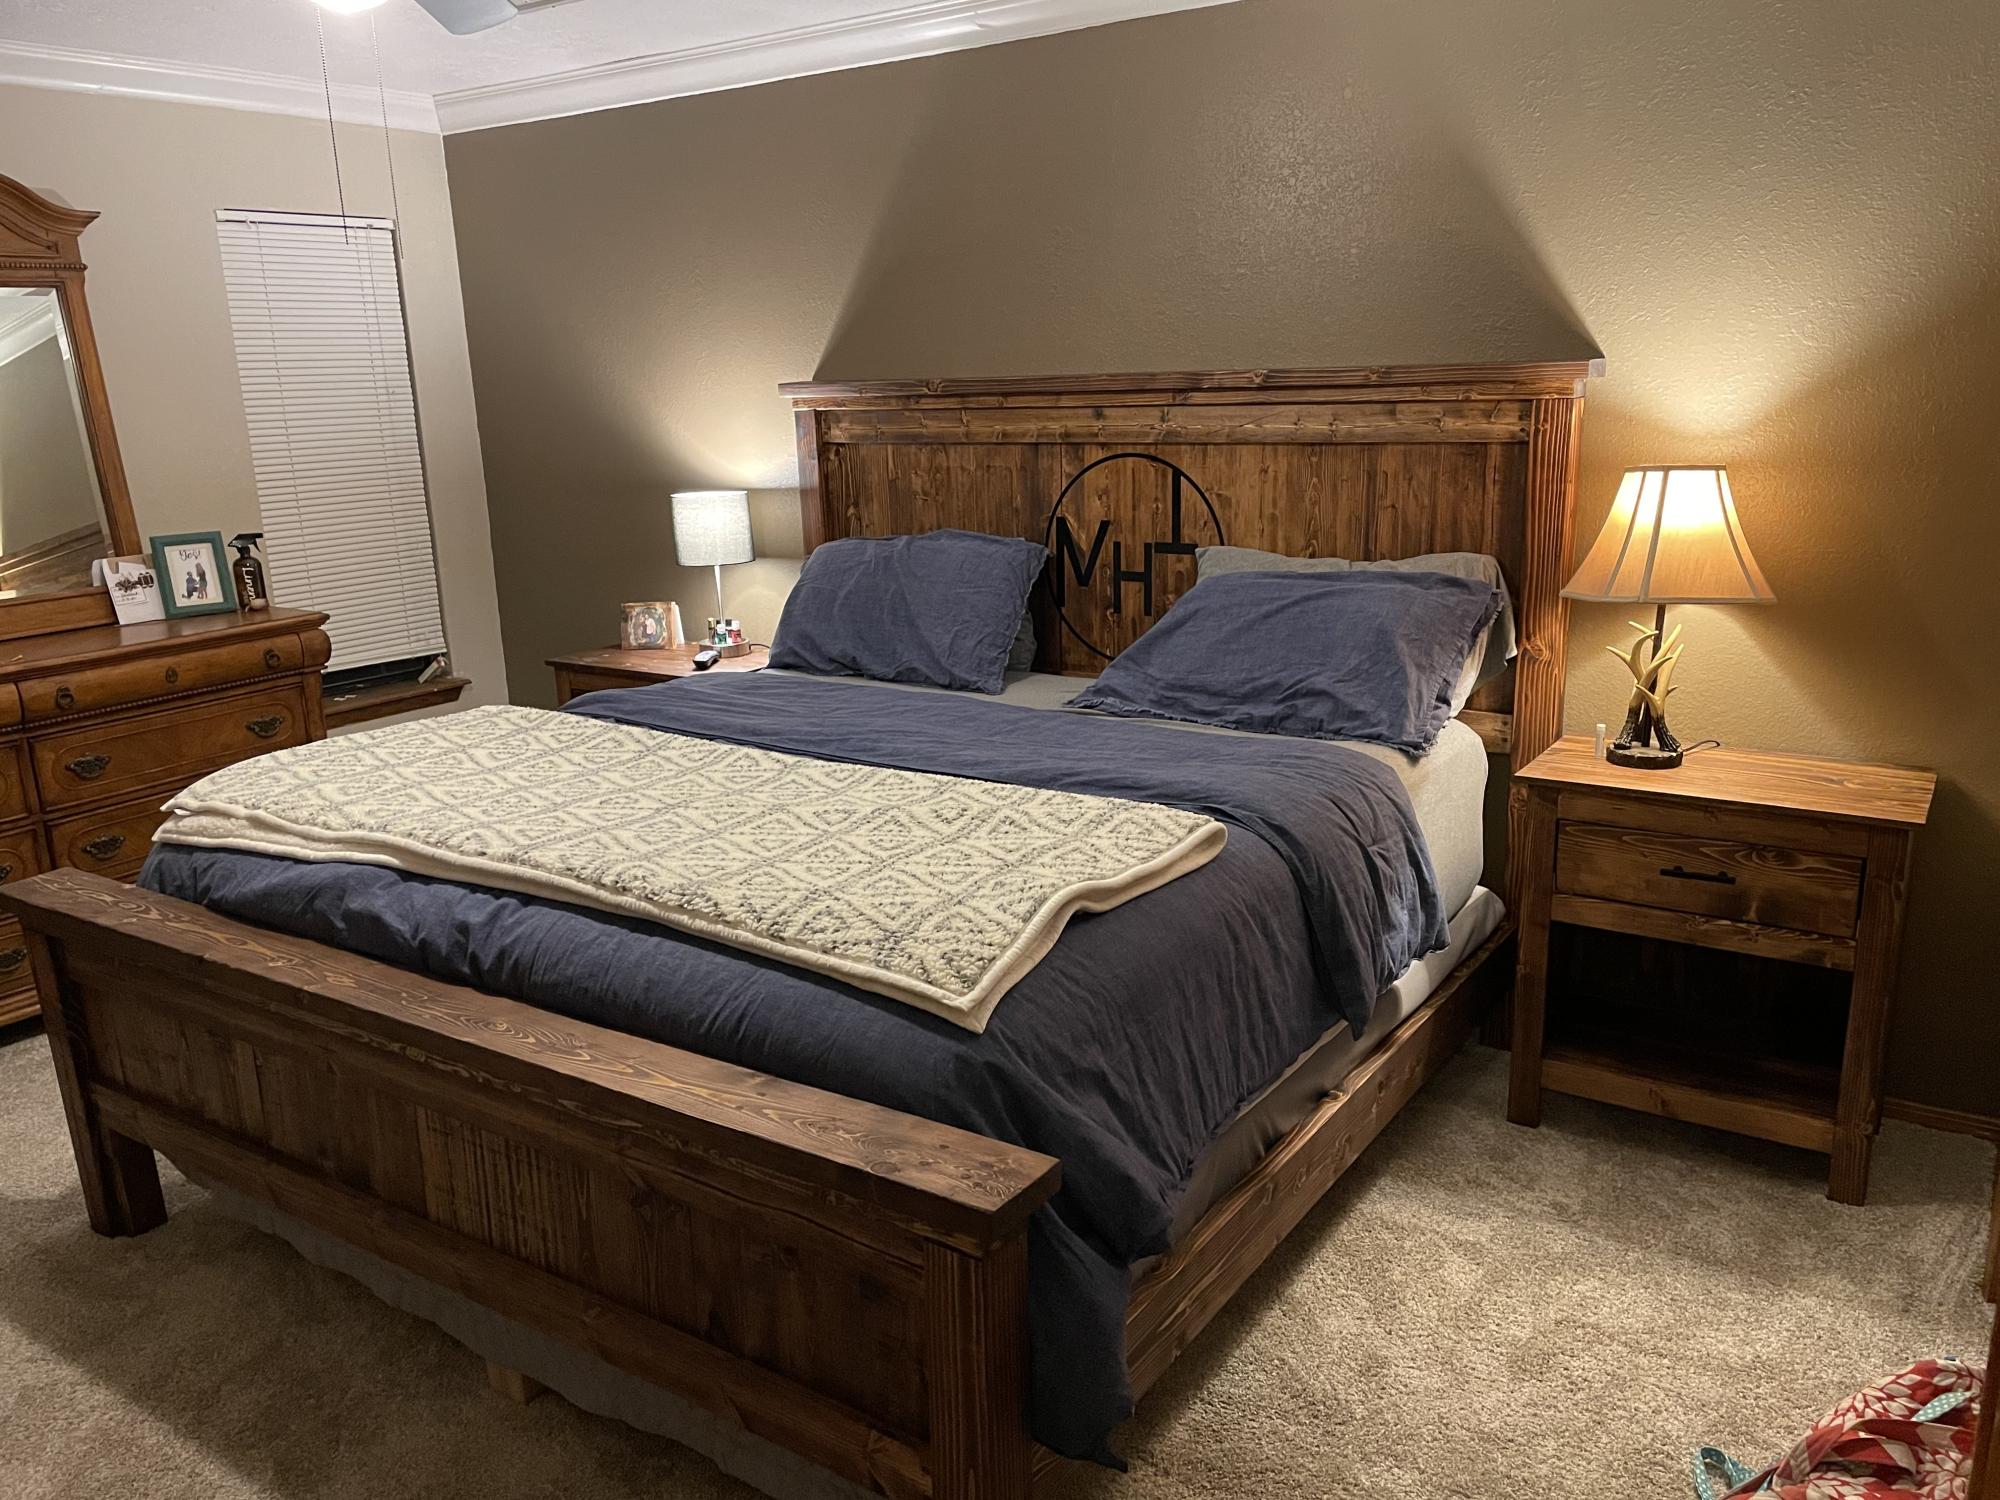
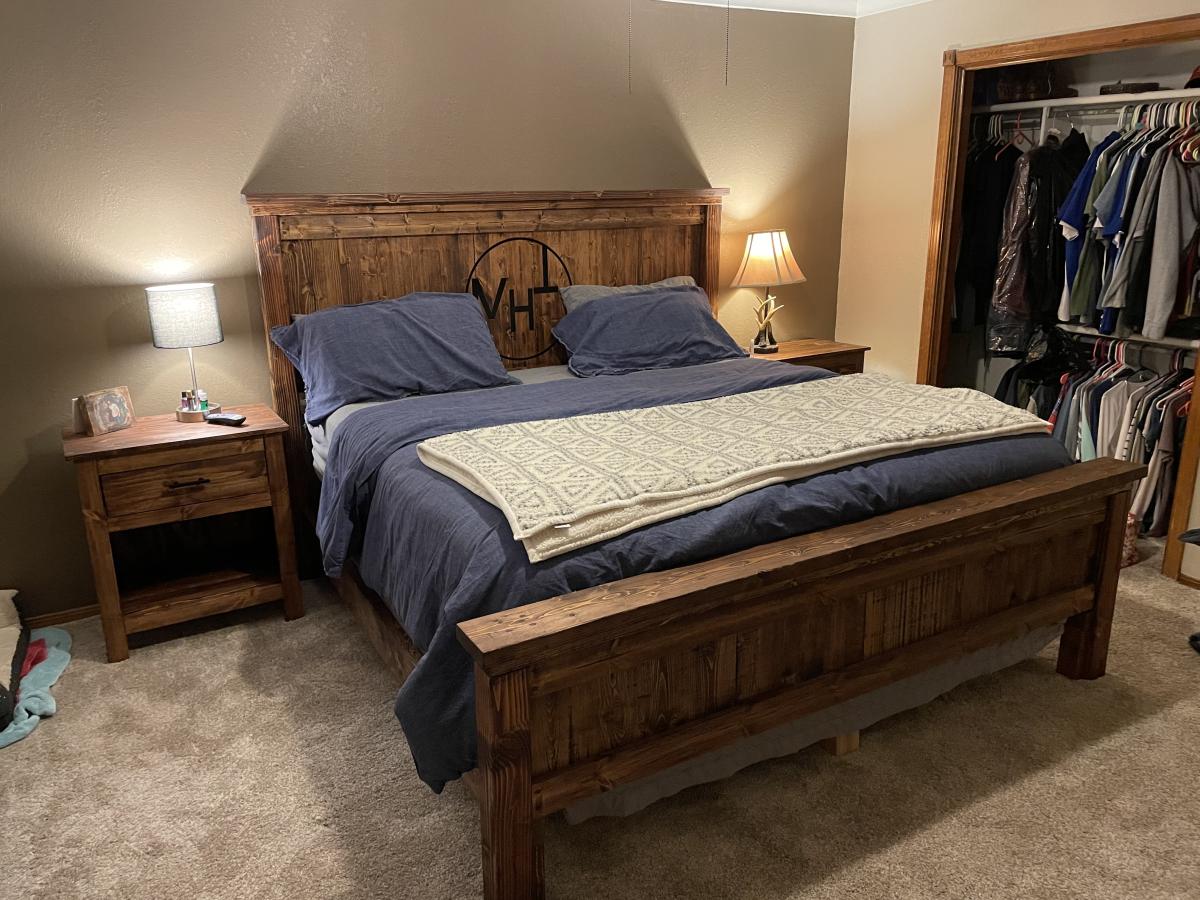
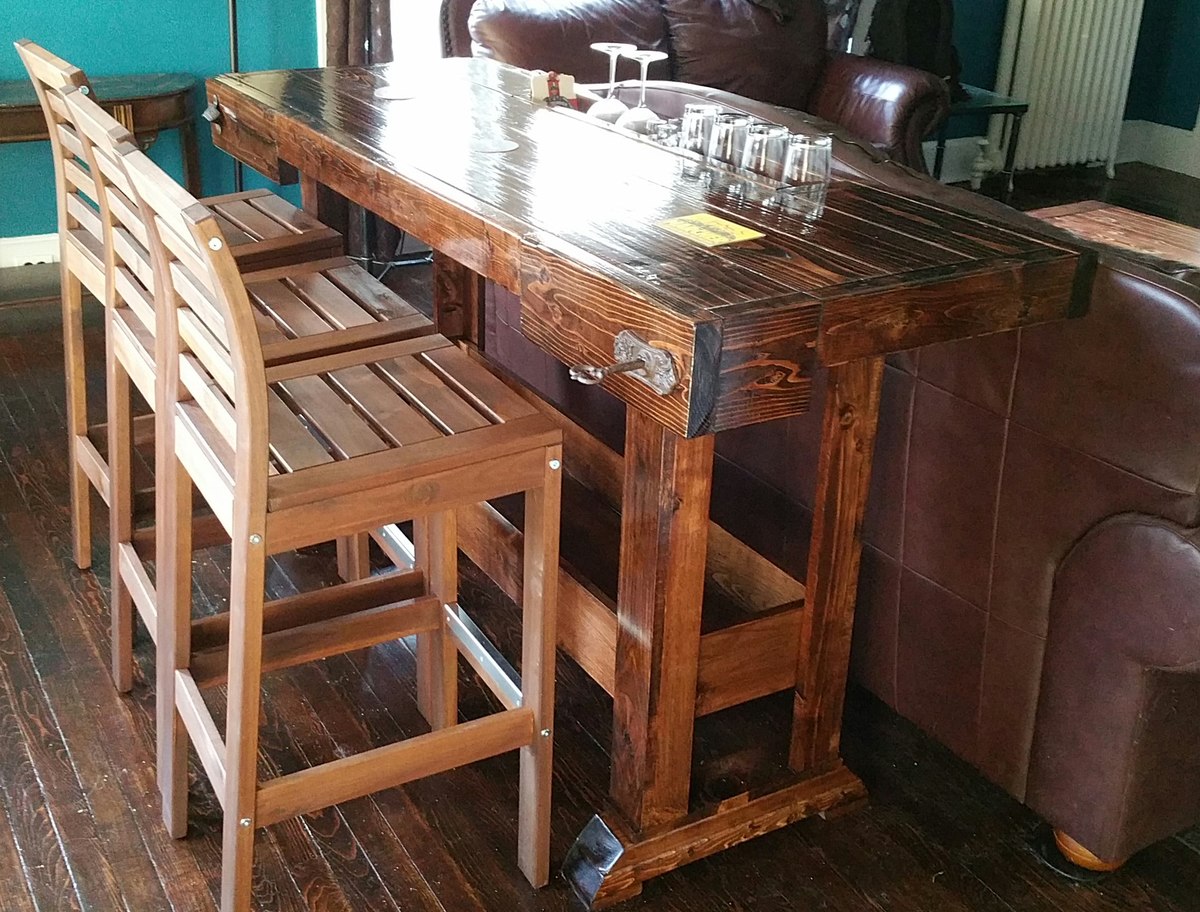
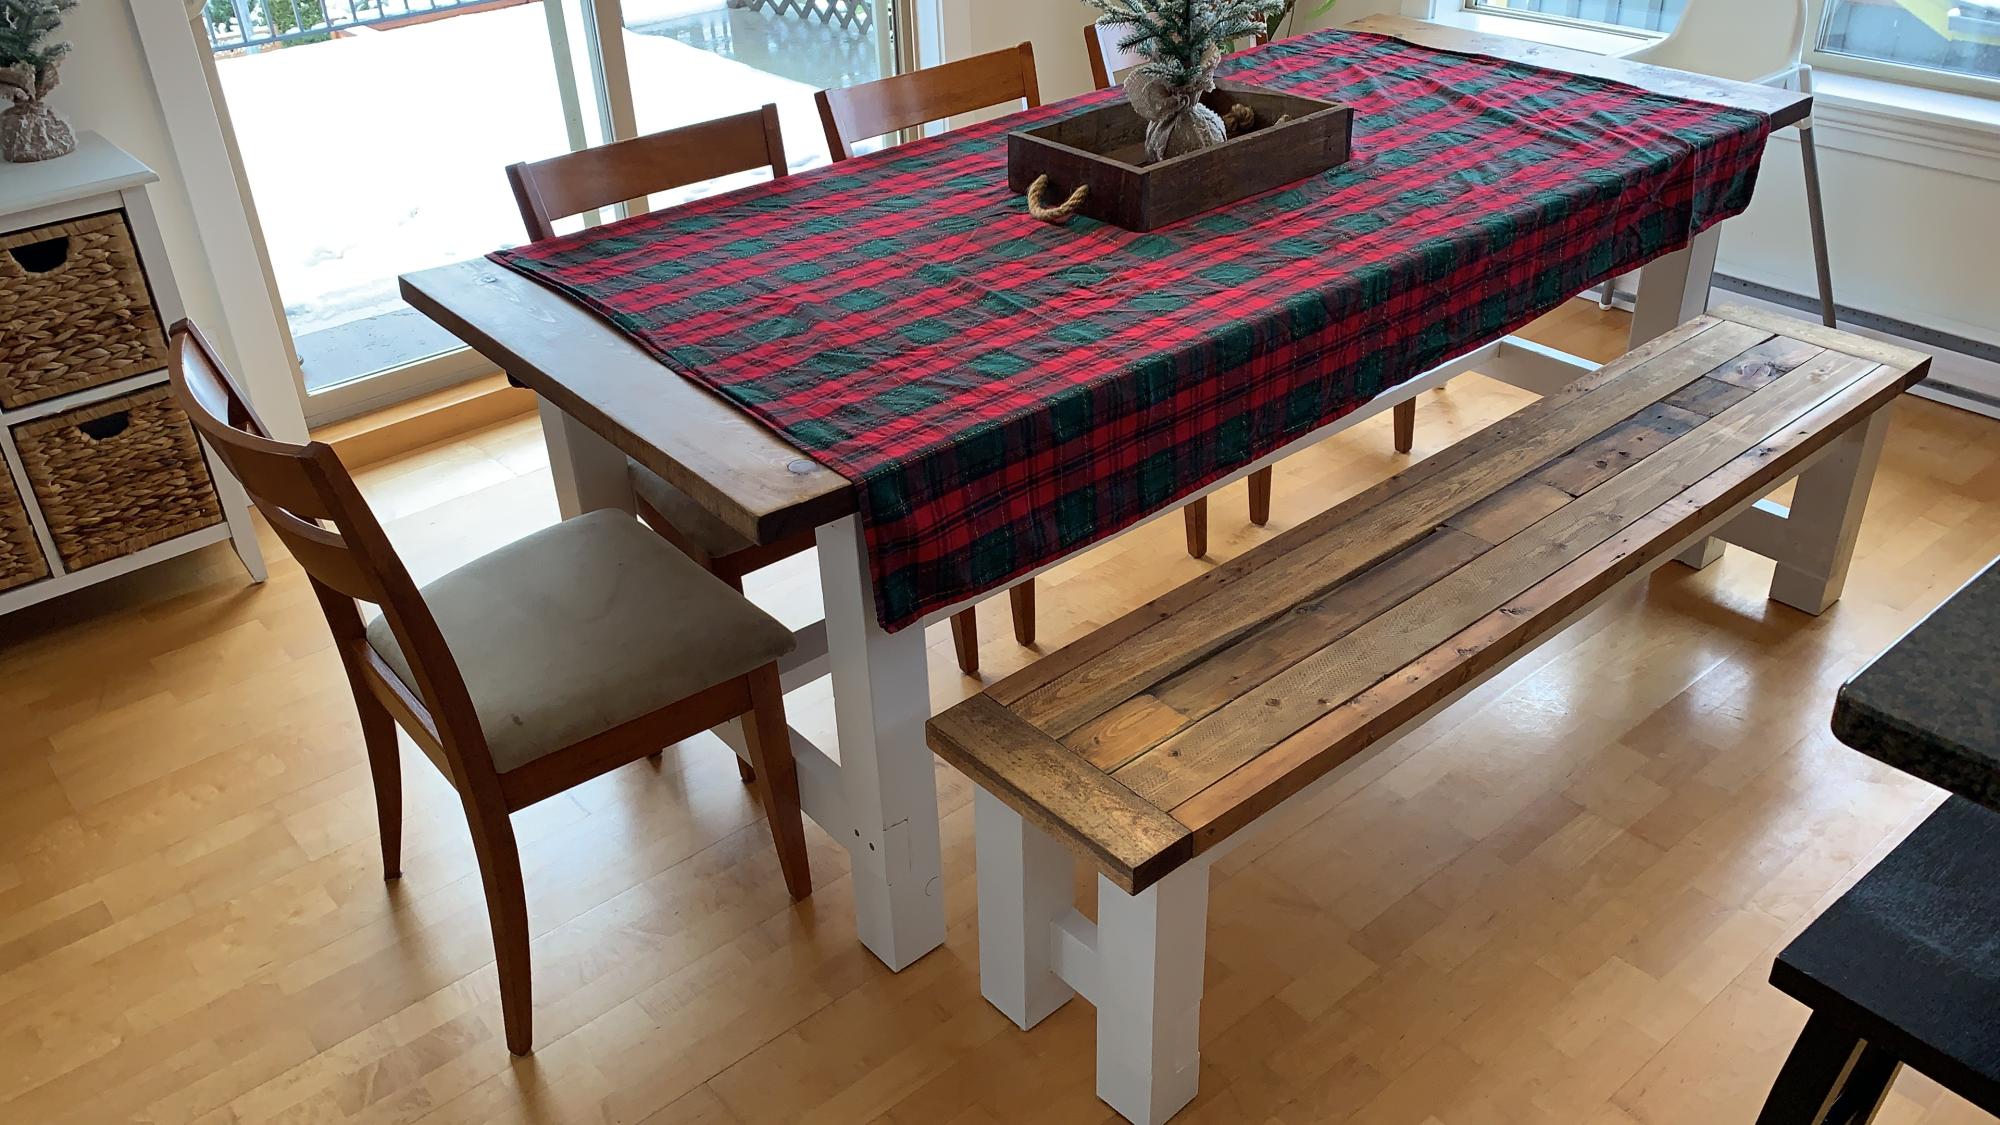
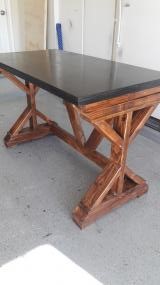
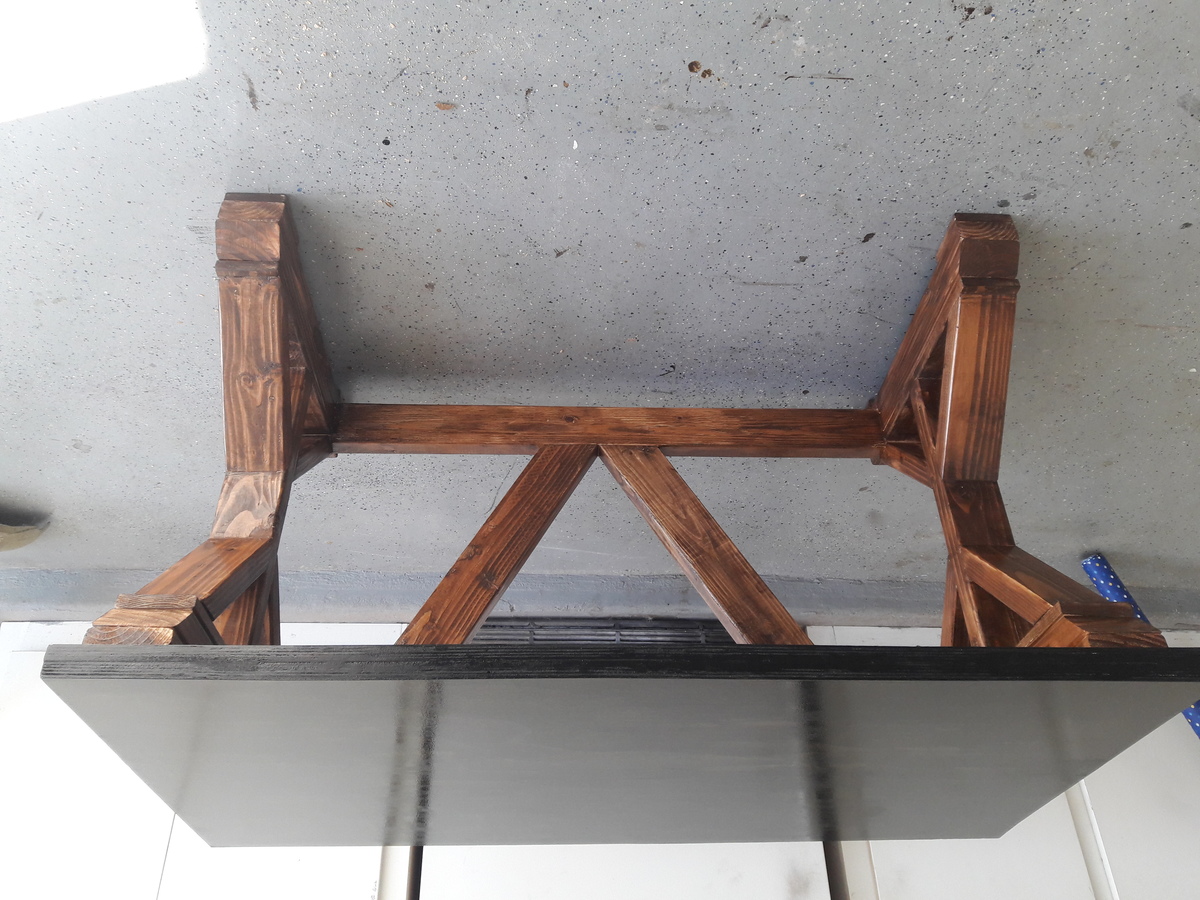
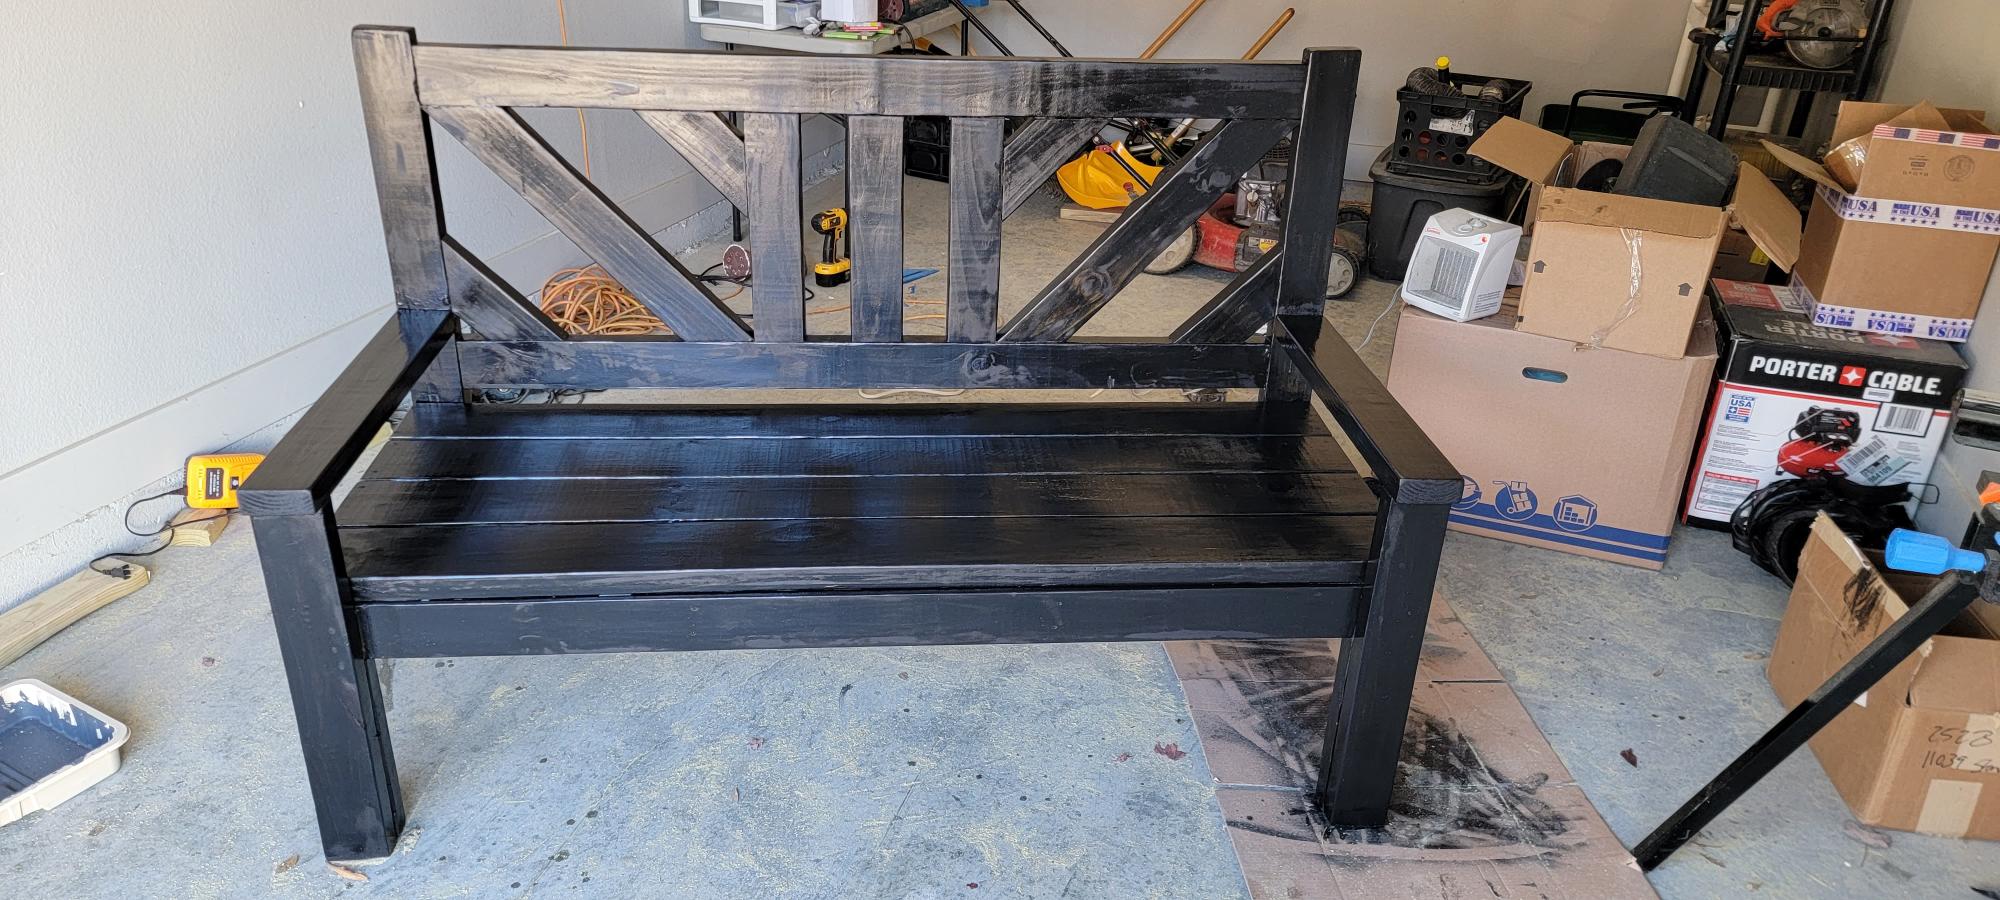
Farm Table
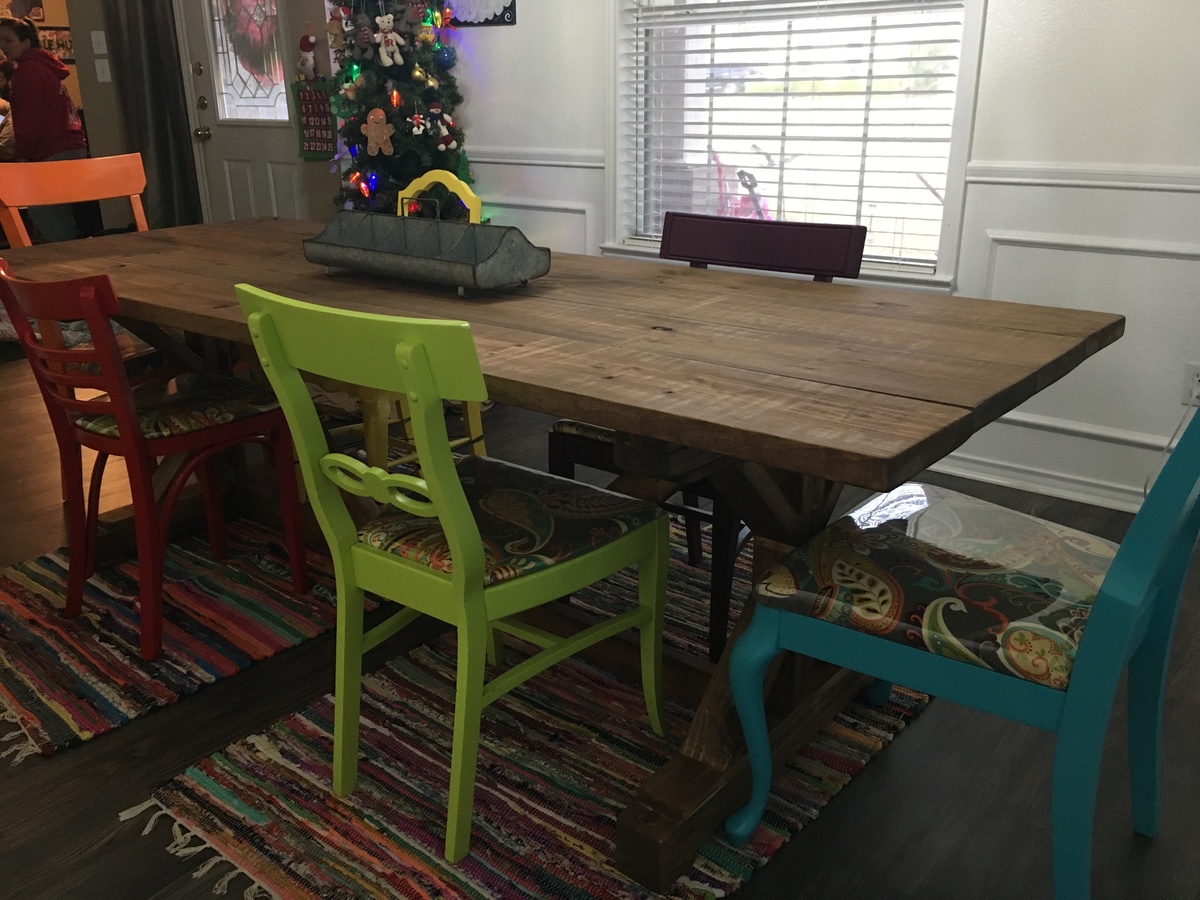
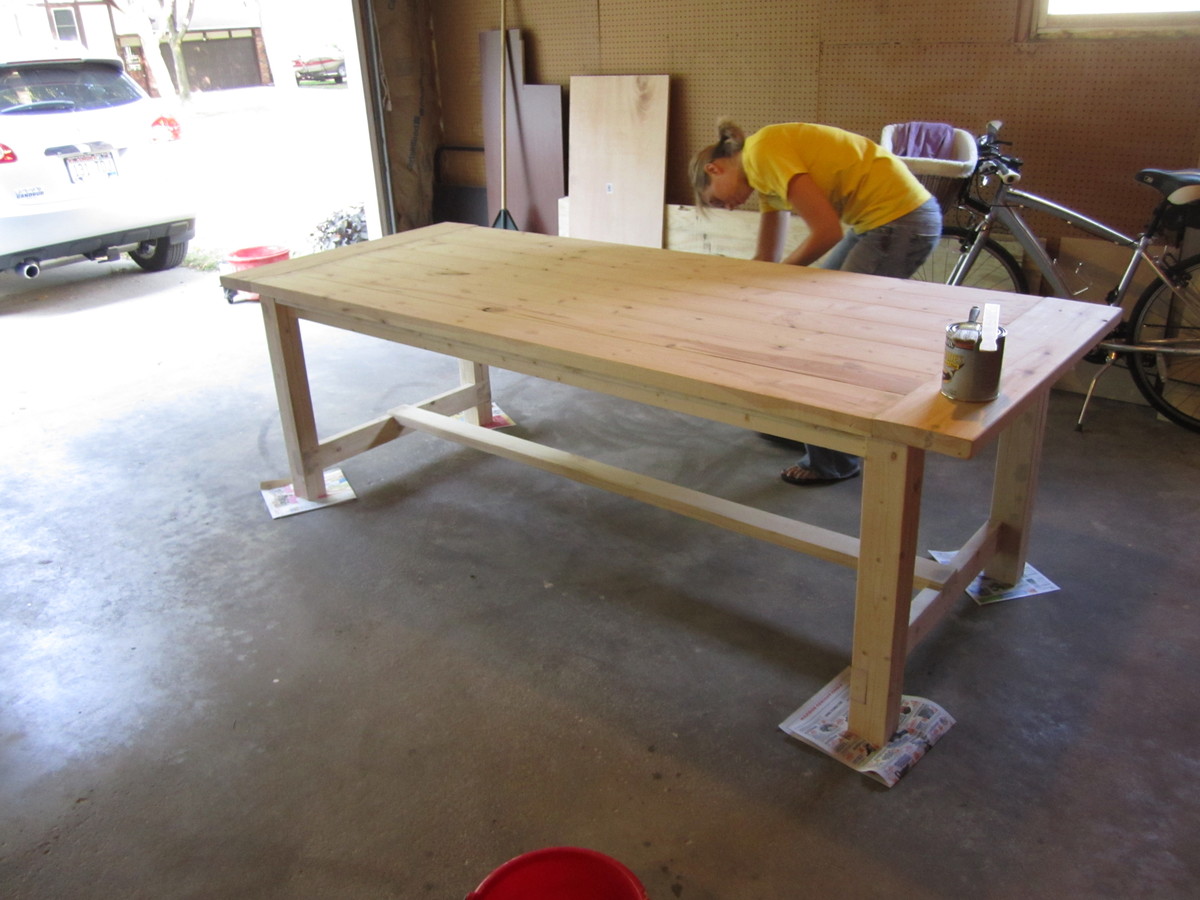
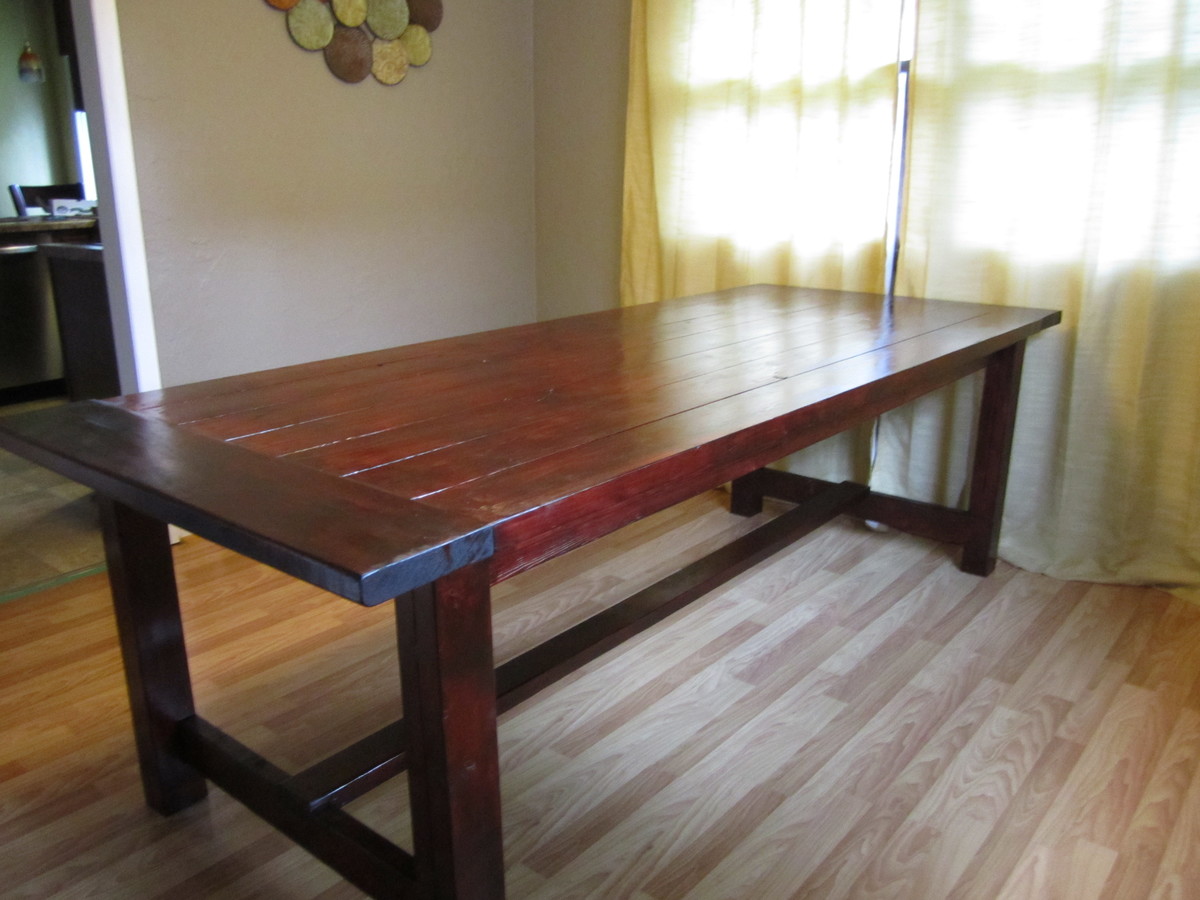
I sent these plans to my dad and said I wanted him to help me build it for Christmas. He came with everything cut and ready to be sanded and assembled! It was put together and stained in a day! I love my Christmas present, and love that my dad and I built it. It will be a family table, for sure!
Estimated Time Investment
Day Project (6-9 Hours)
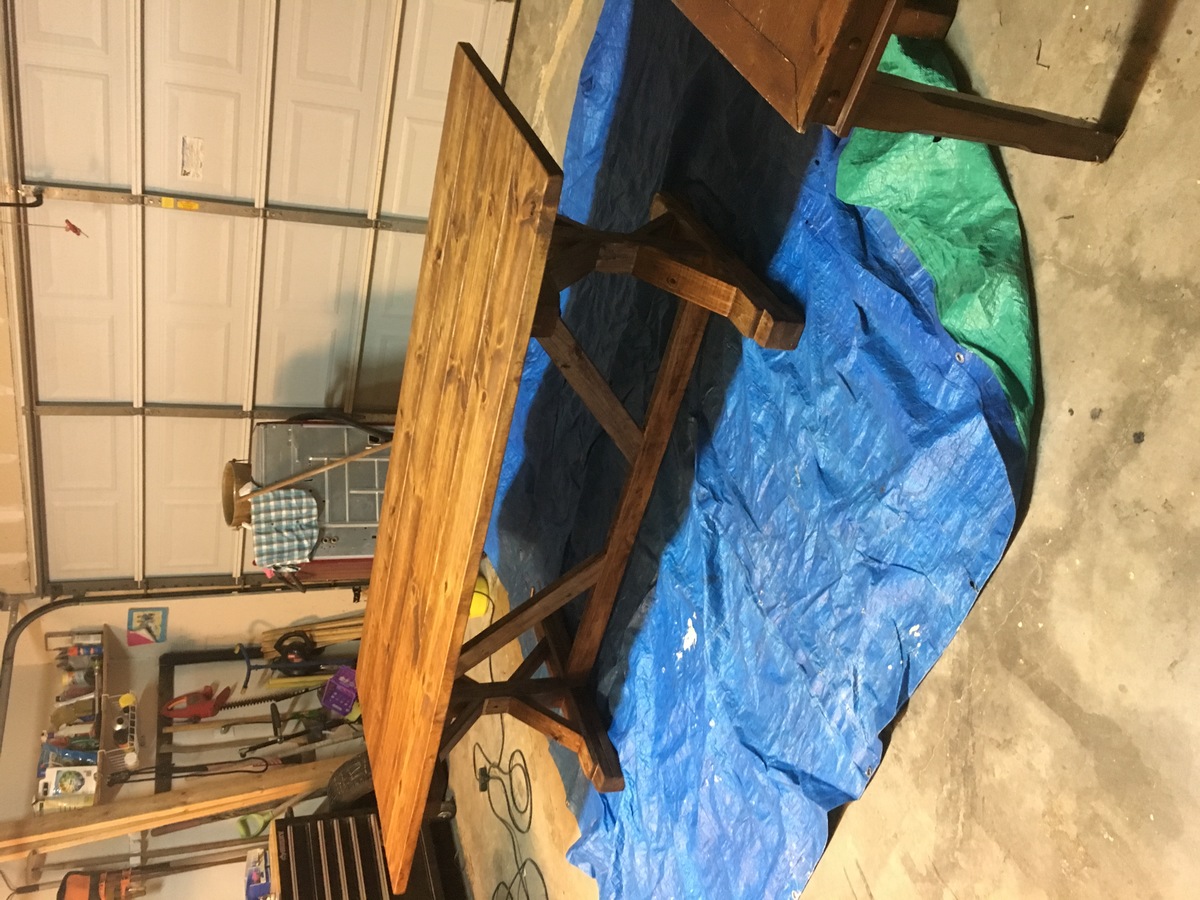
Finish Used
Minwax brand Early American stain. Applied with cloth. One coat.
Recommended Skill Level
Intermediate