Community Brag Posts

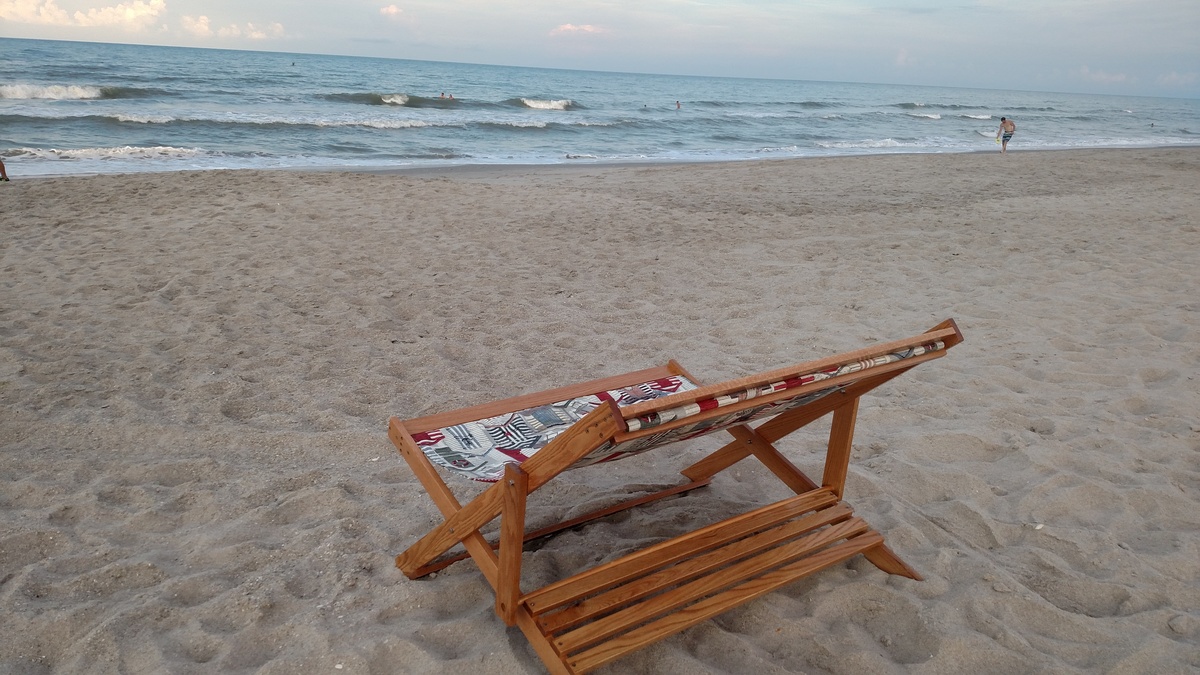
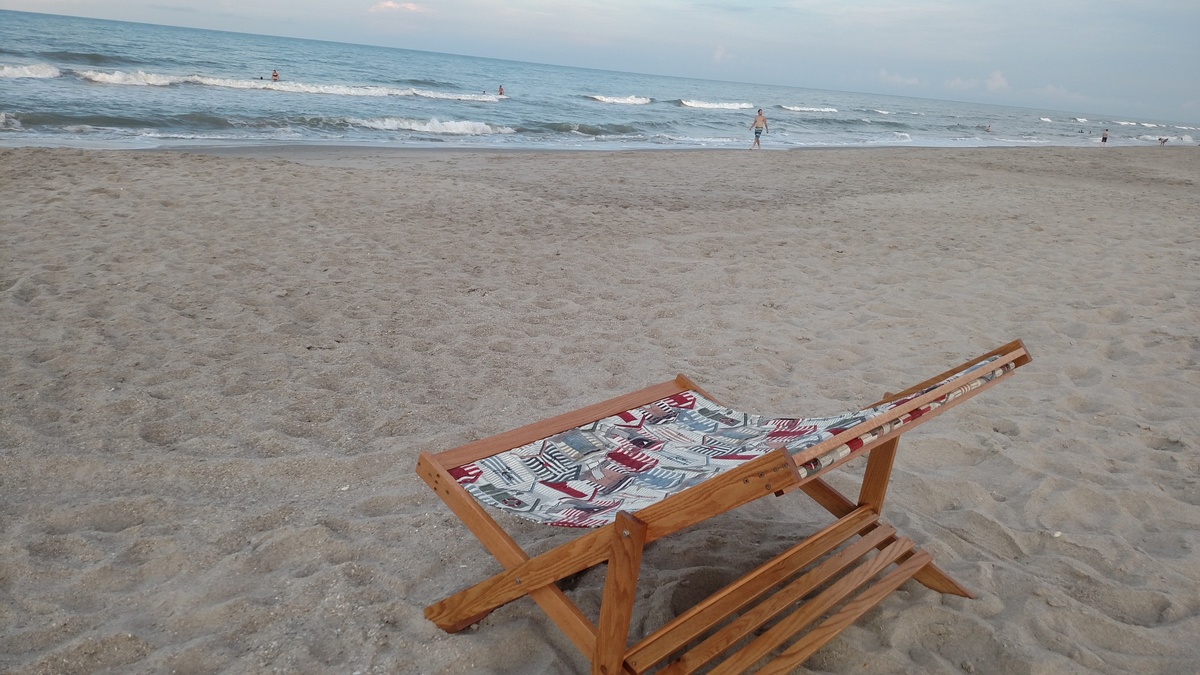
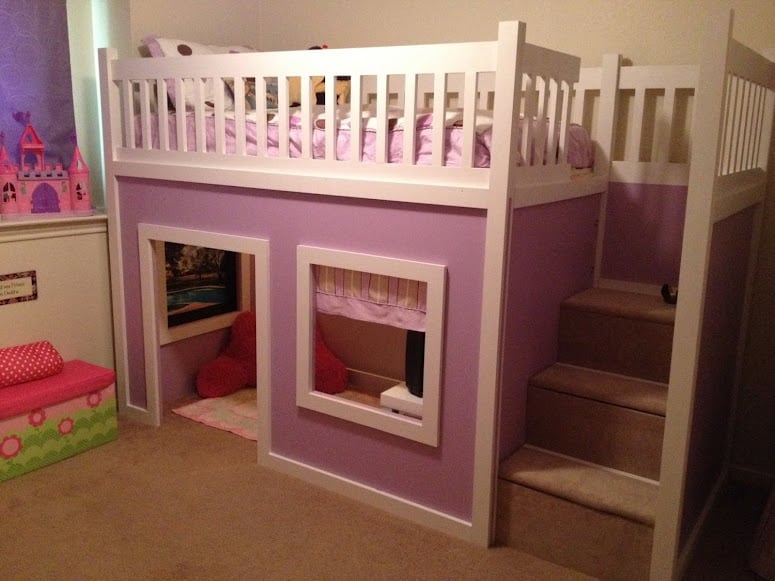
Caitlyn's Reading retreat

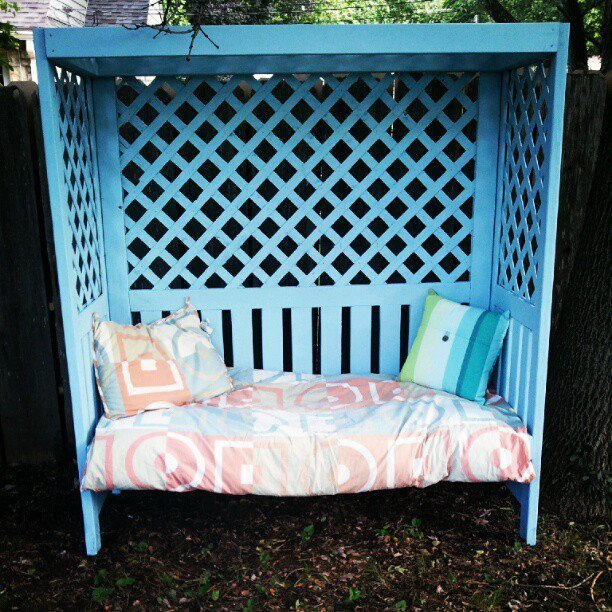
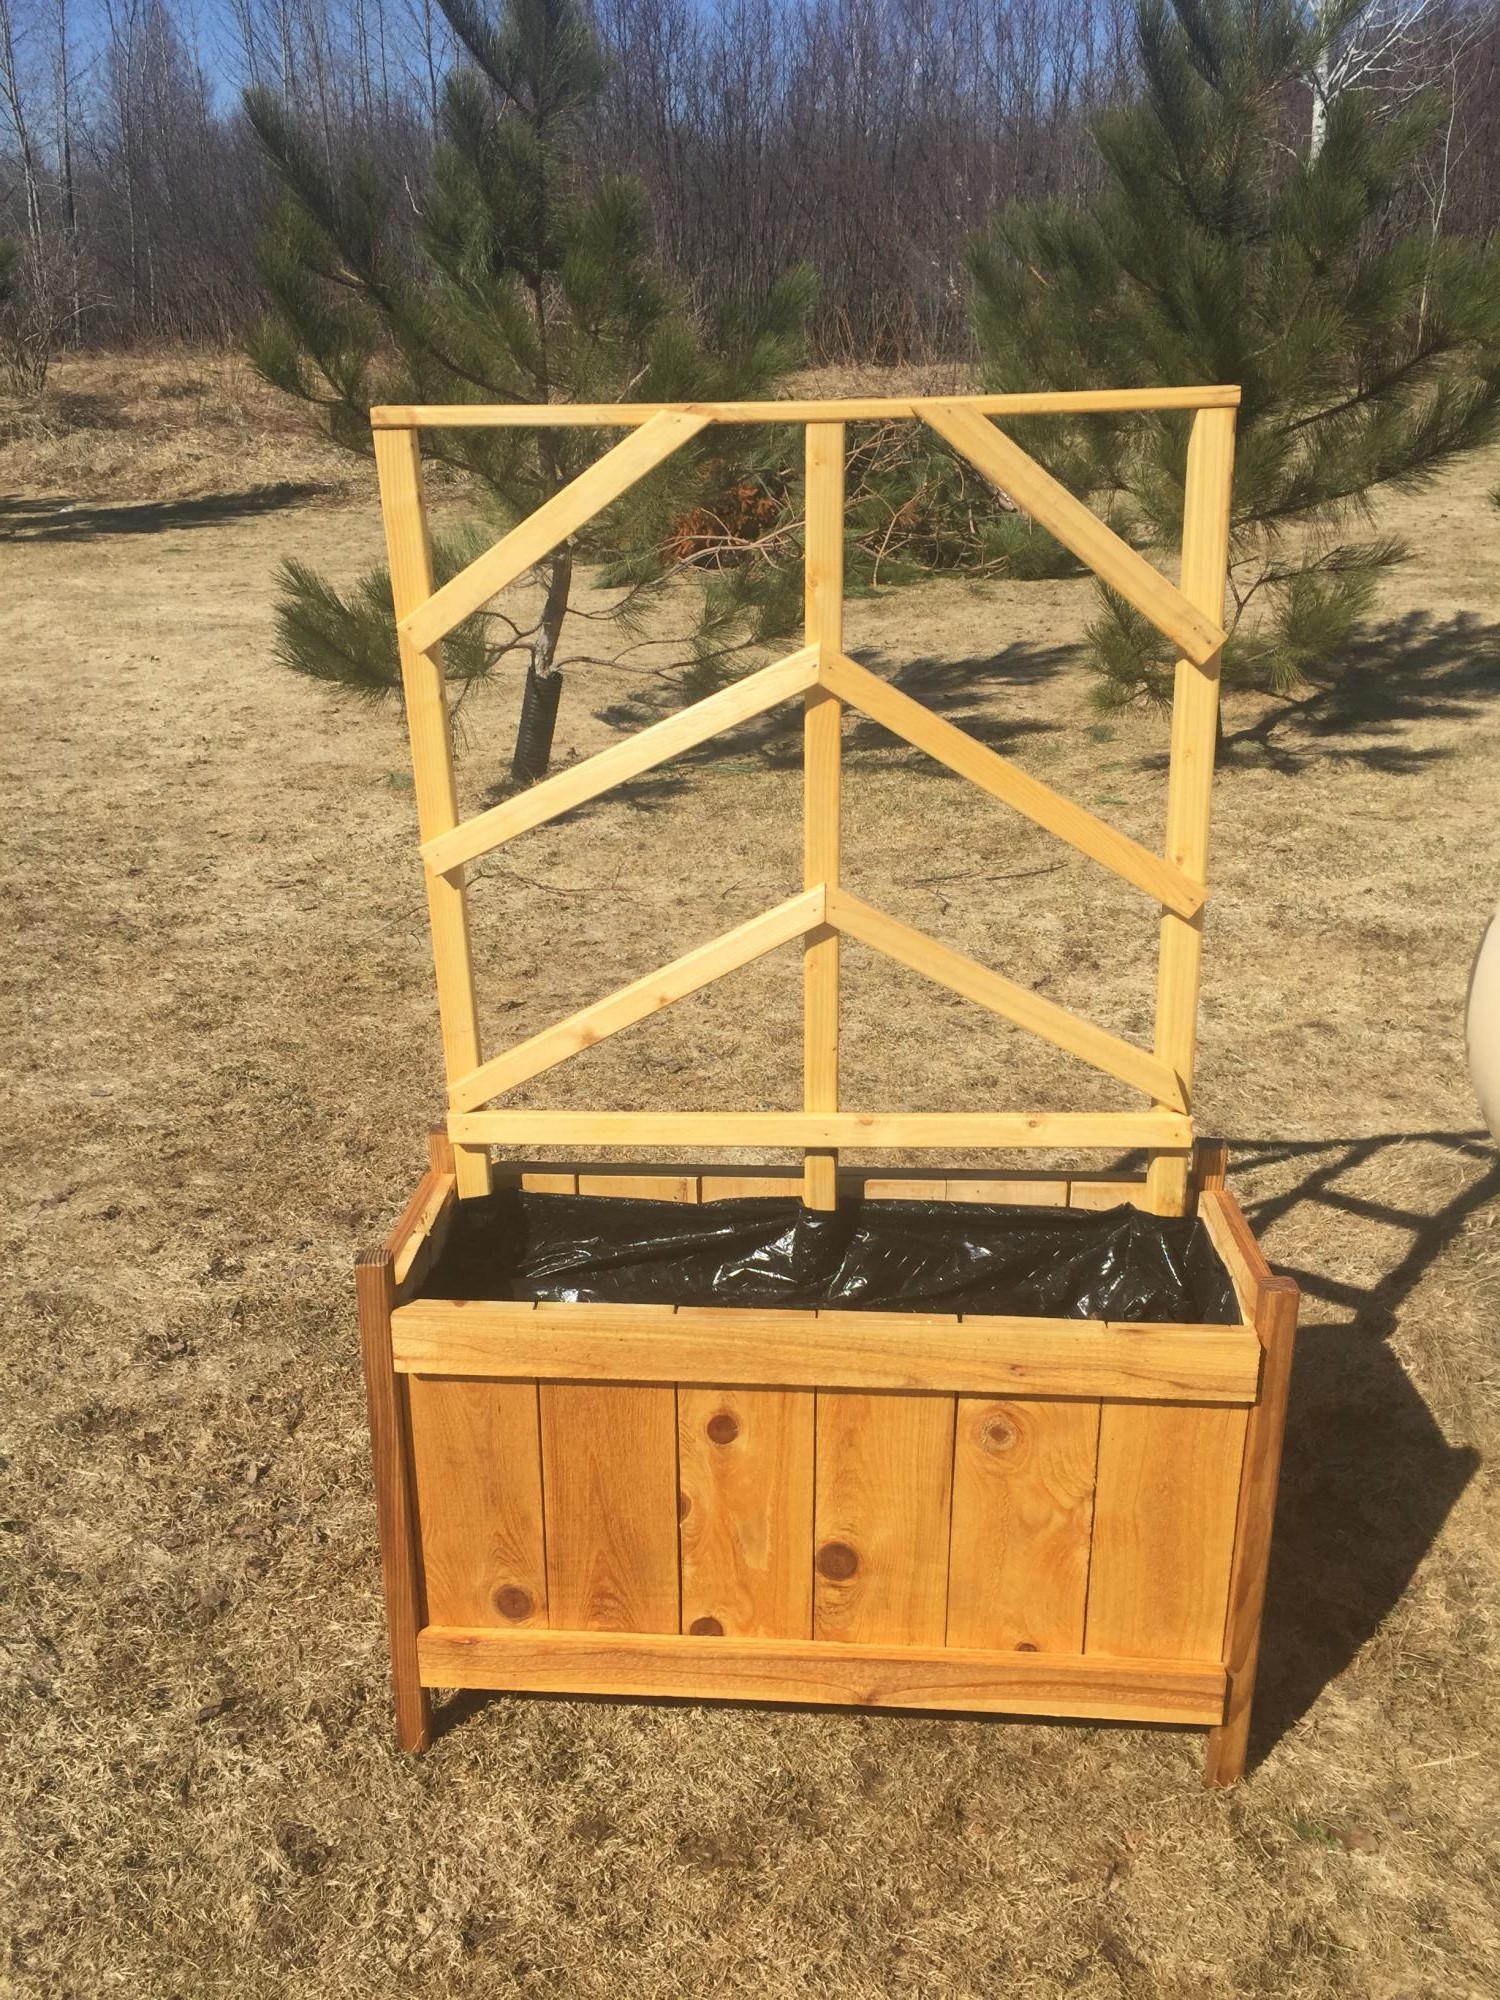
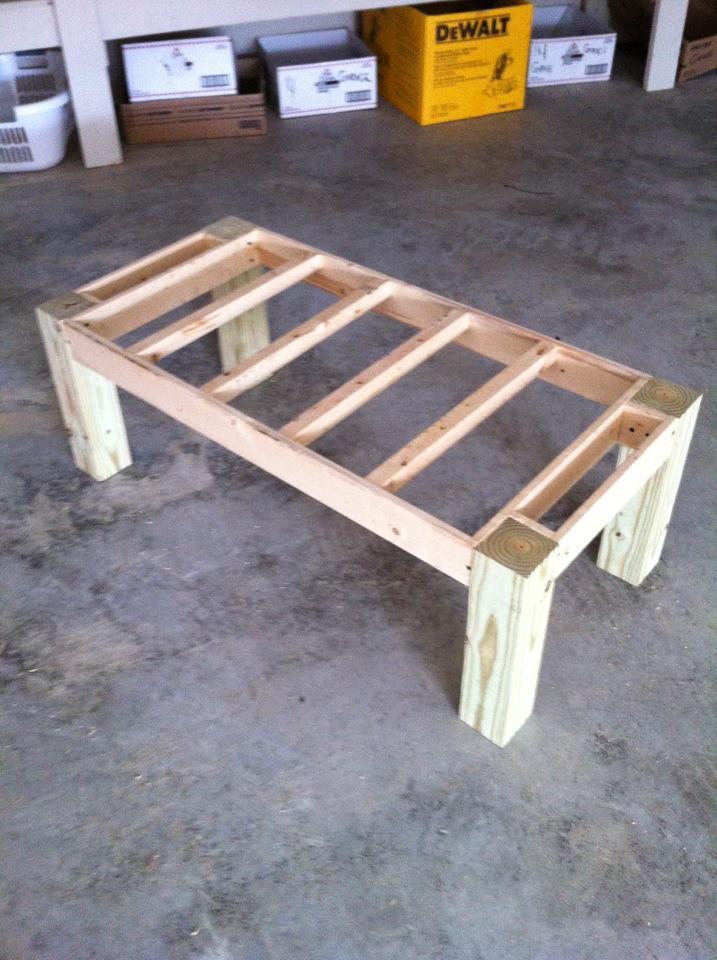
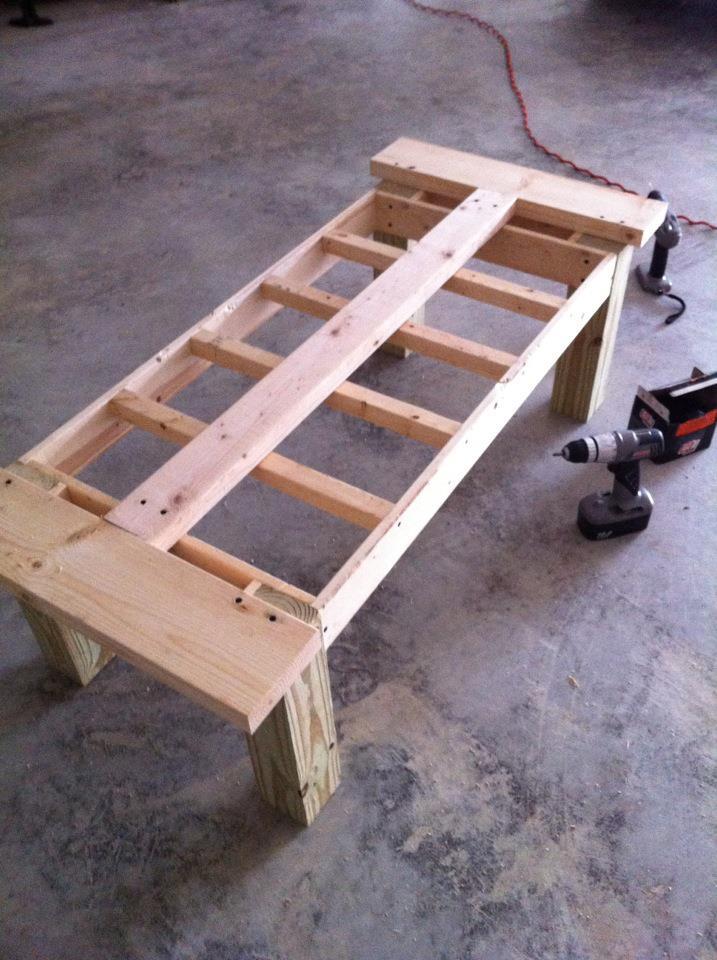
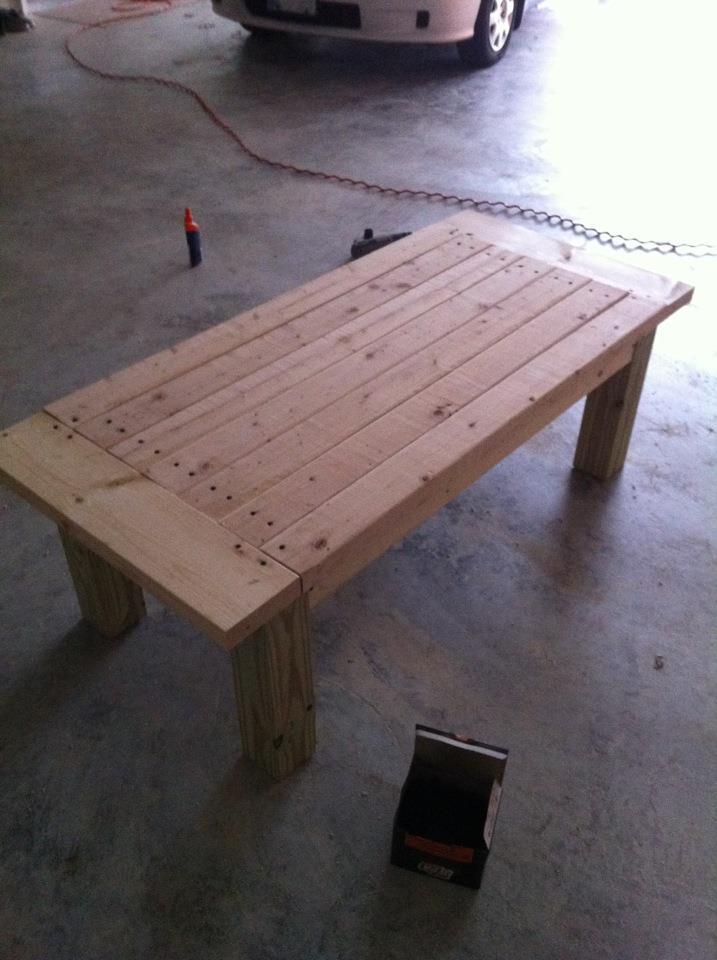
This was not built using one of Ana's plans. I have a book of 2X4 projects that my daughter gave me and actually got me started woodworking. This beauty was one of the projects. It was easy to build and easy to put together but not easy to paint. The lattice was the cheapest she could buy and was "furry". I tried sanding which took forever but it was still a mess to paint. I am including the link to the plans: http://woodtools.nov.ru/projects2/WoodPlan/lattice-bower.pdf
If you build this be sure and sand and paint before putting together-it's so much easier.

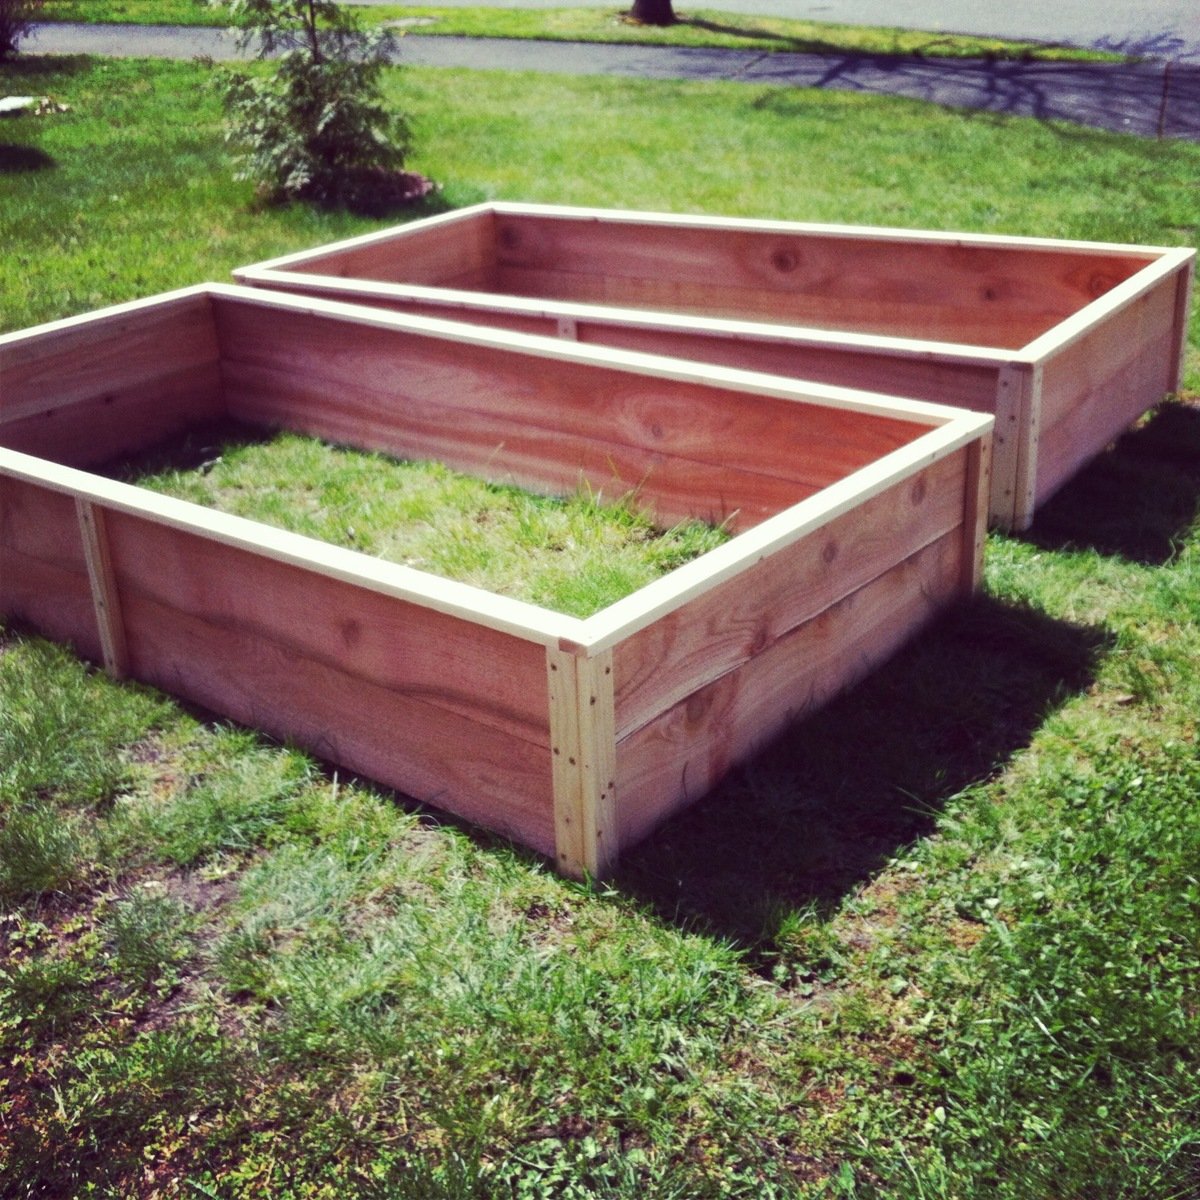
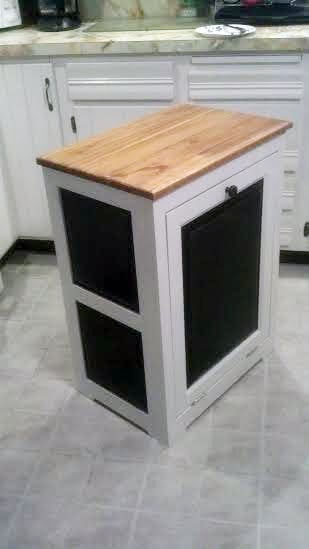
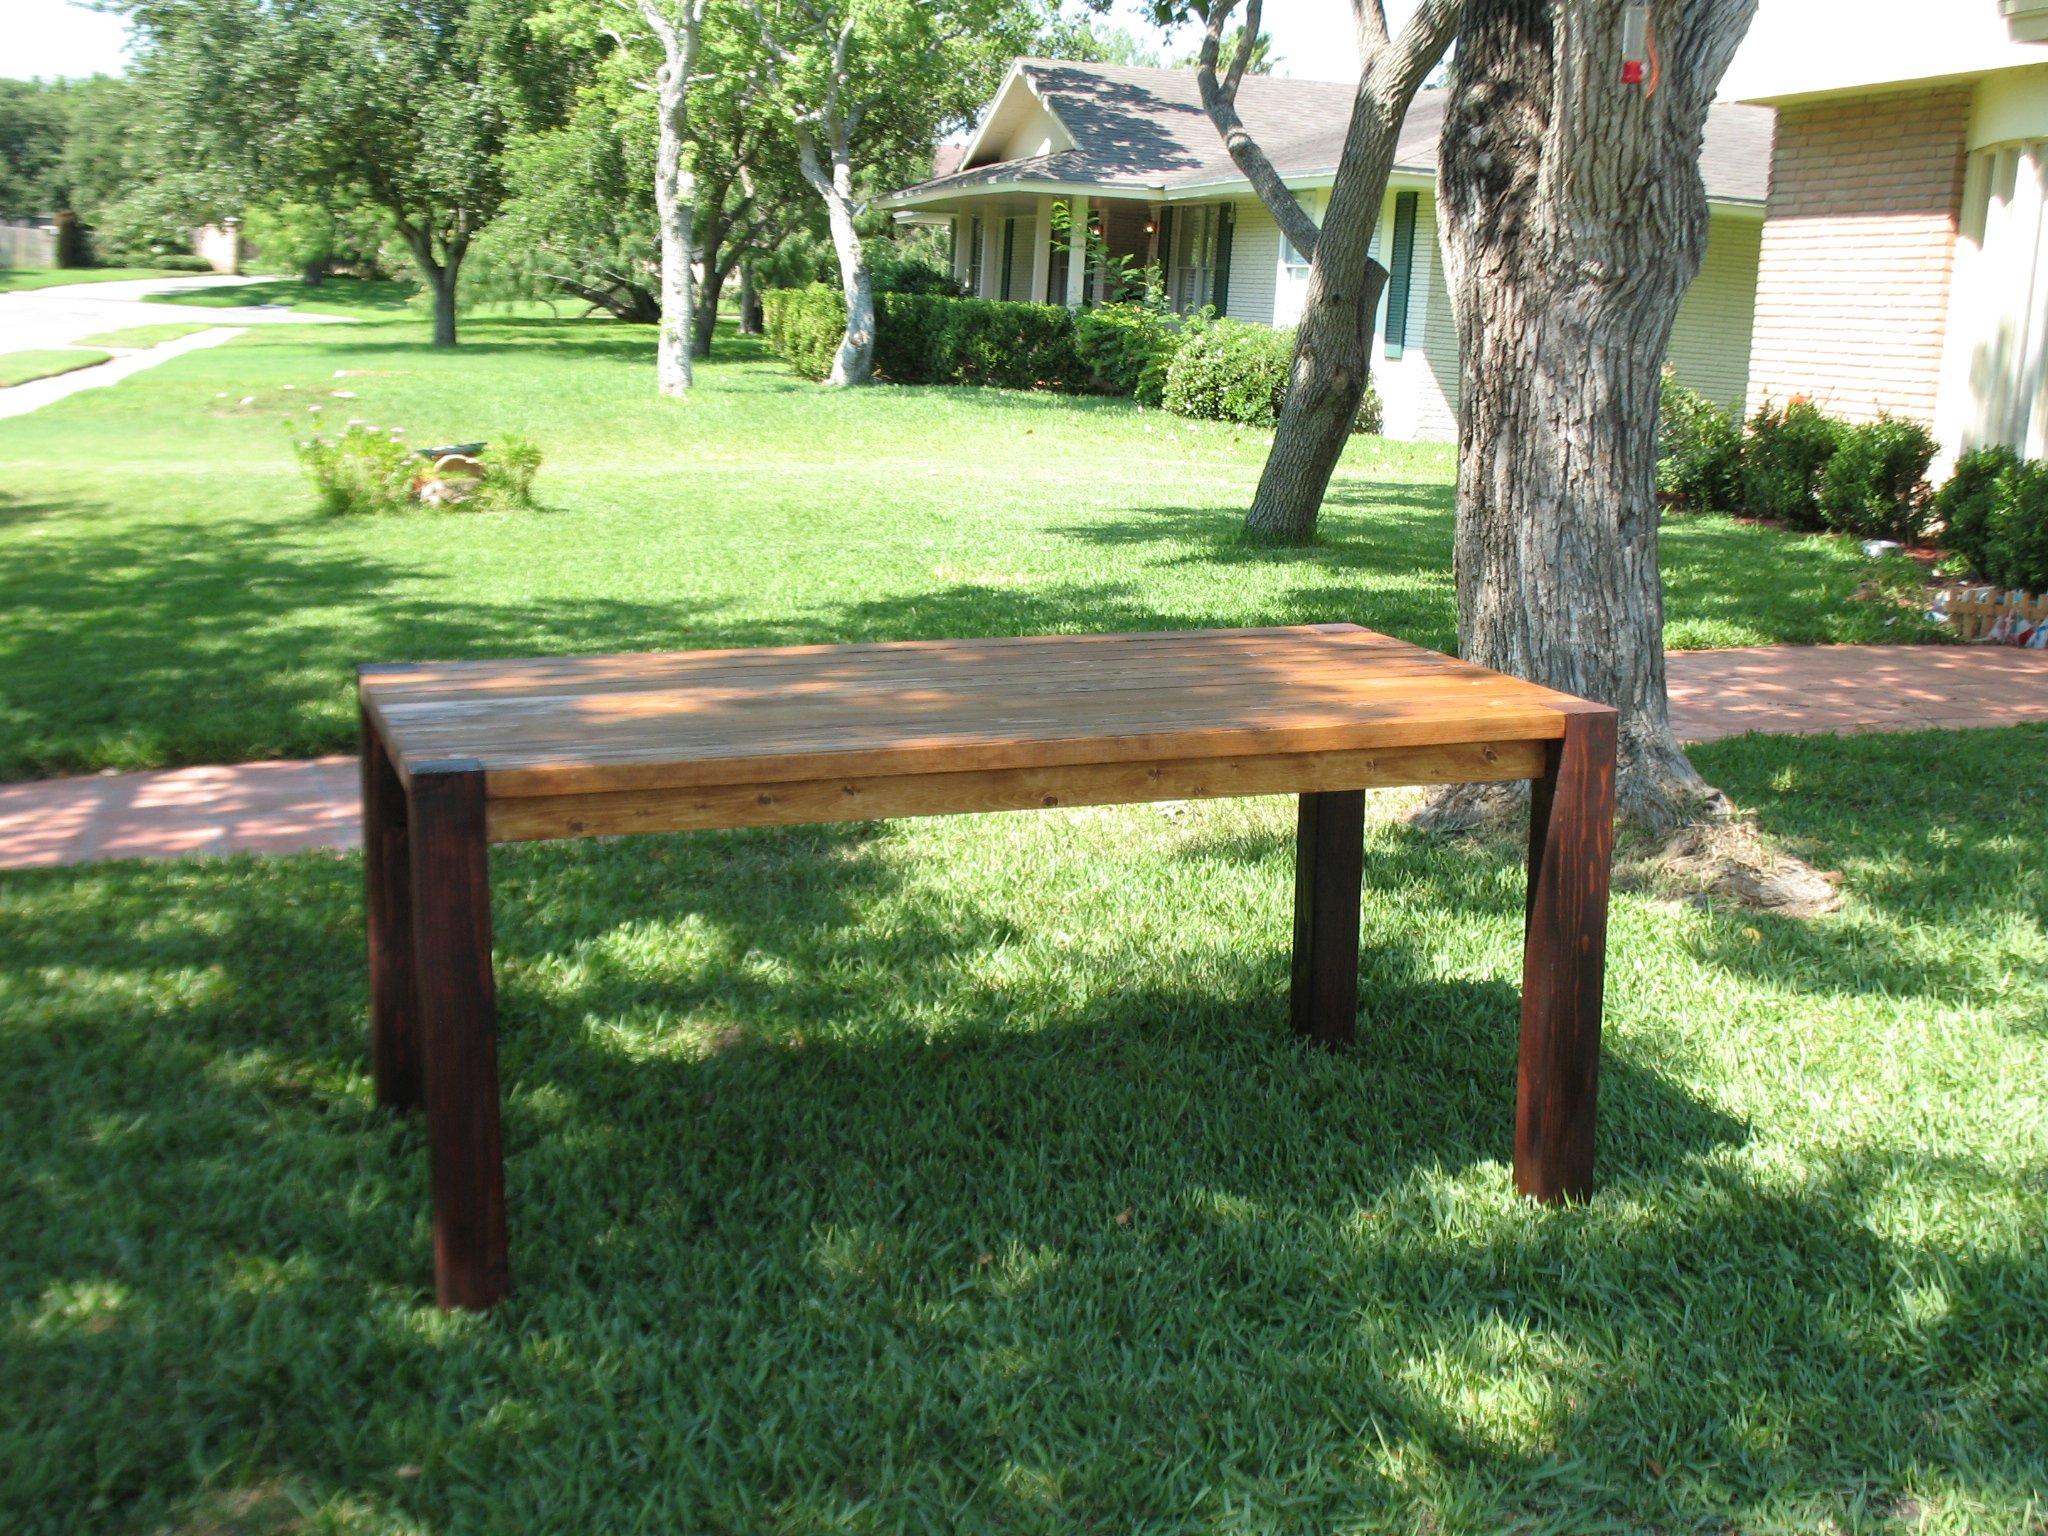
It looks amazing in her backyard and she is loving it.

Estimated Cost
$150-$200
Estimated Time Investment
Weekend Project (10-20 Hours)
Finish Used
I used 2X4s and lattice. If you can afford the better lattice-do it! We just painted it with an exterior flat paint.
Recommended Skill Level
Beginner

Comments

Twin Farmhouse bed

Took a couple of weeks to complete but, hubby only worked on it in the evenings after he got off work. He had trouble finding untreated 4x4s so he glued untreated 2x4s together (which took extra time waiting for the glue to set up and dry). He used paint grade pine wood so our cost was a little higher than what was estimated. We ended up having around $350 in it after buying paint and everything. Overall, he said it was a fairly easy project.

Estimated Time Investment
Week Long Project (20 Hours or More)
Finish Used
Primed and used Benjamin Moore Sea Pearl to finish.
Recommended Skill Level
Beginner

Chloe's Purple Playhouse Bed

Saw this plan and knew I had to make it. This is her first BIG GIRL bed. Her reaction made it all worth it, "Daddy I am going to sleep in this bed FOREVER!" We stuck with the hinged storage under the first two steps but turned the space under the top step into a little closet for her dress up stuff. We also strung rope lights in the playhouse section for added fun lighting.

Estimated Time Investment
Week Long Project (20 Hours or More)
Finish Used
Olympic Interior Latex Paint
Recommended Skill Level
Beginner

Comments

AnneP (not verified)

Fri, 11/23/2012 - 22:19

I'm going to build this for my granddaughter. She will absolutely love it. I'm having trouble figuring out the exact steps - which I need before I venture on this project. Trying to find accurate step by step plans for the stairs on the right side -- and all the walls too.
THANKS

Rustic Table

Submitted by SusieK on Sun, 04/06/2014 - 10:16

This Rustic Table was built by my just-turned-15-year-old, Joey. He is amazing!

Joey is a Kreg Jig pro (and an engineering marvel) and this table is rock solid. The only change he made was the direction of the table legs (per my request) and he tapered the legs as well.

I finished the table using Ana's directions: http://ana-white.com/2013/05/staining-and-finishing-tabletops As a stain and poly novice, these directions were a life saver!!

Learning lesson: When I applied the stain (in several coats to match my cabinetry), I was nervous and patient. Then, I built up my confidence and decided to apply a very thick coat of stain. Don't do that; it was a sticky mess! I searched online and lots of people said that I would have to start over. Don't do that, either. One person (thanks to him!) said to be patient and wait it out. Fwew! So, I moved it onto the screened porch (and turned on the overhead fans) each day so that the warm Florida air could help dry it out (alternatively I imagine you could leave it in the house with some fans blowing across it). It took about a week of waiting (ugh), but it dried (yay!) so that I could apply the Spar Urethane.

Must do: Ana suggests using Minwax® Water Based Helmsman® Spar Urethane for a top that will tolerate water condensation, milk spills, etc. I did this and have no worries that my son's project will be ruined. This table is going to last!

The bench was also an Ana design. It was a really quick project.

Thanks so much to Ana for having these accessible, free plans. I could never have afforded a table of this substance and we are SO proud to tell visitors about Joey's Table when they ask.

Estimated Time Investment
Weekend Project (10-20 Hours)
Finish Used
Minwax Water-Based Wood Conditioner, Minwax Wood Finish Cherry 235, Helmsman Spar Urethan Clear Semi-Gloss
Recommended Skill Level
Beginner

Comments

DIY Children's Picnic Table

My first truly functional build! I love how it turned out, but even more importantly my kids are loving it - we are literally using it for every possible meal and snack right now. Perfect summer project, and bonus - we get to keep all the eating messes outside! 


Built from Plan(s)
Estimated Cost
$22.50
Estimated Time Investment
Afternoon Project (3-6 Hours)
Finish Used
For the first table I sued a combination of stains.. Minwax Jacobean and Weathered Grey with a white latex paint wash. White semi gloss Behr for the legs and bottom half of table.
Second table I used Varathane's Vintage Aqua and I sealed both tables with 4 coats of Varathane's SPAR- Urethane.
Recommended Skill Level
Beginner

Potting bench -> coffee bqr

Submitted by Anonymous (not verified) on Mon, 04/27/2020 - 20:34

My husband and I decided to turn this potting bench into an indoor coffee bar. Great project for first timers, like myself. 😊

Built from Plan(s)
Estimated Time Investment
Weekend Project (10-20 Hours)
Recommended Skill Level
Beginner

Tryde Coffee Table

My first project! Luci looks like a demon.

Estimated Time Investment
Day Project (6-9 Hours)
Finish Used
Jacobean stain and polycrylic by Minwax
Recommended Skill Level
Beginner

Garden Boxes

Submitted by brittanyeg on Tue, 04/08/2014 - 14:00

Made 4 of these garden boxes for the side of the house. I love how they turned out and it was easy to change the size of boxes just by changing the side lengths. I love the trim on the top. It makes them look so much more finished. Can't wait to fill them.

Estimated Time Investment
Day Project (6-9 Hours)
Finish Used
I didn't bother with the wood glue step but am sure they'll be fine. Also I couldn't find any 1" screws. But the 1.75" screws worked fine.
Recommended Skill Level
Beginner
Seasonal And Holiday

Little smaller and no X's

Submitted by JulieJabs on Tue, 07/05/2016 - 19:20

I loved this table but I knew I wasn't going to get the X right so I skipped em ;-)  wish I knew before I had to shorten all the dimensions what a pain putting those 2x4 supports in would be!!! Used 1x10 for shelves and was quite a process trying to secure those! 


I used a watered down white latex paint all over then 1 coat of weathered oak stain 

Estimated Cost
40
Estimated Time Investment
Weekend Project (10-20 Hours)
Recommended Skill Level
Beginner

First Try, Picnic Table

I had to take 2 redwood trees down last year so I learned to mill my own lumber. This picnic table is my first attempt at furniture. The dimensions of the wood is beyond "full" so a cutlist would be meaningless. For reference the table top boards are 2.25"x9.25"x7'.

The inspiration is from the Fancy X Farmhouse Table project on this site.

I don't know how you would price or time this because I started from logs 8^)

This site is awesome!

Built from Plan(s)
Estimated Time Investment
Weekend Project (10-20 Hours)
Finish Used
TBD
Recommended Skill Level
Beginner

Comments

spiceylg

Tue, 06/19/2012 - 06:03

Wow, that is beautiful and I'm thoroughly impressed that you started from logs and this is your first attempt. This site is awesome indeed! Looking forward to seeing more of your projects!

First project Nicest thing in my house

Submitted by chomuth on Fri, 04/11/2014 - 17:33

Well this is my first project and it took me a long time. I have to think way to long before I actually do something. I redrew the drawings to fit my garbage can but it still didn't fit.
Oh well, it was a good idea at the time.
I used a biscuit joiner and glue to put everything together. For the door I used rail and stile bits. The panels are made of MDF, I used a bit made just for raised panel doors on the router table to make them, Oh by the way MDF makes a very big dusty mess, Please wear a mask it has to be really bad to breath.
I also added a slow close piece that is mainly used on kitchen cabinets, I just had to do that and it works very well.
Thanks Ana for such a helpful website

Chuck

Estimated Cost
$100 or so
Estimated Time Investment
Week Long Project (20 Hours or More)
Finish Used
Primed and spray painted all the pieces. I also sanded between the coats of paint
Some pieces needed to be painted before assembly. The top is pine that was stained and varnished.
Spray painting in a basement really make the house smell bad, Ok Ok I am not always the smartest person.
Recommended Skill Level
Starter Project

Comments

JoanneS

Sat, 04/12/2014 - 07:01

You did a beautiful job on this! The finishing is lovely, and those raised panels are impressive!

chomuth

Thu, 04/17/2014 - 15:51

Thank You JoanneS
I am on my next project now. I need a place to hang my coats and not see all of the shoes, lost almost everything in a divorce including almost all my tools.
LOL
A small price to pay for serenity.

Kitchen table and bench

Submitted by Corky2321 on Mon, 05/04/2020 - 14:55

Super fun and easy project! I had to cut down the length of the table to 6 ft to fit the space in the house. I also did 2x8 tops on the bench for more surface area. I will def be building an ana white project again!

Estimated Cost
$100 for all supplies for table and bench
Estimated Time Investment
Day Project (6-9 Hours)
Recommended Skill Level
Beginner

My Big Ur Farm Table

Submitted by Jake on Sun, 06/24/2012 - 16:12

I built the table to use in my garage but it came out so beautiful that I now find myself wondering who to give it to. I followed the plans except I used 1x3s instead of 2x6s or 2x2s for the trim between the legs. I built the top first using pocket holes and then added the legs. I then added the side trim before adding the joists. That process had every board fitting perfectly. No attachments are visible from the outside. I attached the legs using pocket holes and three inch screws and glue , of course.

I will build two benches which should be a snap.

I had no luck finding a 10 foot 4x4 so I bought two 8 foot. Got a good deal at HD with each less than $8 each

Built from Plan(s)
Estimated Cost
$61 which includes screws and glue but not stain.
Estimated Time Investment
Day Project (6-9 Hours)
Finish Used
I use Minwax Golden Oak for the pine components and Minwax Red Oak for the fir legs. I like the contrast.
Recommended Skill Level
Beginner
Back