Play Table and Chairs for Kids
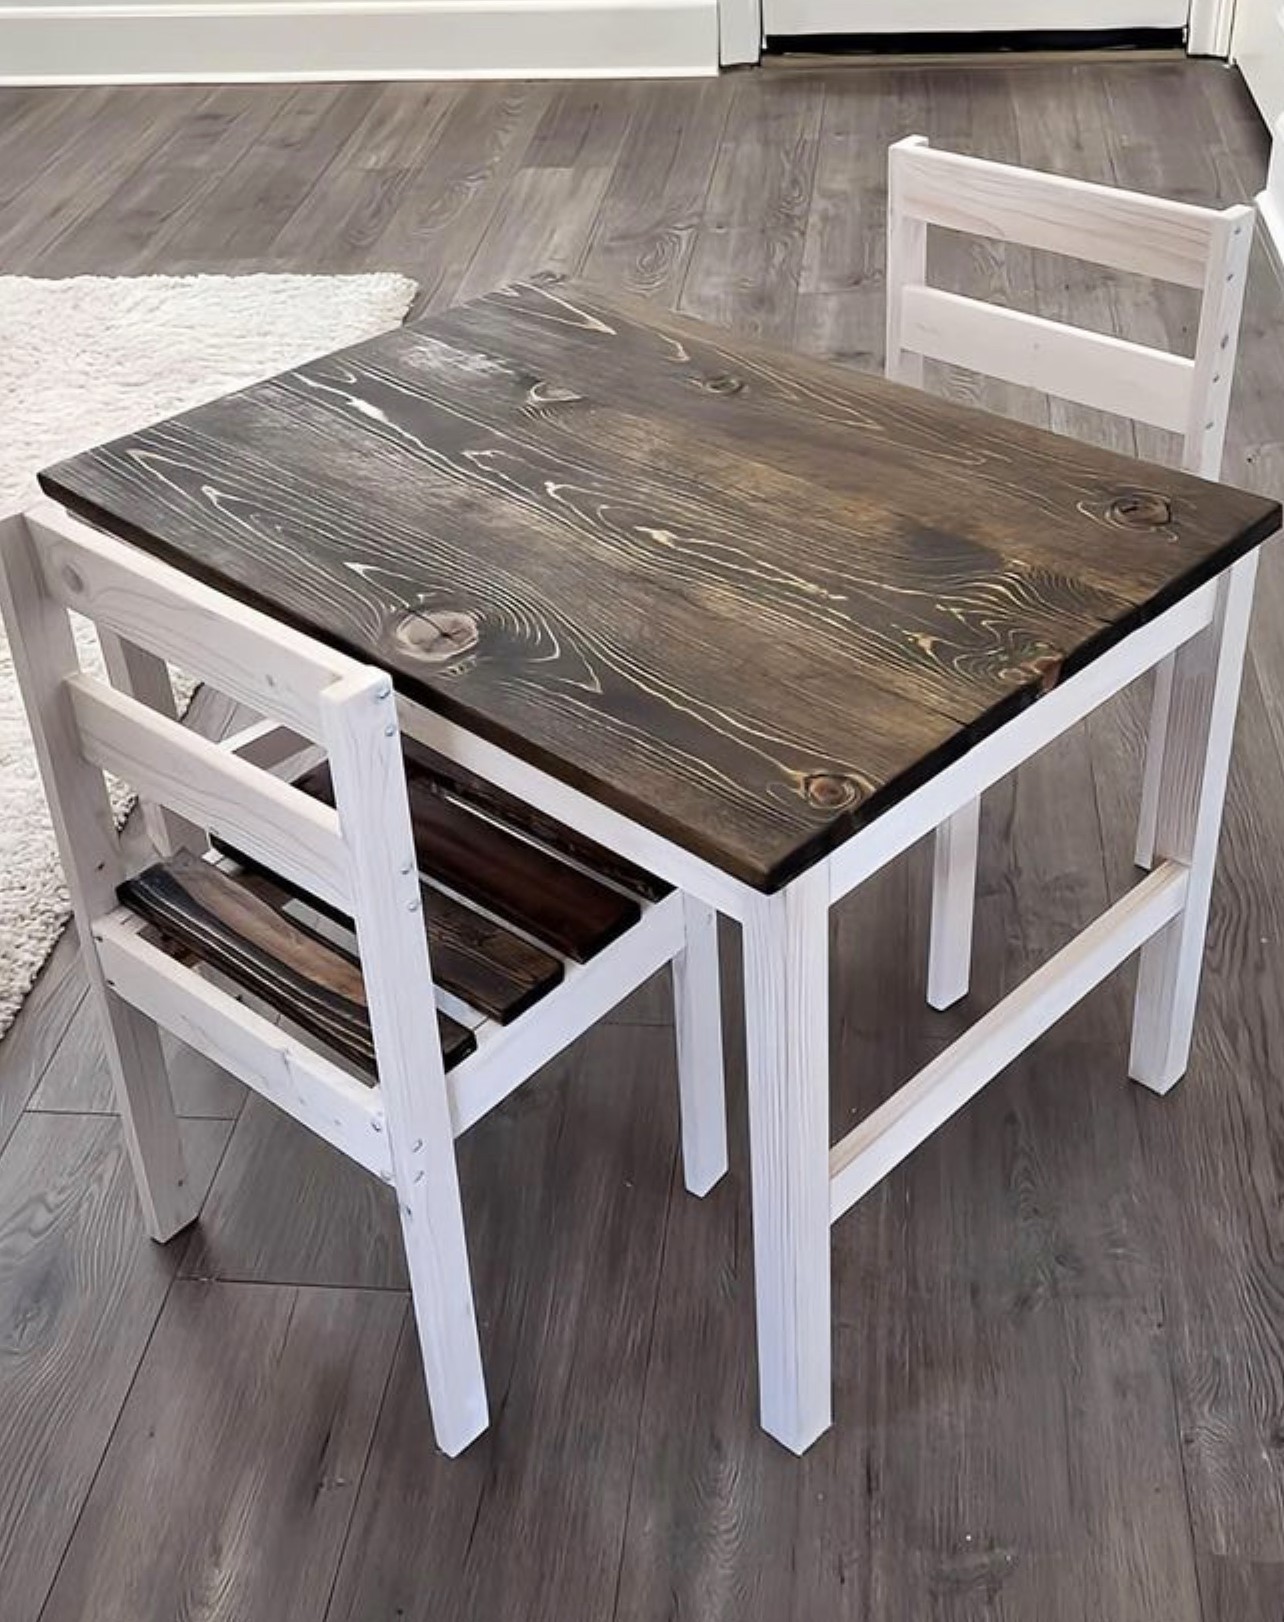
Super easy to build ,thanks for the instructions!!!!!!
Built from Plan(s)
Super easy to build ,thanks for the instructions!!!!!!

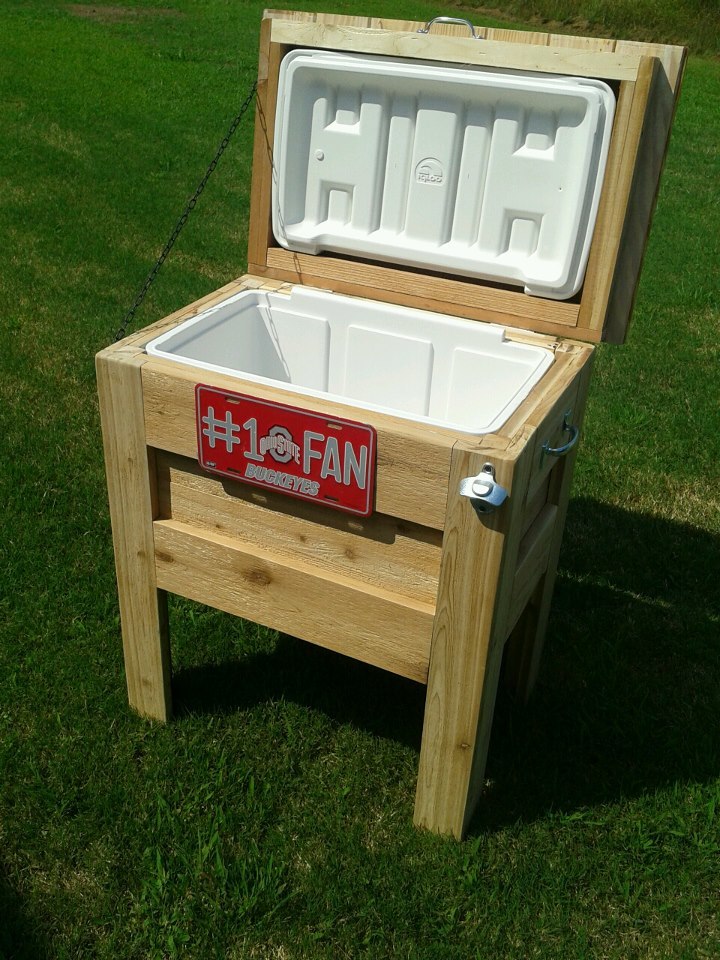
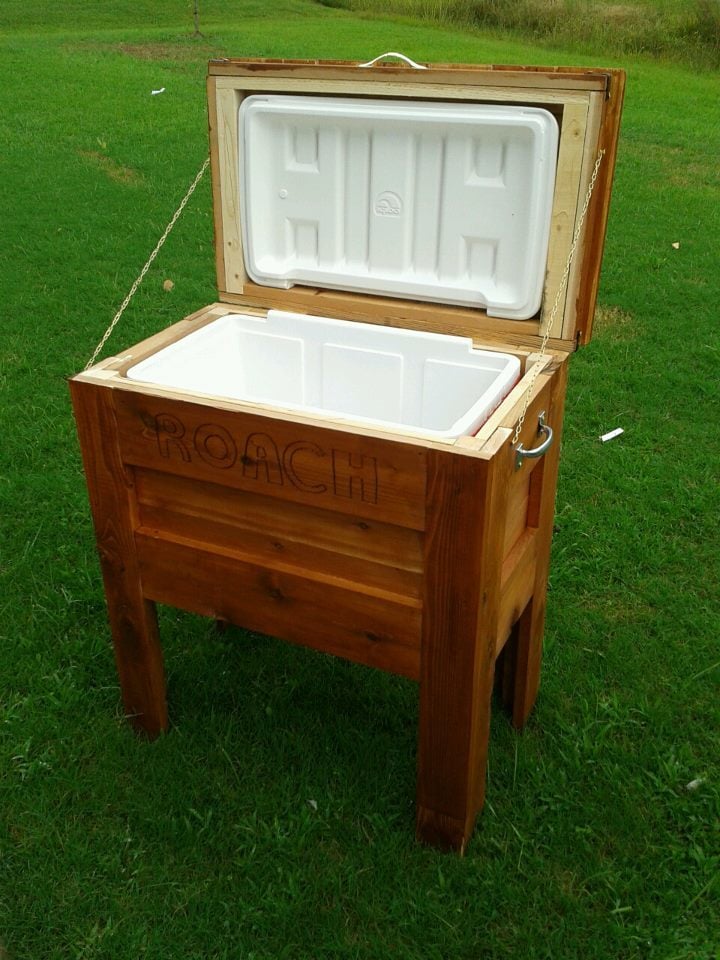
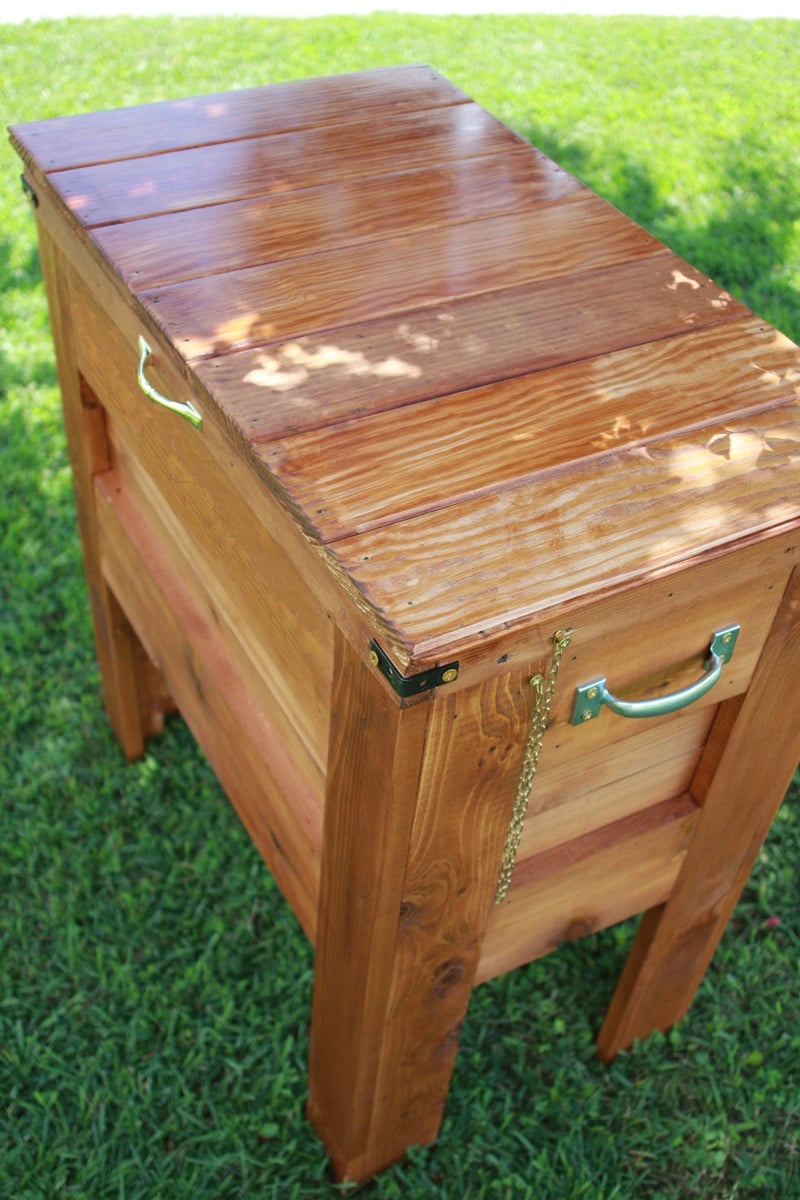
An Outdoor Wooden Cooler is the perfect way to accent any deck, patio, or garage. Can be made from Cedar, Pressure Treated, Cyprus, etc. Sizes can vary from small 28 qt coolers to Large 120 qt coolers capable of holding hundreds of drinks. These coolers can be themed for your favorite sports team, favorite hobby, or anything of your choice. Engraving or wood burning is available.
Fri, 08/31/2012 - 09:52
Well, actually, two. My beer loving son-in-laws would love this, and Christmas is coming! Do you happen to have any "step-by-step" directions you'd be willing to share? I can figure out the dimensions but it would be really helpful to read - or see - the components and how you put it all together.
Thanks for sharing!
In reply to I want to make one of these by sgilly
Fri, 09/28/2012 - 11:43
I had to make a new page because of some password issues. Thanks for comments. I have no plans yet, I've built so many it's sort of muscle memory now. Shoot me an email at [email protected] and perhaps I can help.

Sat, 09/01/2012 - 10:59
I want to make one too. Is the lid tricky at all?
Fri, 09/28/2012 - 11:41
I had to make a new page because of some password issues. Thanks for comments. I have no plans yet, I've built so many it's sort of muscle memory now. Shoot me an email at [email protected] and perhaps I can help.
And no, the lid style I like is nothing more than some tongue~n~groove boards cut to length, attached with pocket holes and nailed to the lid frame. Tongue~N~groove is optional of course, you could just use regular boards.

Thu, 03/14/2013 - 21:08
I don't mean to hijack Adam's great build, but I have some step-by-step plans available for a cooler I built with a similar style. It has a 2x2 frame with old fencing facing. For those of you looking for plans/tutorial http://www.killerbdesigns.com/rustic-cooler-a-how-to/

Thu, 05/07/2015 - 07:20
My husband used a similar design to Adam's but made it a double. :) He also added wheels and a bottle opener/cap catcher. Great work Adam!
http://purposefulproductions.blogspot.com/2015/04/diy-wood-drink-cooler…

Sun, 07/05/2020 - 08:42
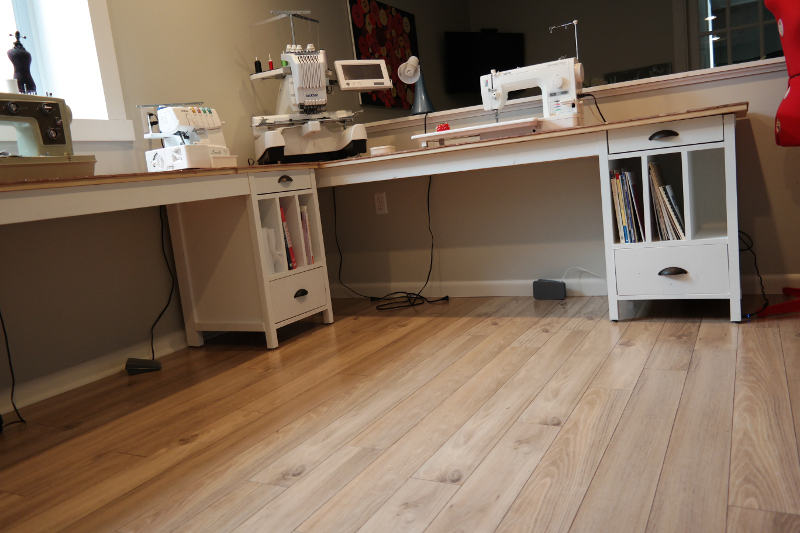
Lovely desks/space! And the sewing machines look like they're going to bring hours of fun! What kind of wood did you use for the tops? Did you route it to make it tongue and groove?
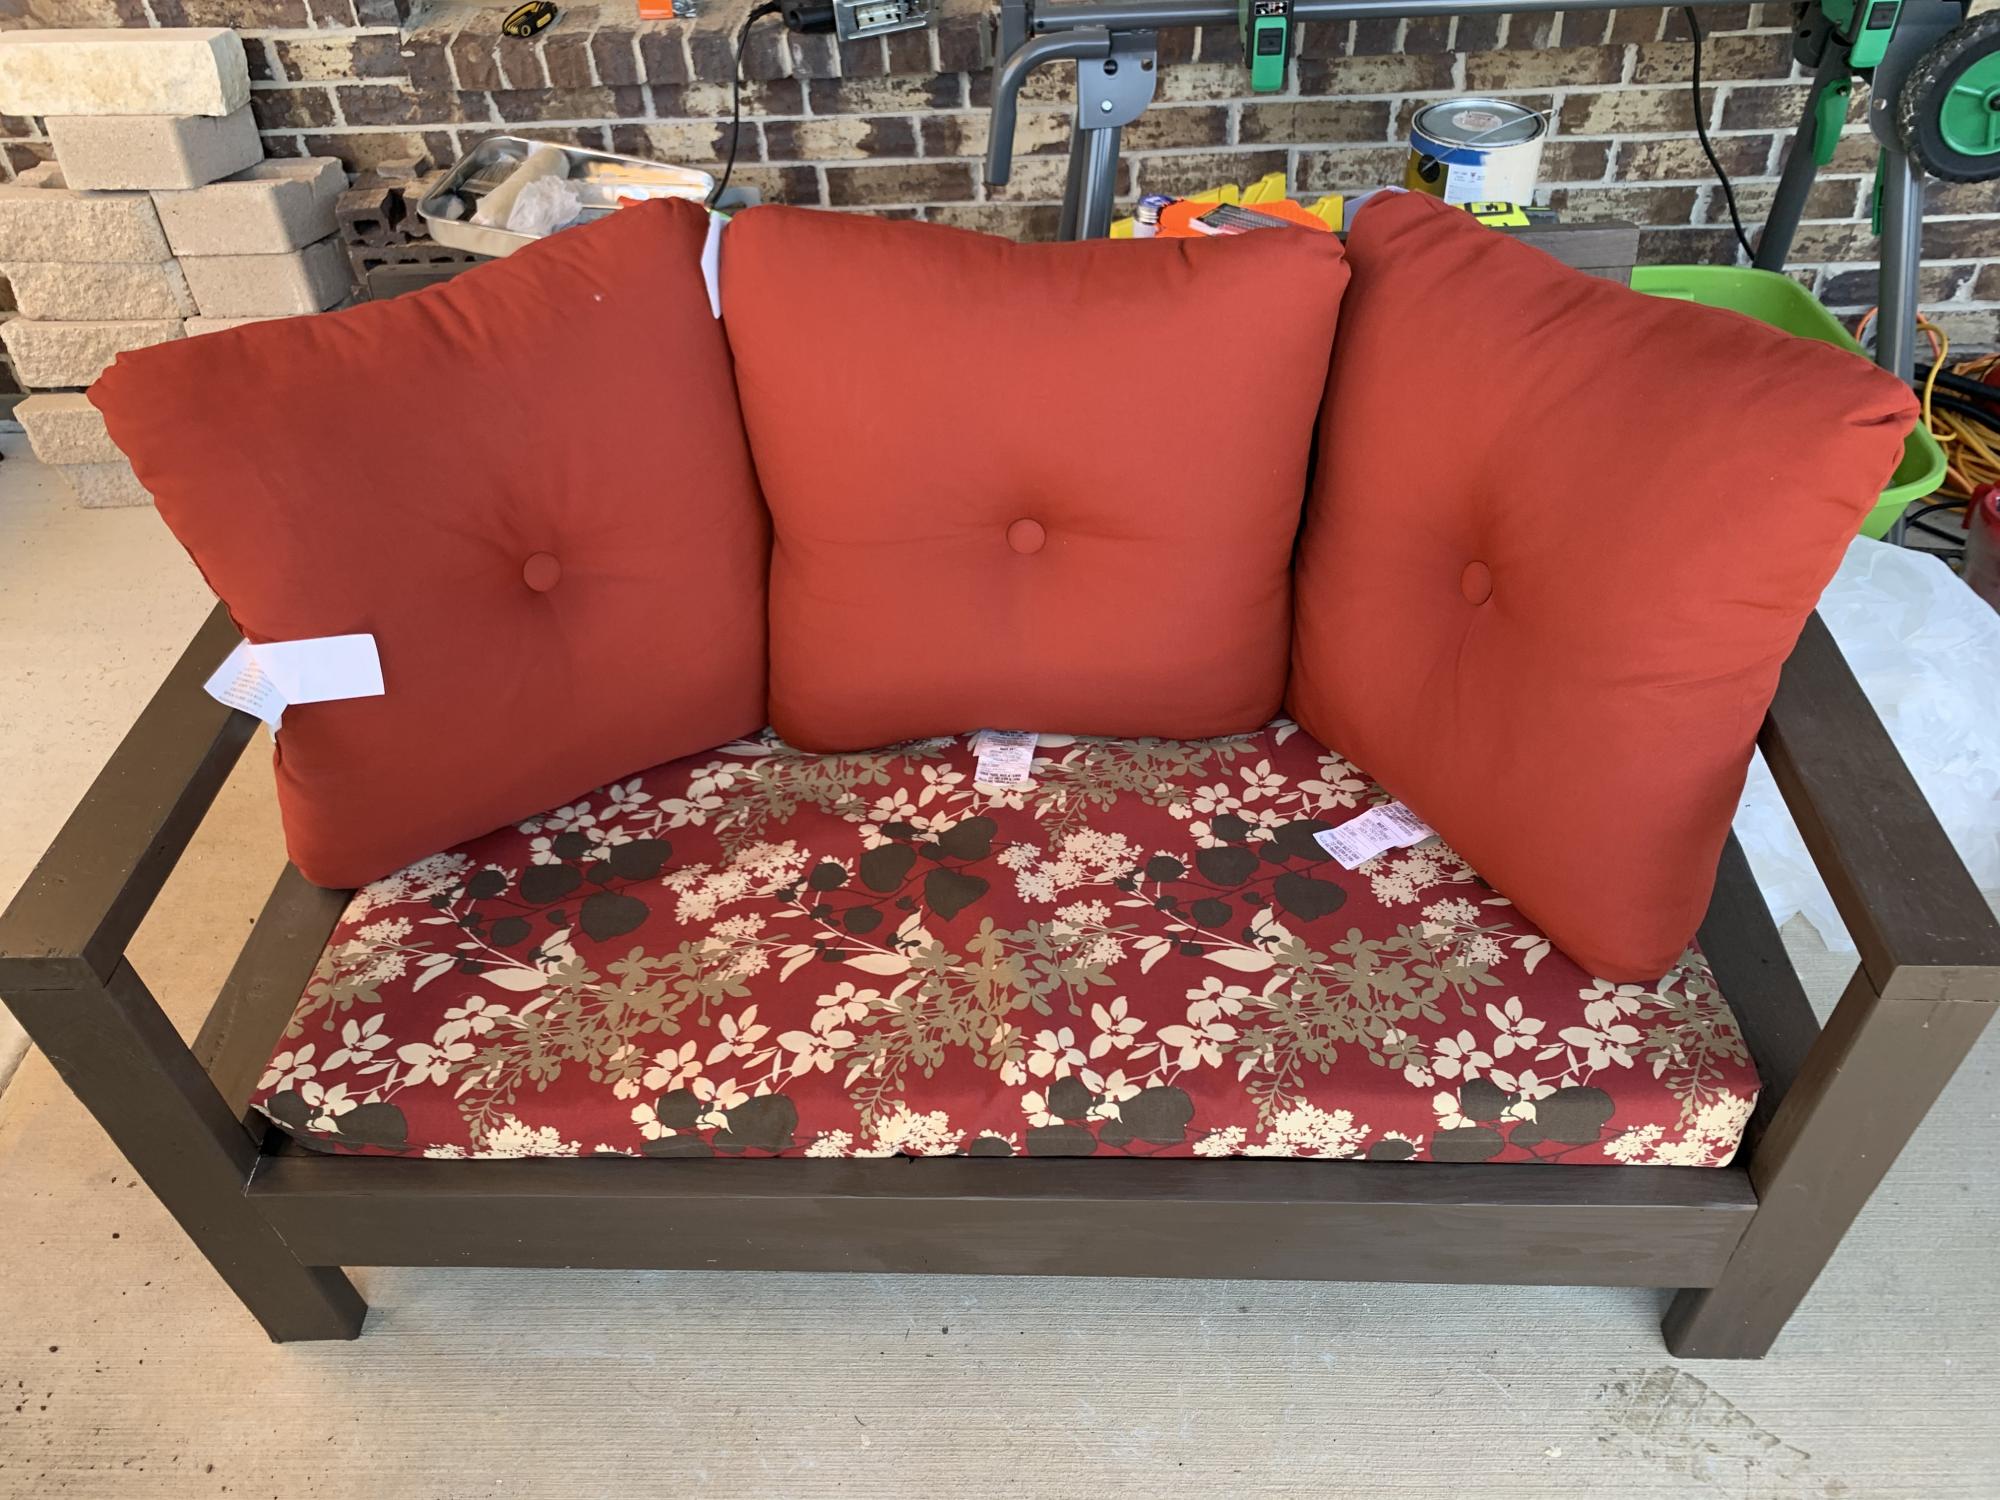
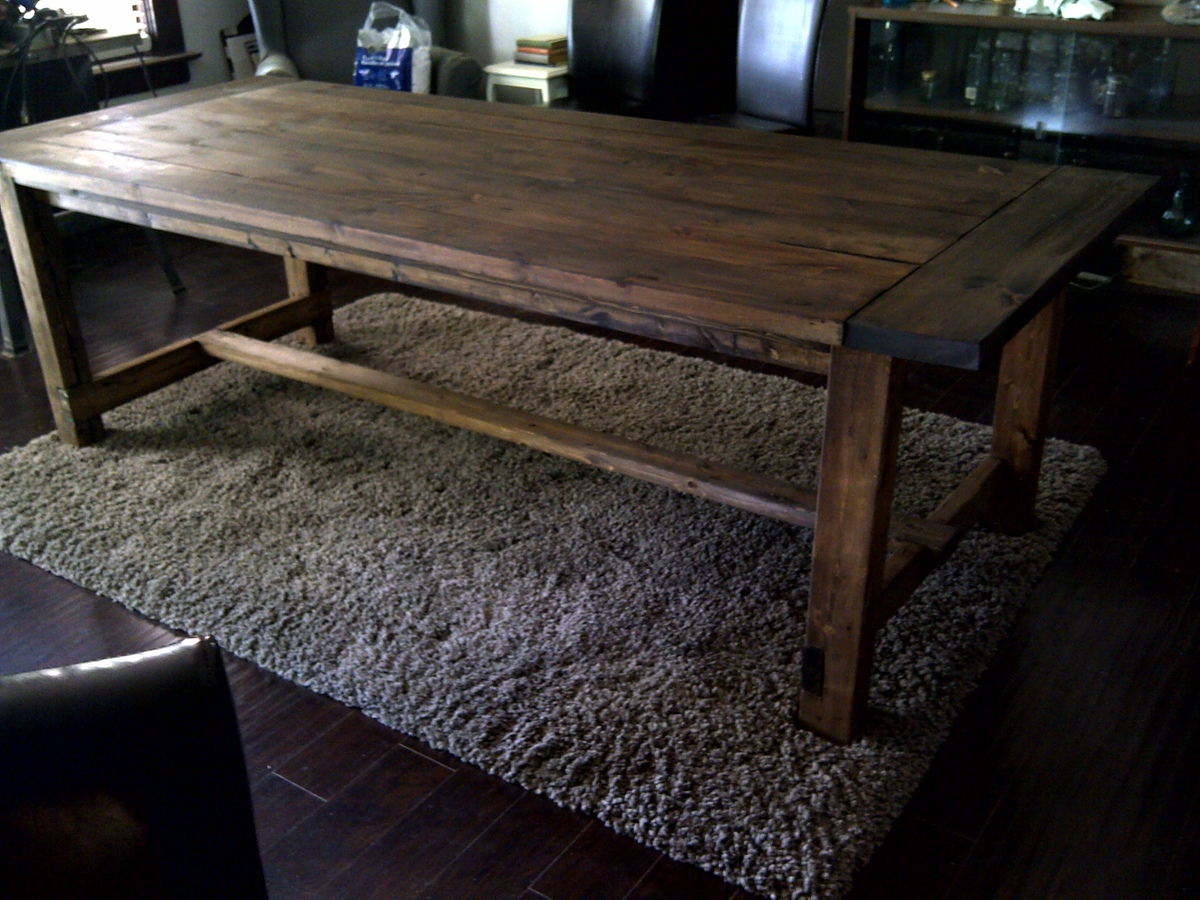
This is the second thing I’ve built made based off of an Ana White plan! We followed as best we could? It got a bit dodgy around step 5 but we made it!
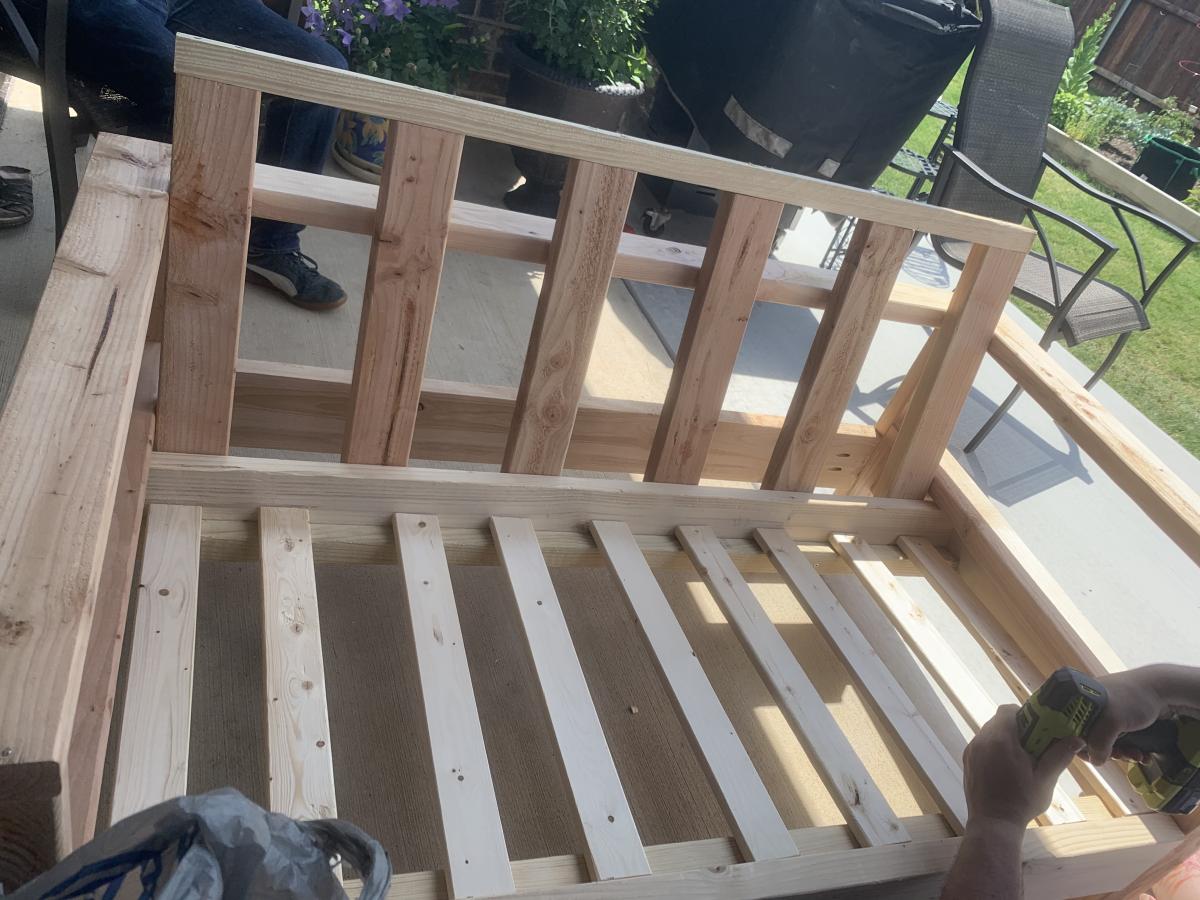

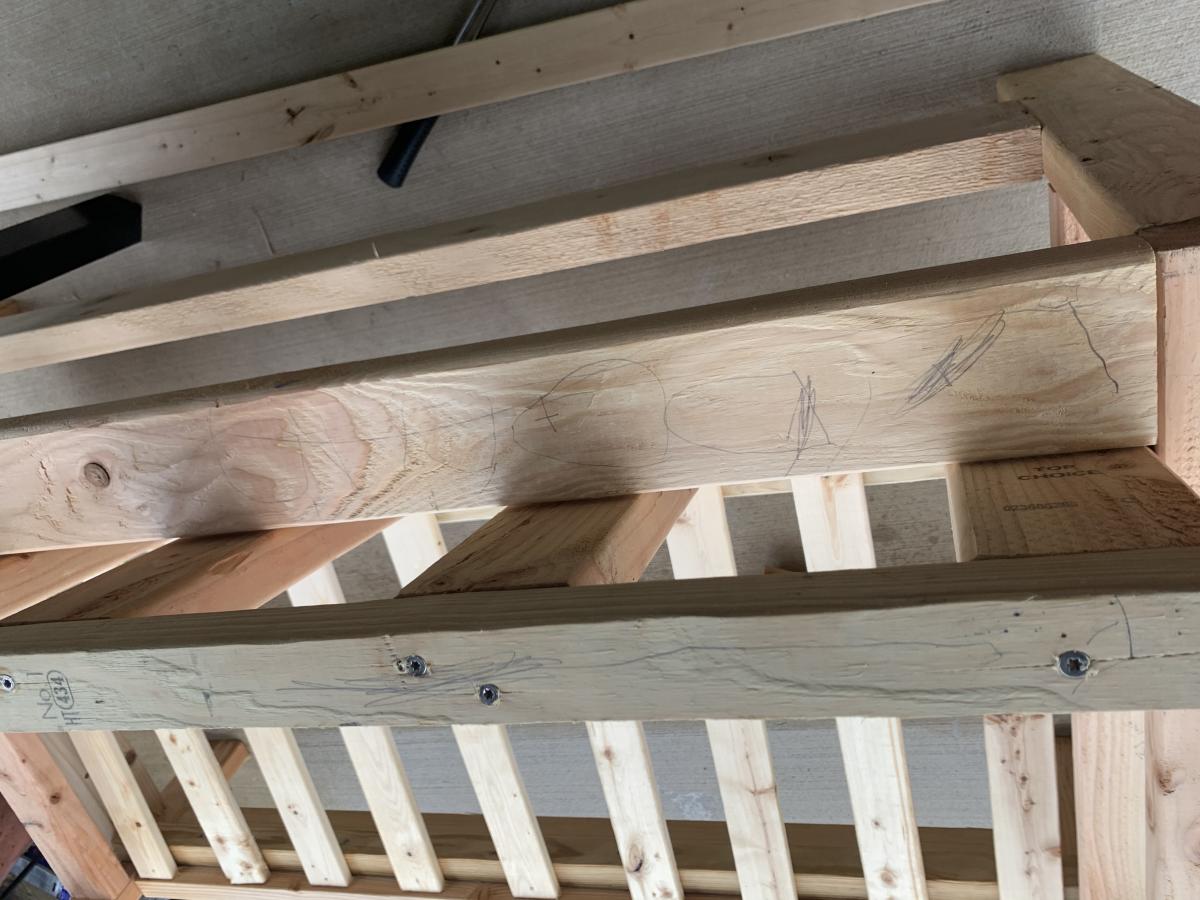
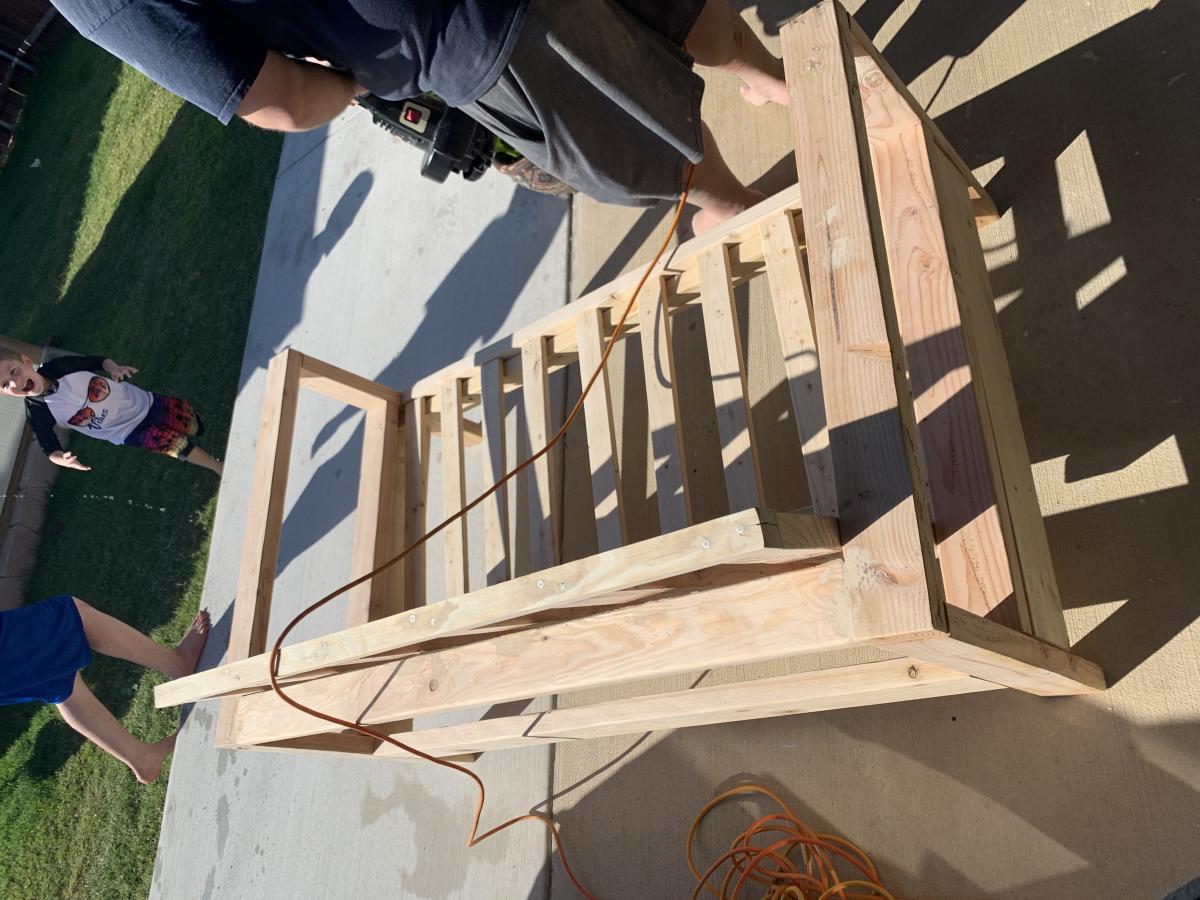

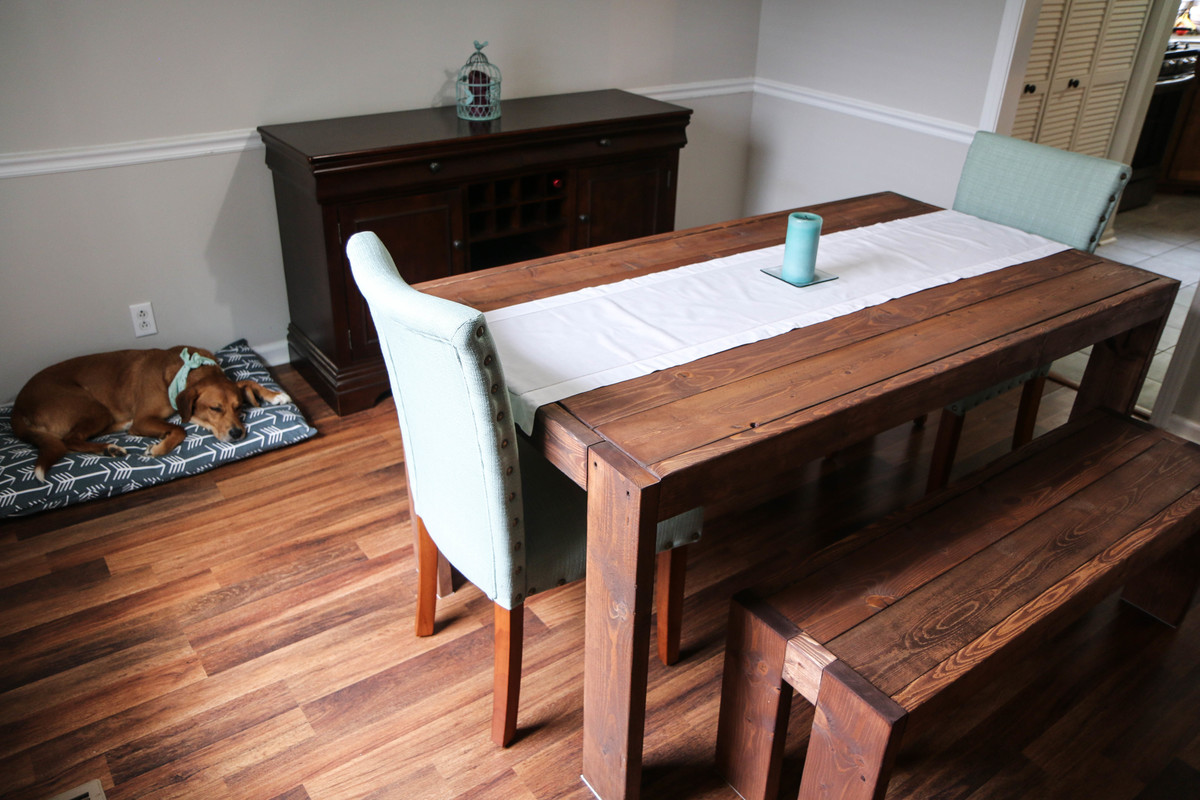
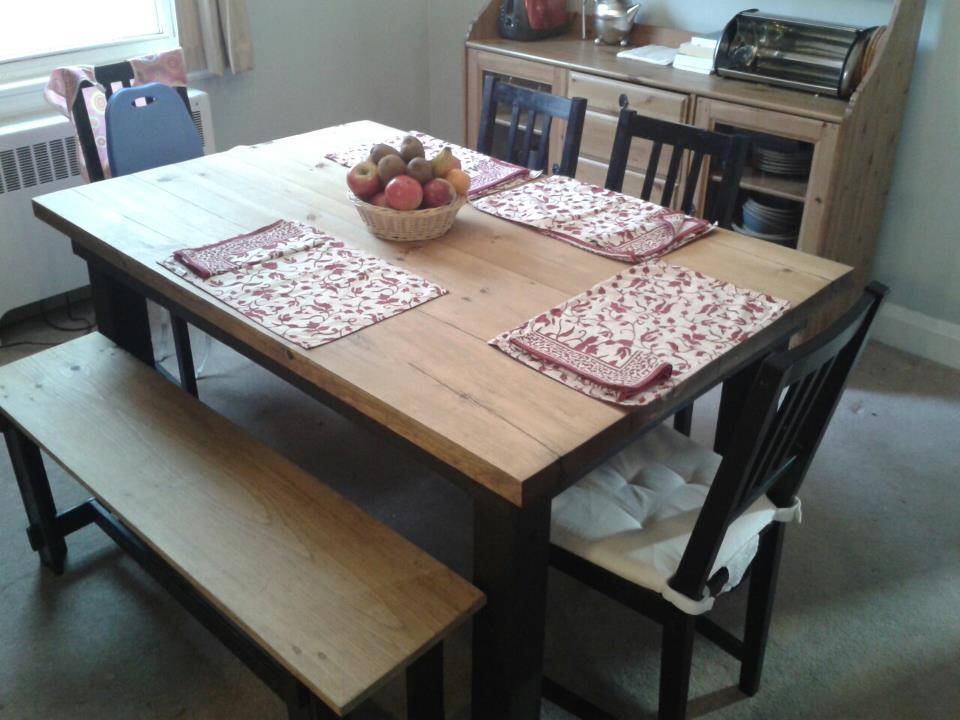
This was a fantastic project. I ended up replacing the admittedly flimsy top with six 2x4s topped off with some surprisingly expensive thin plywood.
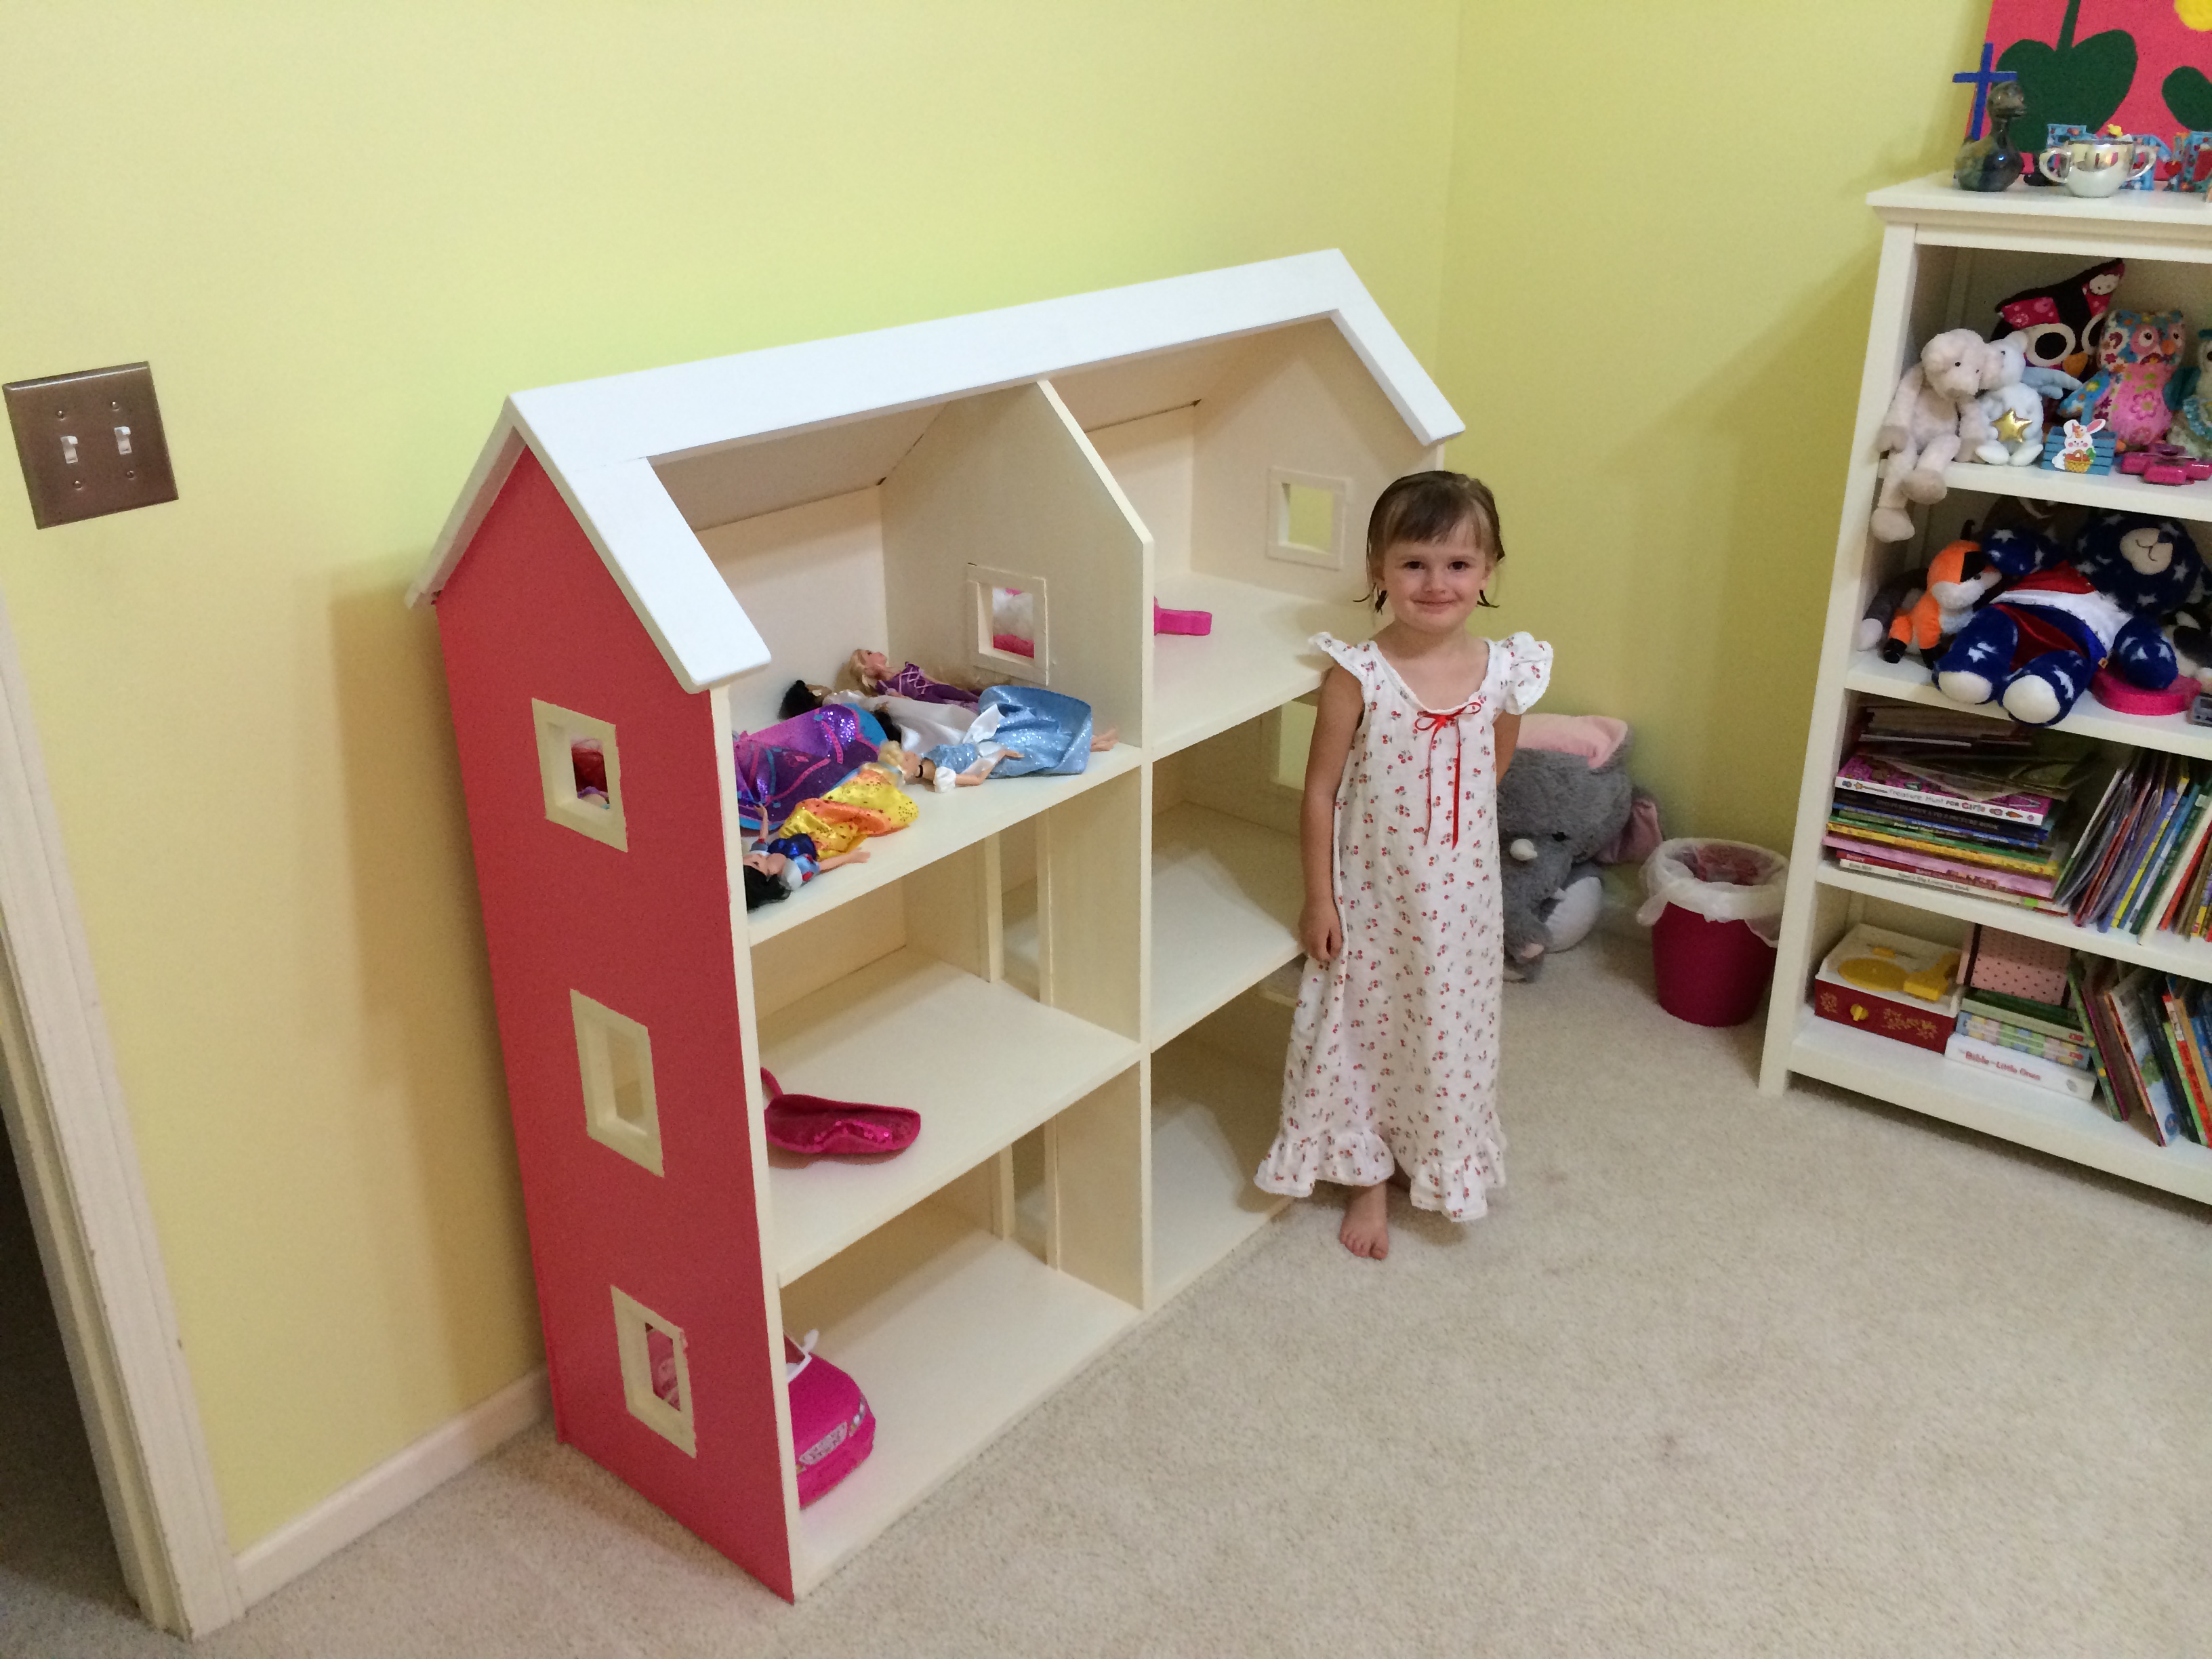
I built a slightly smaller version of the full sized dollhouse. I used MDF for the house with the roof and pine for the and windows.
Tue, 08/13/2019 - 18:45
Love this! How did you come up with the dimensions?
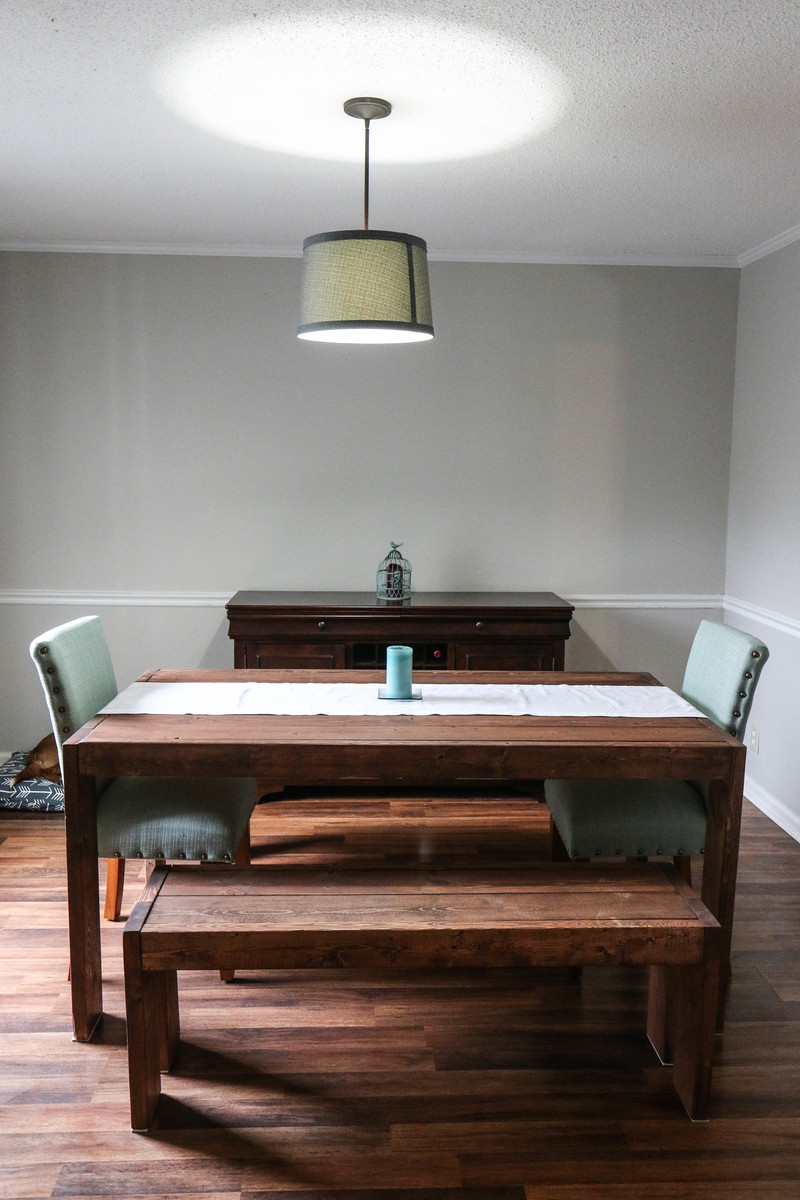
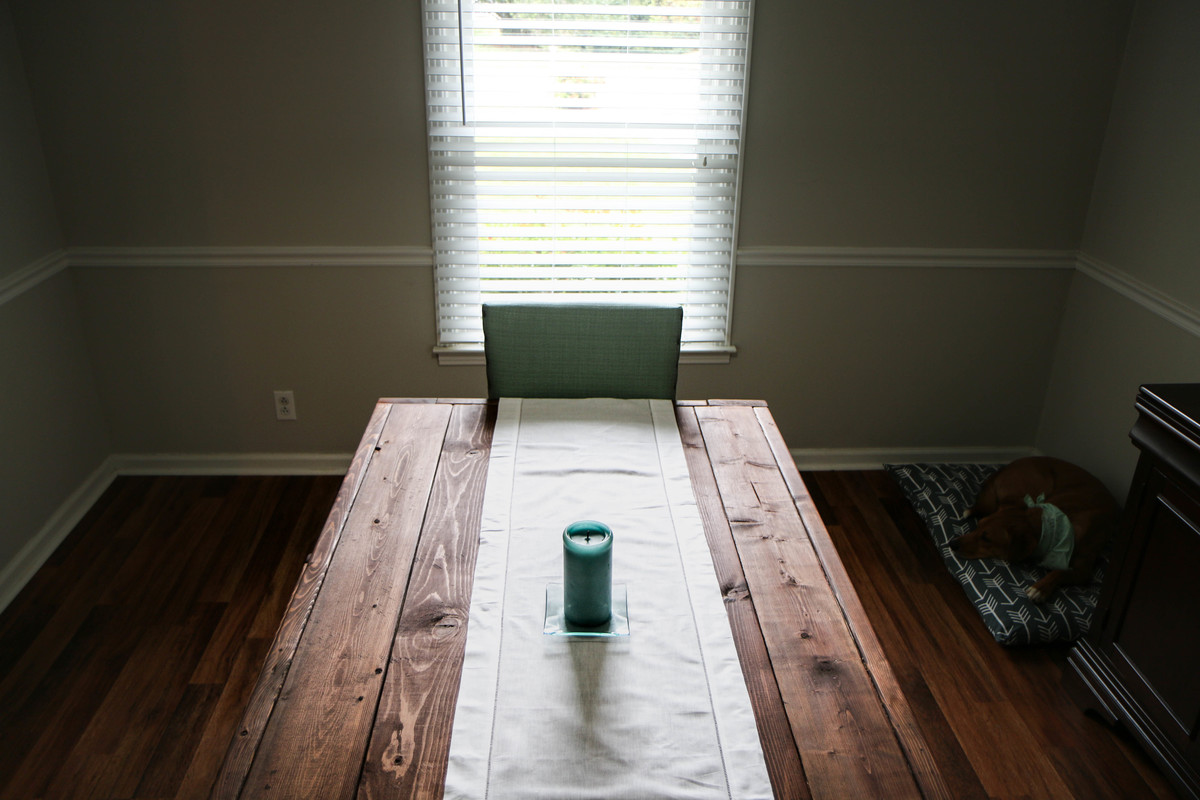
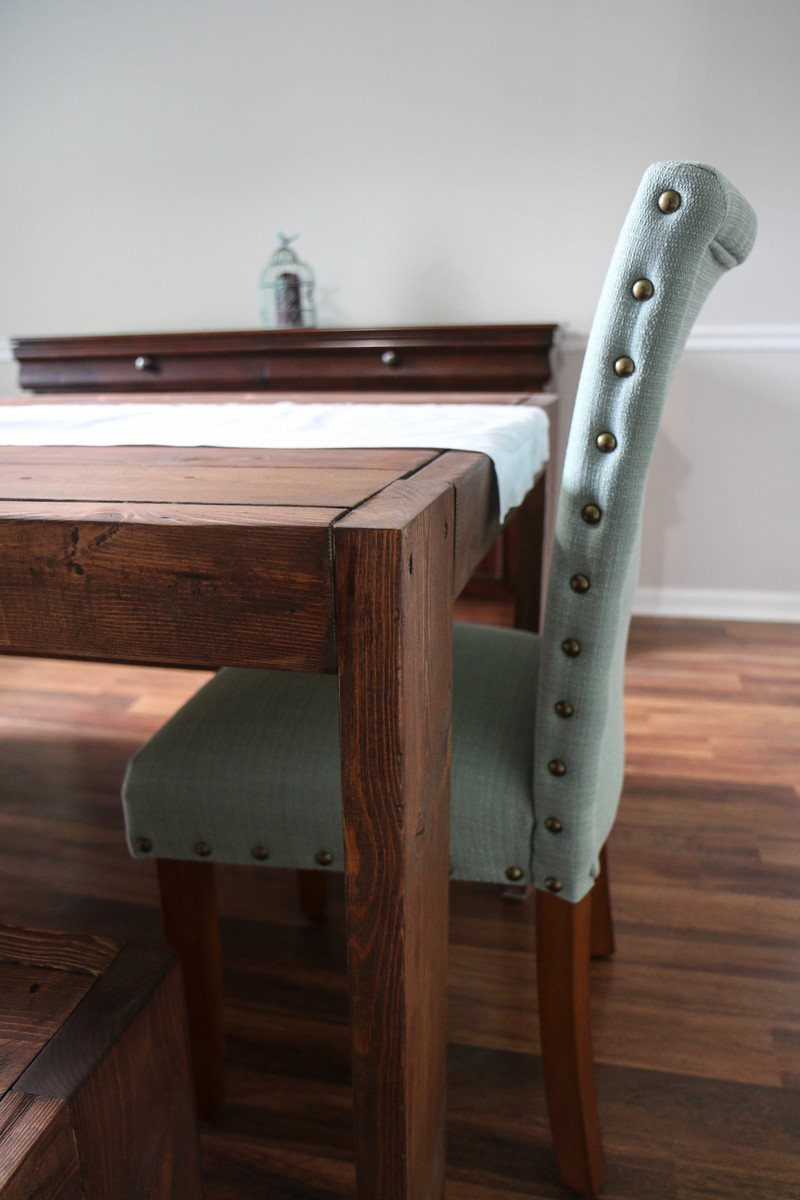
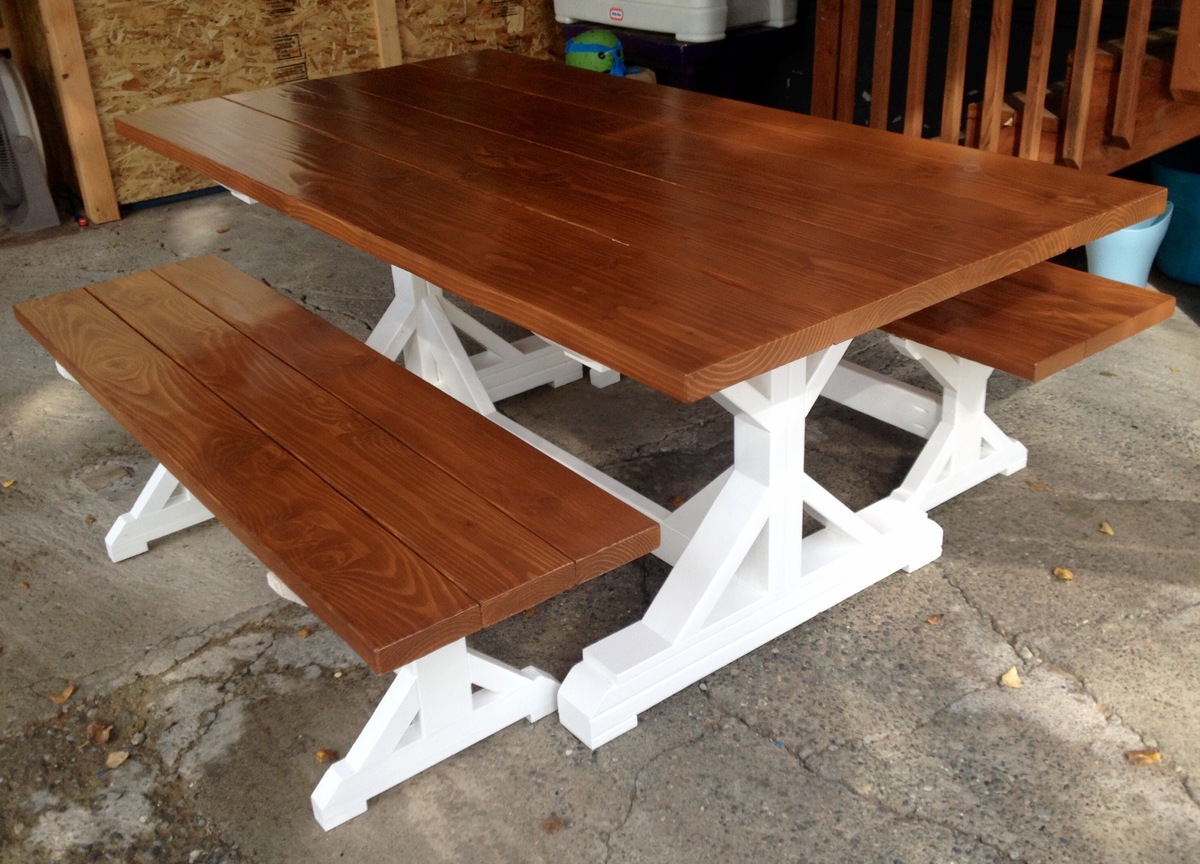
Used the Kreg Jig for the table top. I followed Ana White's Youtube Video "How to Build a Tabletop" for instructions on how to do it.
Weeklong project for all three. Started on a Saturday and had it in the dining room and eating a meal the next Saturday!
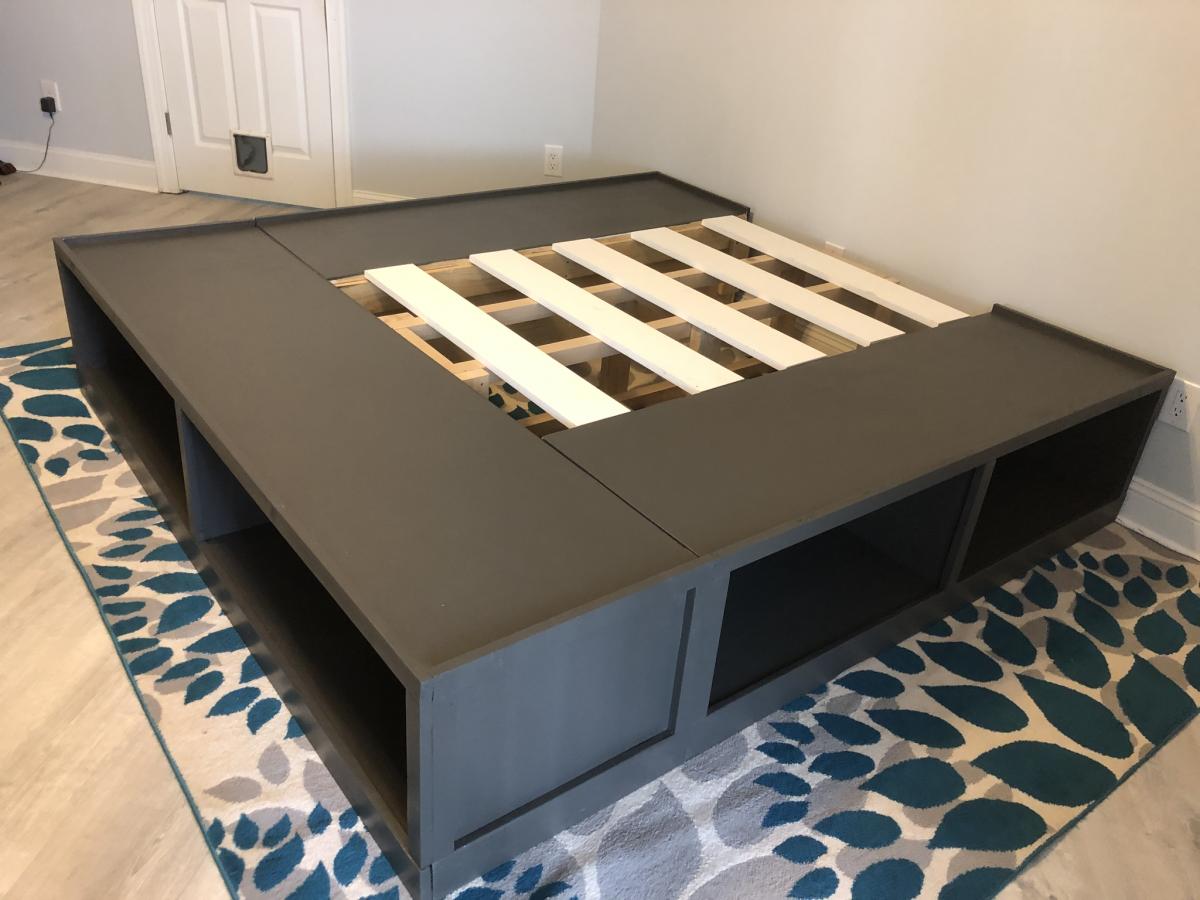
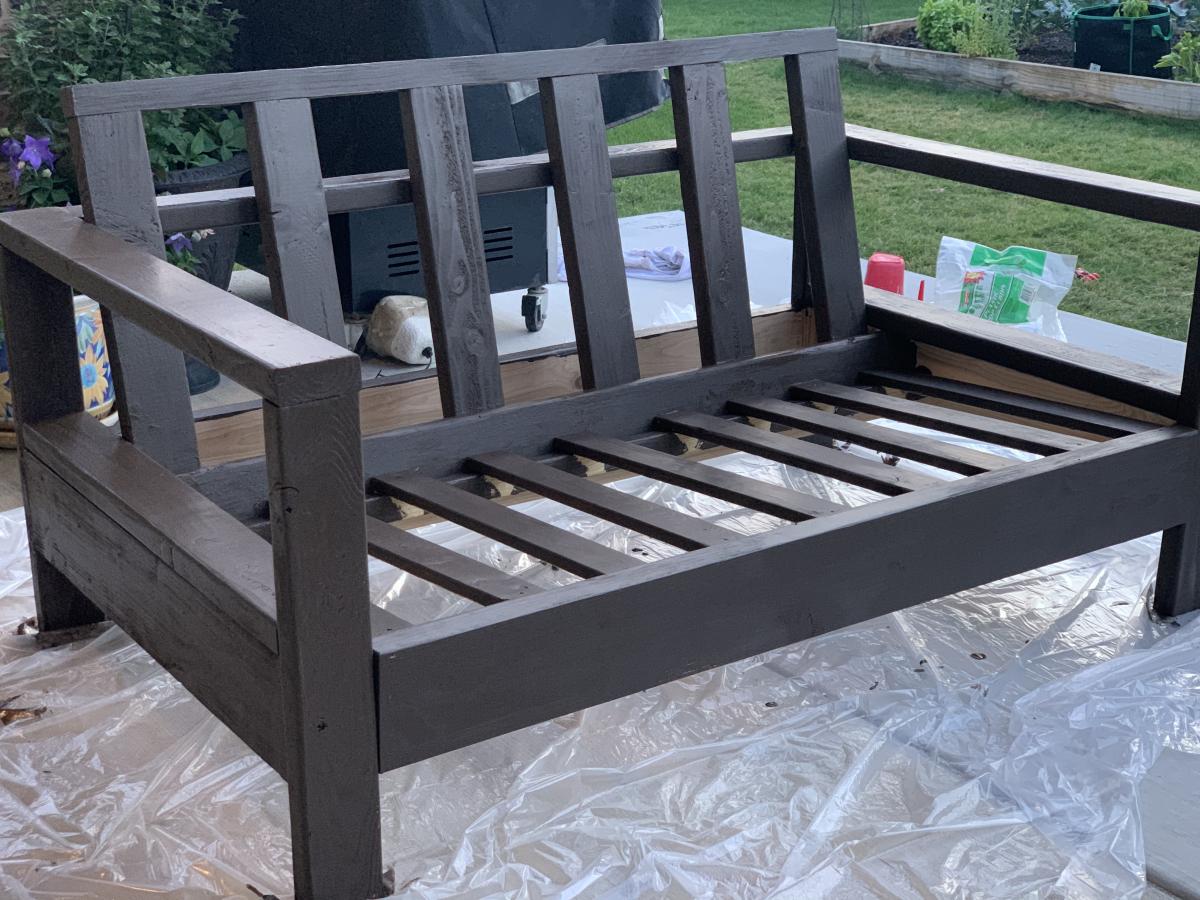
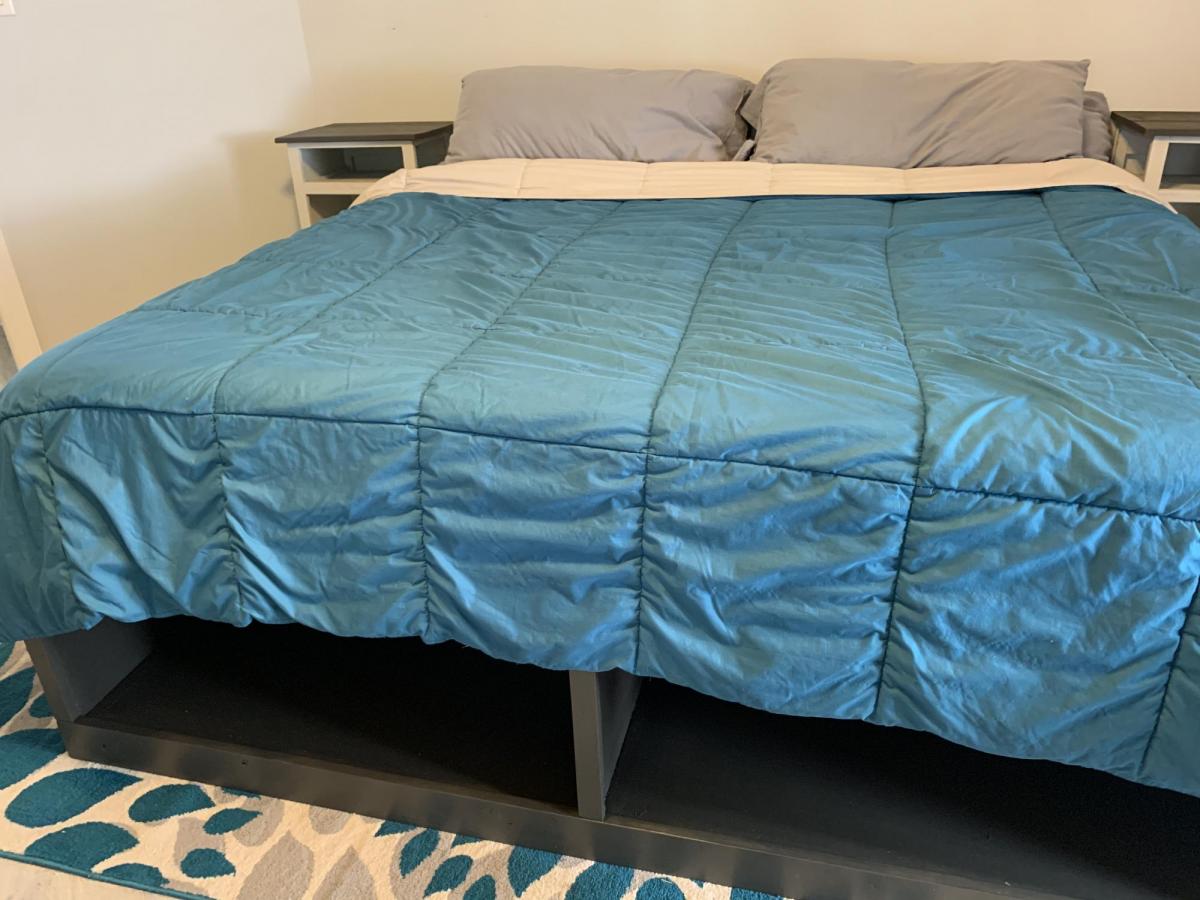
Built fairly close to original plans. Though we did modify slightly to create a slightly taller bed.
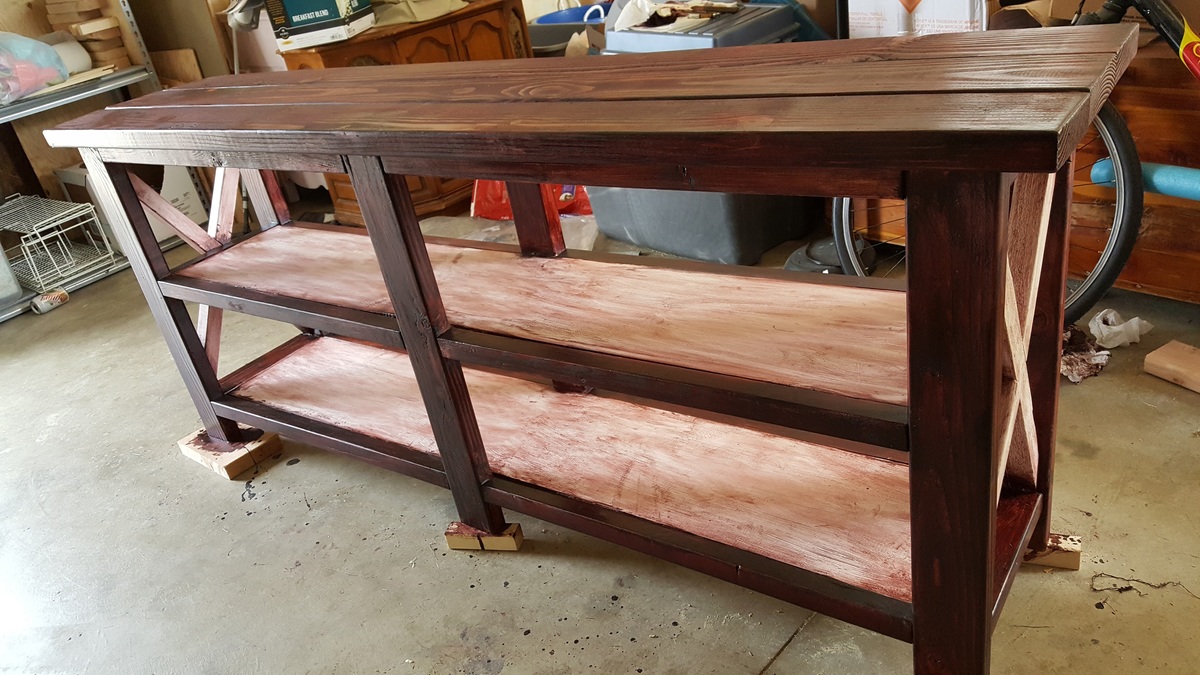
We placed a simple - but sturdy 2x4 frame between the sides. The span seemed a bit wide and we did not want any sagging.
We skipped the optional drawers, instead we will be building lightweight wooden storage crates to fit the storage spaces specifically.
Not a hard project. Though be sure to measure twice before you cut. 🤣

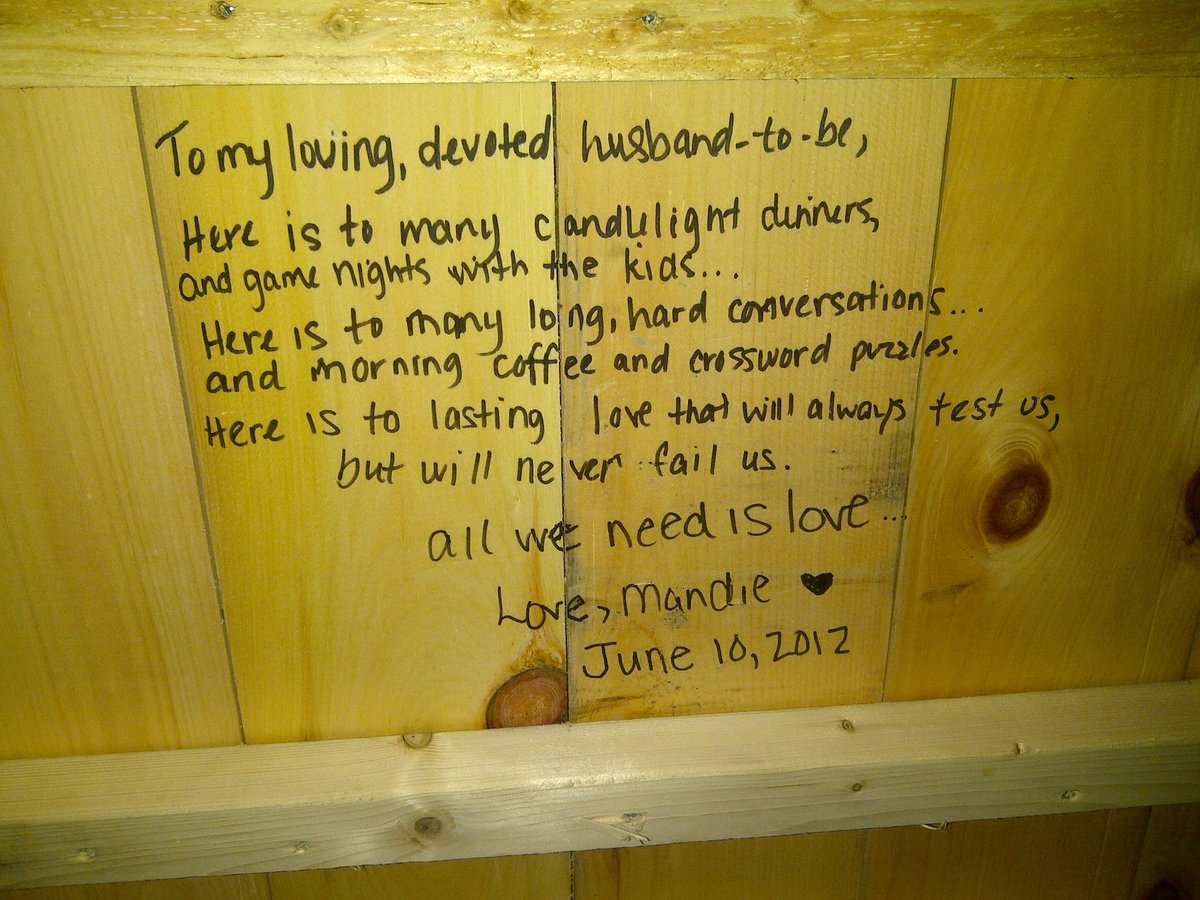
My first project!

Tue, 09/04/2012 - 18:25
Congrats on a wonderful first project! Looks beautiful and very professional. And I love the inscription you did underneath. That is so sweet! :)

Tue, 09/04/2012 - 19:15
Welcome to the community. You did a beautiful job and I love the idea of the personalization underneath. Very sweet indeed.
I spent about 2 weeks off and on working on this project. I was happy with the outcome. It was a project for my daughter for her 23rd birthday. She loved it! Thank you for the plans!

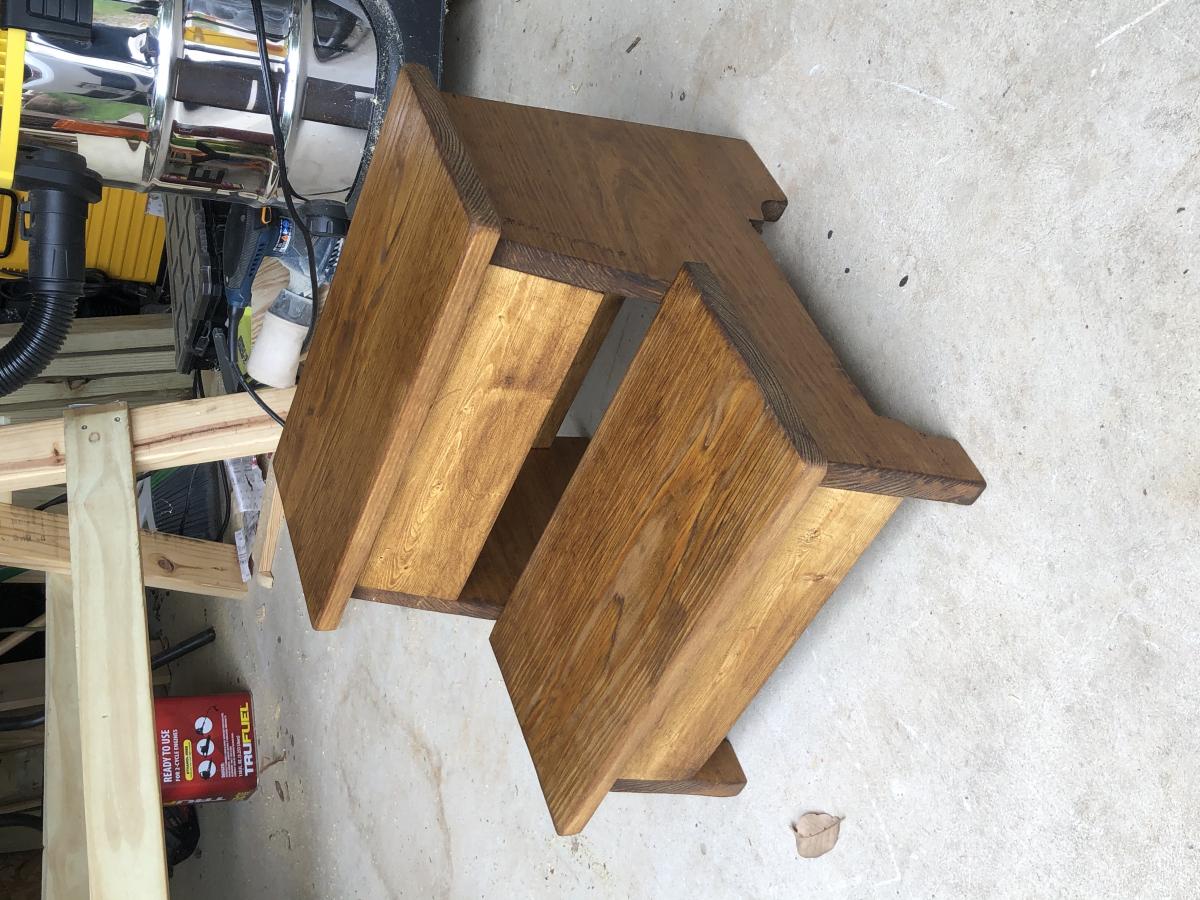
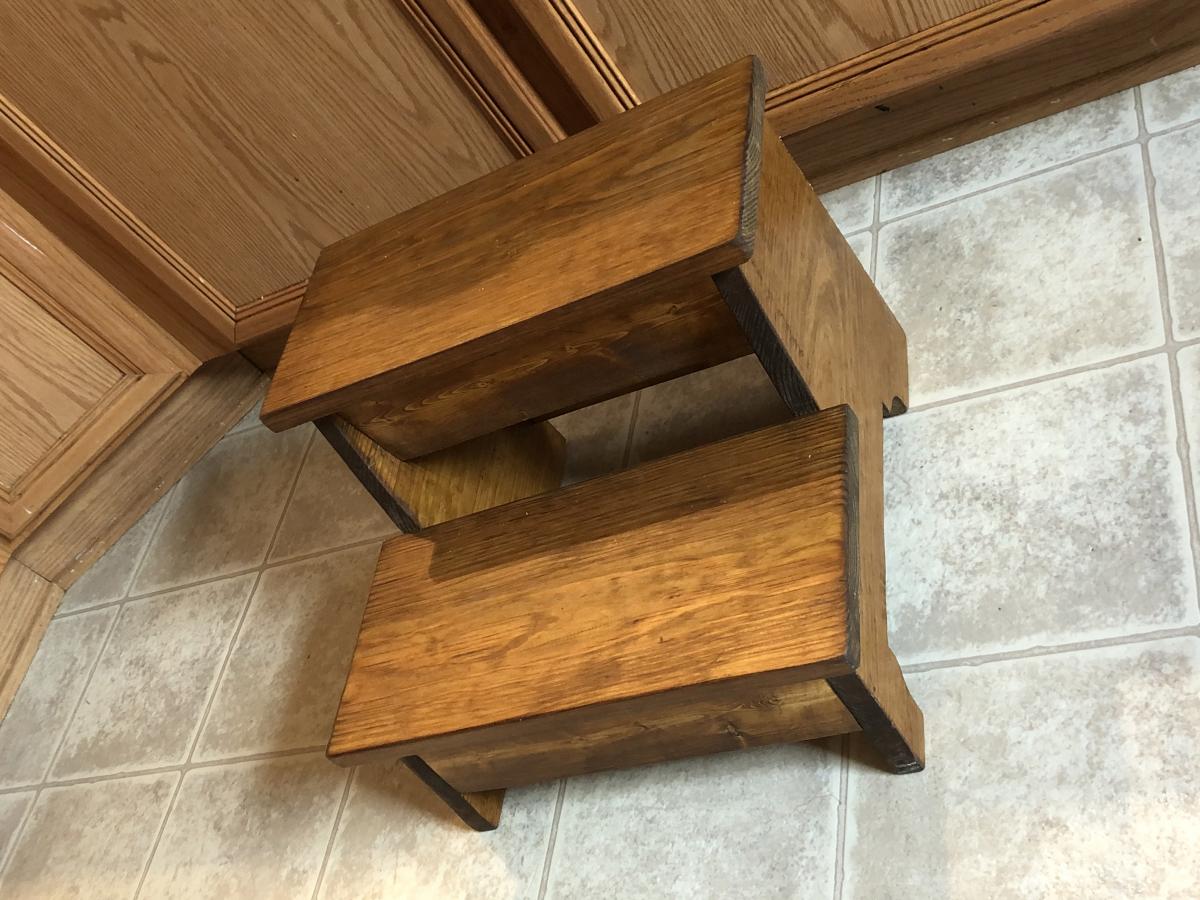
My take on the vintage step stool. Inset a 1x3 on the front top support (my pocket holes were splitting the 1x2’s) and it turned out nice.
Our first Ana white project! My husband and I are both really excited with the results. We plan on making the table too. I followed the plan and added comments/details/changes we made on my blog http://thehuth.blogspot.com/2012/09/diy-pottery-barn-bench.html I added pictures to follow along the steps from the tutorial.

Coffe table for our living room. Really fit our style. I had problem cutting the plywood but i turned out great. I love the colour: Varathane early american.

Thanks Ana for the great plans!

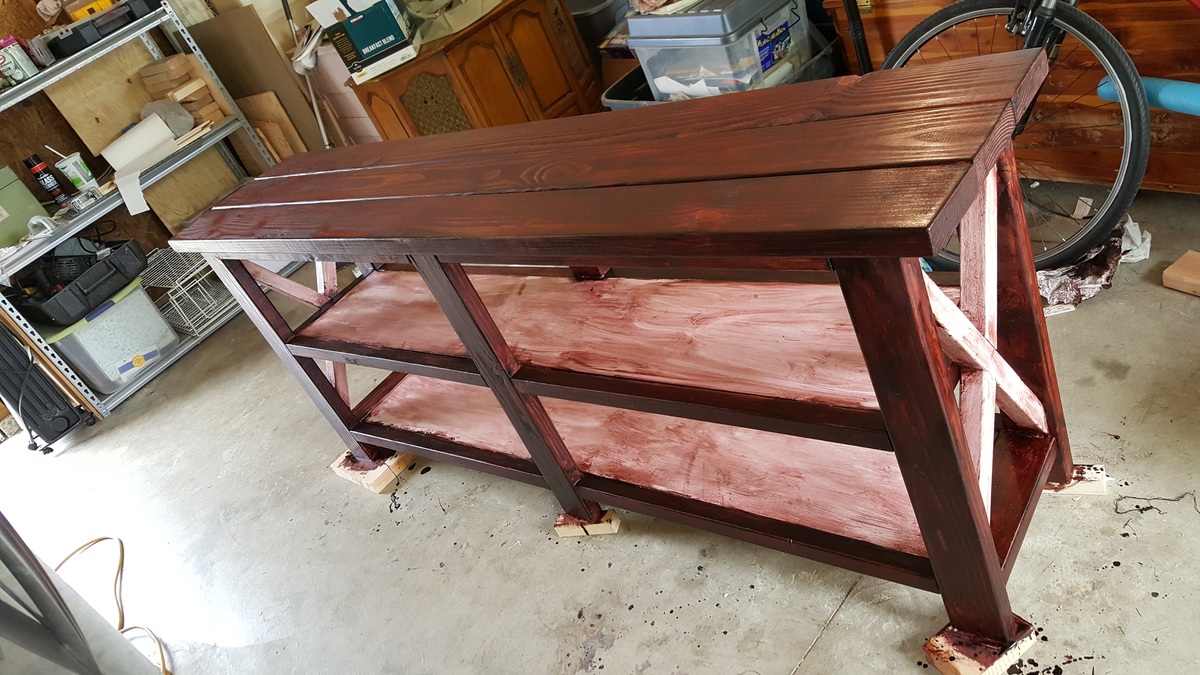
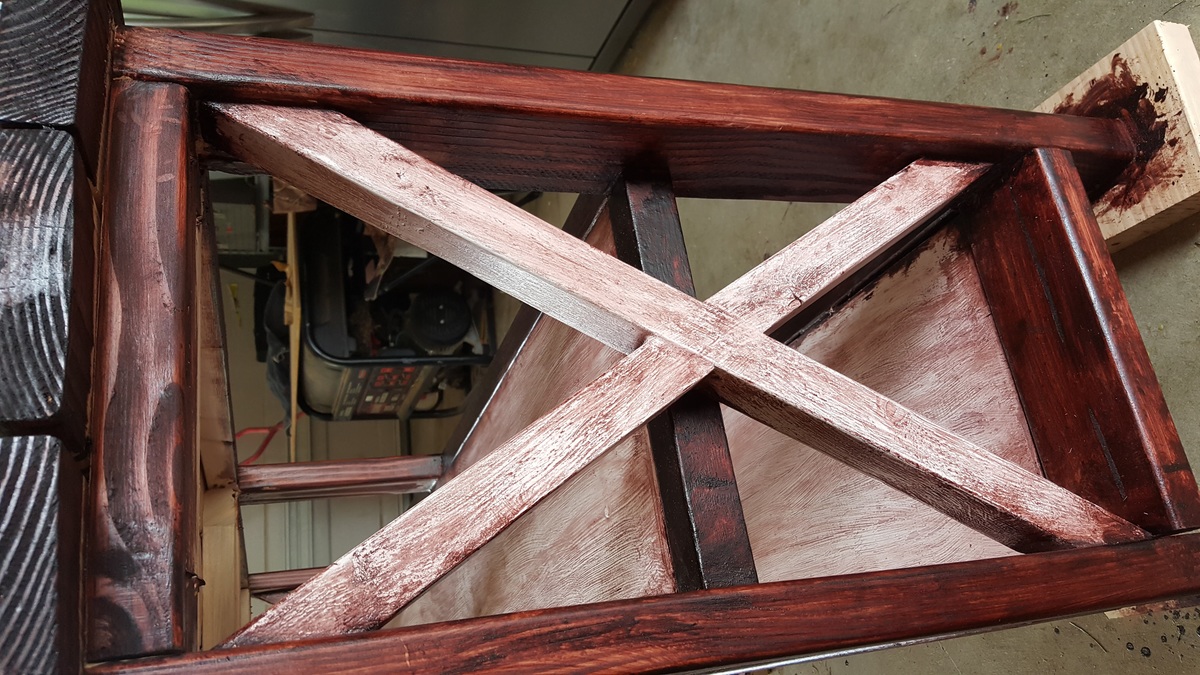
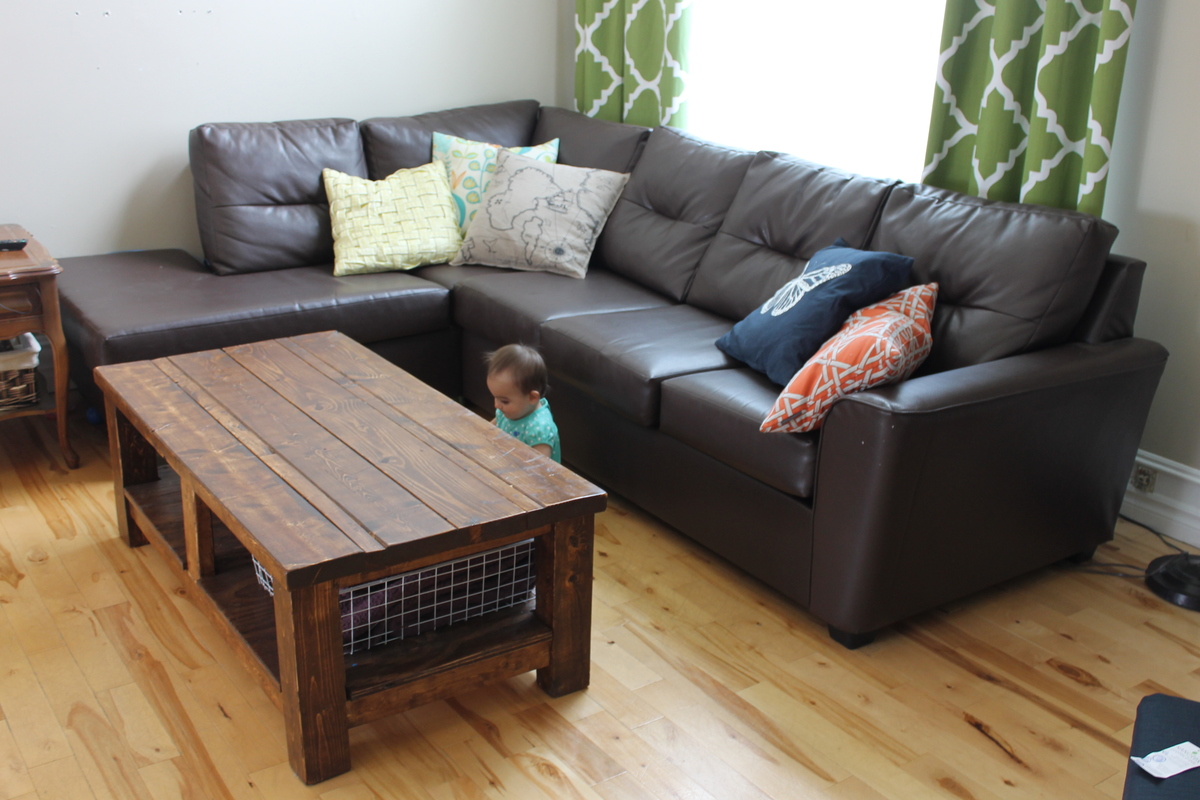
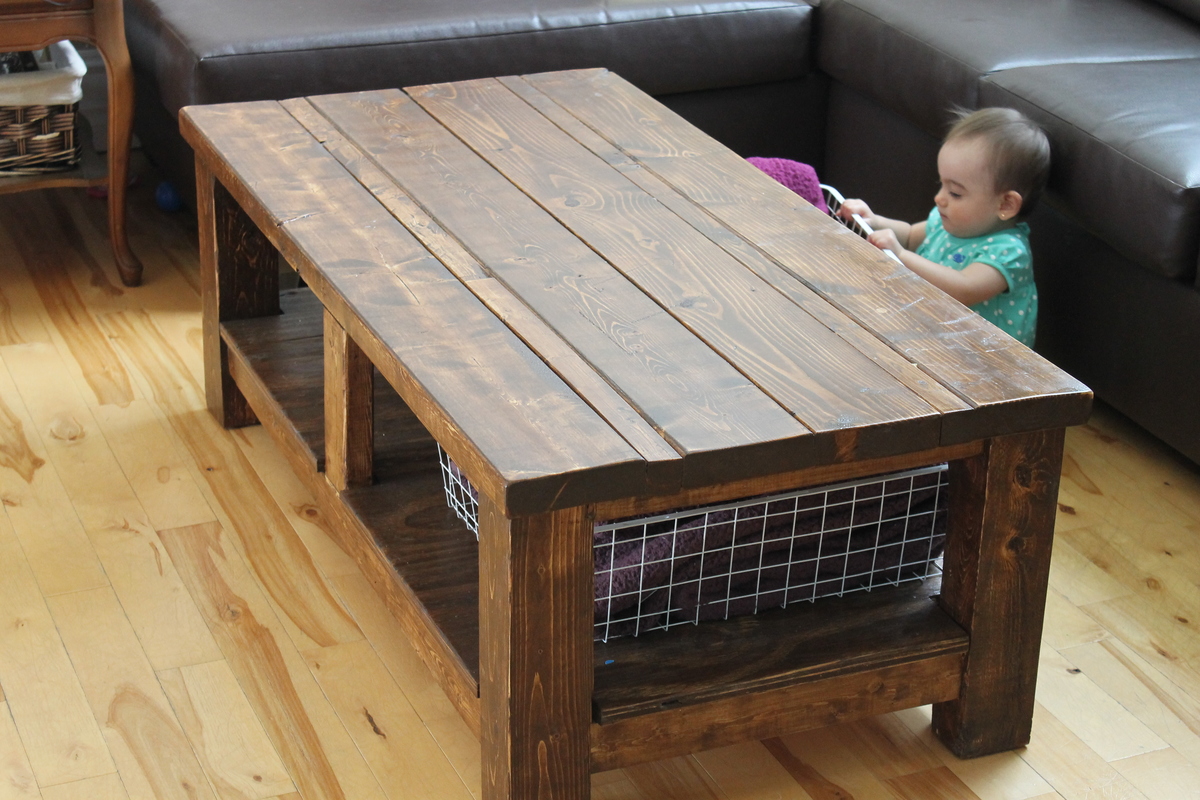
One of my friends asked me to build her this coffee table after seeing the gray one I built, so that's how I spent my weekend. She wanted something a little bit bigger than the original table I had built, so for this, I used 1x12 boards, and increased the height of the table by an inch and a half so she can add some slightly larger baskets underneath. My brad nailer is out of commission at the moment, so for this project, I used ¾" pocket holes and 1 ¼" kreg screws. I used a hammer and finishing nails and a bunch of glue for the 45 degree braces. I filled gaps with wood filler, then went crazy with my sander. I finished this project with Varathane American Walnut stain, then sealed with two coats of Minwax Satin Polyurethane.
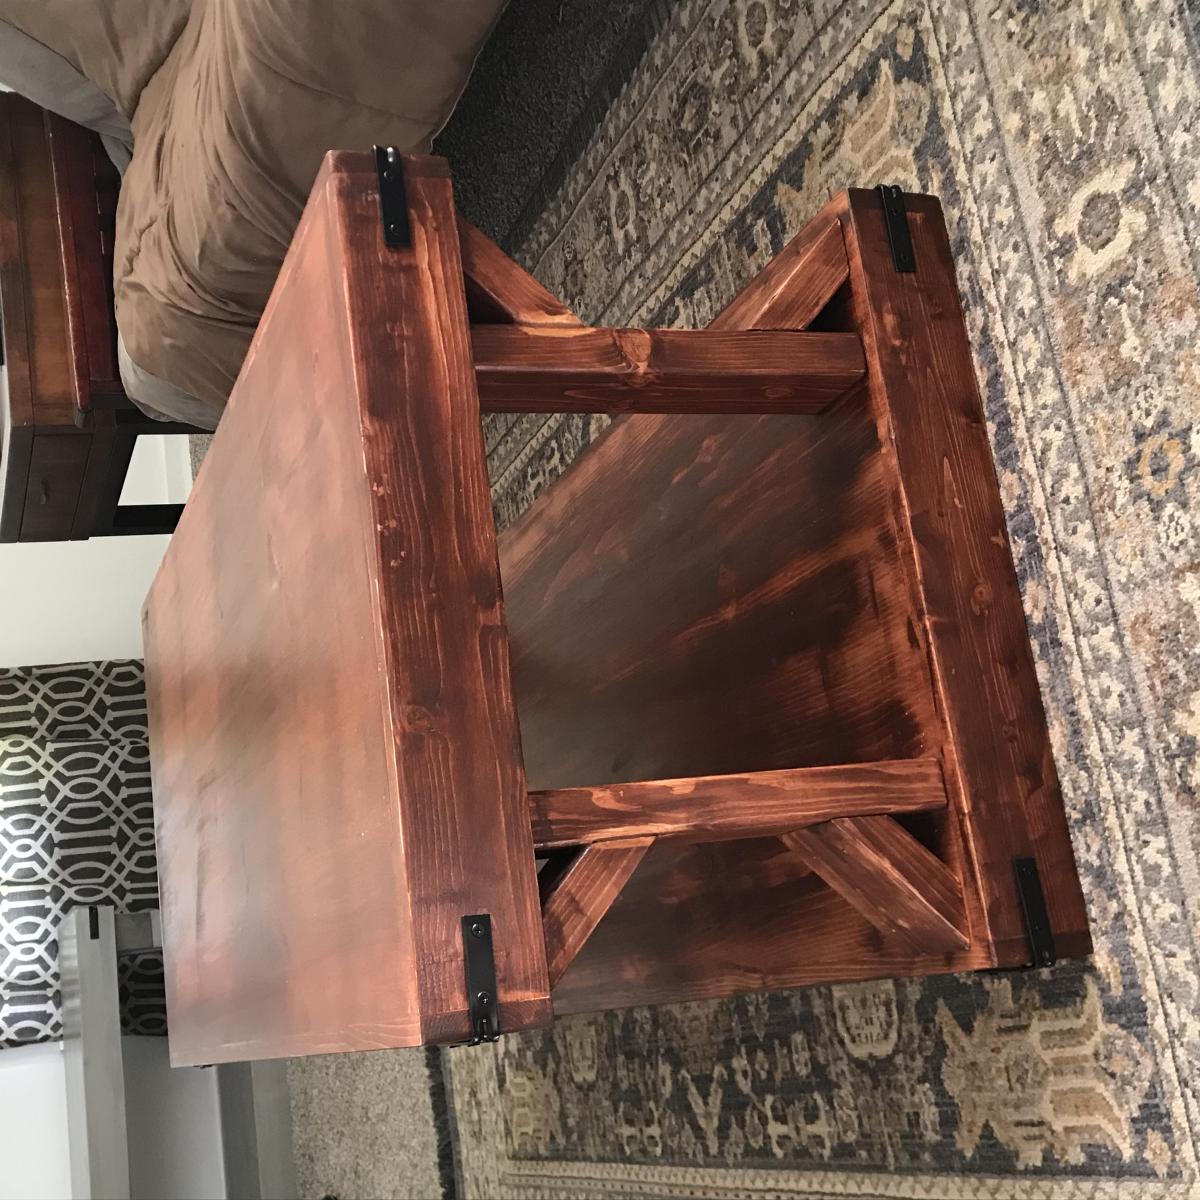
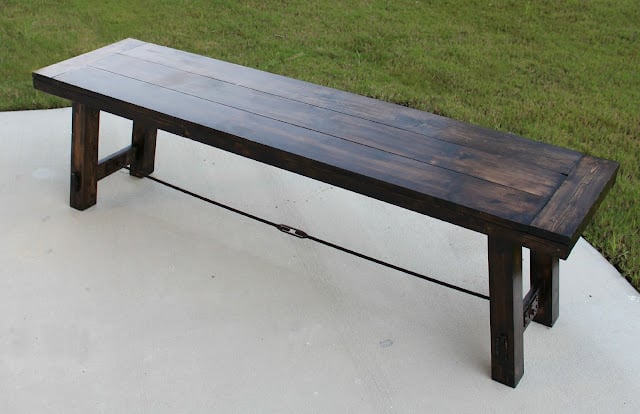
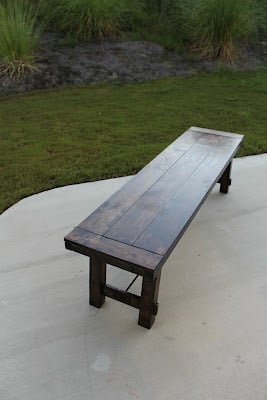
Originally built this to be part of a set and then took it home. (My two year old loves the bench!) Used 4x4s for the legs and increased the table thickness to 2".
Thu, 03/07/2013 - 23:47
I love what you have done here with the 2" top, and the 4x4 legs. Do you have any plans for this or can you tell me how you attached the wider legs from the inside? Still just screwed it in or some kind of bracket? Thanks :)
In reply to Love this! by Shari Hurley
Tue, 06/24/2014 - 11:53
I am just seeing this comment now! I used the plans provided, just switching out the top and legs. I did add a few extra 2x2s under the table top. The end 2x2s are right next to the legs and add a little extra support.
This was my first project. It was relatively easy but I did make some mistakes that are now design features
This is my first attempt at furniture. Anna's plans were very easy to use and I had a lot of fun building this table!
Tue, 10/18/2016 - 21:19
Thanks! I used a exterior semi transparent from Behr. The color is sable.
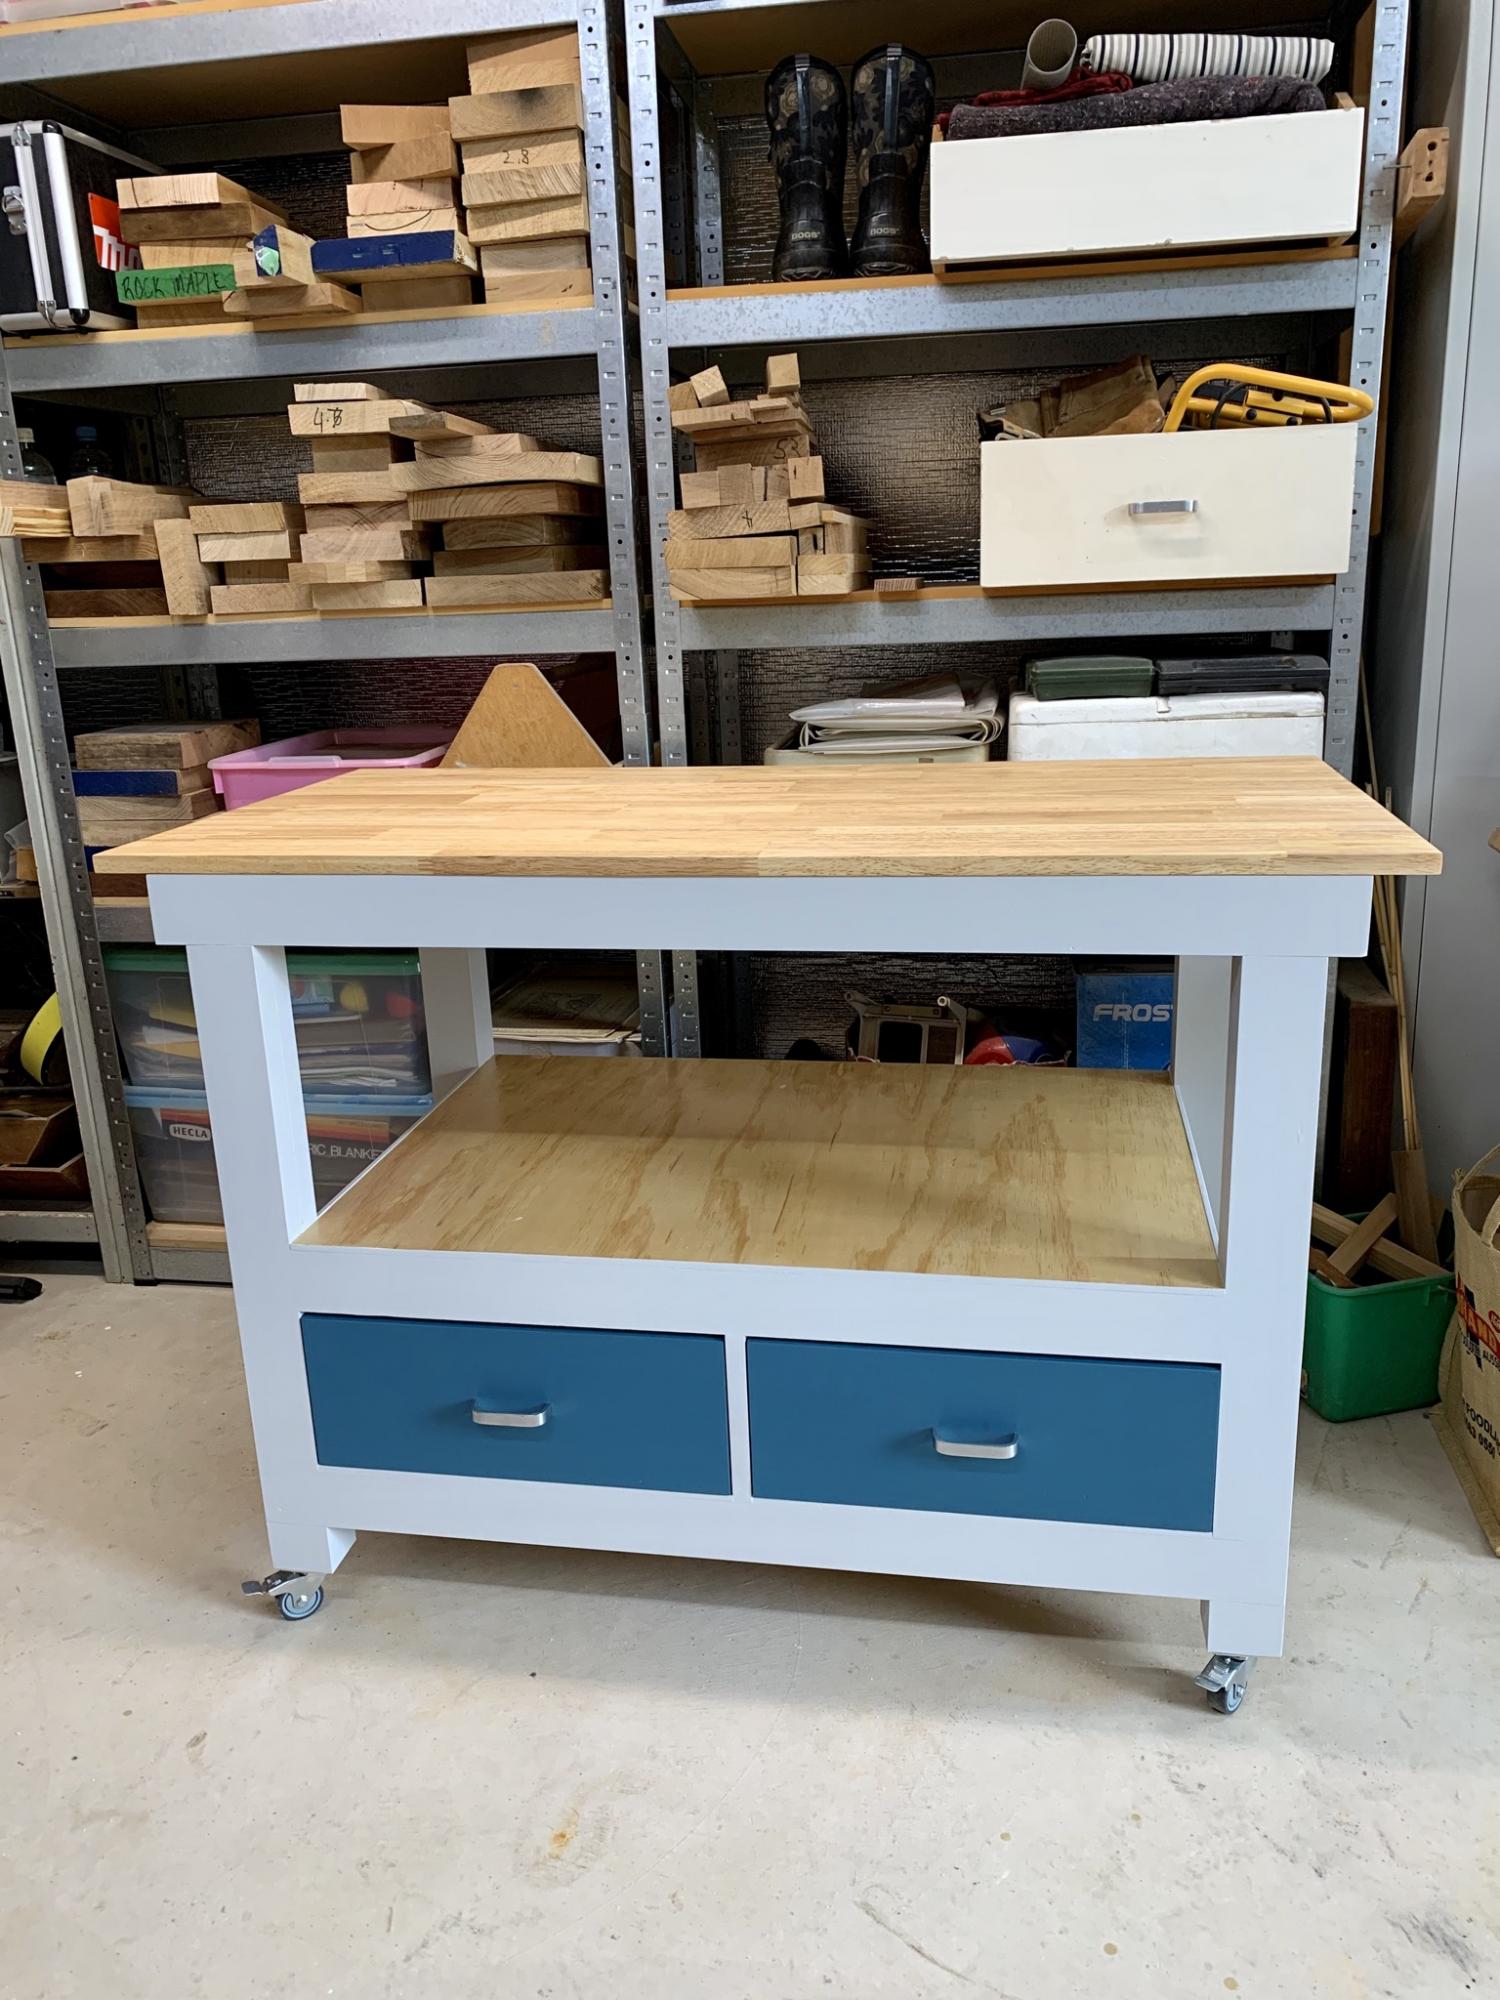
My first build. Easy to follow plans for a beginner. I incorporated 2 drawers for extra storage.

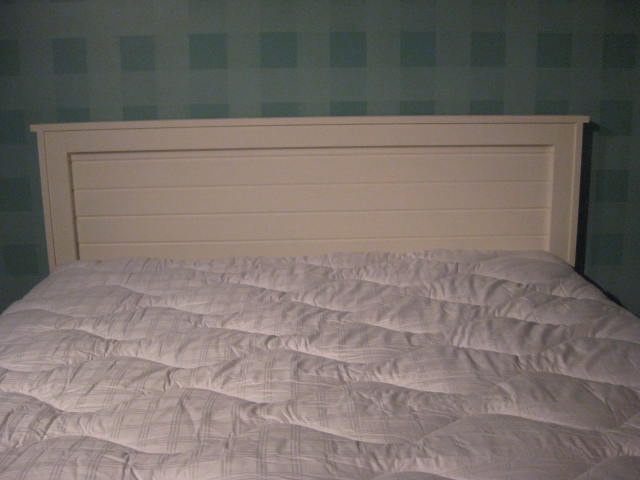
I made this farmhouse storage bed using three different plans! For the headboard and footboard I used the plans for the regular (with no storage) Farmhouse bed. For the storage and bed part I used the farmhouse storage bed plans. I also put the footboard on hinges so that I could access the huge amount of storage under the bed. I got that idea from someone else on here who posted it. Hers had a built in box below the footboard for storage but I just really like having the massive space under there. (My kids think its their fort!) We also put 2x2 kickstands on hinges on the sides behind the footboard so that we could stand the footboard as a table. (I really don't think that feature will get utilized but oh well)! I'm very happy with how this bed turned out! This is the coolest coolest bedroom set I've ever had and I paid the smallest amount for it!!! It blows my mind! I did not add drawers because I really like the open look better. Thanks for these plans Ana and anyone else whose I looked at!
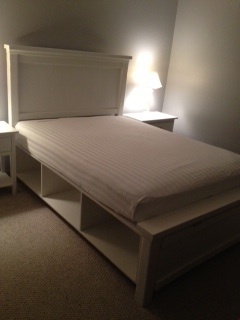


Tue, 09/18/2012 - 12:19
Your bed is the one that I initially fell in love with... I've had it pinned forever! I got my pink bedding at target, but after I bought it of course, I found a DIY for it here: http://knockoffdecor.com/white-ruffled-quilt/.