Birdhouse Bath Shelf with Towel Bar

The free plans on this website are made possible with advertising and affiliate links.  Thank you for helping us keep plans free.


Difficulty
Intermediate
| Print this plan

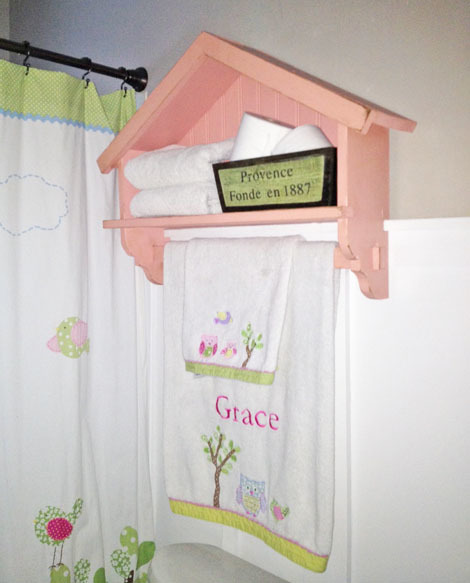
Free plans to build a cute bath shelf with towel bar that looks like a birdhouse from ana-white.com

So what to do when you want uber cuteness in a bath shelf that you just can't find or buy anywhere?

Well ... you DIY of course!

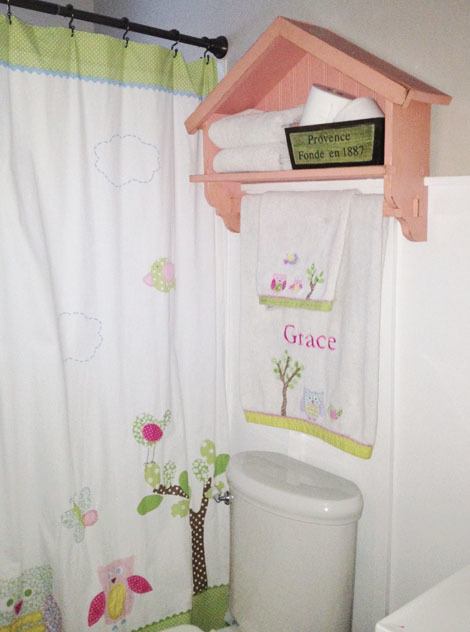
For my daughter's bath, we are going "girly without scaring off guests" as this bath doubles as the guest bath.  So I painted the walls a graige color and added the board and batten to make the tiny tiny bath appear larger. 

When the shower curtain arrived, I knew instantly I wanted a cute towel shelf to keep the playful woodland/birdie theme going on and display the personalized towels.

I know I'm a total DIY dork ... but I've always dreamed of making a little birdhouse shelf.  Yep, that's what keeps me up at night!  Why not make a birdhouse shelf/towel rack?

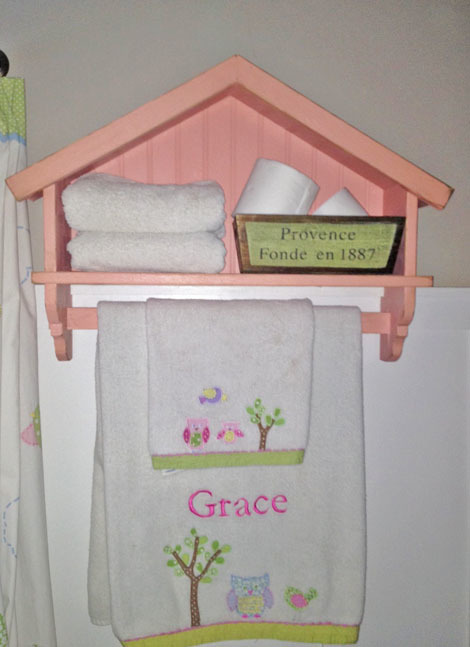
Not bad for $7 in lumber and a few very fun hours in the garage, if I do say so myself!  To save money, the towel bar is actually just a 1x2 notched in the sides and I love the look of it!

I know these photos are just terrible - sorry, we live in Alaska, there's no light right now - but I'm sure you can see the cuteness through it all!

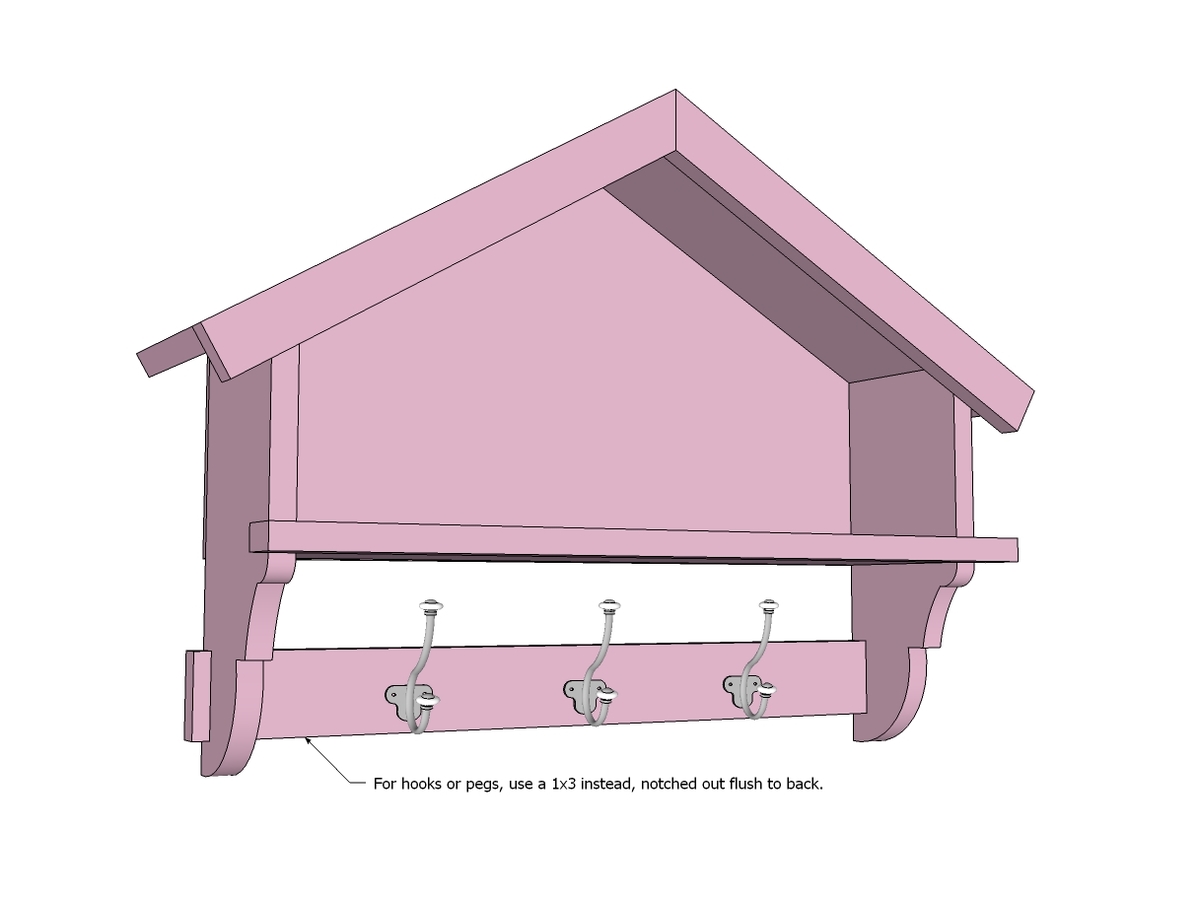
Don't need a towel shelf?  Well, just swap out the towel bar for a 1x3 and add some hooks and create the cutest little spot for hanging back packs, coats, and a shelf for mittens and lunch boxes.

If you want to build this birdhouse wall shelf yourself, of course we got the plans following.  

And if you love this vintage pink paint, I've got you covered as well with the finishing tutorial!

Enjoy the plans!

Dimensions
Dimensions are shown above.

Preparation

Shopping List

1 - 1x6 @ 8 feet long
1 - 1x2 @ 8 feet long
Plywood or beadboard scrap 24" x 13 3/4"
1 1/4" and 2" finish nails
wood glue

Cut List

2 - 1x6 @ 12 1/2" long (longest point measurement with top end beveled at 30 degrees off square)
1 - 1x6 @ 22 1/2"
2 - 1x6 @ 16 1/4" (top end beveled at 30 degrees off square, longest point measurement)
1 - 1/4" plywood (I used beadboard scrap) 24" x 13 3/4"
2 - 1x2 @ 16 1/4" (top end ANGLED at 30 degrees off square, longest point measurement)
2 - 1x2 @ 25"

Tools
Tape Measure
Speed Square
Pencil
Hammer
Safety Glasses
Hearing Protection
Jigsaw
Miter Saw
Brad Nailer
Power Sander
General Instructions

Please read through the entire plan and all comments before beginning this project. It is also advisable to review the Getting Started Section. Take all necessary precautions to build safely and smartly. Work on a clean level surface, free of imperfections or debris. Always use straight boards. Check for square after each step. Always predrill holes before attaching with screws. Use glue with finish nails for a stronger hold. Wipe excess glue off bare wood for stained projects, as dried glue will not take stain. Be safe, have fun, and ask for help if you need it. Good luck!

Instructions

Step 1

Cut out the sides with a jigsaw, keeping in mind the top bevels need to stay beveling upward, so the two sides are actually cut in MIRROR. I used a drill bit to drill out the 1x2 towel bar opening in all the corners, and then connected the dots. This was actually more difficult than it seems, so perhaps practice first on a scrap. Sand the two jigsaw cut edges now to make match and smooth.

Step 2

With the two ends beveling upward at tops, attach shelf. I just nailed and glued.

Step 3

Mark the top "roof" pieces on the underside and top side so you know where to attach and line up. If you have the back plywood piece cut, you can also use it as a pattern by laying the shelf on top and matching edges. Attach with nails and glue. Also check to make sure the top angles match the angles for the trim you attach in step 5.

Step 4

Attach back with 1 1/4" finish nails and glue.

Step 5

Step 6

For the ledge, I just glued and nailed on, overhanging ends 1/2".

Step 7

Thread the towel rod through and glue in place and you are done!

Step 8

Here's the option for the coat hooks as well. I'd recommend the double robe hooks here, as you may not have enough space for the larger hooks as shown.

Finishing Instructions
Preparation Instructions
Fill all holes with wood filler and let dry. Apply additional coats of wood filler as needed. When wood filler is completely dry, sand the project in the direction of the wood grain with 120 grit sandpaper. Vacuum sanded project to remove sanding residue. Remove all sanding residue on work surfaces as well. Wipe project clean with damp cloth.

It is always recommended to apply a test coat on a hidden area or scrap piece to ensure color evenness and adhesion. Use primer or wood conditioner as needed.

Comments