
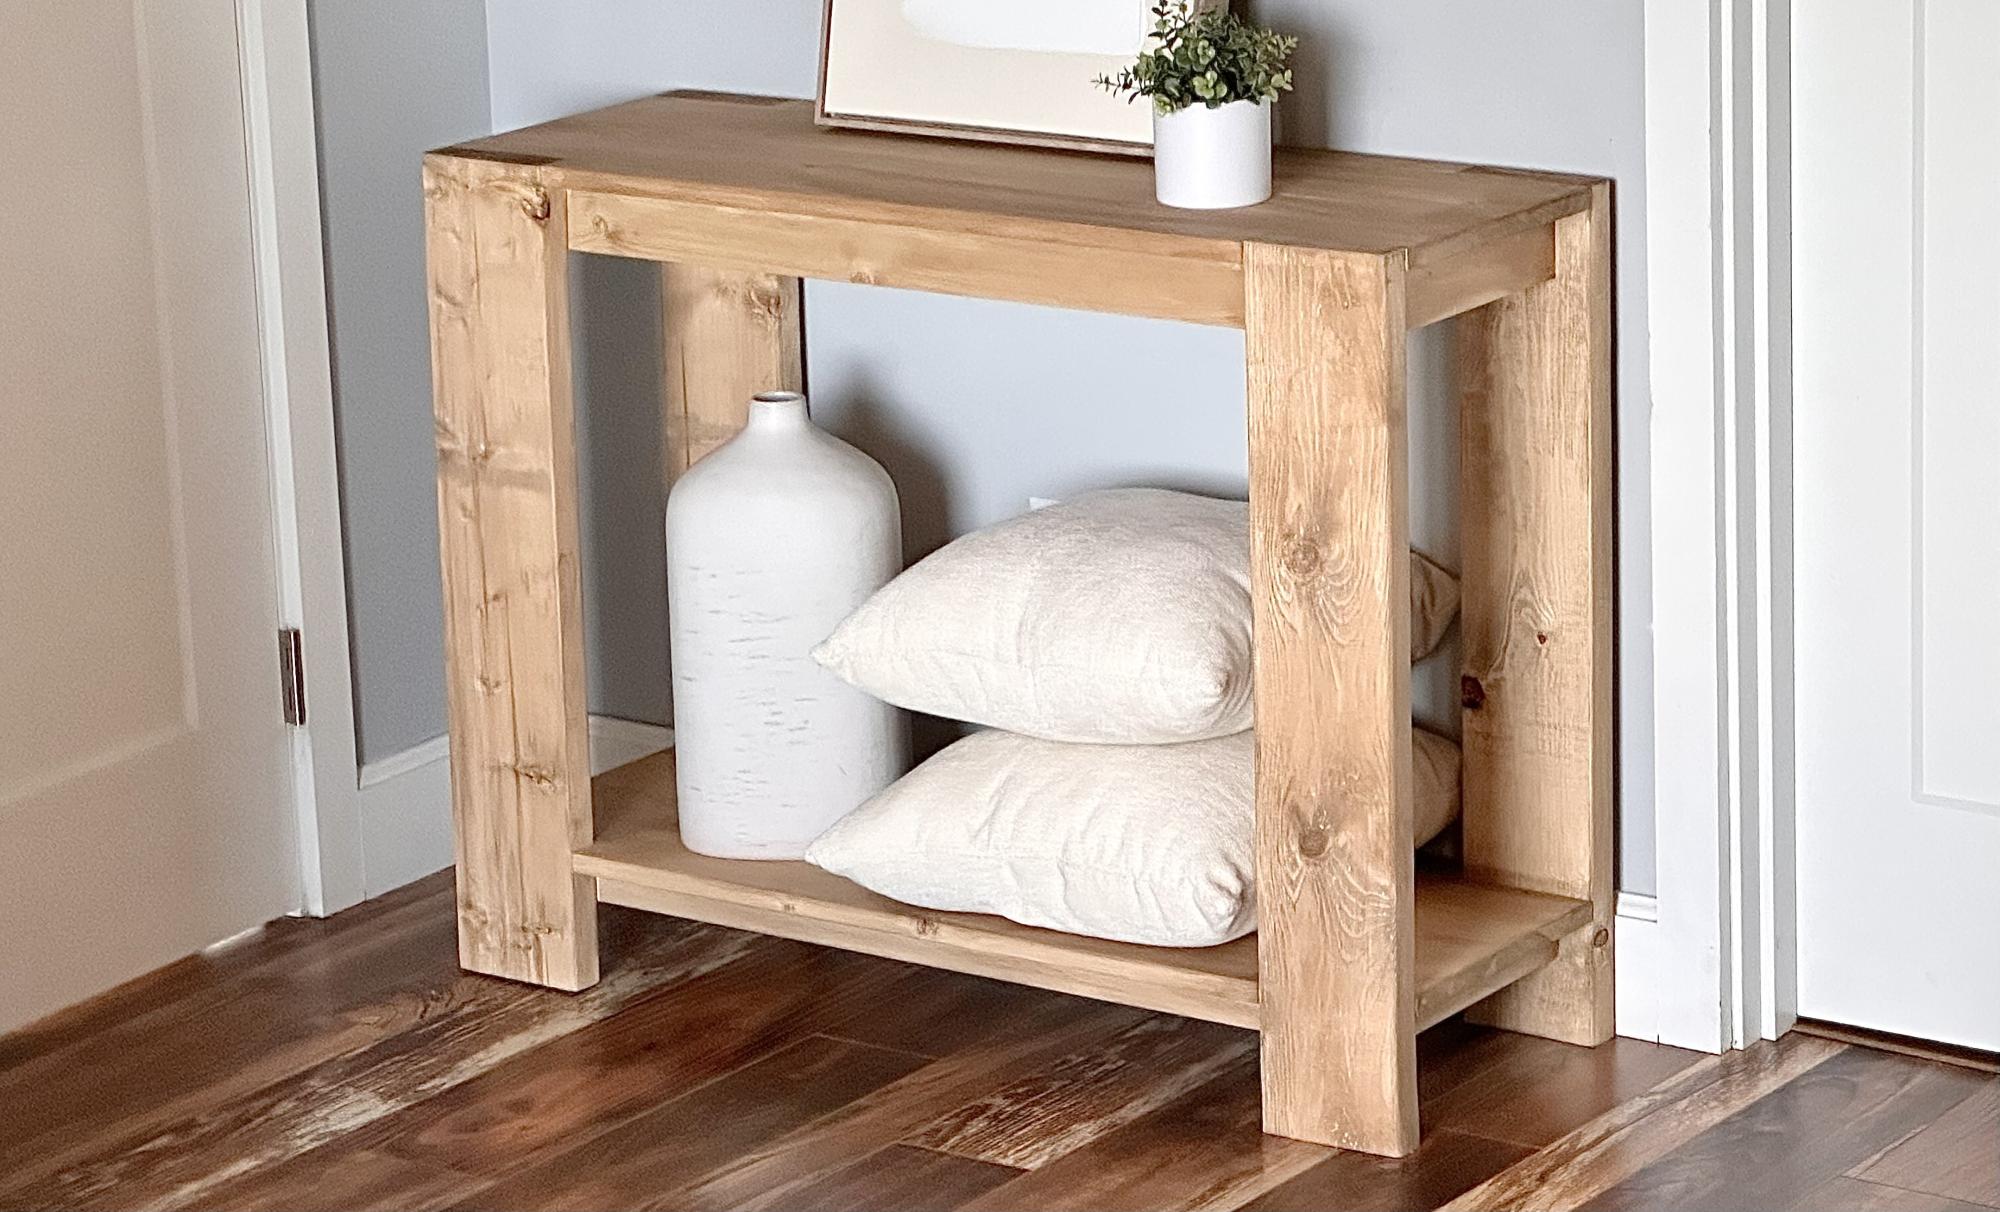

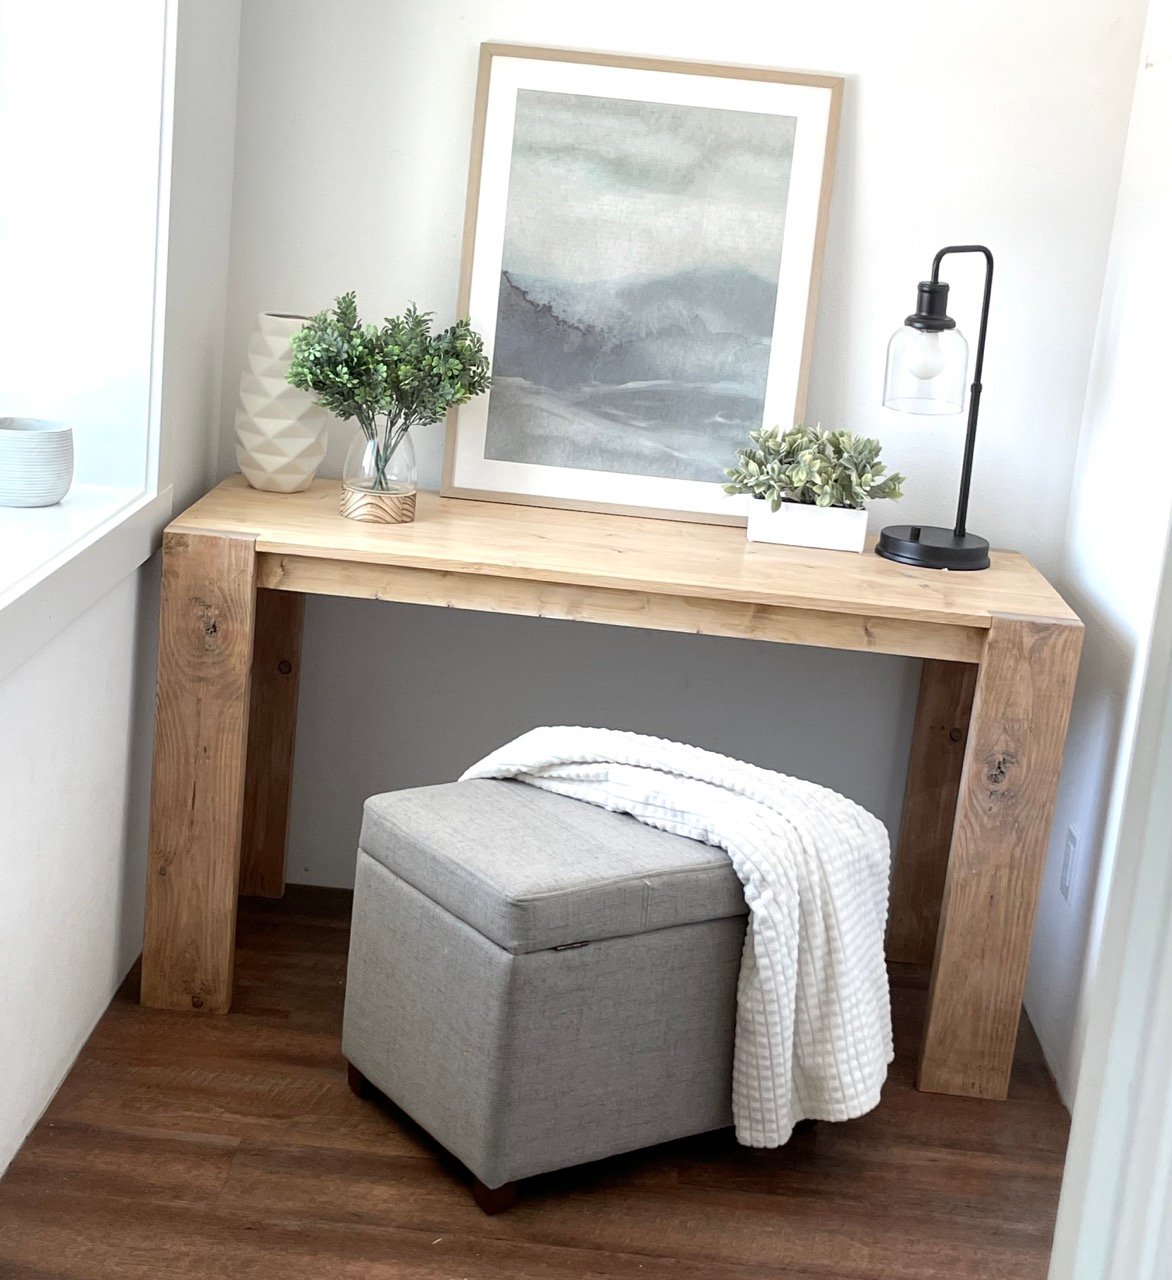
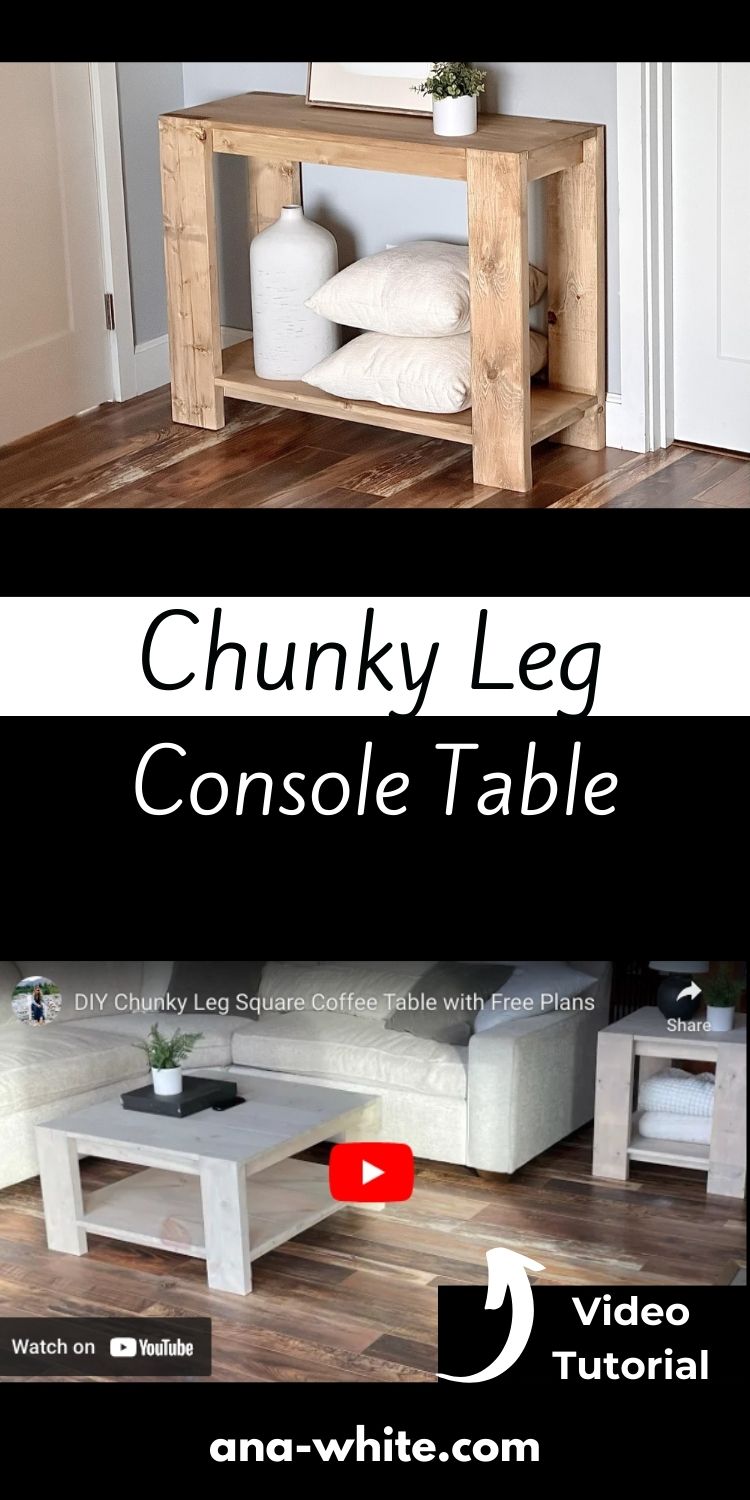
Free plans to build your own wood console table! This simple design features a chunky leg for modern vibes and dramatic framing of your decor.
We love that this solid wood table can be painted or stained any color, and it's sturdy and stylish! Build it today to add beauty and function to almost any space.
Free plans from Ana-White.com feature step by step diagrams, shopping and cut list and build video.
Why I LOVE this Console Table
I love console tables. They add function to just about any space, tabletop surface for temporary setting things, and they can transform a space by being the foundation for decor, art and coordinated accessories.
This console I particularly love because the chunky legs create a frame for styling decor and accessories.
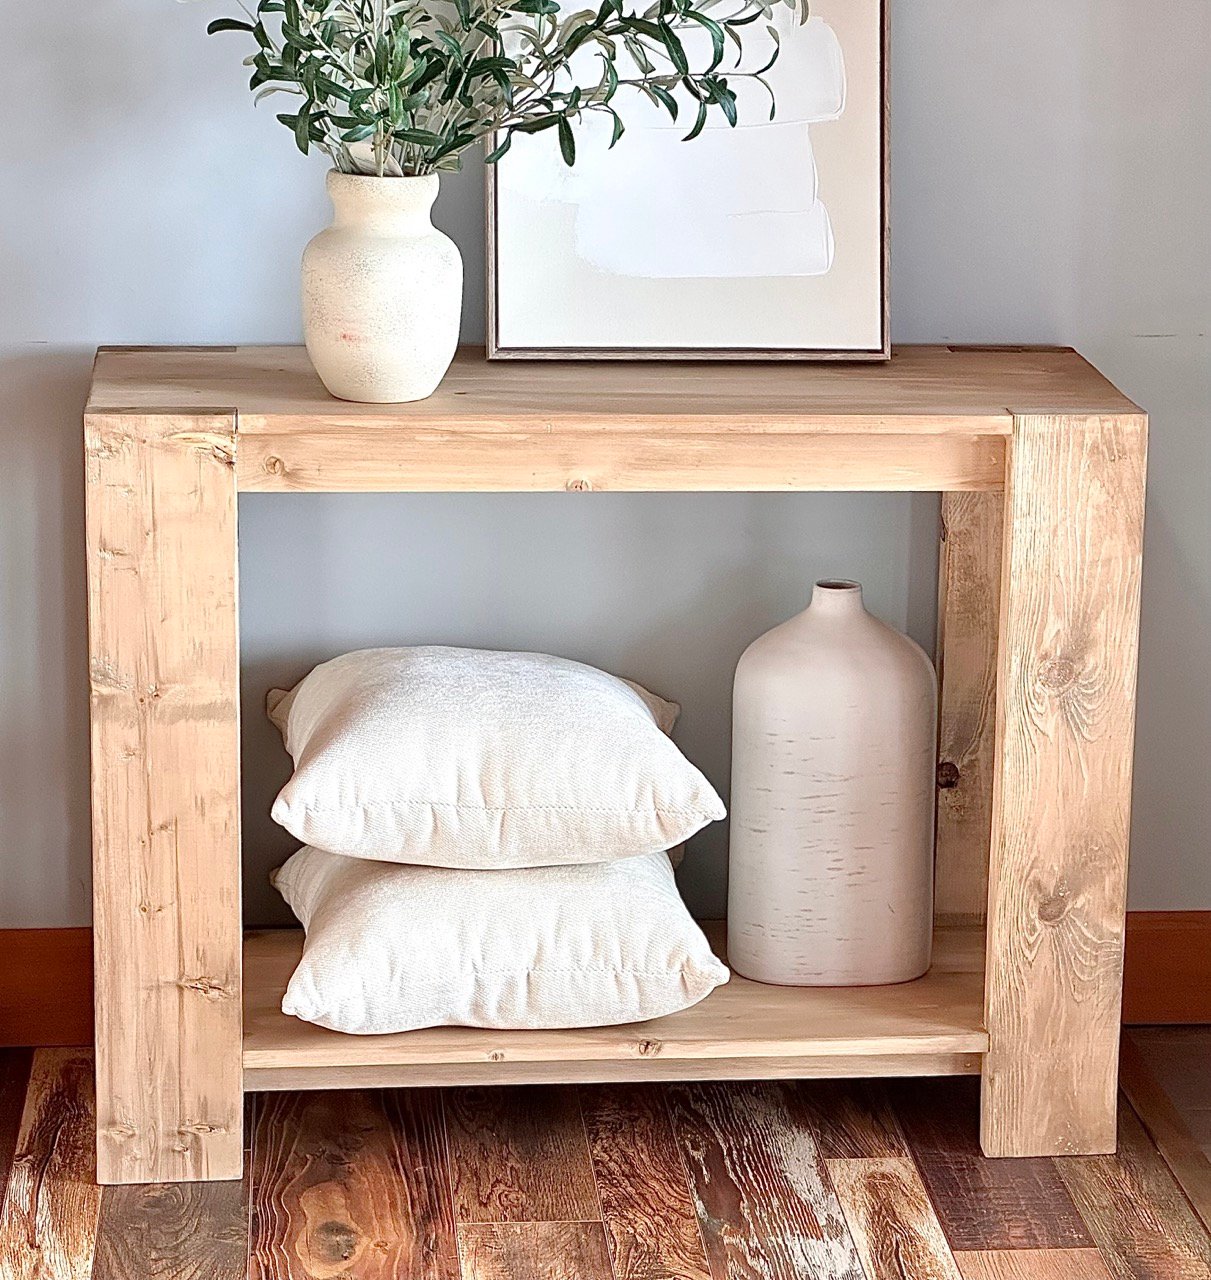
More reasons to love? It's solid wood, so you can paint or stain different colors, and has all the texture and warmth of a wood piece.
How I Built This Console Table
Here's the basic steps I took to build this coffee table. Keep in mind you can also build using a brad nailer and glue as I did with this coffee table.
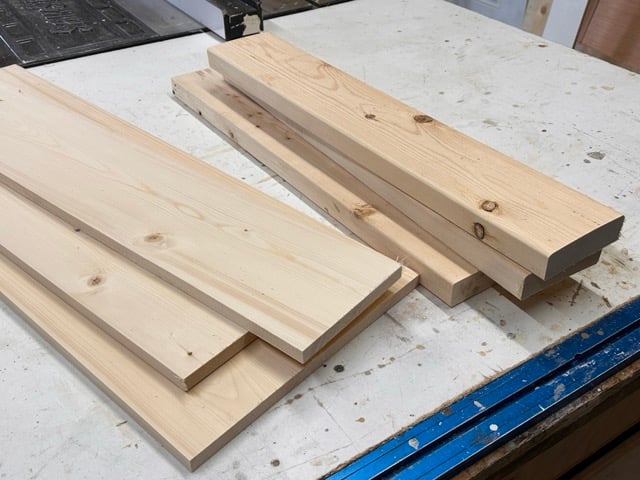
First, I cut the boards according to the cut list using a miter saw for accuracy.
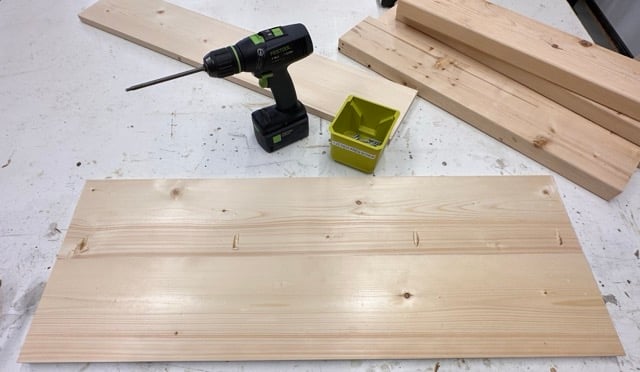
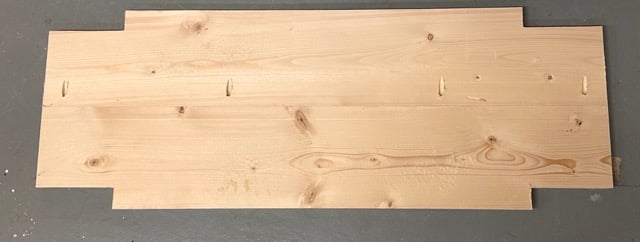
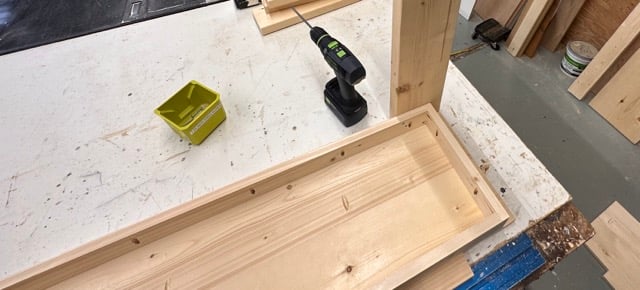
Then I joined the tabletop and shelf 1x8s together as shown, using 3/4" pocket holes and 1-1/4" pocket hole screws.
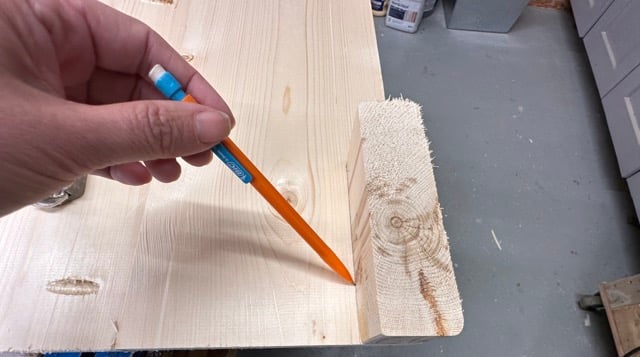
Then I used a scrap wood piece to trace out the end of a 2x6 pieces to cut out for the legs.
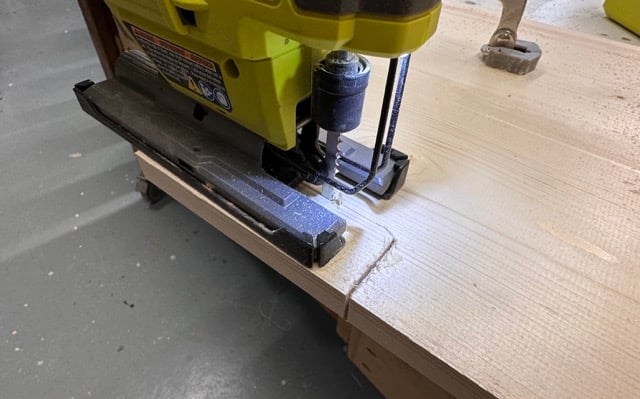
I used a jigsaw to cut out the legs from both the top and the shelf.
I cut out all four legs on both the panels.
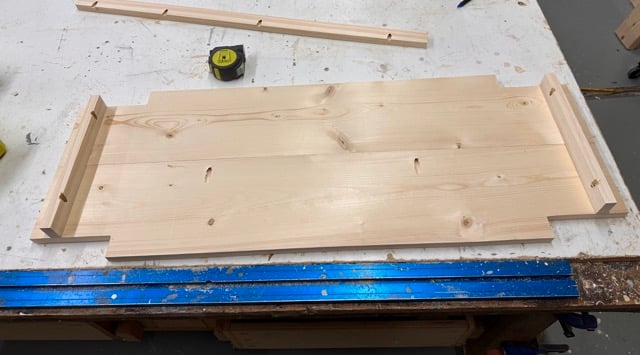
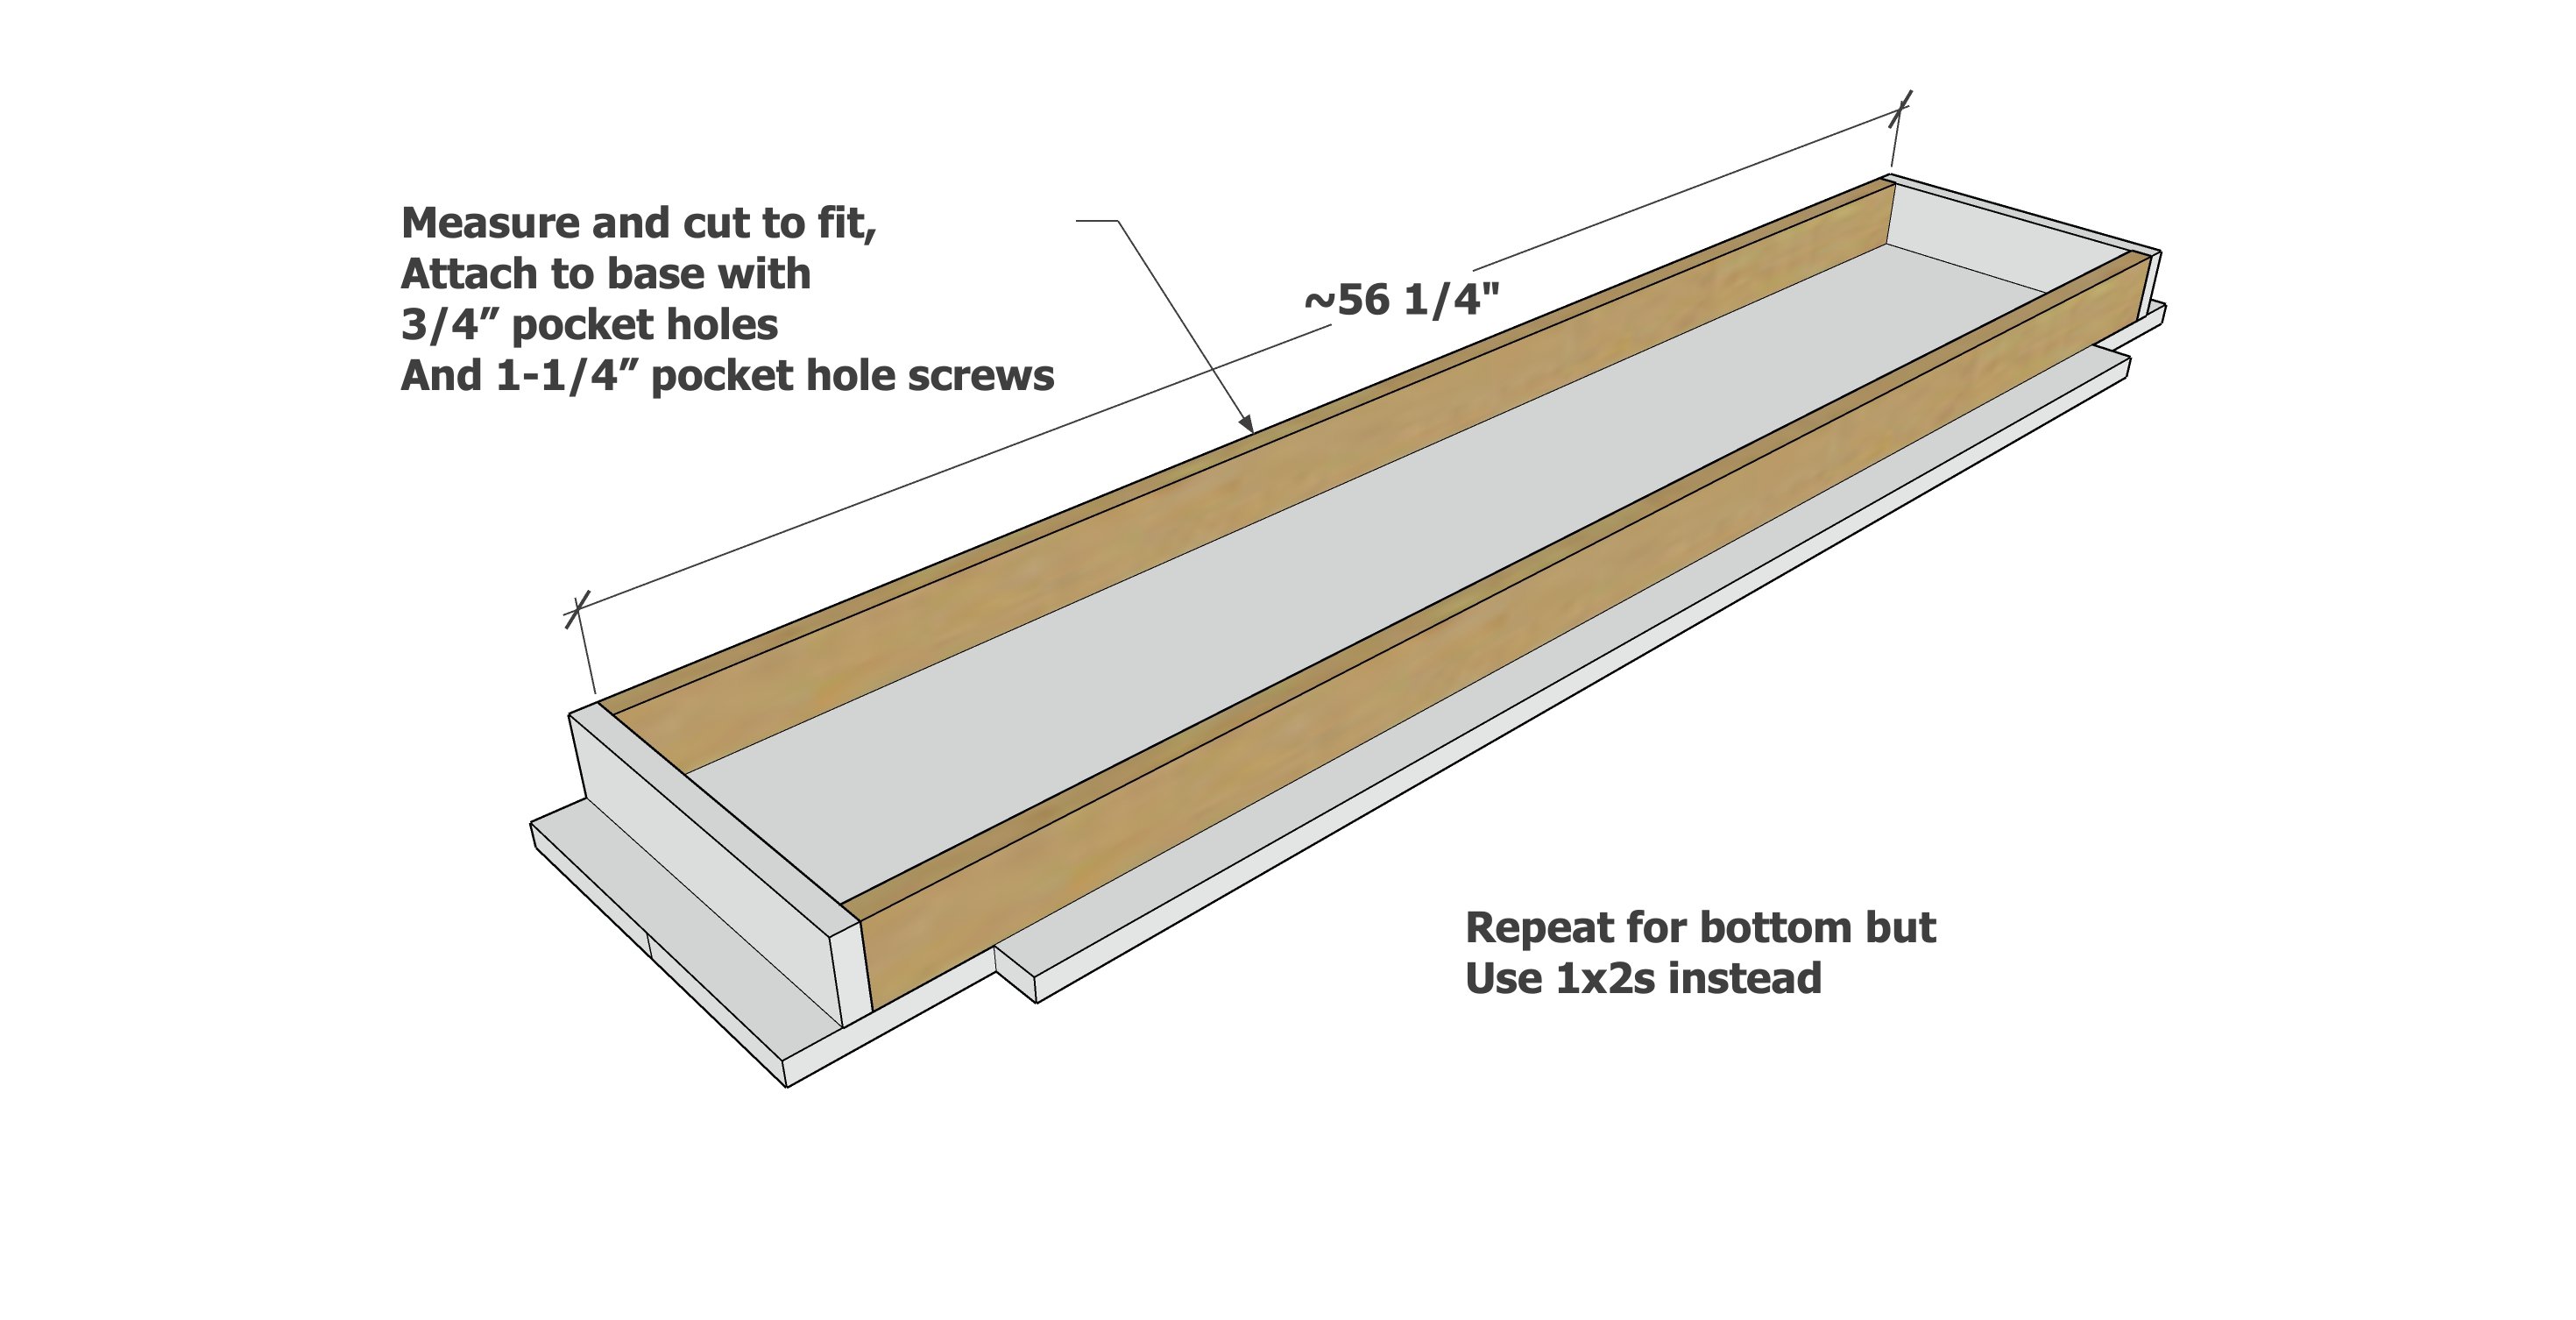
Now I can start adding the "aprons" that support the tabletop and shelves. I measure between the cut outs and cut 1x3 for top and 1x2 for shelf to match the measurement. Then I attached to the underside of the shelf/top with 3/4" pocket holes and 1-1/4" pocket hole screws.
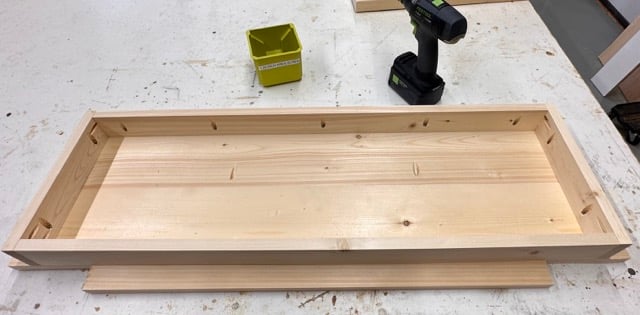
Then I measure in between the shorter aprons to get the measurement for the longer aprons. I cut these, and then attach with pocket holes. The top is supported by a 1x3 aprons. The bottom is supported by a 1x2 apron.
Then I add the legs to the top - making sure the tabletop is level and checking that the legs are attached level.
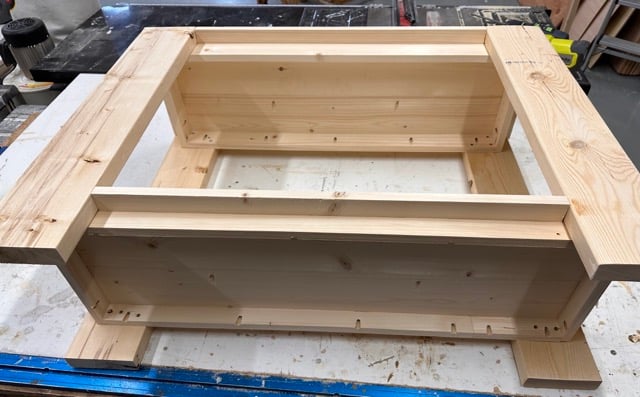
Last steps are to add the remaining legs and the bottom shelf. I attach to the legs using 1-1/4" screws and glue, three per joint.
Make sure the table sits flat and is level, if you need to make adjustments, do before the glue dries.
Video of Building this Collection
I didn't do a video of this console table, but I did do a video of the matching coffee table. Take a second to watch the quick video to see how this project goes together.
More Plans in this Collection
I love this plan collection! I've been adding more and more plans, it's a good one!
- Chunky Leg Side Table Plans
- Chunky Leg Square Coffee Table
- Chunky Leg Rectangle Coffee Table Plans
- Chunky Leg Desk
- Chunky Leg Bench (coming soon)
- Chunky Leg Hall Tree (coming soon)
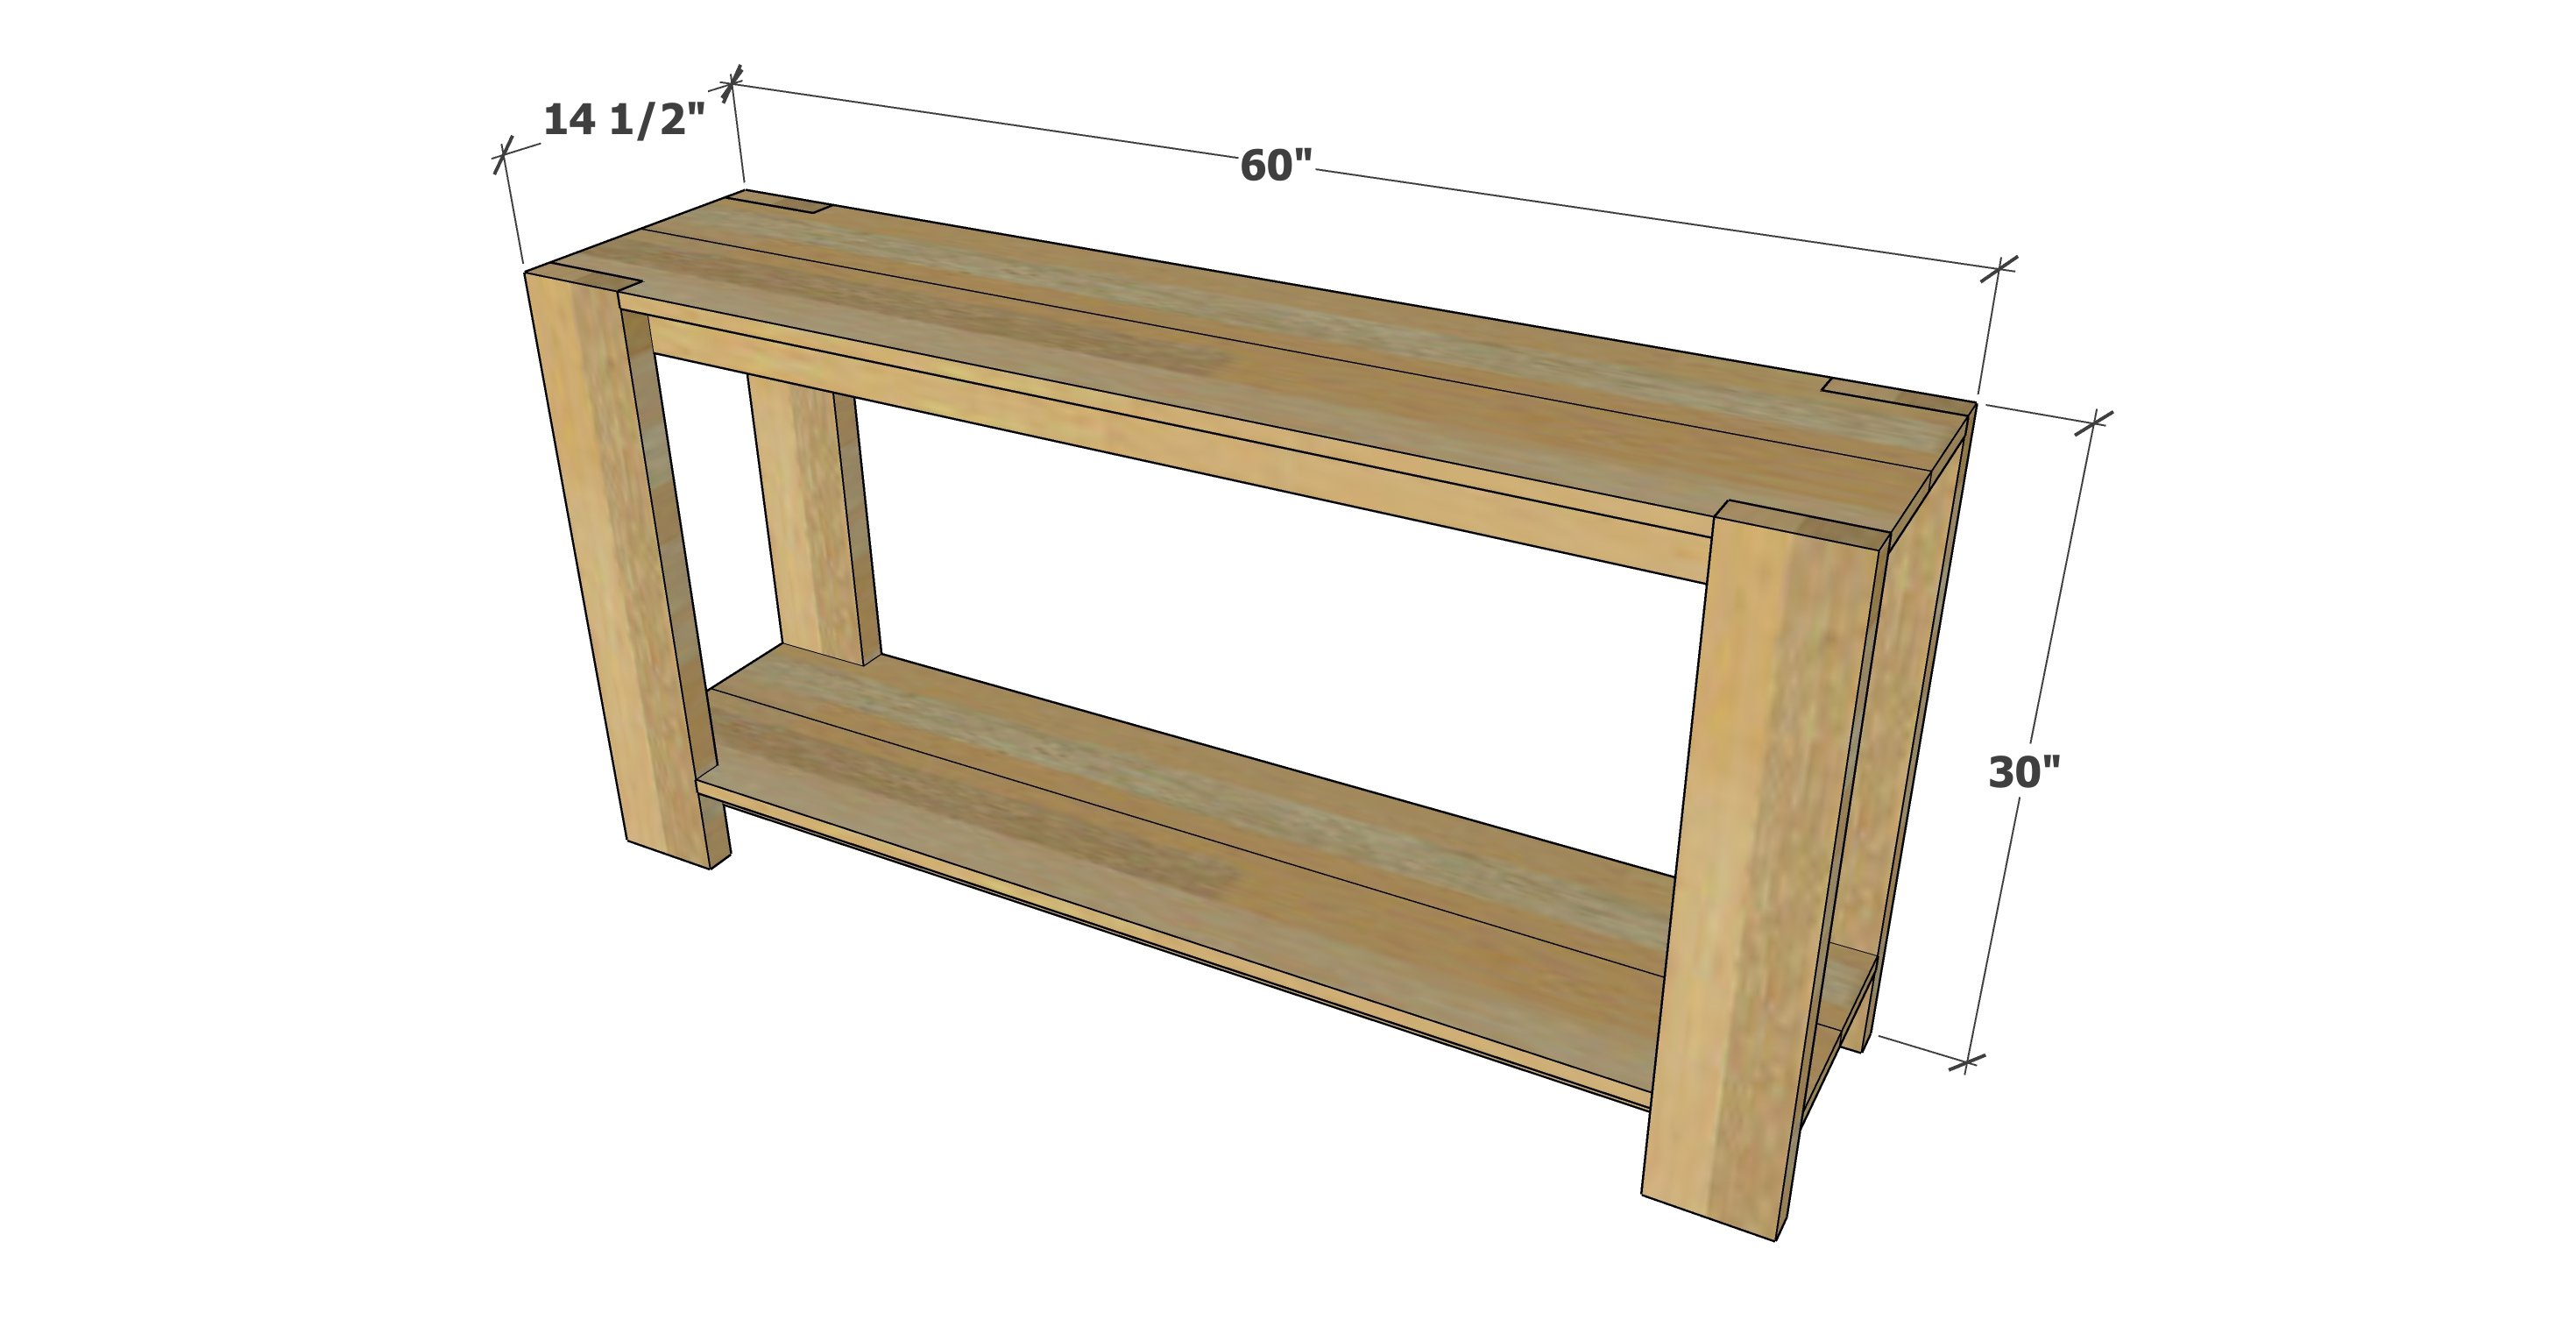
Free Plans to Build Your Own Console Table
Pin for Later!
Preparation
- 2- 1x8 @ 10 feet long
- 1 - 2x6 @ 12 feet long*
- 2 - 1x3 @ 8 feet long
- 2 - 1x2 @ 8 feet long
- 4 - 1x8 @ 60"
- 2 - 1x3 @ 11-1/2" (measure and cut to fit)
- 2 - 1x3 @ 55-1/2" (measure and cut to fit)
- 2 - 1x3 @ 11-1/2" (measure and cut to fit)
- 2 - 1x3 @ 55-1/2" (measure and cut to fit)
- 4 - 2x6 @ 30"


Instructions
Step 1
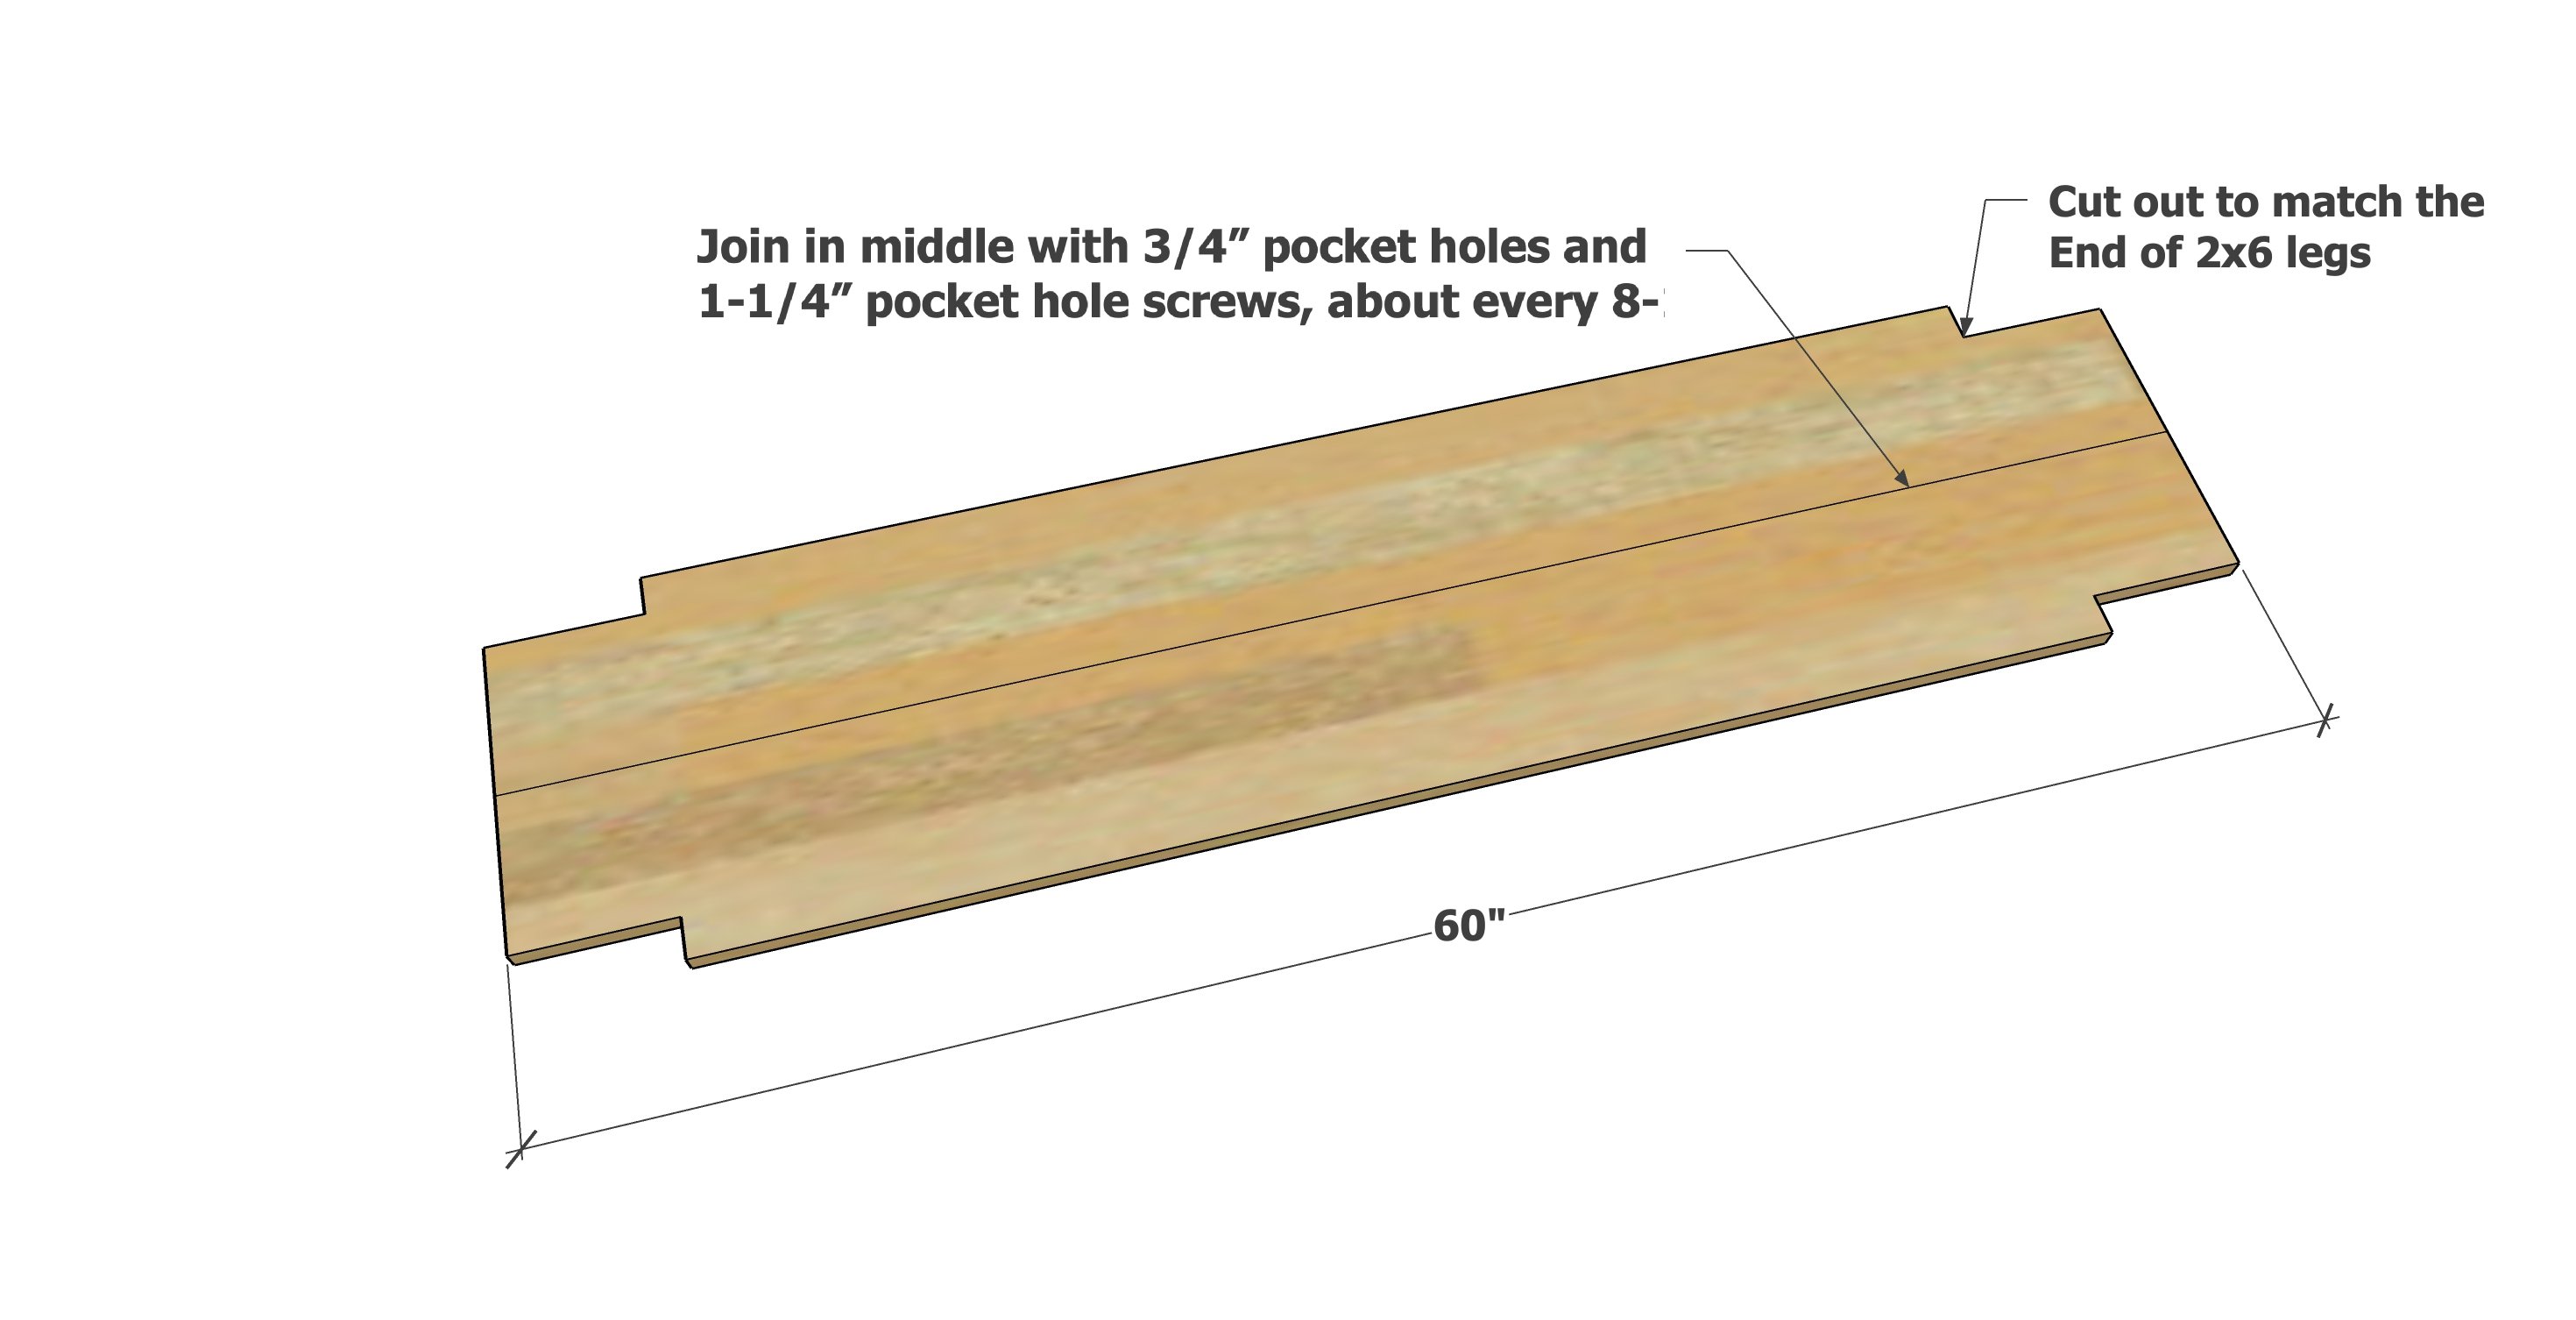
Join two 1x8 boards together with 3/4" pocket holes and 1-1/4" pocket hole screws.
Cut out the corners to match the 2x6 legs with a jigsaw.
Build two identical.
Step 2
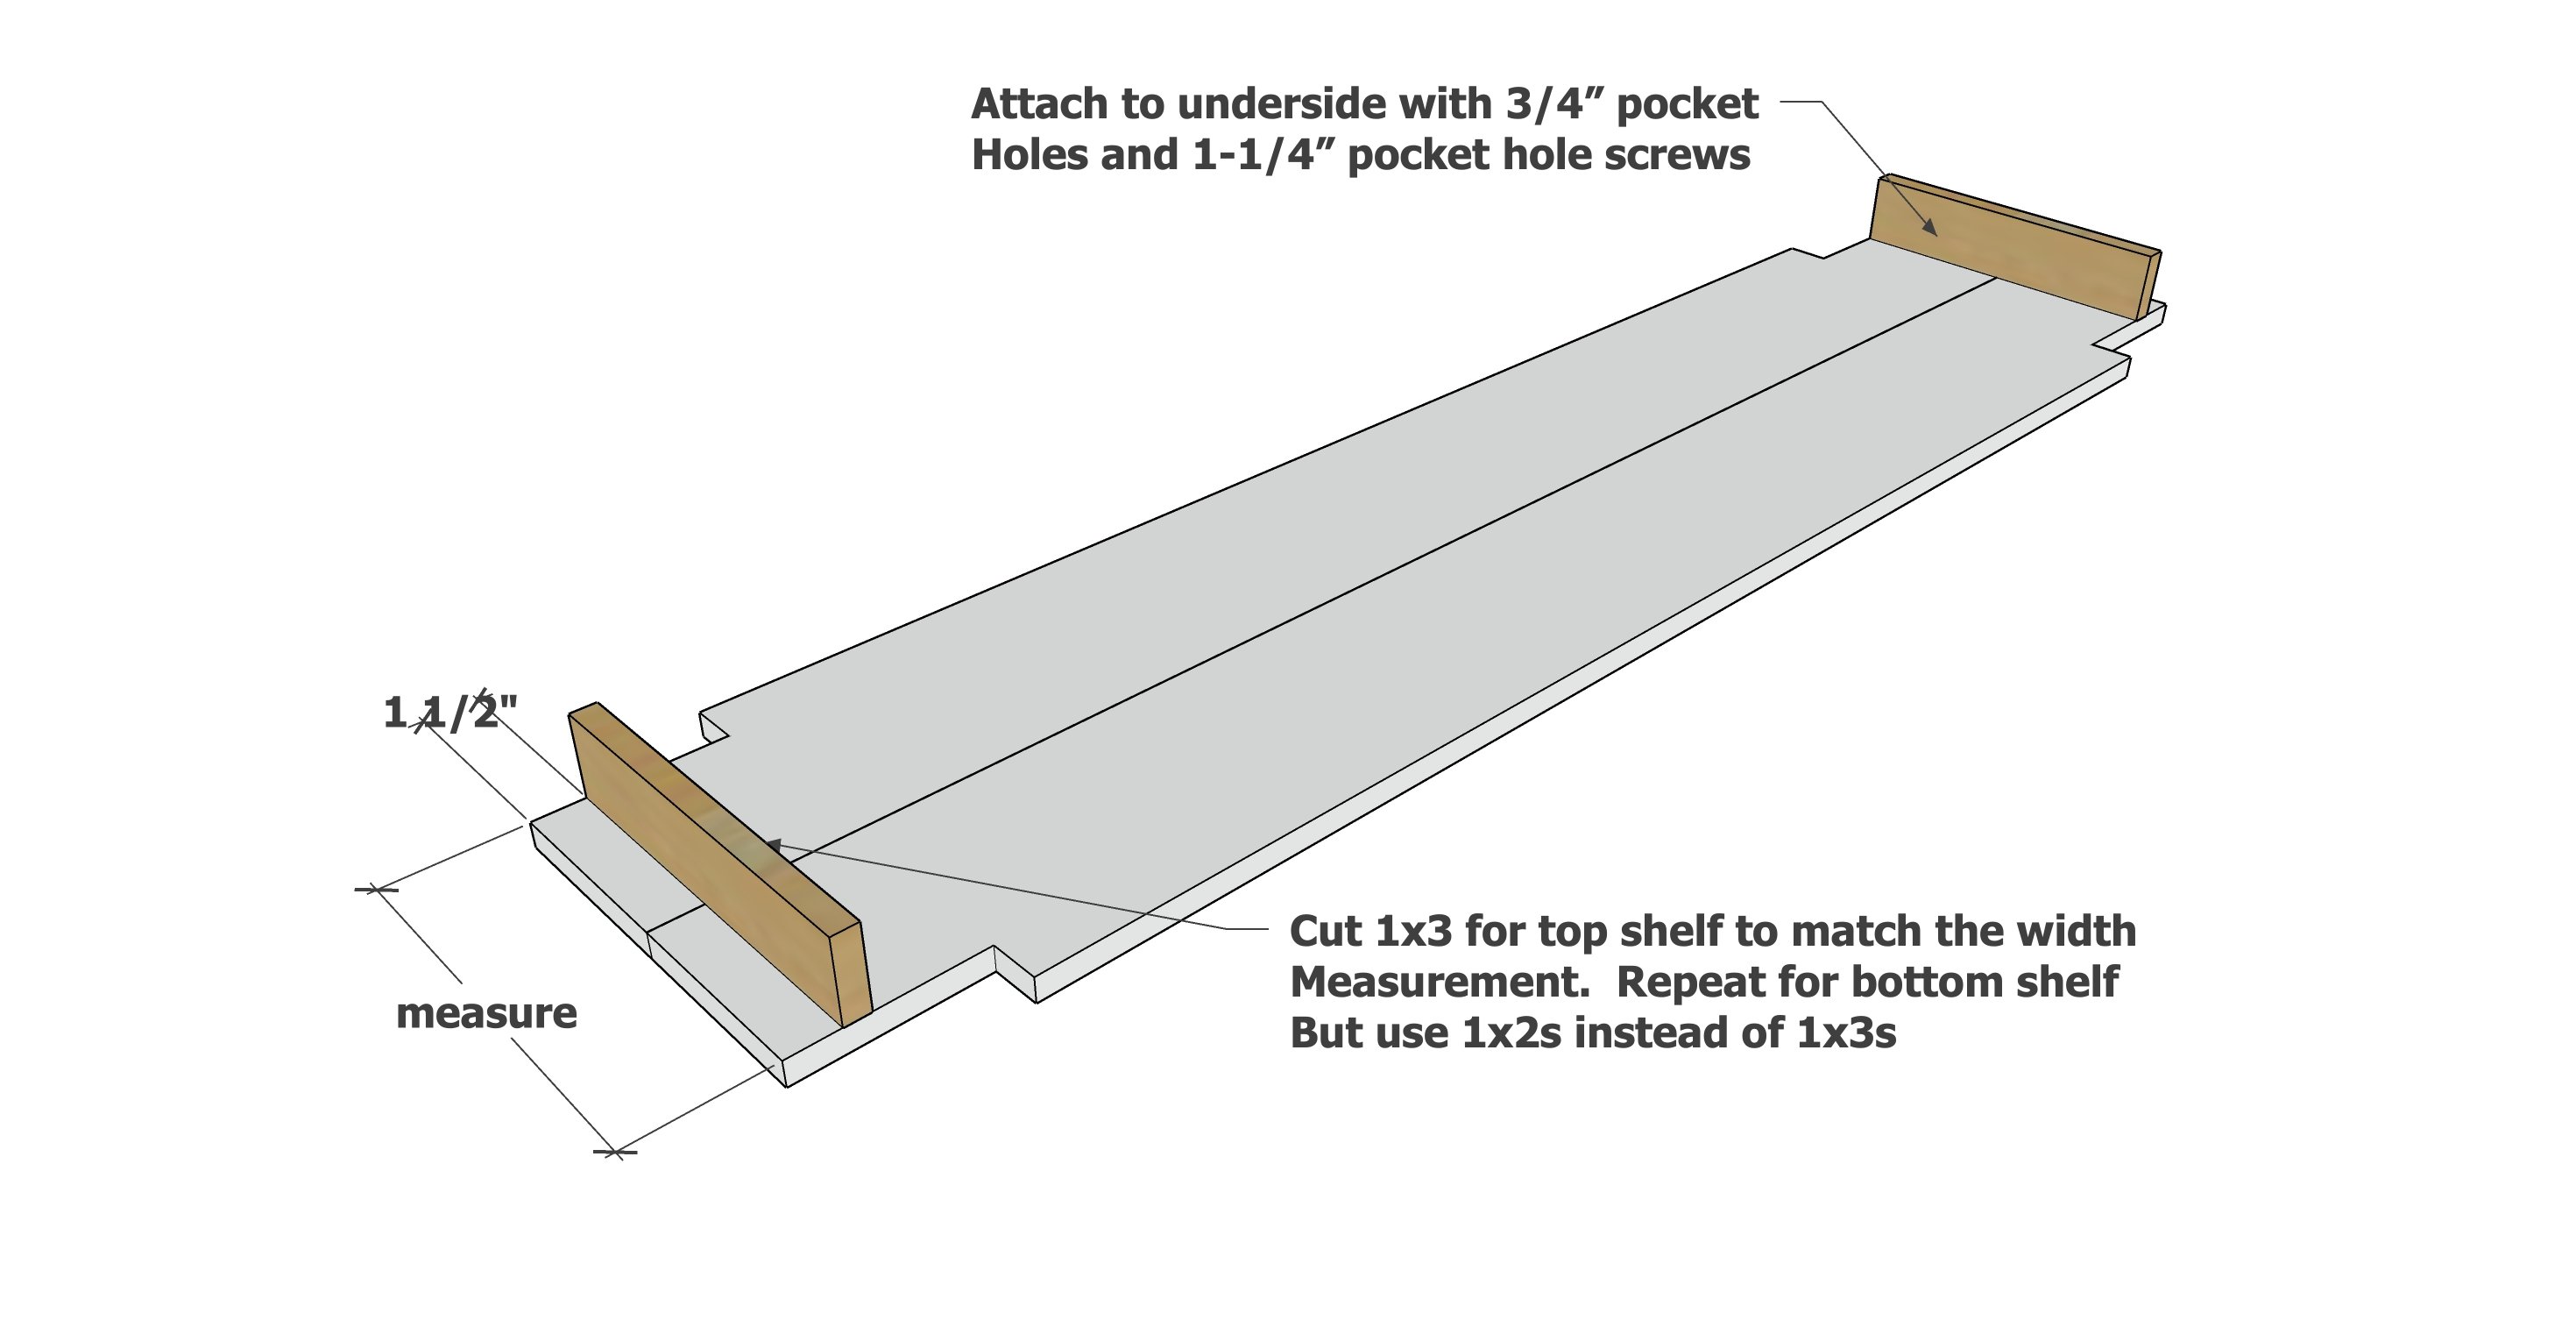
Measure between the cut outs and cut 2 1x3s to match, and 2 1x2s to match.
Attach the 1x3 pieces to one of the panels. Attach the 1x2 pieces to the other panel.
Step 3
Measure the distances in between and cut and attach 1x3s to the top panel, 1x2s for the bottom panel.
Step 4
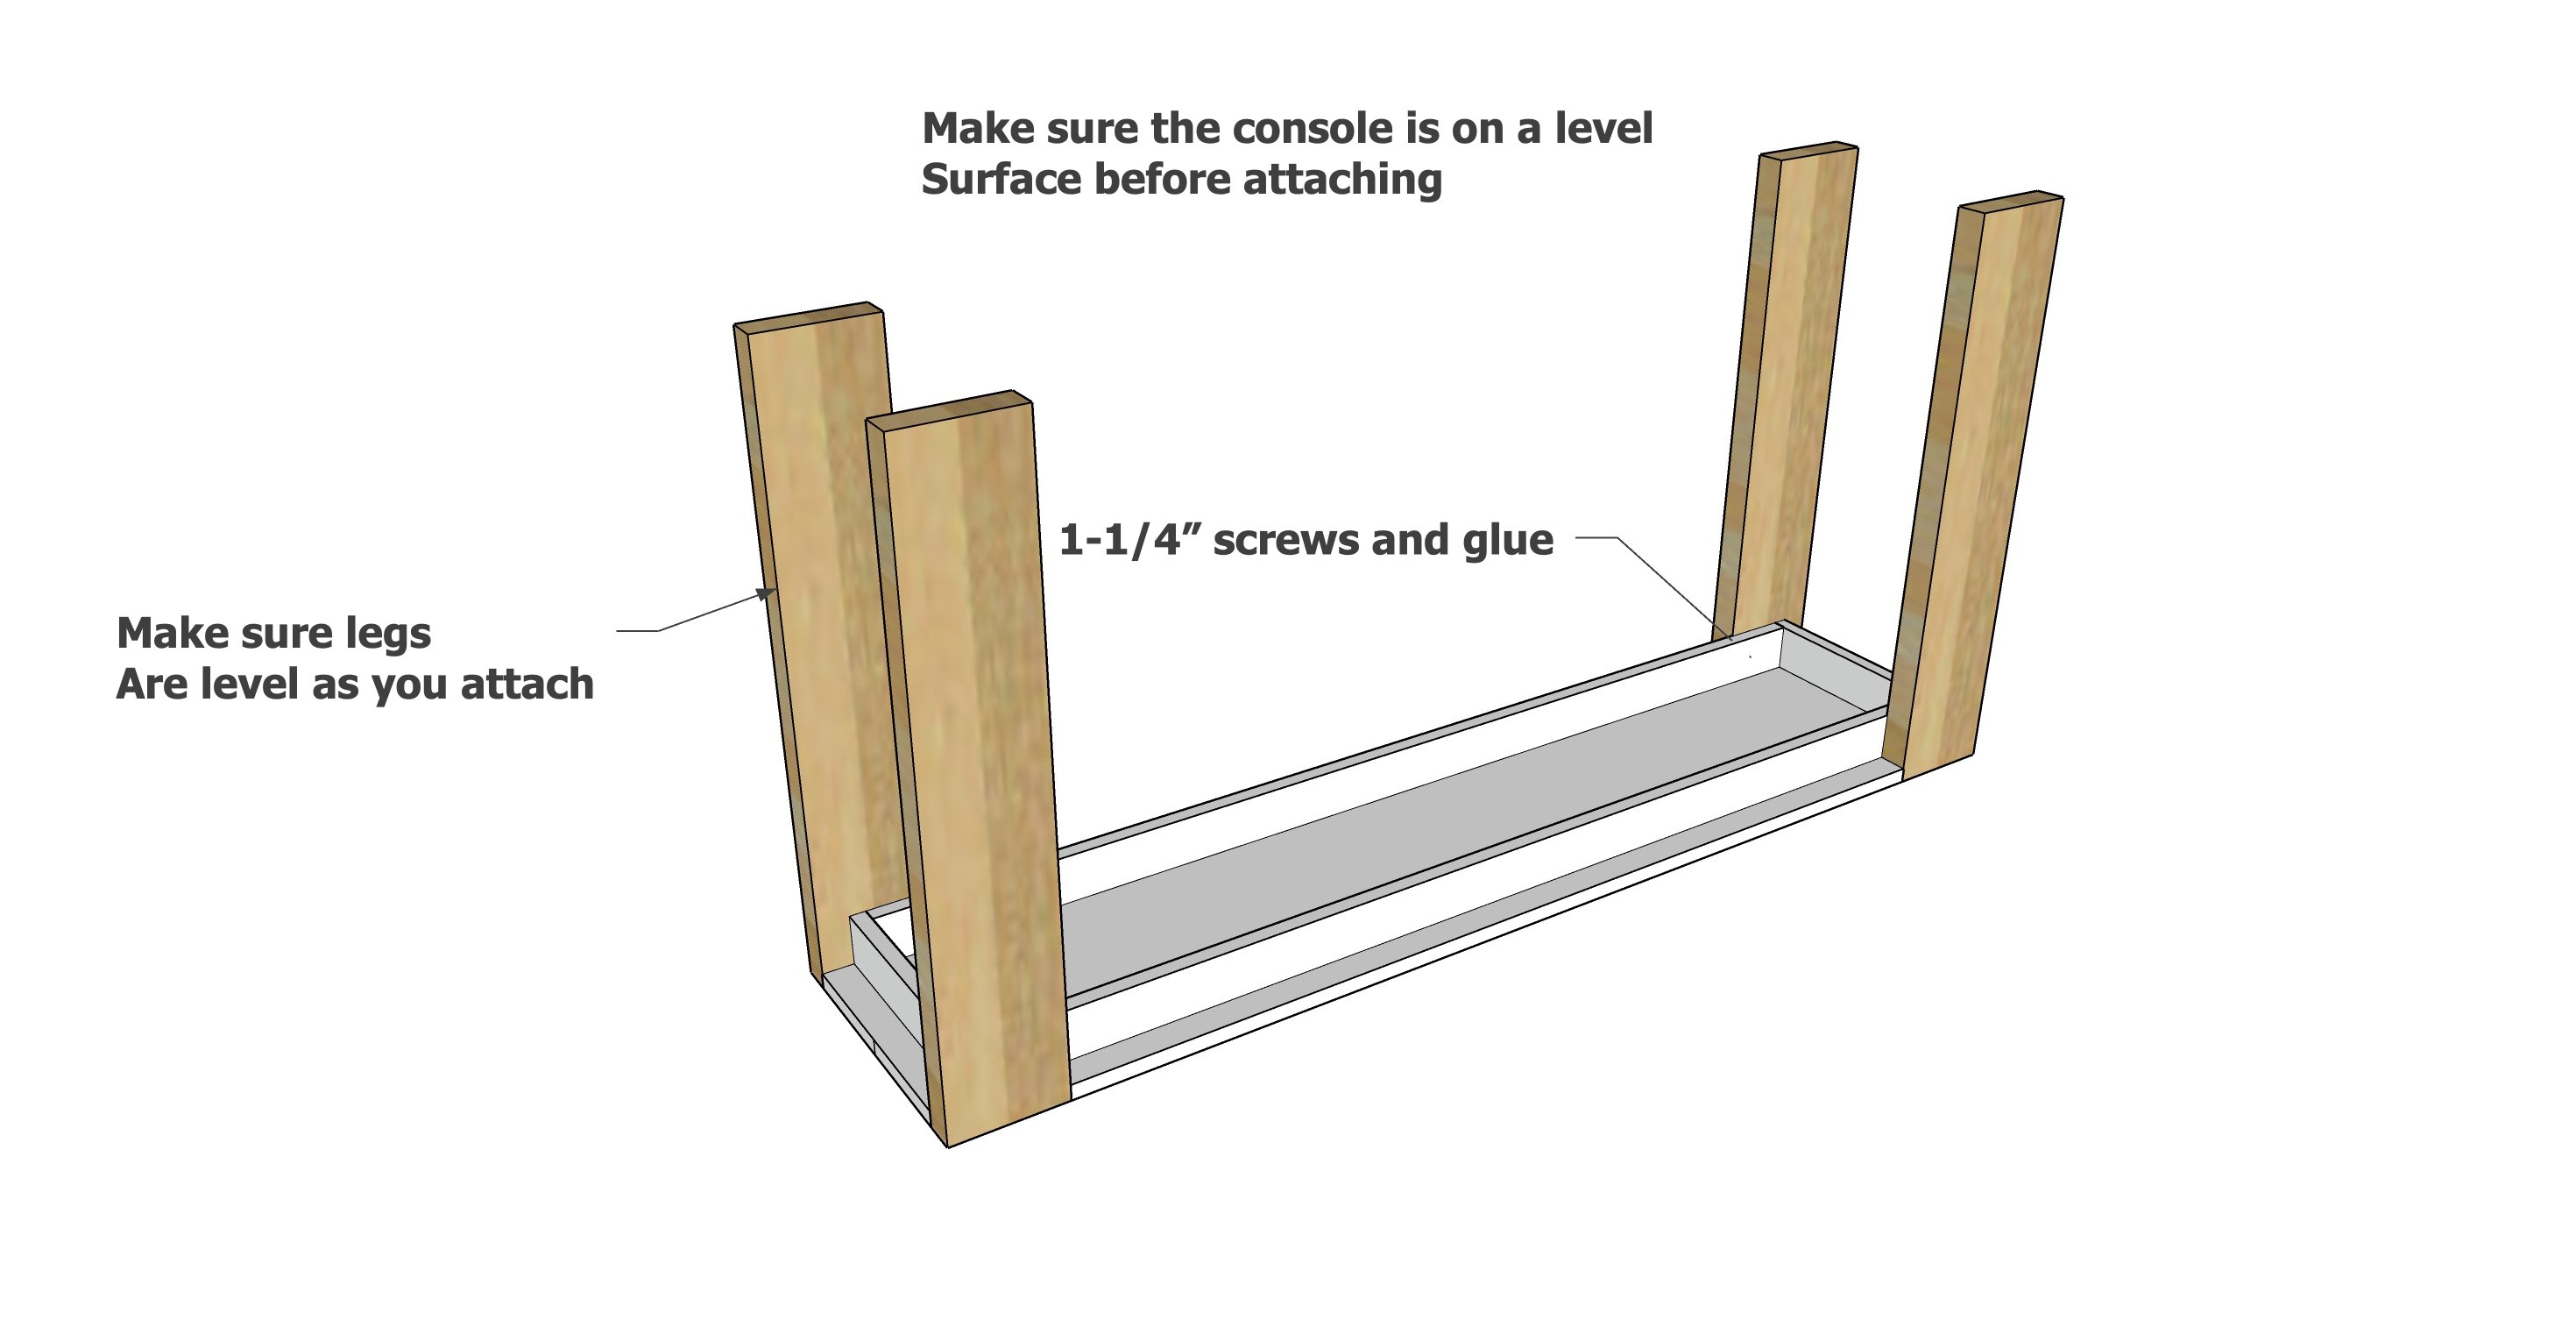
Attach the four legs to the top panel, making sure the legs are level and the tabletop is set level.
Note: Measurement shown is pulled from outside of the end 1x3
Step 5
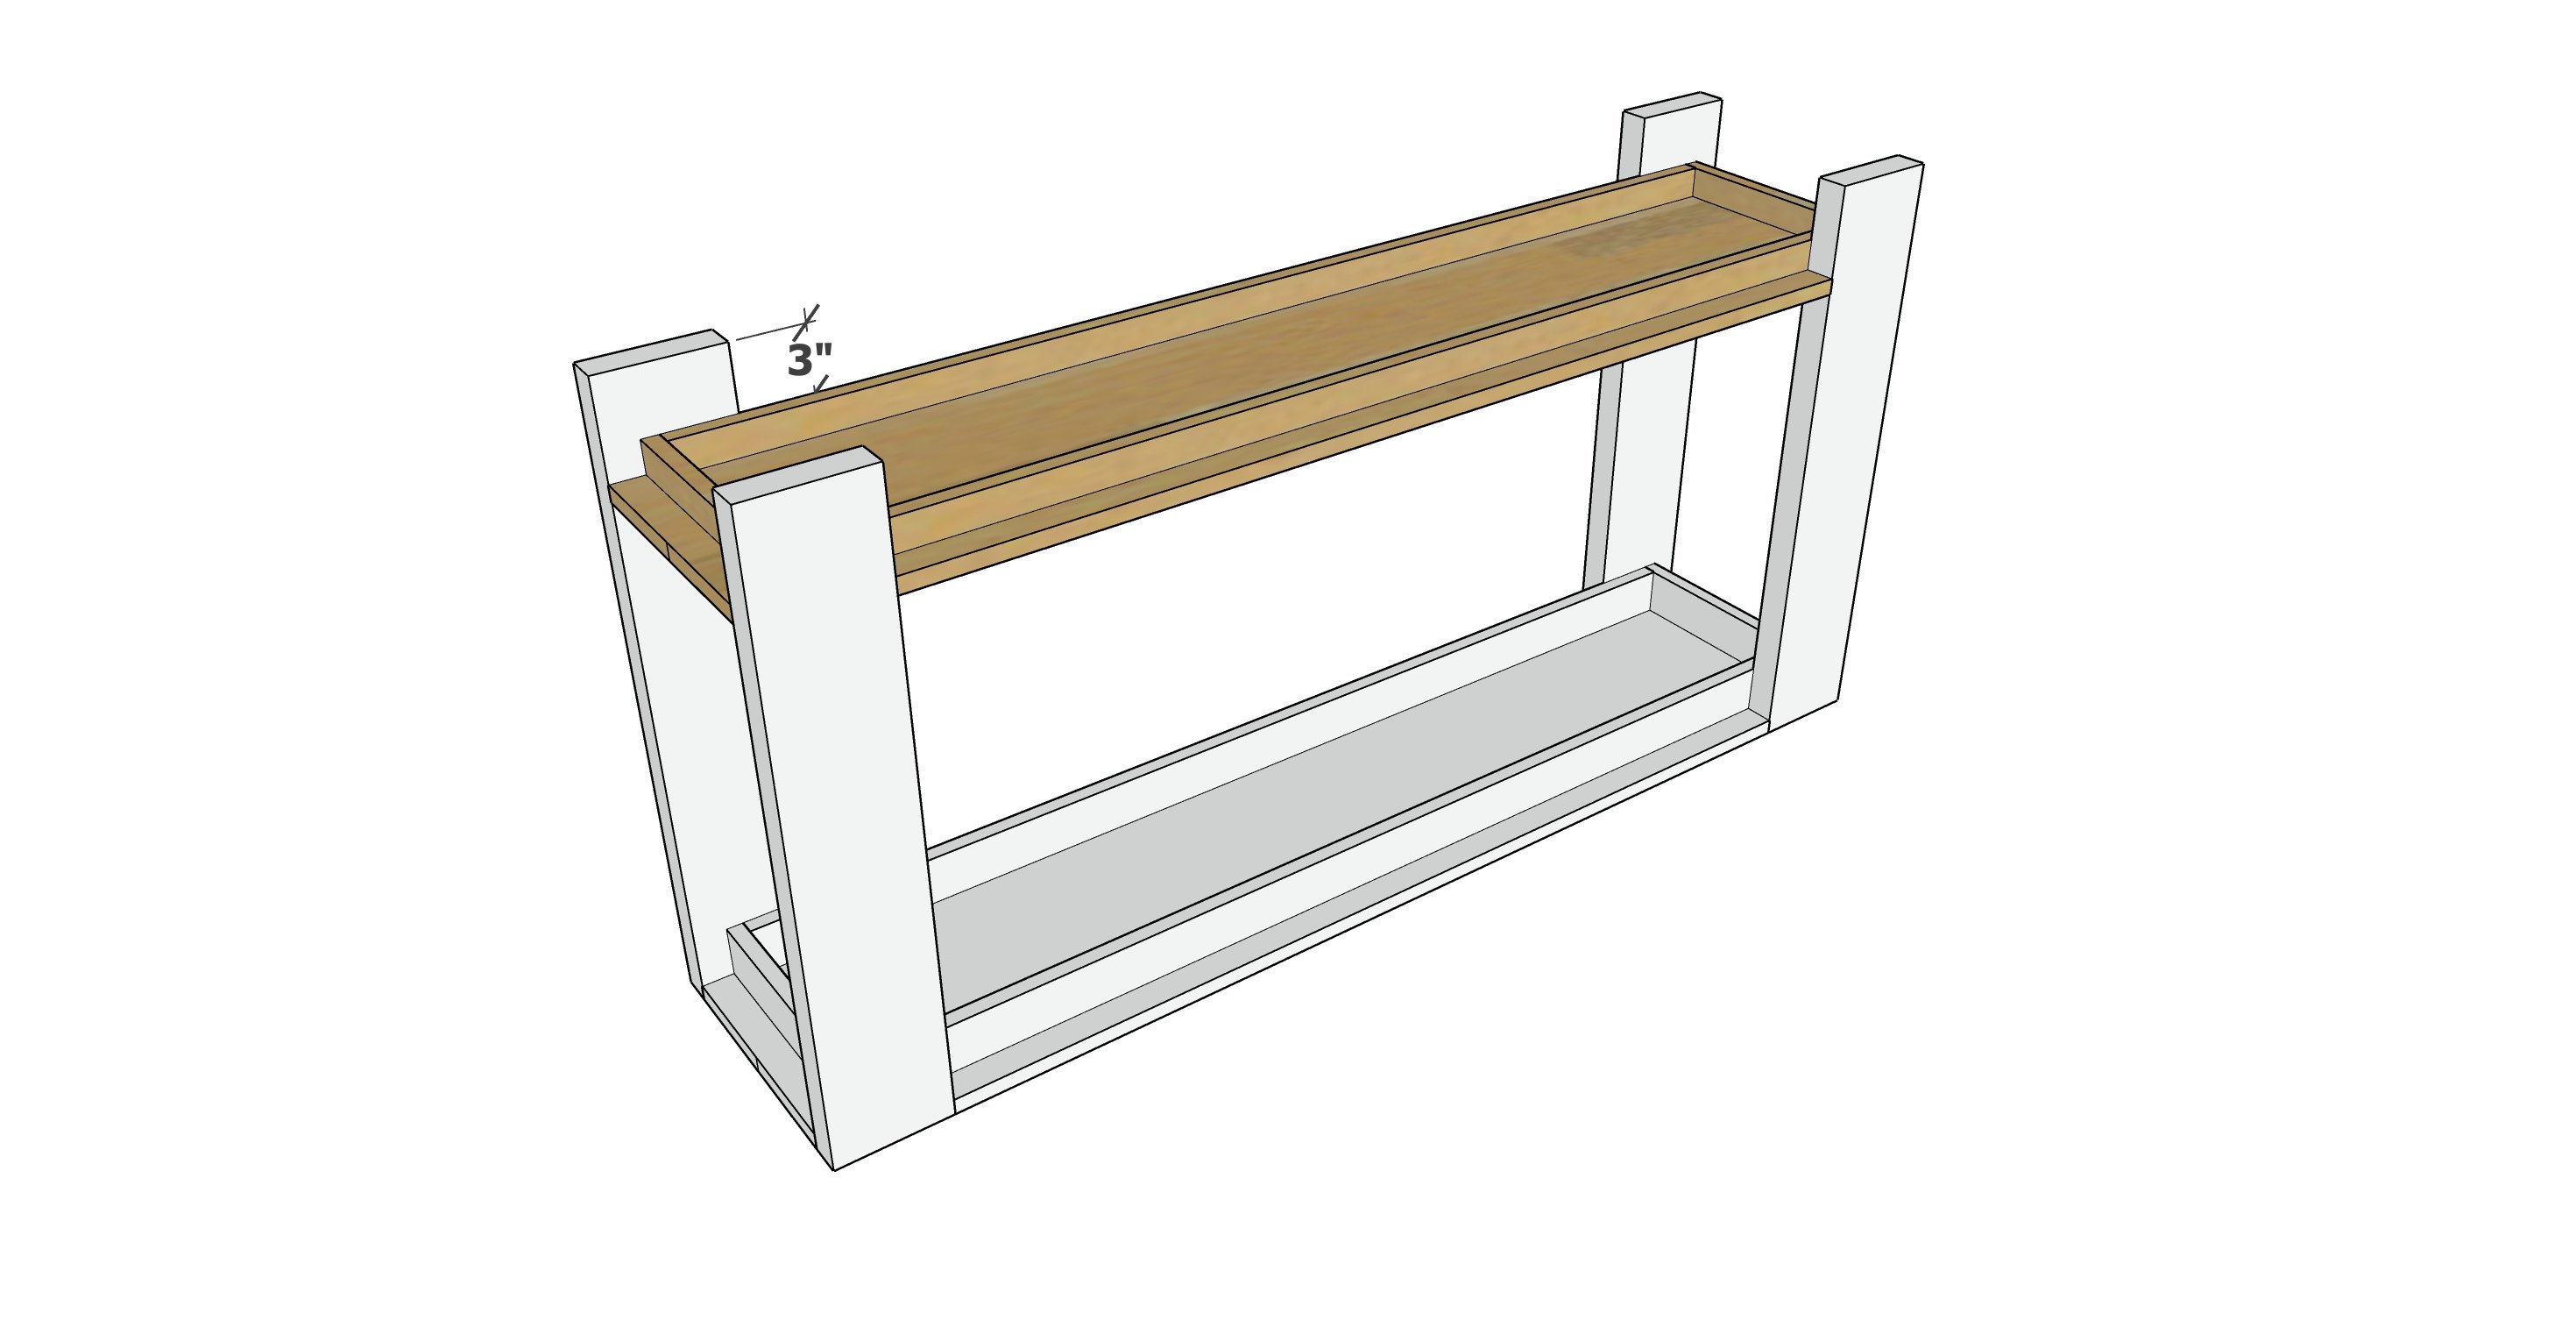
Attach bottom shelf in between legs.
