
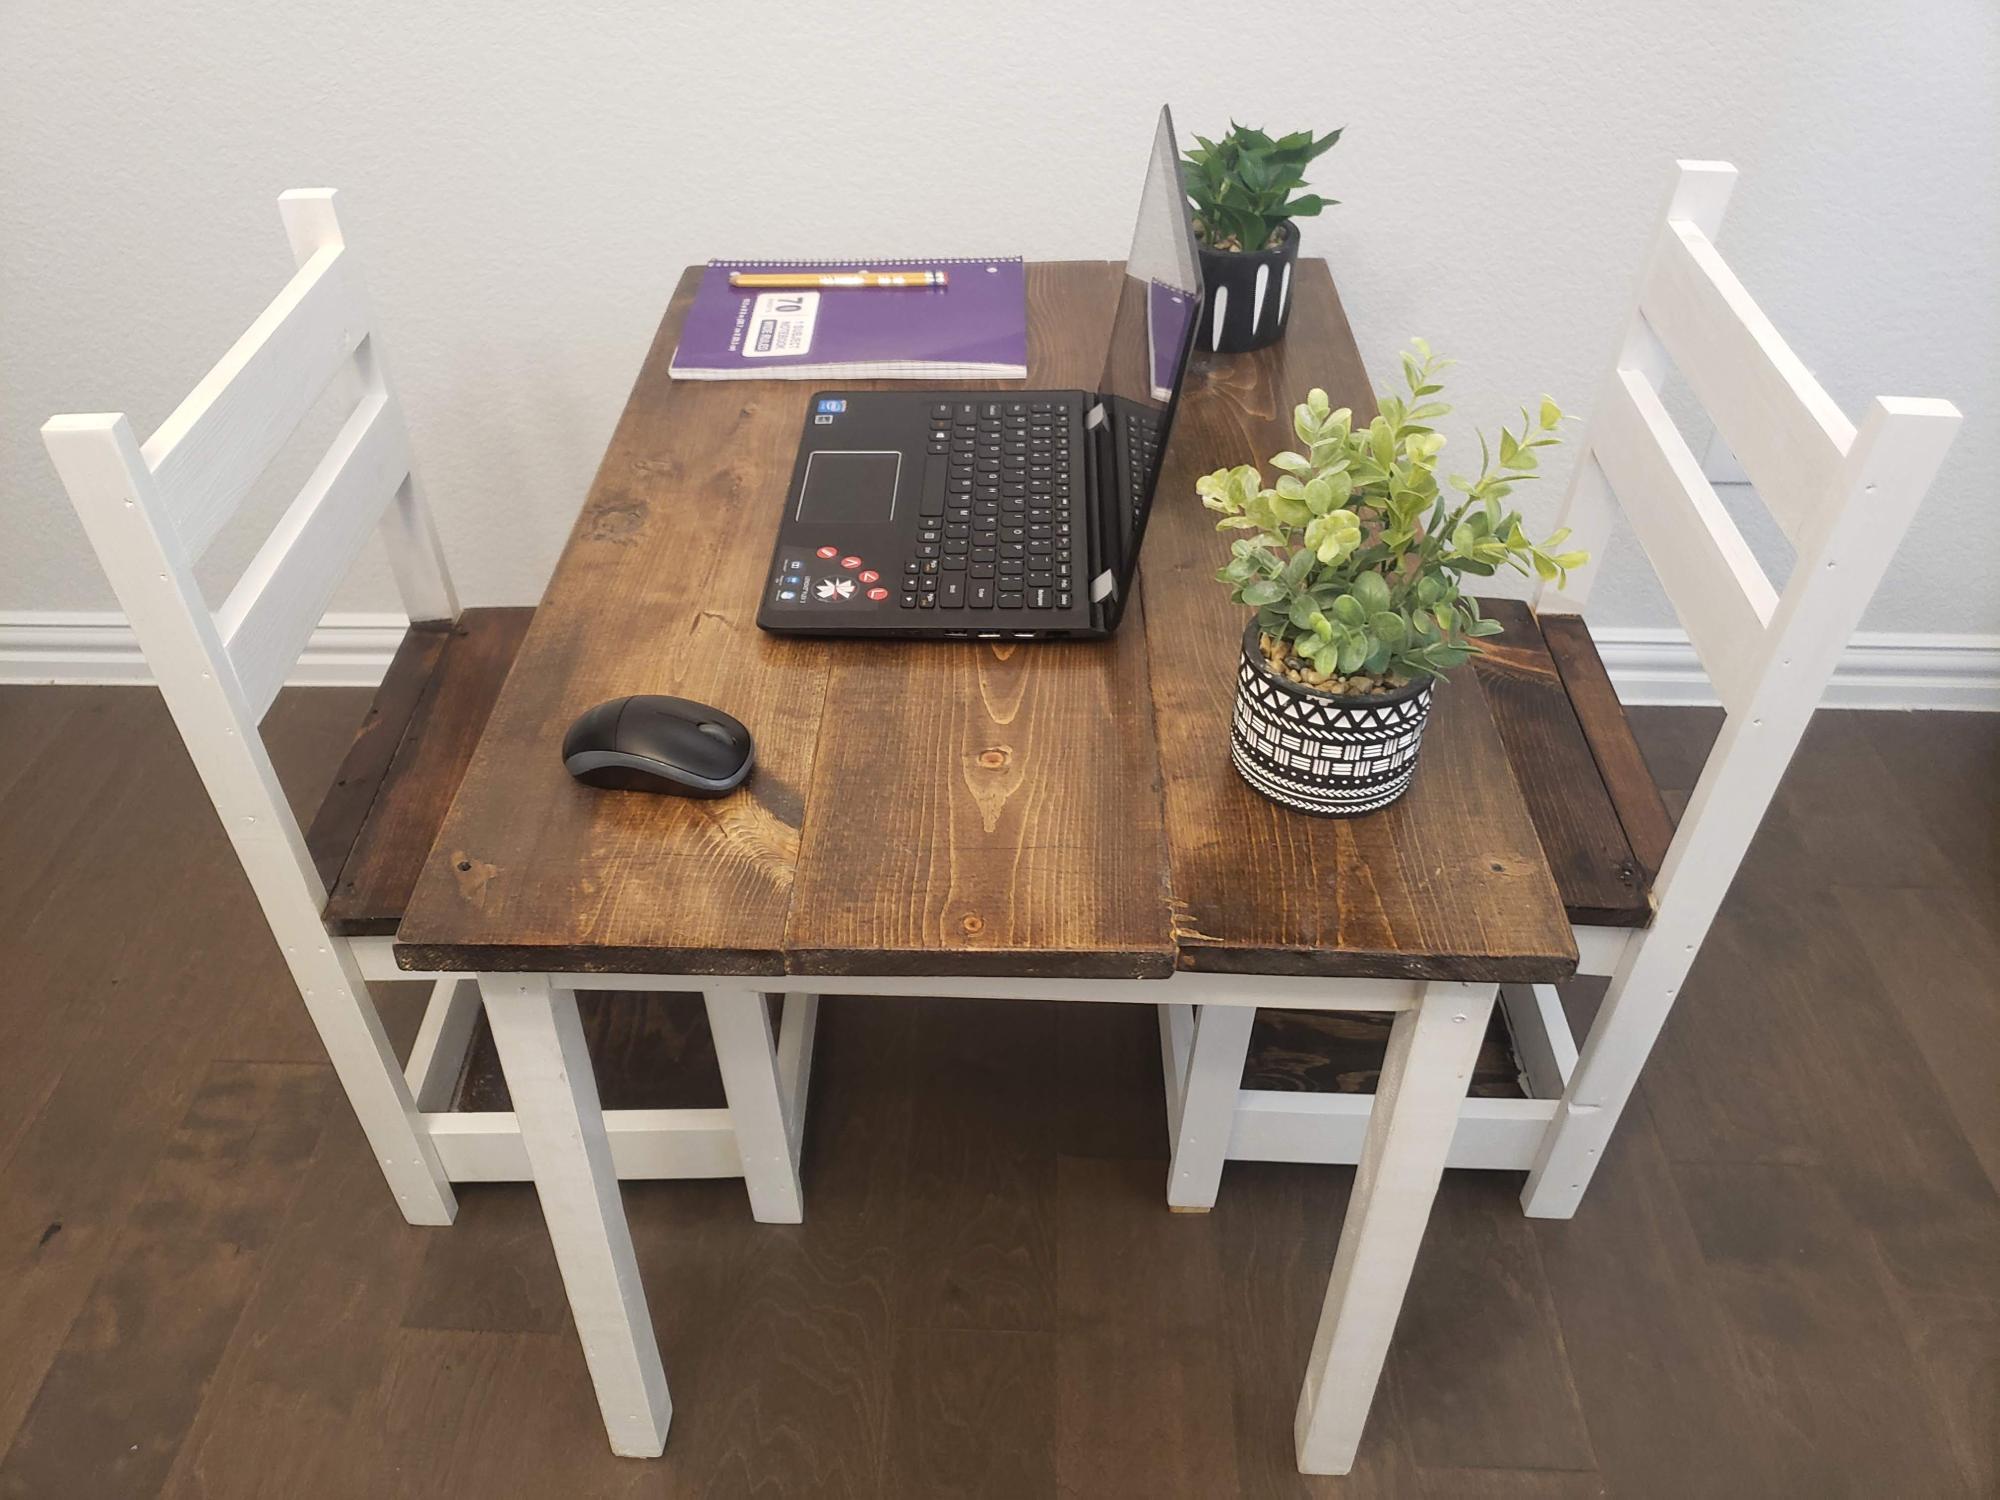

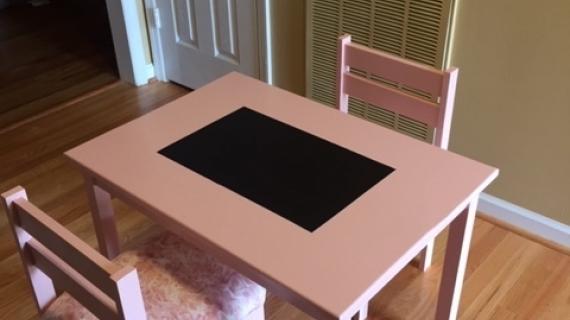
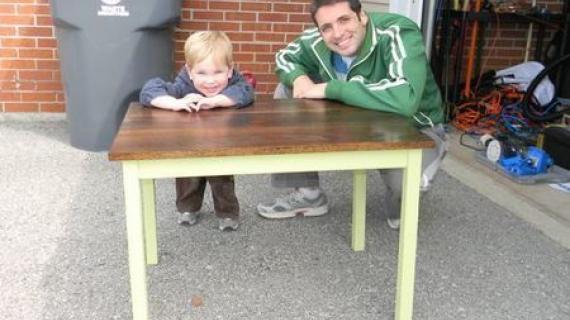
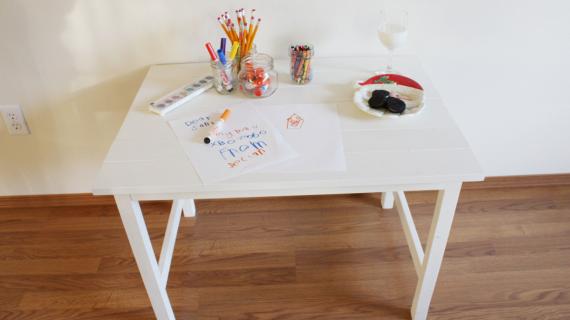
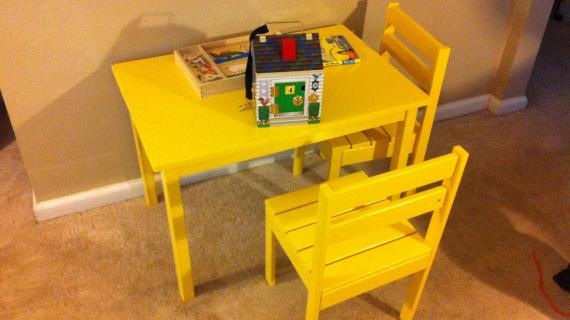
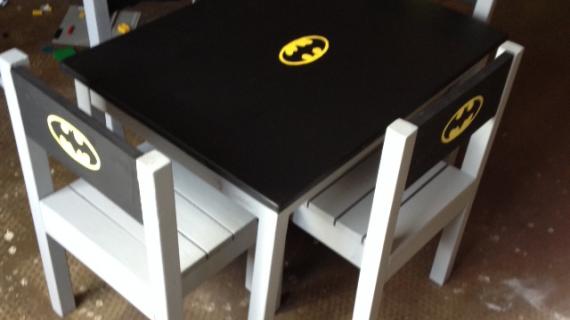
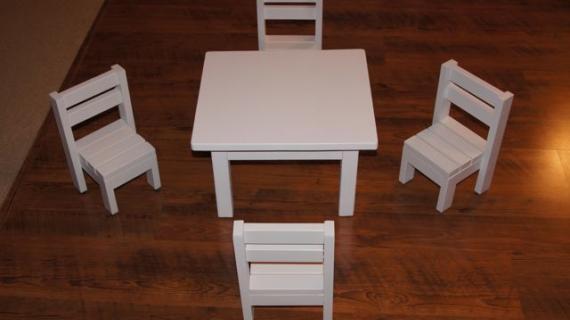
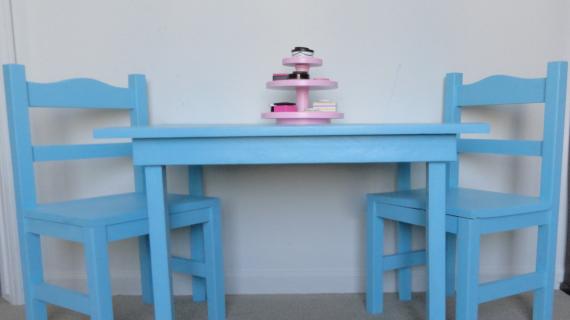
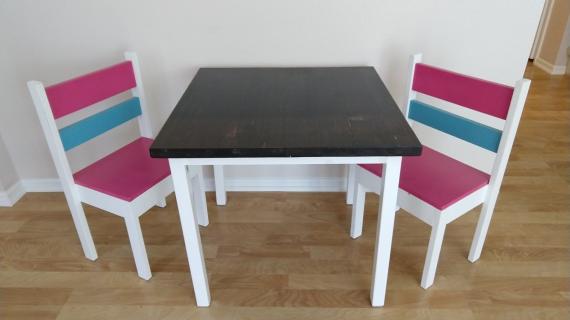
This simple children's play table is easy and economical to build, at the perfect height for toddlers and preschoolers. Use pine boards to build. Free step by step woodworking plans from Ana-White.com

Preparation
- 1 – 1×8, 8 feet long
- 1 – 2×2, 8 feet long
- 1 – 1×3, 8 feet long
- 1 1/4″ Pocket Hole Screws
- Wood Glue
- 3 – 1×8 @ 32″ (if your 1×8 is 96″ long, cut these boards at 31 7/8″ to account for the saw blade waste (kerf))
- 4 – 2×2 @ 21 1/4″ (legs)
- 2 – 1×3 @ 17 1/2″ (End Aprons)
- 2 – 1×3 @ 27″ (Side Aprons)


Instructions
Step 1
Cut your Boards and Drill Pocket Holes
Many of you do not have a Kreg Jig™. My sister, who took wood shop in highschool, has built quite a bit of furniture, and showed me how to use a circular saw the first time, has never seen a Kreg Jig™. After this project, she’s getting one. Also consider this. A similar table and chair set runs around $240. My cost for this table? Seventeen dollars. Spend the cost differential on a Kreg Jig™. Its worth it.
Cut your boards, according to the cut list. Measure the 1x8s and make sure they are in fact 7 1/2″ wide. Mine up here in Alaska are, but others say theirs are 7 1/4″ or 7 3/8″. If your 1x8s are narrower, take the difference, multiply it by three, and subtract that from the cut length of the 1×3 side aprons.
Next, drill all your pocket holes. I like to make Xs where all the pocket holes go as I cut.
Step 2
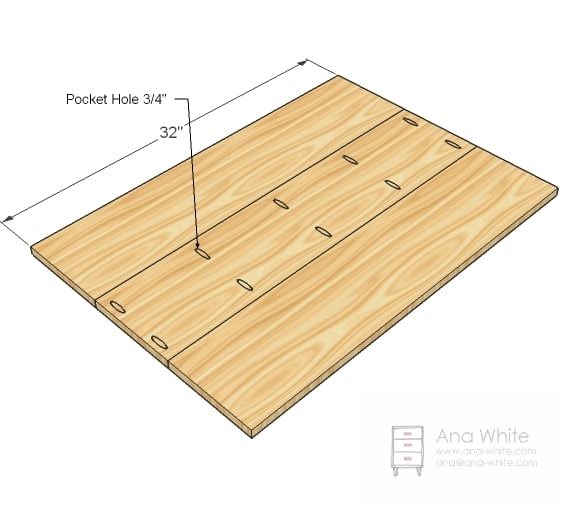
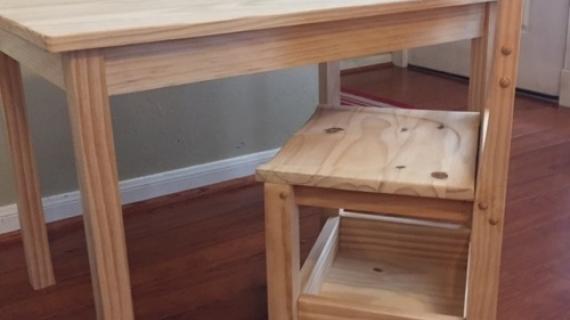
Build the Tabletop
There are other ways to build this tabletop without pocket holes, but in order to get a tabletop worthy of coloring and cheap, this was the answer. I love using solid wood in this application because you can always sand and refinish – and you just might have to. This table was left unfinished for about 3 hours. When I got the paint brush out, it was covered in very large awkwardly written Gs. A few minutes of sanding beats being upset any day.
Step 3

Base
Drill all your pocket holes first (see step 4) and then attach the legs to the aprons. I like to either inset my aprons slightly or to drill my pocket holes on the outsides to keep the legs from splitting. Adjust for square.
Step 4

Tabletop
Now is the fun part. Line the table top up with the base and screw together. The coolest thing about pocket holes is that it sucked up any differences in the tabletop. Sometimes when you join boards that are not perfectly square, your tabletop isn’t smooth. The pocket holes forced the tabletop square with the aprons.
Please excuse my typos. Today’s post was put together with the help of an 18 month old, a three year old, and a six year old. Keyboards must be fun if Mom spends so much time using one

Comments
Guest (not verified)
Sat, 11/26/2011 - 17:44
what length screws with pocket holes?
I'm planning on doing this in the morning. Went to the store and picked up all the supplies today, but after looking it over I'm wondering what size screw should i use with the pocket holes?
I've got a box of #8 x 1 1/2" wood screws that I'm hoping will fit.
I'll post photos when I'm done.
Guest (not verified)
Sat, 11/26/2011 - 17:46
AH! just noticed I didn't read the shop list right
Ah, I see it now. 1 1/4" screws. Off to the store before they close.
Matt Snow (not verified)
Fri, 05/25/2012 - 21:28
Great directions! 1 minor adjustment
Thank you Ana for making this wonderful site, and sharing your designs with the world!
I purchased a kreg jig kit on Amazon which was easy to figure out. 1 page of directions. Assembled and tested the Kreg Jig, cut the wood, drilled the pocket holes, and assembled in just 2 hours!
I did fumbled with 1 step. The big box store(home depot) 1x8 nominal pine stock in the bay area (Central California) is an actual 3/4x7-1/4.
In Step 1, paragraph 2 you mention adjusting the cut length for the "side aprons" to make up for the difference in size (Alaska vs. non-Alaska). I believe this should be changed to "end aprons".
Minor typo and will only get the people that don't read through and grok all the steps. :)
tomorrow i'll sand, stain, and finish the table, then build the $4 chairs. excited!
Wondering (not verified)
Sun, 12/23/2012 - 10:20
Finish?
I made this table and chair set (along with the toy box) for my Daughter for Christmas. It was my first project, and they all turned out AMAZING. Thank you SO much for these plans, and for the confidence to do it myself! My question is do I need to seal this furniture with a clear top coat like polyurethane or something? They are all pure white Olympic paint. Or do you think just two coats of paint should be enough to withstand a toddler's furry?
Noelle's Mom (not verified)
Thu, 01/10/2013 - 20:21
I made this!
I made this table and one chair for my 18 month old tonight! My dimensions are different because I used scrap wood from another build. Yay free project! Can't wait to paint it! Thanks for posting the plans =)
NicoleEM
Fri, 08/15/2014 - 21:57
Carolina plans
I found the plans for the Carolina table.
http://ana-white.com/2010/09/pb-kids-caroline-craft-table
laneal1987
Wed, 09/24/2014 - 09:54
Storage Benches with this table?
Do you think the storage benches would go well with this table?
BridgetGraham
Wed, 12/09/2020 - 12:46
Where did the $4 Chairs go???
Hi Ana! I adore this table and chairs!
Problem: I was on a few weeks ago and saved the link so I could make this for Christmas for my LOs, but now that I have come back, the link to the Stackable $4 Chairs doesn’t take me to those plans anymore. It’s as if the link no longer exists, nor do the plans as I have searched for them. Could you point me in the right direction to finding the plans please???