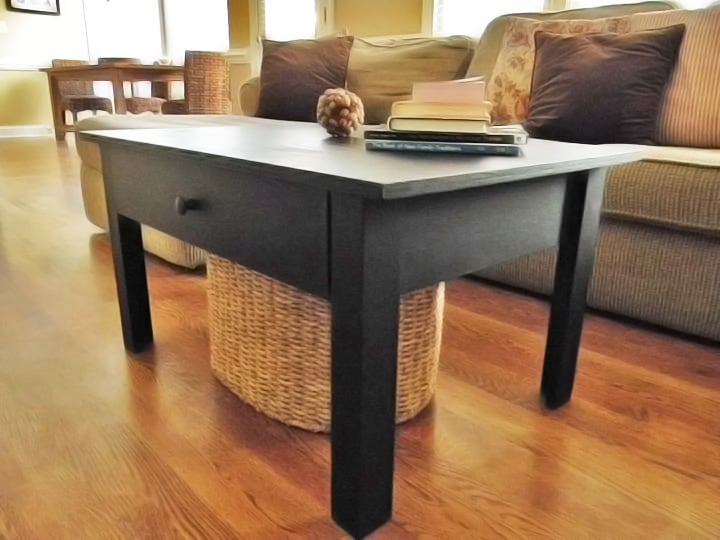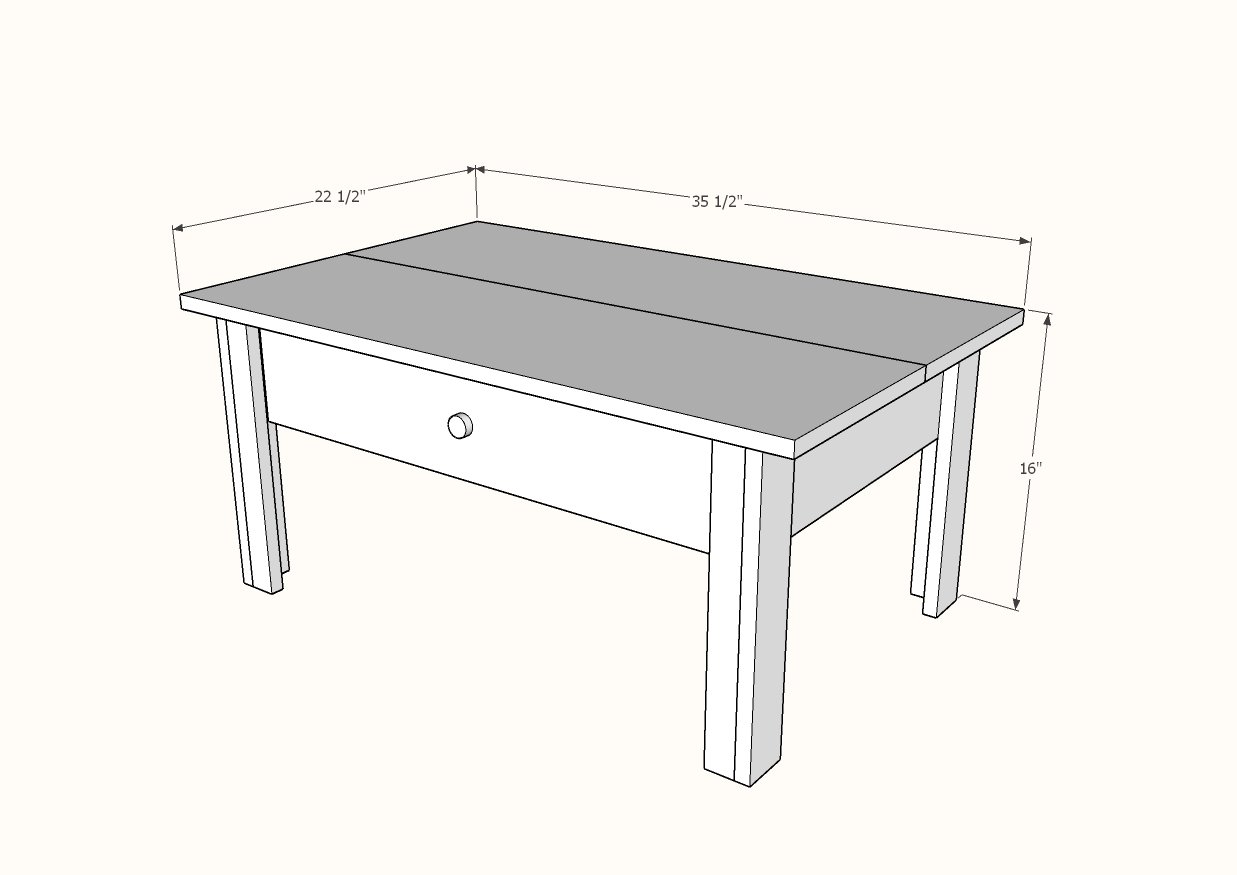
Free plans to build your own coffee table with drawer. Solid wood design, simple construction techniques, these plans are suitable for beginning builders and DIYers.
Special thanks to Kelly for sharing her beautiful photos with us.

Preparation
1 - 1x12 @ 6 feet long
1 - 1x6 @ 8 feet long
2 - 1x3 @ 8' long
1 - 1x2 @ 8 feet long
1 - 1x2 @ 8 feet long PLUS 4" of scrap 1x2 (or can substitute a 1x3)
1 - 1/4" plywood @ 18" x 25"
18" drawer slide
1-1/4" brad nails
wood glue
1-1/4" pocket hole screws recommended, but can also use 2" self tapping construction screws
- 1 - 1x6 @ 29" - back
- 2 - 1x6 @ 19-1/2" - sides
- 2 - 1x2 @ 29" - drawer framing
- 2 - 1x2 @ 4" - drawer framing
- 2 - 1x3 @ 5-1/2" - drawer spacer
- 4 - 1x2 @ 15-1/4" - legs
- 4 - 1x3 @ 15-1/4" - legs
- 2 - 1x3 @ 18" - drawer sides
- 2 - 1x3 @ ~25" - cut to fit - drawer front and back
- 1 - 1/4" plywood @ 18" x 25" - bottom of drawer
- 2 - 1x12 @ 35-1/2" - top
- 1 - 1x6 @ 27-1/4" - drawer front
Instructions
Step 2
Step 5
Build the drawer box using these instructions to fit inside the coffee table.


Comments
Melissa (not verified)
Mon, 08/02/2010 - 13:43
Hey Ana!Love the table, I
Hey Ana!
Love the table, I actually had one similar to it, and decided we needed one larger! What to do with the old smaller one? I cut the legs off and made a wonderful, improvised coffee table with lots of surface room! I love it!
MarcyKay (not verified)
Tue, 08/03/2010 - 05:25
Love it! That would make a
Love it! That would make a great little table for a kids room too =)
Anonymous (not verified)
Fri, 08/06/2010 - 10:15
Thanks so much, my couch is
Thanks so much, my couch is this weird height and a friend told me he would make me a table if I got him the plans I wanted, and he could just make it taller. Not sure about this or a couple of the others I saw here, still deciding, but this has been soooooo useful.
Lovely, lovely… (not verified)
Wed, 10/06/2010 - 02:05
[...] some time scouring
[...] some time scouring Ana’s site and never found a side table that worked for me until I saw Ana’s plans for the Lucille coffee table. Lucille and I were meant to be together. Like peas and carrots. But, Lucille was a coffee table [...]
Becky Griffin (not verified)
Fri, 01/07/2011 - 10:35
Ana, we are making this table
Ana, we are making this table today, and we think that there is a typo. On the cut list Letter F says that the board that you're cutting is a 1X2, but the matching description says 1X3. Should it indeed be the 1X3 board and not the 1X2? Just making sure we get it right. We are going to go ahead and assume that it was supposed to be 1X3, but just to clarify for others that may do this plan...
We are making good progress. It's so much fun! Thanks again...
x Becky
dalawa
Fri, 05/22/2020 - 05:11
asa
asa