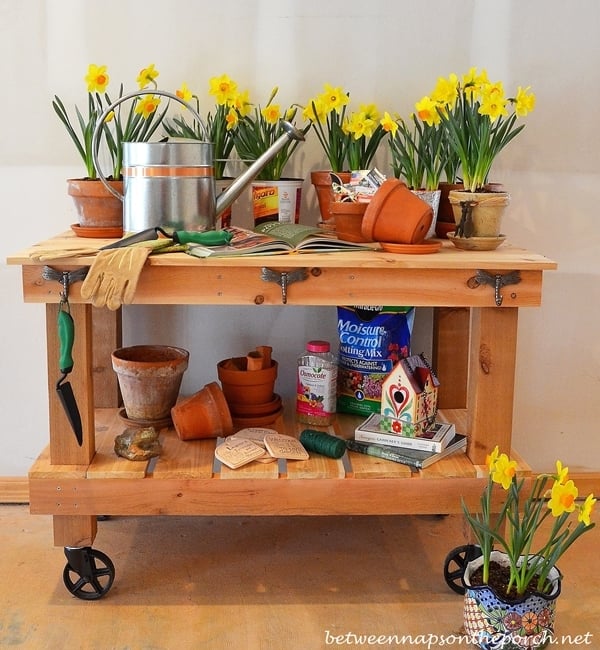
easy potting bench plans by Ana-White.com
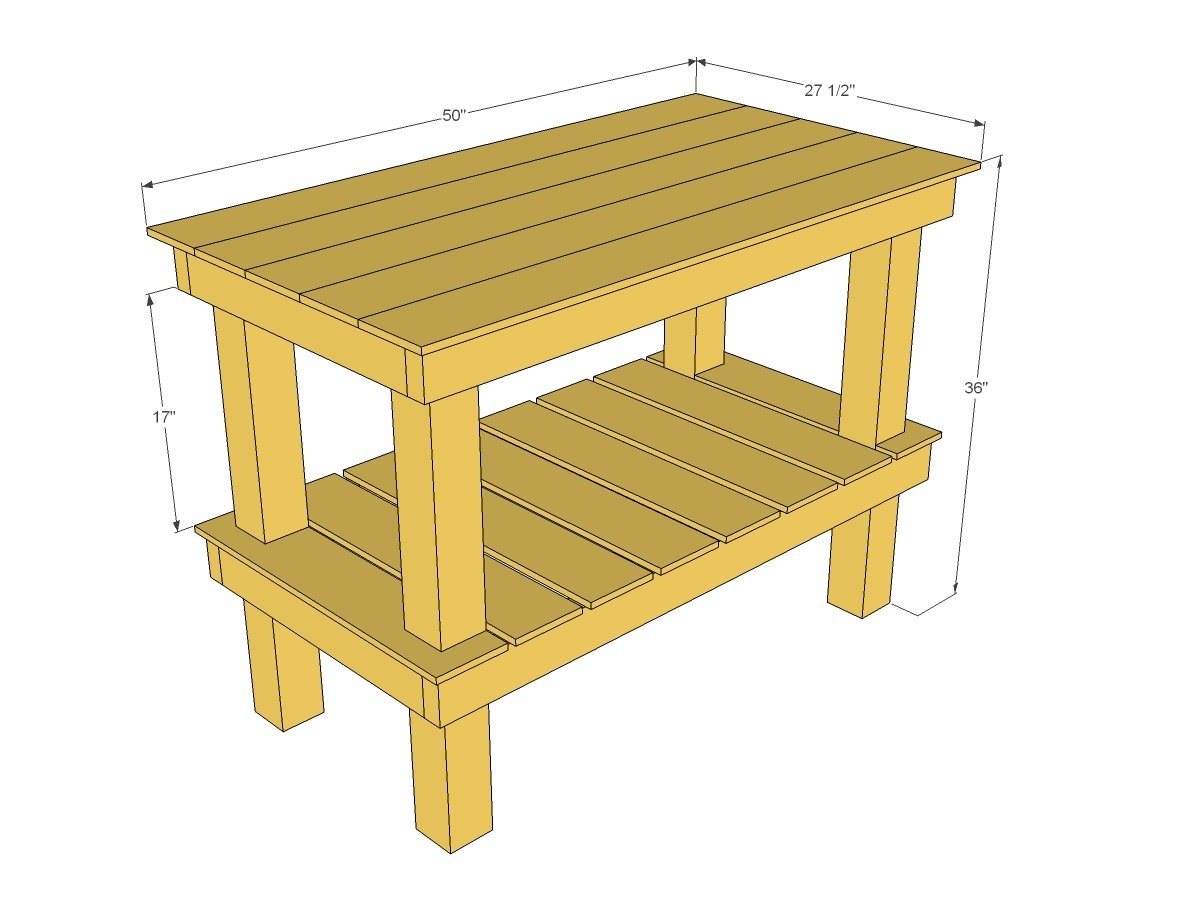
Preparation
1 - 4x4 @ 12 feet long
4 - 2x4 @ 8 feet long
6 - 1x6 cedar boards 10 feet long or 9 cedar fence pickets 6 feet long
4 - caster wheels (if desired)
3" or longer self tapping exterior deck screws
2" self tapping exterior deck screws (for attaching top)
exterior wood glue
4 - 4x4 @ 35-1/2" - cut shorter per wheel height if using (legs)
8 - 2x4 @ 22" (sides and top supports)
4 - 2x4 @ 48" (front and back)
1 - 2x4 @ 45" (bottom support)
8 - 1x6 cedar boards or fence pickets @ 26" (bottom shelf)
5 - 1x6 cedar boards or fence pickets @ 50" (top shelf)
Please read through the entire plan and all comments before beginning this project. It is also advisable to review the Getting Started Section. Take all necessary precautions to build safely and smartly. Work on a clean level surface, free of imperfections or debris. Always use straight boards. Check for square after each step. Always predrill holes before attaching with screws. Use glue with finish nails for a stronger hold. Wipe excess glue off bare wood for stained projects, as dried glue will not take stain. Be safe, have fun, and ask for help if you need it. Good luck!
Instructions
Step 1
Test a few of your screws to make sure you don't need to predrill all the holes. I find self tapping screws pretty forgiving (though more expensive). Layout the 4x4 legs and attach the 2x4s to the top and at the bottom shelf location.
To keep things pretty - I love how Susan made a screw pattern here.
Step 2
Step 4
Step 6
Step 7
Attach wheels to bottom of legs if using.
For more details - please visit Susan at Between Naps on the Porch.
Thank you Susan!
It is always recommended to apply a test coat on a hidden area or scrap piece to ensure color evenness and adhesion. Use primer or wood conditioner as needed.


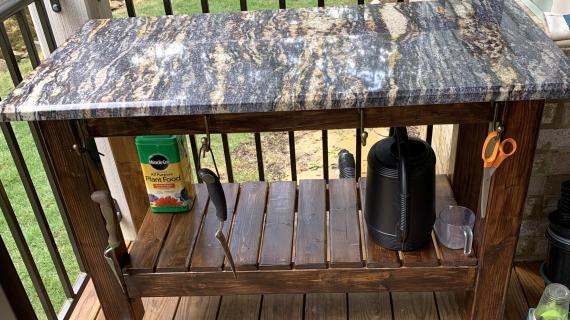


Comments
Lady Goats
Mon, 03/10/2014 - 10:33
Awesome, awesome first build!
Design, too! Great job, Susan!
Love the plans, Ana!
In reply to Awesome, awesome first build! by Lady Goats
Susan_Between …
Mon, 03/10/2014 - 21:55
Thanks, Gina! XO
Thanks, Gina! XO
Susan_Between …
Mon, 03/10/2014 - 21:54
Thanks so much for the feature!
Ana, thanks so much for sharing my potting table! I had a blast making it. This building stuff can be pretty addictive! :)
aclifford
Tue, 03/11/2014 - 05:25
cool
This is so cool! Really easy to follow tutorial. You should wear protective masks and gloves.
DIYmommyAK
Tue, 03/18/2014 - 10:05
cute!
I love this! I am determined to have a garden this year, so I'm thinking I NEED it :-)
Do you think I could use pocket holes to attach the 2x4s? I bought a massive box (2000!) of outdoor 2.5" Kreg screws, so this seems like a good use for them.
In reply to cute! by DIYmommyAK
Susan_Between …
Thu, 03/20/2014 - 21:24
Pocket Holes
That sounds like a great idea!
MikeS
Sun, 05/11/2014 - 07:34
Sturdy, quick and easy bench
I built this in about 3 hours including sanding yesterday. What a sturdy bench, I think I may build another one a little bigger for a workbench using maple as a top. Two things i found: From the buy list, I was (1) 2x4 short, as well as (1) 1x6 too many. Also, be very careful about screw placement on the (2) cut out boards on the lower shelf. It's very easy to split the wood even when pre-drilling. One last thing, remember to always put the Top boards "crown down" to keep from warping and pulling up in the future.