Simplest Farm Table

beginner farm table plans
Difficulty
Beginner Projects
| Print this plan

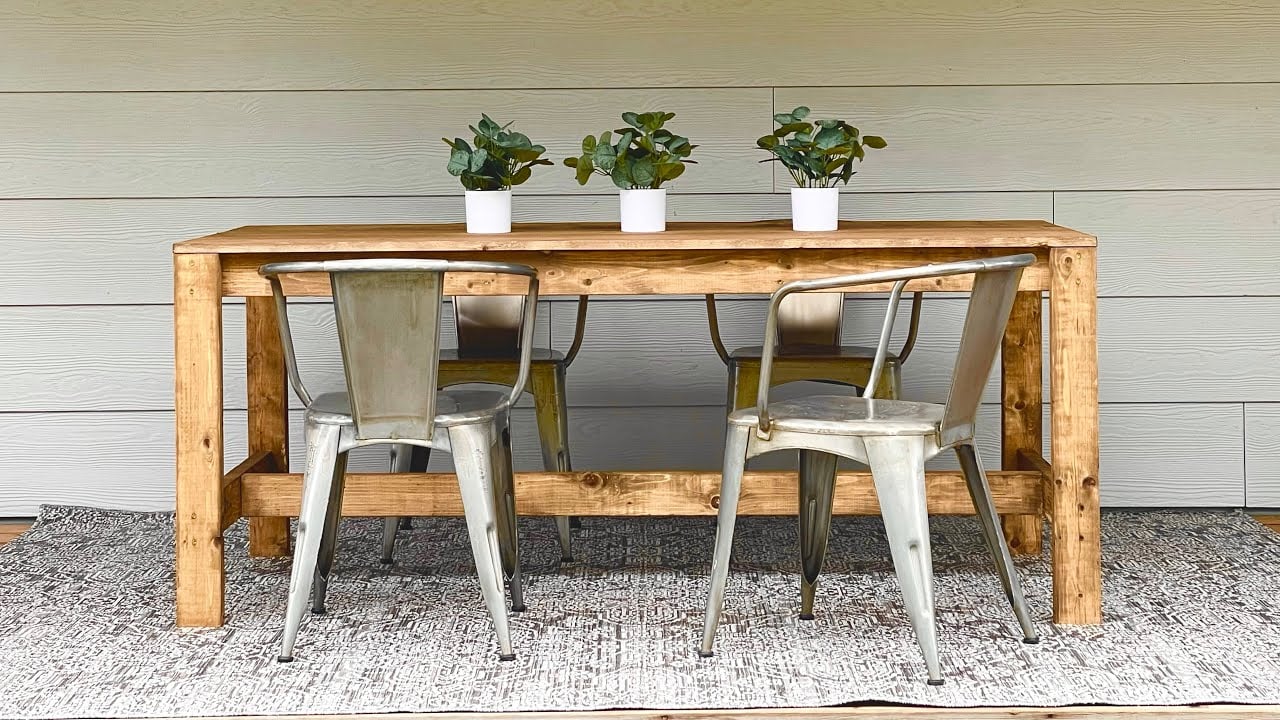
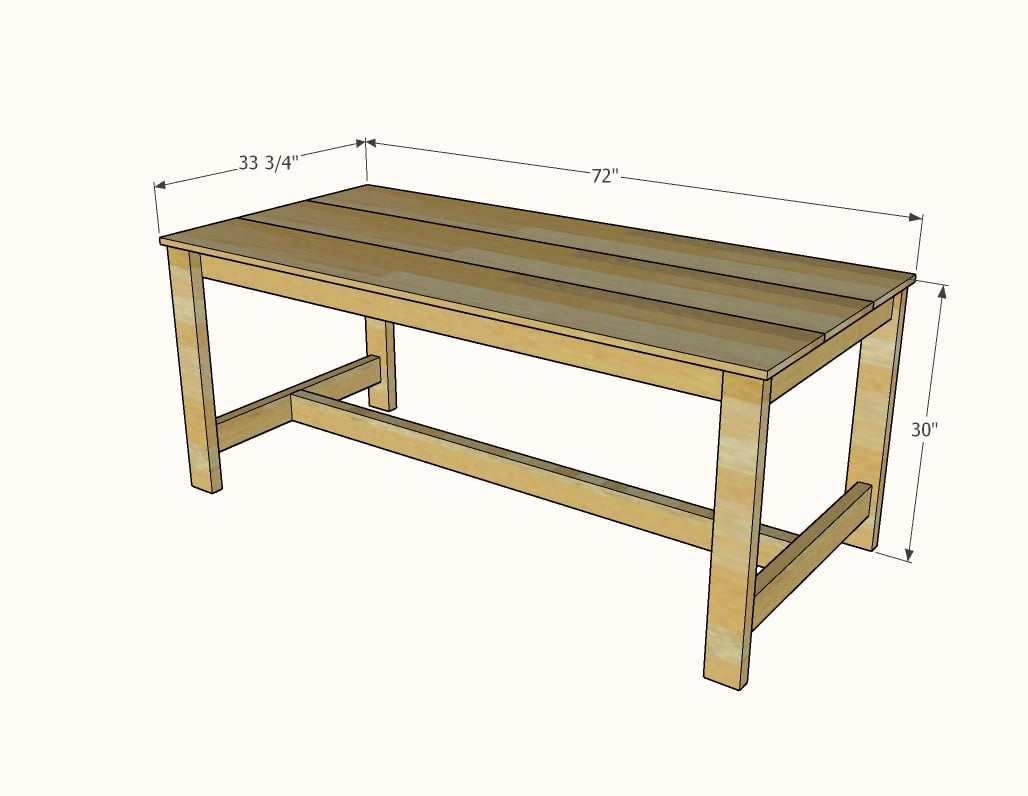
Our simplest farm table plans - still sturdy and beautiful, but easy to build with basic tools.  Seats 6 comfortably.  Can be used as a desk or made taller as a kitchen island. Free step by step plans from Ana-White.com

This simple farmhouse table is designed to give you all the beautify of real wood, and sturdiness of home built - but without requiring many tools or advanced techniques.

Simplest Farmhouse Table Features

  • Easy to build design features no pocket holes and simple construction techniques
  • Super sturdy
  • Lightweight design, so portable enough to move around with two people easily
  • Smooth top 
  • Optimized for materials (so you'll hardly have any waste)
  • Paint or stain any color
  • Seats 6 comfortably
  • Can be used as a desk or even a kitchen island (just make the legs 6" longer)


Perfect for Weddings and Events

The inspiration behind this table was a request from a friend to create five farmhouse tables for a wedding that were sturdy, could hold up to transporting, lightweight enough to move around easily, and as inexpensive as possible.  My husband and I were able to build all five in an afternoon, and my friend stained them up for her wedding

Photo coming soon of tables at wedding

We couldn't have done with with a more complicated plan, and were very pleased with how durable yet beautiful these tables are.


Using this Table Outdoors

This table can be built for outdoor use too!  We recommend swapping the 1x12 boards on top for 1x6 boards (can be 5/4 cedar deck boards for more longevity), you'll need six 1x6 boards (same 72" length) instead of the 1x12s, and leave a 1/4" gap in between the boards when you attach.  Also recommend attaching with screws (exterior appropriate, about 2" length), as nails will pull out overtime in an outdoor setting.  Also can use treated for the base, for even greater longevity.


Watch the Build Video

Watch the build video to see live how this table comes together.


Plans for the Simplest Farmhouse Table

The plans for this table follow.  Thank you for using our free plans.  If you build, please post a "brag post" of your table, we love seeing your finished projects and it helps other readers visualize their projects.

Pin For Later!

Simplest Farm Table

Dimensions
dimensions for farmhouse table
Dimensions shown in diagram, seats 6 comfortably

Preparation

Shopping List
  • 4 - 2x4x8' (prefer soft pine for easier to work with)
  • 1 - 2x4x10' (same species of wood as the 2x4x8's)
  • 3 - 1x12x6' pine boards
  • 50 - 2-1/2" #8 self tapping star bit wood construction screws
  • 2" brad nails
  • wood glue
  • sandpaper in 120 and 150 grit (for stain grade finish) and 220 for final finish
  • primer and paint, or stain and clear top coat
Cut List
  • 3 - 2x4 @ 66-1/2" long (side aprons and bottom stretcher)
  • 4 - 2x4 @ 29-1/4" long (legs)
  • 4 - 2x4 @ 29-3/4" (end aprons and stretchers)
  • 2 - 2x4 @ 26-3/4" (center supports)
  • 3 - 1x12 @ 72" (tabletop boards)
Cutting Instructions

To fit all the cuts on the boards, cut as follows:

  • 2x4x8: | 66-1/2" | 29-1/4" |
  • 2x4x8: | 66-1/2" | 29-1/4" |
  • 2x4x8: | 66-1/2" | 29-1/4" |
  • 2x4x8: | 29-1/4" | 29-3/4" | 29-3/4" |
  • 2x4x10: | 29-3/4" | 29-3/4" | 26-3/4" | 26-3/4" |
  • 1x12x6 should be trimmed to 72" length


Tools
Tape Measure
Speed Square
Pencil
Hearing Protection
Drill
Miter Saw
Brad Nailer
Power Sander

Instructions

Step 1

Build two leg sets using 2-1/2" screws.  Space the 29-3/4" pieces up on 1x (3/4" thick) blocks to help get the spacing right.

TIP: the legs and the aprons are so similar in size it will be easy to mix up.  Make sure you measure before attaching.

Glue recommended.

Step 2

With the 3/4" spacing on the outside, attach the 66-1/2" long 2x4s to the leg sets.  

Take two, opposite diagonal measurements to make sure the table is square.

Then add the inside screws at an angle.

Glue recommended.

Step 3

Add the center supports with glue and 2-1/2" screws.

Step 4

Layout the tabletop boards and make sure they fit right and base does not need further adjustment for square.

Remove and apply glue to all top surfaces of the table base.

Replace the 1x12 boards and glue and nail down with 2" brad nails.

Finishing Instructions
Preparation Instructions
Light sanding with 120 grit sandpaper for paint grade. Make sure you remove all sanding residue before painting.
If staining, follow up with 150 grit sandpaper.
I also recommend a clear coat with 220 sanding between coats if staining.
Finish Used
I used Varathane Aged Brown Weathered Wood Accelerator.