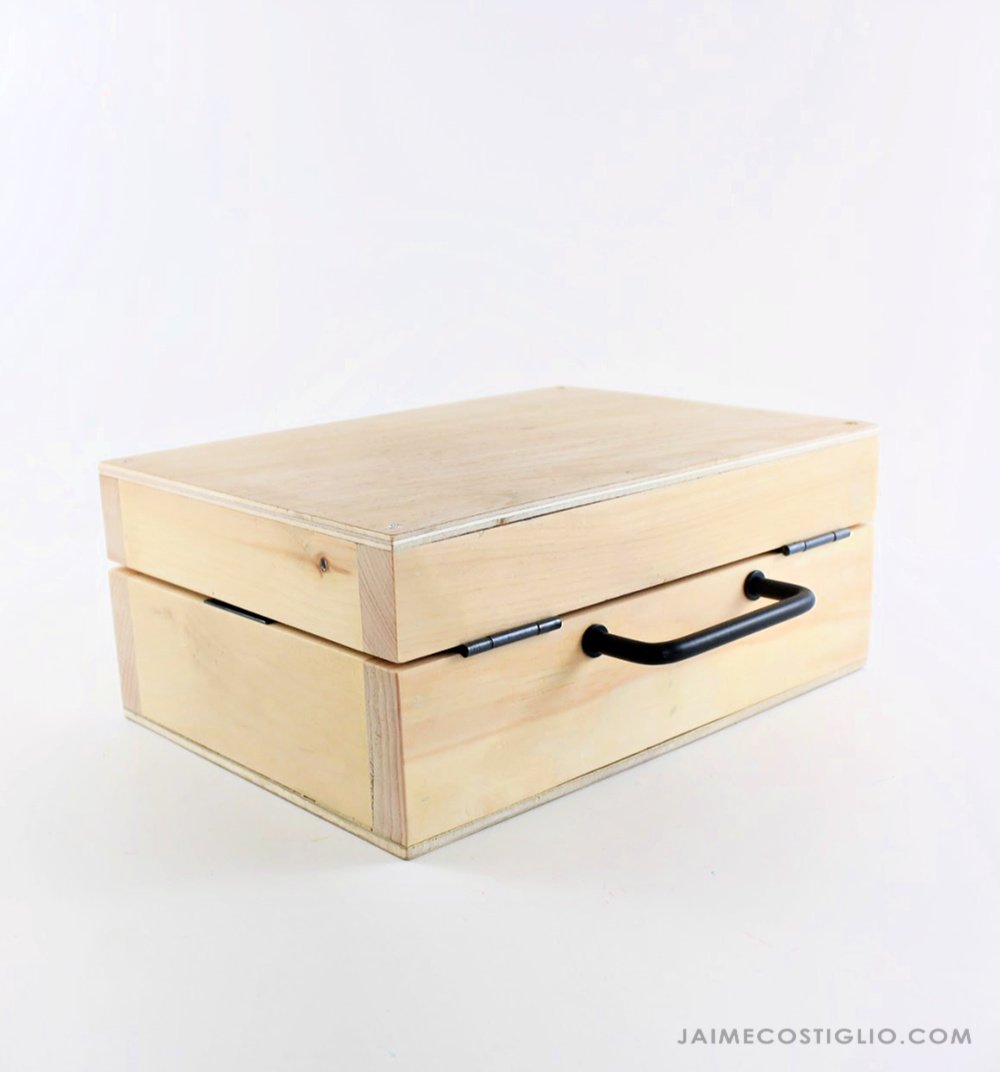
This toy makeup set keeps everything together and carries like a lunchbox; it folds open for unlimited pretend play! Make it with scrap wood (or new wood pieces under $20). This is a beginner woodworking projects and is easy to build. Our free plans include step by step diagrams, shopping and cut list.
Built and photographed by Jaime Costiglio for Handbuilt Holiday 2019
Toy Makeup Set Features
-
Solid wood design is biodegradable and eco friendly
-
Easy to build with basic tools
-
Inexpensive and can be built with scrap wood
-
Features large storage compartment with plenty of room for accessories
-
Fold out palettes
-
Built in mirror
-
Carrying handle holds up the fold open top at just the right angle
-
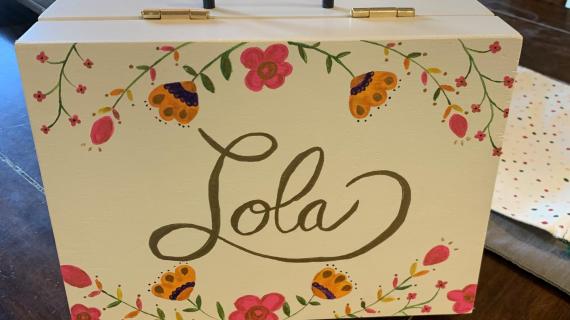
Easy to customize - we'd love to see a monogram on the outside!
Make the Pretend Makeup Too!
You can make the pretend makeup using scrap wood too!
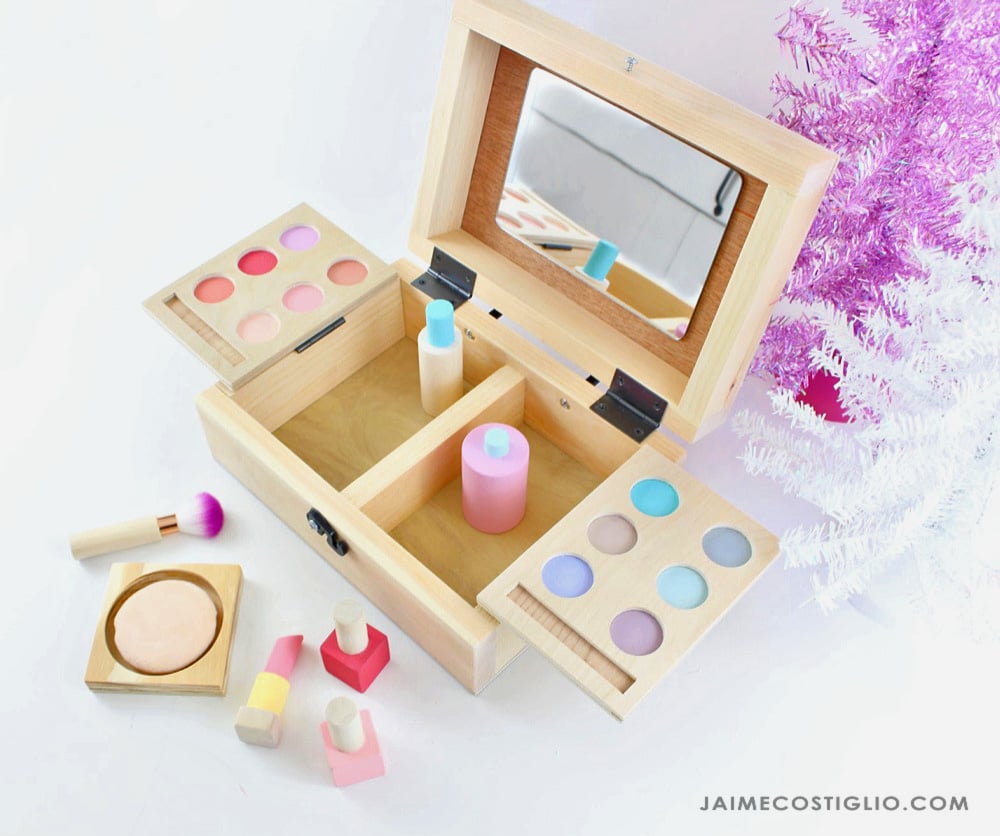
Lipstick, perfume, nail polish out of scrap wood? Of course! Jaime Costiglio has the details here.
More Photos and Build Post
This play vanity was built and photographed by Jaime Costiglio for Handbuilt Holiday 2019 - our annual holiday series where we give you a new gift plan every Friday in the 12 weeks leading up to Christmas.

Preparation
- 3 feet of 1x3 boards
- 4 feet of 1x2 boards
- 24" x 24" piece of 1/4" plywood
- 2 - sets of 1" utility hinges
- 1 - 6" long pull (square in shape is best)
- 1 - locking closure
- 1 - 6" x 9" acrylic mirror
- 3/4" and 1-1/4" brad nails
- wood glue
- 2 - 1x3 @ 6-1/2"
- 2 - 1x3 @ 11"
- 3 - 1x2 @ 6-1/2"
- 2 - 1x2 @ 11"
- 2 - 1/4" plywood @ 11" x 8"
- 4 - 1/4" plywood @ 6-1/4" x 4-5/8"


Instructions
Step 1

Cut out boards with a circular saw or miter saw. If using a circular saw, a piece of foam under the wood can make things much easier.
Nail the 1x2 and 1x3 frames together with 1-1/4" brad nails and glue.
Attach 1/4" plywood pieces to bottoms with 3/4" brad nails and glue.
Step 2

Add divider to the larger tray. NOTE: It would be better if the divider was 1/2" taller. If you can rip a 1x3 down to a 2" width on a tablesaw that would work. You can also add two layers of 1/4" plywood (each piece 3/4" wide x 6-1/2" long) to get the right height. If this doesn't make sense, see step 4.
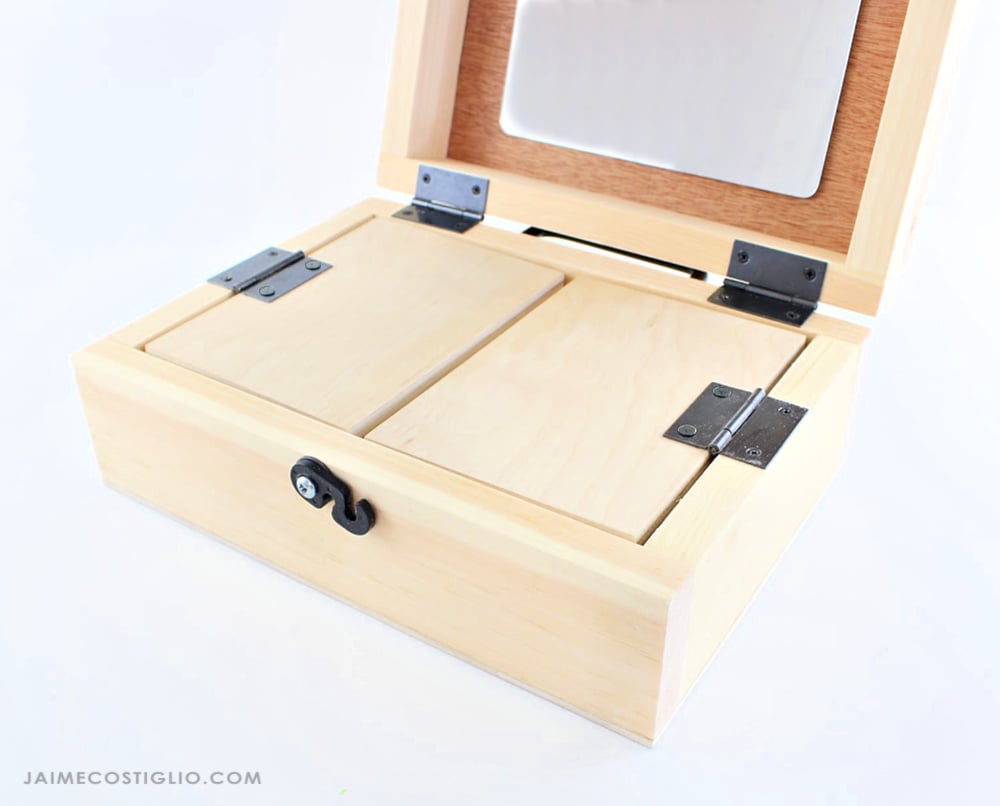
Mirror can be added to the smaller tray.
Step 3

Cut out the pieces for the flip out trays.
Use Jaime's pattern here for the top tray cut outs.
Paint the colors first on the under tray.
Glue the two pieces together and let dry.
Step 4

Hinge the trays to the sides.
Hinge the two lids together.
Step 5

Add the handle on the back positioned so when the vanity is open, the handle works as a prop up.
Add clasp as front to keep vanity shut when not in use.