Built in Mudroom Bench with Open Bottom - Build in Any Size

build your own mudroom bench
Difficulty
Intermediate
| Print this plan

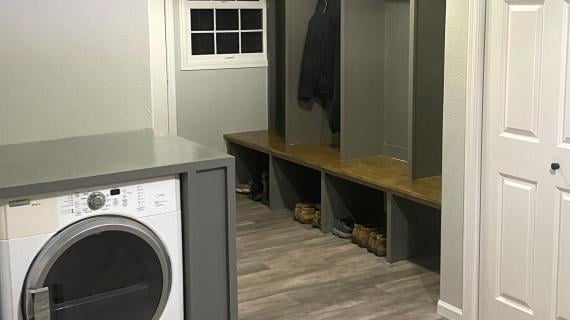
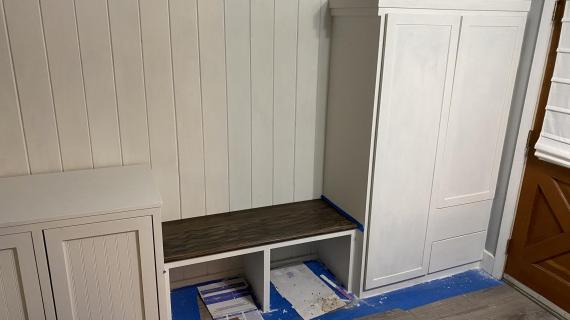
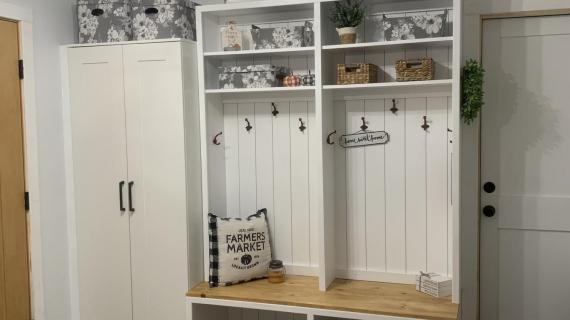
I built my own mudroom bench using plywood pieces and a pine top.  It turned out amazing, I was able to get the perfect size I needed, and it cost thousands less than buying custom cabinetry.  

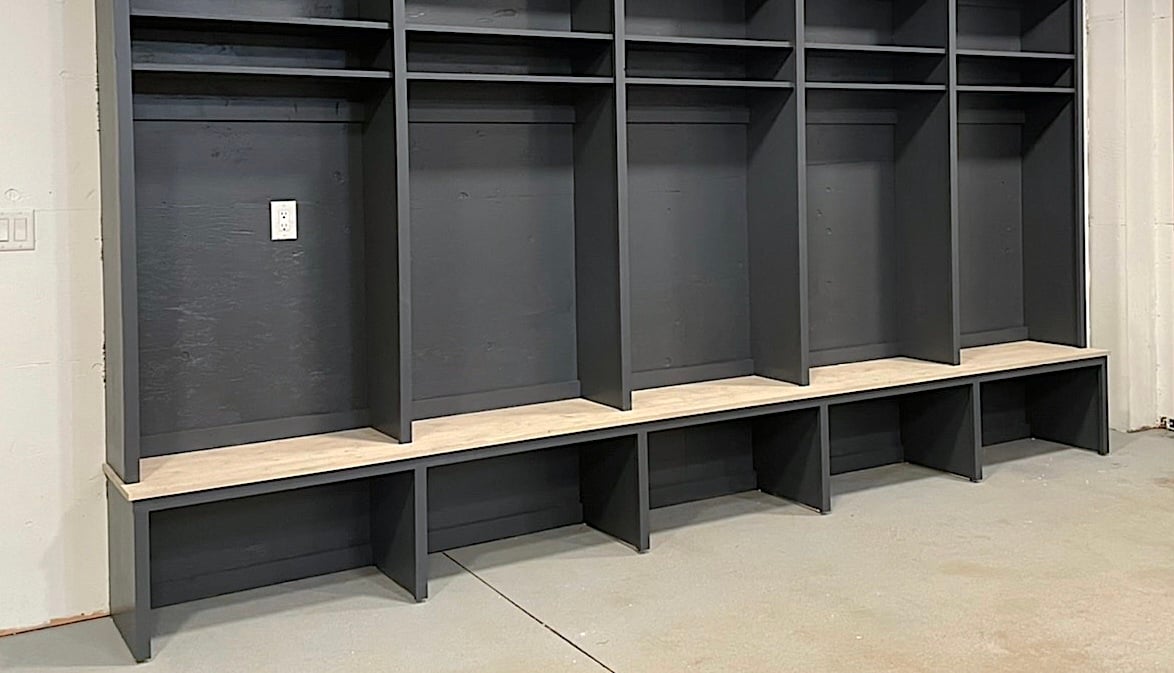
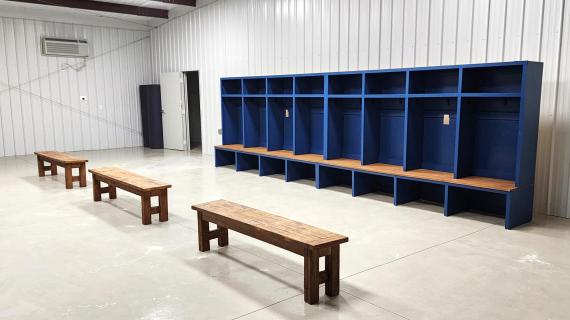
I love this open bottom bench because it is easy to clean underneath, has maximum height for storing taller boots, shoes can be easily slid underneath, and it is easy and inexpensive to build.

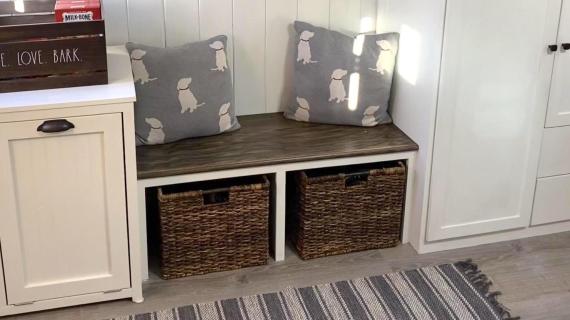
My mudroom bench turned out so well, we've been using it for a few years now, I'm sharing the free plans so you can build your own.  This plan is designed to help you build in a custom size, so it fits your space and needs.


Collections

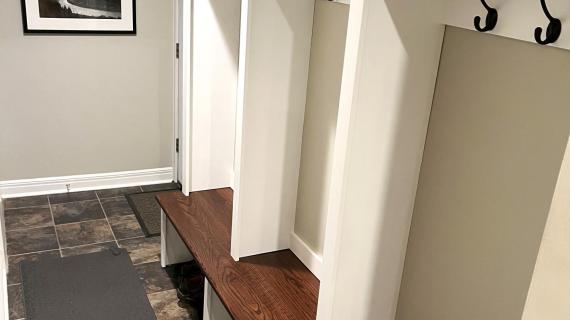
If you have a spot to put a custom, built in mudroom bench, why not do it cabinetry style?  So it's built-in, so its stuck to the wall; so there's no hard to reach spots to vacuum around, so its a permanent fixture in the house?

ana white mudroom bench

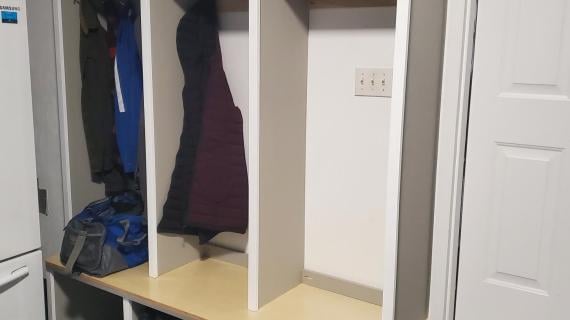
I've been using my mudroom bench for a few years, and I love that it's easy to clean underneath since you are just cleaning the floor, no wet or muddy boots on shelves, you can easily slide (or kick) shoes underneath, there's maximum height and storage under the bench for taller boots or crates, and the bench top serves as a handy storage area when you need it to.


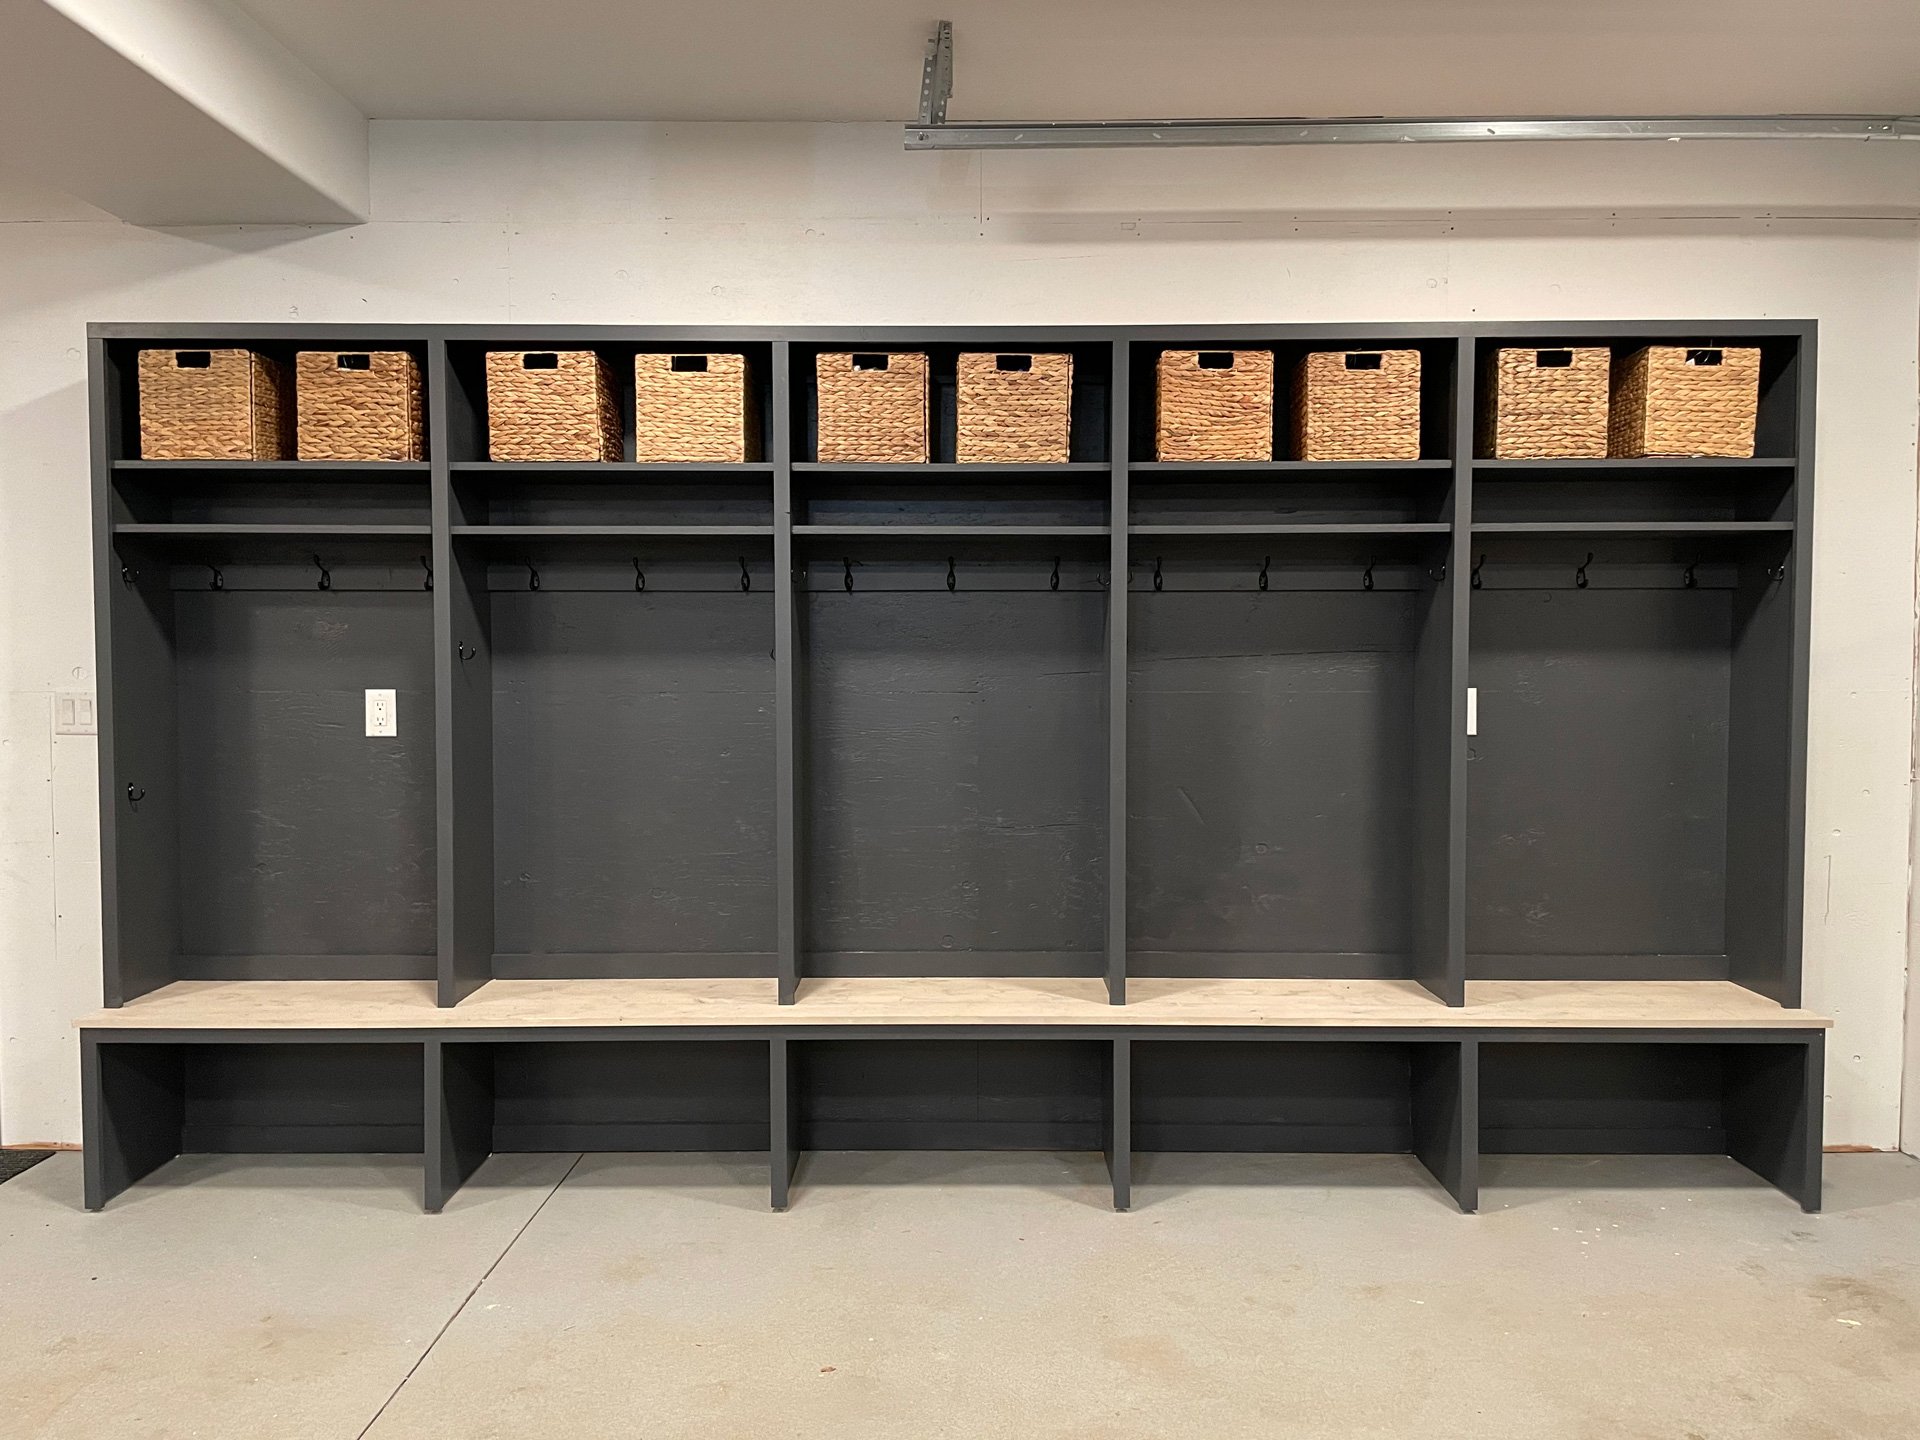
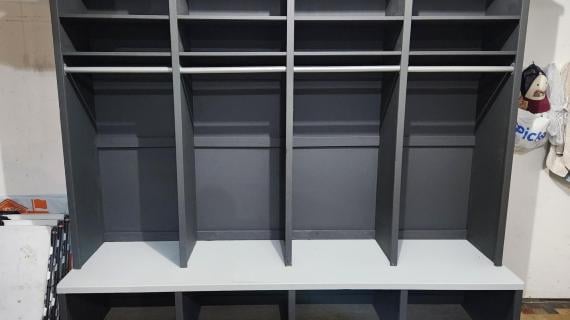
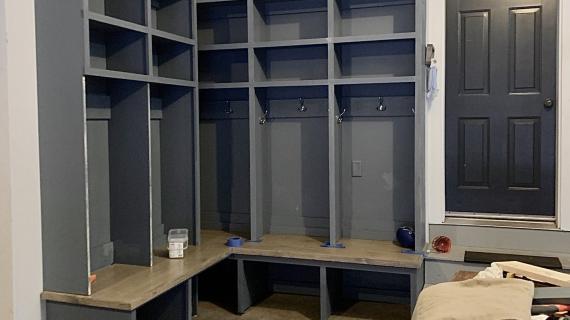
You Can Also Build Matching Locker Hutches on Top

I also built a locker hutch on top! Here's the free plans for the hutch.


mudroom cabinetry

How Much Did this Bench Cost to Build?

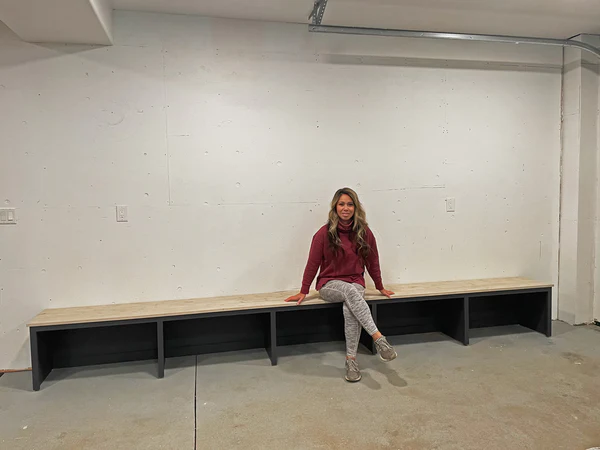
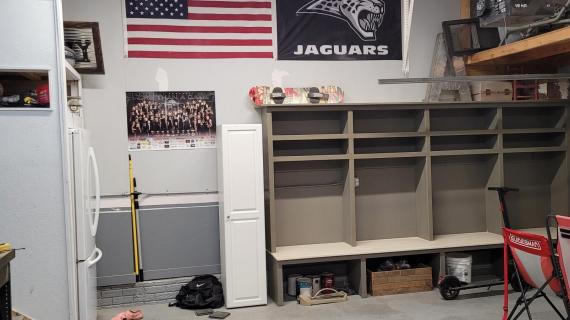
For about $130 in lumber we were able to build this almost 14 foot long mudroom bench in an afternoon!

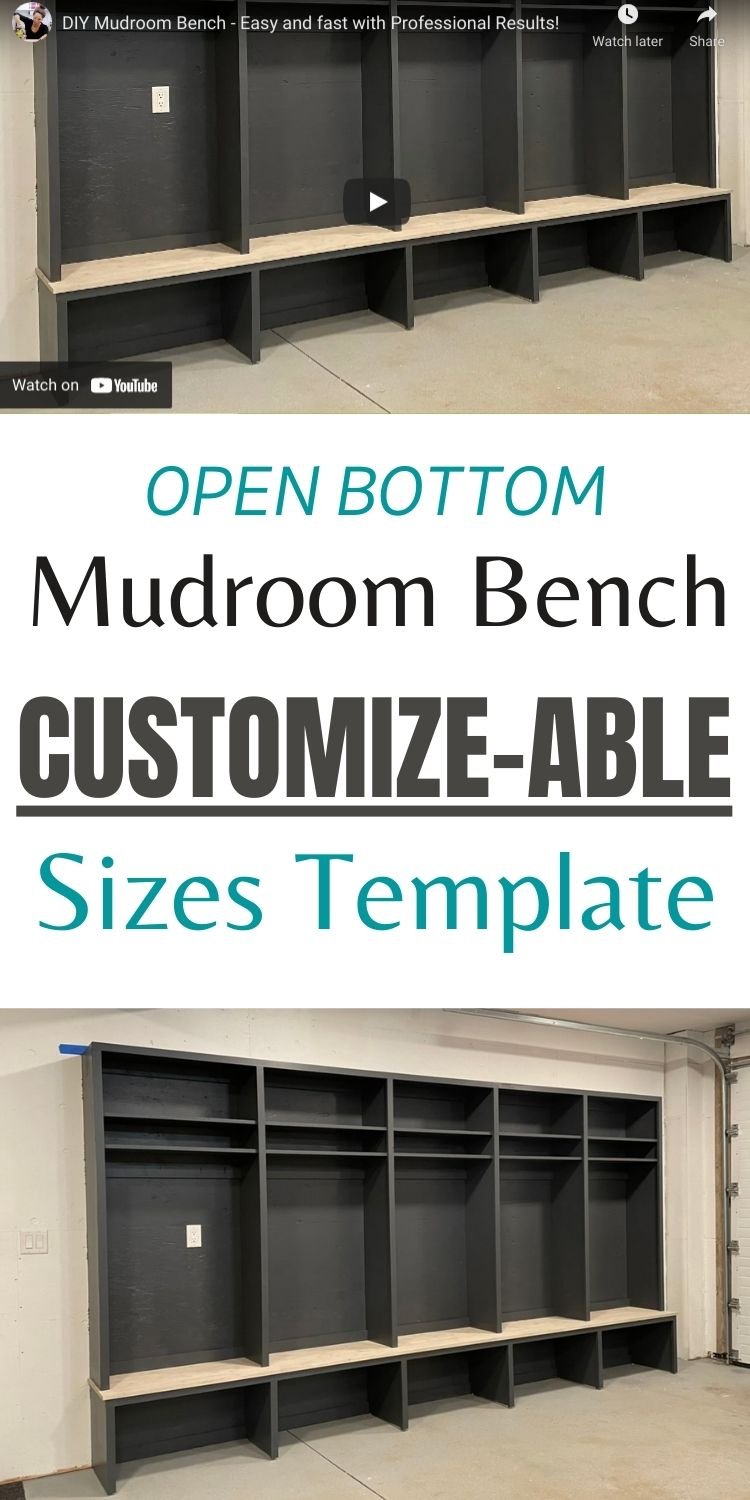
Watch!  How I Built this 14 Foot Long Mudroom Bench

Here's the video showing the steps:

Matching Mudroom Locker Plans Also Available

This bench is amazing and you could just put hooks over it.  But if you want the full mudroom cabinetry system, I also put together free tutorial for the lockers.


Pin for Later!

Open Bottom Mudroom Bench - Customizeable Sizes Template

Dimensions
mudroom bench dimensions
Length and Depth are customizeable

Preparation

Shopping List
  • 3/4" plywood
  • 1x2 for face frame trim
  • 1x boards for top
  • 1x3 for bay supports
  • 1-1/4" pocket hole screws
  • 1-1/4" brad nails
  • wood filler
  • 120 grit sanding paper
  • Desired paint or stain
Tools
Tape Measure
Speed Square
Safety Glasses
Kreg Jig
Drill
Circular Saw
Miter Saw
Brad Nailer
Power Sander
General Instructions


For long term durability and more professional results, I recommend using a pocket hole joinery system for wood joints.  Here is a video with tips for using a pocket hole jig:

Instructions

Step 1

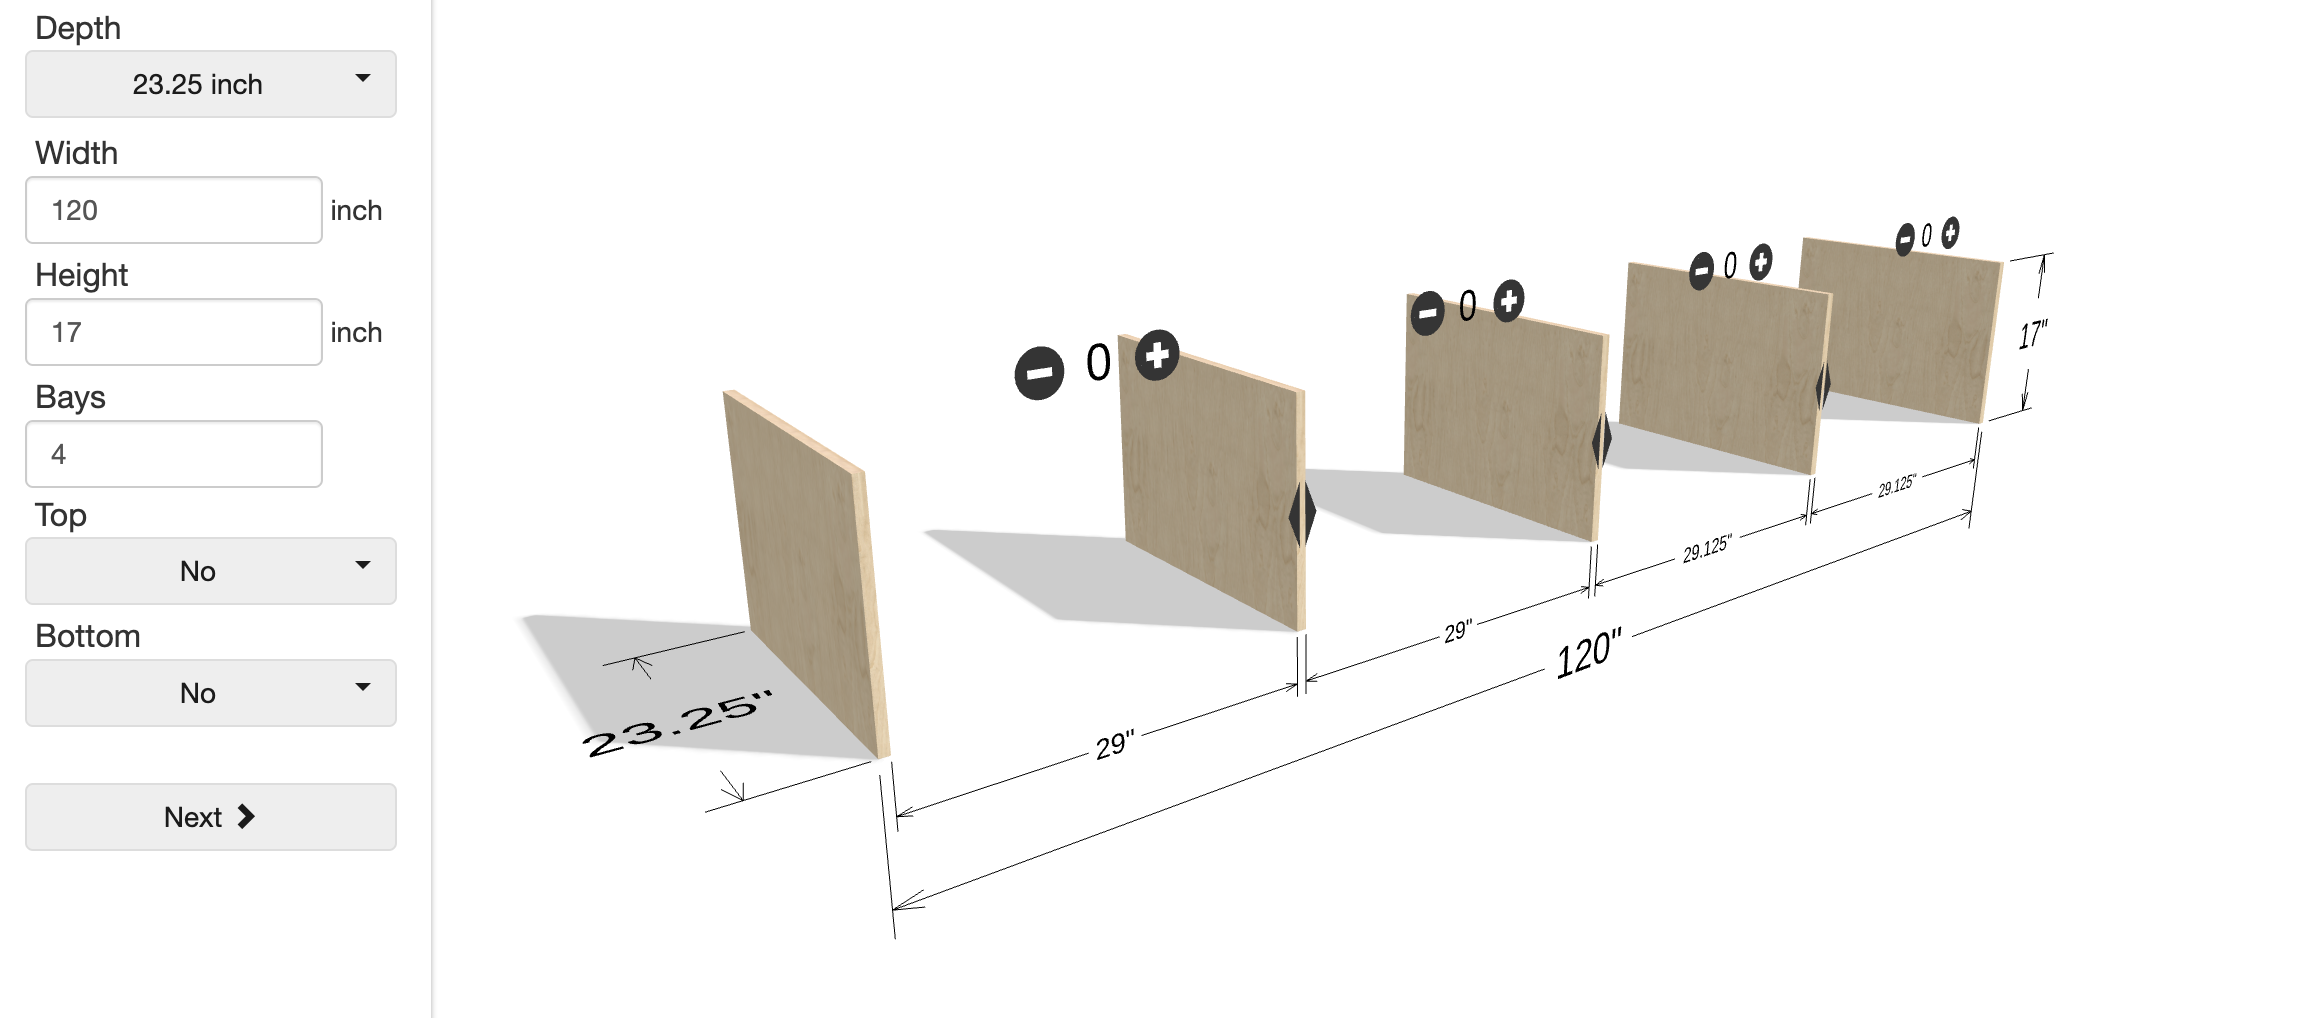
Designing Your Mudroom Bench in a Custom Size

Use my free Carcass Configurator to help you get all the math right and visualize the design.  I recommend a depth of 15.25", 20.25" or 23.25" (depending on your space) and a height of 17.25".  Bays can be any number, used to divide up the structural load and organize the contents underneath - just try to keep bay width under 36".

  • Height = 17.25"
  • Width = Any Width
  • Depth = 15.25", 20.25" or 23.25" (I used 20.25" depth)
  • Bays = Customize-able, use to keep the spans less than 36" to avoid sagging shelves/seat
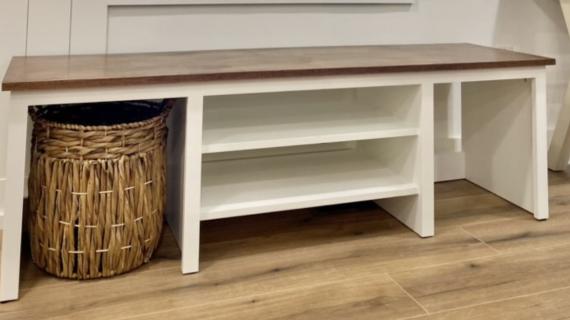
  • Shelves = optional, set to 0 for no shelves (open to floor)

Cutting Your Own Plywood Pieces

Rip plywood into your desired width.  Then cross cut the plywood pieces at 17.25" long. 

I use a table saw for ripping, and then cross cut with a circular saw to get the pieces.

In this plan, all plywood edges get covered in trim, so no need to do edge banding.

Step 2

Embedded Design Tool

Here's the embedded tool to use right here in the plans -

Click here to use this tool in a pop-up full page view

Step 3

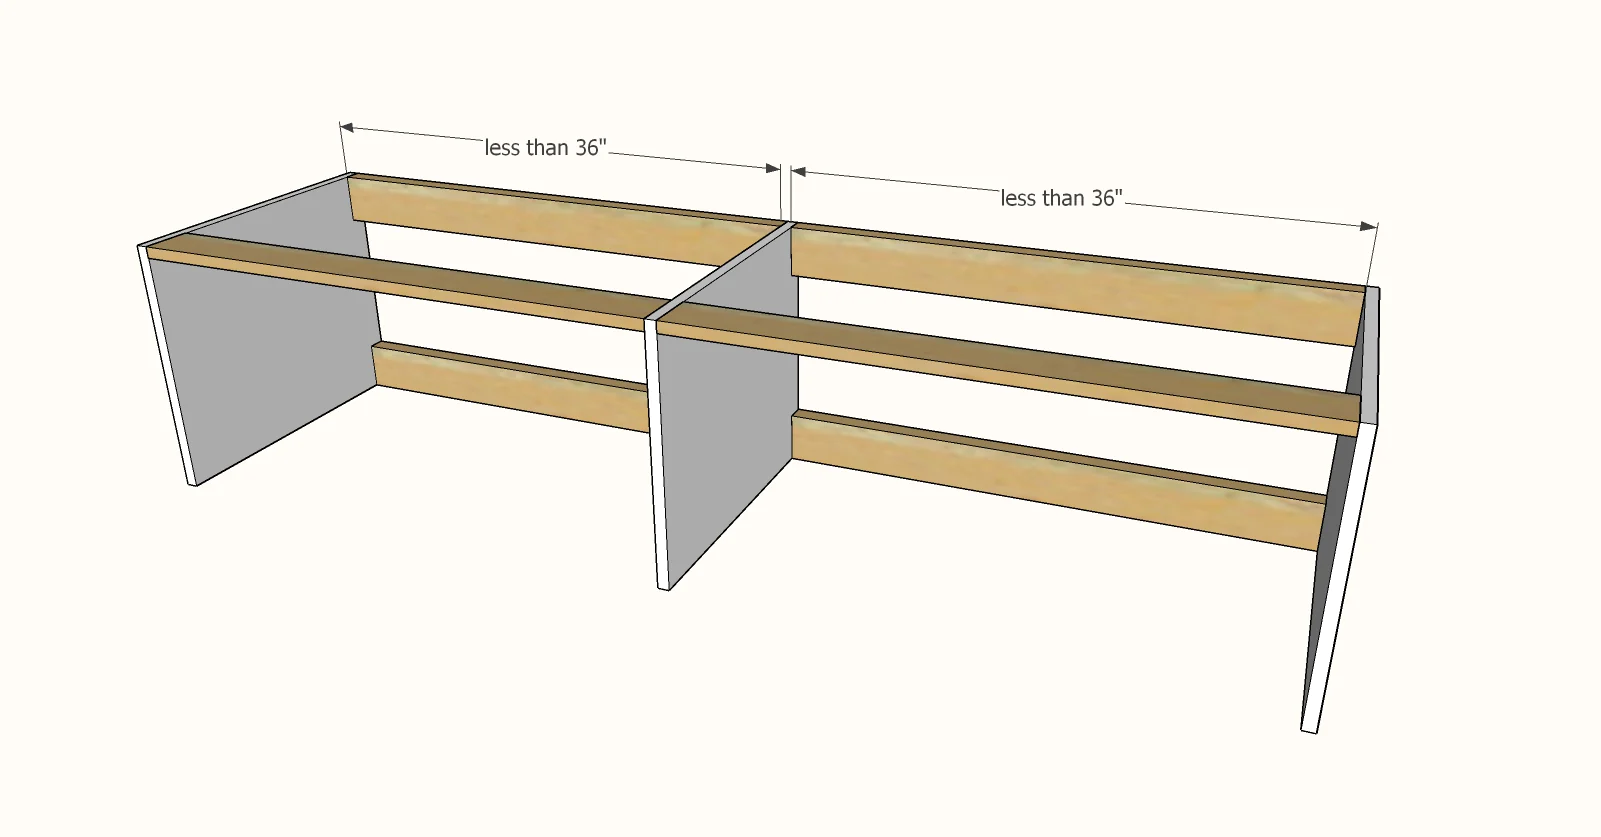
Building the Bench Carcass

Cut 1x3 or 1x4 bay supports as shown in the below diagram to your bay widths.  The bay supports are cut to the inside widths of the bays. Attach with 3/4" pocket holes and 1-1/4" pocket hole screws, all pocket holes on outsides, backs or tops, so they won't be visible once the top is added.

TIP: If you want to install the top in later steps with no visible fasteners, drill 3/4" pocket holes facing upward along the top edge of the back bay support boards.

Installing the Bench 

Once the bay supports are in place, you can install it permanently, or you can wait until after you finish it.

To install, remove baseboard on wall and place bench in place.  Secure to studs in the wall with 2-1/2" long self tapping wood construction screws through the back bay supports.

Step 4

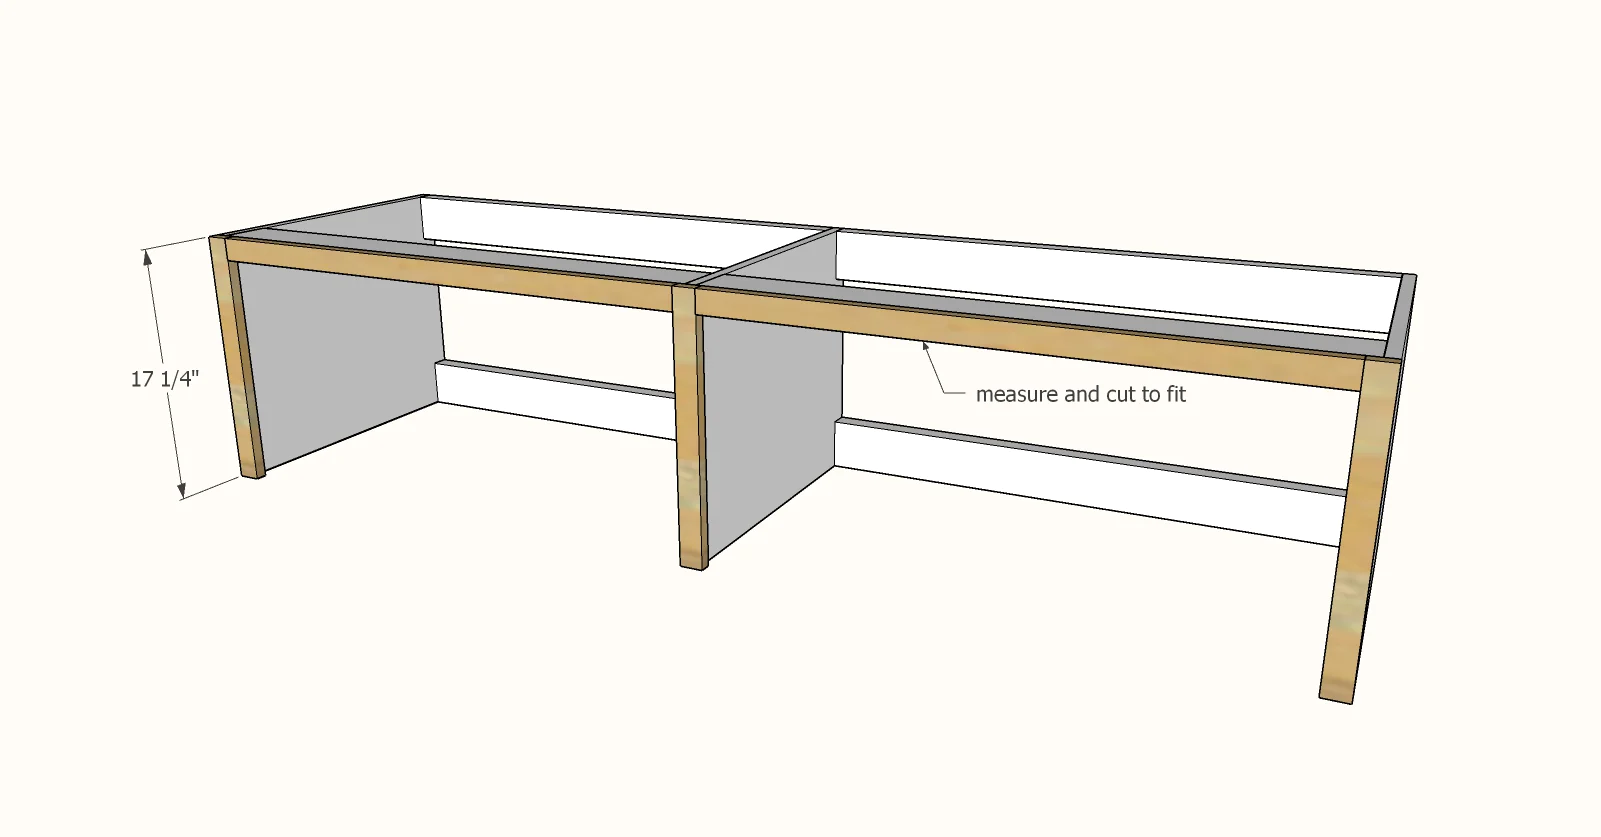
Face Frame for Bench

A face frame is recommended for the front to give structure to the legs and keep the legs in place, and also finishes the front edges of the plywood pieces.

Face frame pieces are all 1x2 boards.

Measure and cut the face frame to fit the dimensions of the completed carcass.  You can run the top continuous, or do the legs first and piece in the top (sometimes this is good when the top is too long for a continuous board)

Nail and glue the entire front face frame to the front with 1-1/4" brad nails.

Step 5

1x6 or 1x8 Boards Used to Make the Top

I recommend a top of 1x boards, joined together with 3/4" pocket holes and 1-1/4" pocket hole screws.  This is shown in the video.

Measure and cut to length.  Join the 1x8 boards edge to edge with 3/4" pocket holes and 1-1/4" pocket hole screws, one screw joint about every 8".

Attach to top of the bench with 1-1/4" screws (yes, you can use the pocket hole screws) from underneath.

You can also attach with brad nails and glue for further support.

Step 6

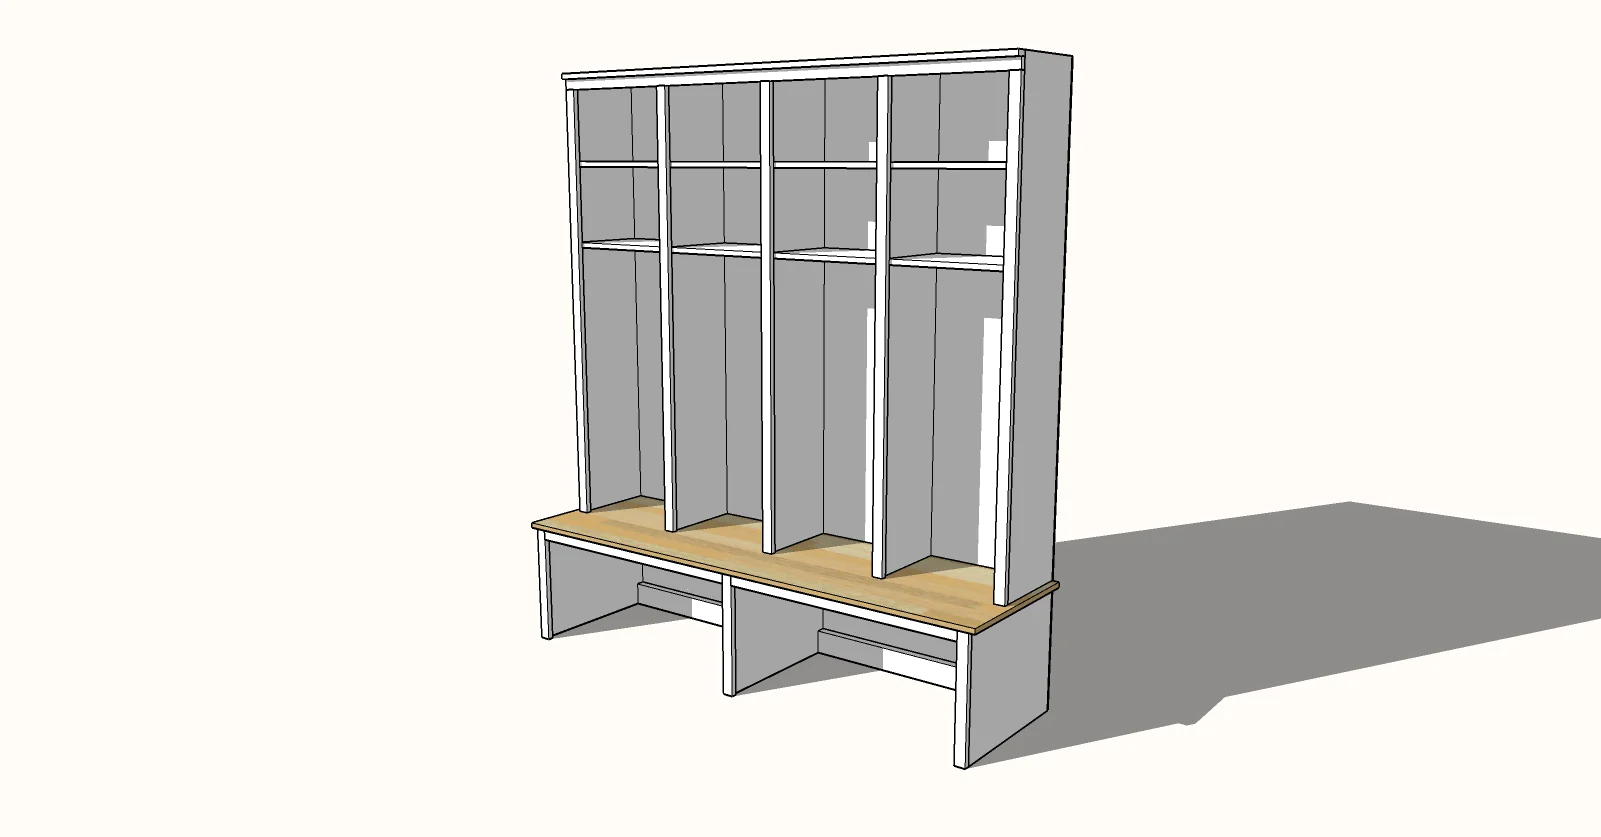
Matching Hutch Plans

The matching hutch plans are available here.

Finishing Instructions
Preparation Instructions
Fill any exposed nail holes with wood filler and let dry.
Sand with 120 grit sandpaper, in the direction of the wood grain. I use a sanding block and sand by hand.
Remove sanding residue with a vacuum with a soft bristled brush followed by wiping with a damp, lint free cloth.
Finish Used
I applied paint in place using a paint suitable for doors, trim and walls.
I stained the top using a wood stain and applied a clear coat to seal it.
This finish has held up very well.

Comments

Frequently Asked Questions

Wood Questions

What kind of wood should I use?
Most of our plans use standard construction lumber like pine or fir. It's affordable, easy to work with, and easy to find. It's also rapidly renewing and biodegradable, so a great eco friendly choice!

Can I use hardwoods instead?
Yes—just keep in mind they're heavier, cost more, and can be tougher on tools and harder to join together and finish. I recommend not tackling a hardwood project until after you have built several softwood projects.

What if my boards are warped?
Choose the straightest boards at the store. You can often work around slight warps by cutting them into shorter pieces.

What wood should I use for outdoor furniture?
Use red-toned or pressure-treated 2x lumber for framing, and cedar or cedar fence pickets for the decking. Outdoor furniture should be built like a deck—your local home center can help recommend the right wood for your climate.

Will my wood move or warp after I build?
Potentially, especially in humid climates. Let your wood acclimate indoors before building. Once acclimated and kept in a stable environment, movement should be minimal. Remember, most houses are built using framing lumber - it's all about keeping moisture down indoors.

Cutting Questions

Do I need a miter saw?
A miter saw is great, creating fast, safe, and precise cuts, even for beginners. But most plans can be built with a circular saw and a straight edge. If using a circular saw to cut, take time to practice, and get good at making cuts, before cutting your project boards.

How do I get clean cuts with a circular saw?
Clamp your board, measure twice, cut slow, and use a sharp blade. This takes practice, so spend some time making cuts. I go through becoming proficient at freehand cutting in my course, it is worth taking if you want to master this skill.

Will the store cut my wood?
Yes—most stores will do rough cuts to help you transport your materials home. But from store to store, the quality of cuts could greatly vary.

Joinery Questions

What screws should I use?
We recommend star-head self tapping screws for framing, most common sizes are 2-1/2", 1-3/4". Pre-drill if close to the edge or you find your wood is splitting.

Do I have to use pocket holes?
Pocket holes are the cheapest, easiest and fastest way to do some joints - like edge to edge or a hidden fastener joint. There are other methods, but these can be time consuming and expensive. We recommend using pocket holes as indicated in plans for best results.

How do I keep things square?
Use a speed square and measure diagonals after each step. Always clamp joints before screwing to keep them tight and flush.

Finishing Questions

Stain or paint before or after building?
A quick sand before and a full finish after gives the best results. Pre-finish if you're doing two-tone or detailed finishes.

What type of finish?
Use oil-based or water-based stain. For paint, cabinet-grade latex or enamel works great. High use surfaces on indoor projects should get a coat of polyurethane, I recommend a Helsman or Spar or other flexible poly that won't crack or peel with wood movement. For exterior projects, use a finish suitable for exterior fences.

How to get a smooth finish?
Start with a well sanded project. Sand between coats (220 grit), wipe clean, and apply light coats with a foam brush or roller.

Plan Questions

Can I change the size?
Many people do, and that's the great thing about building your own furniture! But do keep in mind going bigger might mean more supports are required, and often plans are optimized for minimal material waste.

Are these beginner-friendly?
Yes—plans are written with simple tools and clear steps in mind, with every effort to make plans as simple as possible.

Can I sell what I build?
Absolutely! Just don’t resell or repost the plans themselves.

General Questions

What tools do I really need?
A drill, circular saw, tape measure, square, and a few clamps will get you through most projects.

Do I need a workshop?
Nope! A driveway or small patio is plenty to get started, just make sure you have a level place to work. If you find you are building several projects a year, creating a small workbench is a great way to store tools and have a dedicated workspace.

What if I mess up?
Wood filler, sanding, or flipping boards goes a long way. Mistakes are part of the process!

What can I do to make my projects look more professional?
Start with straight boards, make accurate cuts, clamp all joints, and line up everything neatly. Sand thoroughly, use a neutral finish, and apply it in light coats for a clean look.

I've never built anything before. Where should I start?
Start with a few smaller softwood projects to get hands-on experience. Or if you're tackling a big project, buy a little extra lumber and practice your cuts and joints first. If possible, work with someone who has a bit of experience.

Care & Maintenance

How long will my furniture last?
With good joinery and regular care, your DIY furniture can last for decades. I have pieces in my own home that are over 20 years old and still going strong! One of the best parts about DIY furniture is that it’s easy to repaint, refinish, or repair—so your projects can grow and adapt with you.

How should I care for outdoor furniture?
Lightly pressure wash or hose it down once or twice a year. Tighten screws and reapply finish as needed to protect it—just like a deck or fence. A little upkeep goes a long way in extending the life of your furniture.

How about indoor furniture?
Regularly dust or wipe with a damp cloth. If it starts to look worn, a light sanding and touch-up paint or stain can refresh it in no time. DIY pieces are meant to be durable and fixable—so don’t be afraid to give them some love now and then.

Want to Build with Confidence?

Check out my ebook: 12 Skills to Build Your Own Furniture
It walks you through the core skills every builder needs—measuring, cutting, joinery, and finishing—so you can build beautiful furniture that lasts.

Still Have Questions?

Email us anytime at [email protected] and we’ll be happy to help!