


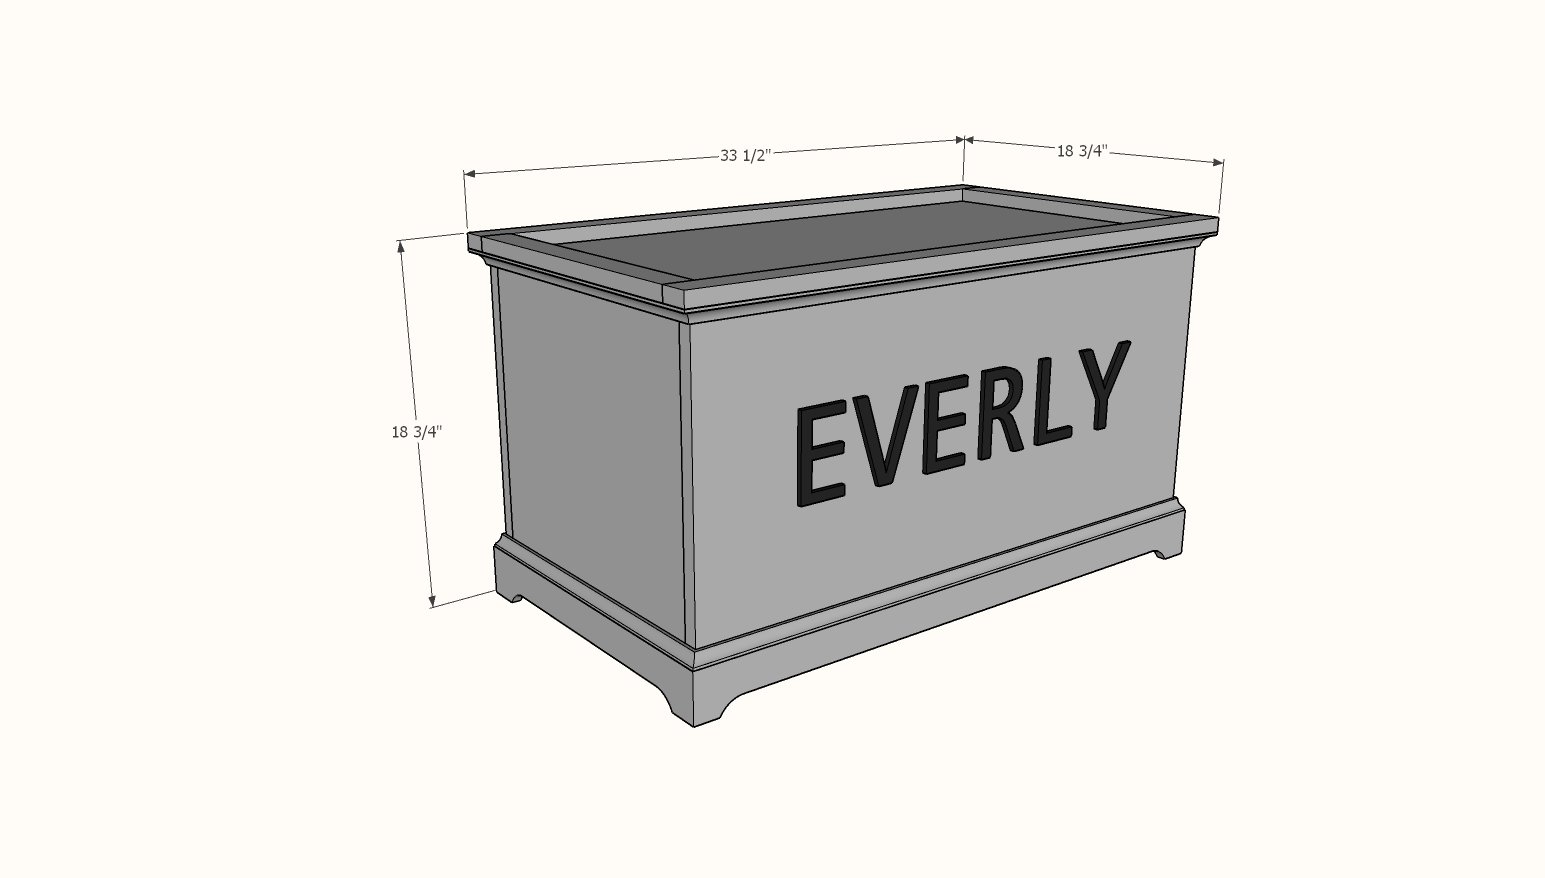
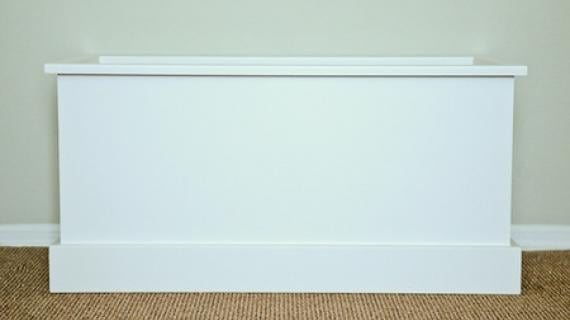
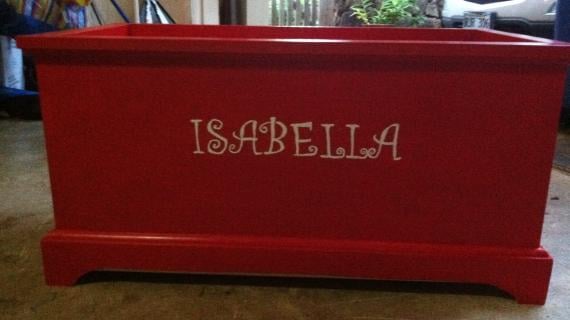
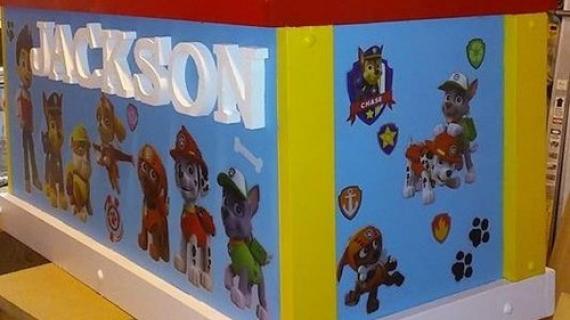
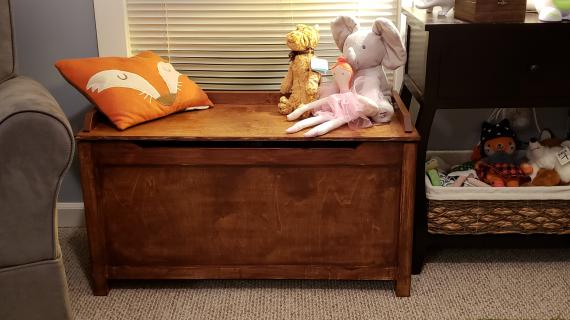
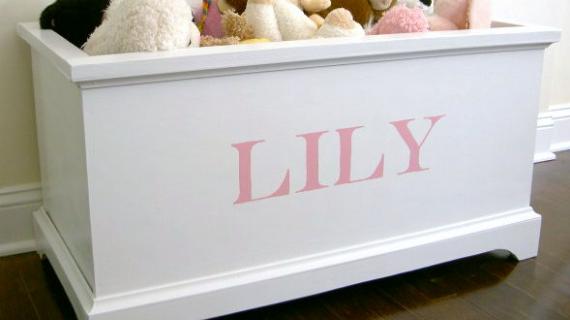
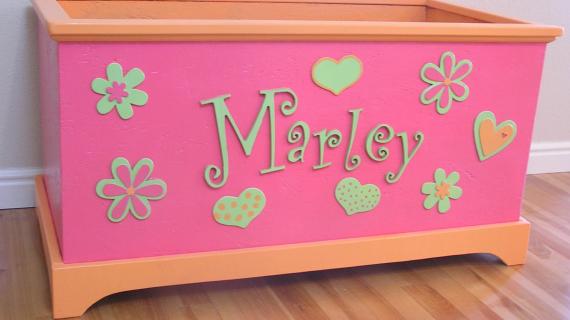
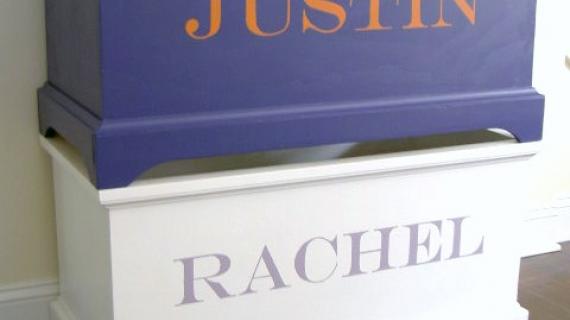
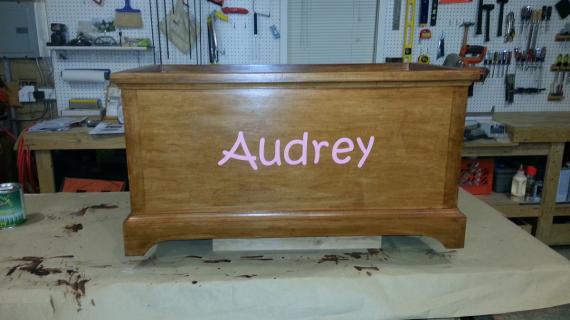
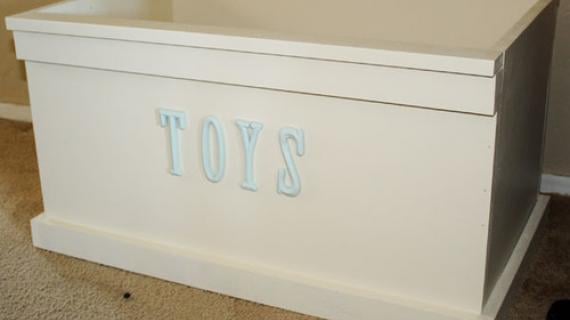
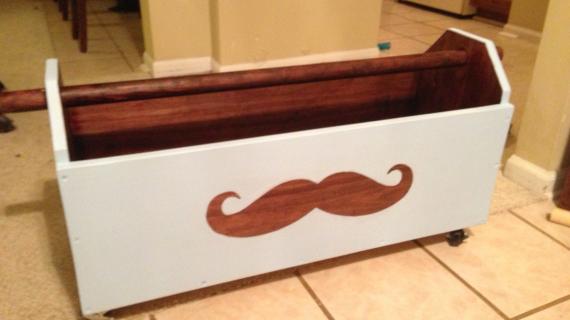
A classic toy box without the top. As if the toy box lid ever shut anyway!
This simple design features store bought moulding at the base and top lip. Ample storage inside. Free step by step plans from Ana-White.com
Preparation
- 1 - 4' x 4' - sheet of 3/4" thick plywood ripped into strips 15-3/4" wide x 4 feet long
- 3 linear feet of 2x2
- 9 linear feet of 1x2
- 9 linear feet of 3-1/4" base moulding
- 9 linear feet of 1/2" cover moulding (optional)
- 1" and 1-1/4" brad nails
- Optional: 1-1/4" pocket hole screws
- 3 - 3/4" plywood @ 15-3/4" x 32" (cut first from 3/4" plywood strips)
- 2 - 3/4" plywood @ 15-3/4" x 15" (cut from leftovers)
- 2 - 2x2 @ 17-1/4" long
- 2 - 1x2 @ 33"
- 2 - 1x2 @ 15-1/4"
- Base moulding and cove moulding cut to fit
Rip plywood into strips, 15-3/4" wide x 8 feet long.
Rip width must be exactly the same. Use a tablesaw, a circular saw with a guide, or have your home improvement store cut for you (just make sure they rip exactly the same width)
Cross cut ripped pieces as instructed in cut list.


Instructions
Step 1
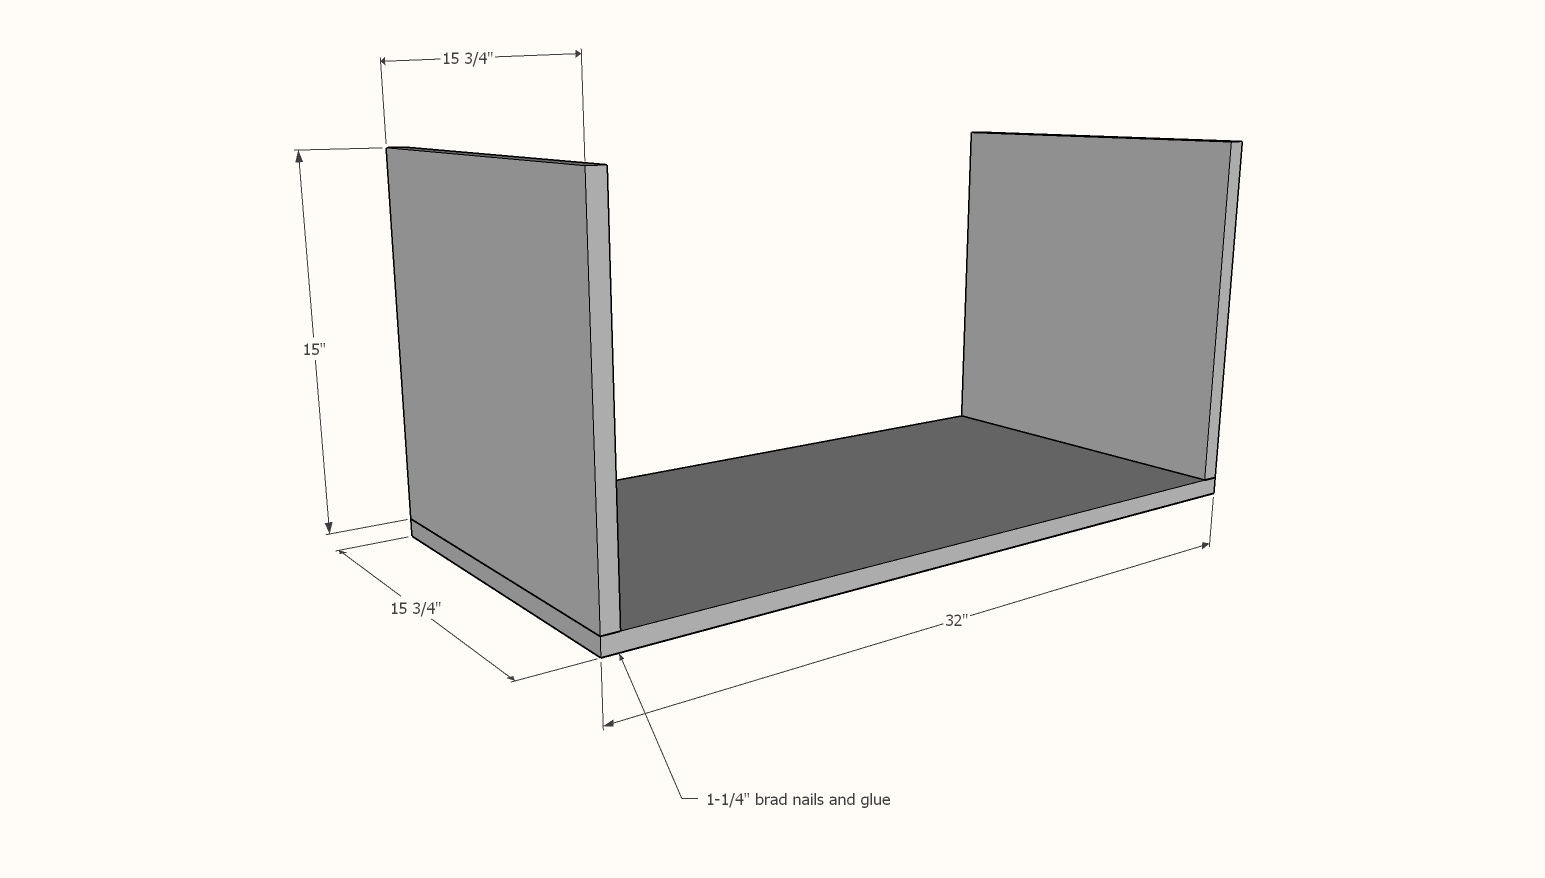
Attach bottom to ends with 1-1/4" brad nails and wood glue.
Step 2
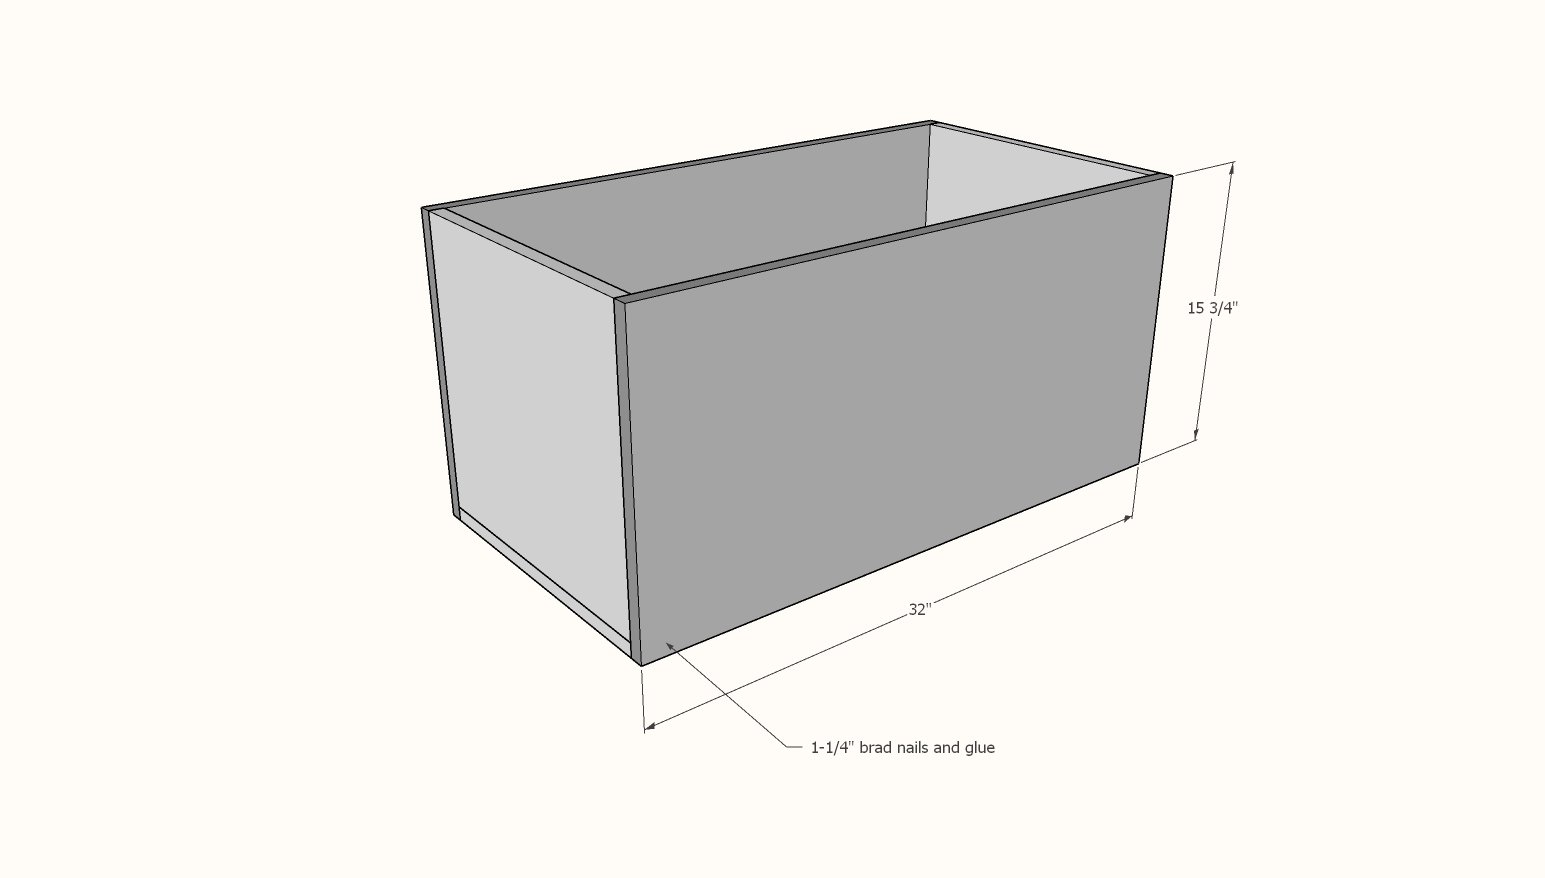
Attach sides to bottom and ends with 1-1/4" brad nails and wood glue.
Step 3
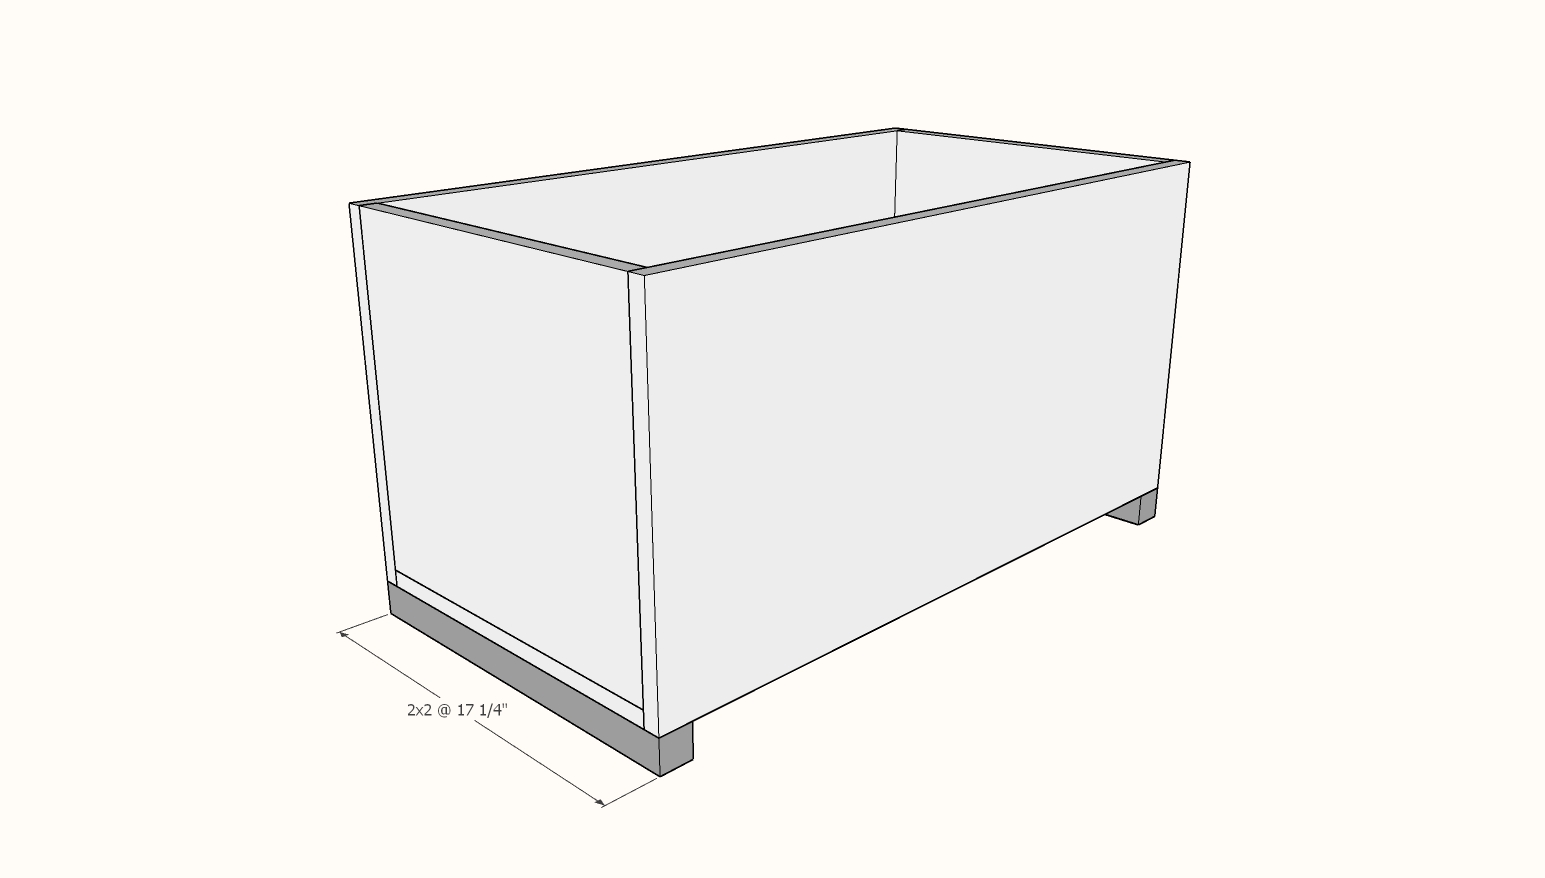
Nail 2x2 base supports from inside the toybox with 1-1/4" brad nails and wood glue.
Step 4
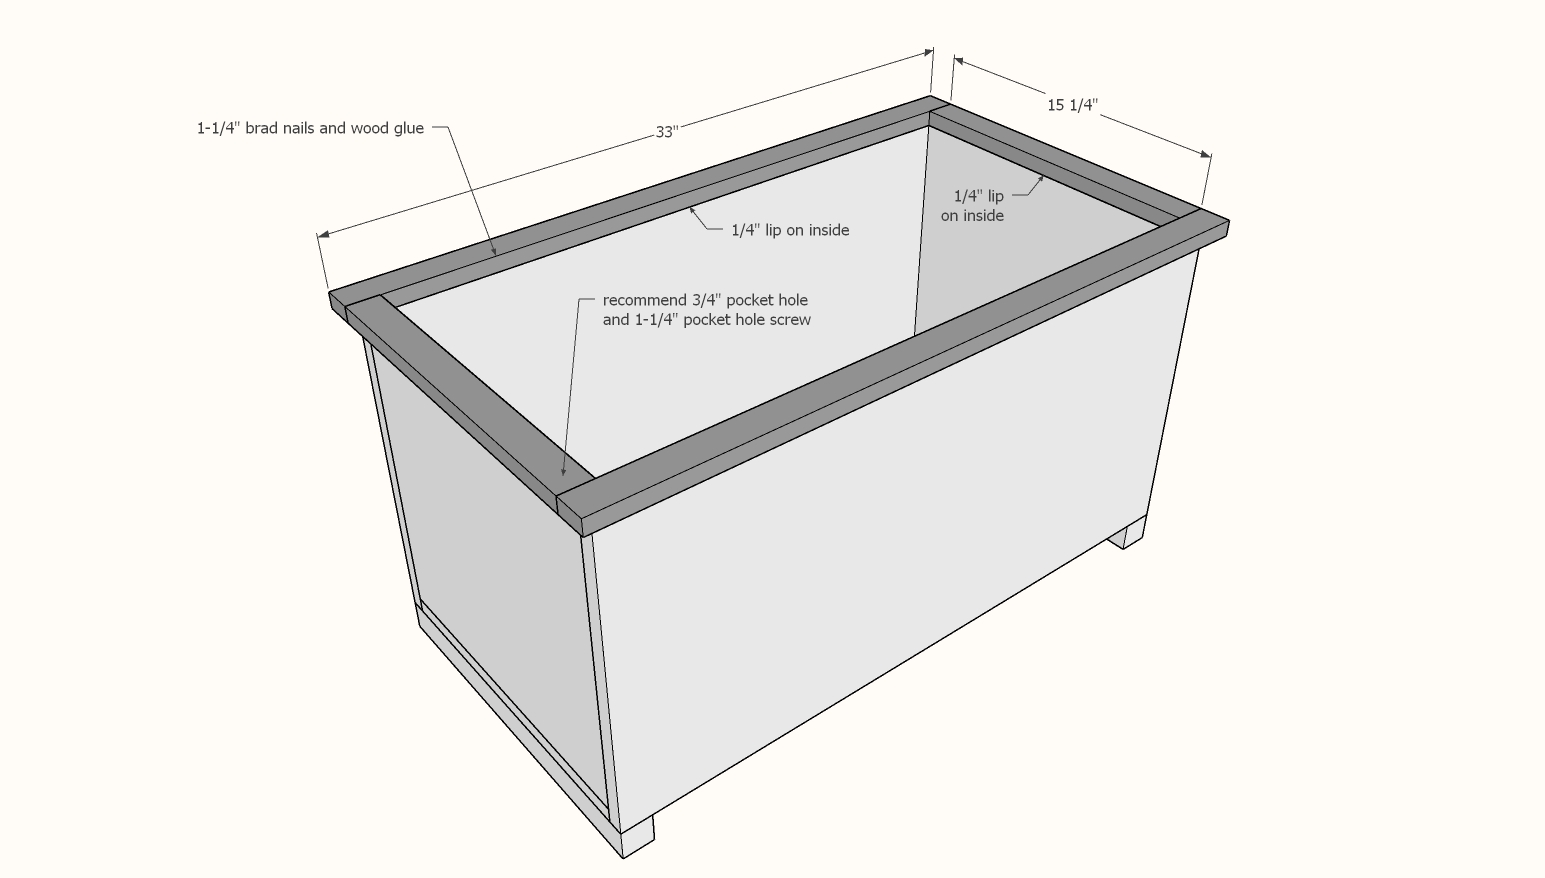
Recommend: Build top first with 3/4" pocket hole and 1-1/4" pocket hole screws.
Attach top to top of toybox with 1-1/4" brad nails and wood glue.
Step 5
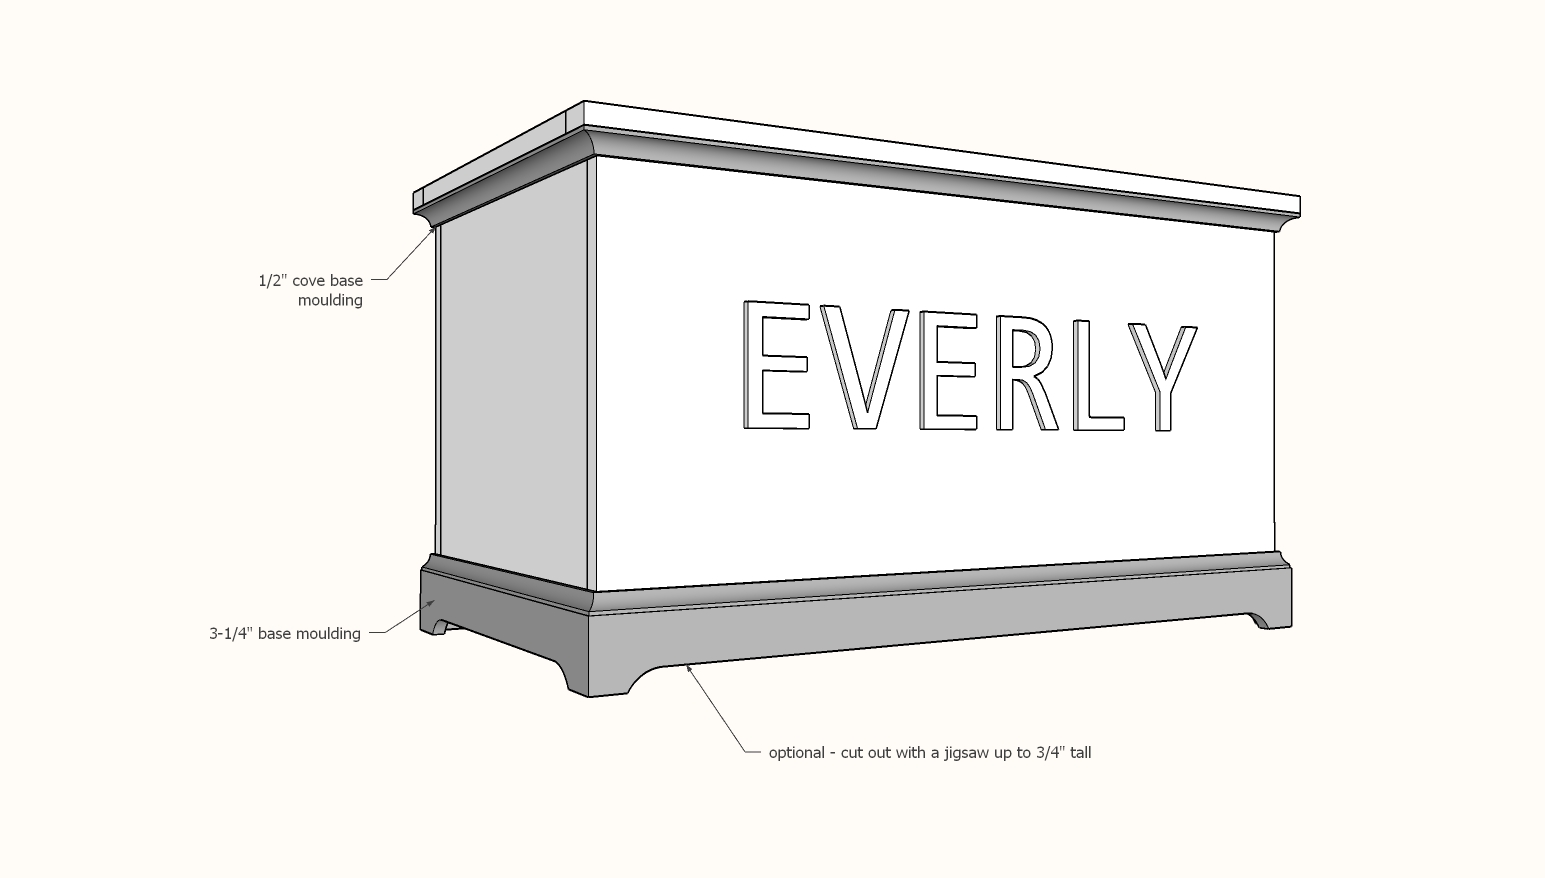
Use a miter saw to cut base moulding and cove moulding to fit around the top and bottom.
Use 1" brad nails to attach with glue.
Optional: Use a jigsaw to cut out base.


Comments
Mary (not verified)
Wed, 03/31/2010 - 01:54
I love the toy chest! They
I love the toy chest! They would be great to go at the bottom of a bed!
Renae (not verified)
Wed, 03/31/2010 - 02:12
Oooh, I can't wait for these
Oooh, I can't wait for these instructions, we need toyboxes!!
Amanda (not verified)
Wed, 03/31/2010 - 04:17
YAY!!! I will somehow have to
YAY!!! I will somehow have to modify this and add a lid, but THANK YOU for the plans!!
Lori (not verified)
Wed, 03/31/2010 - 04:46
I was just looking at toy
I was just looking at toy chests and annoyed at how expensive they are! Sweet!! If I wanted to add a hinged top (so I can shove the toys out of sight and make it look like I have a nice chest in my living room and not a toy chest) what type of hinges would be best? I'm worried regular hinges would allow the top to fall down on fingers. Thank you SOOO much for the plans, I'm excited!!!
Brian (not verified)
Thu, 07/21/2011 - 22:21
You can use regular hinges
You can use regular hinges and a "soft close" hinge or a long piano hinge with the soft close hinge. Both work outstanding when trying to avoid mashing little one's fingers.
Brian (not verified)
Thu, 07/21/2011 - 22:21
You can use regular hinges
You can use regular hinges and a "soft close" hinge or a long piano hinge with the soft close hinge. Both work outstanding when trying to avoid mashing little one's fingers.
Brian (not verified)
Thu, 07/21/2011 - 22:21
You can use regular hinges
You can use regular hinges and a "soft close" hinge or a long piano hinge with the soft close hinge. Both work outstanding when trying to avoid mashing little one's fingers.
KristenA (not verified)
Wed, 03/31/2010 - 06:20
Great! I cant wait to make
Great! I cant wait to make this for the toy room! Can you add directions to a top??? I feel like if its just open, you can see the mess still, its just localized :) Atleast with a top it will LOOK clean lol
lanisanford (not verified)
Wed, 03/31/2010 - 06:32
Fun! the easter bunny is
Fun! the easter bunny is leaving our older kids lap desks and our little kids the picnic table. I like this toybox though, might have to trade in some rubbermaid totes ;)
Roxanna (not verified)
Wed, 03/31/2010 - 06:56
I think this might be my 1st
I think this might be my 1st project I am desperate for toy boxes. I have about a million of those ugly rubbermaid containers & buckets.
Anonymous (not verified)
Wed, 03/31/2010 - 07:42
love it! was about to head to
love it! was about to head to my toy store-homedepot and pick up wood for the kids picnic table, now I have to get stuff for this too! Not that I'm complaining ;)
Anonymous (not verified)
Wed, 03/31/2010 - 07:51
I'm taggin in! I am picking
I'm taggin in! I am picking up materials tmrw....will post pictures!
Amanda (not verified)
Wed, 03/31/2010 - 10:55
In response to Lori -- if you
In response to Lori -- if you google 'toy box hardward' or 'toy box hinges' you will find the exact hinges that prevent the lid from slamming shut on little fingers. You will still need regular hinges too to fasten the lid to the toy chest -- piano hinges are best.
Rachel@onepret… (not verified)
Wed, 03/31/2010 - 11:05
When I was little my toy
When I was little my toy chest lid was attached to the wall. I love the no lid chests! Thanks so much, I'll be linking.
Leah (not verified)
Wed, 03/31/2010 - 11:28
Ana has a lid here you could
Ana has a lid here you could modify:
http://knockoffwood.blogspot.com/2009/10/storage-bench-coffee-table-sav…
Christin@Pregn… (not verified)
Wed, 03/31/2010 - 16:32
OK, Love it!Is it OK if I put
OK, Love it!
Is it OK if I put an upholsterd lid on it and call it a storage ottoman!?!
Great Plans, yet again!
Amy (not verified)
Thu, 04/01/2010 - 12:09
I love the upholstered top
I love the upholstered top idea. I like the wheels too except that as a mom of three little boys, this would no longer be a toy box. It would be a vehicle!
Kirsti (not verified)
Fri, 04/02/2010 - 03:27
LOVE your site! I just found
LOVE your site! I just found it from Shanty2Chic. wondering if you have plans available for the two dressers with the storage boxes. I want to do that exact thing and have been browsing to try to find it. Can you email me if you have some tips/plans? Thanks so much!
[email protected]
heather h (not verified)
Fri, 04/02/2010 - 18:48
Yay yay yay! Thank you
Yay yay yay! Thank you kindly for these adorable plans. I'm so overwhelmed with kid clutter, but I'm even more overwhelmed with the cost of pretty toy chests that will look ok in our house. Ok, we have a TON of primary colored plastic thises-and-thats, but I have been hoping for an affordable toy chest. Oh, thank you!
I've added these Land of Nod cuties (Storagpalooza bins) http://www.landofnod.com/family.aspx?c=2883&f=3835 to the Knock Off Wood discussion page and photo pages and noticed several requests on the KOW Facebook page. These would be a great companion to your adorable Open Top Toy Chest. Would you consider posting plans for these? I can just feel the breeze of a million parents' sighs of relief with Storagpalooza plans - no more clutter! Even the smallest of kids can dig into their Storagpalooza bins without parental assistance! They look cool!
Thanks, Ana! I am so inspired to do real, live making of things out of wood with a hammer and stuff. Whoa! Thank you so much!
Brett (not verified)
Thu, 05/20/2010 - 10:31
How did you make the rounded
How did you make the rounded parts on the footer? I'm thinking of making something like this with a top as a coffee table.
Thanks
Ana White (not verified)
Thu, 05/20/2010 - 10:38
The best way to get the
The best way to get the rounded bottoms is to cut with a jigsaw. What I do is cut one side first, save the scrap, and then cut the remaining side.
Cindy (not verified)
Fri, 05/28/2010 - 16:12
I was trying to do this
I was trying to do this project as my first one ever from KOW but I've already hit a snag. If the sides are 15-1/2" x 16" then it leaves a gap on the sides when trying to connect to the front and back. What am I missing? Please help!
Ana White (not verified)
Sun, 05/30/2010 - 09:57
Cindy, I think what's missing
Cindy, I think what's missing here is the side is actually 15 1/2" x 15 1/2" because a 1x16 actually measures 15 1/2" wide. I know this is confusing because a 1x16 should measure 1" x 16", but it's not the case. I know, frustrating, but I can't change the entire building industry. Good news, you can just trim 1/2" off and be good to go! Hope this helps, Ana
Open The Toy Box (not verified)
Thu, 09/23/2010 - 16:50
[...] Build a Kid's Open Top
[...] Build a Kid's Open Top Toy Chest — Ana White If you are anything like me, you are dropping hints, very loud ones, that the Easter Bunny should give hugs and kisses and not candy and toys this year. And if you are anything like me, you are still going. [...]
Megan Carter (not verified)
Thu, 10/28/2010 - 11:23
I am ready to paint my open
I am ready to paint my open top toy chest. I built this one all by myself (sort of). My husband built the sandbox also. I can't decide on a color, so here we are with a sanded toy storage unit and hundreds of color choices.....
Naomi (not verified)
Wed, 12/29/2010 - 21:50
Just starting building these
Just starting building these today, and I love them! Quick question though - anyone else find they needed more wood then in the shopping list? I found I needed 8.5 ft of 1x2/cove moulding, and 105" of the base moulding. Any chance I'm doing something wrong?! Thanks!
Kaliste (not verified)
Thu, 12/30/2010 - 16:18
I think the shopping list is
I think the shopping list is wrong. My husband is making this right now for our daughter and he had to go back to the store to get more 1x2 and base molding. The plans call for 6' of 1x2- but the cuts are 2- 15 1/2 and 2- 35 1/2. That adds up to 102" which is 8.5'. Same for the base molding, unless we're reading something wrong or not understanding something. Just thought you'd want to know so you can change the shopping list. Thanks!
Donald
Thu, 06/09/2011 - 01:14
costomised for anyone
Put a hinged lid on it and you got a hope chest
scrmnmimi65
Tue, 08/02/2011 - 10:20
Pirate chest plans next please!
I very much want to make pirate chests for gifts for the little boys in my life. Does anyone have a workable plan? Doesn't have to be large just enough to store their treasures!
thanks!
Guest (not verified)
Tue, 08/23/2011 - 18:24
Did anyone add a top to this
Did anyone add a top to this afterall? If so, would you mind sharing a photo?
Tim (not verified)
Thu, 11/10/2011 - 15:05
Shopping vs. Cut List
Your shopping list and cut list are in disagreement, if you only buy 72'' of base moulding you cannot cut 2x17'' peaces and 2x35'' peaces. The other moulding peaces are also off...
skartrip
Wed, 11/30/2011 - 08:43
toy box lid
I would love to make this as a hope chest for my daughters has anyone put a lid on it if so do you have any pics or plans? thanks
Elizabeth Reza (not verified)
Sun, 12/04/2011 - 17:22
Where can I find the letters?
This is such a lovely post. Thank you for being so detailed. I can't wait to make these more my niece and nephew for Christmas. Where can I find the letters for the name? I plan on using all of the same dimensions so I'd be looking for something similar in size to what you have.
Customized Creations
Fri, 12/09/2011 - 08:46
Fabulous!
I LOVE this! You could paint any color to match the decor and it's so nice! It looks so much better than those plastic ones you can buy at the stores
Guest (not verified)
Tue, 12/27/2011 - 12:24
Love the toy chest!!
I absolutly LOVE this toy chest! I am going to see if my husband will want to build this for our daughter :)
Guest (not verified)
Thu, 02/23/2012 - 15:14
I'm planning on doing this
I'm planning on doing this touchiest this weekend. I'm not at all measurement inclined so I'm super confused. Can someone please break down that the Measurements are???? The way it's listed on this site isn't at all the way the materials are shown on home depots web site. I plan on using plywood as I want to stain the chest. Please help.
Guest (not verified)
Sat, 02/25/2012 - 23:06
Why are steps one and two
Why are steps one and two identical?
In reply to Why are steps one and two by Guest (not verified)
red98dawg
Fri, 11/02/2012 - 18:28
I've noticed this as well and
I've noticed this as well and would like to know exactly how to attach the feet....I'm assuming with the 1 1/4" nails
Emma Hall (not verified)
Wed, 10/24/2012 - 03:38
I Love Toy Boxes
I just love toy boxes, I am really pleased that you have put up a page about how to make your own. I also found this site that make some fantastic ones as well.
http://www.pictureproud.co.uk/Toy-Boxes/c191/index.html
Leah Bradshaw (not verified)
Mon, 11/12/2012 - 21:57
Footer plywood or base moulding
So just want to make sure I have it straight. First big project! I don't need to worry about using plywood on the footer if I use the moulding right? And is te moulding strong enough to hold it like the plywood is? It seems thinner. Can I still jigsaw the moulding?
Mightyd40
Thu, 08/01/2013 - 19:30
1x16 question
Hi, I know I need to rip sheets of plywood or mdf to get the 1x16's but should I rip these at exactly 16", 15 1/2" or I saw on a computer desk you ripped them at 15 3/4"? I'm not even sure it'll cause problems at all, just wondering what you mean by 1x16 for any other future plans I might follow. Thank you.
angelab
Tue, 01/21/2014 - 10:28
longer toy box turned bench
I would like to use this plan to make a covered toy box and turn it into a window seat. The seat will be about 45" wide. Do you think the legs as they are a sufficient for a bench that wide?
Thanks!
zaeaton
Sun, 09/06/2015 - 18:48
Newby Here
This is going to be my first project and I'm trying to prepare. Do I need a Kreg Jig to put this together? Can I do it without? If so, how to I assemble the box? Should I glue the plywood together or just nail it together? Confused!
GMBC
Wed, 02/28/2018 - 05:39
Cutting size for sides
Hi, Ana love the plans. Made the toddler helper folding style. Ihave a question on the size of the sides for the toy box. It shows 15 1/2 inch wide yet the bottom is cut at 16 inch. Is this correct as the bottom would stick out or is ther reason for this. Did not want to adjust size without checking. Boy the costs shown are definitely from US as in Canada for materials have to double the cost or more.