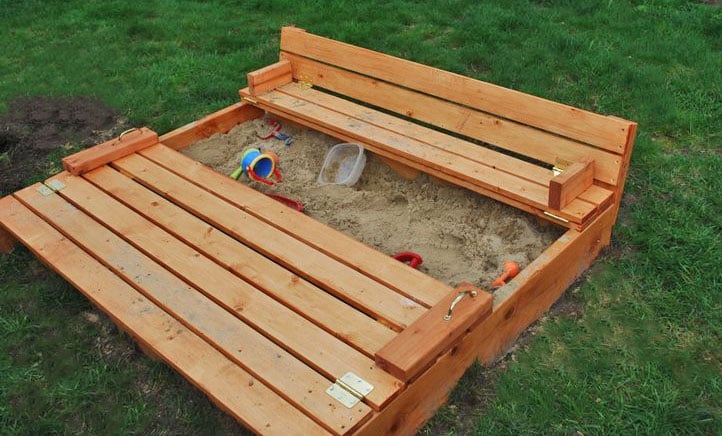
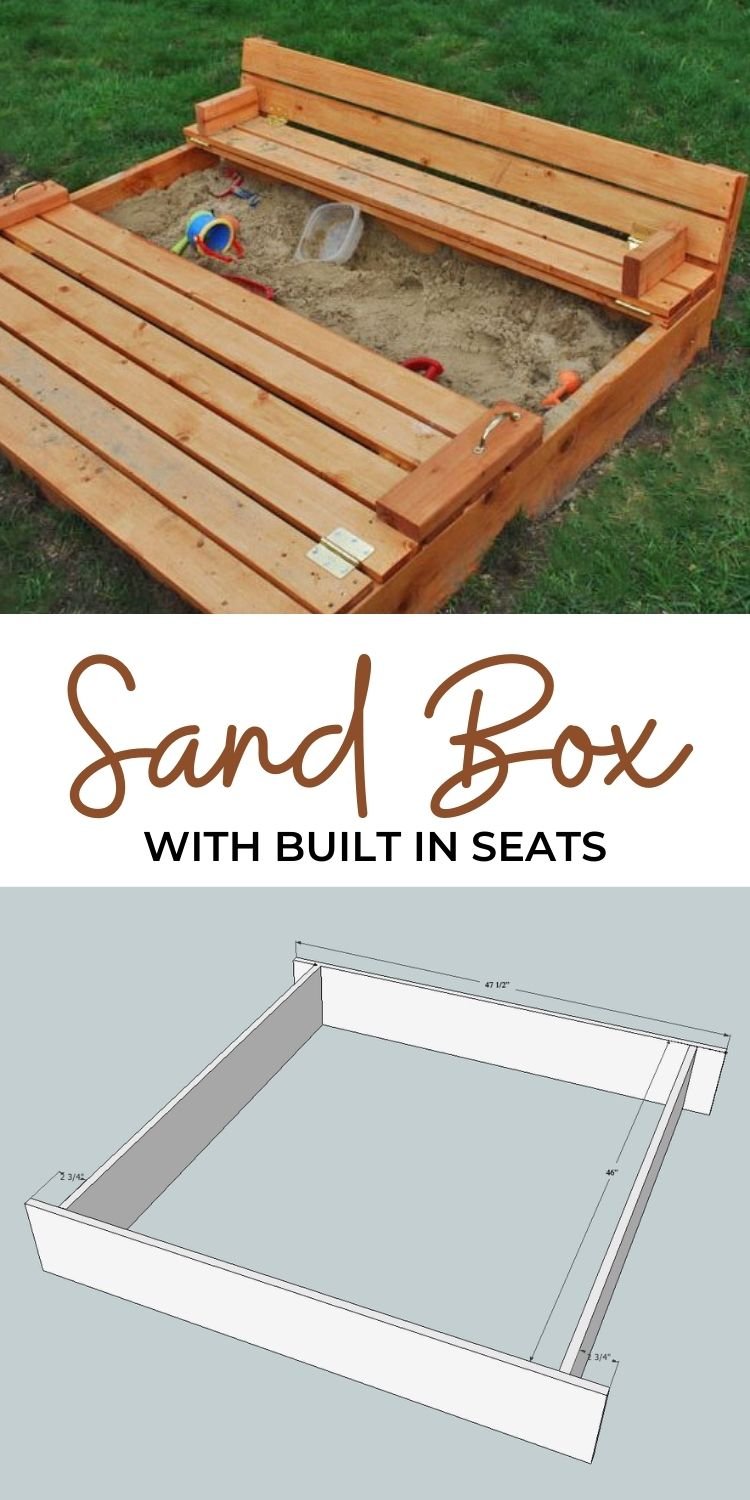
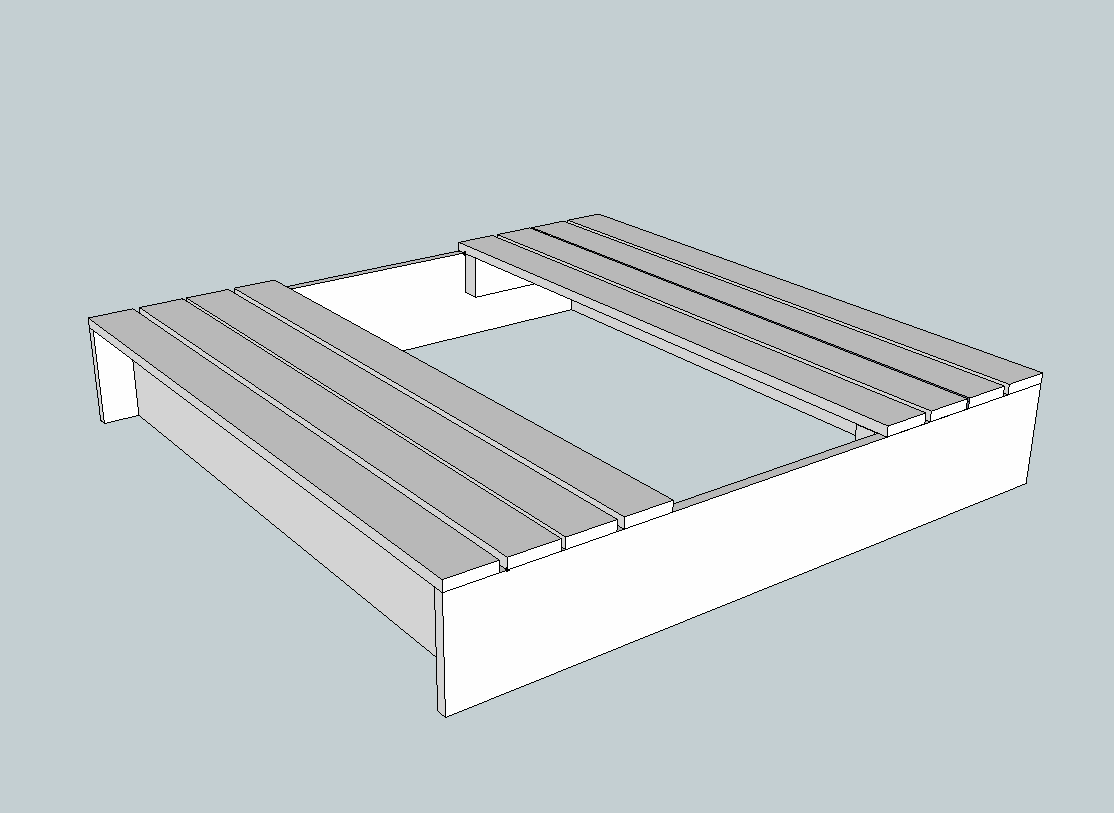
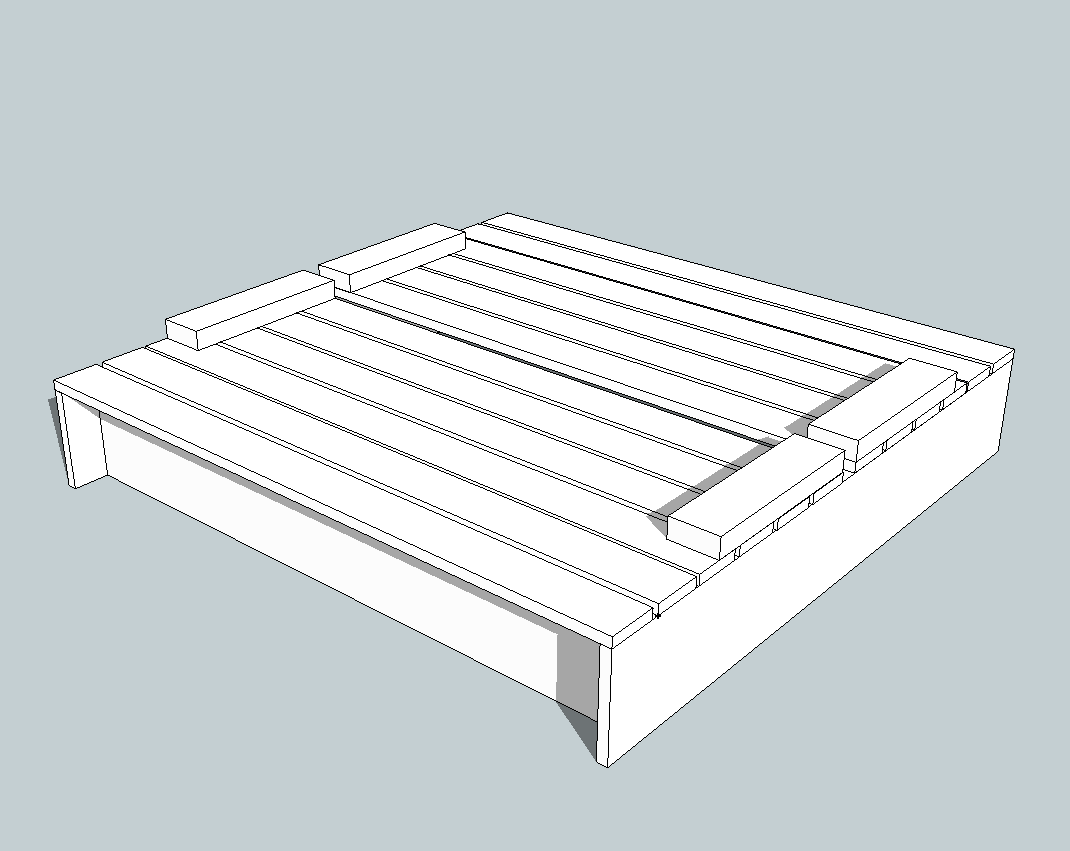
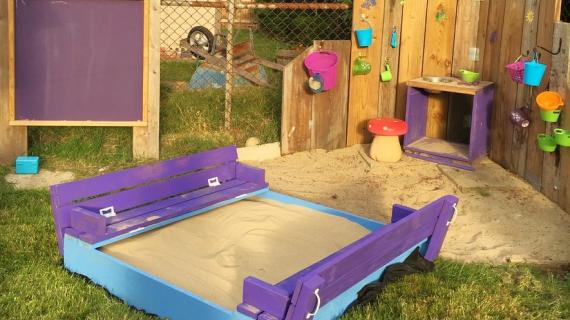
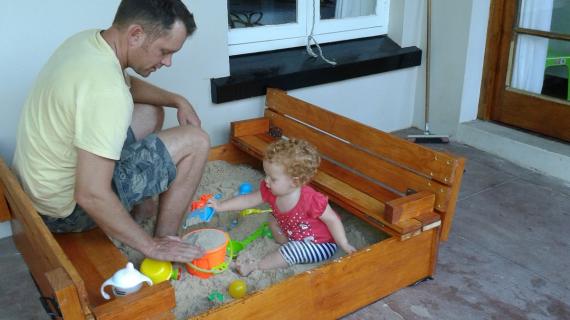
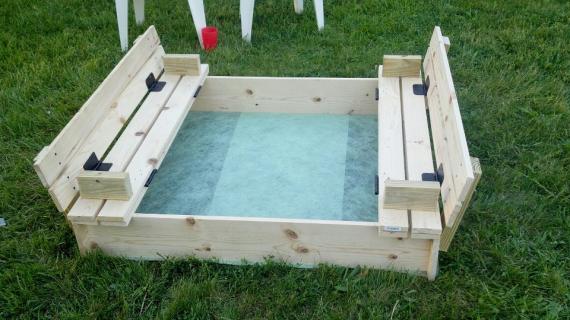
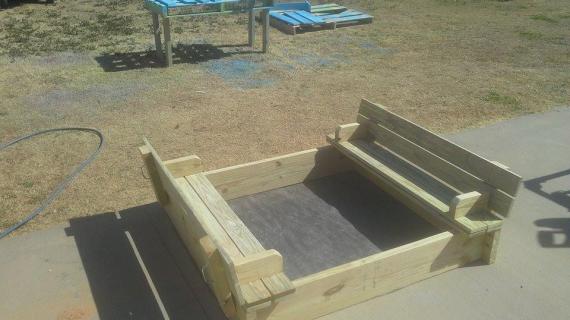
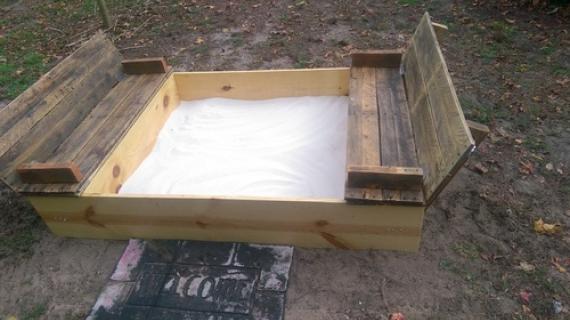
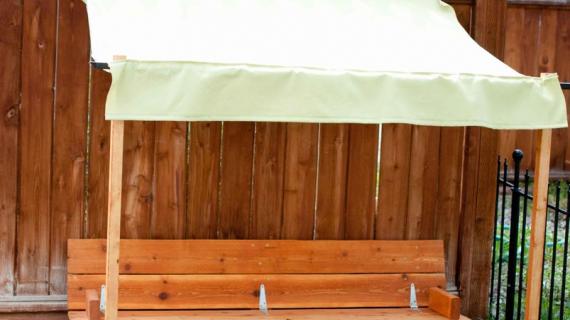
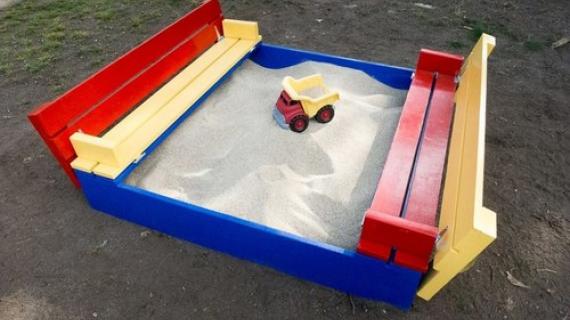
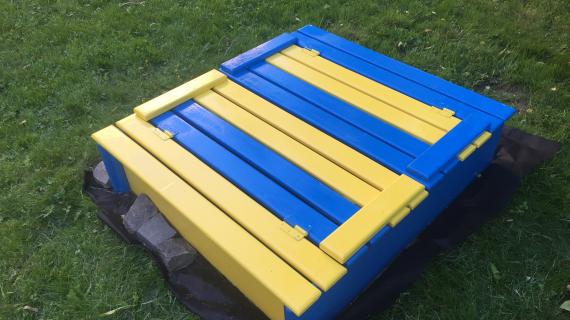
Everyone with a sand box knows that lids are a necessity. But double-duty lids are crazy awesome, especially if they convert to a seat! This easy to build sandbox with built-in seats is a reader favorite and has been built thousands of times.
For more awesome projects (or to leave some love if you've built this) visit my blog at www.ladygoats.com
Preparation
- 2 - 1 x 8 @ 8 Feet Long
- 6 - 1 x 4 @ 8 Feet Long
- 1 - 2 x 4 @ 8 or Stud Length
You will also need:
- 4 sets of exterior grade hinges
- Rope OR 4 exterior grade handles (search "gate pull" or "gate handle")
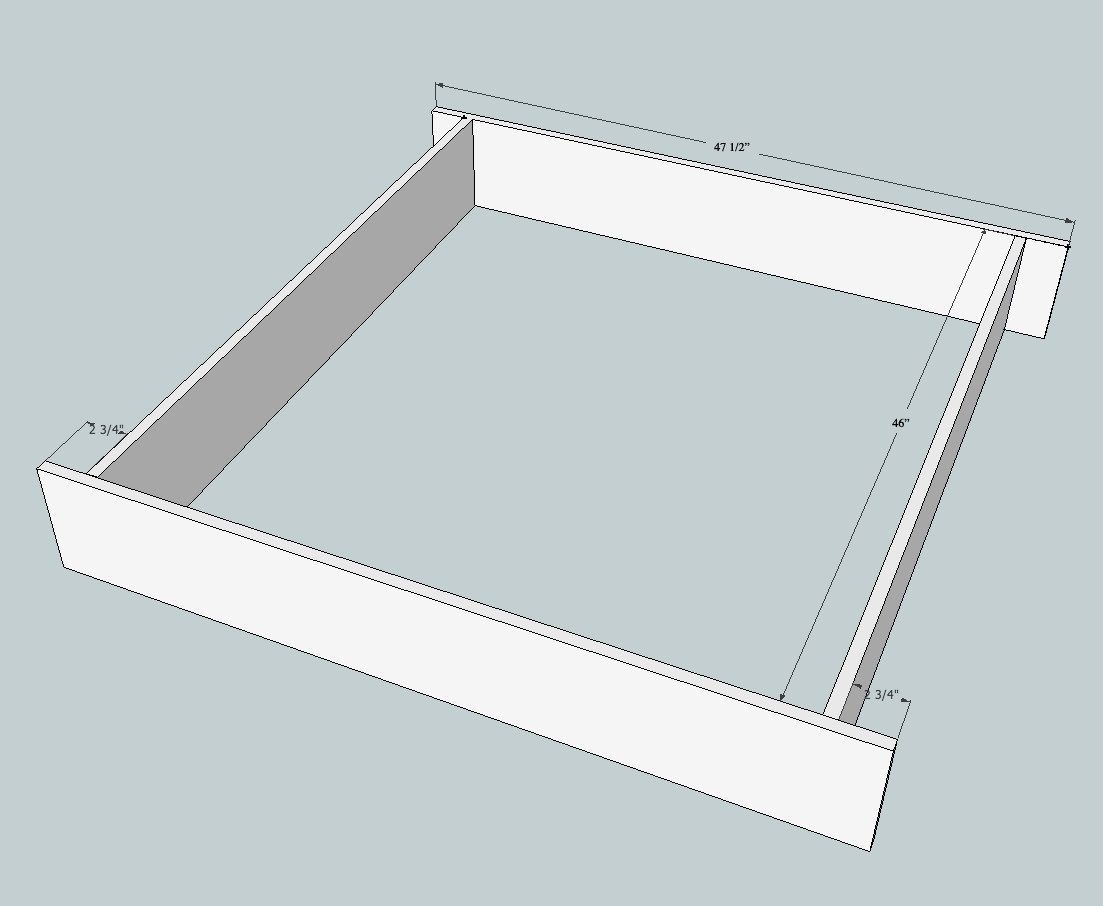
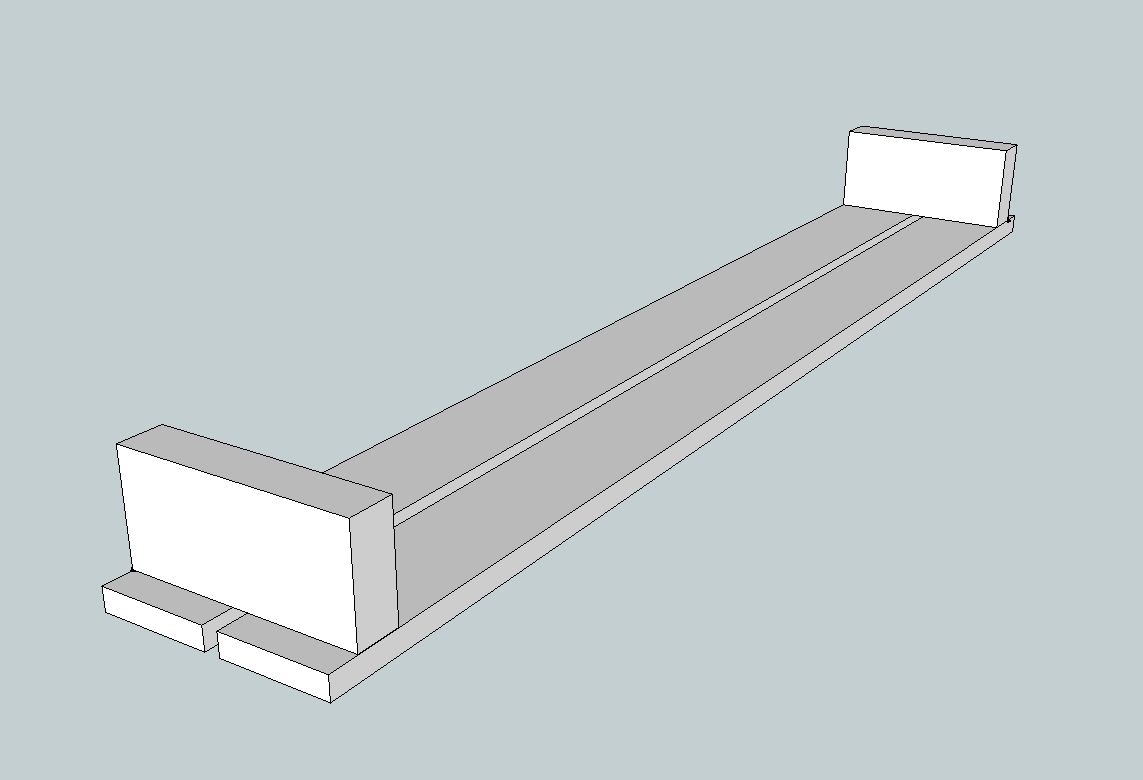
(a) 2 - 1 x 8 @ 47 1/2" - long sides of box
(b) 2 - 1 x 8 @ 46" - short sides of box
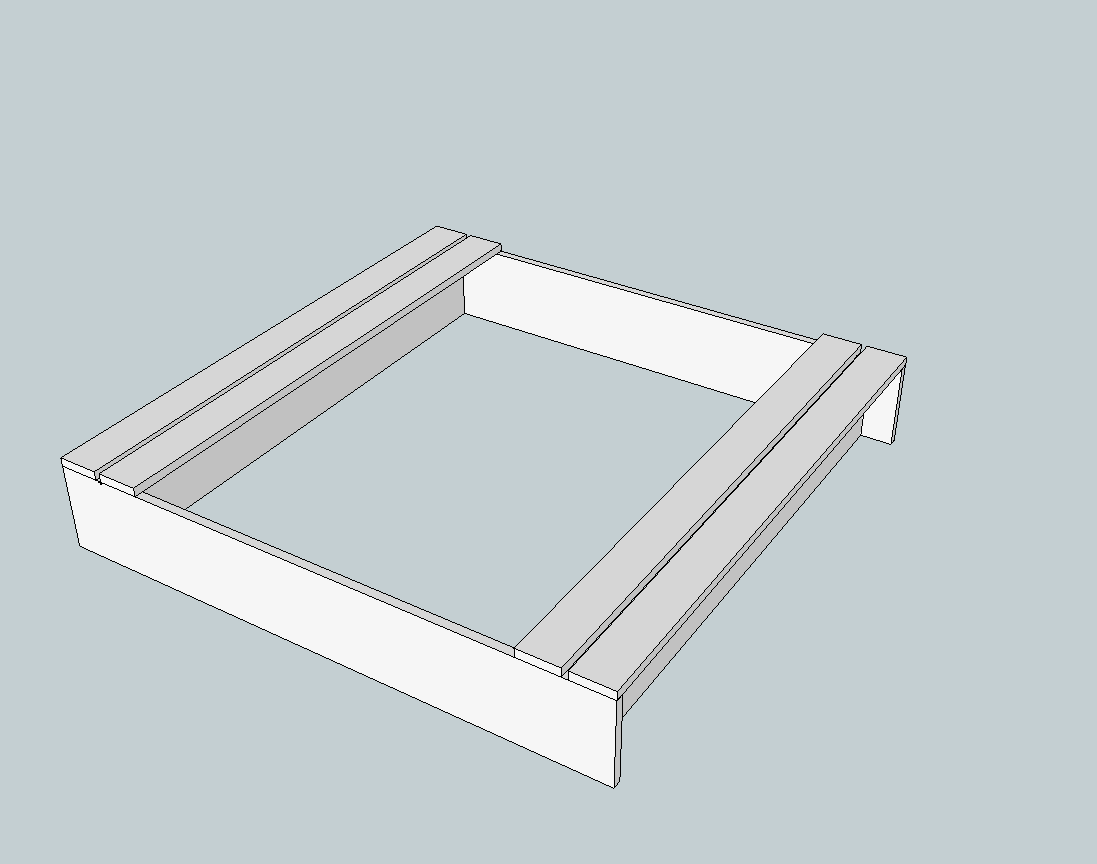
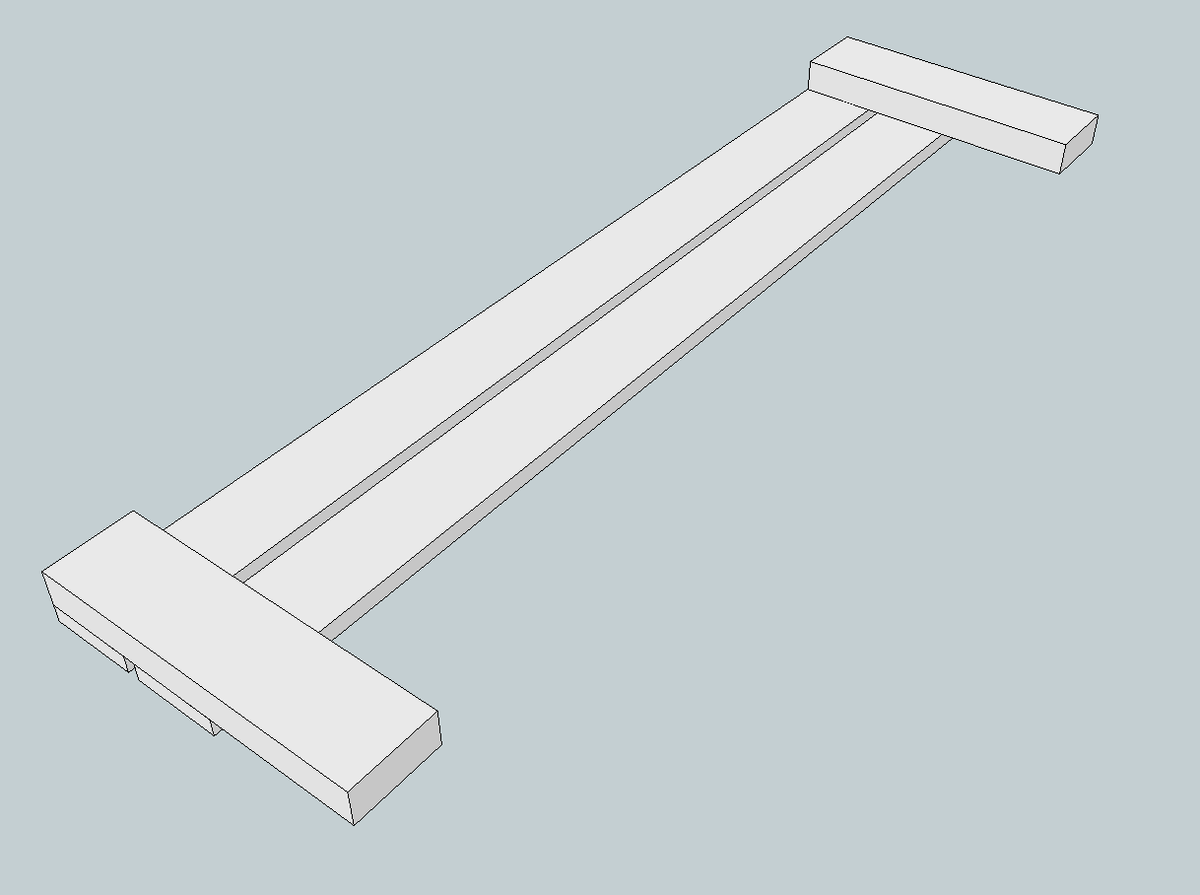
(c) 12 - 1 x 4 @ 47 1/2" - top planks
(d) 4 - 2 x 4 @ 7 1/2" - arm rests
(e) 4 - 2 x 4 @ 12 1/2" - back support/handle
Please read through the entire plan and all comments before beginning this project. It is also advisable to review the Getting Started Section. Take all necessary precautions to build safely and smartly. Work on a clean level surface, free of imperfections or debris. Always use straight boards. Check for square after each step. Always predrill holes before attaching with screws. Use glue with finish nails for a stronger hold. Wipe excess glue off bare wood for stained projects, as dried glue will not take stain. Be safe, have fun, and ask for help if you need it. Good luck!





Comments
Linda Byron
Tue, 12/23/2014 - 00:28
Sand box
Hi I made this for my great niece as a Christmas present as she lives on a farm a long way from any beach. I converted it to metric and made a cutting list based on the wood lengths etc in South Africa. As it was going onto a covered veranda I stapled 100 micron black plastic at the base to keep the sand in if it was moved. It is great design and really simple to make. If anyone in SA would like the cutting list they can just contact me. Wood cost about R1500.
tammy ginn
Sun, 03/22/2015 - 09:48
enlarging sandbox with benches
How would you suggest modifying the plans if we wanted to double the size to roughly 8 ft by 8 ft?
In reply to enlarging sandbox with benches by tammy ginn
Lady Goats
Tue, 03/24/2015 - 16:34
enlarging the sand box
Hi Tammy! The problem with enlarging this would be that the top would be so heavy to lift (and would have to fold accordion-style four times to get them from covering the sand box into seats. Someone did expand it from 4'x4' to 4'x6', and you could easily make it 4'x8'.
inouryellowhouse
Mon, 04/27/2015 - 11:21
HELP! WON'T CLOSE!
So I just finished building this and followed the plans exactly. And yet my sandbox will not close! The two sides folded down are about an inch and a half too long total (49" together vs the 47.5" sides), so one lays on top of the other.
I checked my spacing and a couple of the planks have a little bit more than 1/2" between but definitely not enough to account for an inch and a half total. I am at a loss. Has anyone had this problem or is able to suggest a remedy?
inouryellowhouse
Tue, 04/28/2015 - 12:28
figured it out
So the plans do not mention that you should check the 1x4's to make sure they are true 3.5" length. I discovered this after reading through the comments, which thankfully allowed me to figure out a solution. I ended up closing the gaps between the non-hinged planks to 1/4 inch instead of 1/2 inch, which gave me the extra inch and a half I needed to close the top.
Rookie mistake, I know, but hopefully other newbies who want to take on this project will find this comment and avoid the same mistake.
reyemrhol
Fri, 05/29/2015 - 21:04
the plans
we ended up cutting the 1x4s down to 3.5 but the plans call for the 1x4s
zigwizard
Wed, 05/27/2015 - 15:00
two back to back?
These are great. I'm considering putting something equivalent to two of these back to back in my side yard, one for a sandbox and the other to hold a small splash pool, or maybe lined with plastic to fill on occasion this summer to play water games in.
I've got two questions.
1. how much space would be needed between the two back to back boxes to have both sets of seats open?
2. How strong are the top covers of these boxes? Since its my side yard I would still have people coming through that may need to walk over the closed tops to do service. Would they need reinforced?
reyemrhol
Fri, 05/29/2015 - 20:53
the plans for the sand box
if you check your plans you have 47.5 in. and you have 12 1x4's, that would be 48in. then you have too have a half in between each board which is another 5.5 inches which makes the total 53.5 in.
Ana White Admin
Sun, 05/31/2015 - 07:27
Actual Measurements
The actual measurement of a 1 x 4 is 3/4" x 3 1/2" check this out
http://mistupid.com/homeimpr/lumber.htm
Lady Goats
Wed, 03/16/2016 - 12:09
Sorry, I haven't gotten comment notifications.
Hey everyone! Sorry for not being here to help out (and thanks everyone who's chimed in to help out your fellow builder). I used to get notification emails when comments were posted, so I could come help out. Apparently those aren't sent out anymore, so if you have an urgent question, please email me at [email protected]. I'll be happy to help! :-)
Wilsjac1
Tue, 07/02/2019 - 16:13
This is great! will build…
This is great!
will build and post photo's soon!
skohli
Thu, 08/13/2020 - 08:04
cost?
in the process of building this. Wasnt sure what wood to use but went with fir. also went with a weed fabric (2 layers) at the bottom as this will sit on dirt. all in all, materials cost about $200. and thats with 4 bags of sand (50lb) and i think i maybe need 1-2 more. im wondering if i picked too expensive materials and should have just used poplar or pine, but was worried it wouldnt do well outside.
Mruddy
Mon, 05/24/2021 - 08:27
Sand
How much sand would you say this requires? Thanks! Working on mine now!
drcontempo
Wed, 01/19/2022 - 15:46
Multifunctional and great for the kids backyard
First off, I have an architecture degree, so I gotta give kudos to using sketch up to model it! Brings back college memories lol. Loved this idea when I saw it. In fact, from seeing the first image, I got inspired to create the same environment so I recently worked with a turf installer build a play area in the backyard for the kids, and then I built this box and painted it white. I used 2x4s though, so it's a bit stockier, but I wanted it to be really sturdy because my little rascals abuse their toys lol.