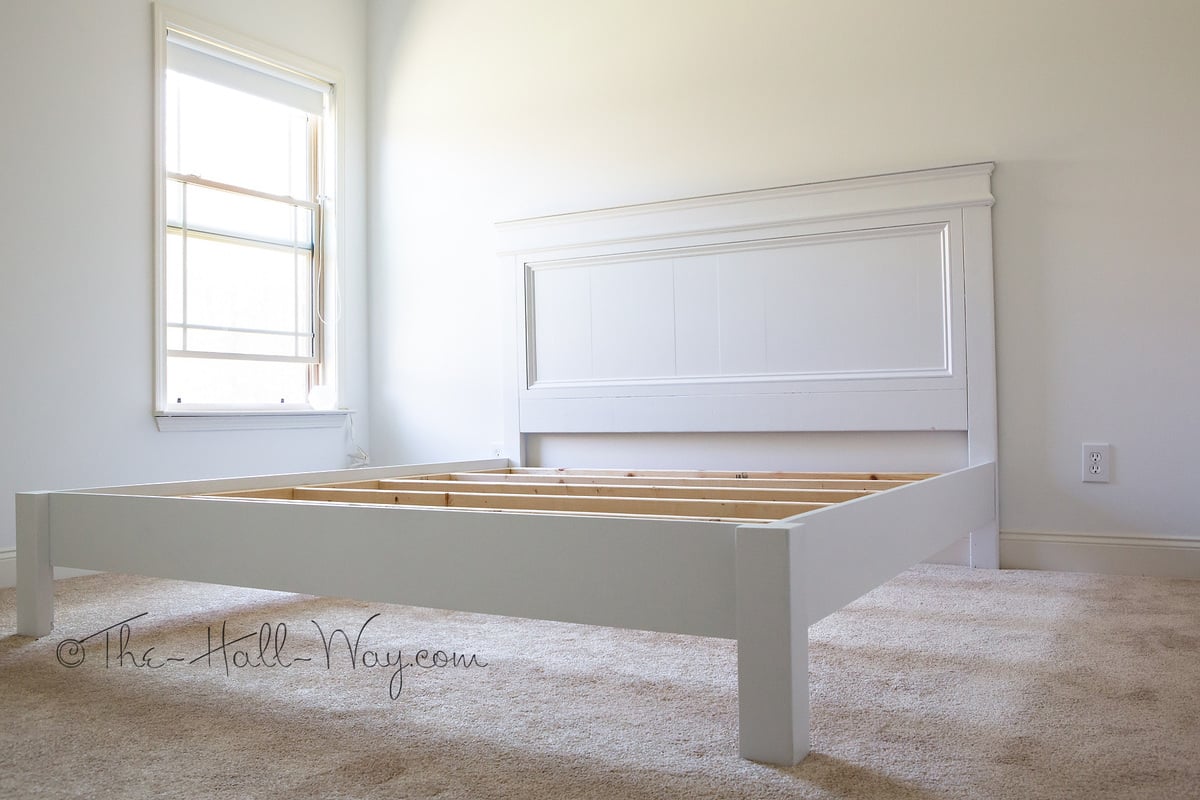
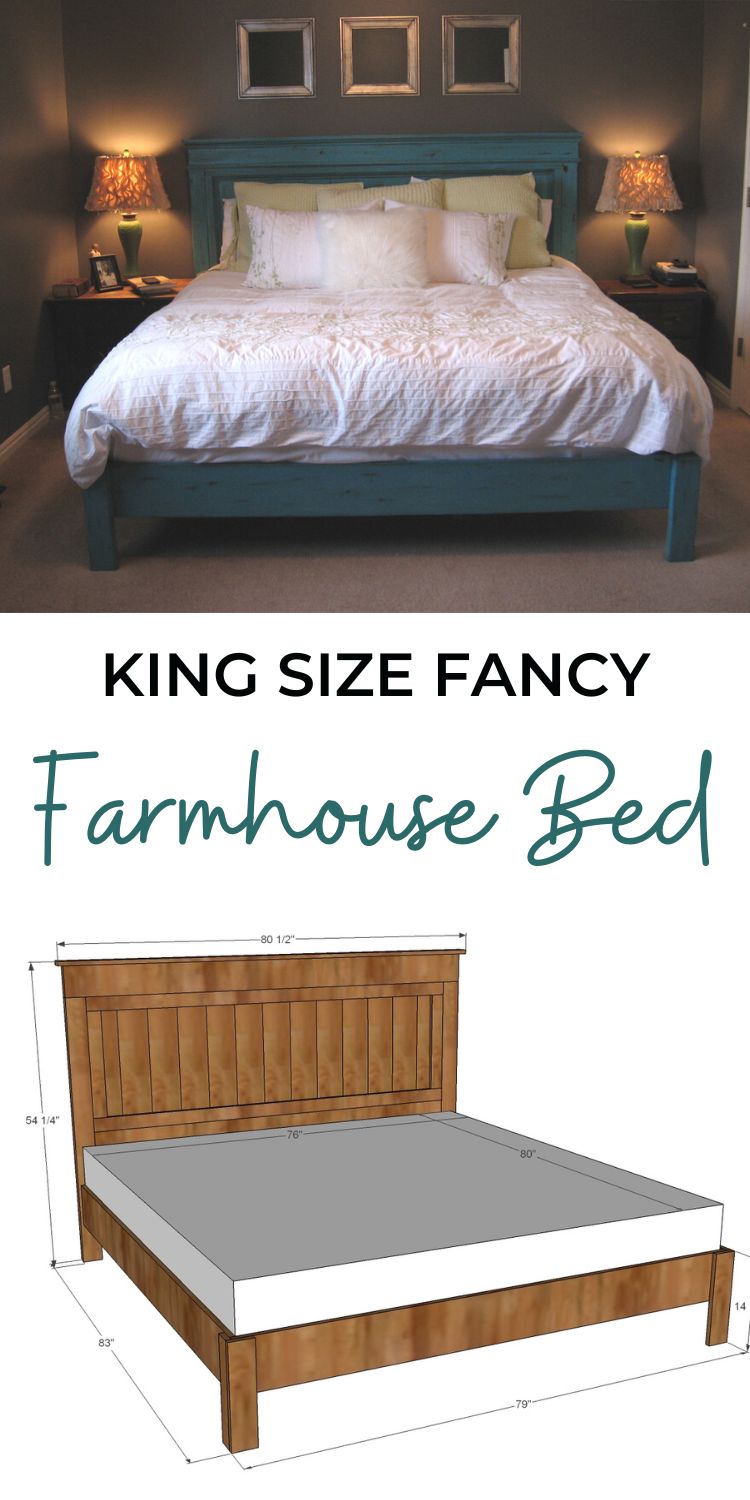
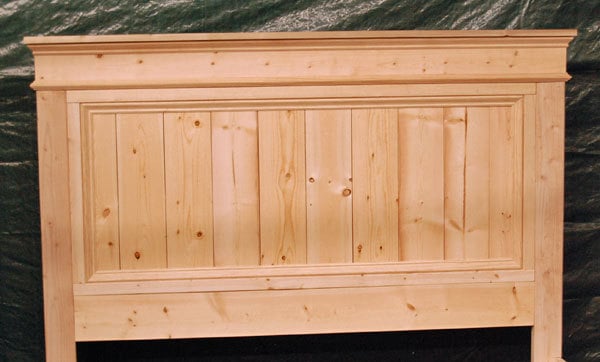
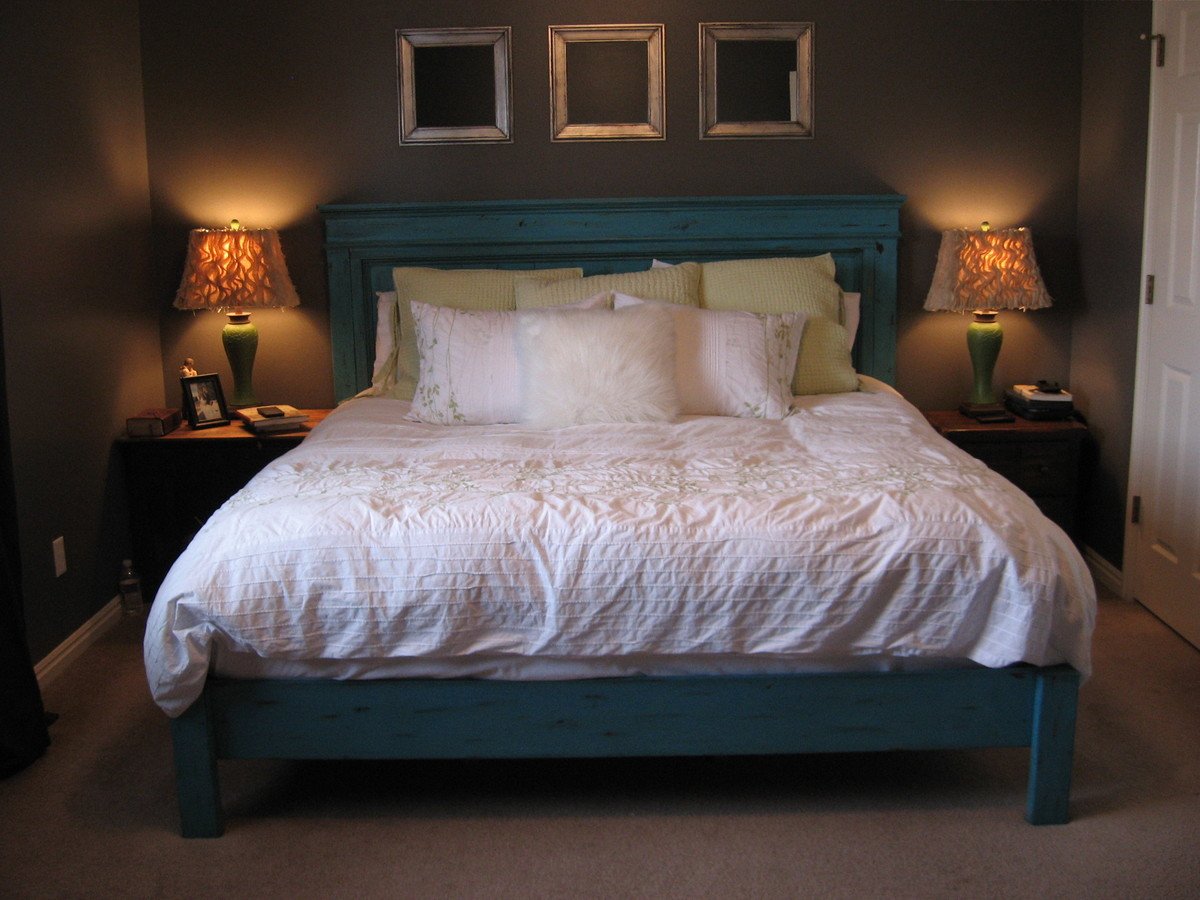
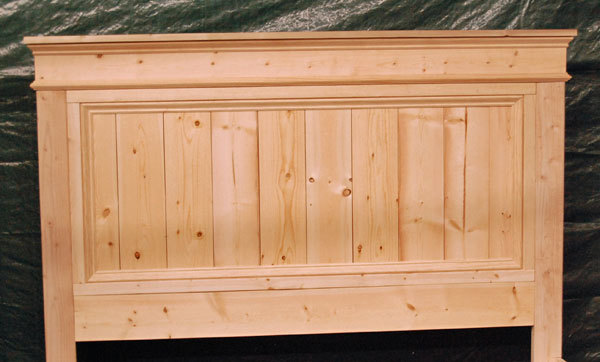
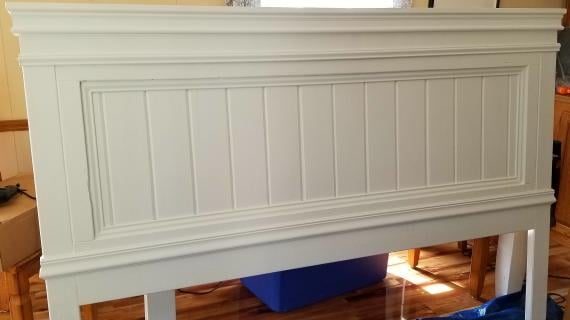
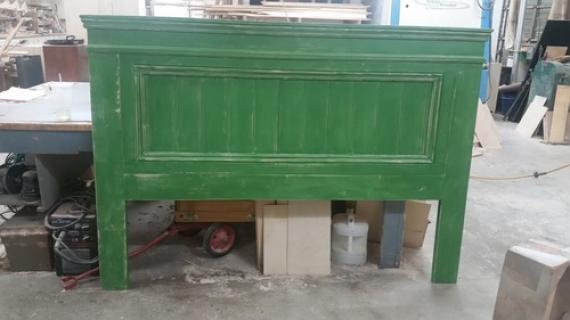
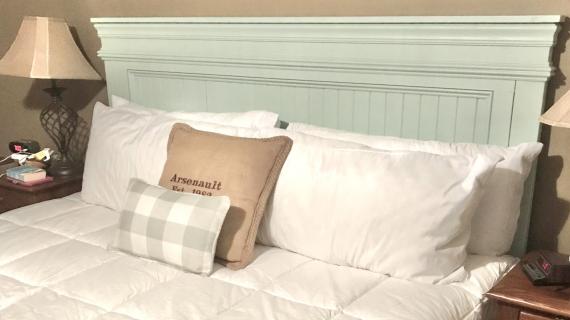
Free plans to build a fancy farmhouse bed in king size from Ana-White.com Inspired by Pottery Barn Somerset bed.
Pin For Later!
Preparation
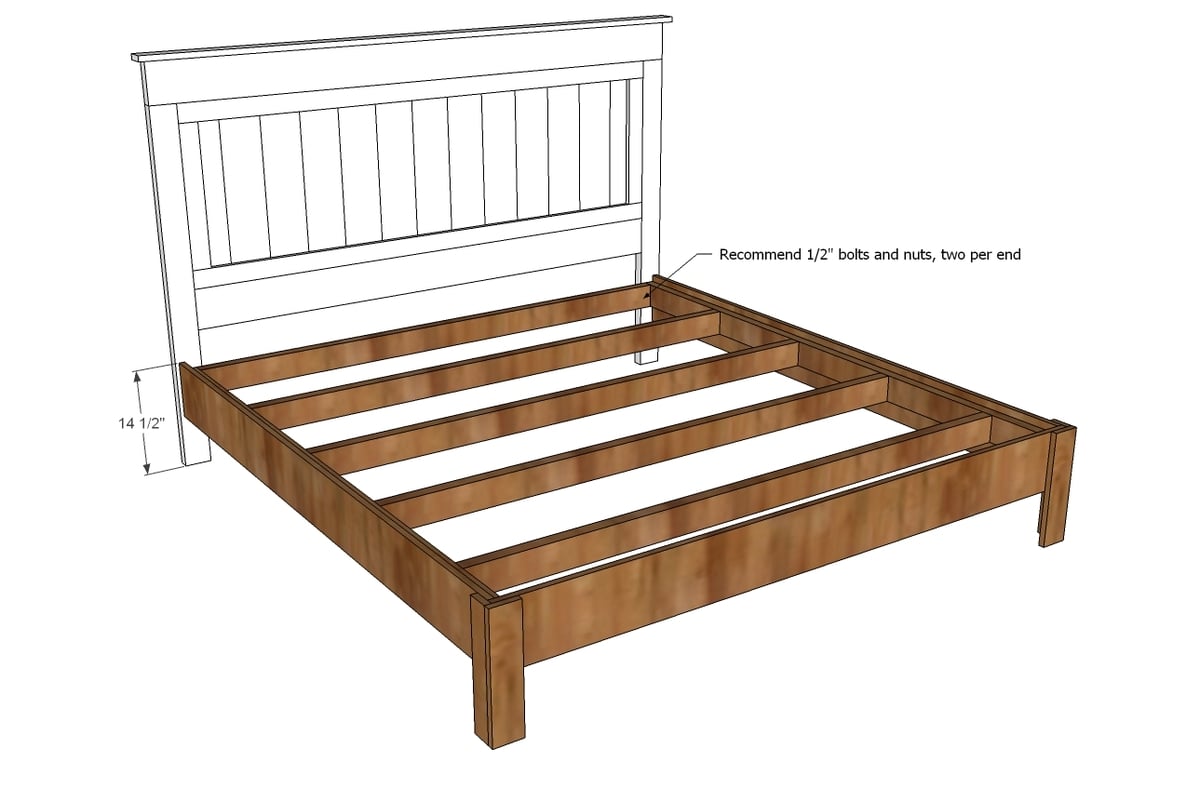
Boards 26+ feet of 1x6 boards or tongue and groove (recommended) 4 - 1x3 @ 8 feet long 9 - 2x4 @ 8 feet or stud length 2 - 2x6 @ 8 feet long 3 - 1x8 @ 8 feet long 1 - 1x4 @ 3 feet long Screws Recommend 1 1/4" and 2 1/2" pocket hole screws Recommend 1 1/4" and 2" finish nails Recommend 4 1/2" diameter bolts, with nuts and washers, 3 1/2" or longer (for attaching headboard to bed base) Moulding 1 – 8′ Stick of Chair Rail moulding (use this stick on the bottom tier of the headboard) 4 – 8′ Sticks of Base Cap moulding (use this type of moulding to trim panel and for the top tier on the headboard)
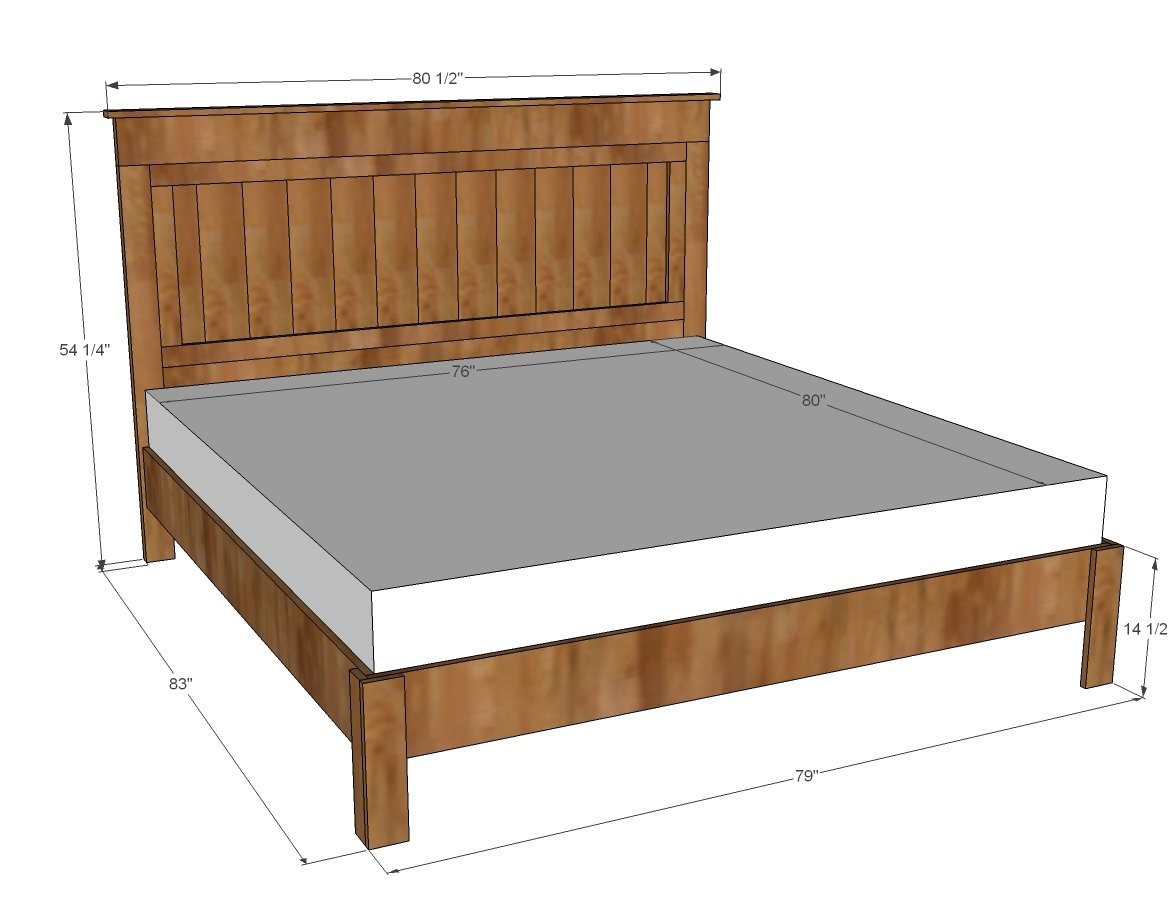
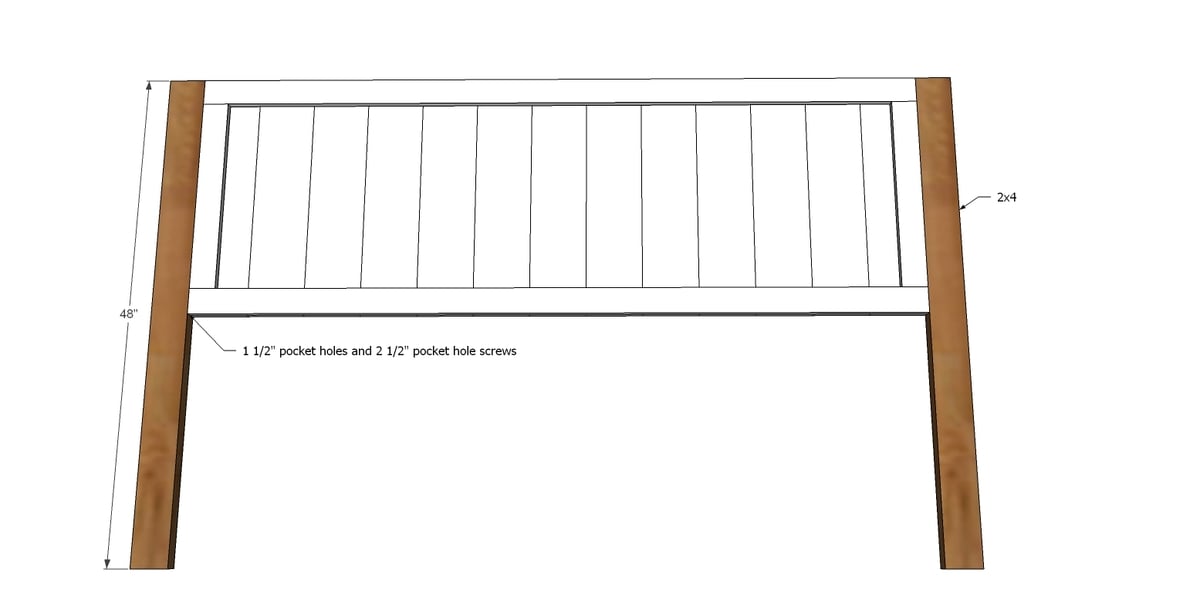
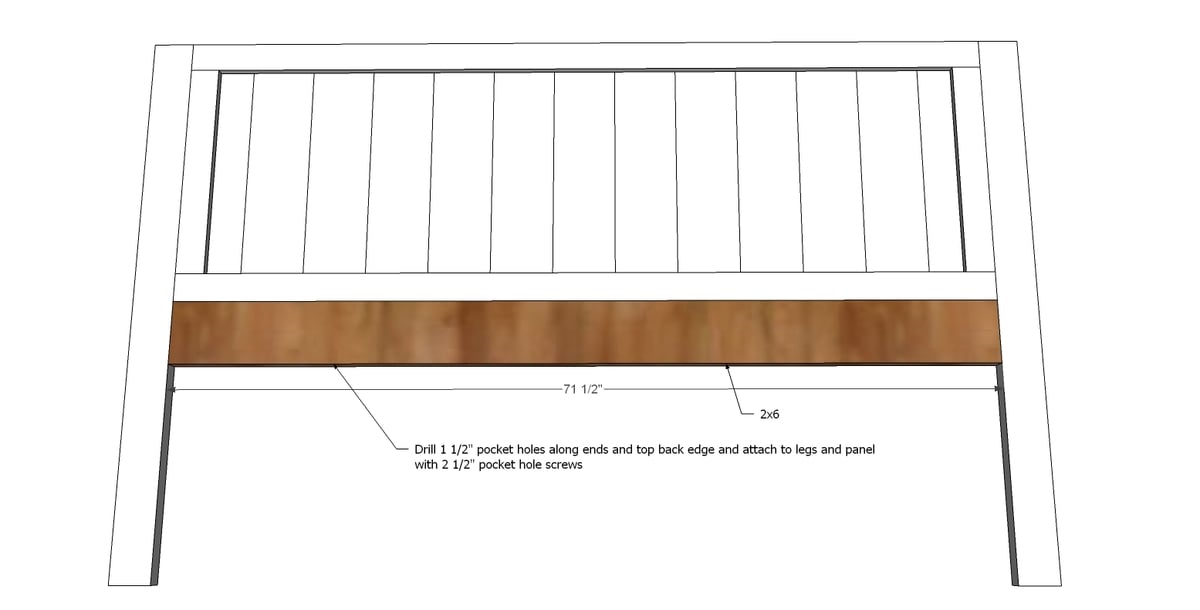
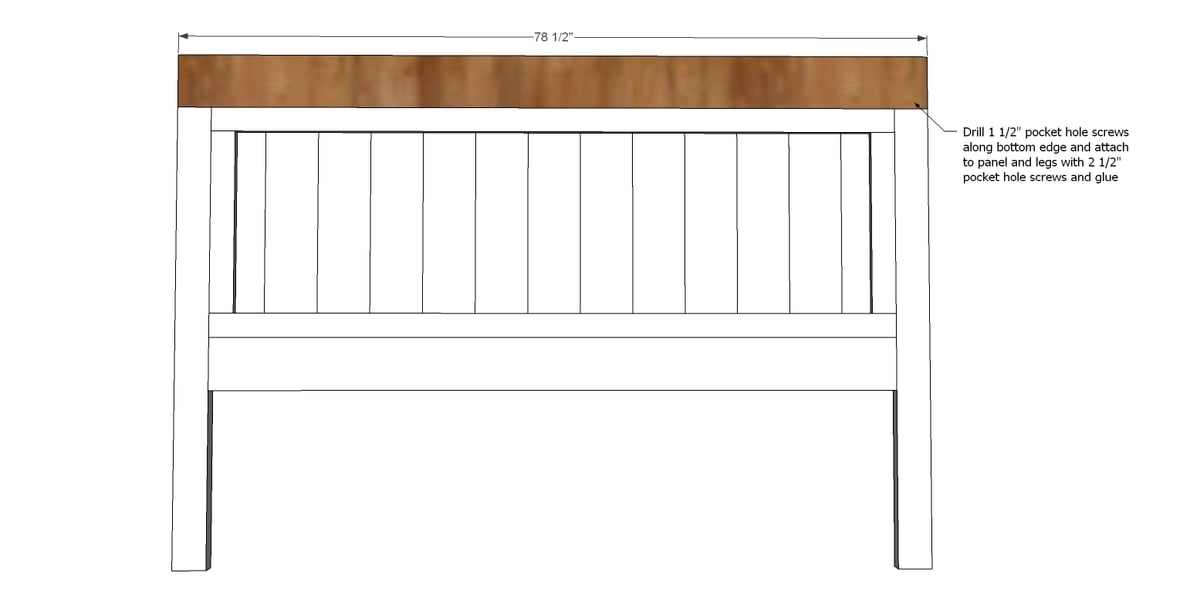
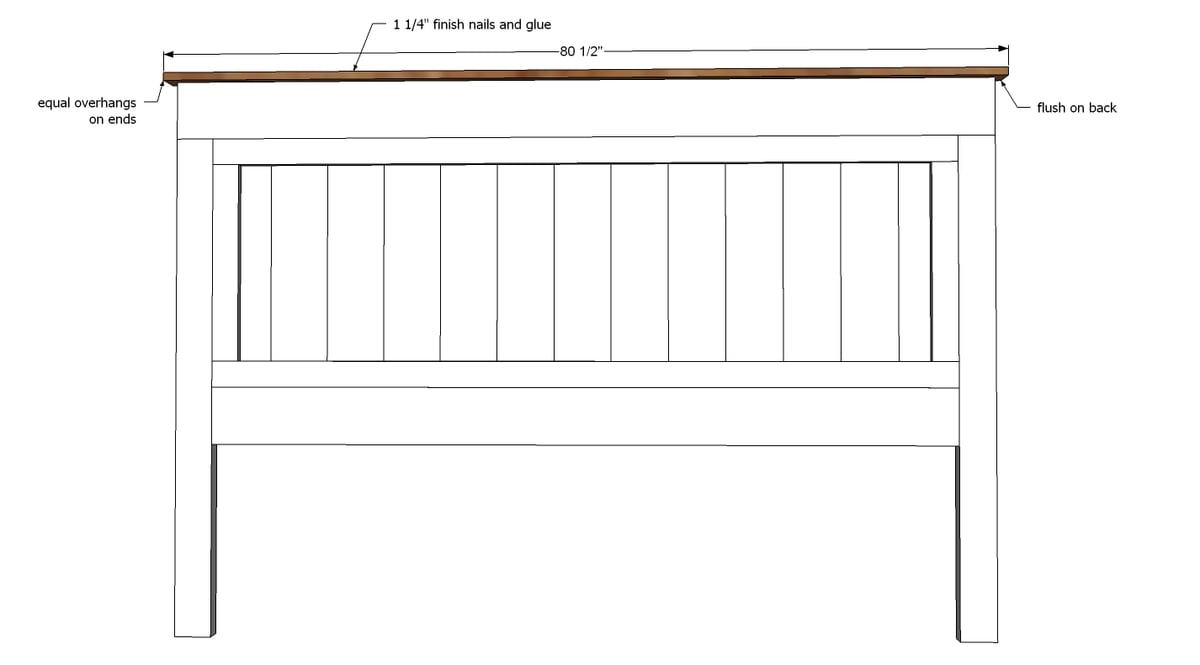
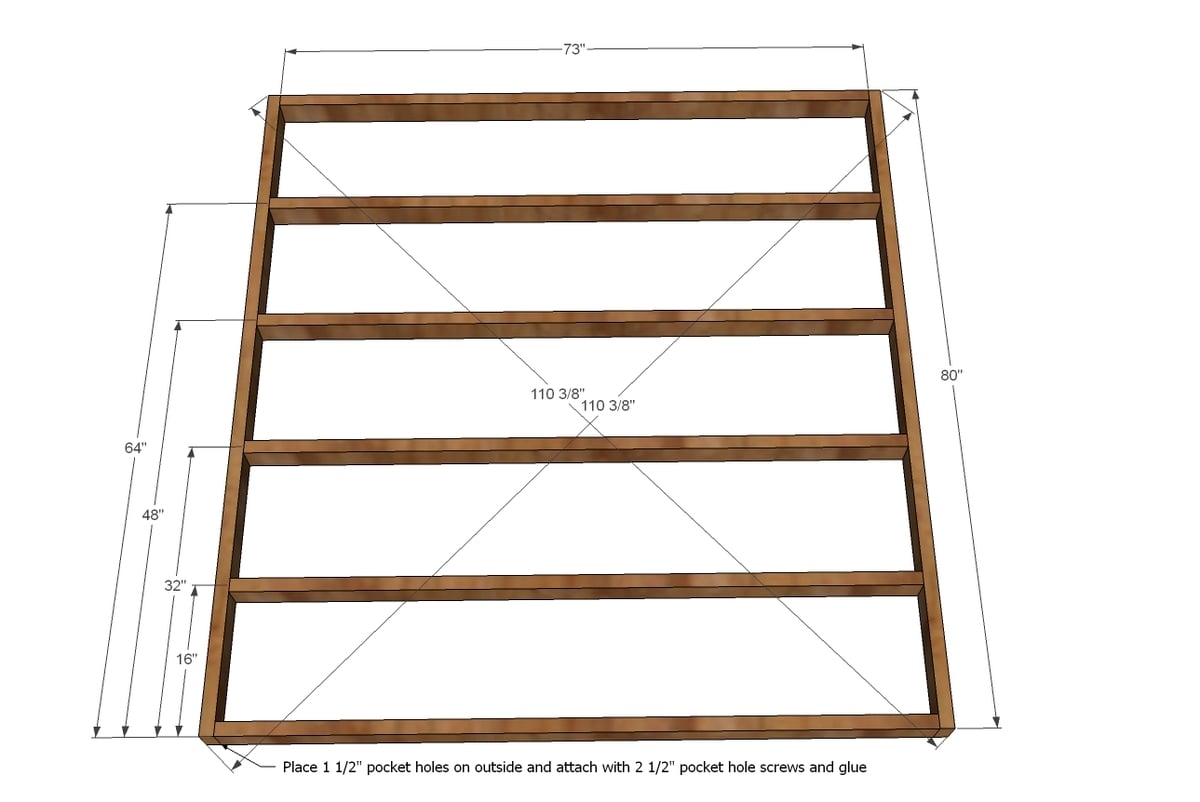
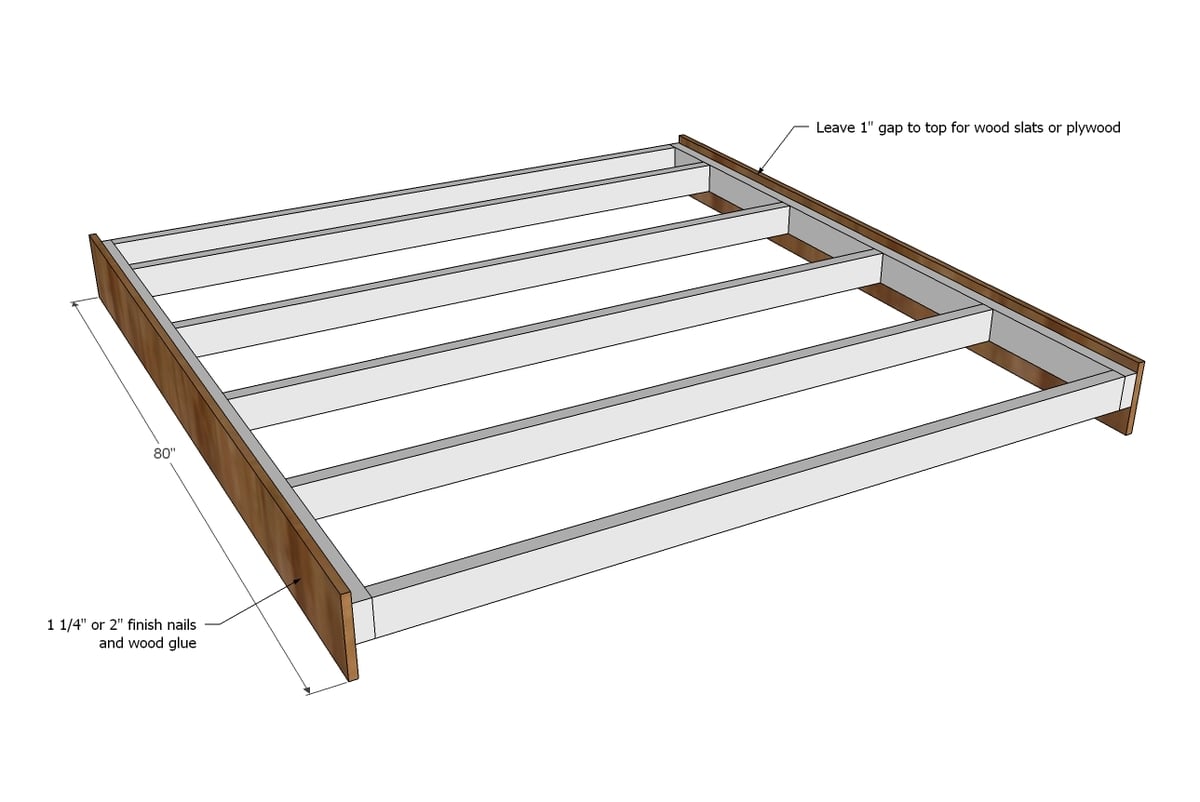
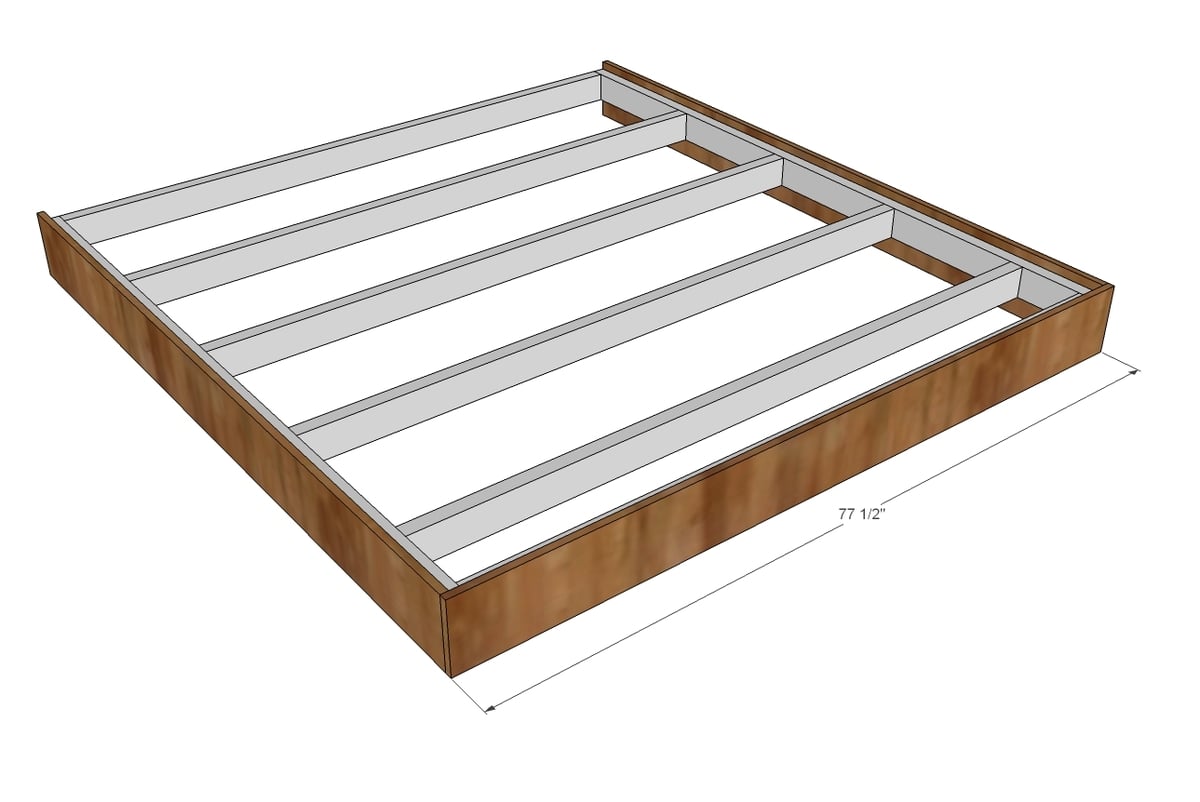
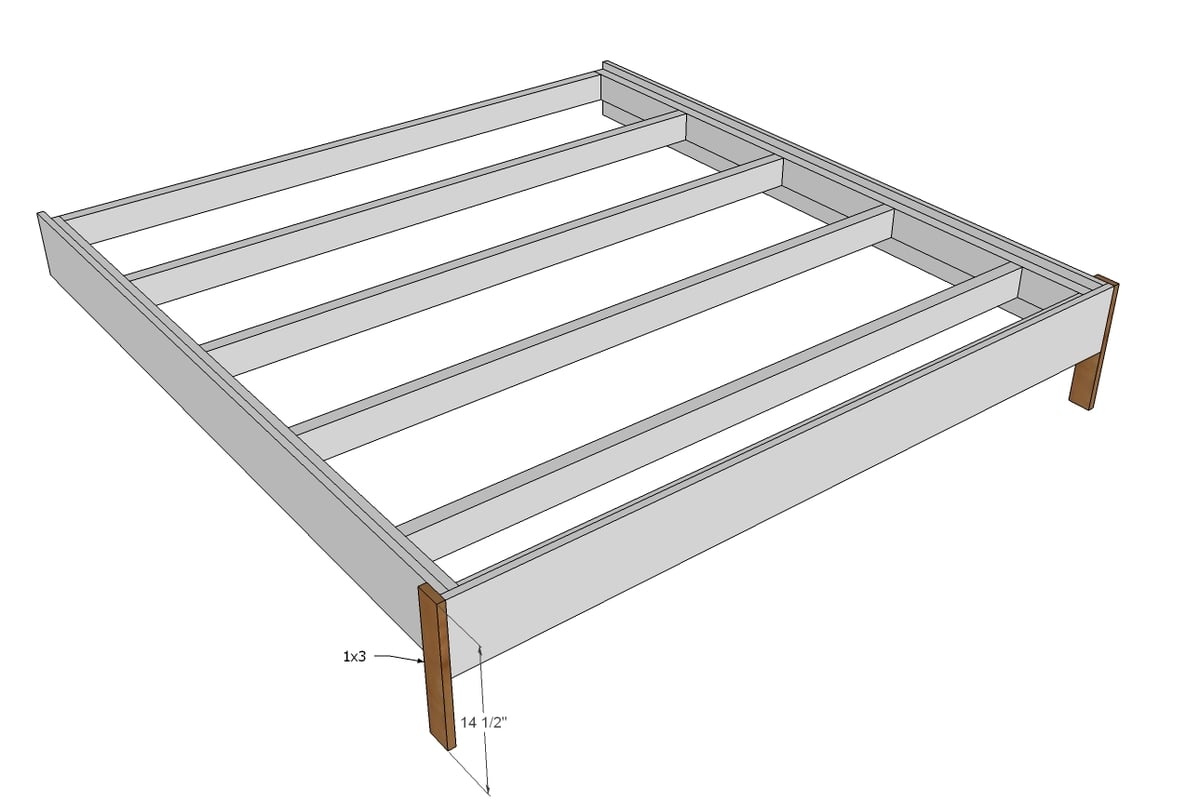
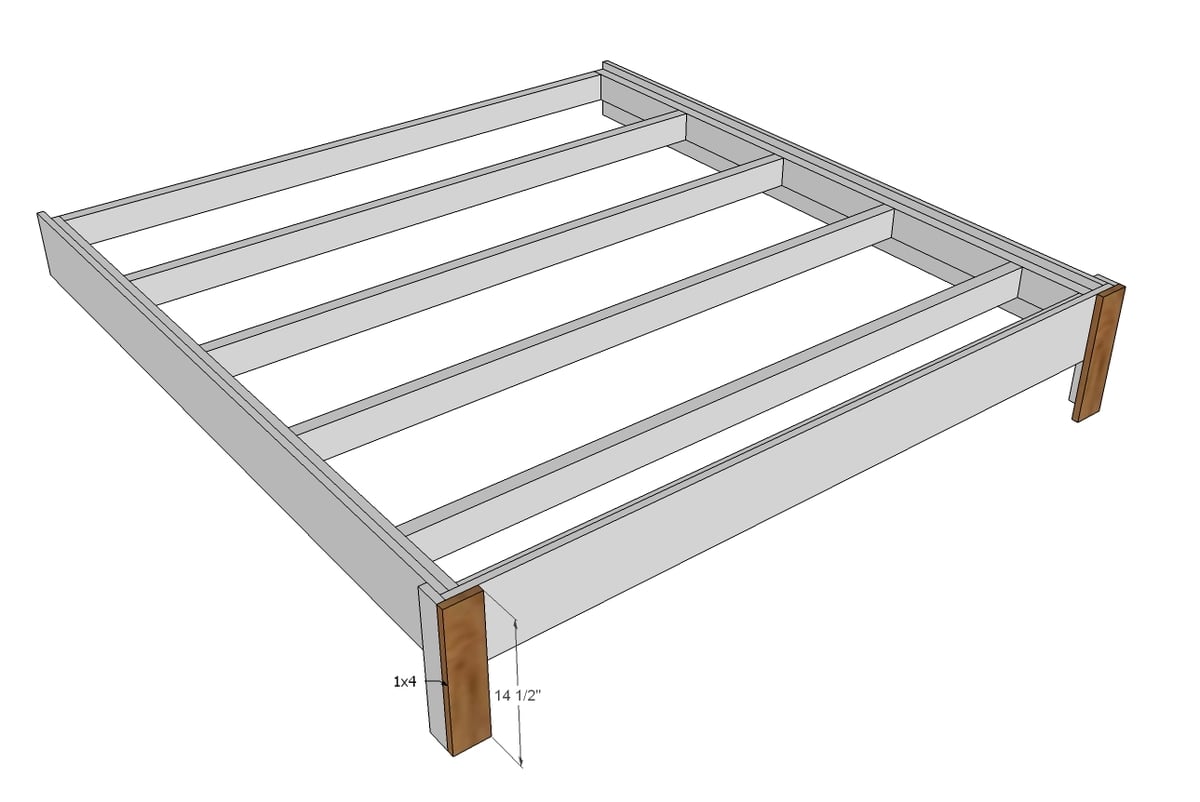
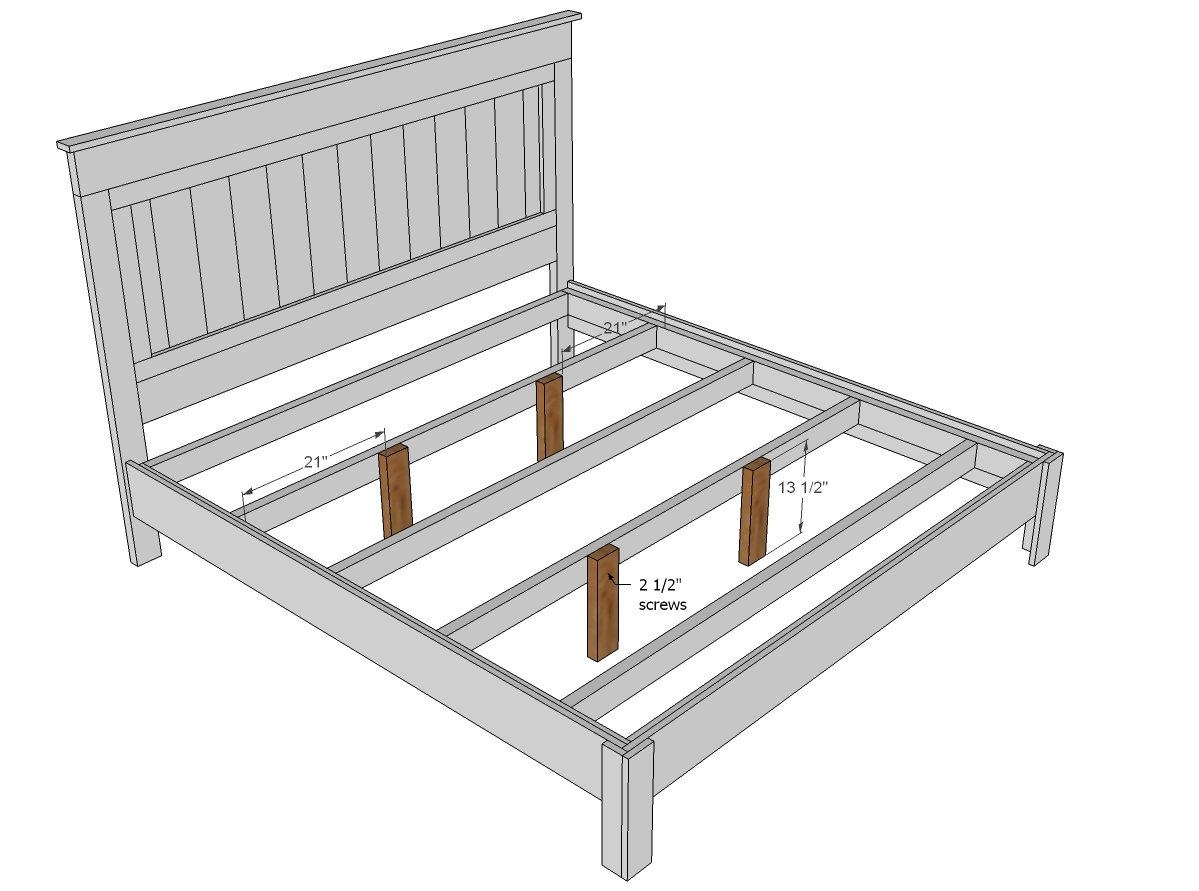
Headboard 13 - 1x6 (boards or tongue and groove) @ 24" (can be a tad shorter to get everything on a single 8' long board) 2 - 1x3 @ 71 1/2" (inner frame top) 2 - 1x3 @ 19" CUT TO FIT (inner frame sides) 2 - 2x4 @ 48" (legs) 1 - 2x6 @ 71 1/2" 1 - 2x6 @ 78 1/2" 1 - 1x3 @ 80 1/2" Base 2 - 2x4 @ 80" 6 - 2x4 @ 73" 2 - 1x8 @ 80" 1 - 1x8 @ 77 1/2" 2 - 1x3 @ 14 1/2" 2 - 1x4 @ 14 1/2" 4 - 2x4 @ 13 1/2"
Please read through the entire plan and all comments before beginning this project. It is also advisable to review the Getting Started Section. Take all necessary precautions to build safely and smartly. Work on a clean level surface, free of imperfections or debris. Always use straight boards. Check for square after each step. Always predrill holes before attaching with screws. Use glue with finish nails for a stronger hold. Wipe excess glue off bare wood for stained projects, as dried glue will not take stain. Be safe, have fun, and ask for help if you need it. Good luck!
Instructions
Step 1
Step 2
Step 3
Step 7
Step 8
Step 13
It is always recommended to apply a test coat on a hidden area or scrap piece to ensure color evenness and adhesion. Use primer or wood conditioner as needed.






Comments
rubblewife
Tue, 07/02/2013 - 11:01
Bed
Hello, I have been looking for a bed frame for my Cal King bed. They are all so expensive for really nice ones so I thought that I could make one. In my research for one I found your Farm House Style and fell in love with it. However, you don't have a plan for my size bed. How would I convert your plan to fit my bed? Thank you for all that you do, you are amazing!!
cclements33
Mon, 07/08/2013 - 09:14
metal bed rails w/box springs?
I love this bed!! Can you explain to me how I can make this using the metal bed rails and box springs that I already own?? I'm also confused as to how the footboard legs are constructed and attached. Please let me know! Thanks for the awesome plan!
bradyvh
Fri, 08/16/2013 - 12:27
materials
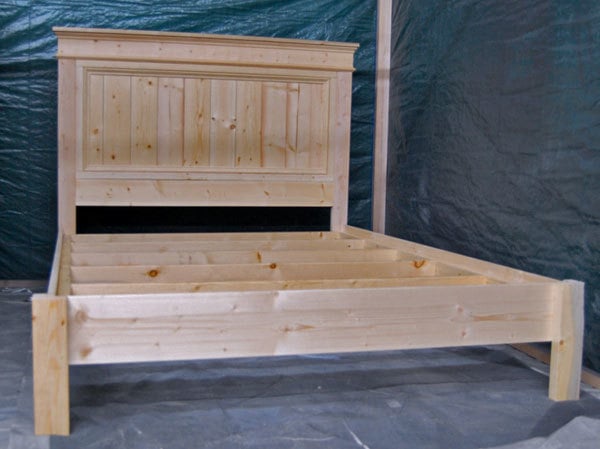
nobody has noticed that the shopping list is 1 1x8 short of materials needed to build this bed and slats have to be added or the mattress sinks just so you know for shopping trips
andyx
Mon, 11/11/2013 - 17:18
moulding links from lowes/home depot?, also, 1x2s's not 1x3
Hi, can anyone provide the moulding links for either lowes/home depot? I already built the headboard but couldn't find the right trim.
Also, on the center panel, I think the picture shows a 1x2, not 1x3. The 1x3 still look fine.
Thanks
Kimmy
Sat, 04/12/2014 - 05:28
Bolts not really possible
While I would like to have bolts holding the headboard to the frame, there is very little room for a bolt between the inside edge of the headboard leg and the inside of the frame. Add to that, there are screws already there, holding the frame together. I think the only option may be to use screws to hold the headboard to the frame (as instructed in the queen-size instructions) or to make the legs wider, to accommodate bolts. Has anyone actually built it according to these plans?
Edited to add: I was able to use ONE bolt on each side, by carefully placing the bolt between the screws that I used to hold the frame together.
bjswifty
Mon, 06/30/2014 - 04:49
Solved same issue
We had the same problem with little room for the bolts. What we ended up doing was cutting to fit, and attaching with pocket hole joints, another 2x4 board between the headboard legs (horizontally), at the same height as the back of the frame. We lined the headboard up with the frame, clamped it, and drilled holes for receive 4.5 inch bolts and nuts with washers of course. We have about 10 of these bolts holding it together, which I believe should be enough.
In reply to Bolts not really possible by Kimmy
walkman
Fri, 06/12/2015 - 10:39
Bolts are possible
You could use 2x6 legs for the headboard and shorten the boards in between appropriately to get the same overall width of the bed frame. This will give you an additional 1½" to bolt the headboard to the frame.
cradvansky
Fri, 10/28/2016 - 10:17
I used lag screws instead of
I used lag screws instead of bolts. They do not requie the other side to be clear. I put two each in from the back side of the headboard leg going into the horizontal 2x4. seems pretty darn solid.
Digidoodle
Tue, 06/03/2014 - 10:57
Cost
Can anyone tell me approximately what they spent on this project?
blakedecoste
Tue, 02/07/2017 - 14:40
Cost
It coat me approximately $215
bjswifty
Mon, 06/30/2014 - 04:45
Love the bed, our first king however
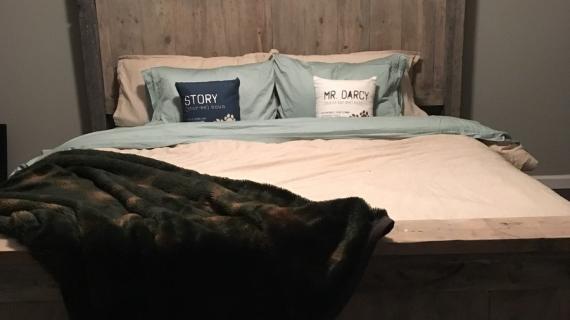
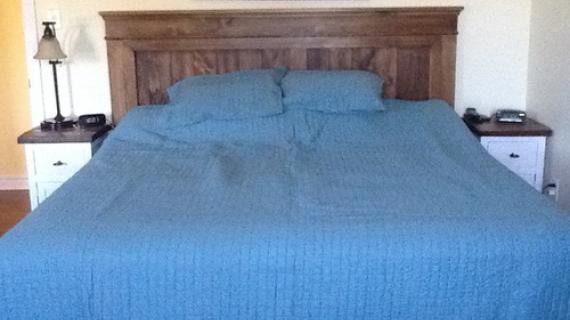
Finished the bed last week, and thought since our stair well was larger than the average home, and with our high ceilings, we could move the frame upstairs with some help with my brother. We were wrong (however just a couple of inches from making it work), and ended up taking the frame apart, and screwing it all back together upstairs. We love the bed, the design is simple and I have received many compliments. We did not paint the bed, and decided to stain it, so we selected to use solid oak for the entire headboard, and for the 1x8 along the frame and front legs. They do not stock 2x4 in oak, so we had to glue/clamp some 1x4 together for the frame legs, this worked out better than I had hoped. We spent less than $500 all together for materials, but it was worth it, because now we have a very nice solid oak king size bed. (Headboard weighs roughly 150+ pounds). Thanks!
molly.mcclelland24
Sun, 02/08/2015 - 06:57
Can anyone tell me how much
Can anyone tell me how much (rough estimate) it would cost to make this?
Ana White Admin
Sun, 02/08/2015 - 11:17
cost
I would estimate this project $150-$200. Hope this helps!
michaelwardle
Thu, 05/07/2015 - 10:48
slats
does it matter on this plan if I use slates, they will run the length of the bed, most plans ive seen run the width of the bed frame. I have the frame built just wondering on the slats. and attatching the headboard to allow it to be removed is a challenge.
thanks Mike
frznwffls
Sun, 07/26/2015 - 18:22
I don't think slats would
I don't think slats would work very well to be honest because most of the time they're running from side to side and wouldn't get much support in the middle of the bed. We bought some plywood from Home Depot and cut the 2 pieces to 80x38 as a base
Price0909
Wed, 05/13/2015 - 09:25
Do I need additional cross slats or Just a box spring?
Was going to use your cut list for the base bed and try to upholster it or paint it white to match a headboard we made but dont love.. havent decided.
Would it be better to run the 2x4's vertically and put a box spring on top Or should I add additional slats running horizontally.?
frznwffls
Sun, 07/26/2015 - 18:26
Problems with build
We solved the problem with bolting the headboard down by adding an extra 2x6 at the bottom where the 2x4 frame comes together with the headboard. We bolted that down and it's staying still there.
We ran into another problem with stability though. We put on the 4 - 2x4 support legs on the bottom and now, if we get on the bed, it moves back and forth as if those legs are going to fall over like dominos. How did everyone else who built this fix those stability problems or what ideas do you guys have?
Price0909
Thu, 10/08/2015 - 18:32
Stabiility issues?
We are in the process of buiding and my husband thinks that this wontbe stable enough for our heavy matress. Any thoughts ? Experrience wit this being a problem?
. Also thinking of added a ledger on the 80" long runs to have the 2x4 sit on to make it easier in the event we need to move. This way we can unscrew the cross beams from the inside rather then ruining the face board.
cmcwhorts
Fri, 10/07/2016 - 10:19
what did you guys end up
what did you guys end up doing? I too am thinking of just adding a ledger on the side to rest the 2x4 on it. did it work out for you?
ssweaser
Thu, 10/08/2020 - 16:39
Nice bed. Instructions need updates.
Nice bed. Instructions need updates.
This is a very nice bed once put together. We opted for 2" x 4" top rail saddles for our framing to allow to easier breakdown for moving. We also used corner brackets in the outside corners of the bed, again to make it easier to break down for transport.
The headboard legs are not wide enough to allow space for the bolts to connect to the frame. We added an additional 2 x 4 piece on the inside of each one to provide space for the bolts. A horizontal 2 x 4 would do just as well, but added more weight to the already heavy headboard.
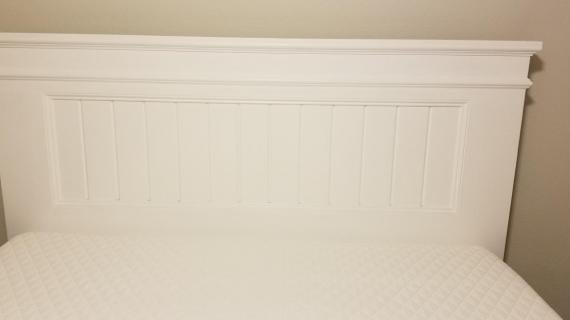
My thoughts on the headboard are that bead board could be used instead of the tongue and groove. This would decrease the weight of the headboard and potentially allow the use of 1 x 4's and 1 x 6's instead of the heavier 2 x 4's and 2 x 6's.
Unless you're using a box spring, slats will be needed. That added another 13 1 x 4's to the purchase list and it looks like they would offer the most support if running from head to foot board instead of side to side.
We are debating using 4 x 4 legs to add stability to the bed, but haven't got it all together yet to see if it's needed.