
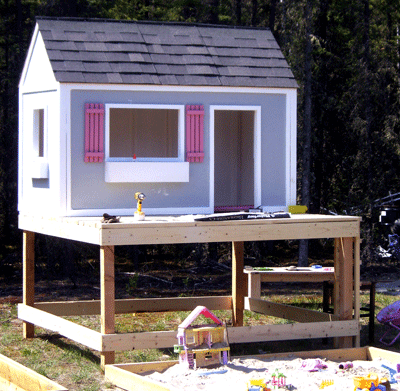

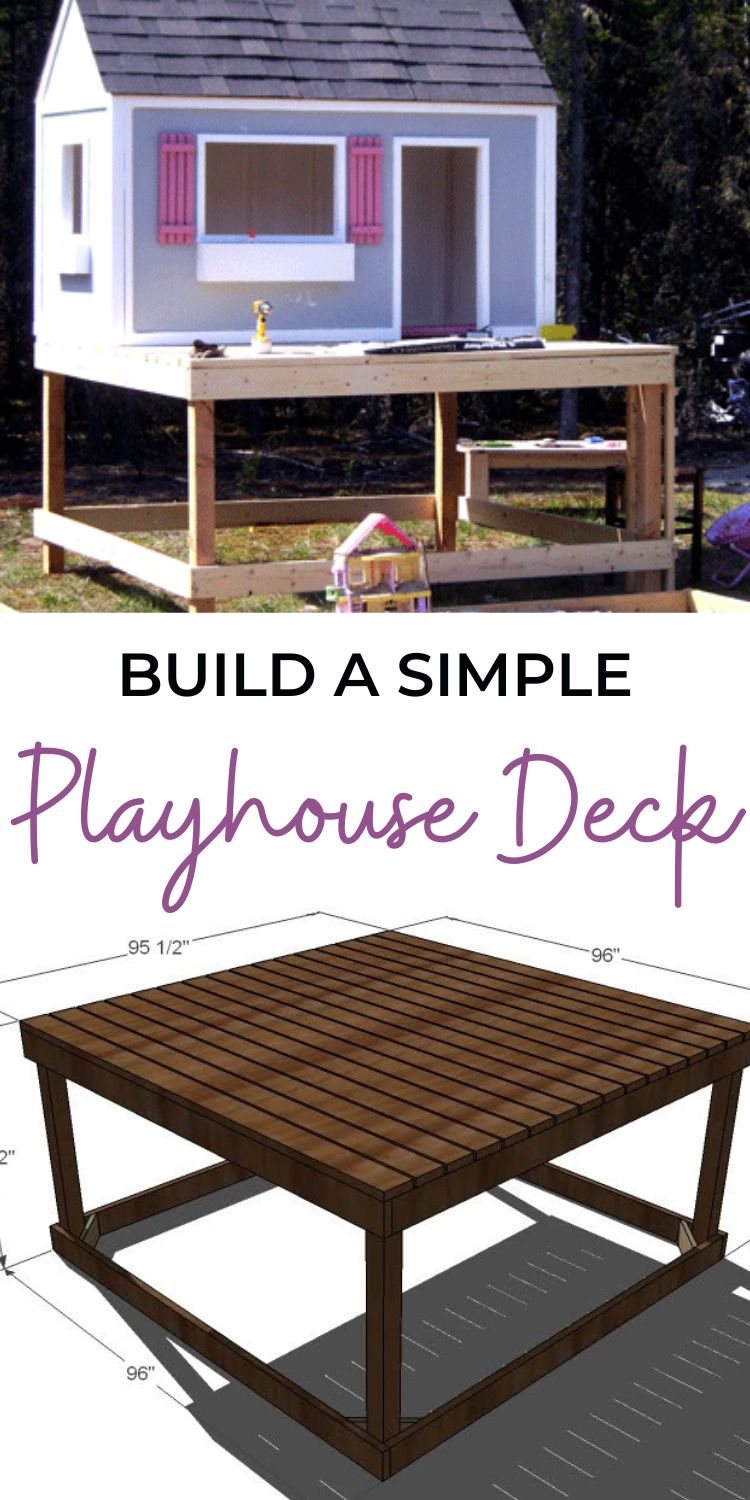
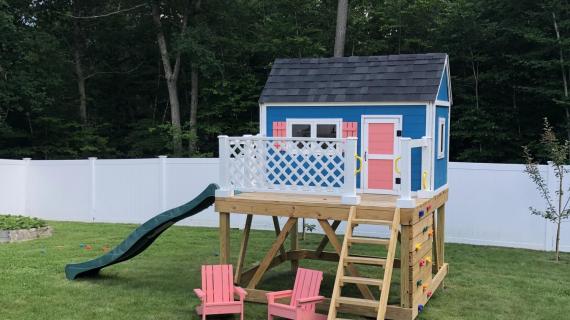
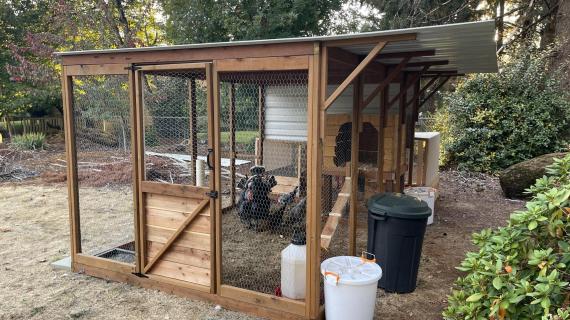
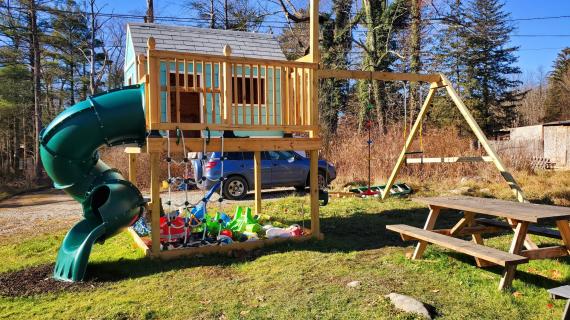
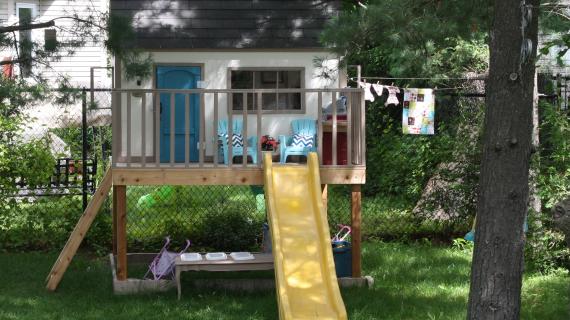
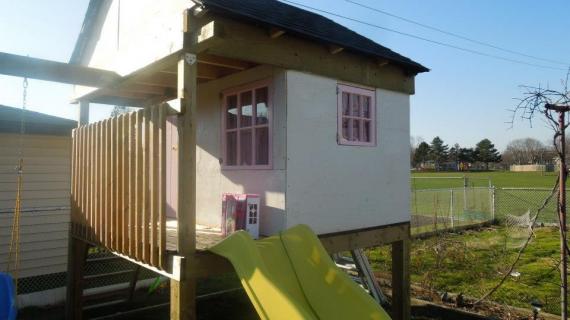
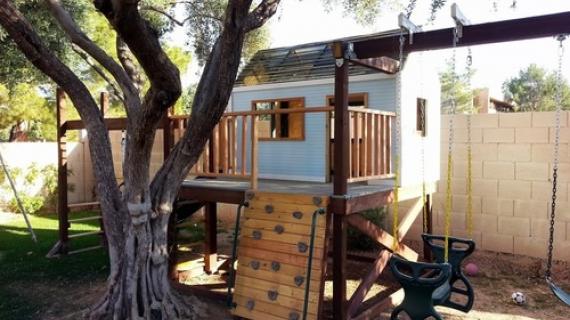
This playhouse deck uses standard 2x6 boards and minimizes scraps. Four feet off the ground, there is just enough clearance underneath to store toys under! Build a playhouse on top.
Pin For Later!
Preparation
- 2 – 4×4 Posts 8′ Long (3 if you are using the swingset option)
- 29 – 2×6 Boards, 8′ Long (8 of these can be stud length 92 5/8″ if stud length is cheaper)
- 4 - 2x4 @ 8 feet long (use for cross bracing)
- 2-1/2″ Exterior Self Tapping Deck Screws
- 2″ Exterior Self Tapping Deck Screws
- Outdoor Paint or Stain
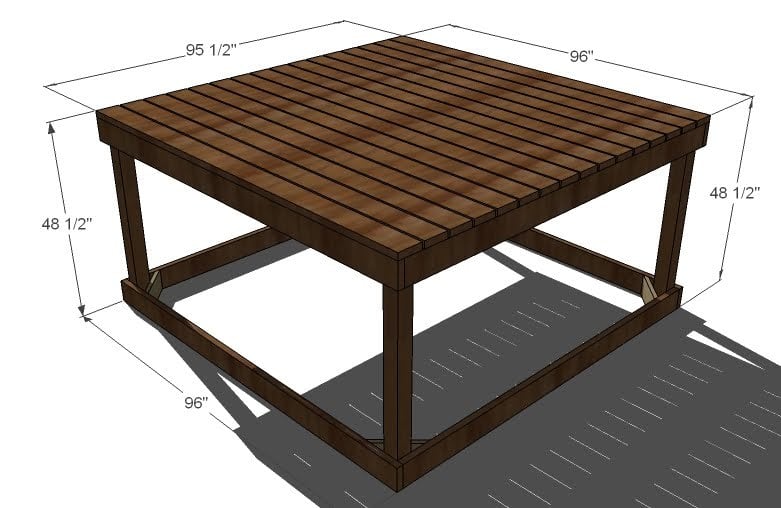
- 4 – 4×4 Posts @ 47″ (OR 2 @ 47″ and 2 @ 96″ for the swingset option)
- 8 – 2×6 @ 92 1/2″ (Shorter Sides)
- 4 – 2×6 @ 96″ (Longer Sides)
- 8 – 2×6 @ 12″ (Diagonal Supports, both ends mitered down 45 degrees)
- 16 – 2×6 @ 96″ (Deck Boards)


Build at your own risk. Work on a clean level surface. Choose a location that is level and dry to avoid water damage. Check for level after each step. Check for square after each step. Predrill all screw holes. Use necessary safety equipment and precautions.
Instructions
Step 1
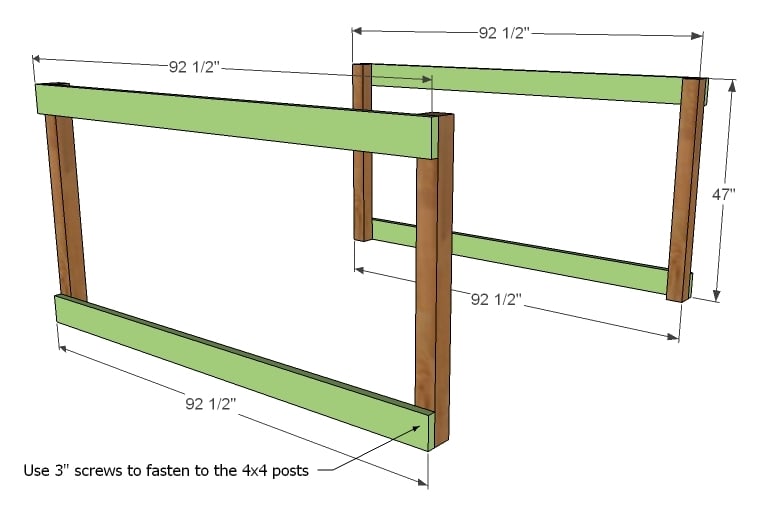
Sides { Part 1 } Lay the 4×4 posts flat and attach the posts as shown above to the sides. Use 3″ screws. Also note that if you are building the swing arm, ONE of each of the posts on each side will be 96″ long.
Step 2
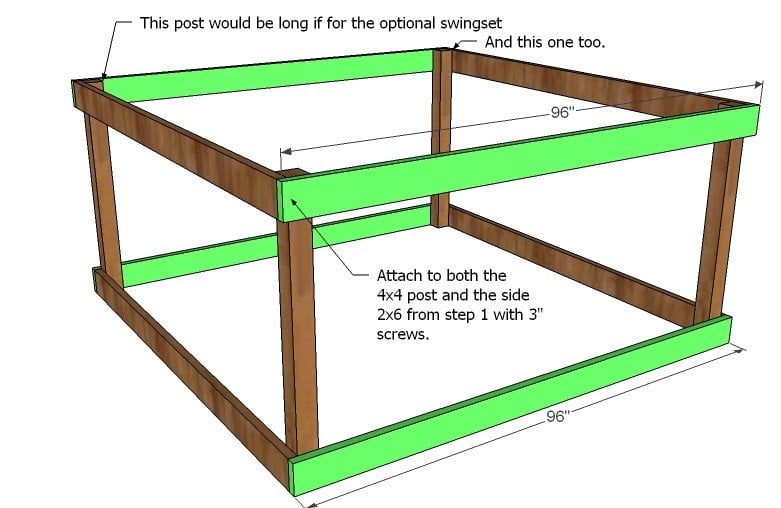
Sides { Part 2 } Now attach the remaining sides to the posts and sides as shown above. Use 3″ screws. Level the frame and adjust for square. Trust me, it will be a miracle if it’s square without adjustment.
Step 3

Diagonal Supports With the box nice and square and level, fasten the diagonal supports to each corner as shown above. This should stiffen up the corners considerably.
Step 4

Joists Mark out all of your joists on the sides, (the long sides) as shown above. Then screw the joists to the sides as shown above. Use 3″ screws.
Step 5
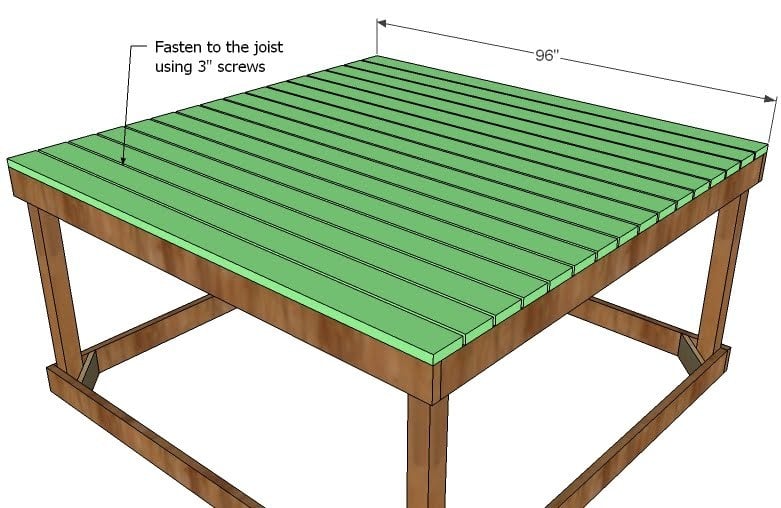
Step 6
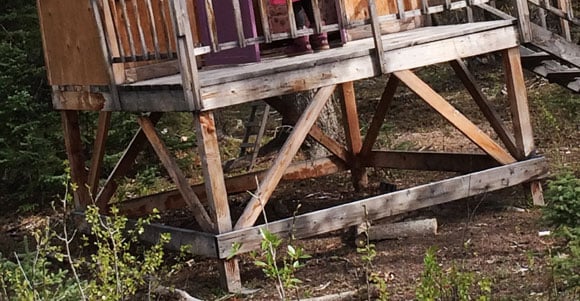
Cross brace the base with 2x4s as shown in diagram, attaching with at screws into the framing.


Comments
Vina
Wed, 05/08/2013 - 19:53
Railing
I have made the deck but not sure how to add railings as there is no post. How can I add a post to the deck so the rails will be sturdy? Any info is appreciated.
By the way I am now addicted to dyi projects all because you make it so easy for us to follow. Thank you very very much for this.
dogmelissa
Sat, 08/15/2015 - 09:54
railing
I'm sure you've figured this out, but in case anyone else is reading it, you could add a railing this way: http://ana-white.com/2013/07/plans/wood-handrail-plans
Alternately, leave the posts longer, as if for the swing beam (mentioned a couple of times).
dogmelissa
Sat, 08/15/2015 - 07:29
Longer deck?
Help! I want to build this with a longer deck, so there's some deck beside the playhouse. The total length of the platform will be 10' long. In the exact orientation shown, the extra 2' will be to the left end of the house/platform. Can I run the joists in that 10' direction, cantilievered 2' over a dropped beam? Will I need to double the end joist on the other end? Are 2x6 joists still enough? Thanks for the help!
GusBank
Sun, 01/24/2016 - 13:39
Elevated playhouse - foundation
Hello,
The area I have this playhouse isn't level. Could I use concrete DeckBlocks to hold the posts and, cut the posts in different lengths to level the upper deck? What should I do to prepare the ground for the concrete blocks?
thank you
Kliptik81
Tue, 05/21/2019 - 11:05
nicely done
nicely done
eegad1973
Wed, 05/27/2020 - 21:08
Increasing hight of platform safe or solid enough for older kids
HI, your site is amazing. I was looking to build something like this (newbie), but just encountered issues with tree routes so I had to abandon setting the posts in concrete. Do you think this structure would be stable enough if it is not set in concrete. I want it to be at least 6 feet off the ground and about 8 x 8 in size (plus a fort on top). The fort would also be about 6 feet high (7x6 structure approx). I want it near our trees just not attached to them. It is for older kids. It would save a lot of headaches if there was a way to build it without digging post holes!!! Thanks for any advice you can give!
In reply to Increasing hight of platform safe or solid enough for older kids by eegad1973
eegad1973
Wed, 05/27/2020 - 21:09
Sorry missed something
We already bought 6 by 6 posts, and 2 x8 joists, fyi
woodrow76
Mon, 03/22/2021 - 10:31
Hello, Question on the…
Hello,
Question on the simple playhouse deck, will 3 inch screws hold the deck? I just want to be sure that they would work, with a playhouse and kids on it. I was thinking maybe something like, carriage bolts to be used to where the 2x6s and 4x4s meet up? If so, what size carriage bolts, would 3/8 inch by 6 inches in length work?
Thanks.
learning@home
Mon, 04/19/2021 - 10:35
In the plans it talks about…
In the plans it talks about 3" screws, but on the parts list you list 2 1/2" and 2" screws. I am assuming the 2 1/2" are actually meant to be 3"?
Thank you for your time and these plans!