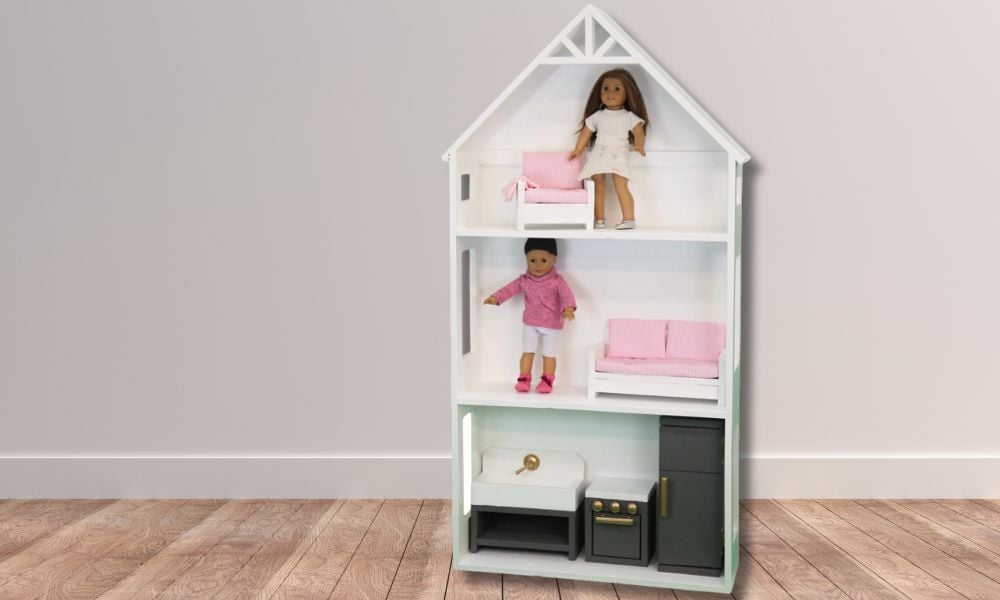
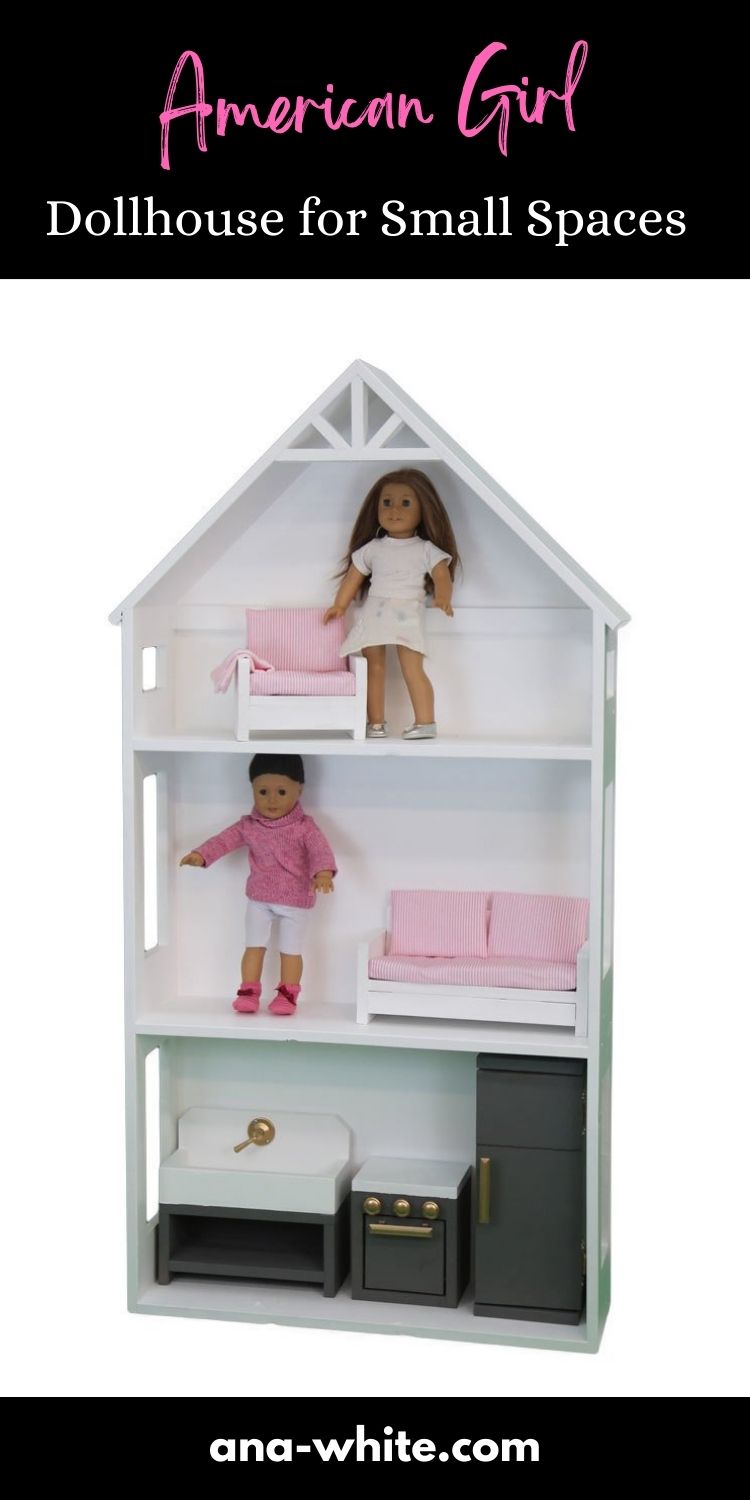
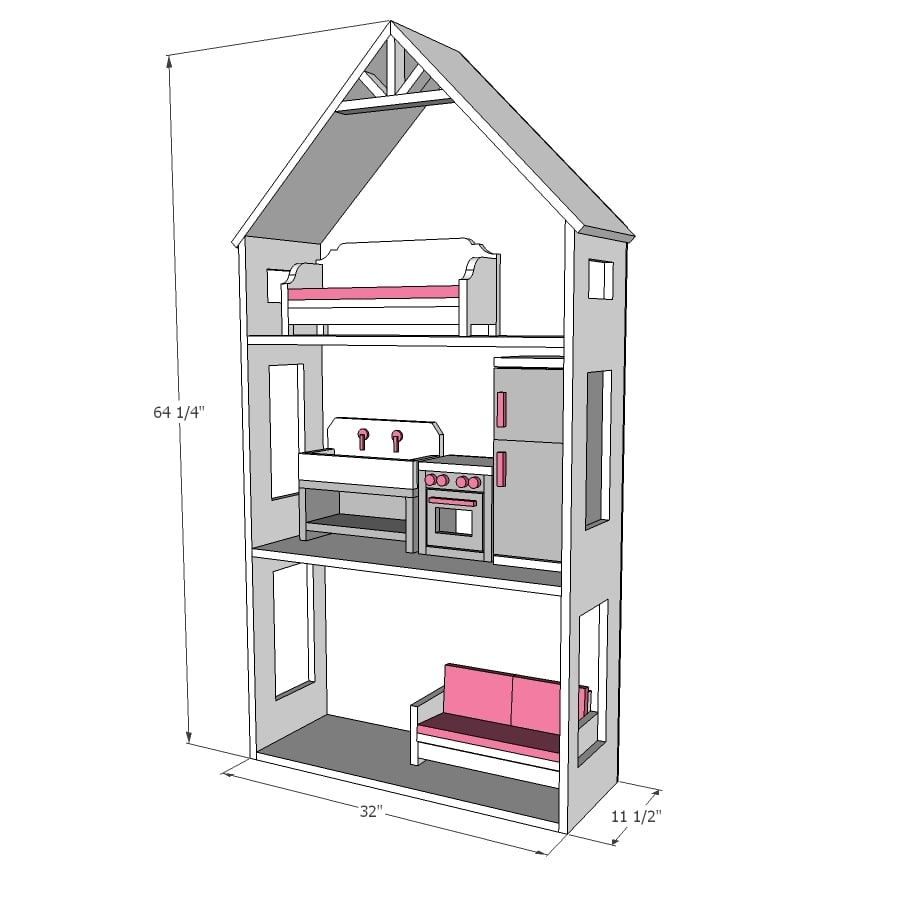
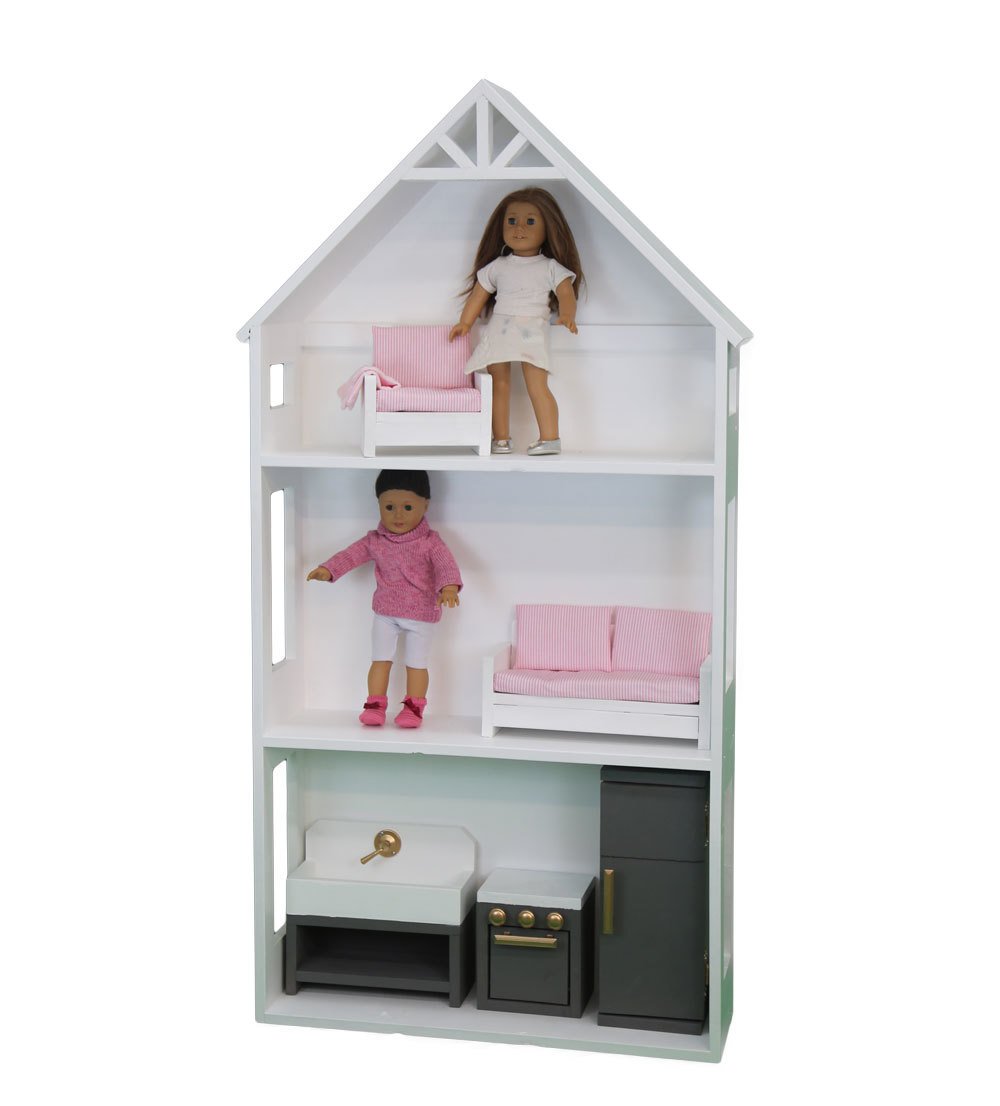
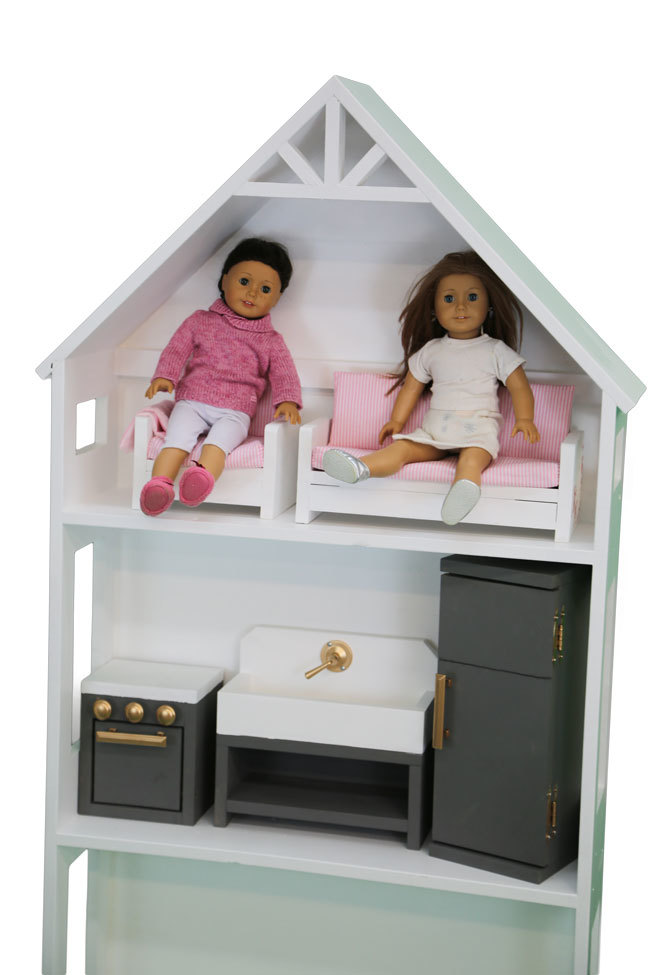
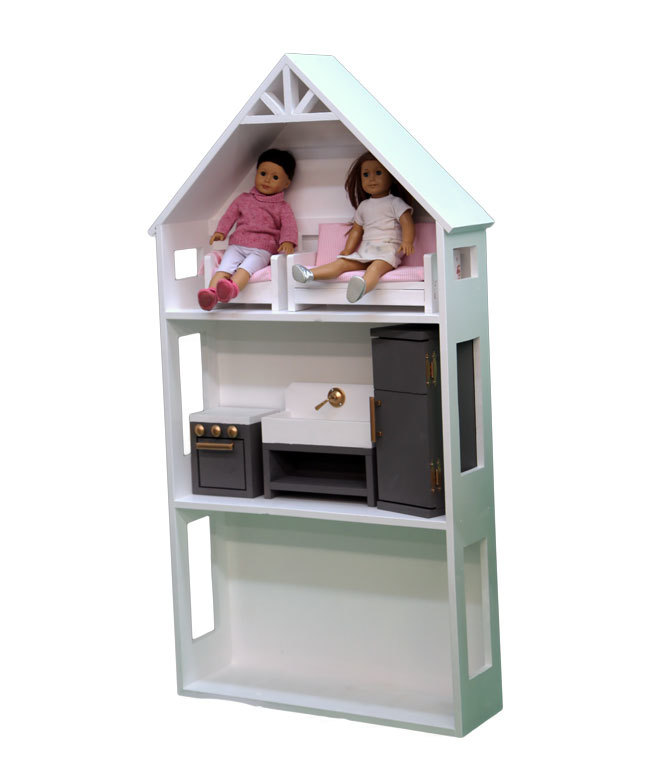
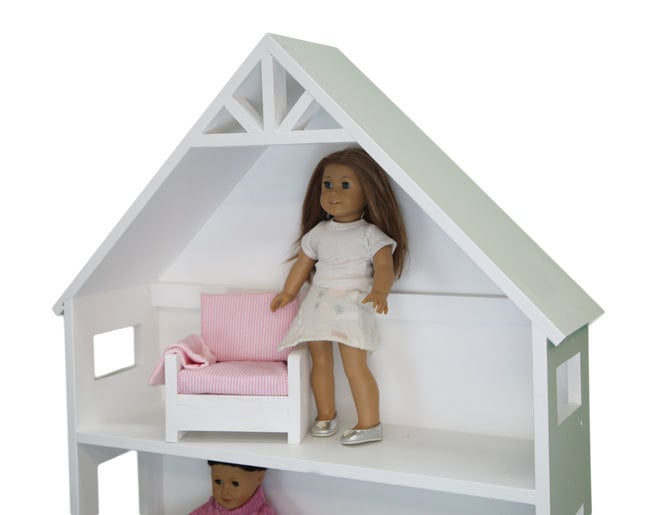
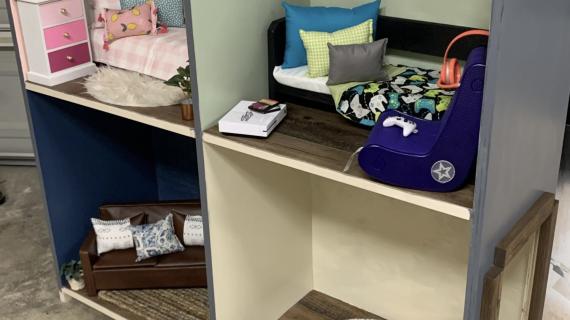
We love American Girl dollhouses but they can be SO big. If you have a small space, here's an alternative - our compact American Girl dollhouse is about the size of a bookshelf (and you can use it as a bookshelf later!) but still fits all the furniture. Works with any 18 doll including My Life and Our Generation dolls.
This is an easy to build beginner friendly woodworking plan, using off the shelf 1x12 boards, with full diagrams, shopping and cut list.
Pin For Later!

Preparation
- 2 - 1x12 @ 6 feet long (for sides and roof)
- 1 - 1x12 @ 8 feet long (for floors or shelves)
- About 30" of 1x2 boards for the truss detail
- 1 4x8 sheet of 1/4" thick plywood, mdf, beadboard or other backing material
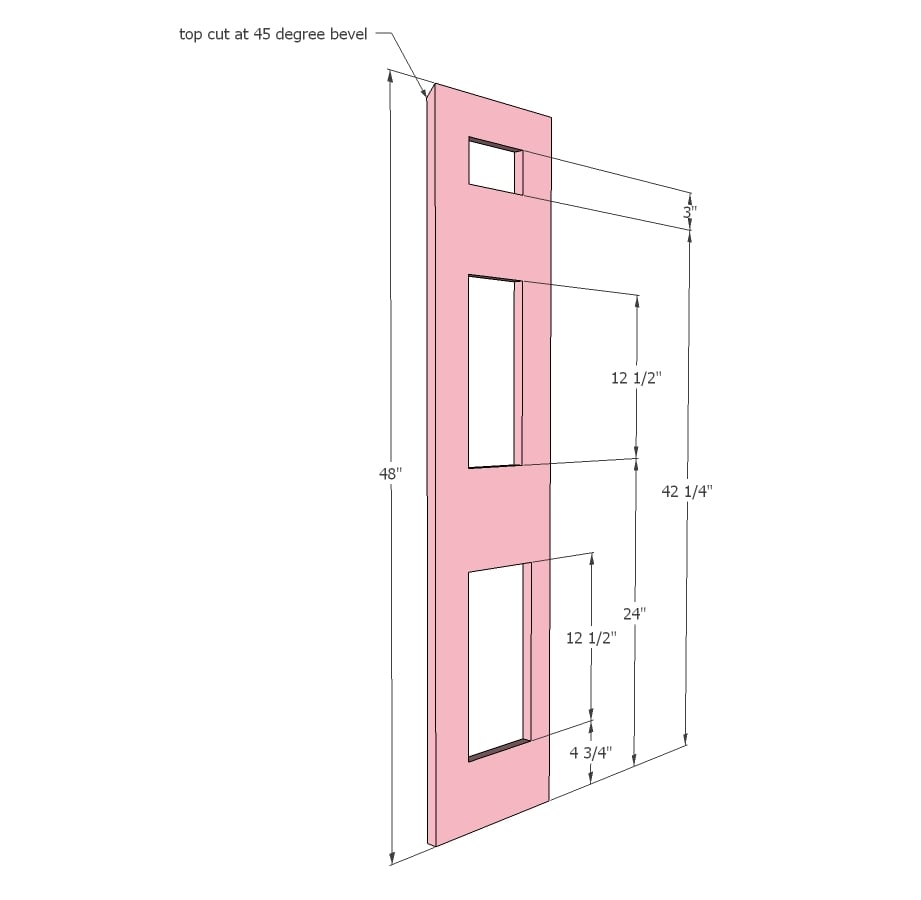
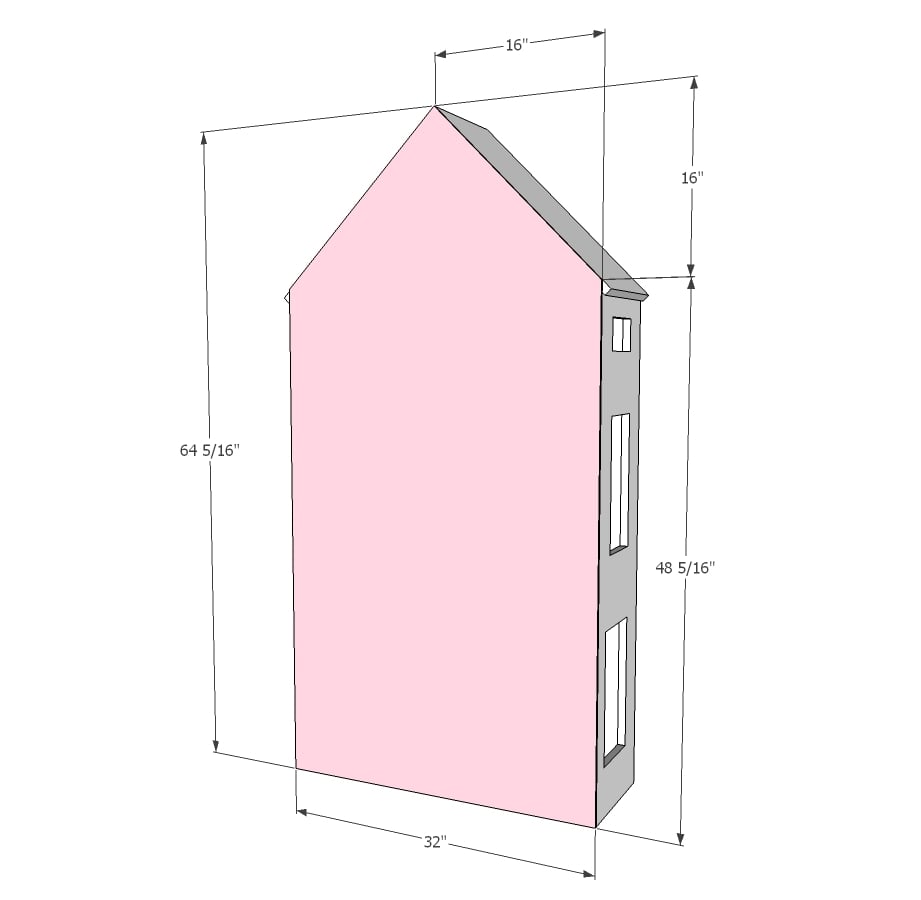
- 2 - 1x12 @ 48" long, one end cut at 45 degrees off square, longest point measurement (cut from 6' long 1x12)
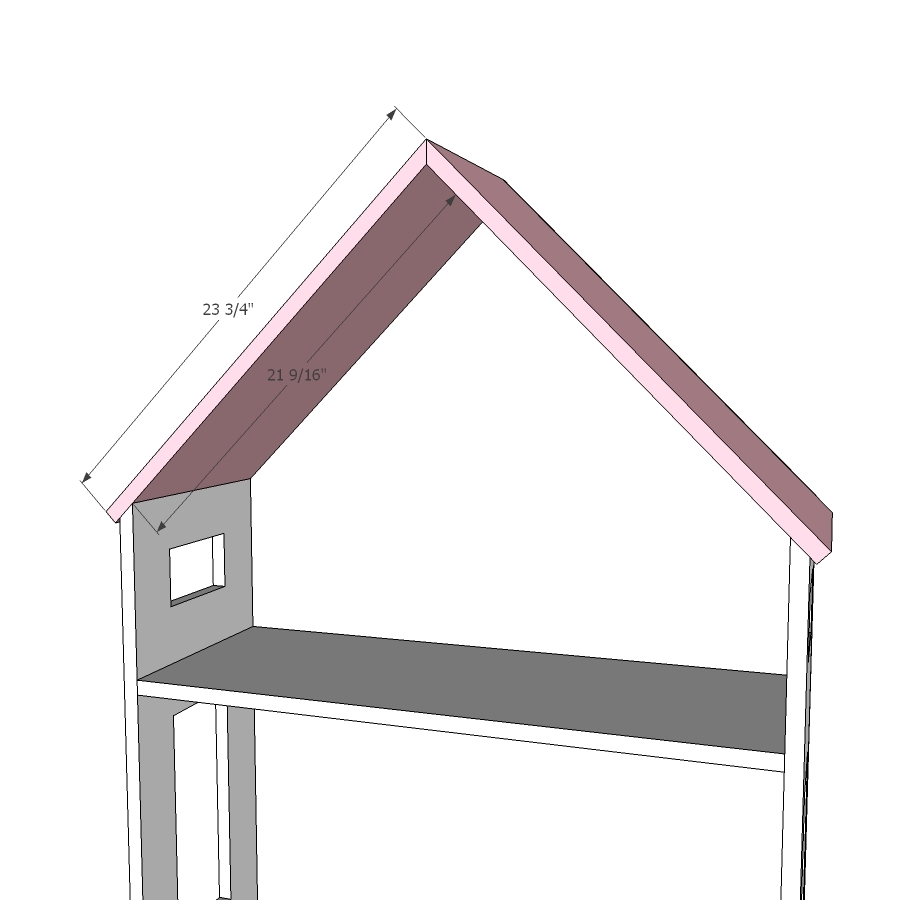
- 2 - 1x12 @ 23-3/4" long, one end cut at 45 degrees, longest point measurement (use scrap from 48" long cut, you don't even need to cut it, it can be longer as this is the roof and will just increase overhang)
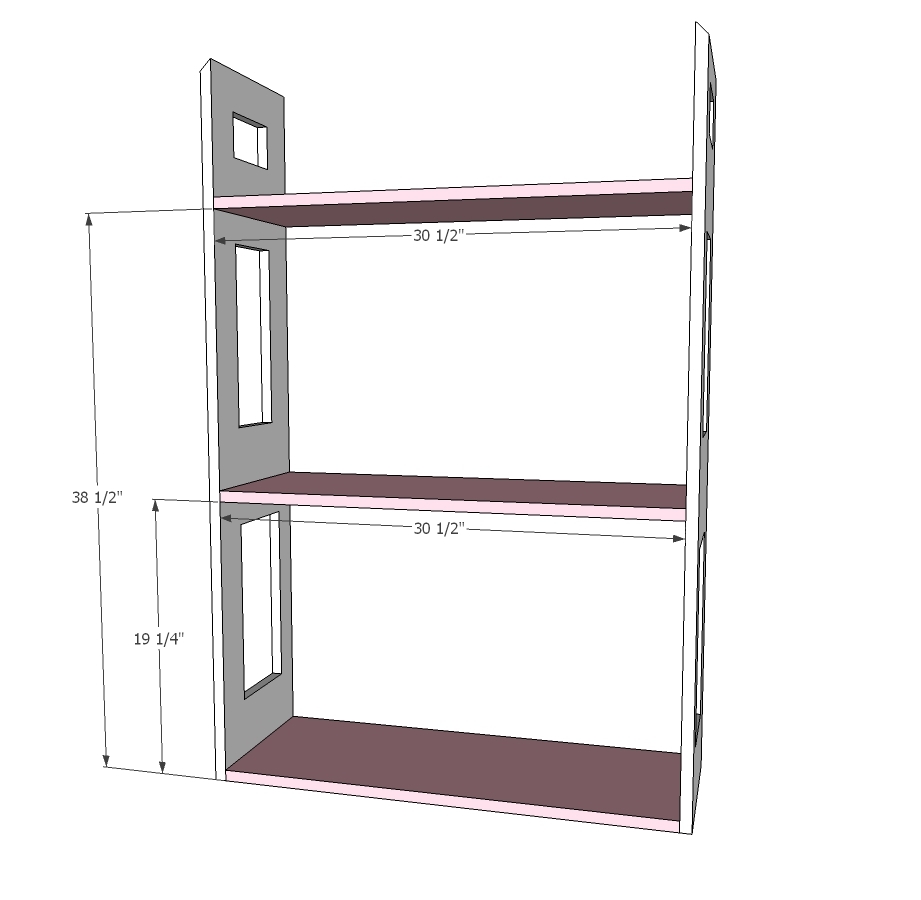
- 3 - 1x12 @ 30-1/2" - cut all of these from the 8 foot 1x12 board
- 1/4" plywood @ 32" x 64-5/16"
TRUSS DETAIL
- 1 - 1x2 @ 11" - both ends cut at 45 degree BEVEL, long point to long point mesurement
- 1 - 1x2 @ 4-3/4" - dogeared to a 45 degree point
- 2 - 1x2 @ 3-1/8" - one end cut at 45 degrees, longest point measurement
Please read through the entire plan and all comments before beginning this project. It is also advisable to review the Getting Started Section. Take all necessary precautions to build safely and smartly. Work on a clean level surface, free of imperfections or debris. Always use straight boards. Check for square after each step. Always predrill holes before attaching with screws. Use glue with finish nails for a stronger hold. Wipe excess glue off bare wood for stained projects, as dried glue will not take stain. Be safe, have fun, and ask for help if you need it. Good luck!
Instructions
Step 1
Step 2
Drill three 3/4" pocket holes on each of the shelves. Attach shelves to the sides with 1-1/4" pocket holes and wood glue. NOTE: If using pocket holes to attach roof (and you drilled pocket holes on sides as suggested in step 1) do not attach the third floor until after you complete step 3 or your drill will not be able to fit.
Step 3
It is always recommended to apply a test coat on a hidden area or scrap piece to ensure color evenness and adhesion. Use primer or wood conditioner as needed.








Comments
jstagliareni
Fri, 01/08/2016 - 05:25
AG Kitchen
Ana, the kitchen appliances you have in the doll house look fantastic, have you added those plans to the website yet? I searched and couldn't find them. My daughter got Grace for Christmas and is already asking for a kitchen for her birthday so she and Grace can cook. Thank you
In reply to AG Kitchen by jstagliareni
Ana White
Tue, 01/12/2016 - 12:00
http://www.ana-white.com/2016
http://www.ana-white.com/2016/01/free_plans/american-girl-or-18-doll-ki…
LindseyT
Wed, 01/20/2016 - 11:05
American girl house
Thank you for these plans, Ana! I contemplated the larger house at Christmas but was a bit intimidated by the size. This smaller version is perfect! Planning on adding this to my weekend to do & gifting on valentines :)