
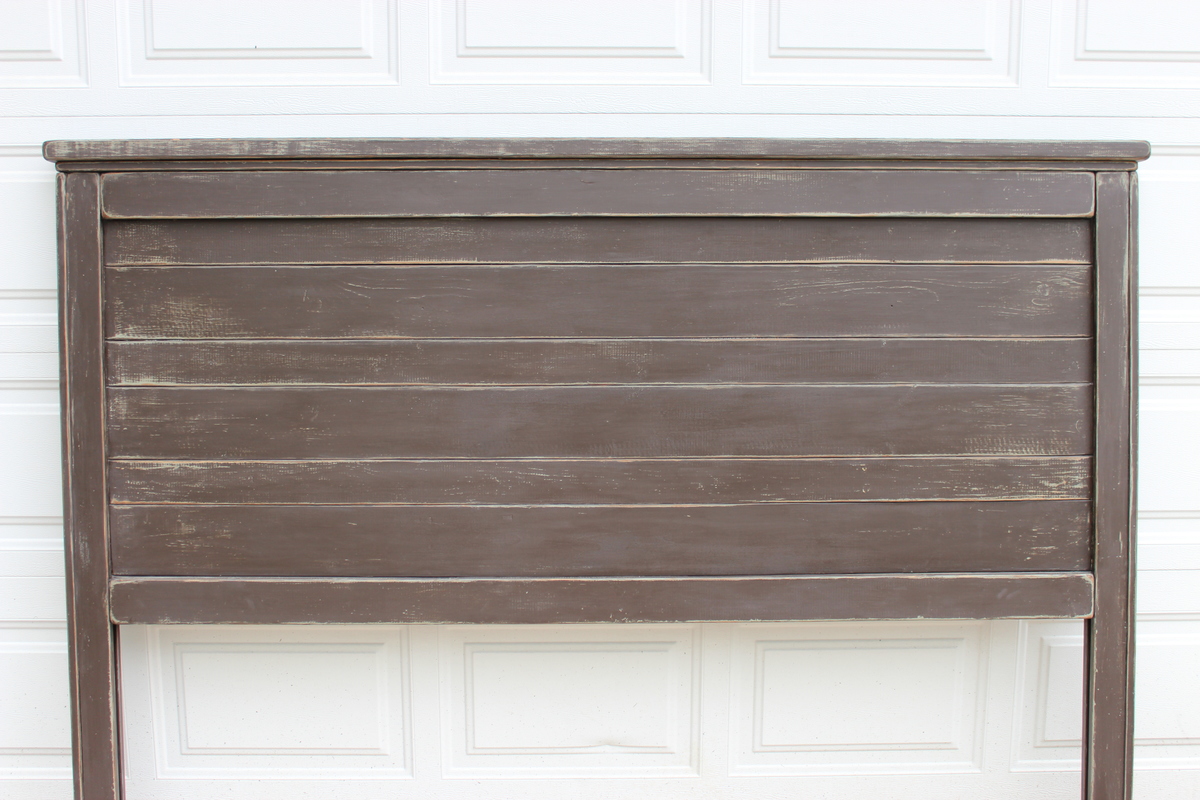
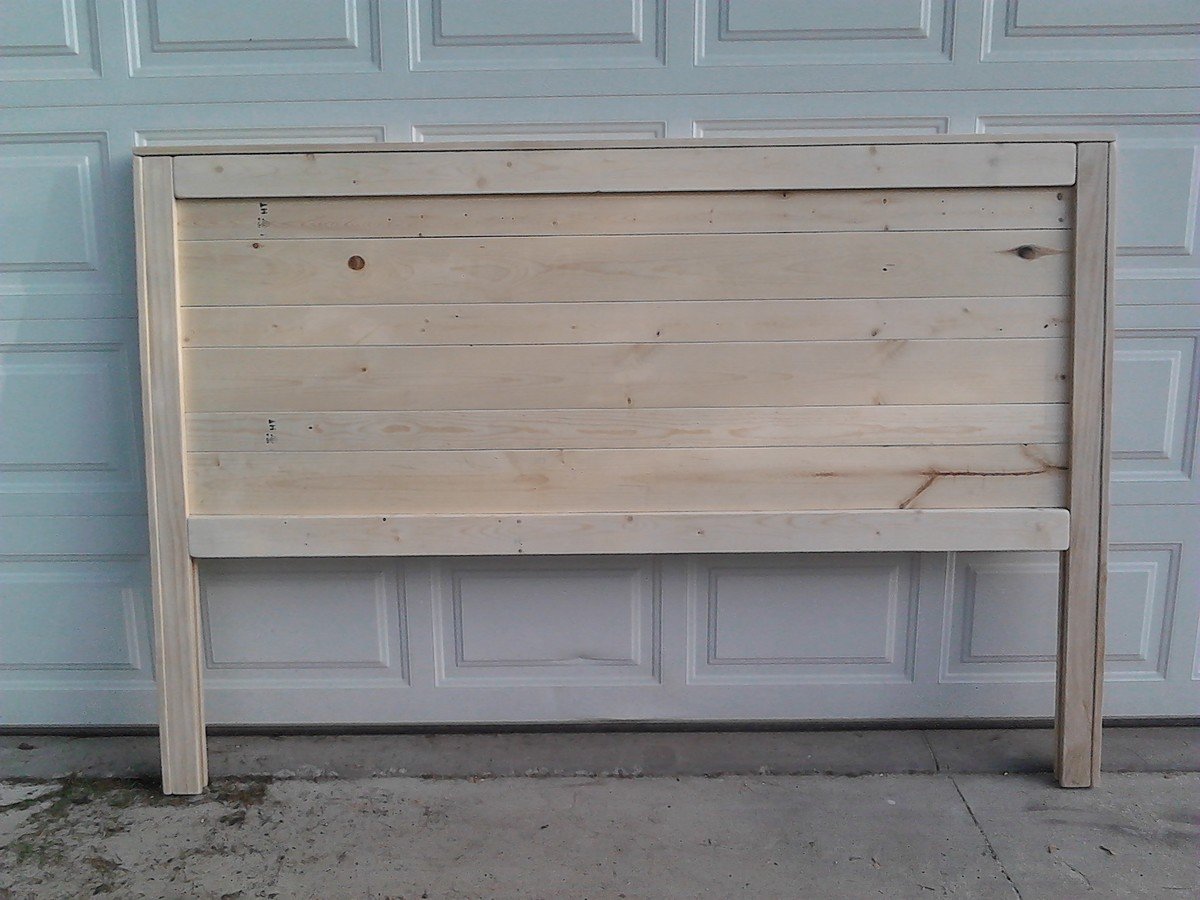
First project build!!! Plans were easy to follow. Built Memorial Day weekend. This is a very solid and heavy headboard with a lot of character. Bought all the wood at Home Depot. All grade 2 pine except for the 1x4's. They are only sold in select pine. I cut all the wood myself as I followed the plans in each step. Didn't want to make any mistakes being to short with cuts. I used wood glue and all nails for this project and it is sturdy!. I didn't really see in the plans where to use the kreg jig. Although I'm sure it was used in the back of the headboard where the boards "butt" together. Instead I put an extra board for support in the back which worked out really well.
Built from Plan(s)
Estimated Cost
$75.00
Estimated Time Investment
Weekend Project (10-20 Hours)
Finish Used
I used BEHR paint. I used a flat finish. Painting base color first in a very light earthy green and then on top of that a dark brown. I wanted a worn look to the headboard, so after paint all dry I sanded it. This brought out the first color from underneath as well as areas being taken right down to bare wood. I then stained it with a dark walnut finish followed by a soft matte finish poly. I did have to buy extension plates to attach to my bed frame because the legs of the headboard did not completely line with the holes of the frame. Easy fix. Then just drilled holes with 1/4 inch bit into legs and attached to frame with bolts.
Recommended Skill Level
Beginner
Comments
wjc129
Tue, 06/18/2013 - 07:52
Great job sanding and
Great job sanding and distressing .. looks great!