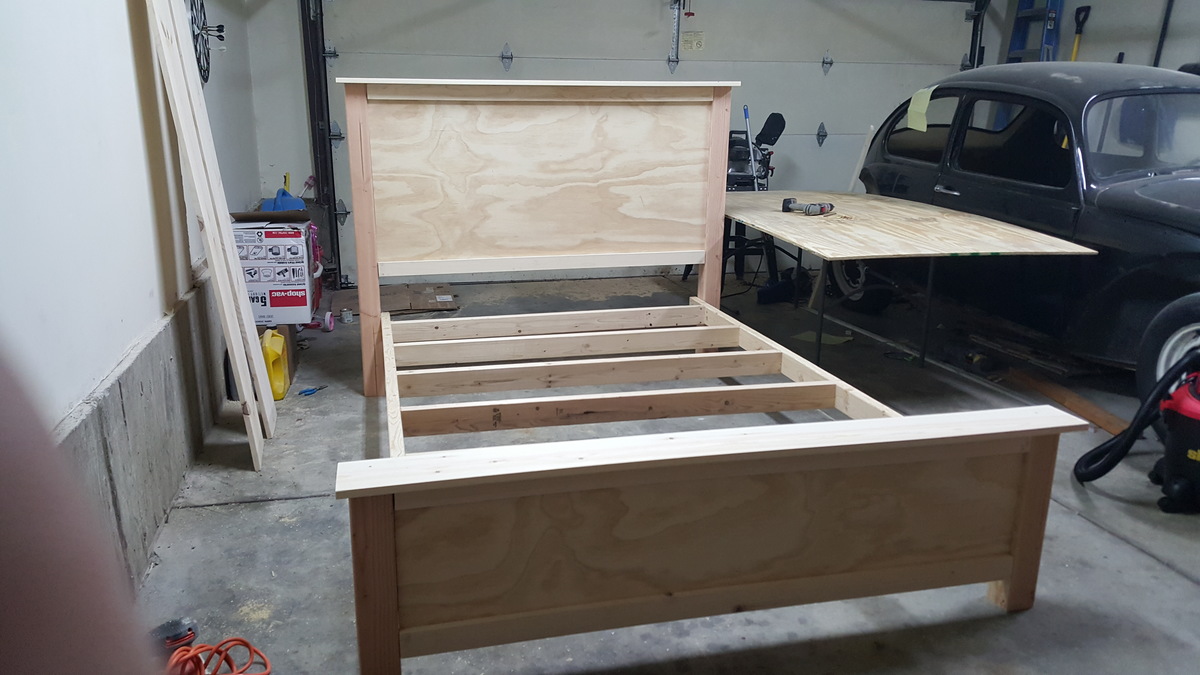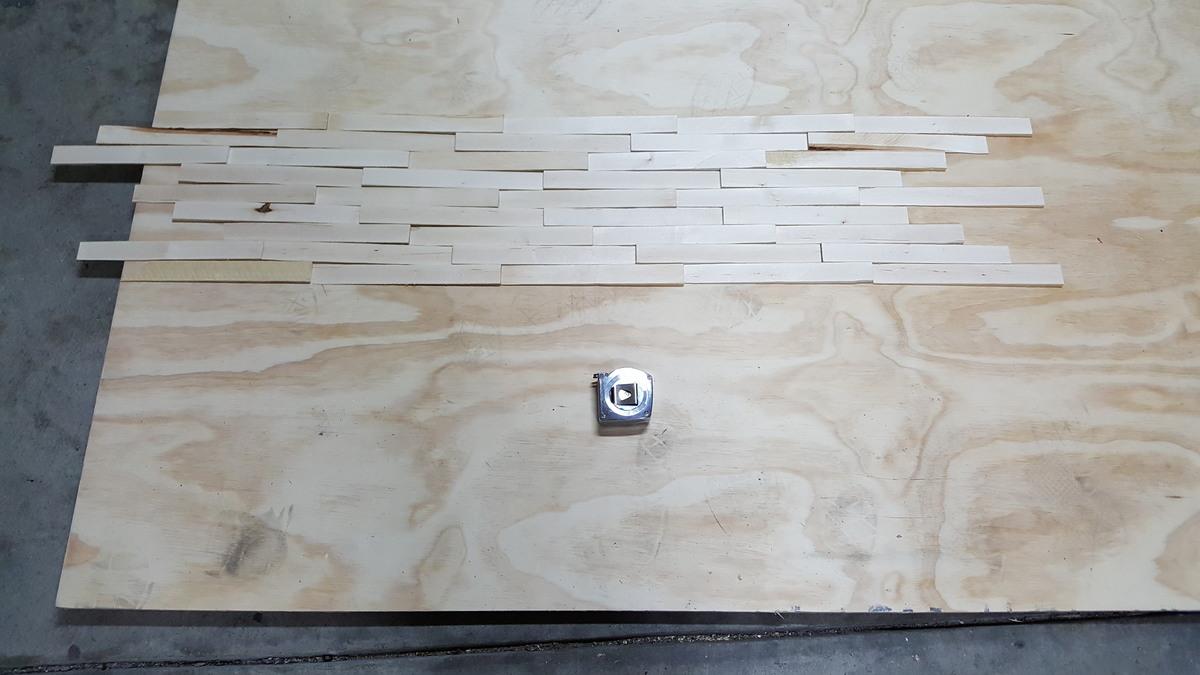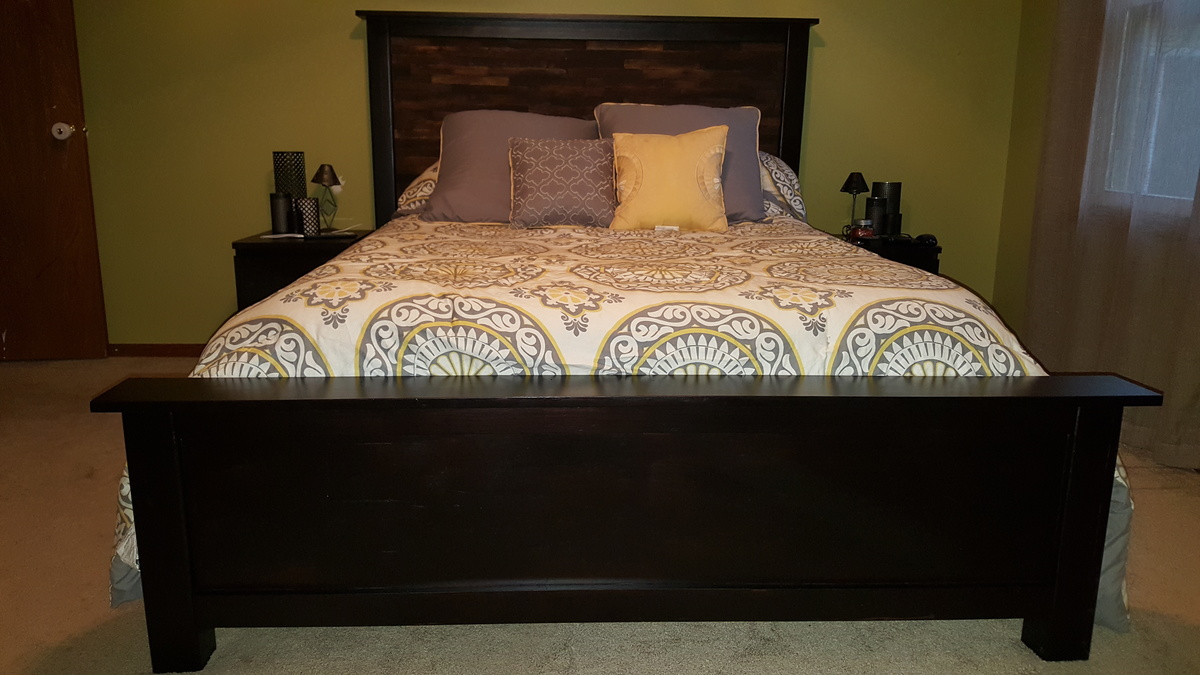
My take on this bed. My wife said she wanted me to build her a bed after I built the toddler helper tower for my daughter, also from this amazing site. And when your wife asks you to build her a bed, you build her a bed. It was a fun project aside from the shim work. It was very tedious but well worth it in the end. I made a few changes but not many and discovered a few tips along the way that might help someone else. In the pictures you can see a more detailed picture of how I layed the shims out. Staining before you attach the shims is a must. And I decided to stain the shims themselves before I attached them as well. I did that because I wanted a more "weathered" look to them and didn't want them all one uniform color. They each have one coat of stain. Just applied a little thicker to some.
As for the rest of the frame it has two coats of Minwax polyshades in Satin espresso. I'm curious to see how it holds up but so far I love the way it looks. So when I bought my 4x4's they had rounded corners. In retrospect I should have not made everything on the head and foot boards flush but instead pushed it back 1/4" or so that way theres not a gap where the rounded part meets the panel trim.
Back to the shims, after testing and debating with myself, I decided that attaching them with hot glue worked best for me. Wood glue curled the edges causing them not to sit flush. Nails would be too much of a pain as every hole would need to be filled. Hot glue seemed to do the trick and they feel solid. OK enough for me. Thanks Ana for the plans.