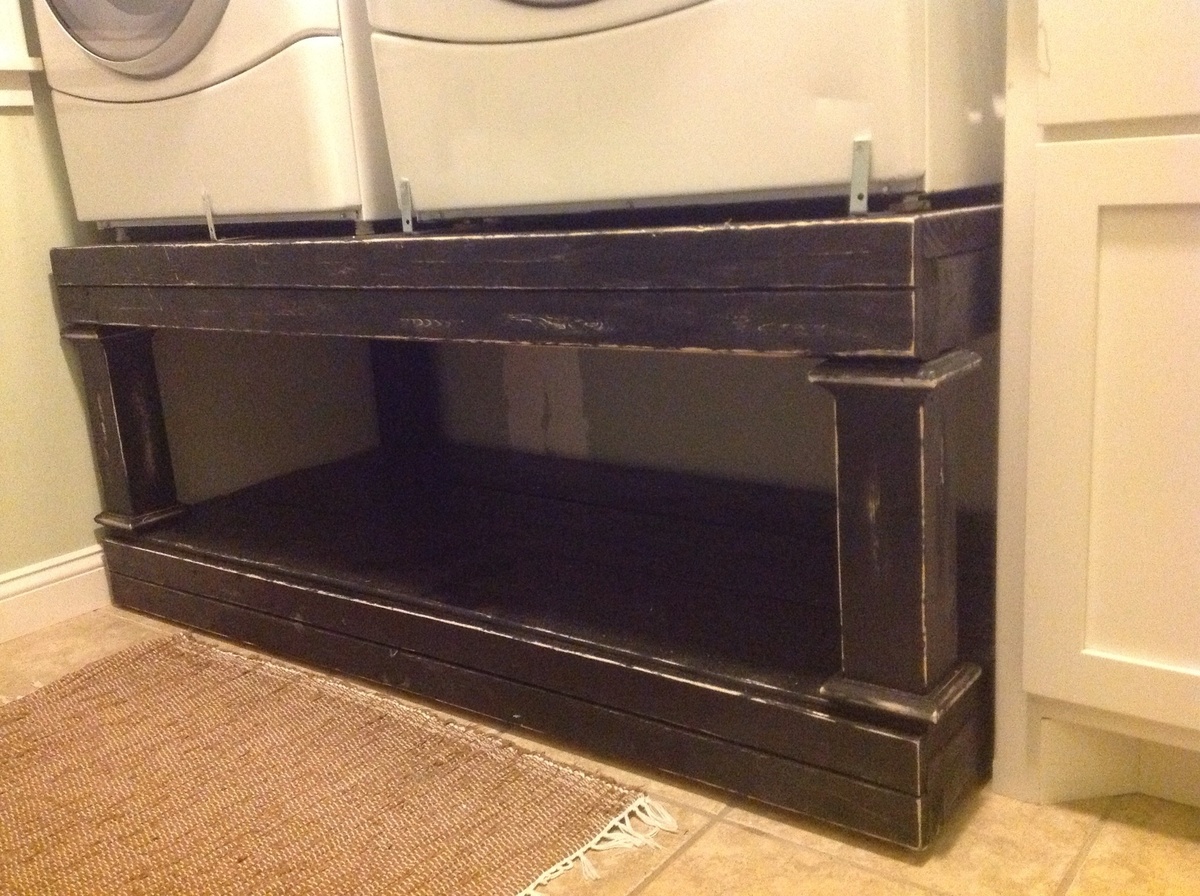
My wife has been dropping hints about this pedestal for a while so I decided to use my Christmas break to build it. Before making this, I measured the area I was using and decided 28"x58" was what I needed, the 60" would've been too big. I was also tempted to bring the width to 24" due to the ease in buying precut plywood at those measurements. But, the 28" is better for the width of the machines. I used 3 2"x10"s on the top because they were cheaper than buying 2 big sheets of plywood. I could either buy a 2' x 4' sheet or a huge one, and I would've needed 2 big ones for the dimensions of this pedestal. They made the pedestal very sturdy, and heavy. The boards also fit just perfectly with the width of 28". The trim on the front is from 2 1"x 3"s. I glued and used a nailer to tack them. Instead of the recommended 11" for the legs, I went 14" just to bring the washer/dryer to a more desireable height. I had some regrets while I was trying to heave the washer up there. But with 6 boards and a kitchen chair, I was able to get it up there. After I was completed, I realized the thing was a little wobbly because I failed to square it up while I was building the frame. I went to the local hardware store and bought some "feet" that screw into the bottom, kind of like anchor screws for a wall, and are adjustable. They were only a few bucks. In order too distress the front of the pedestal I used 80 grit sandpaper by hand. I thought I would want white underneath, but it turns out i like how the wood peeking through looks. I did read that if you want a different color underneath, you should paint it, then put candlewax on the spots that you want to peek through, then paint it with the next color. As a precaution, I screwed a few angle brackets in front of the machines. One thing that i didn't anticipate was the dryer vent. It was initially coming straight out of the wall into the dryer. When I had the dryer raised up, the pedestal was pressed up against the wall, and blocked the vent. So, I had to cut the drywall and add a tube to raise the vent up. Since we will be painting our laundry room soon, this wasn't too big of a problem.