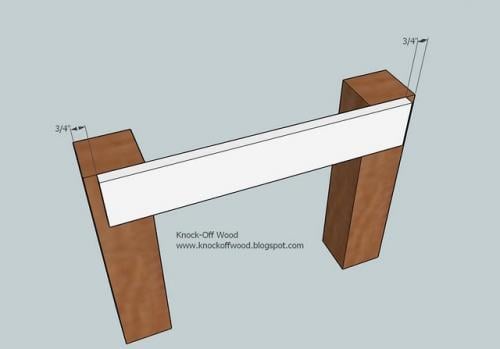
Tapered Wood Planter
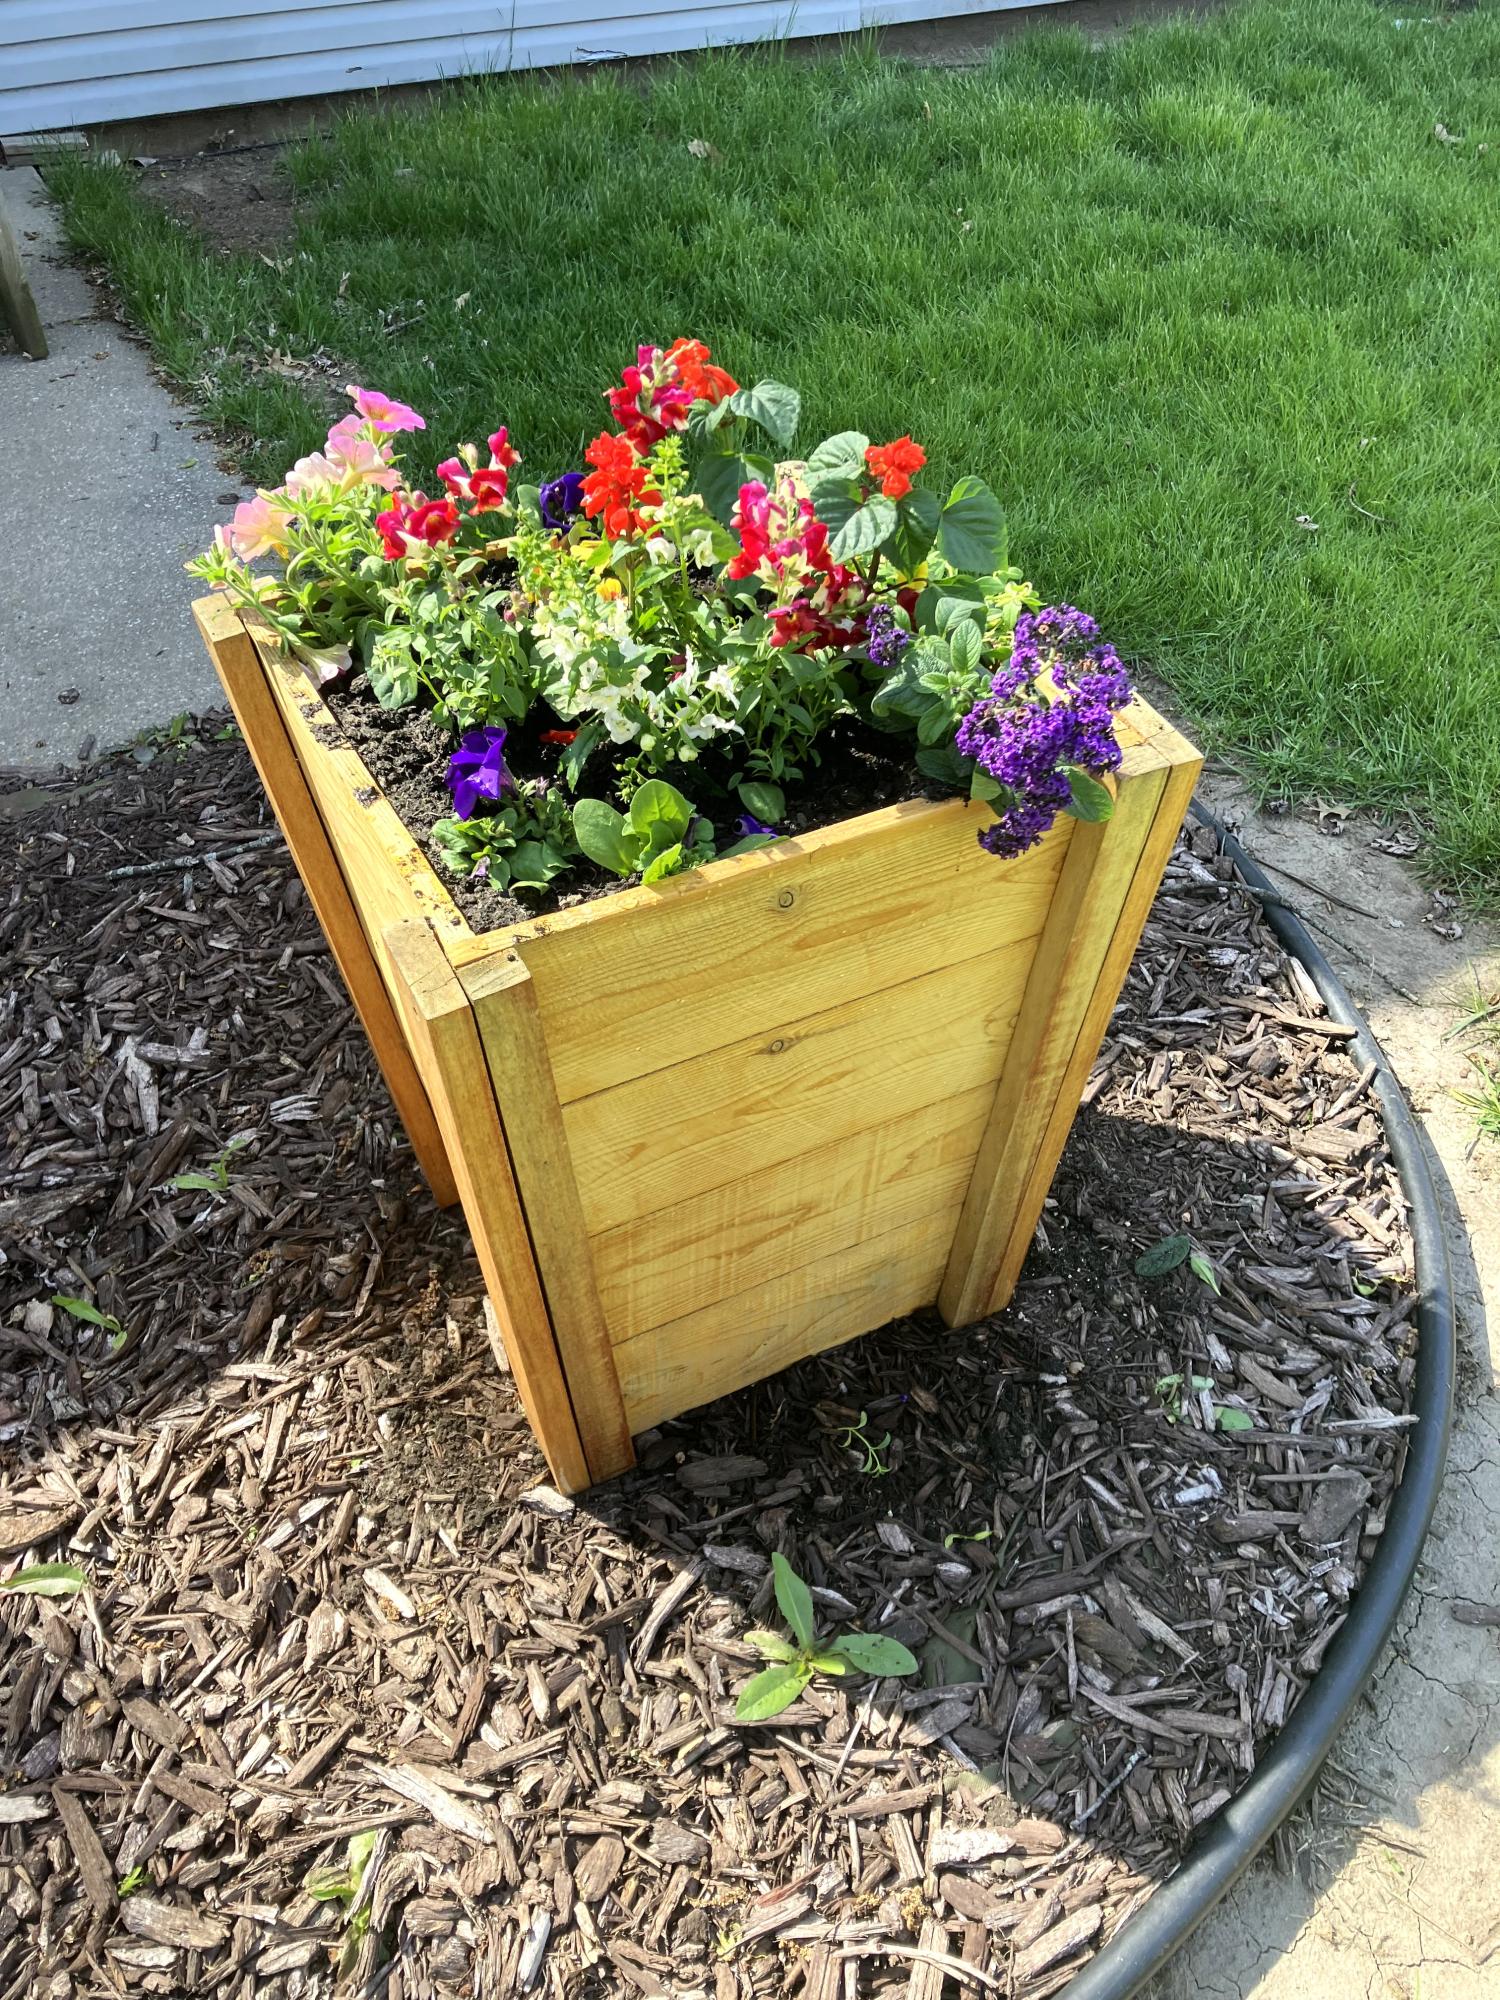
Made this for our patio area very fun build, my wife loves it so of course she wants another one! Back to the wood stove.
Blair K
Built from Plan(s)
Made this for our patio area very fun build, my wife loves it so of course she wants another one! Back to the wood stove.
Blair K
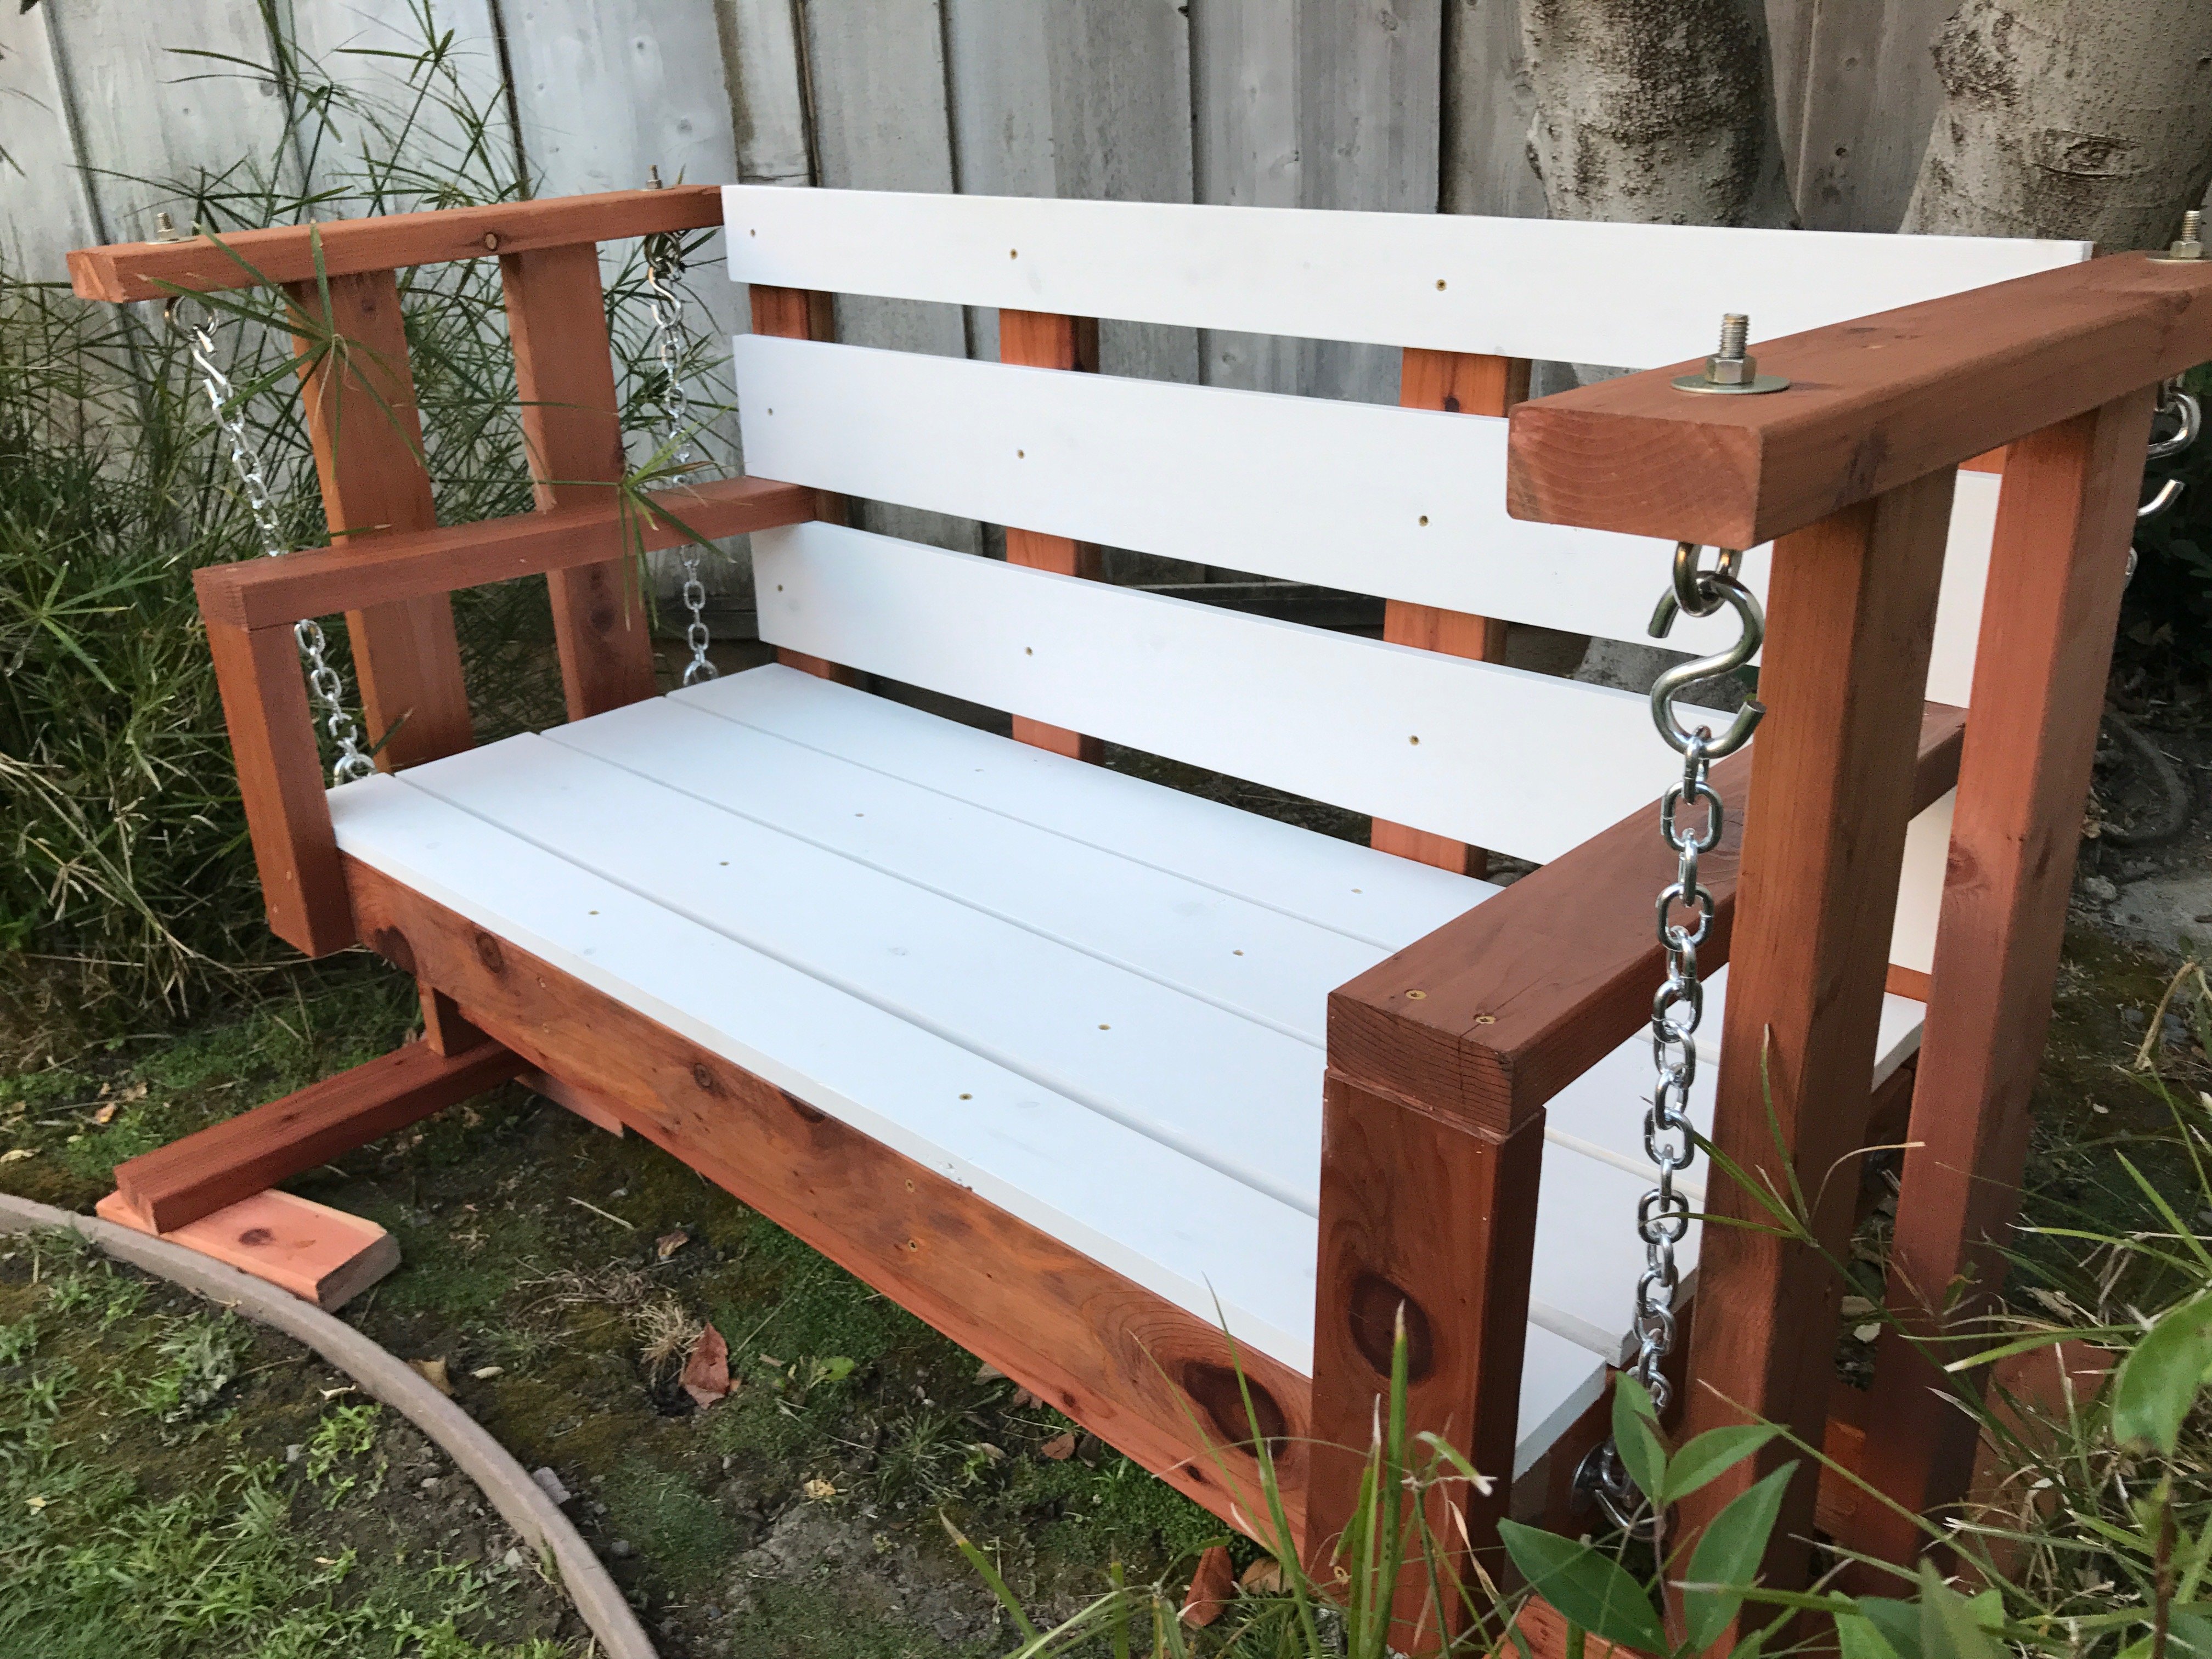
Built the porch swing and was inspired to build the glider frame by another "Brag Post" Looks great and fits perfectly in my back yard!
Fri, 02/18/2022 - 08:20
Are there any dimensions for the glider part? I have first year agriculture students building this, but we are unsure of the cut list for this. I am sure I can figure it out as the teacher, but with 20 students in the class, it would be better to be able to give them instructions to follow on paper. Thank you!!!
This project was fun to build with hubby said the shopping list and the cut list was perfect! Love all your designs! King bed is next!
Fri, 04/28/2023 - 09:15
Very well done, thank you for sharing your beautiful space and build!

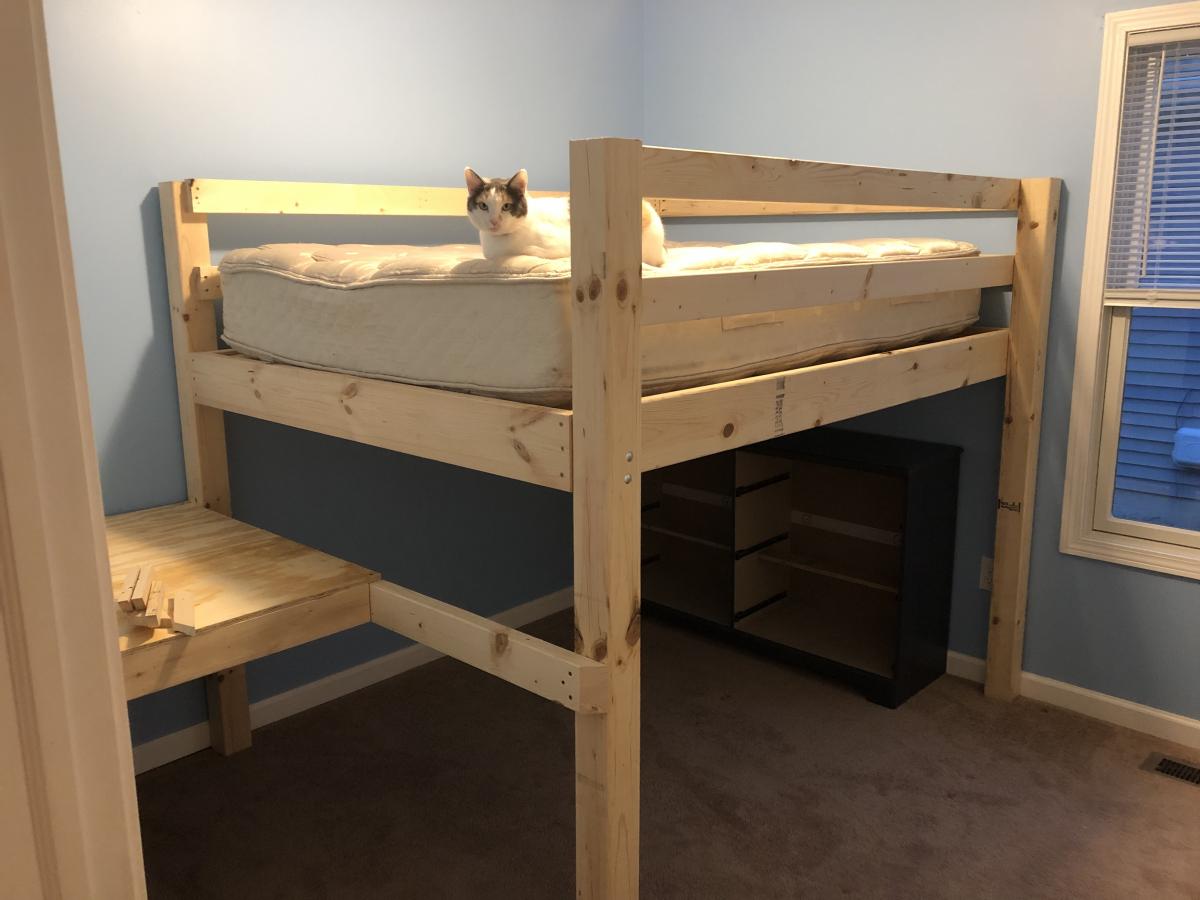
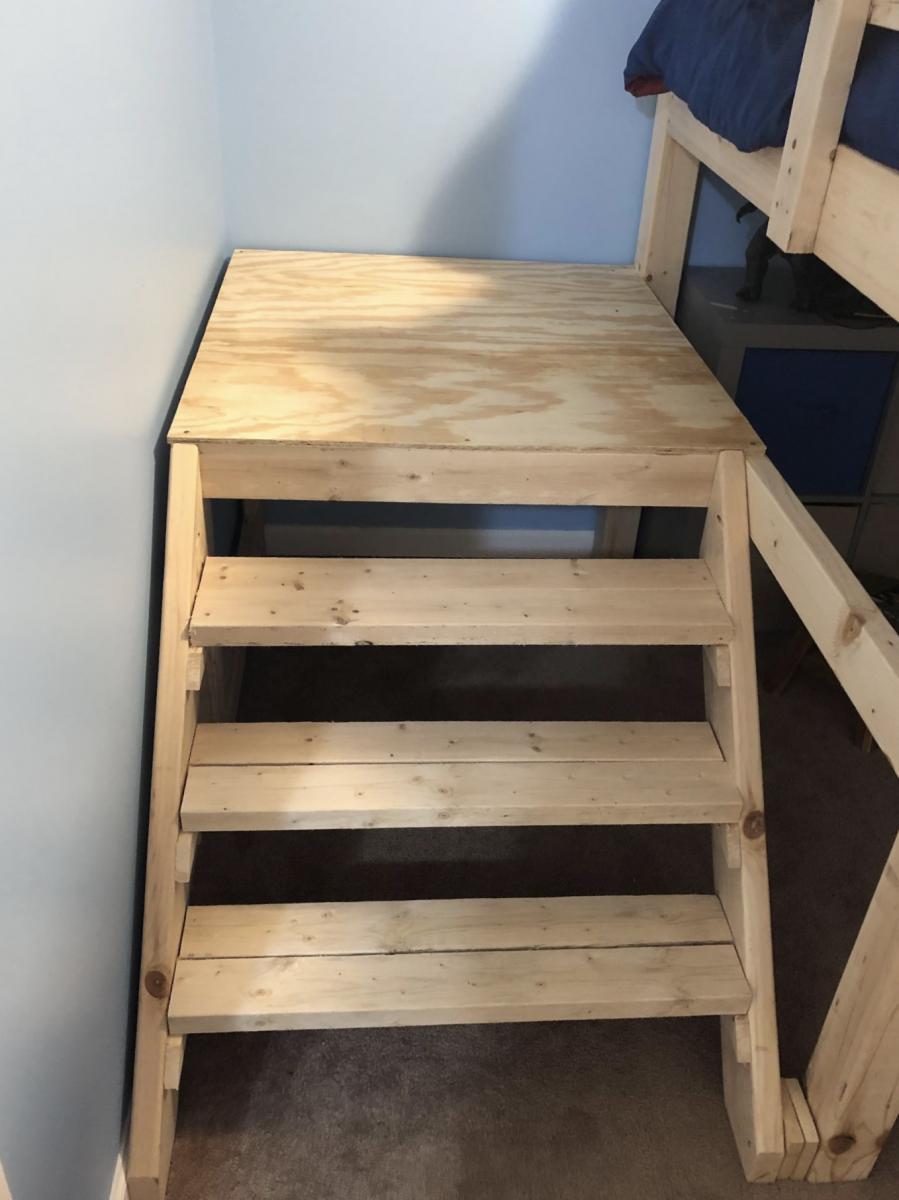
Built a full size loft bed for my kids but wanted something safer than having them climb up and down a ladder so used the Camp Loft Bed plans to add the platform and stairs. It is much easier for the kids. Going to finish by covering the platform and stairs with carpet.

Wed, 10/02/2019 - 09:51
I really like how the platform is only half way so the stairs are inset, this is very smart and good use of space.
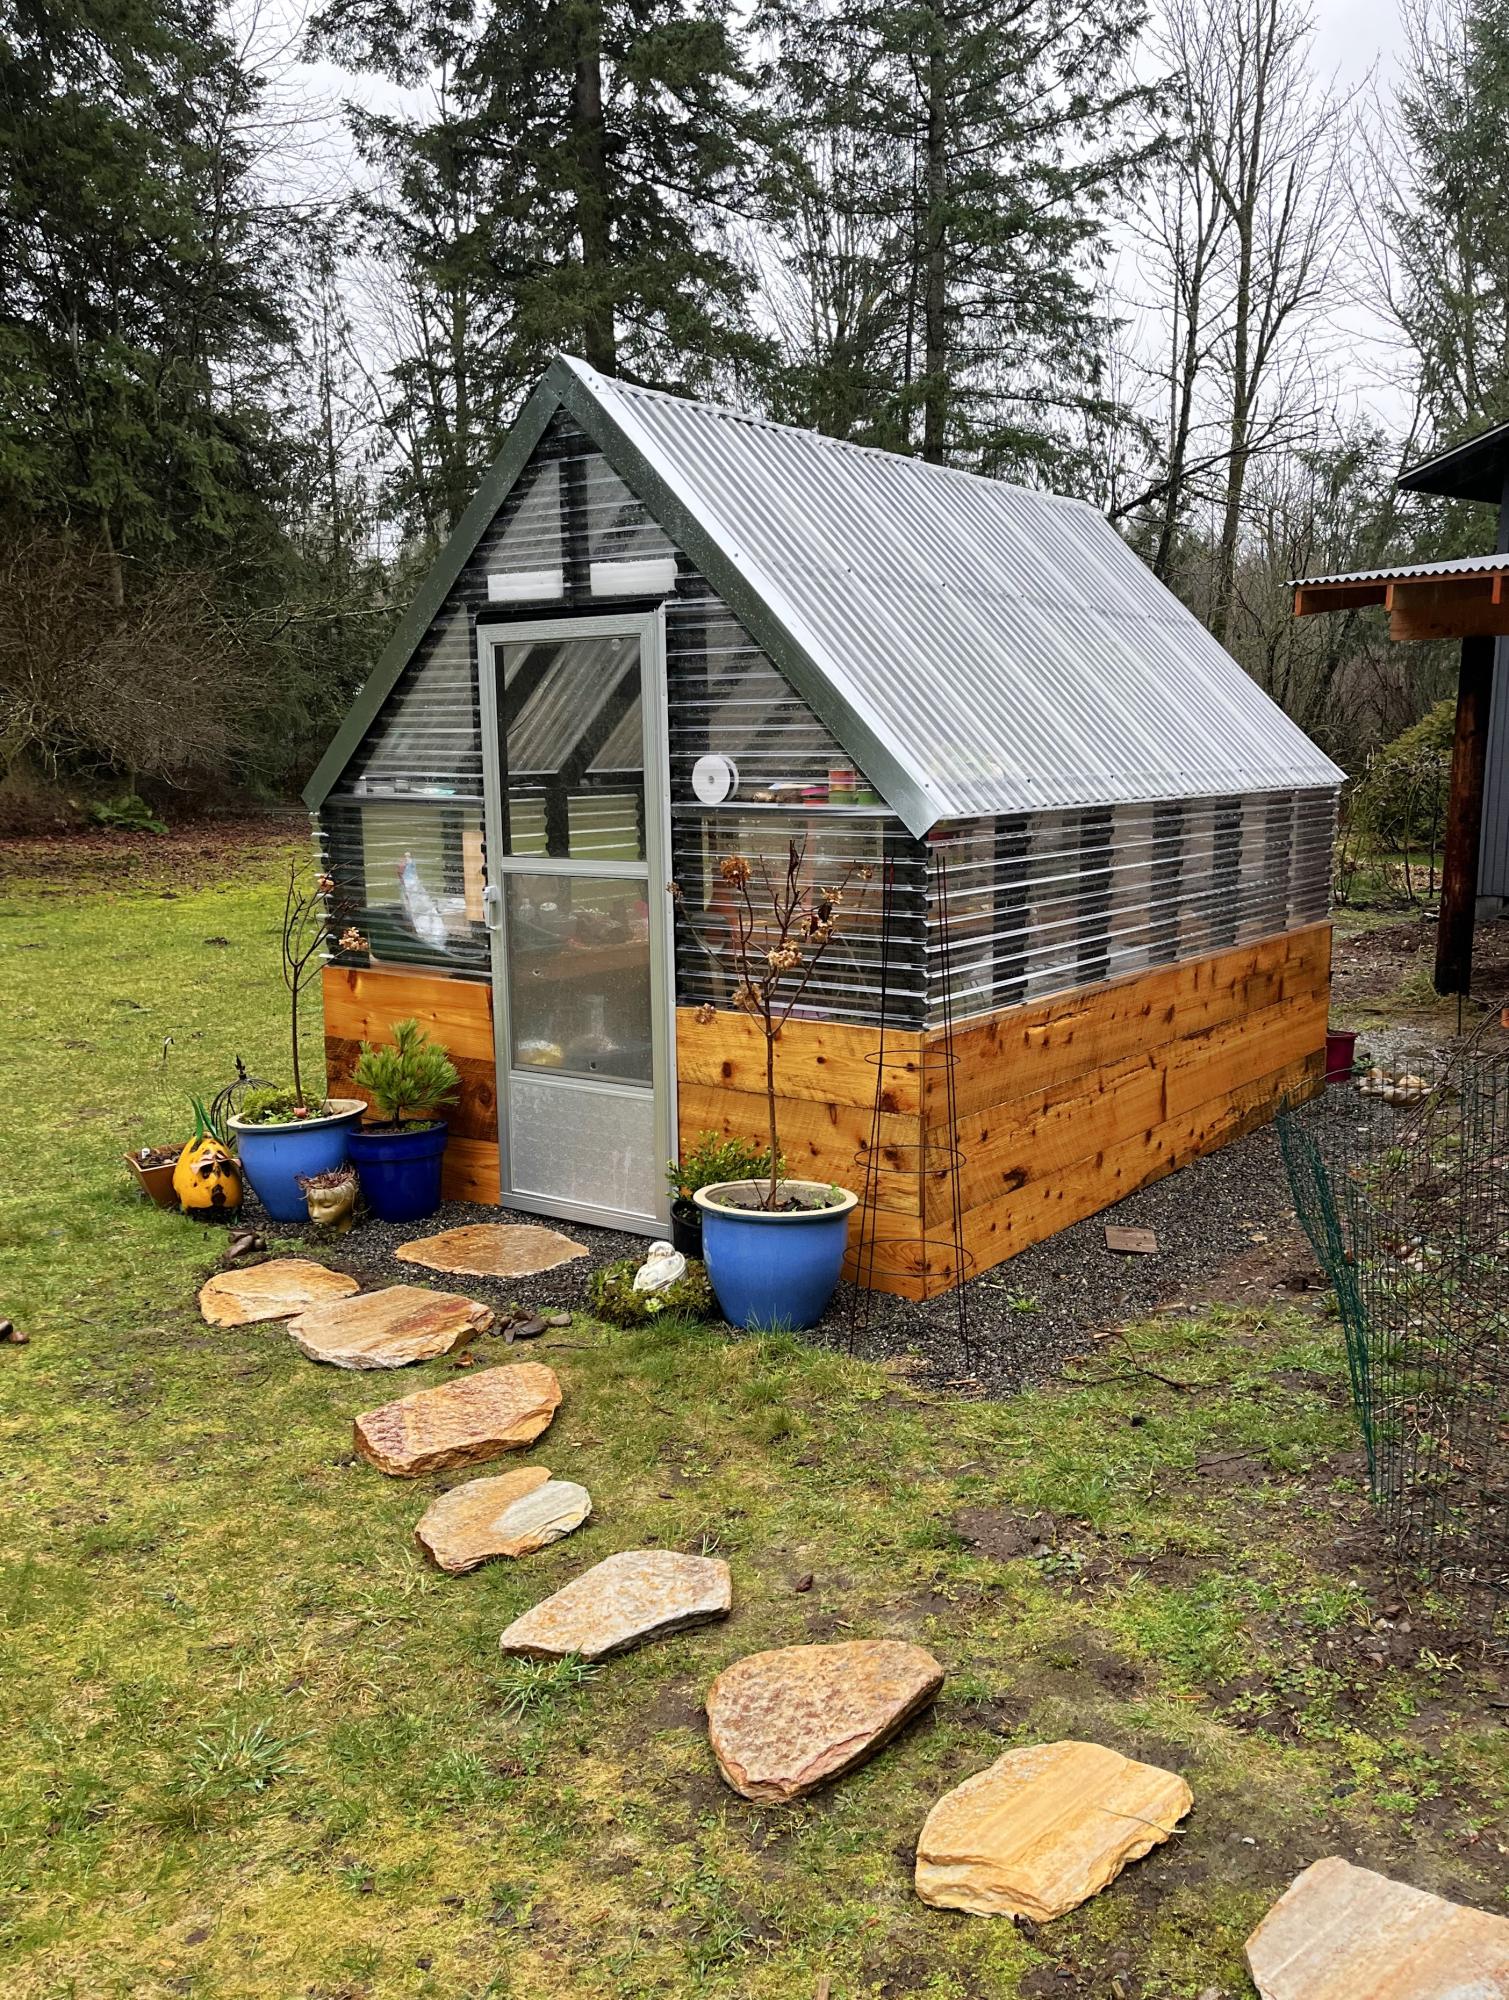
Best looking greenhouse and great size!
Mary McLachlan

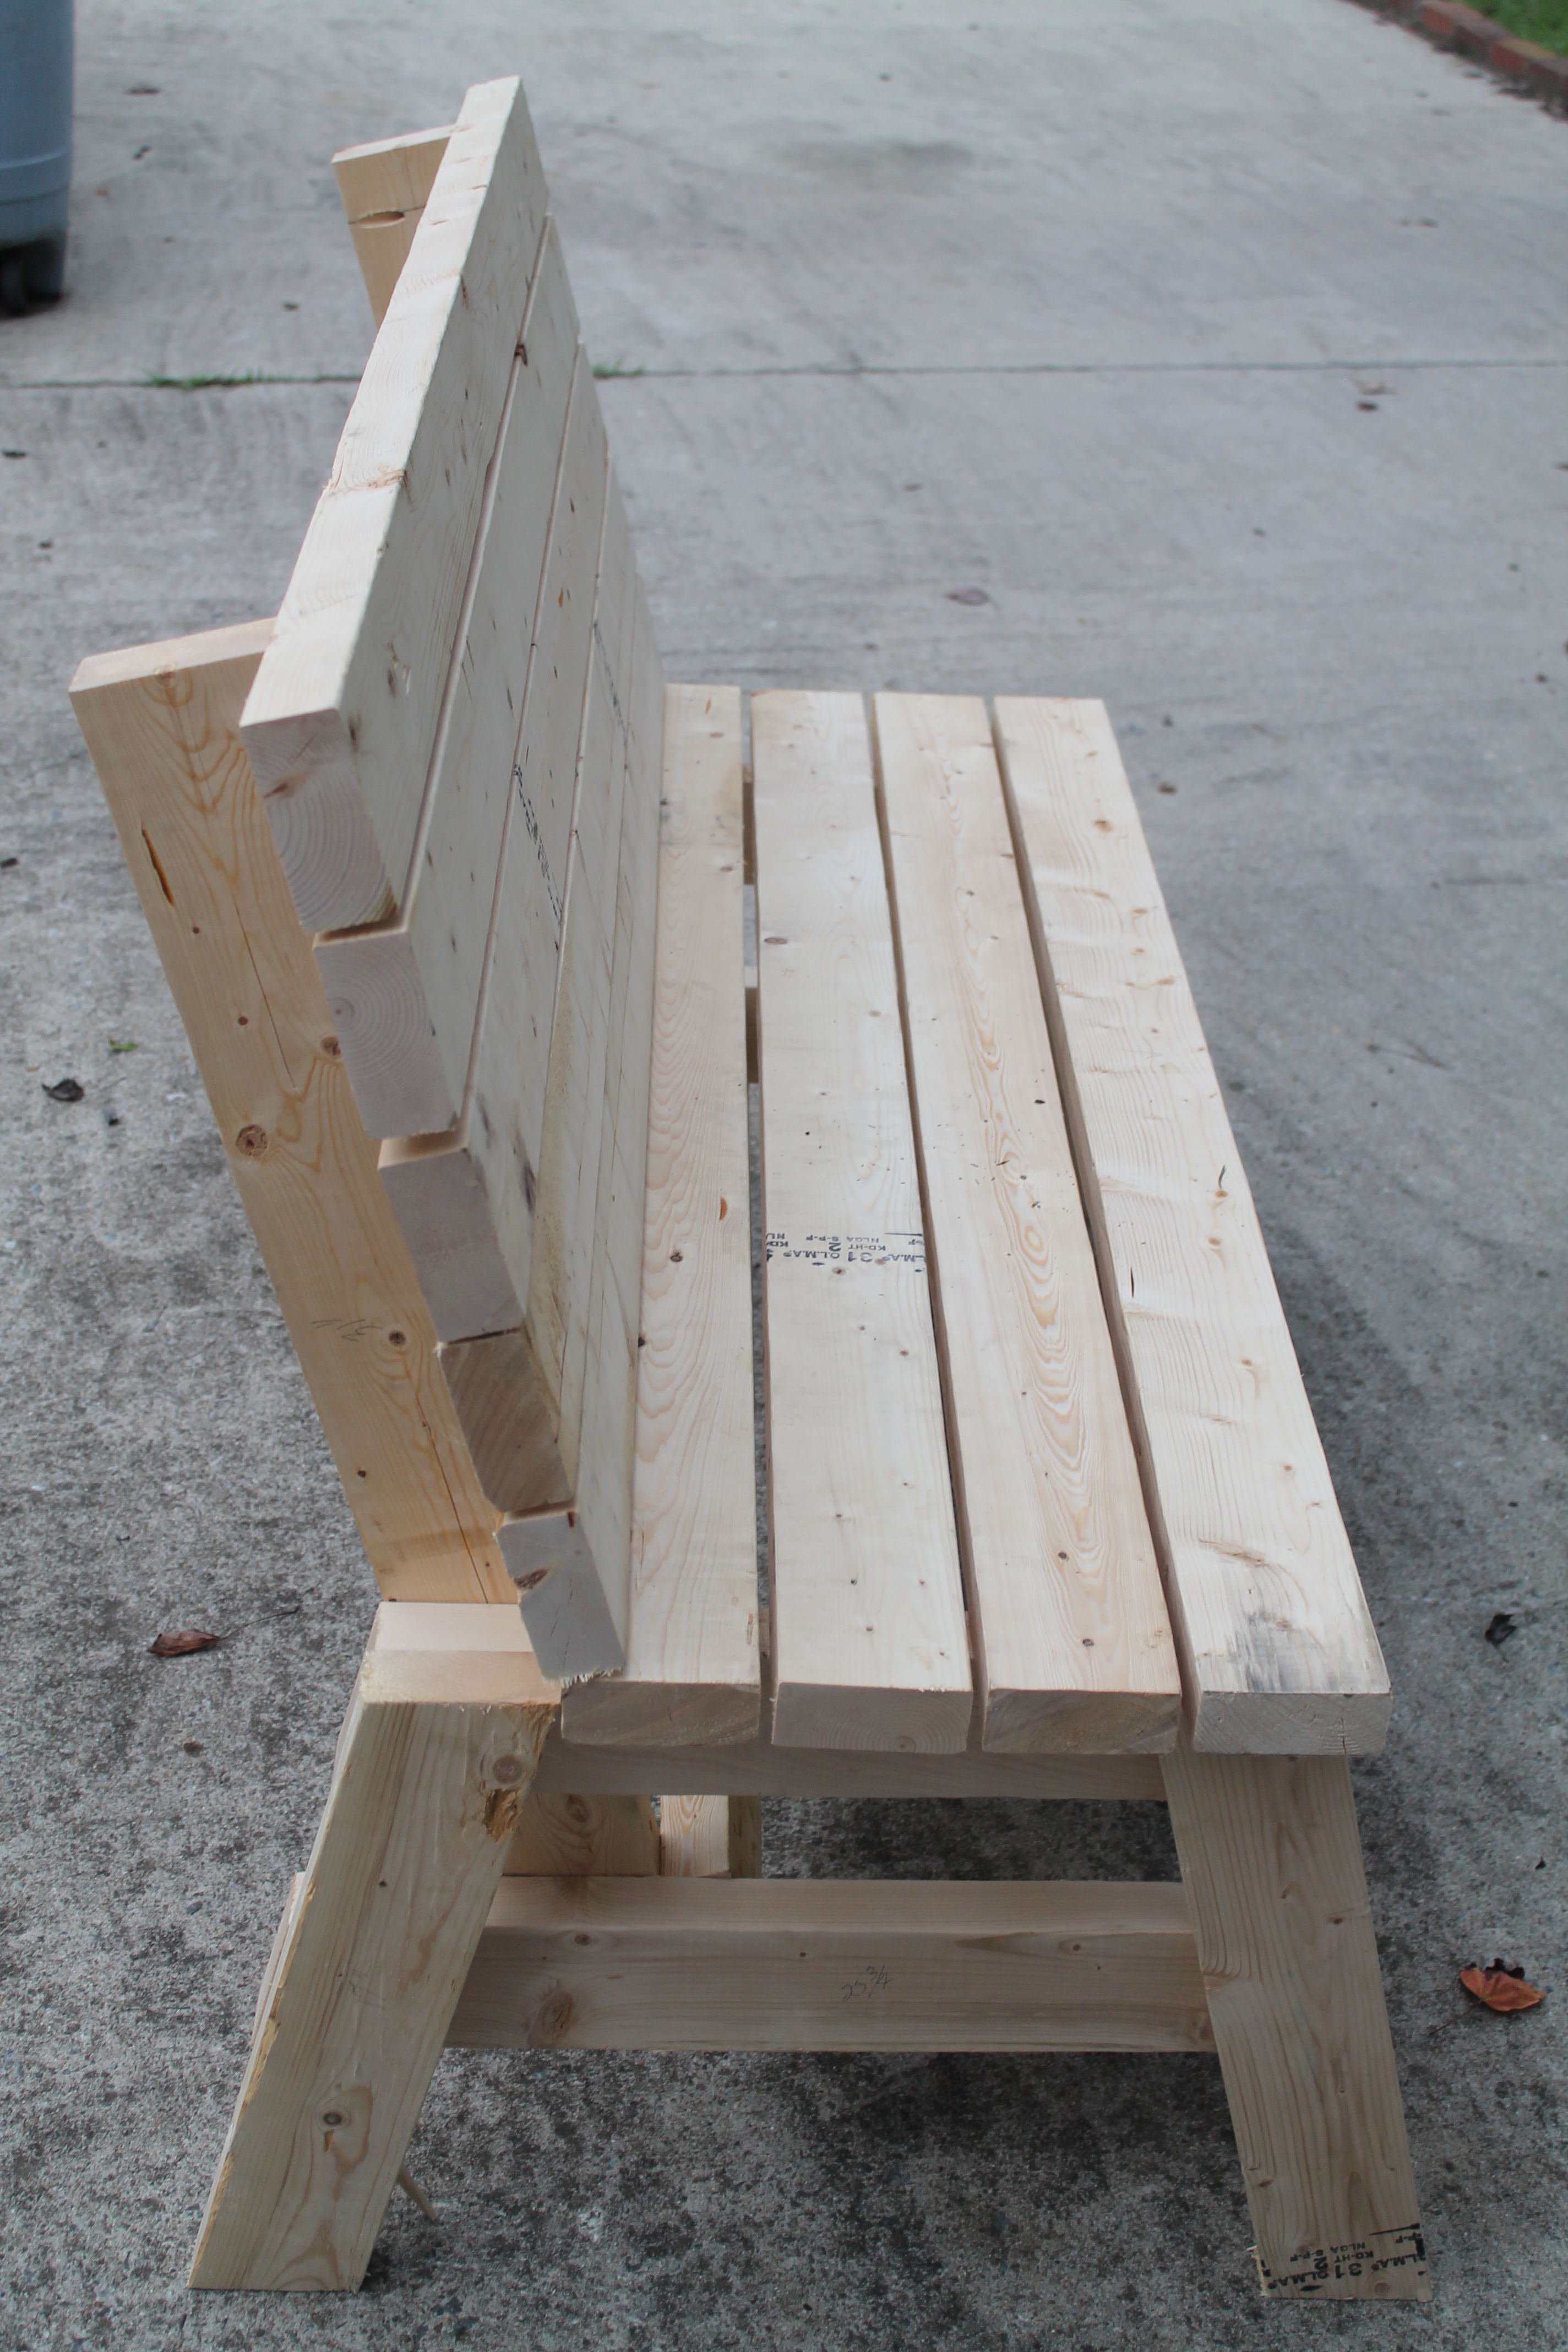
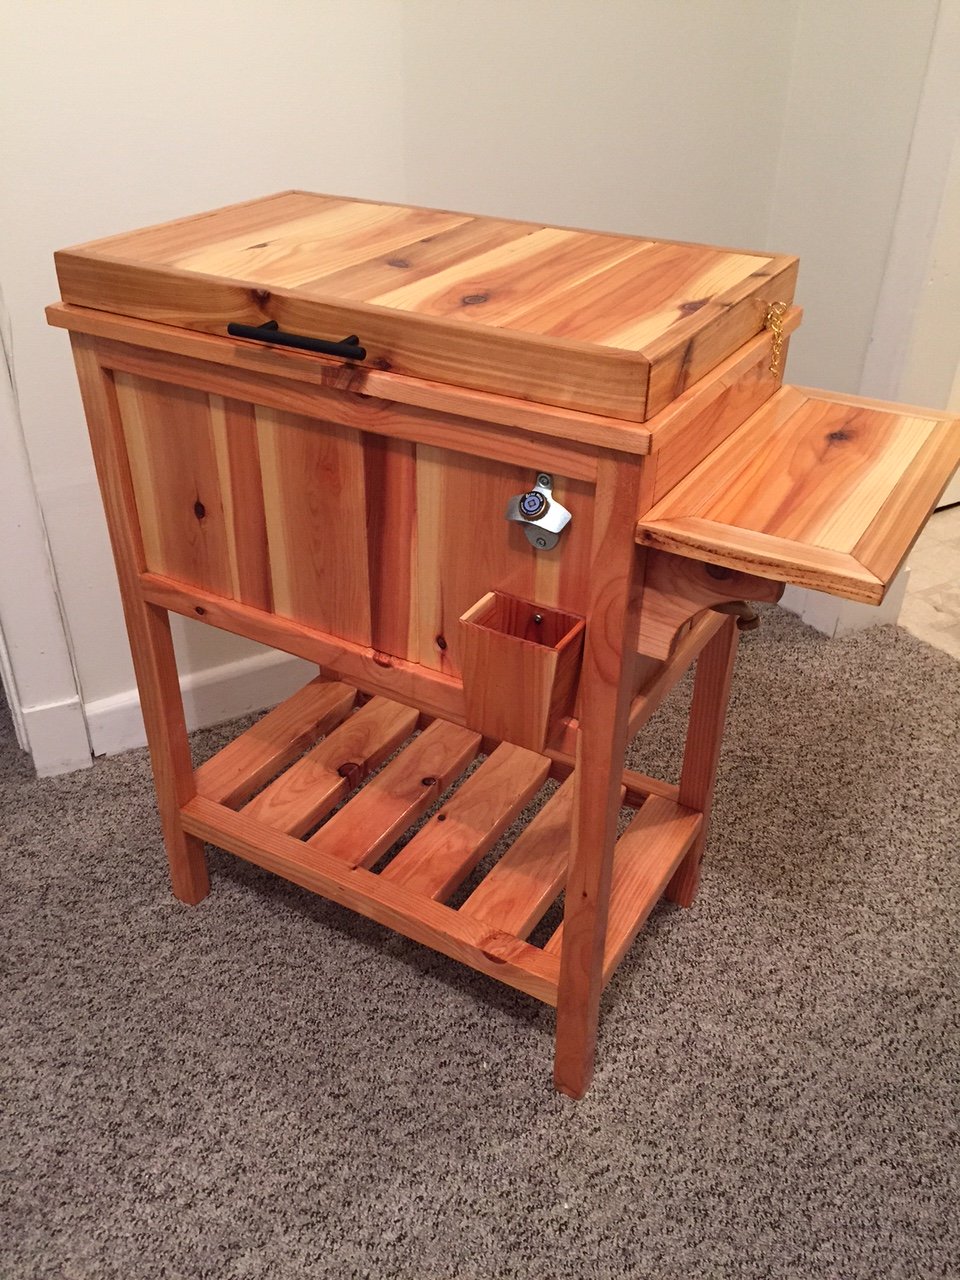
I made this in an afternoon. Loved this project. It is made with 2x4's using a Kregs Jig and mitre saw (plus additional tools like a drill and square). This was my frist time using the Kregs Jig and I am sold!!
The free plans were taken from another website. They are very detailed and there is even a video (I recommend it as he gives a great tip for making sure the back stays equal/level to each other before putting the back on). Even though you can build this by yourself, I did have help for the heavier sides once they were assembled. I plan to build the additional side table soon and finish them both with sanding and staining when the weather seems less iffy for rain.
If you are looking for a good beginner project that doesn't take forever or have complicated steps, this is your project.
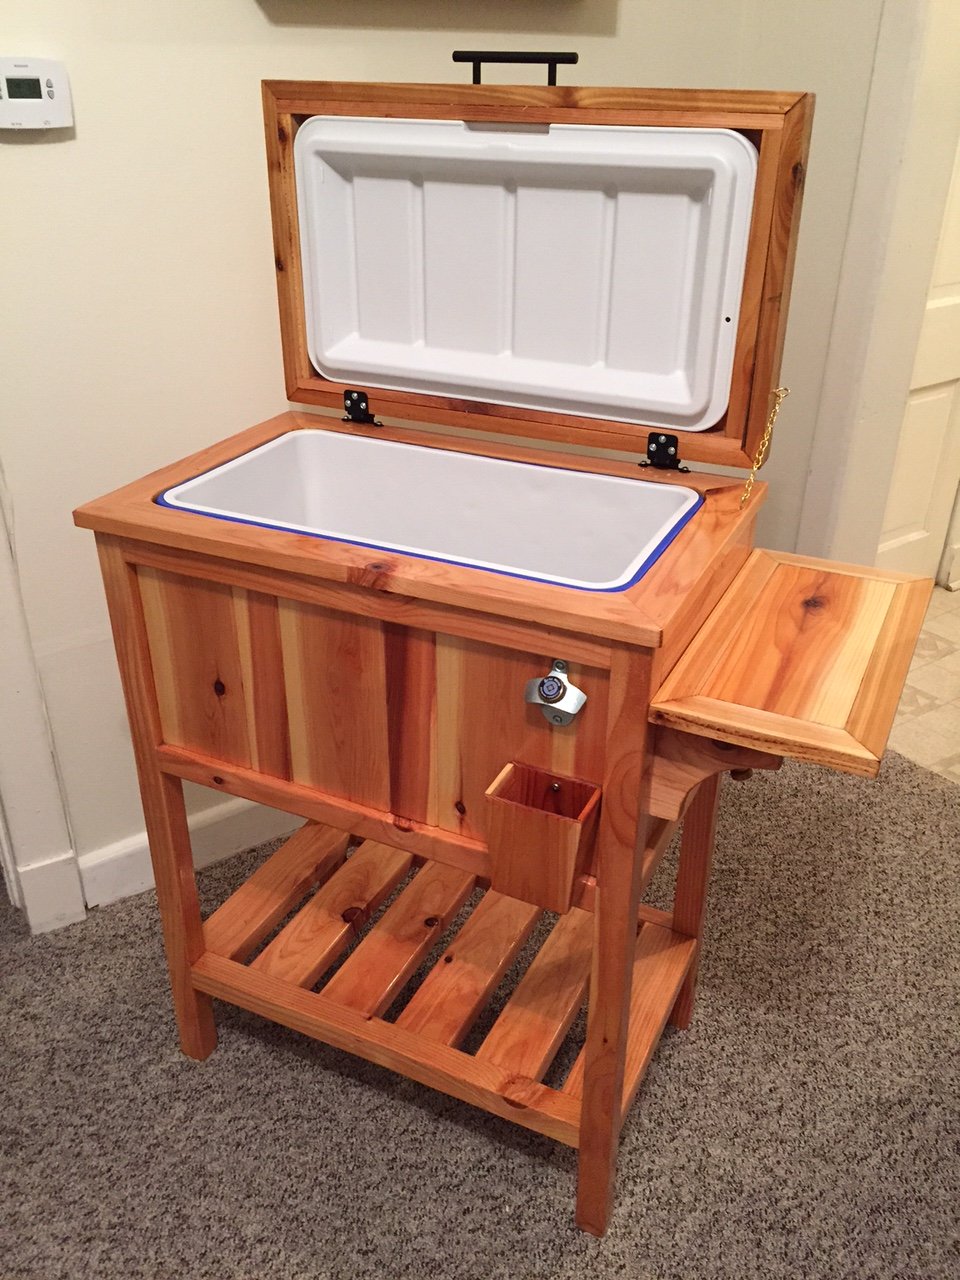
This is the cooler stand presented by Jenny from Birdsandsaoap. Very easy to build and always ends up with someone asking to buy it or have you make them one.
Wed, 06/10/2015 - 11:34
The plans for this can be found at the following web adress: http://ana-white.com/2013/06/plans/wood-cooler-birds-and-soap
Hope this helps
Wed, 09/21/2016 - 08:07
New to this site. How do I get the plans for the Wooden Cooler Stand?
Thank you!
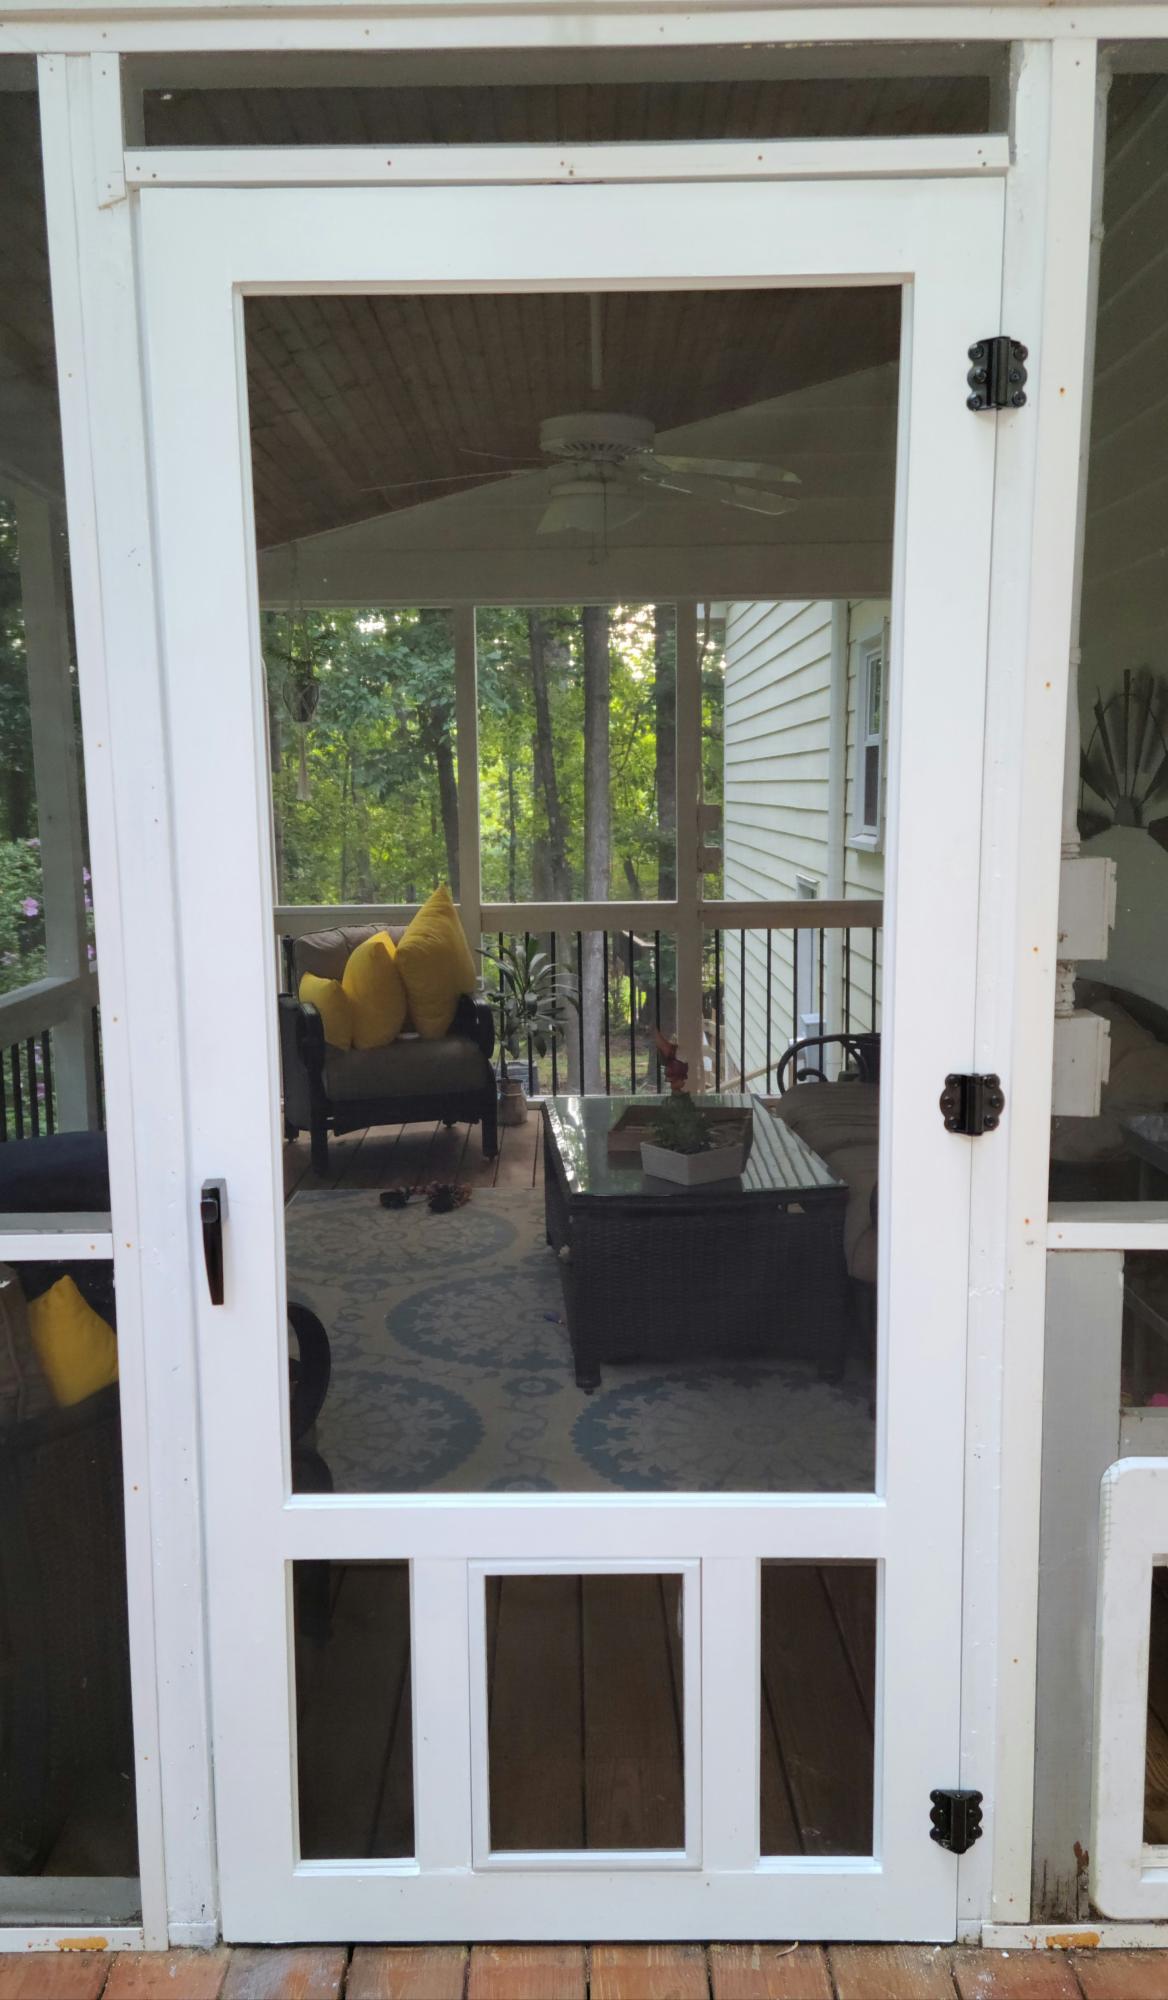
Our old screen door wasn't cutting it anymore, so I built a new one, and to kill two birds with one stone, I included a built-in dog door. Now I just need to find the motivation to close off the old dog door.
I have the plans to build this screen door with a built-in dog door posted via the blog link below for anyone interested.
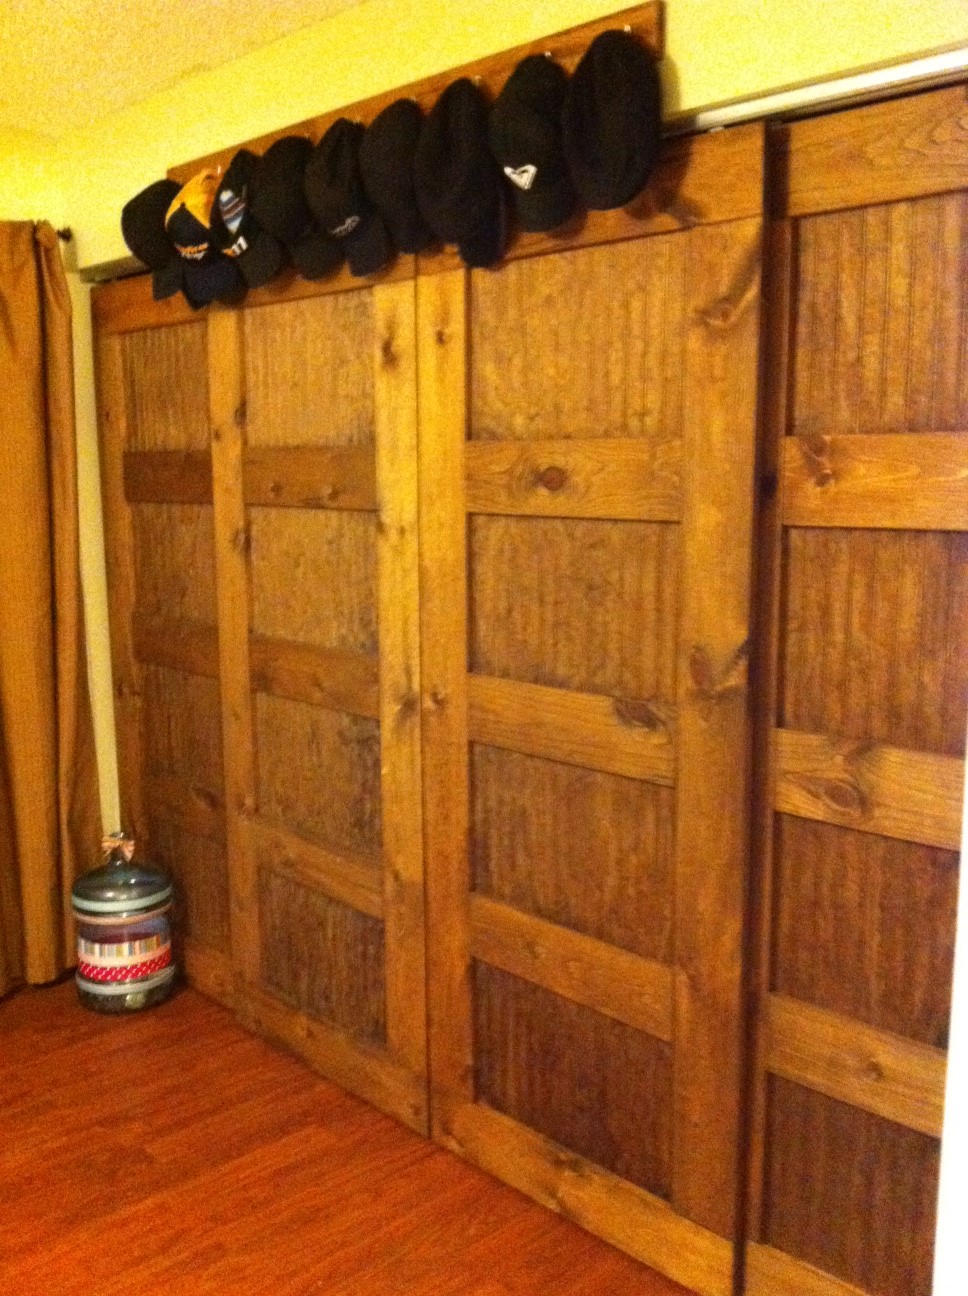
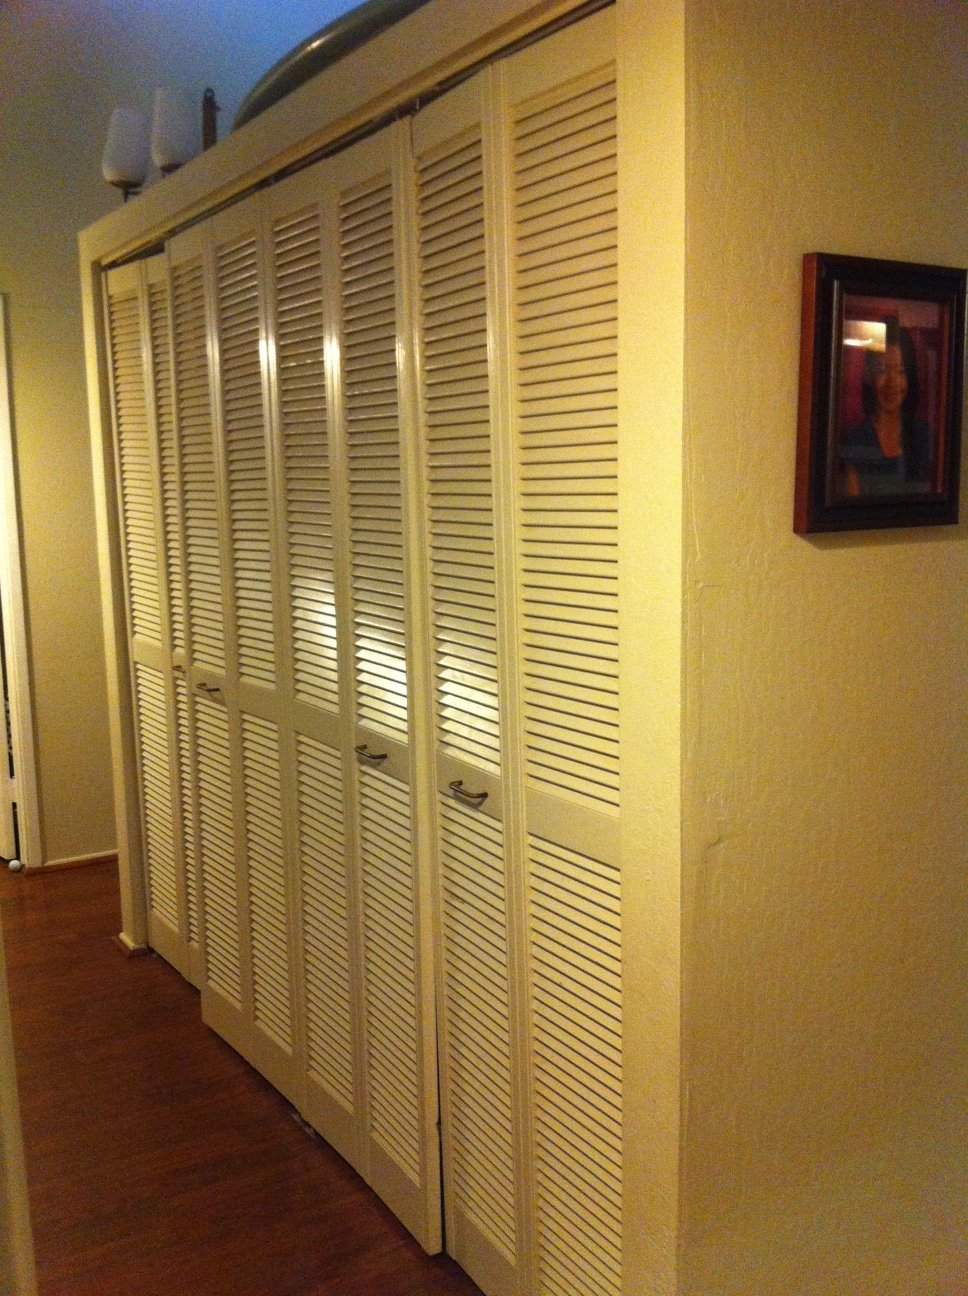
I loved the Idea of new closet doors and hated the idea of bi-folds. My house is crooked it seems. The doors don't sit straight and bi-folds always fall off their tracks. When I came upon the plans for Bypass Doors from Old Paint Designs I was hooked! I made 4 doors for the hallway in 1 day, oiled it with Danish Oil in Dark Walnut, hung it the next day and what a difference!! Glass is rather expensive in Hawaii and so is plexi-glass so I opted for Bead Board which gave it a more "country" feel instead of a more modern feel. I wish I could have used glass but the $150 price tag just wasn't fitting into my budget very well. My hubby loved the bypass doors so much he asked me to build them for our open closet. 2 days of work, 8 doors, 2 closets done!


Thu, 01/26/2012 - 13:48
Those turned out great. Love the bead-board and color.

Thu, 01/26/2012 - 23:24
Wow! Those turned out great! I love the idea of using beadboard - so creative!
In reply to Wow! Those turned out great! by oldpaintdesign
Fri, 02/17/2012 - 17:13
Thank you for your plans...love them. I've been asked to help a friend of mine build some doors for his house!
Tue, 08/28/2012 - 15:27
Great job on the doors! I am interested in doing this myself. I will have to make 4 doors for my closet as well since I have such a large opening. Can you tell me what the measurments of your closets are? Also what are the dimensions of the pine that you used? Thanks a bunch!
In reply to Bypass Closet Doors by Jilley27 (not verified)
Tue, 08/28/2012 - 18:44
My closet opening is about 8' across. Each door is 26" wide and 79" tall. I made them so the would have a 1" overlap on each side...
I used 1x6 @ 8' lengths of pine. I like the really knotty pine with lots of character! Have fun building! These were pretty simple to make once you get all the boards cut.
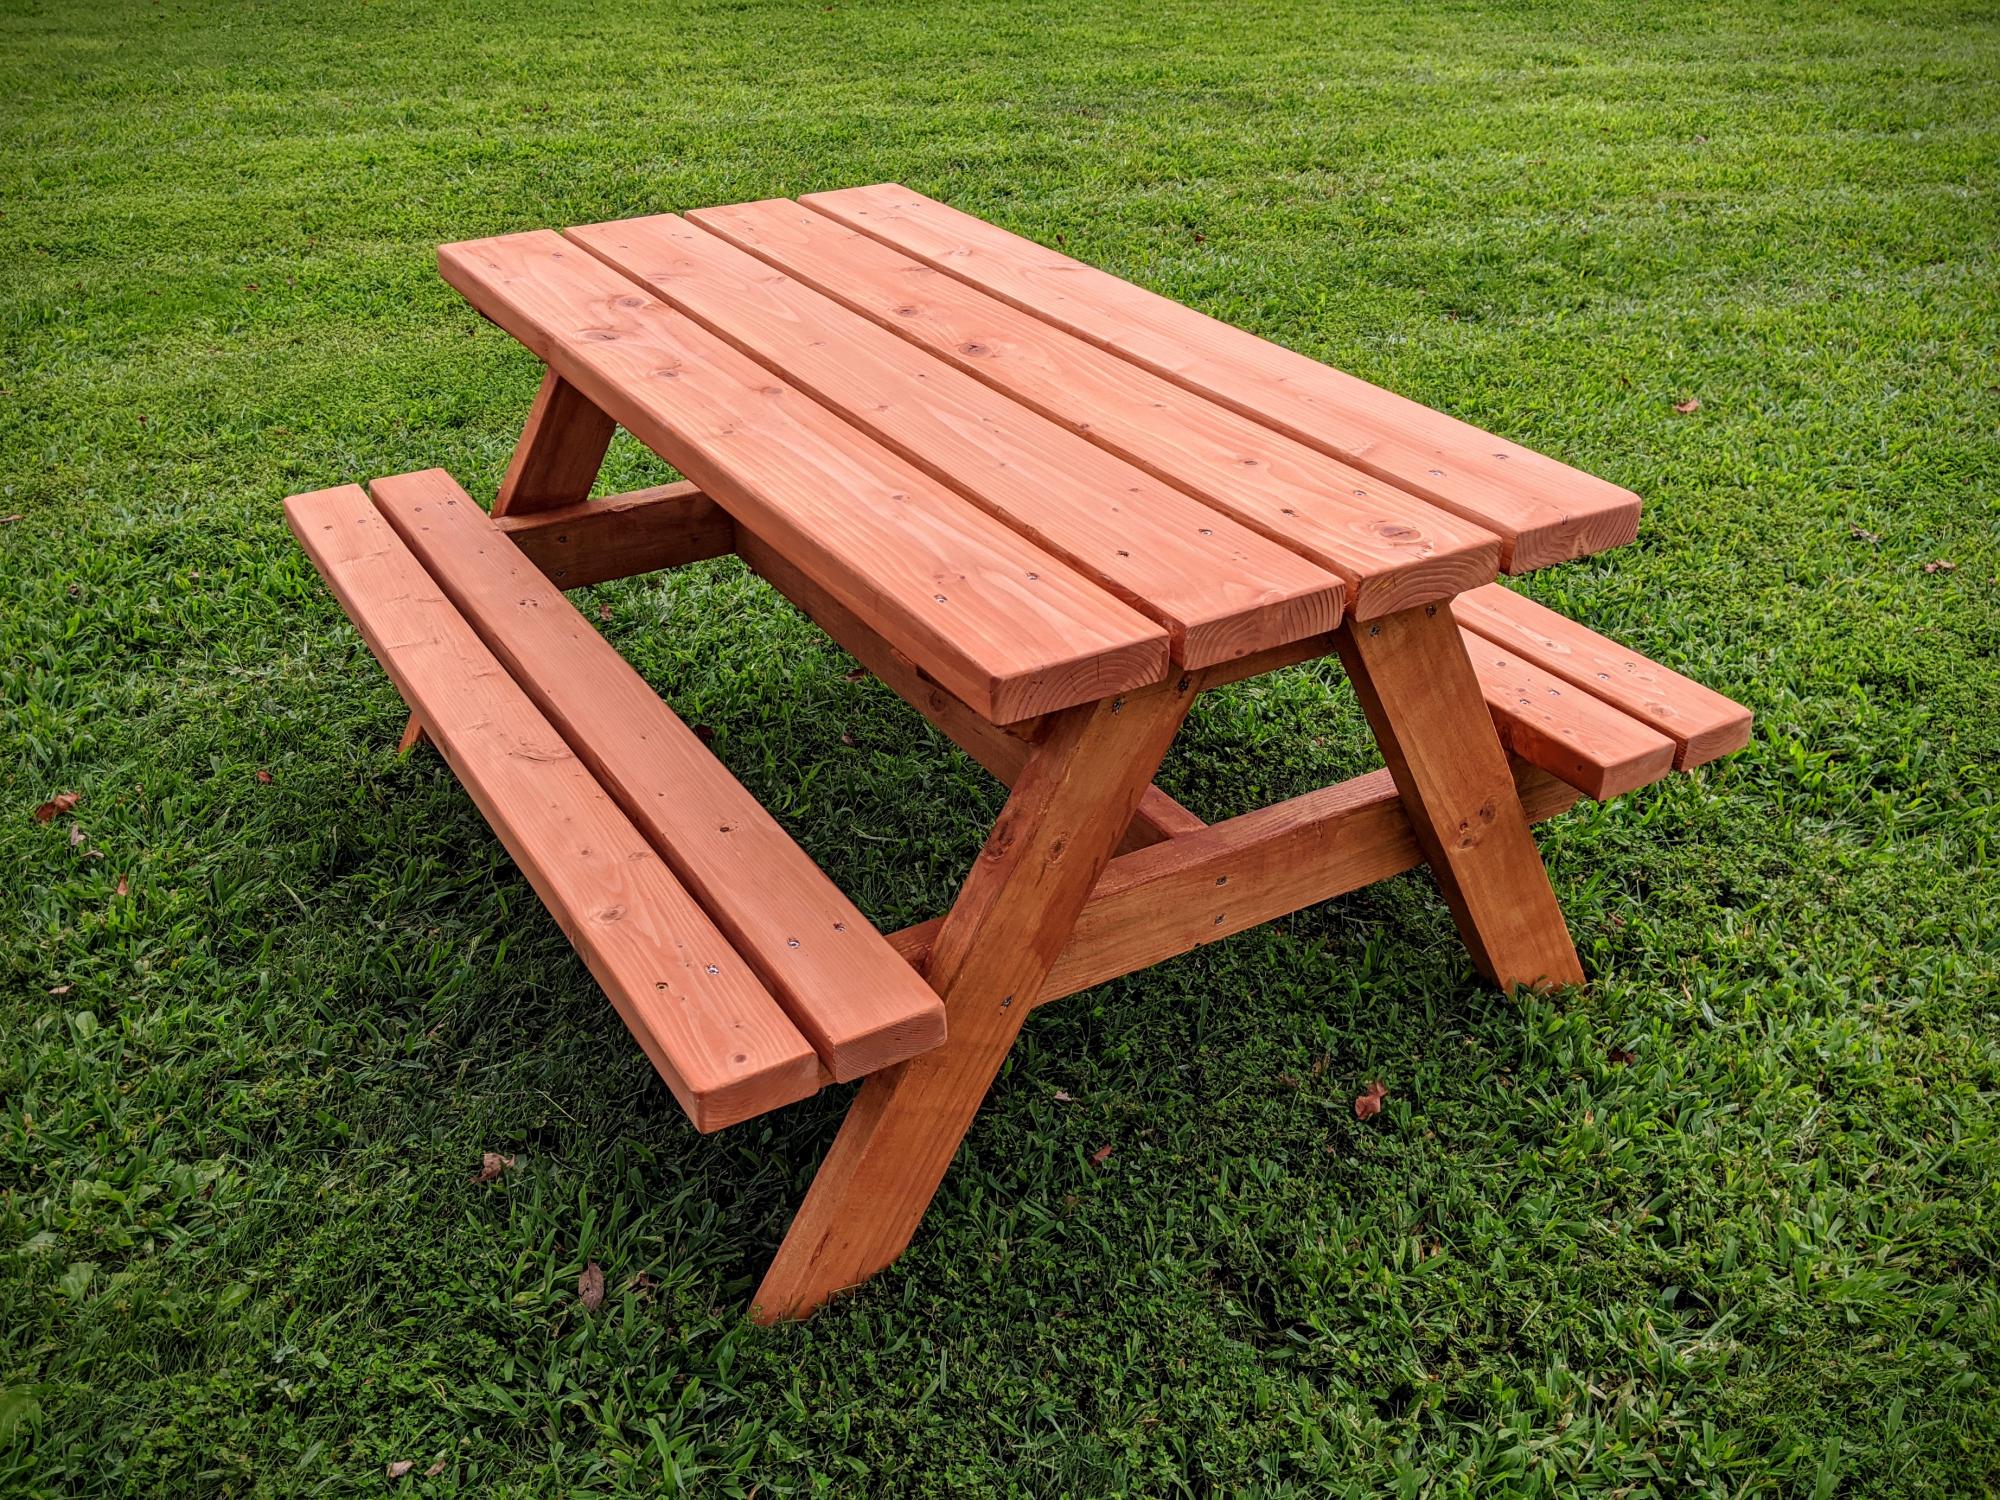
Built using Ana Whites plans for a Bigger Kids Picnic Table. Used pressure treated 2x4 for frame (legs and supports), 2x4 and 2x6 pine (fir) for table top and bench. Finished with Cabot's semi-transparent redwood stain and sealer.
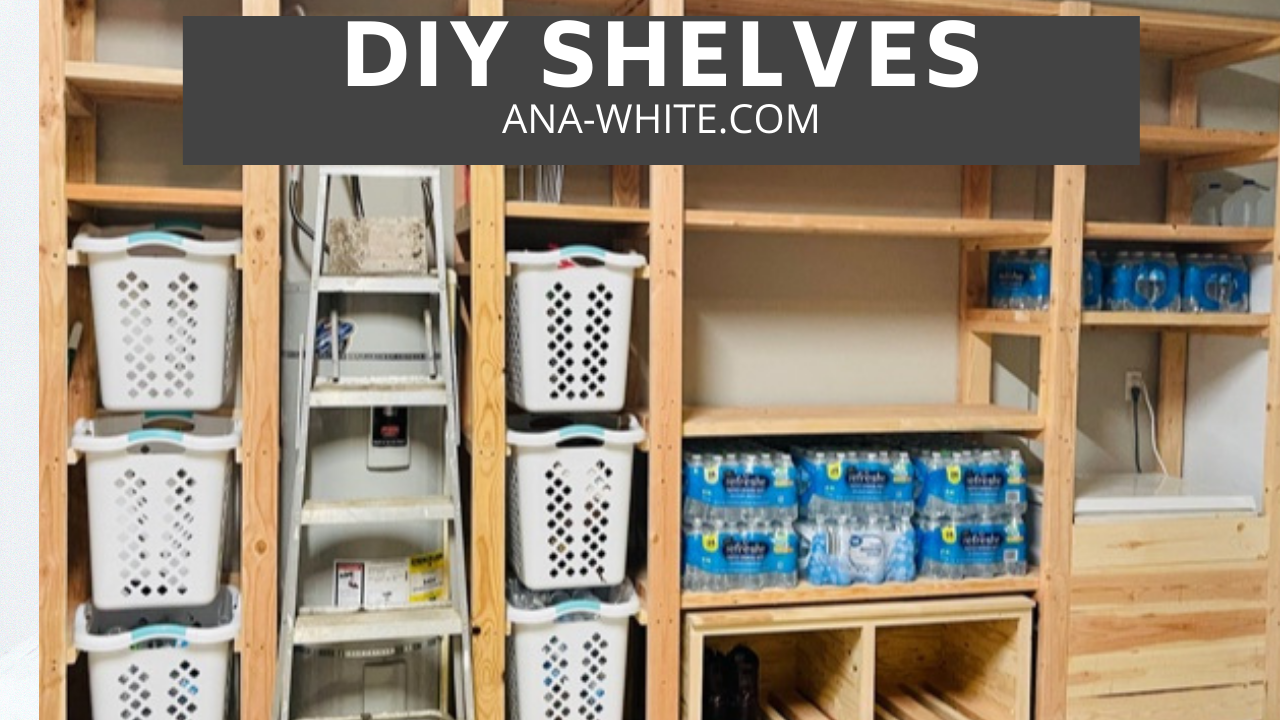
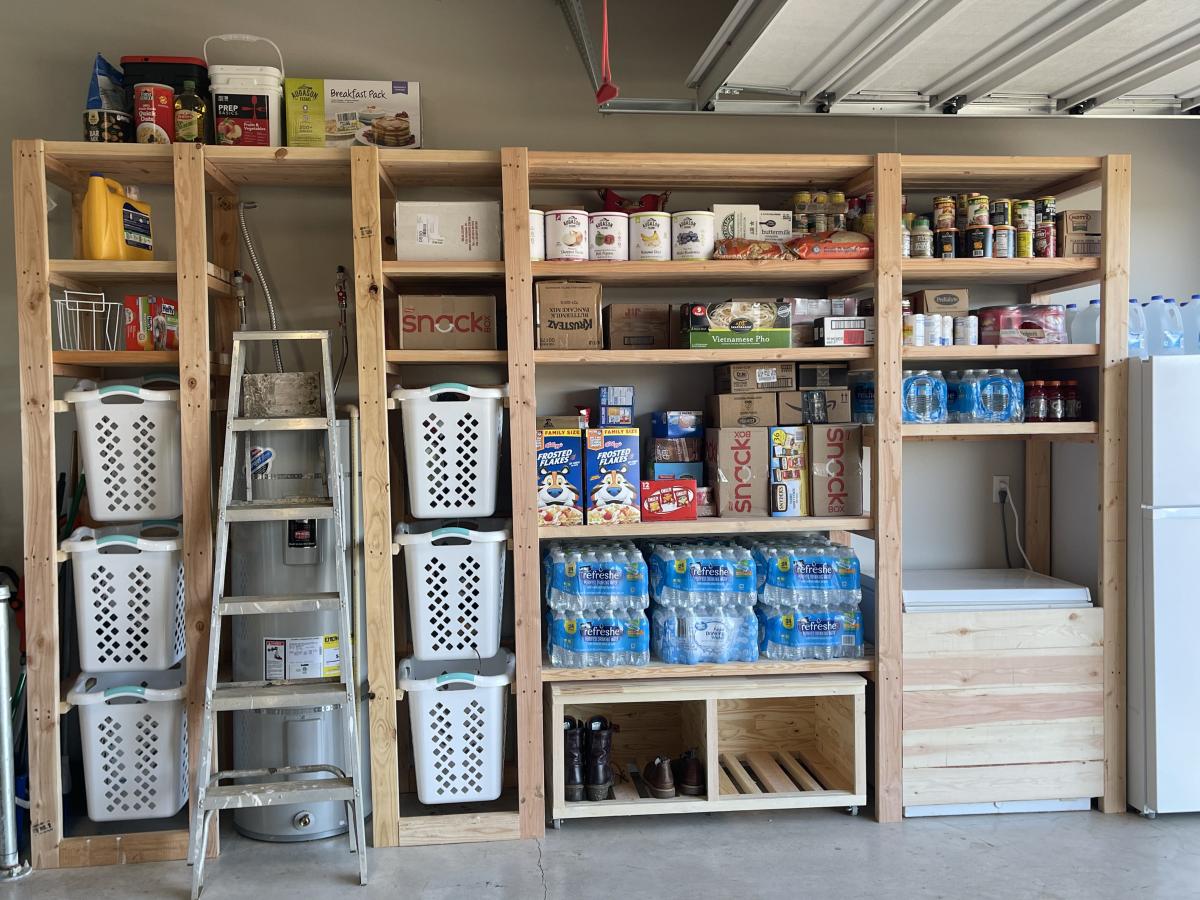
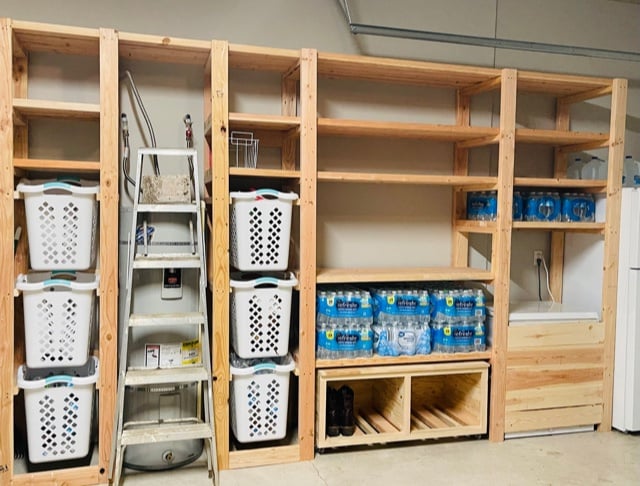
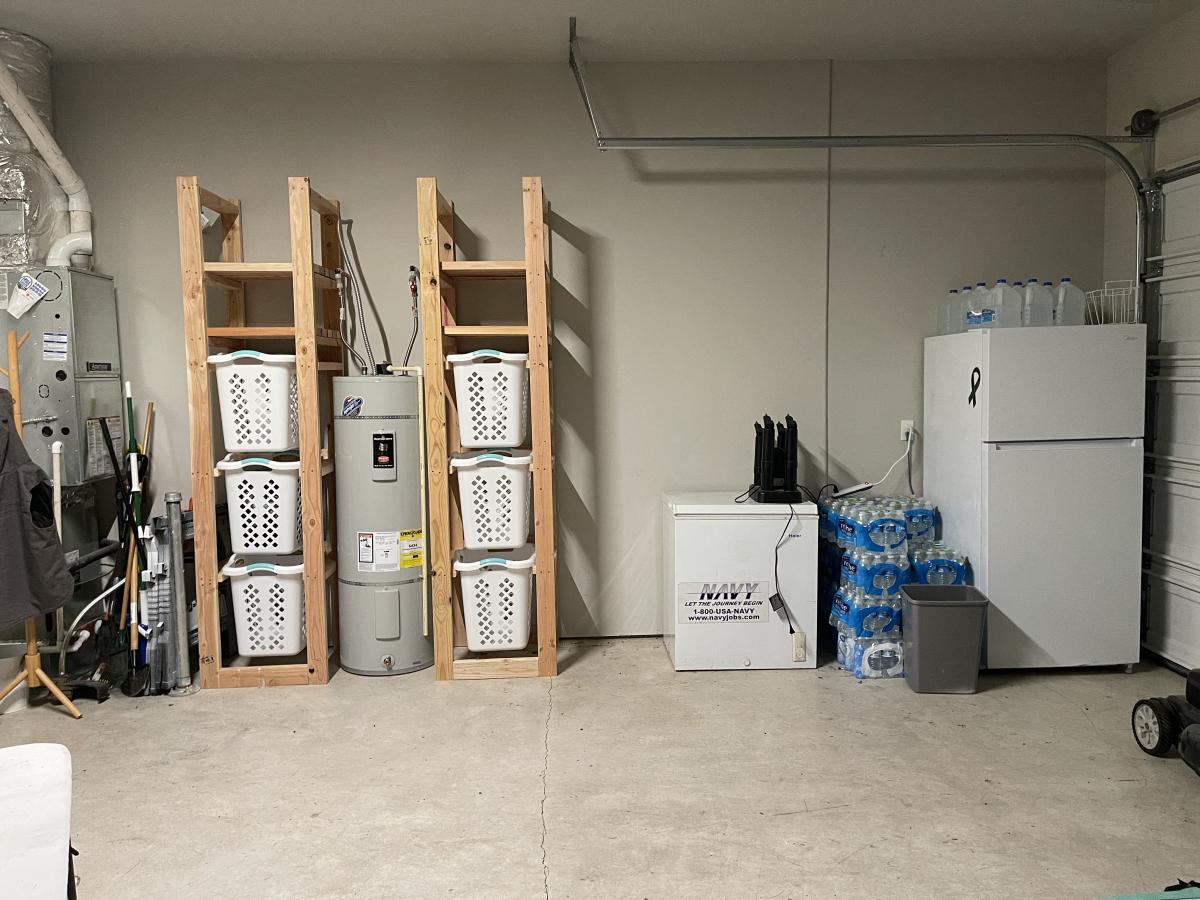
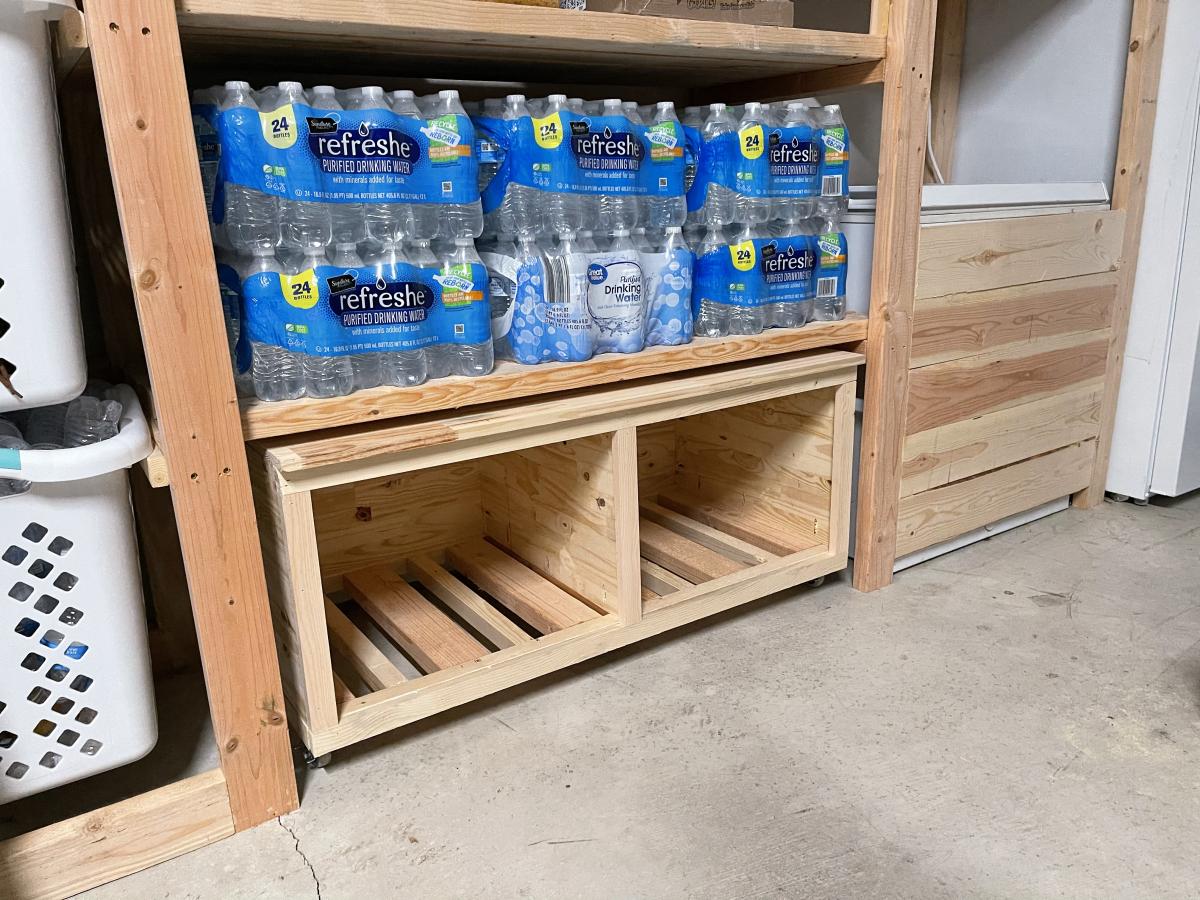
I used Ana's Freestanding Shelf plan and customized it to fit my needs. I incorporated laundry and recycle storage, a rolling bench and built in for our chest freezer. If you want to see it being built with some added tips, that video is available here https://www.youtube.com/watch?v=N8w7XGiVMbs&t=258s
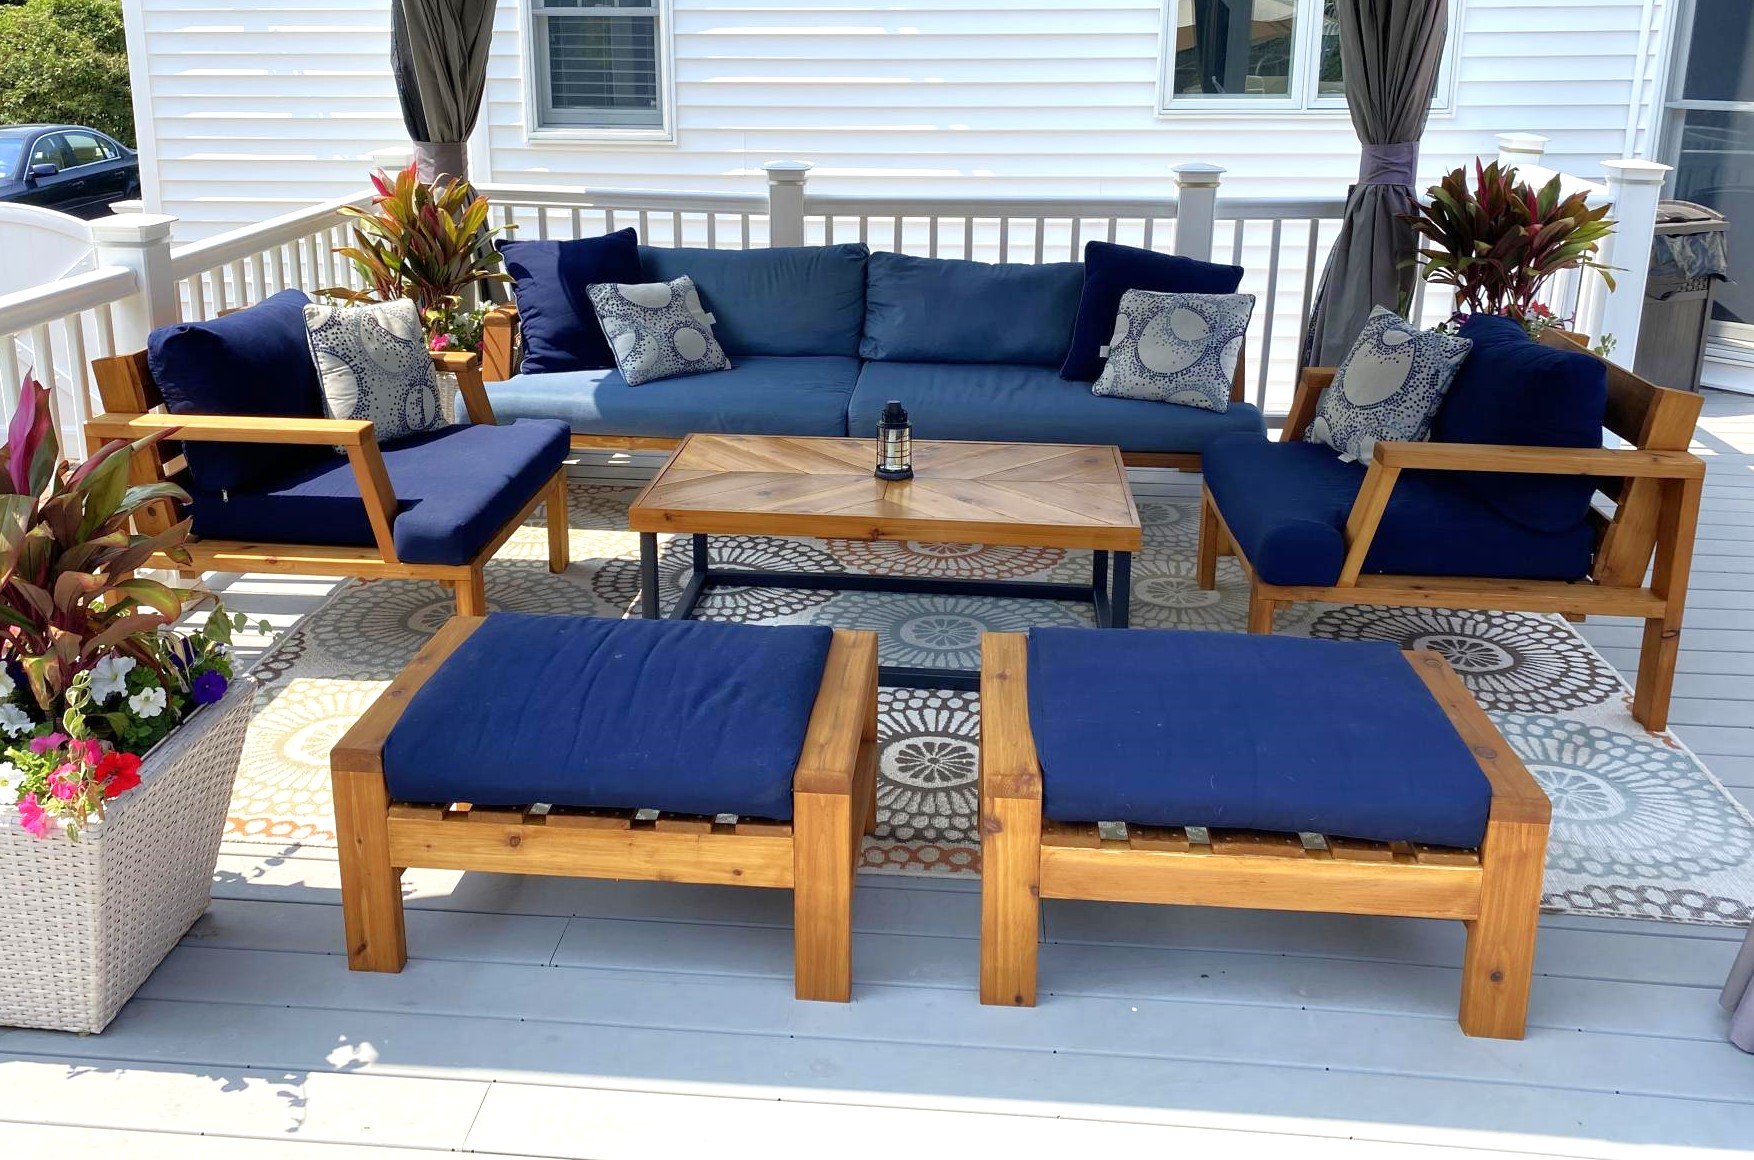
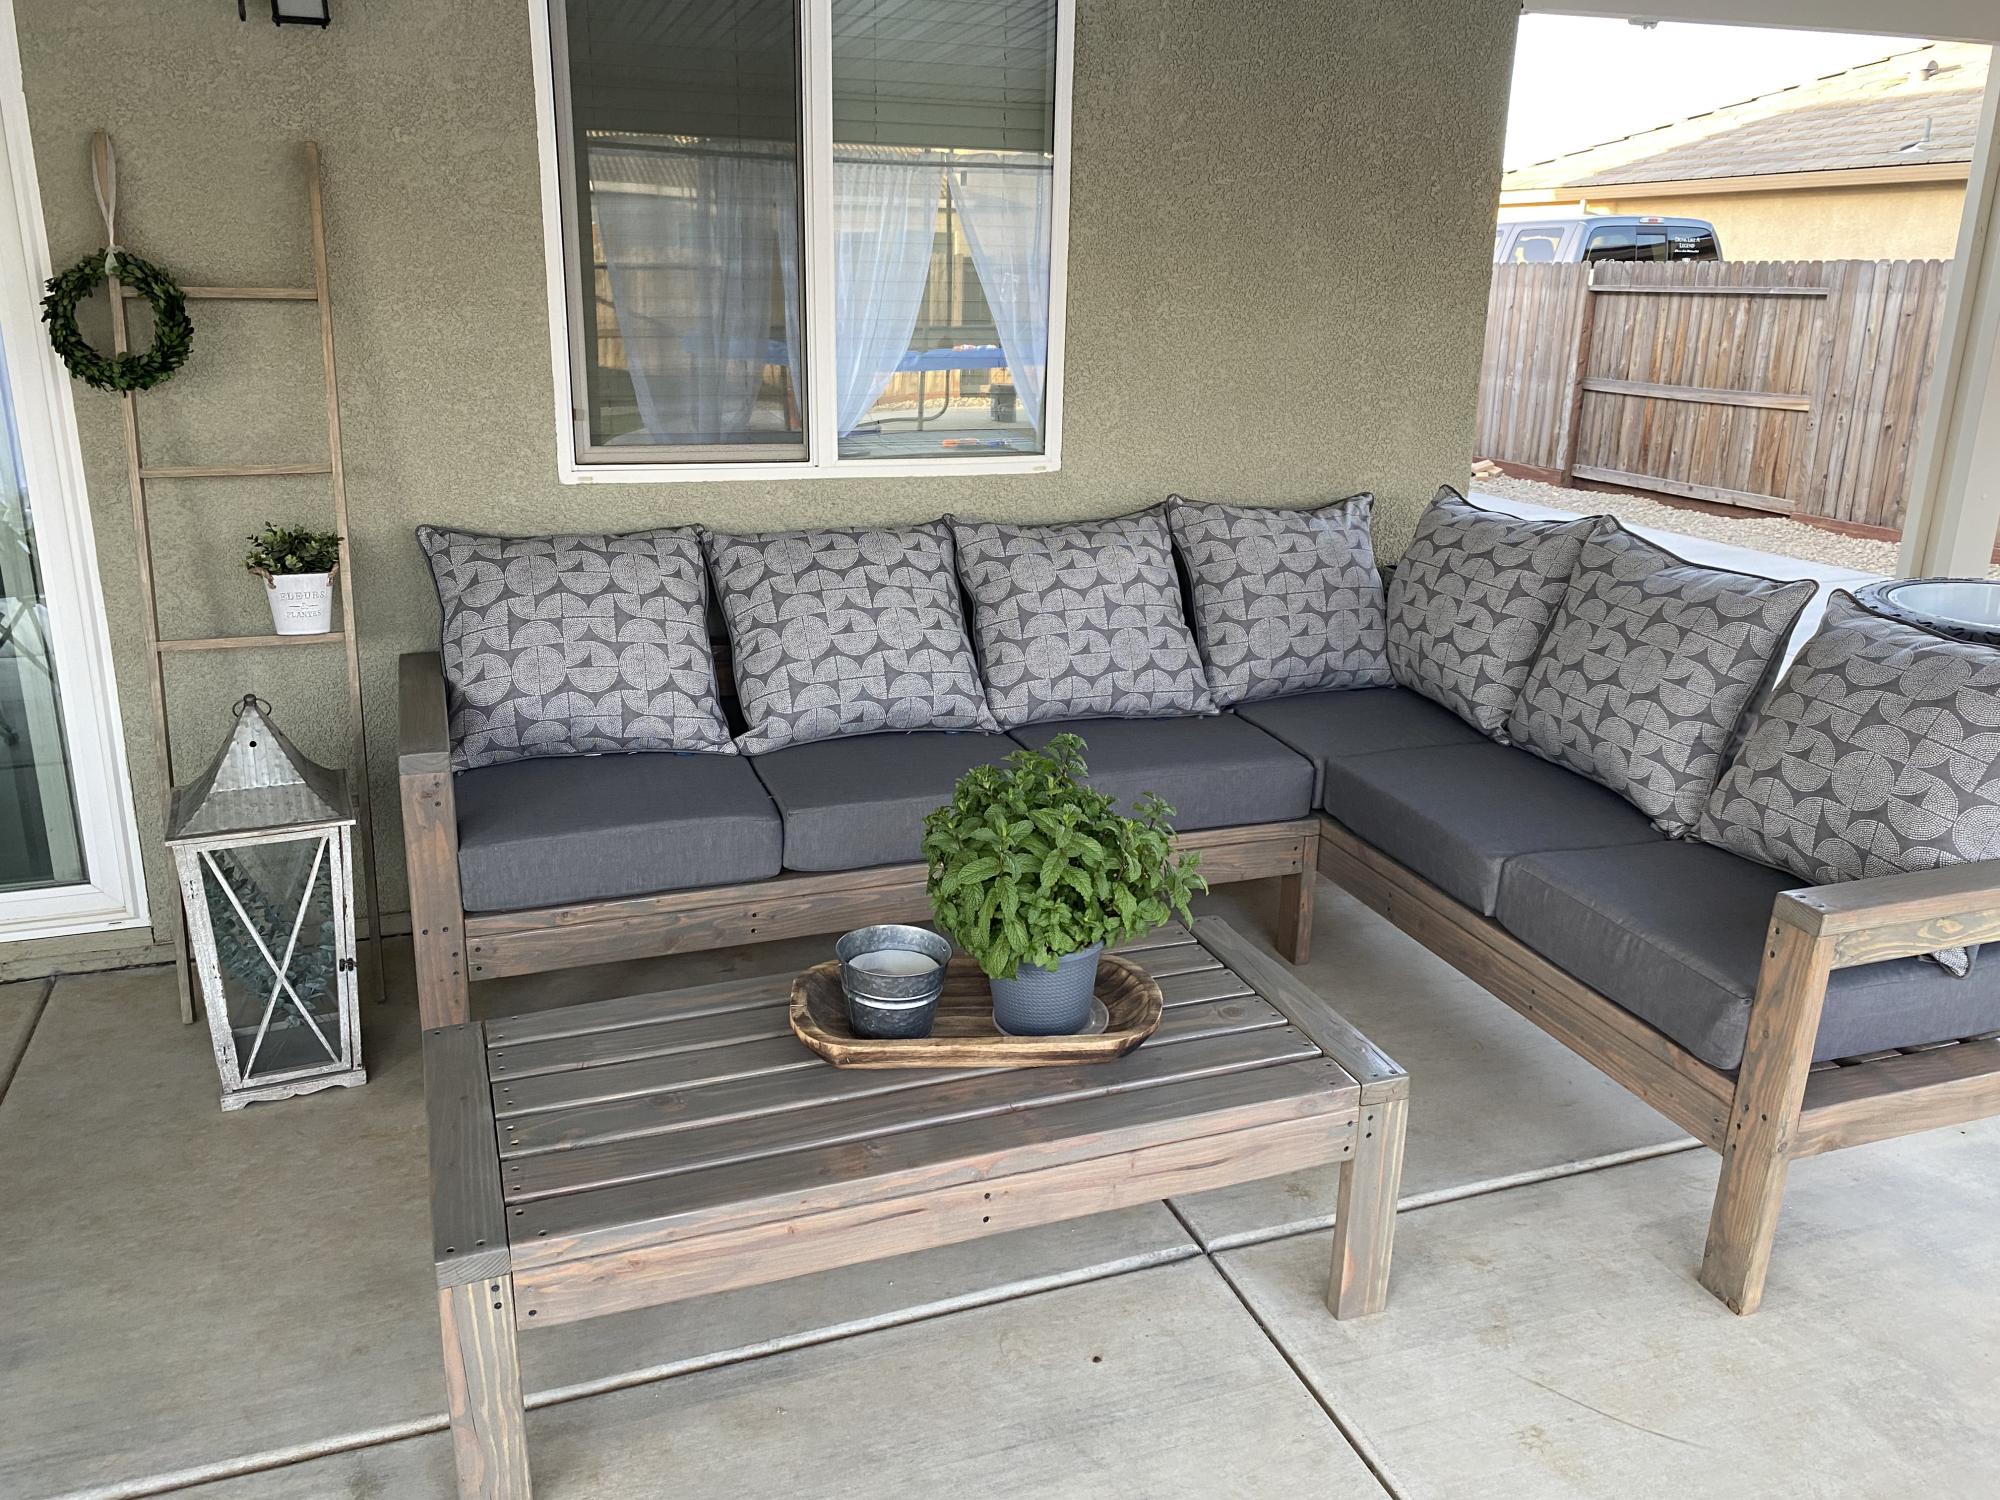
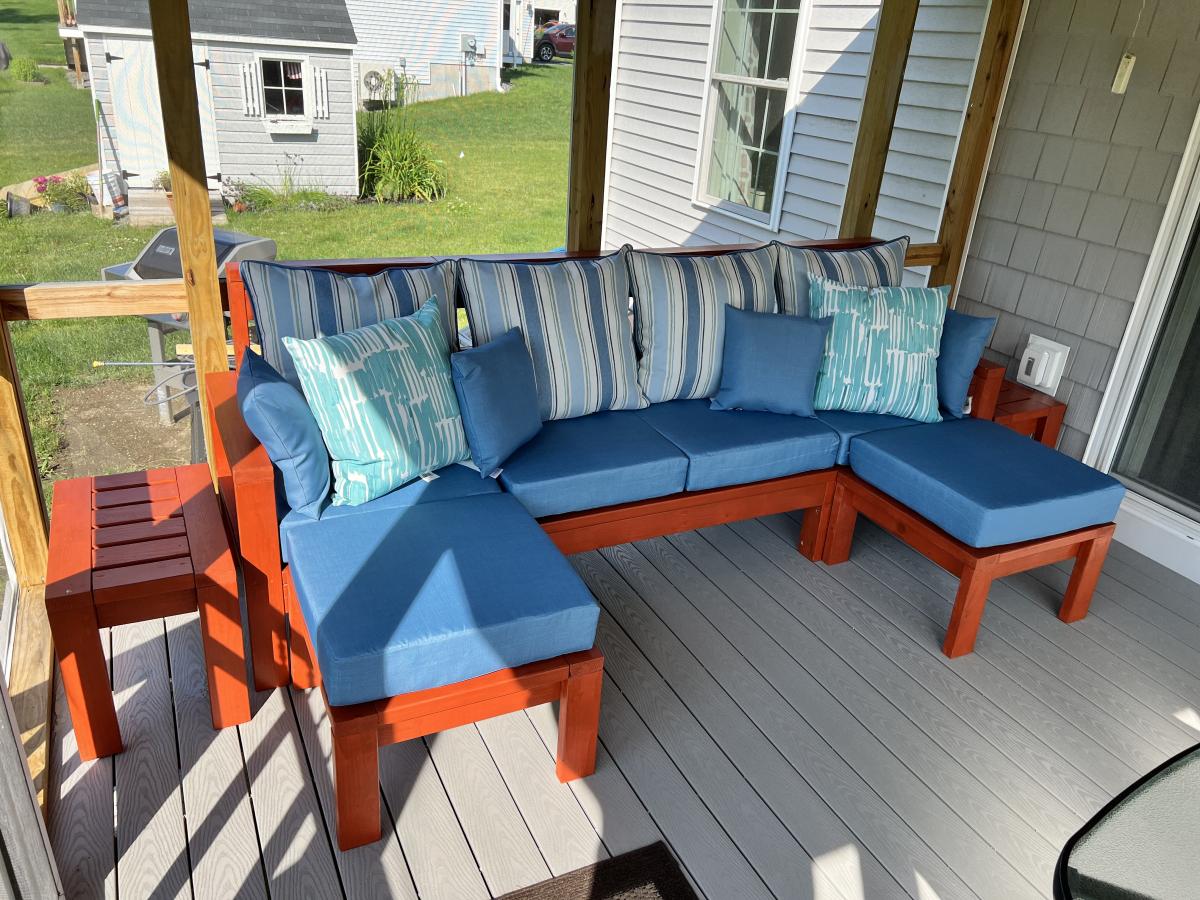
Our outdoor furniture from Costco was falling apart but the cushions were still in great shape so I decided to design the furniture around the existing cushion dimensions. I used all Cedar wood and stained it with Australian Timber Oil Honey Teak stain. The table design was from a picture I saw on another site.
Tue, 06/20/2023 - 12:56
Excellent idea to design the size around the cushions you had! Thanks for sharing ❤️
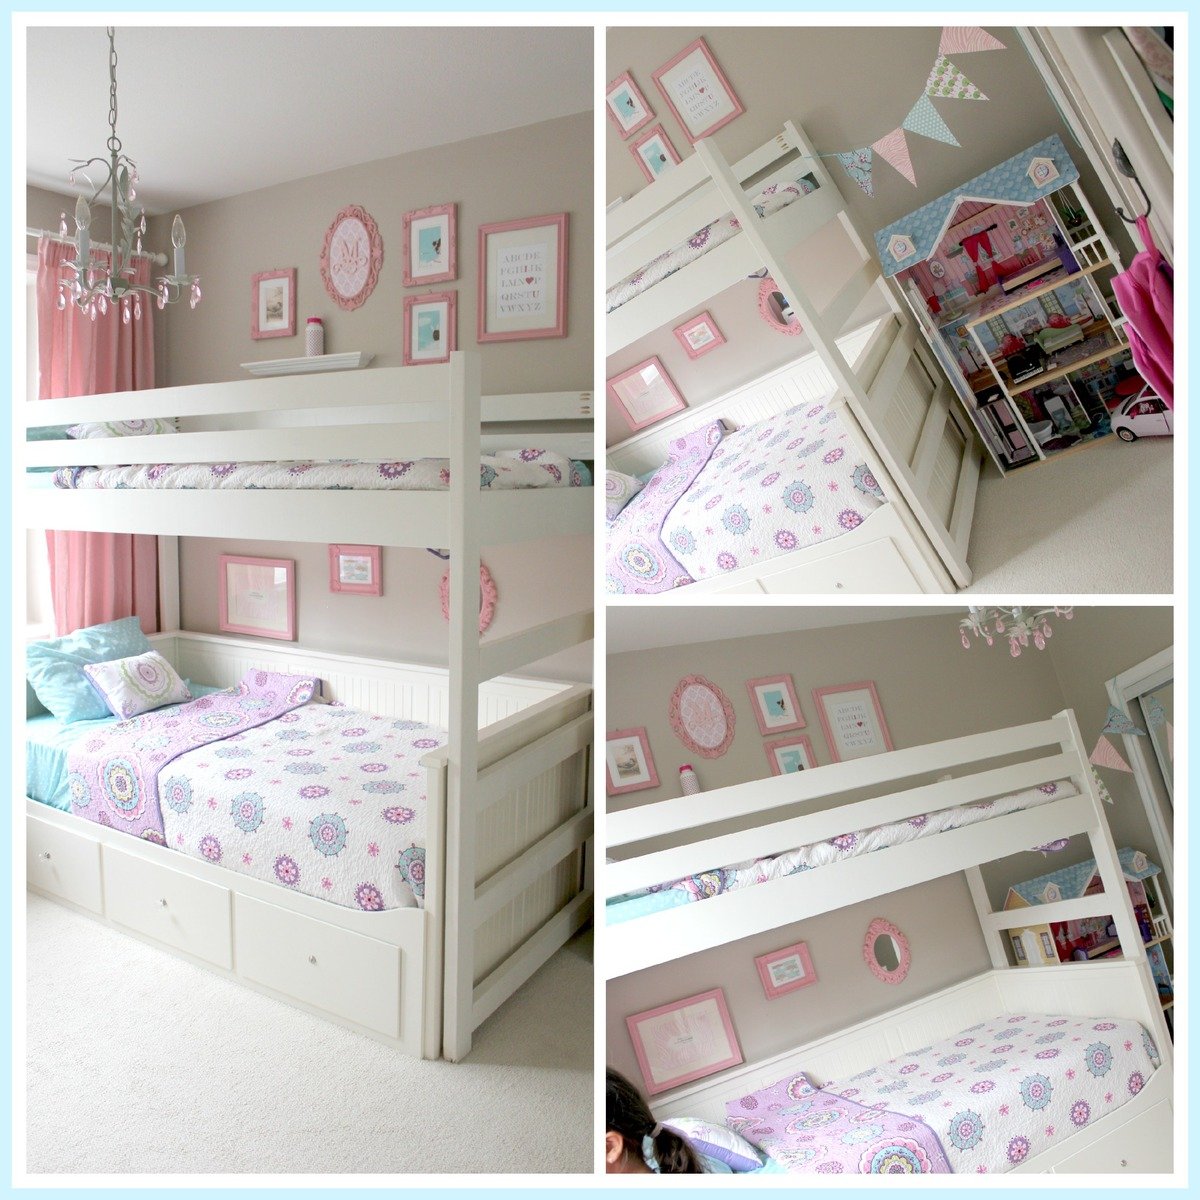
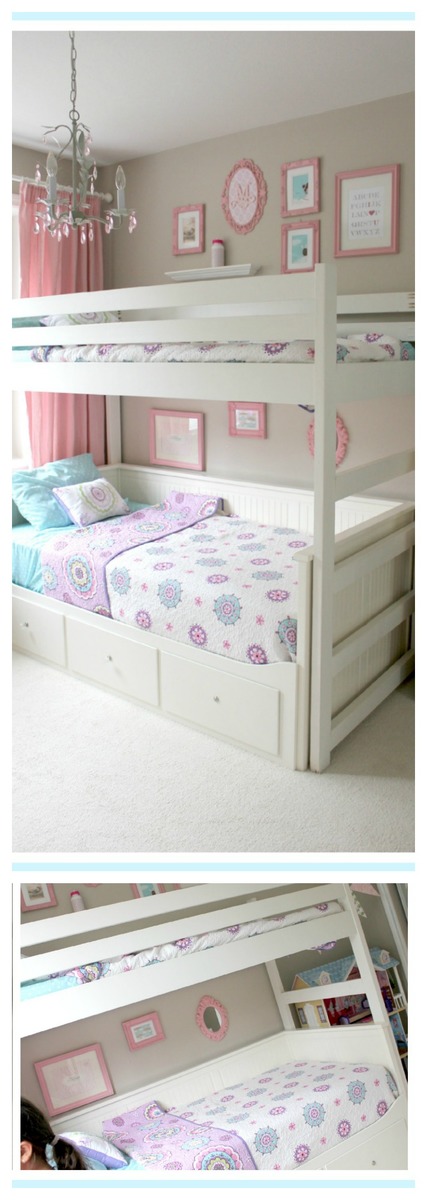
I liked the simple design of the camp loft bed, so I took the plan and modified it to fit over top of our existing Ikea daybed. I adjusted the width of the loft bed and made it a little taller, so that I could sit on the bottom bed and read to the kids with out hitting my head on the loft bed all the time.
I built the ladder into the side of the loft bed so that it wouldn't interfere with the drawers on the front of the daybed. This worked out well, as it also gives the girls more room to play!
This build is super easy, but I have to say that I don't like working with 2x4s. They are so rough....I spent a lot of time sanding and filling, and it's still not perfect. But I'm ok with it ;) I may add another cross support because it is a bit wobbly (probably b/c I made it taller).
The finish is a color matched 'All surface enamel' from Sherwin Williams.
Wed, 08/04/2021 - 06:38
Hello Millhouse. I love the loft bed you created. I have the exact hemnes daybed for my daughter and I beg to build the same loft bed. Do you have the exact modified plan you used with the measurements that fit the bottom bed? This would be super helpful!! Thanks in advance!
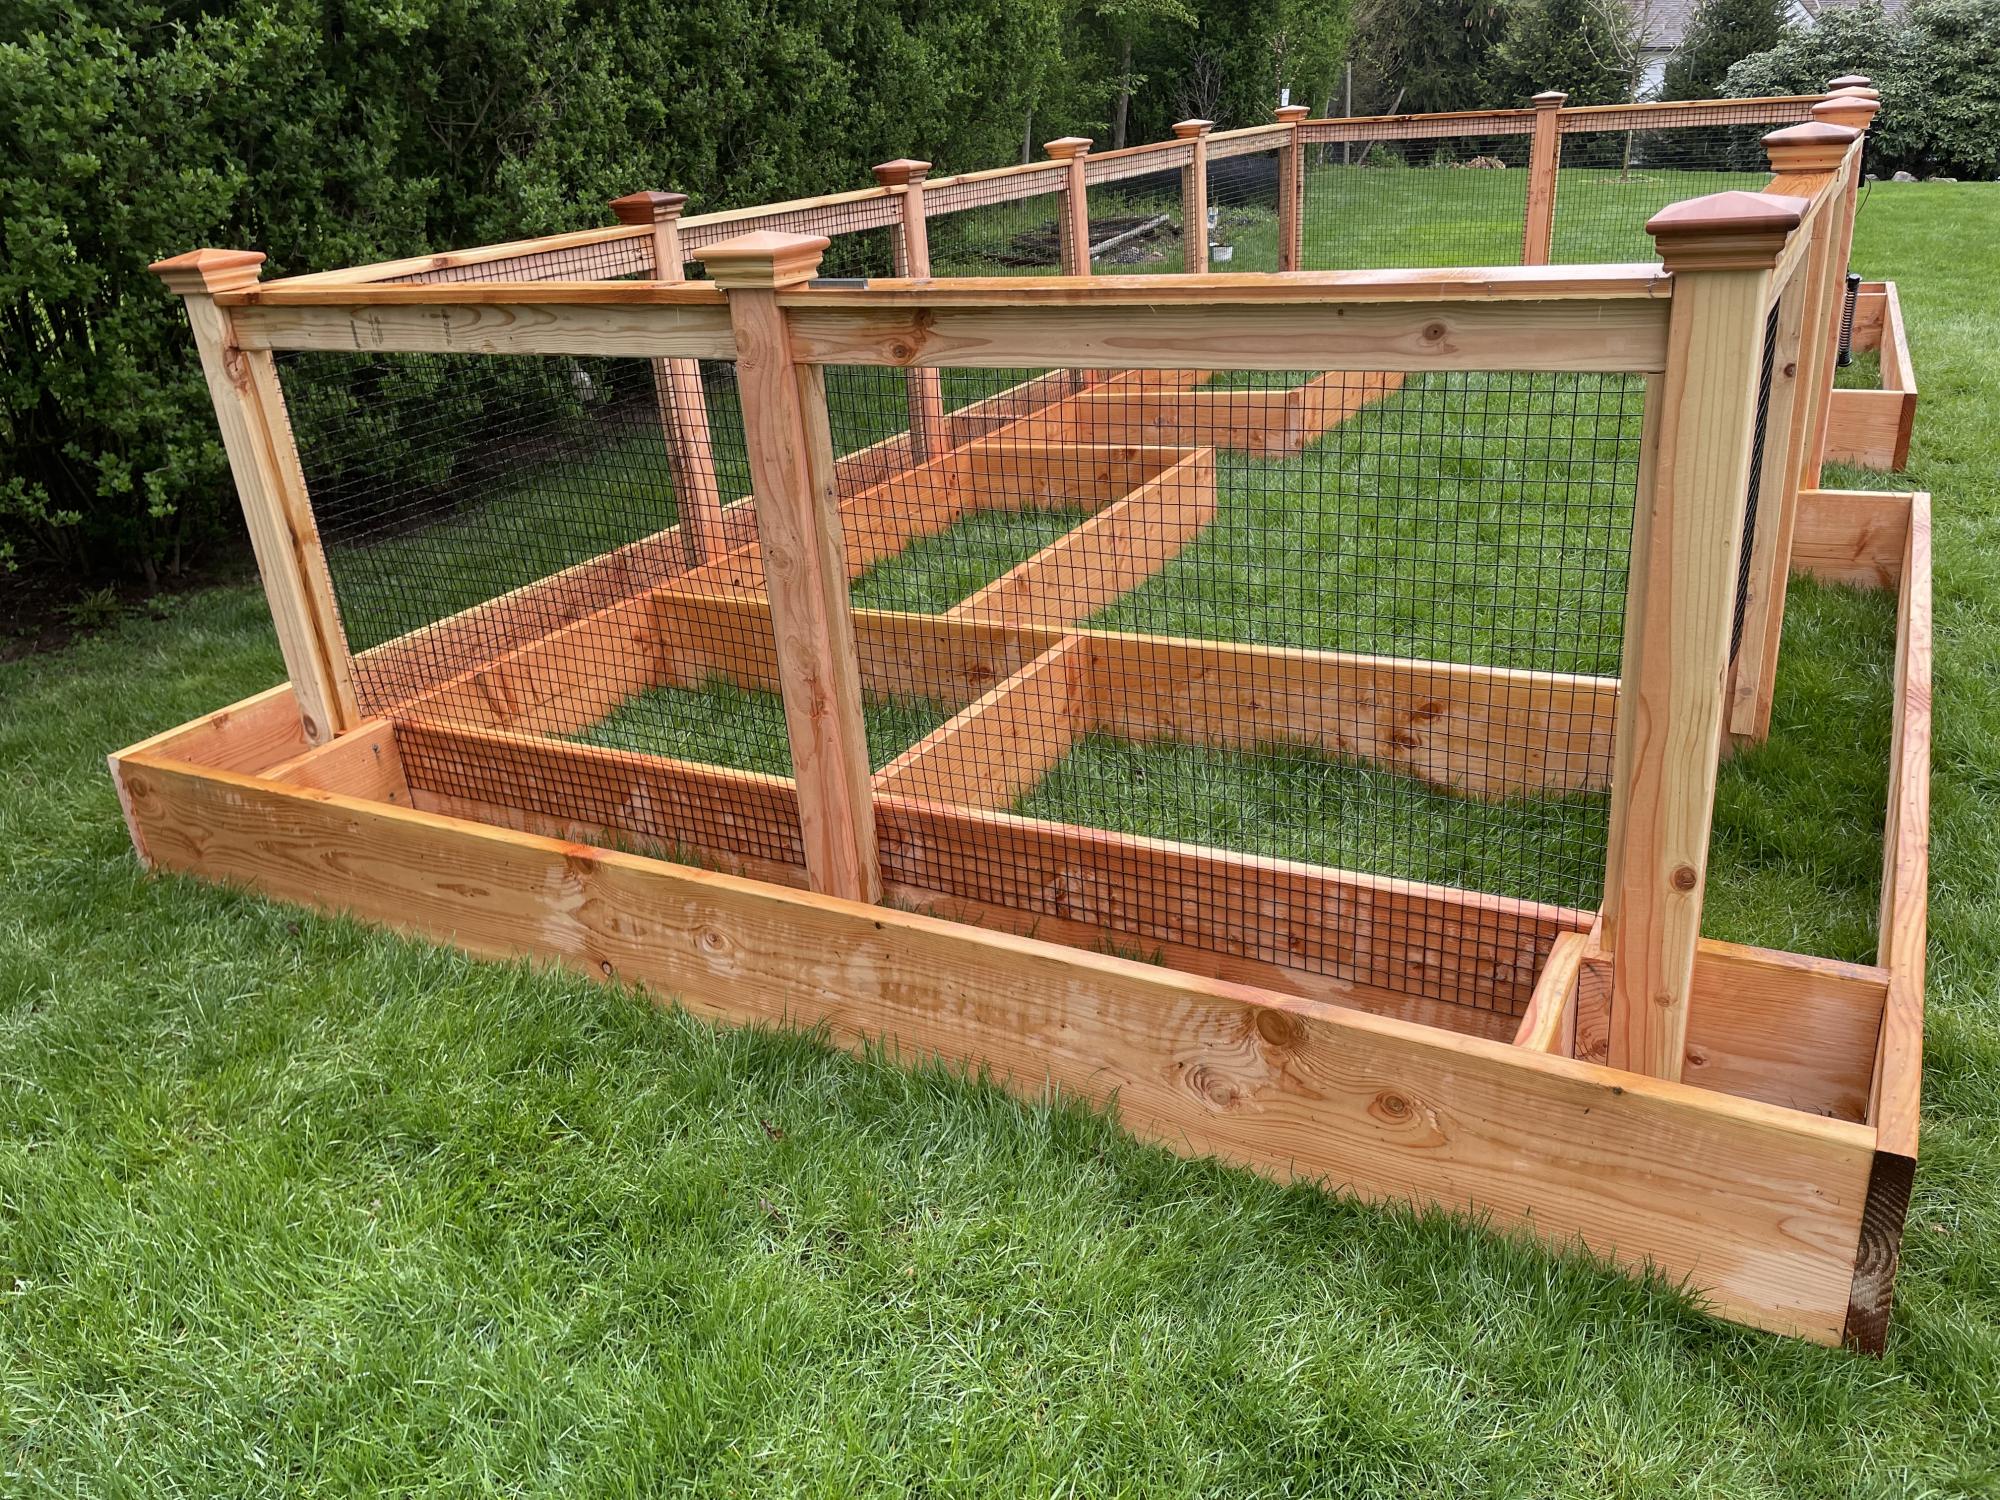
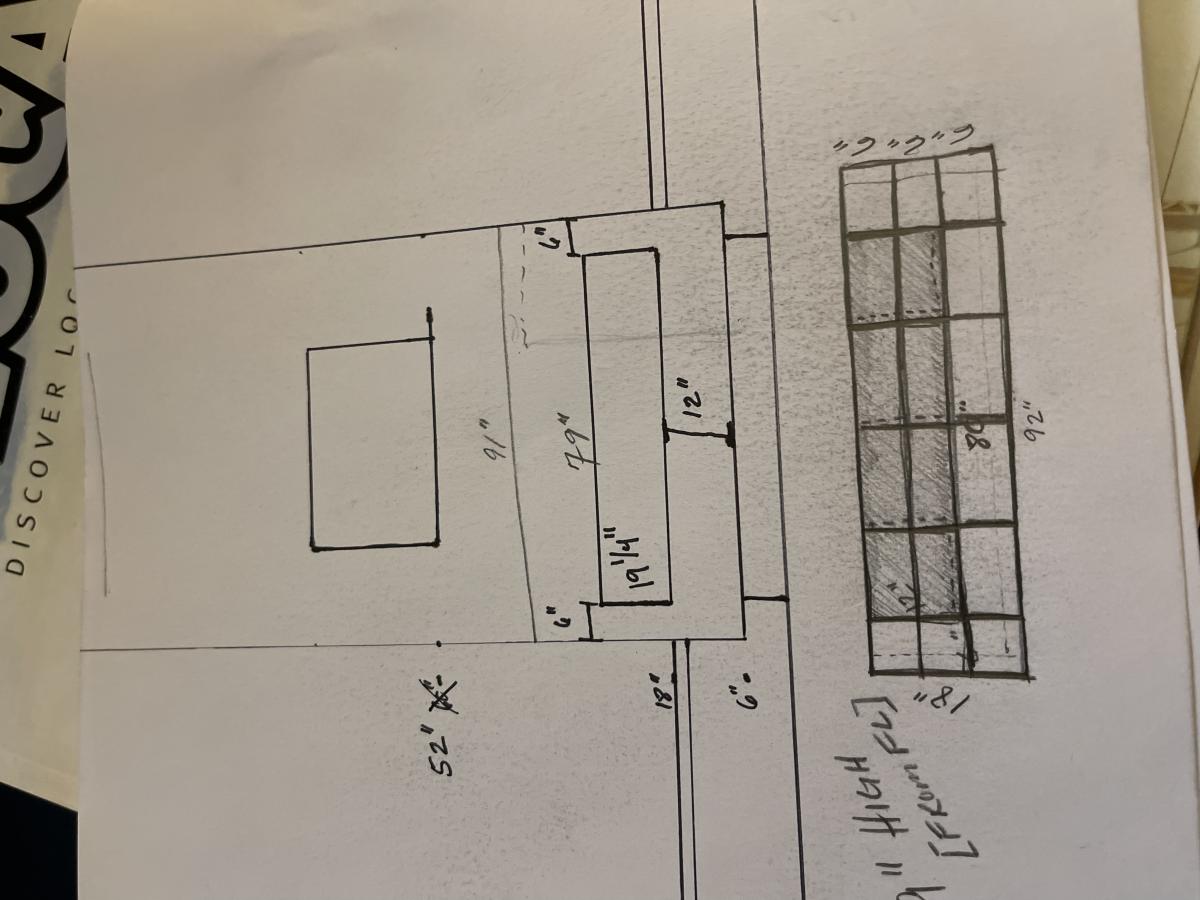
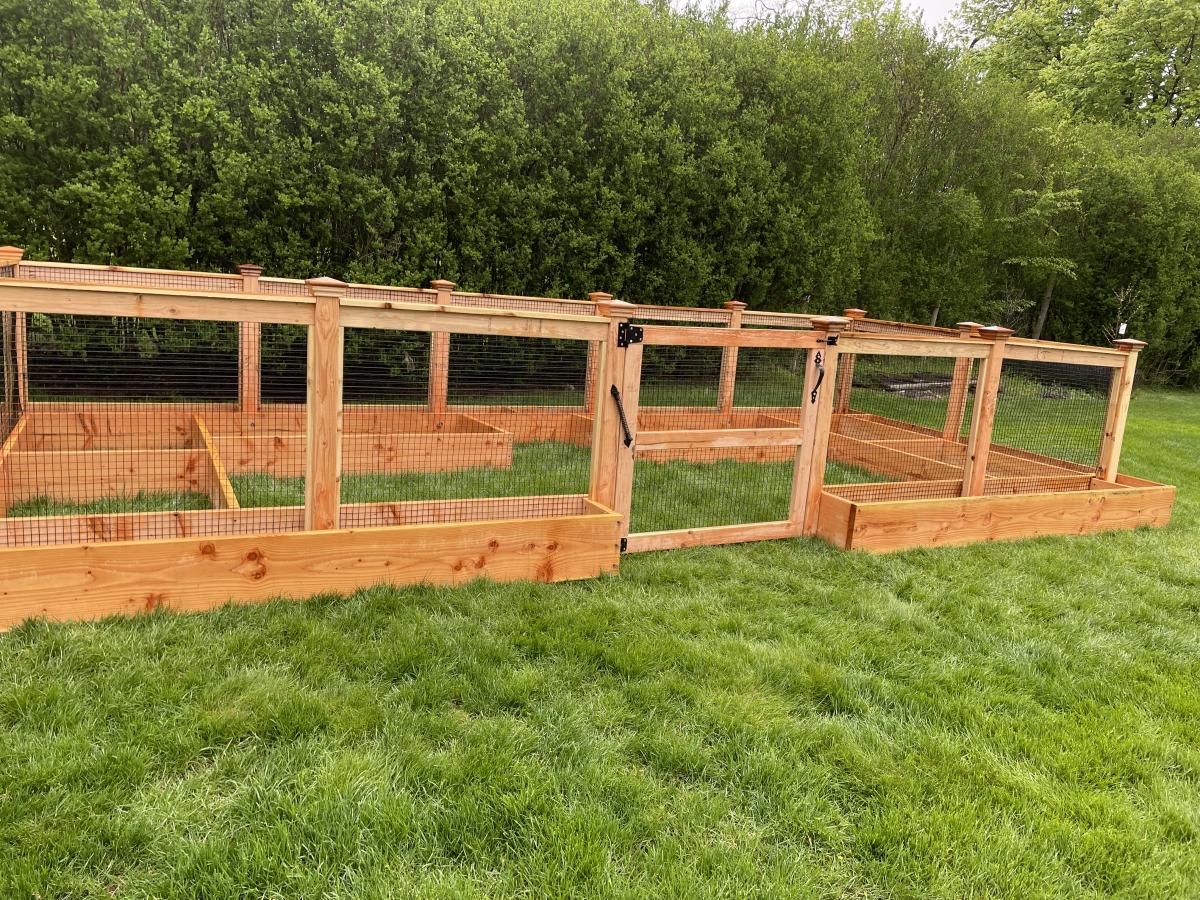
A vegetable garden with an outside ring to plant marigolds to keep deer away.

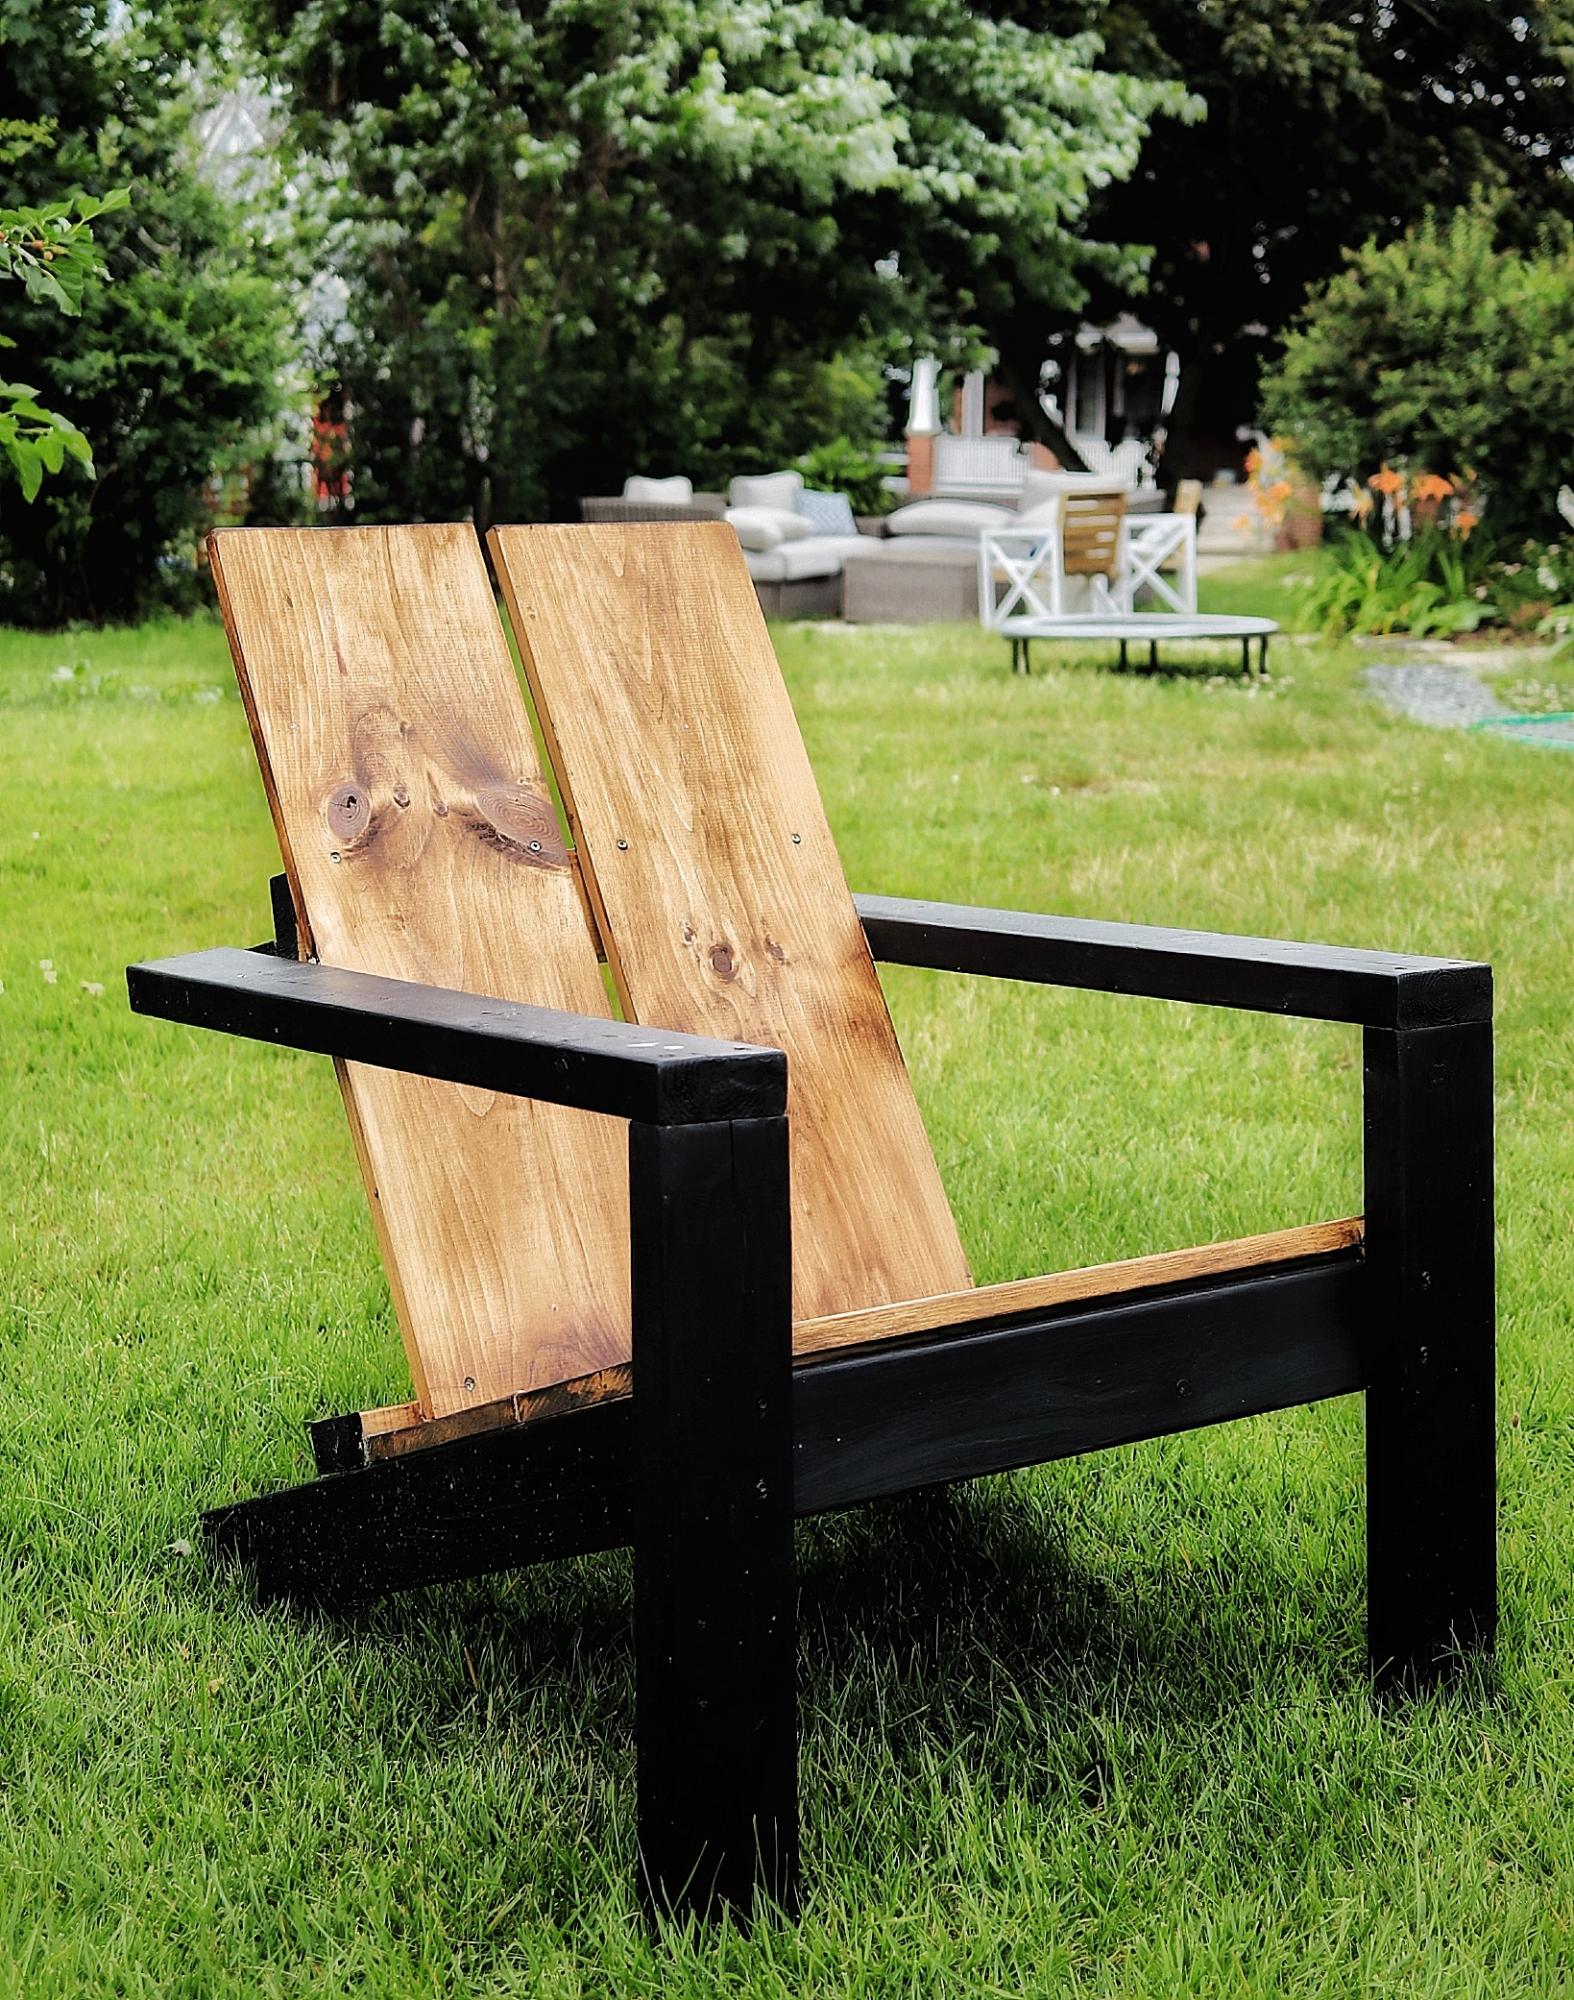
I was so excited to find the plans for these awesome chairs, I’ve built 7 this season already—the modification happened as an accident, but I loved the result !
Thu, 03/04/2021 - 10:59
This is absolutely gorgeous! I love the modification!
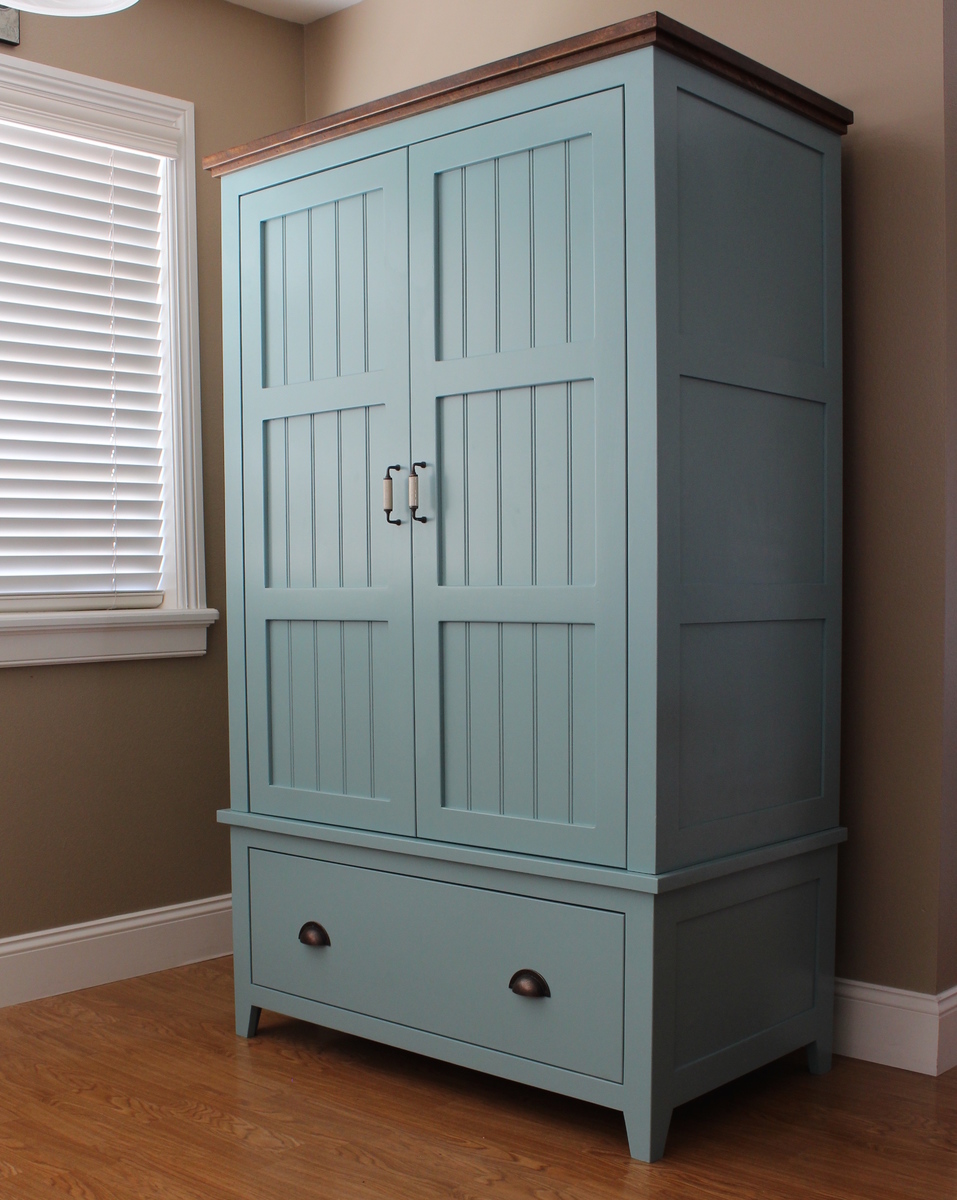
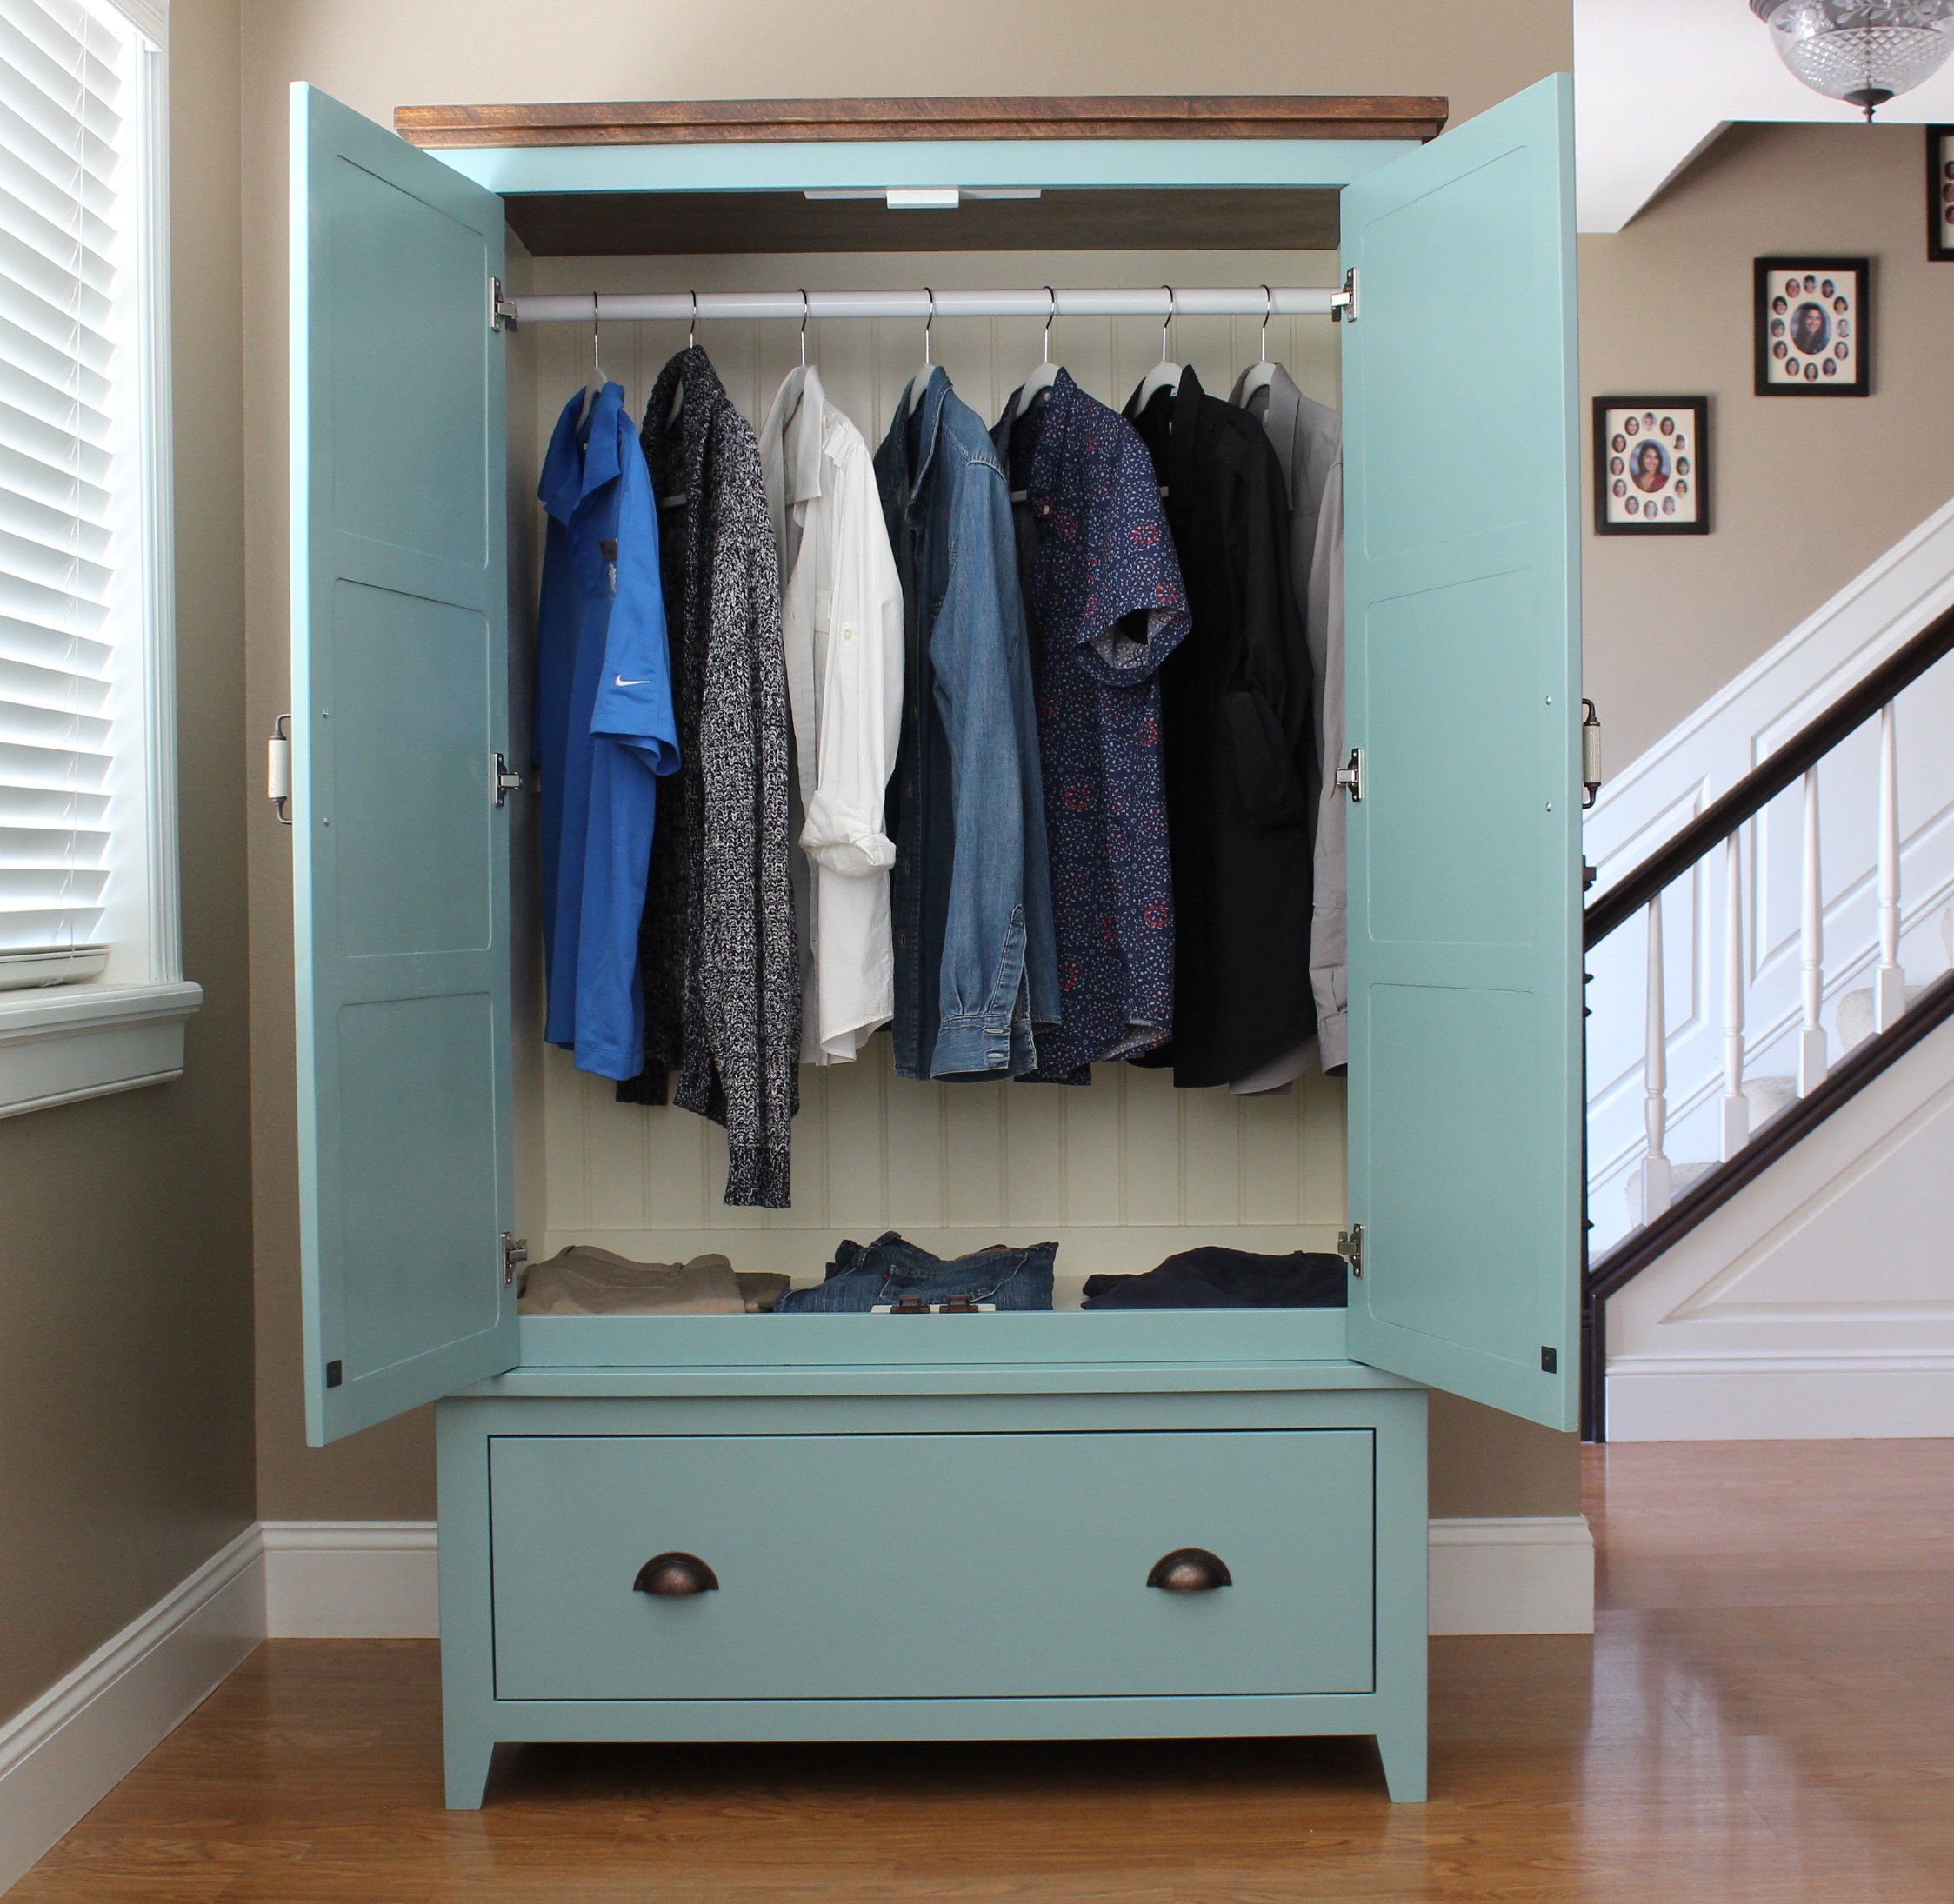
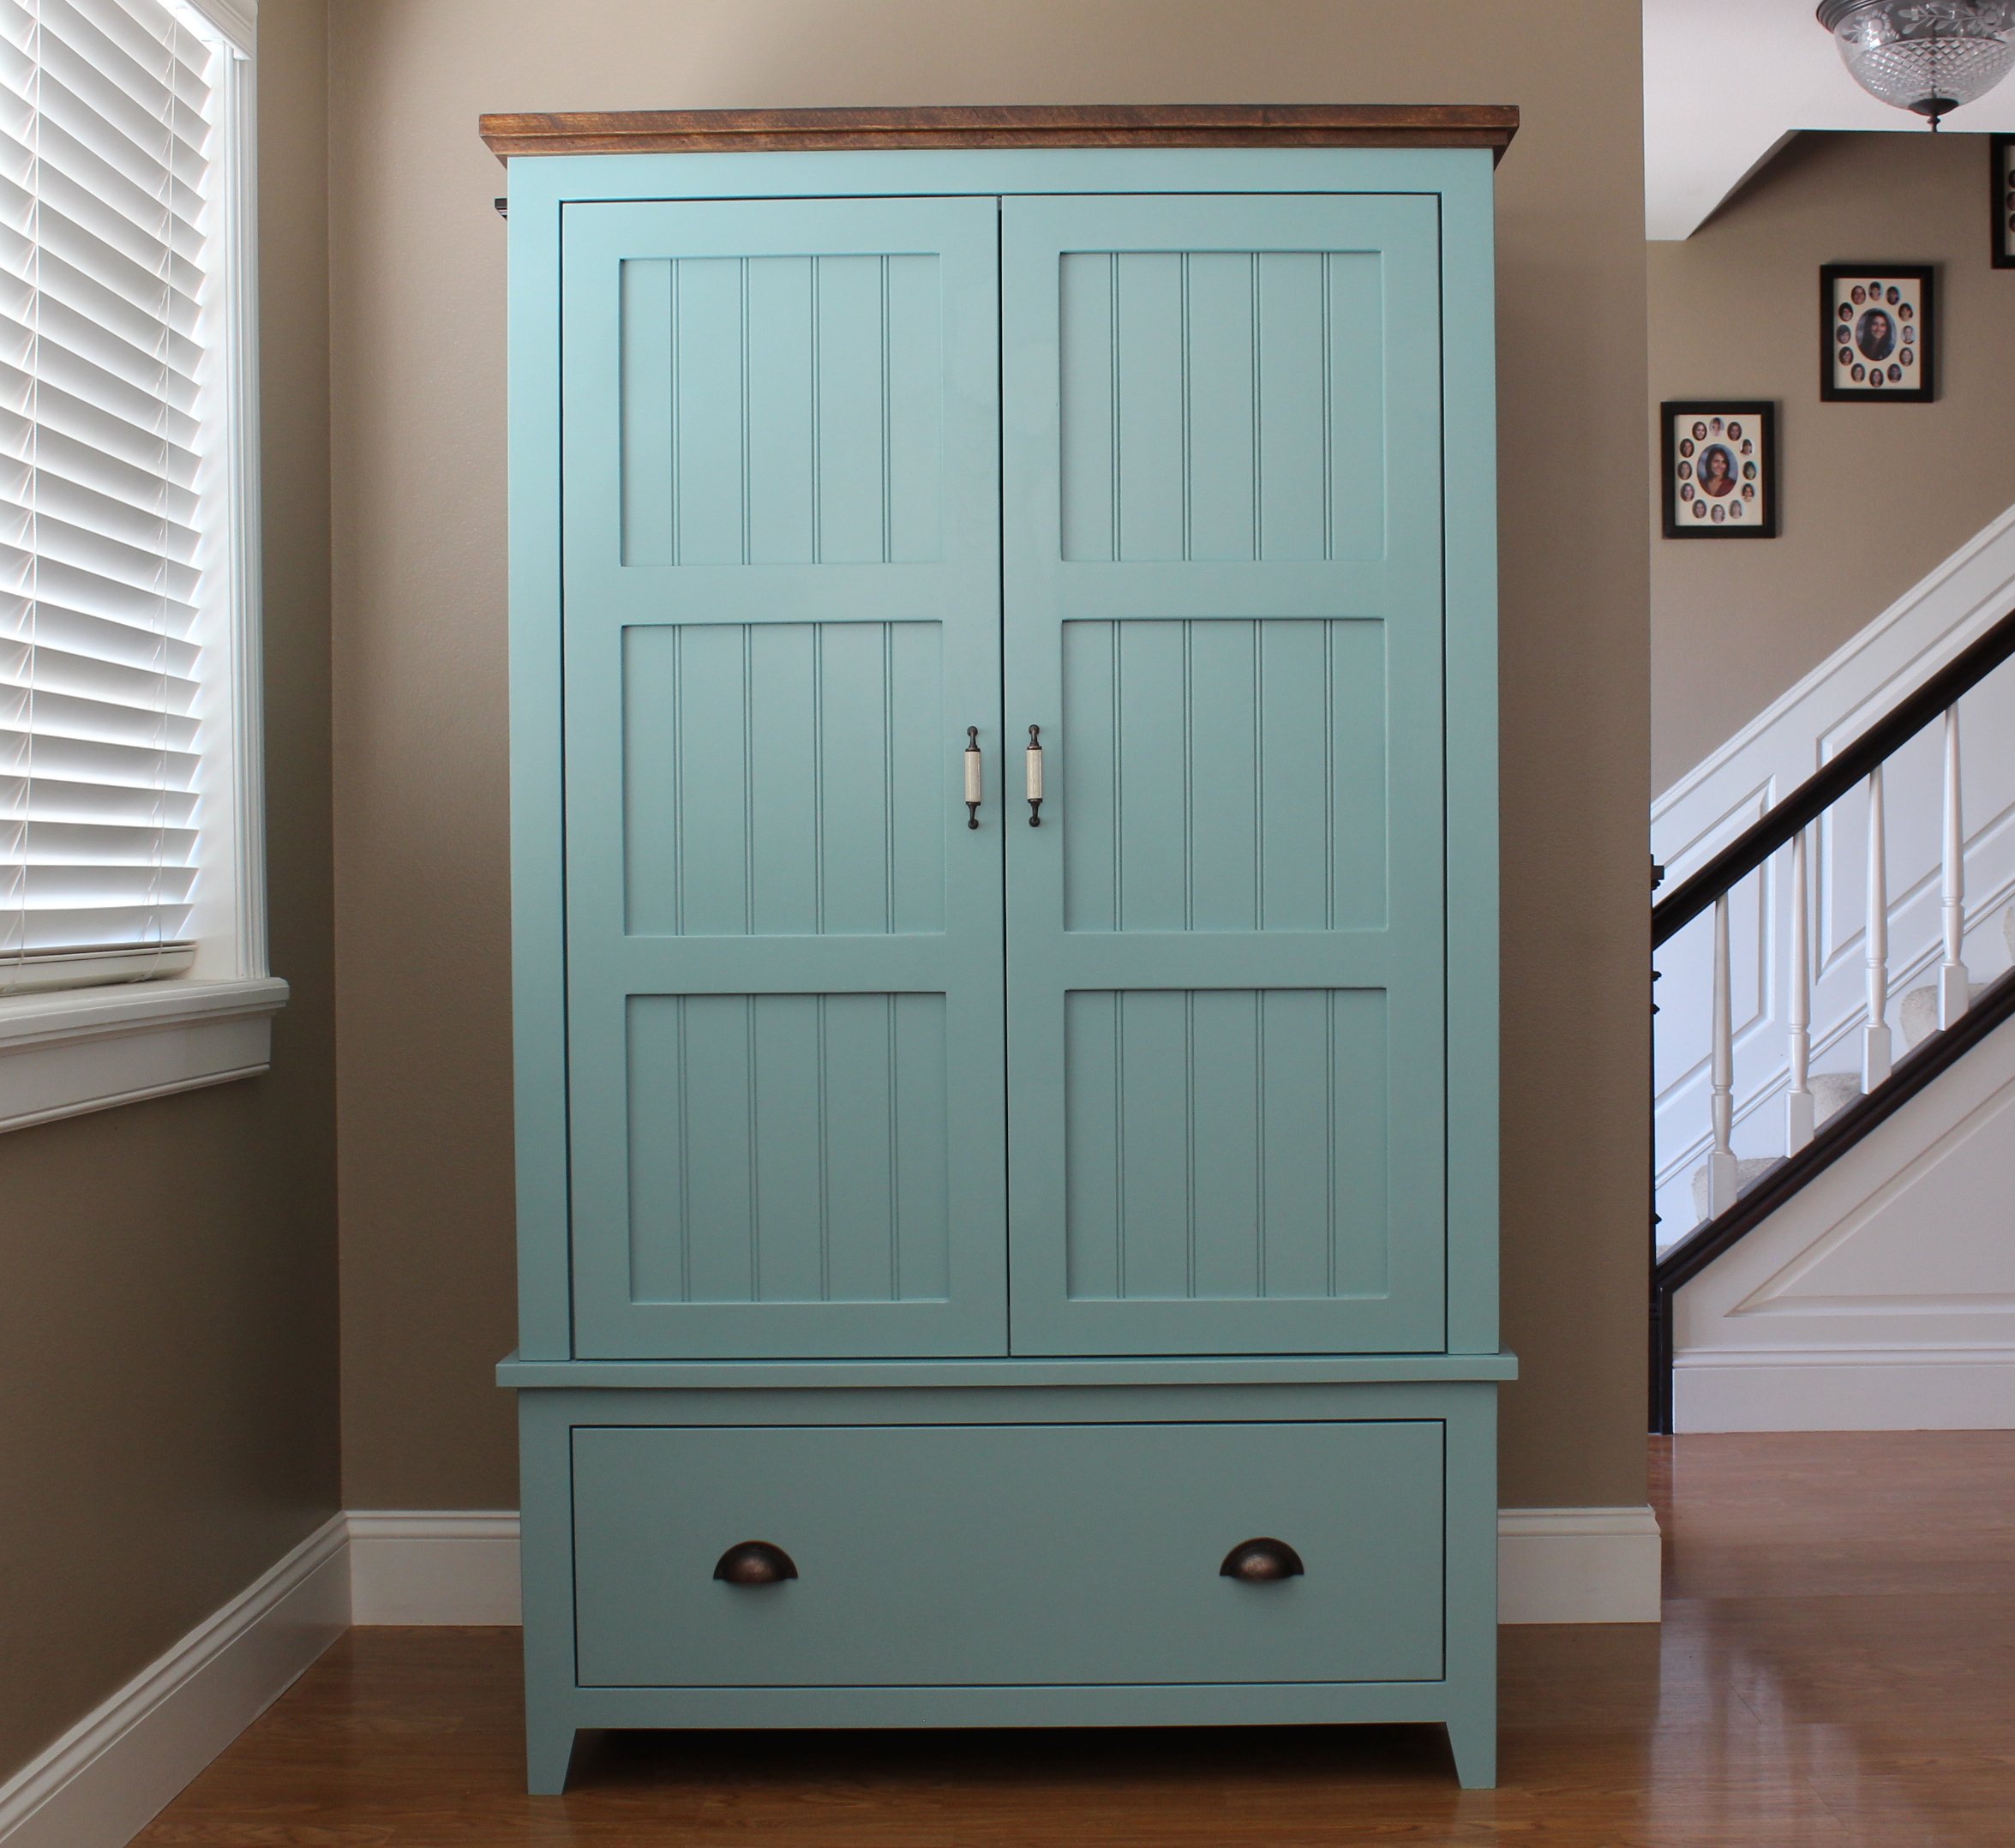
This is probably one of my favorite pieces I have built. Challenging but fun. I built it as two separate sections, an upper and lower cabinet to make it easier to carry indoors. I added a full-extension drawer below for storage. The two-toned paint combination did take a lot of extra time. Because I used an airless spraying to paint I had to tape and cover each section separately.


Fri, 03/06/2015 - 10:43
WOW it looks awesome the extra time spent on the painting was more than worth it looks spectacular. I bet you also could make a great profit selling this Wardrobe either on line or in a consignment shop, if I had the need for one and the money I would defiantly buy one!!

Sat, 03/07/2015 - 18:55
I love all the attention to detail. Great job! I especially love the color selection. How did you achieve the look of the top stained piece?
In reply to I love all the attention to by handmadewithash
Mon, 03/09/2015 - 22:01
Hi Ashley,
The top was built separate, stained, varnished and then attached to the painted wardrobe. :)
- Brad
Sun, 03/08/2015 - 07:36
This looks awesome! I love the the paint finish and it your profession work

Mon, 03/09/2015 - 17:30
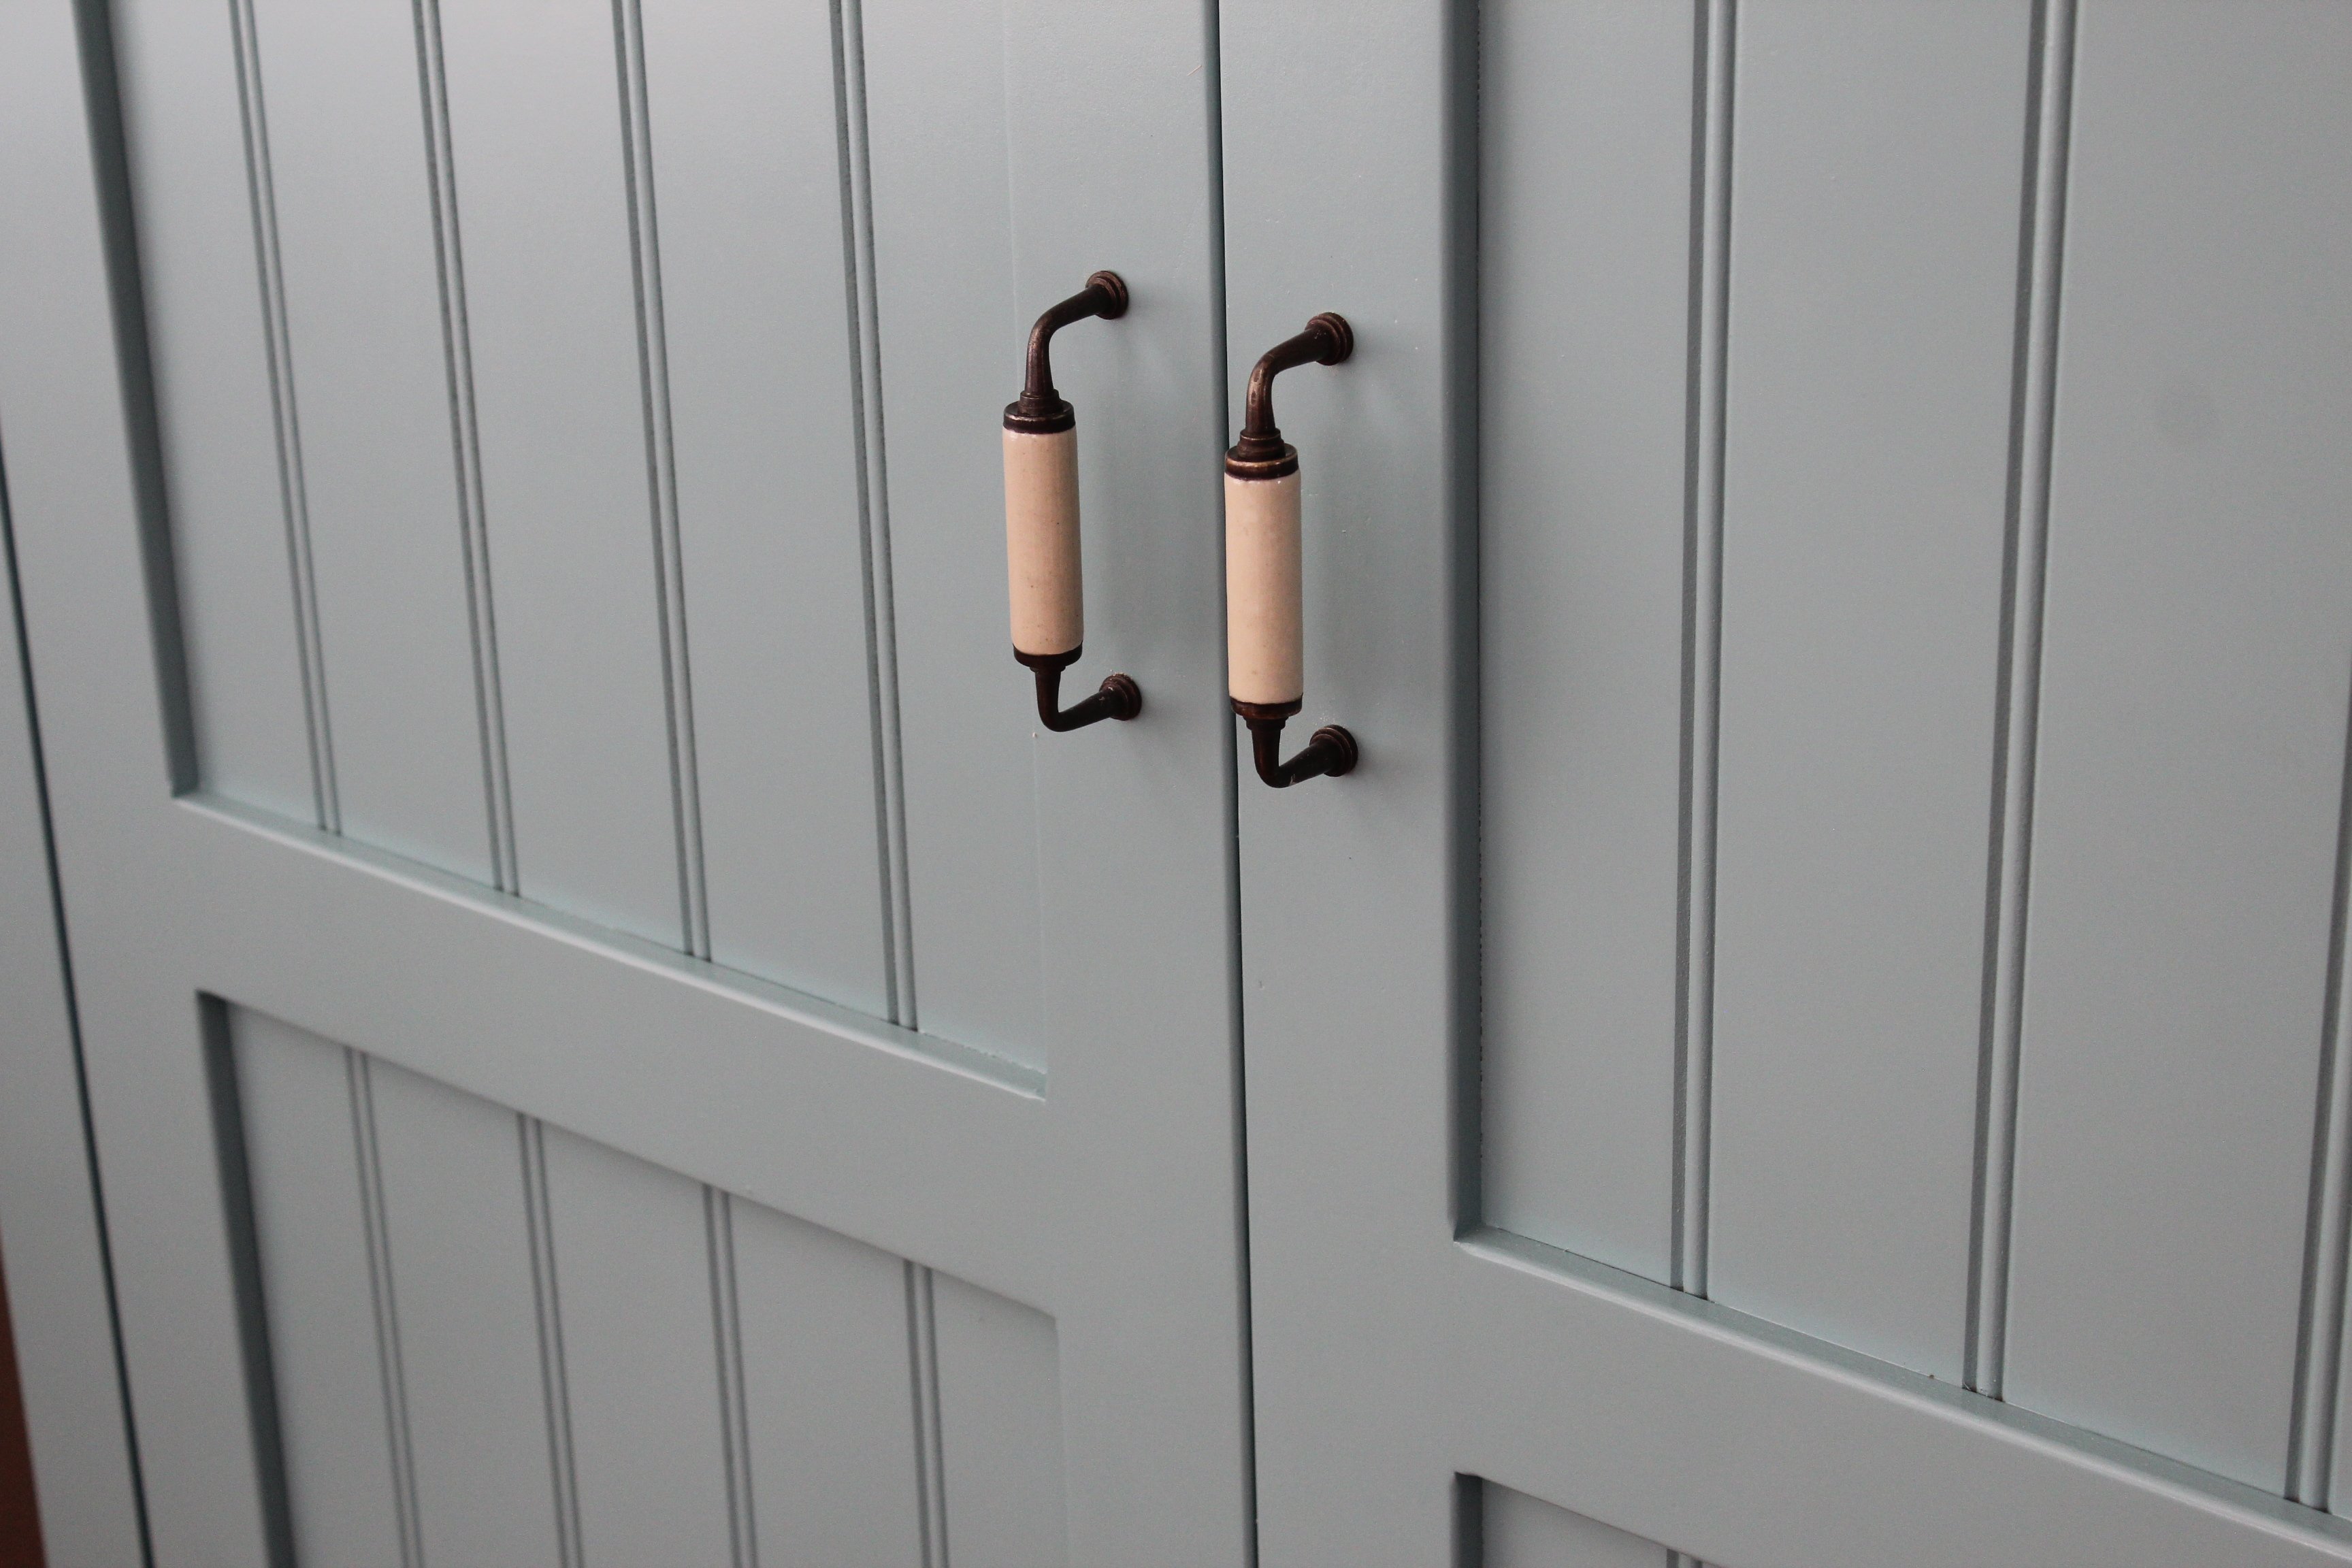
I agree this is your best so far...which is hard to say b/c all your projects are amazing! I love the style, the paint colors, the stained top, and the hardware!
In reply to Beyond Beautiful by TwoCuteKids
Mon, 03/09/2015 - 22:02
Thank you so much! :)
Sat, 03/19/2016 - 15:06
It looks really great!
I have fallen in love with it the second I saw it and somehow I am now convinced that I need a new wardrobe ;)
I guess you don't have plans for the wardrobe laying around - but would you mind doing a fast sketch (just a simple one on paper) with all the measurements noted? I would be thrilled to try building it myself in the summer.
Greetings from Germany!
Sat, 03/19/2016 - 15:07
It looks really great!
I have fallen in love with it the second I saw it and somehow I am now convinced that I need a new wardrobe ;)
I guess you don't have plans for the wardrobe laying around - but would you mind doing a fast sketch (just a simple one on paper) with all the measurements noted? I would be thrilled to try building it myself in the summer.
Greetings from Germany!
Tue, 07/18/2017 - 05:43
Are there plans used for this beautiful piece? I do not see any links. Help please!! I absolutely need to make this armoire :) :)

Fri, 01/03/2020 - 08:09
Anyway I can get plans for this beautiful piece?
Mon, 01/03/2022 - 05:53
Love this wardrobe! Are there plans available to build it?
Thank you.
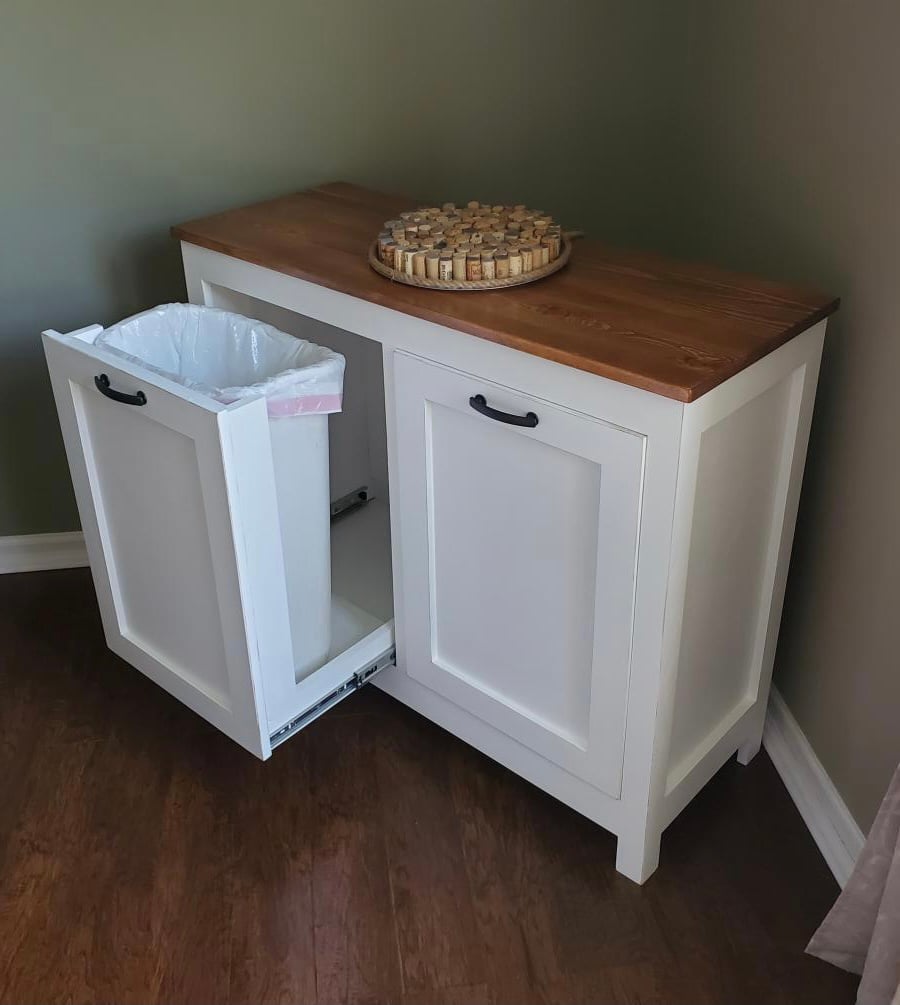
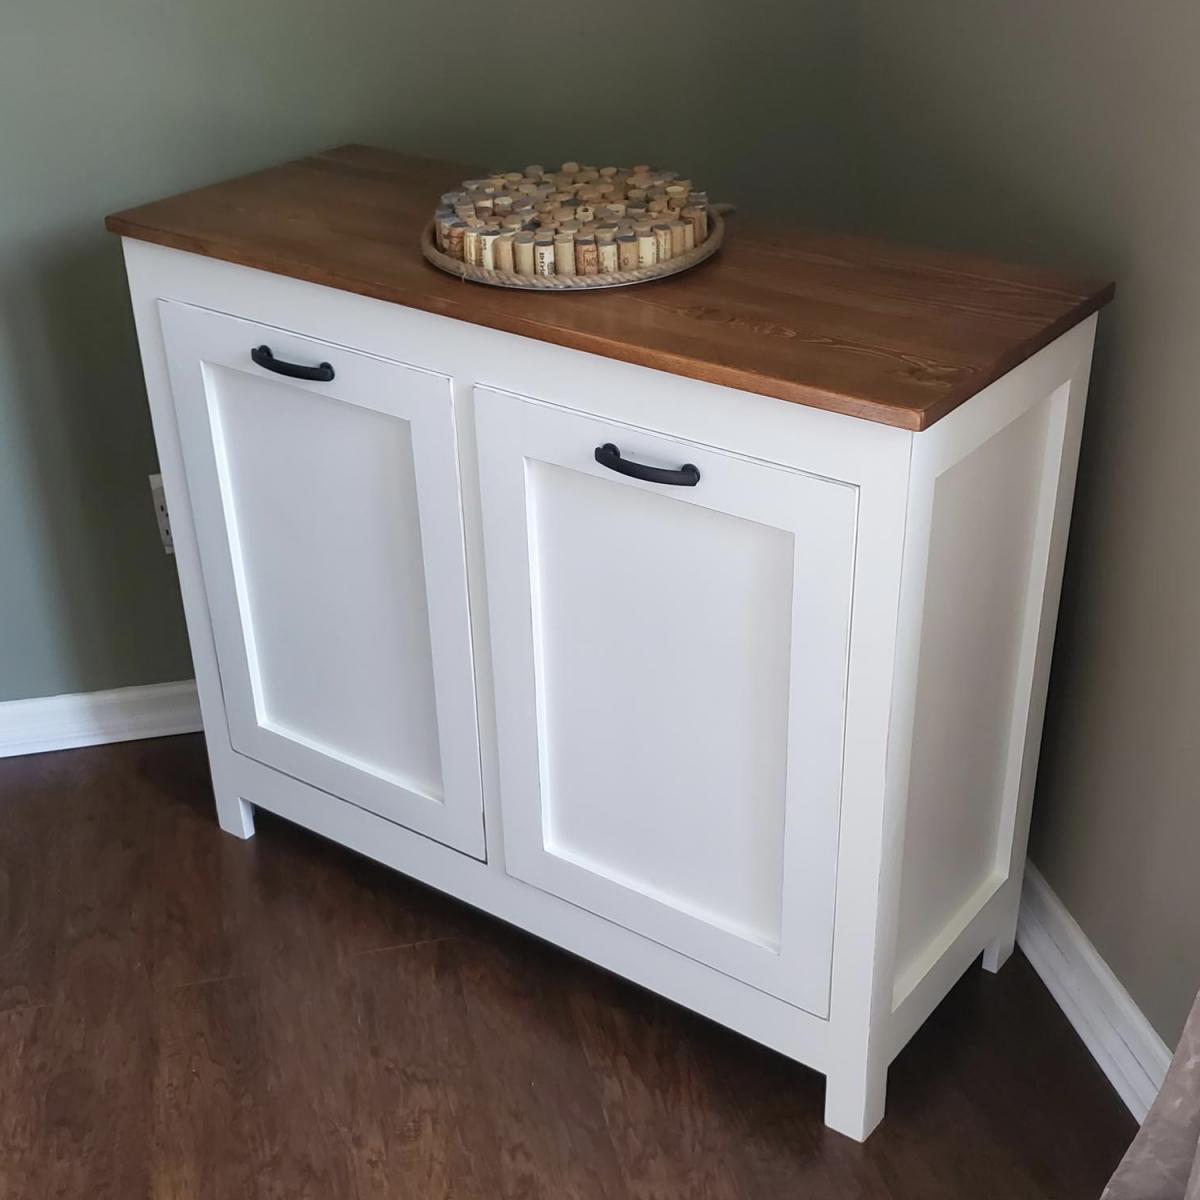
This was a build I was able to check off my Honey-do List. We use it as a Trash / Recycling Cabinet. Basic cabinet build with tray drawers for the trash cans.
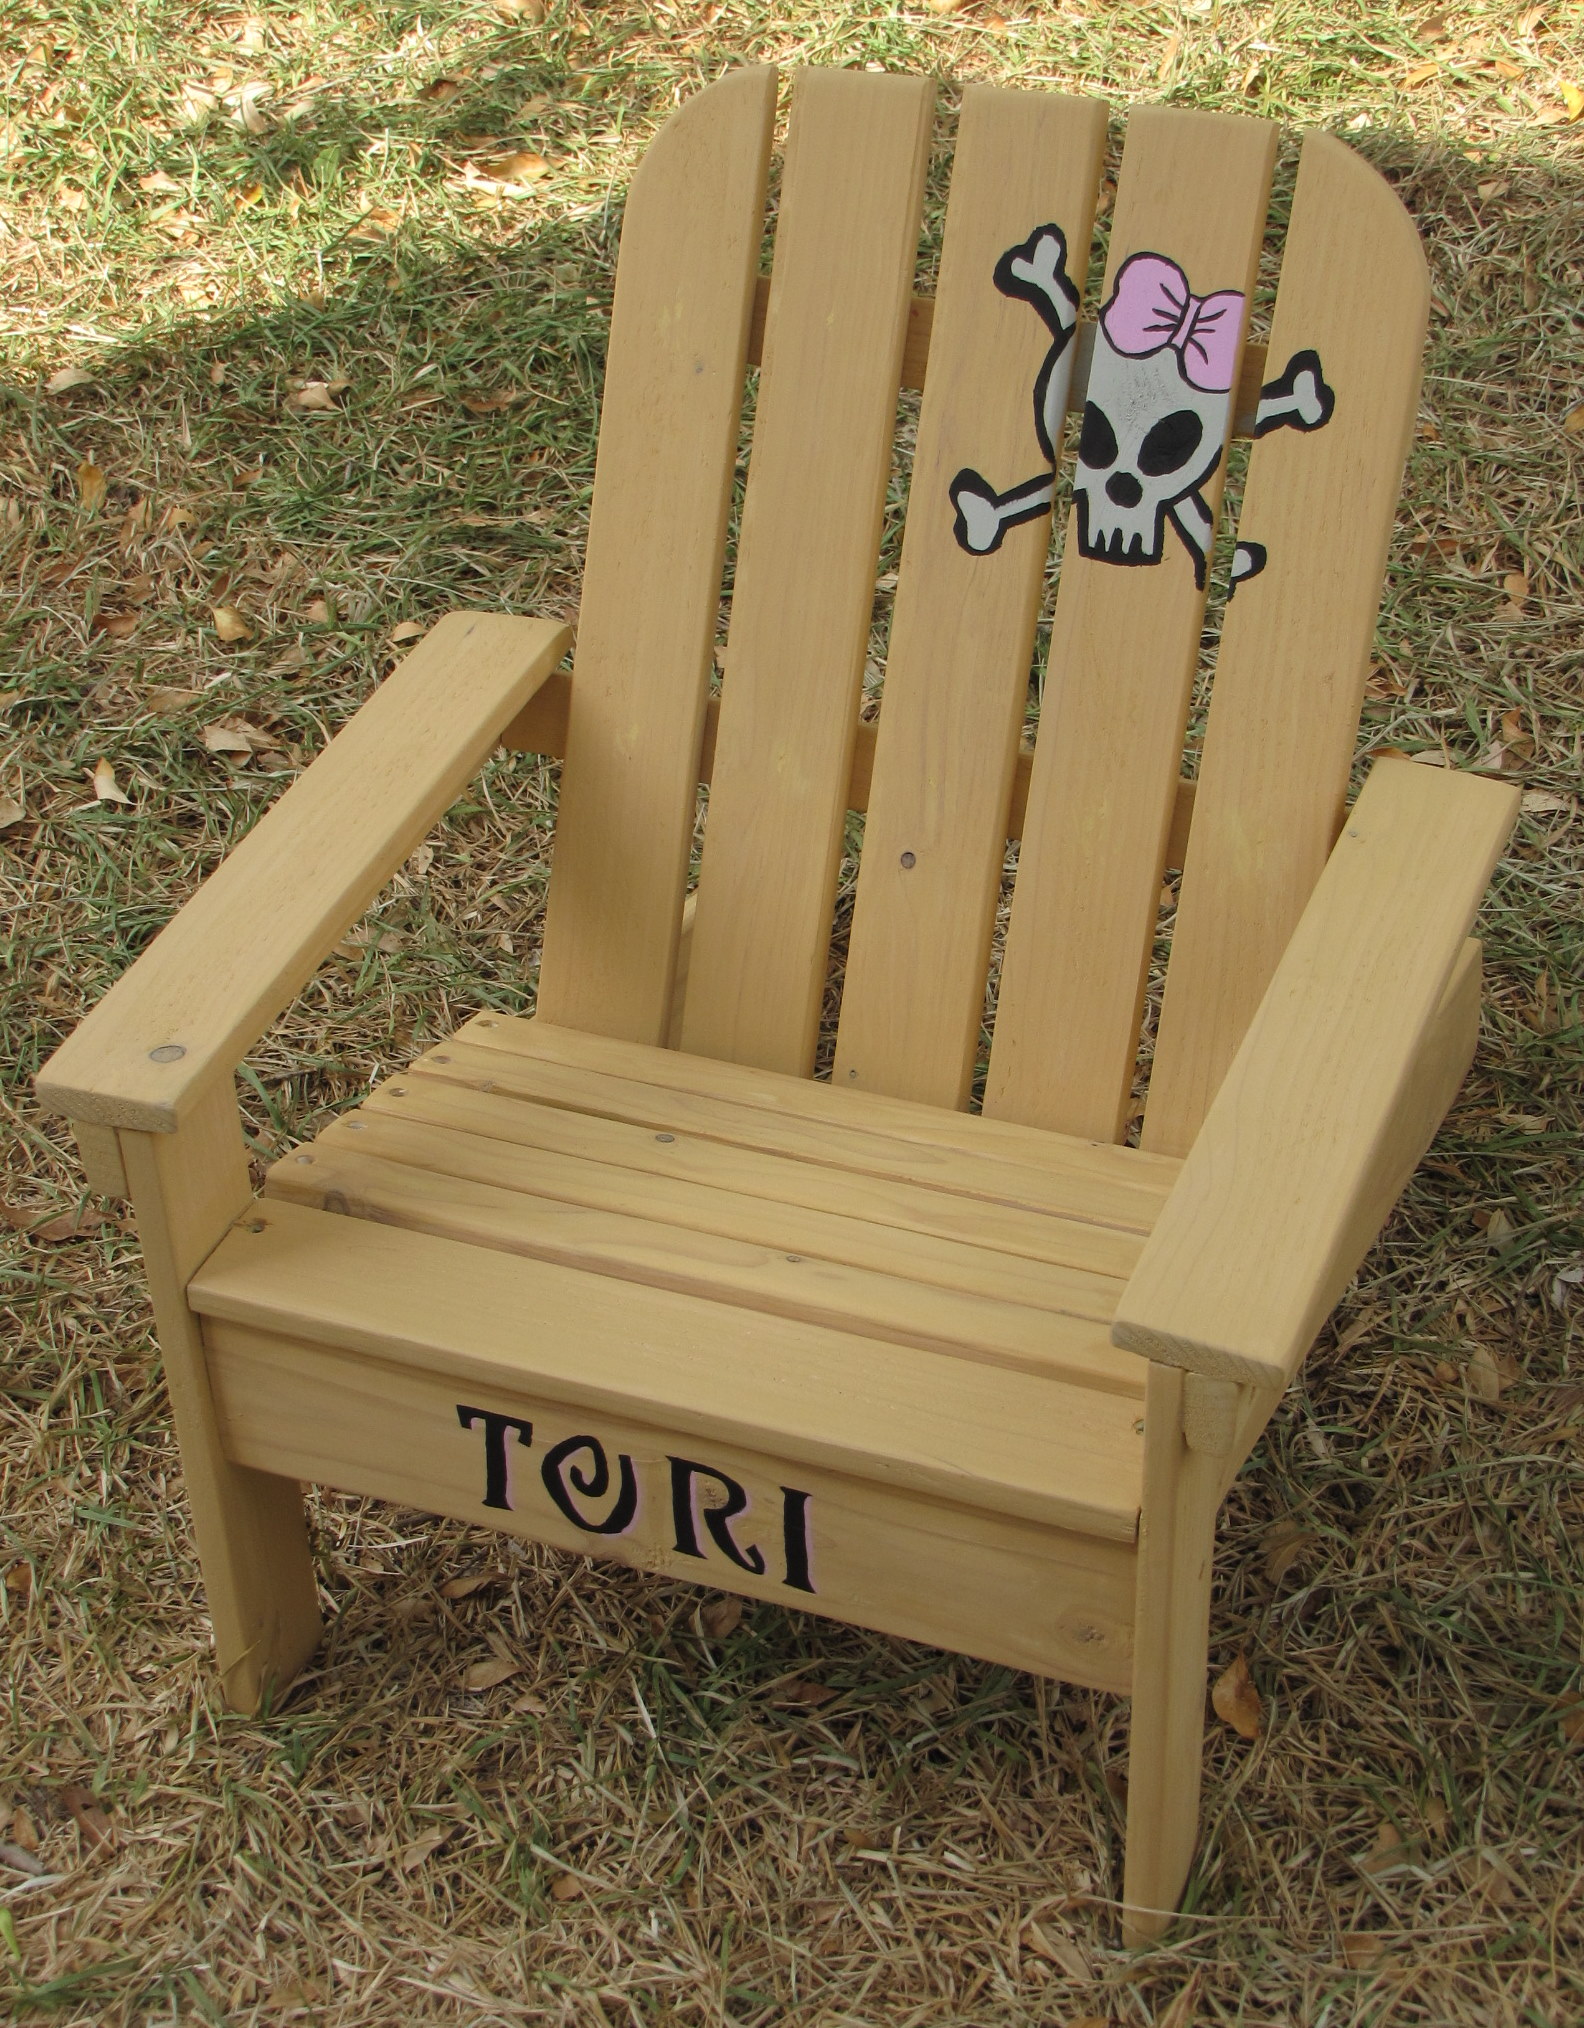
The Kids Adirondack Chair. I love these little chairs! Simple and easy to build. This one was a birthday present for my niece's daughter. Read more about this project on my blog.. Thanks Ana!!

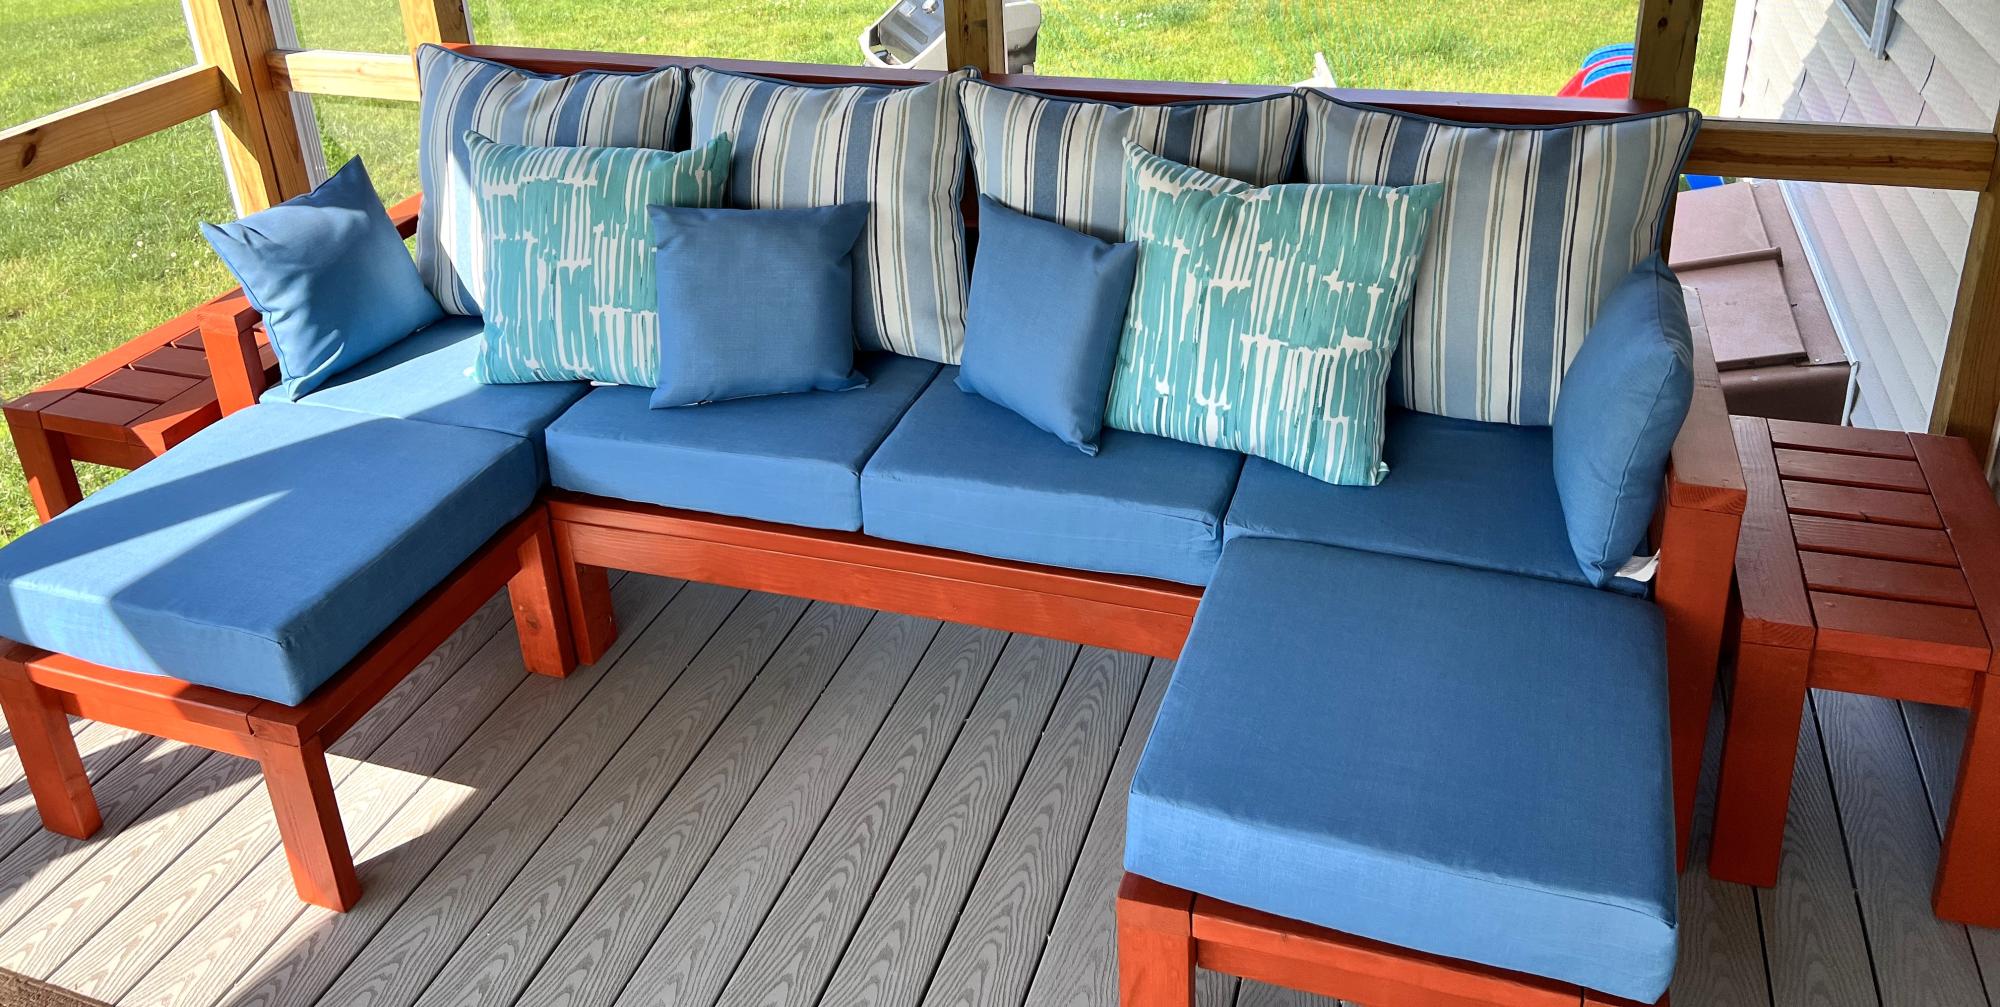
Sofa with 2 ottomans and 2 side tables.
Vinny M

I built a big kids see saw using 2x6's all around with a 2x8 seat. The center post is 30"h.


I wanted to say thank you for the inspiration.
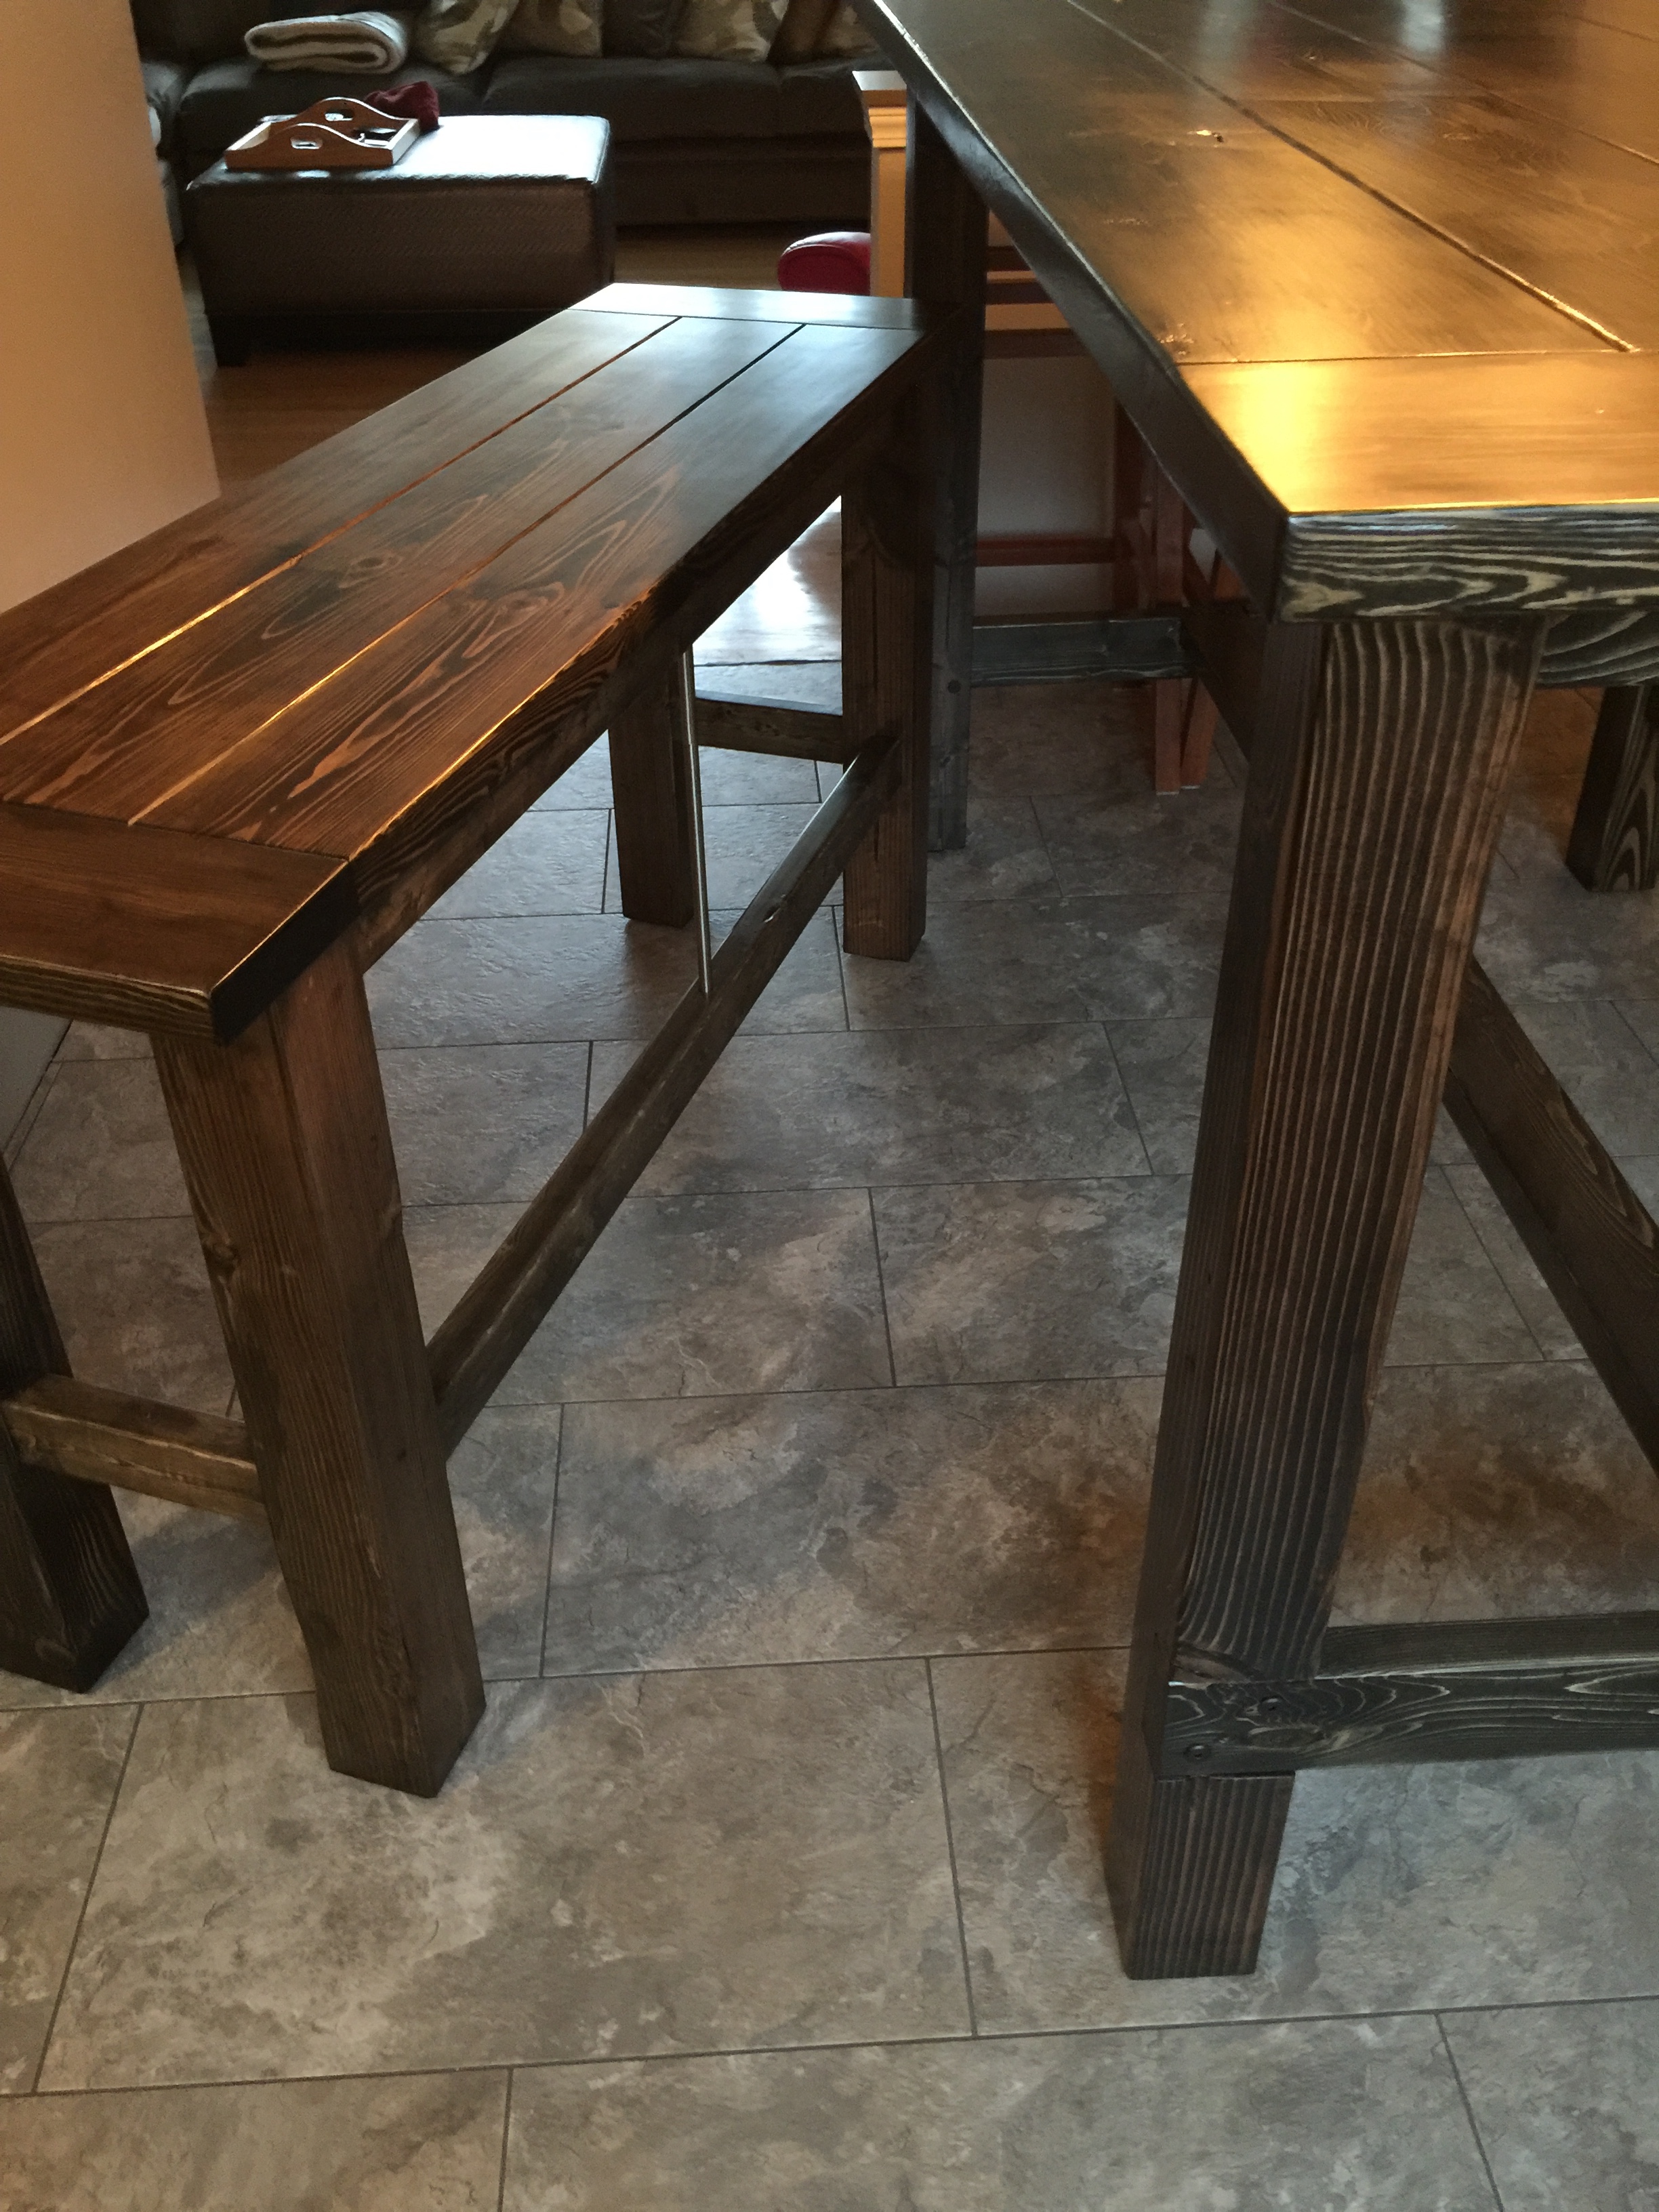
I took the general idea, made it bar height and my own preferred size and beefed it up by doweling together the top pieces.
Given the size, I made the top removable with threaded inserts as well as the removable support beams below.
For the benches, I wanted something sturdy and a look that was similar to the table. I added in a nickel support rod for the foot rest for both strength and a nice look.
All in all this project took a lot of time, probably more so with my perfectionist ways and wanting to make the finish perfectly smooth. It's like glass, which I just love against the dents and dings of the wood.
Some of the challenges were wood that warped. After putting together the bench tops, the wood warped quite a bit, nothing that a few clamps couldn't undo but a pain nonetheless.
Using black stain really brought out a nice look and I'm taking that same look to the new trim and door that are going into the dining area as well.
I've not seen a bar height (not counter height) table in a full dining table size before, it's what I wanted and I couldn't be happier with the results. Was it worth all of the time? That's hard to say, I really love it, but it took a long time to get it to be exactly what I wanted it to be.
Thanks!

